Sd.Kfz. 222 Leichter Panzerspähwagen
This article is part of a series:
Information from the TAMIYA instruction manual;
“In the early 1930s, under weapon restrictions enforced by the Versailles Treaty, the German army was limited to using Kfz.13 armored vehicles. However, based on the chassis of an Adler passenger vehicle, the KfZ.13 had poor off-road handling and lacked durability.
With Germany's move toward re-armament, it became clear that the German army required a brand-new armored vehicle chassis. The resulting new Horch built chassis was first employed in 1935 in the Sd.Kfz.221, and featured a 3,517cc 75hp 108 type V8 engine, 4-wheel independent suspension, and optional 4-wheel steering. Equipped with an MG34 mounted turret and mesh wire covers, the two passengers Sd.Kfz.221 had a top speed of 80km/h, with a maximum off-road speed of 40km/h.
The following year, the improved three passengers Sd.Kfz.222 was developed. Featuring a 20mm KwK3O mounted turret and a standard short-range radio, the Sd.Kfz.222 was recognized as the supreme modern armored vehicle.
Following the outbreak of WWII, the Sd.Kfz.222 proved to be effective on varied terrain including in Poland, France, and North Africa.
However, when faced with the rough terrain of the Russian front, the wheeled vehicles had to be replaced with the half-track armored vehicles such as the Sd.Kf1250/9.
Throughout the duration of the war slight modifications were made to the original vehicle, including replacing the KwK30 with a KwK38 mounted turret, an improved braking system, and higher engine displacement.
Production continued until June 1943, with approximately 1,000 units of the Sd.Kfz.222 produced.”
This was a great kit to build and it came together with no issues what so ever. The build is straight out of the box with no extra parts added. In the kit, there are also a lot of fuel and water drums so this might be another diorama in the future.
I'm still struggling with the weathering and might have gone overboard with the chipping and probably added pigments to early in the process.
Thank you for looking.
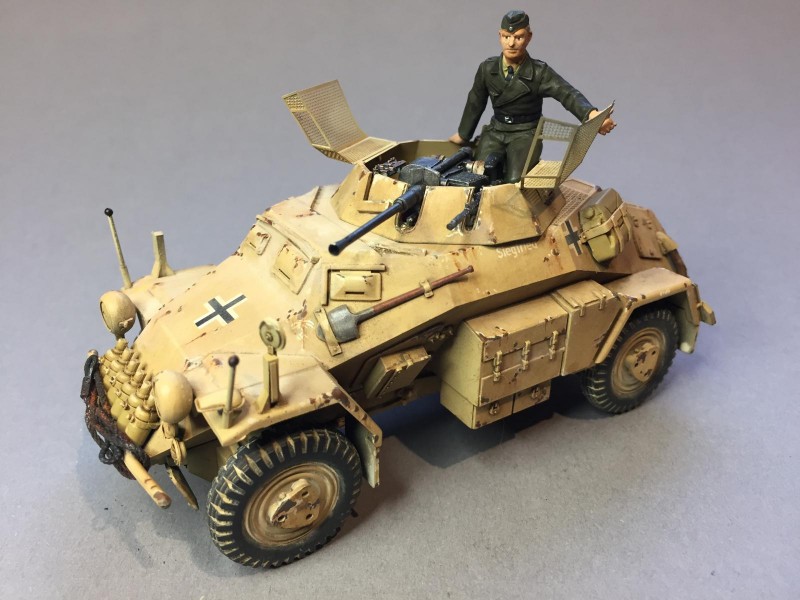
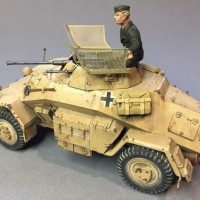
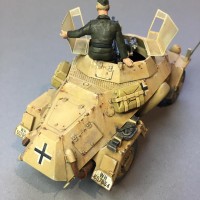
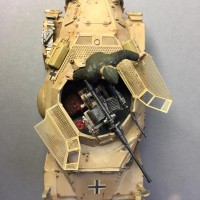
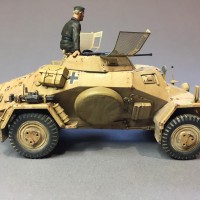

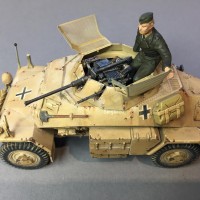
One of my first armour build, the 70s Tamiya kit. I loved it and still have fond memories of that kit. I like your build Geir, very sharp
Very nice 222 Geir, kudo's!
Nice job indeed.
A great build!
Great looking 222, Geir!
I think the chipping is just right. Great build.
Nice job on this one Geir, the weathering and especially the chipping are very much convincing, for sure this one screams out for a diorama, where life can be given to it.
Looks great to me! I think the weathering is spot on. Only suggestion is toning back the whites of the eyes on the figure. Not sure how the figure guys do that, but they seem just a tad glaring. I'm sure someone can jump in here with the solution. At my scale (1/72) you never see the whites, so I don't have to deal with it! (that's my story, and I'm sticking to it. I'm sure the real figure guys do full eyes at that scale!)
This makes perfect sense Greg.
Thank you for your input and kind comments.
As @de4ever says, this is a great piece of work crying out for a diorama.
‘Liked’
Geir, great build. There are some good online manuals re. figure painting. I believe it is generally one of the most difficult aspects of armor modelling. Only figures can add relative dimensions to a vehicle (other than a ruler next to the model, but that ain't sexy) but a figure can ruin a great weathering job if it looks unrealistic. I think a quick win here is to add eyebrows and eyelids. You can do that with a toothpick splinter and some black acrylic paint.
https://www.mrblackpublications.com/WWII_SPECIAL_VOL2_BY_MAN_JIN_KIM/p1000980_17183673.aspx