WIP Bandai 1/100 Graze Custom
Don't usually post work in progress pics but the kit is technically done now working on the diorama. This project had a ton of firsts for me. First time doing a Gundam kit and I can see why so many people love these giant robots, Bandai quality, and detail. Great fit and overall fun build. This was the first time I used the black basing technique for the base colors and the first time using an oil paint "gunk wash" (love the technique). Now the hardest part was this was my first attempt at adding LED's to a model kit and man was that a learning experience! Frustrating to say the least this kit was almost thrown against the wall multiple times trying to get all the wires and components in tiny areas. Perseverance paid off and I'm happy with it. As always thanks for looking!
The thumbnails copped the real pics kinda weird so please click on the pic for the whole pic
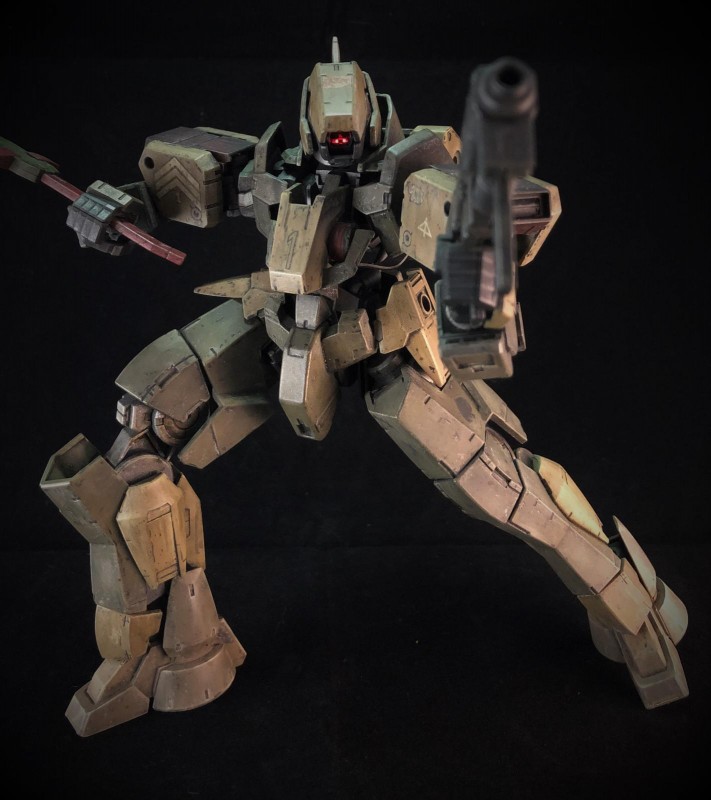
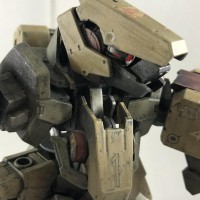
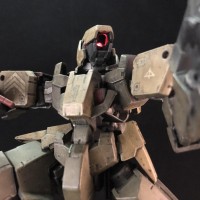
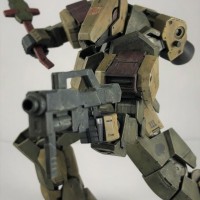
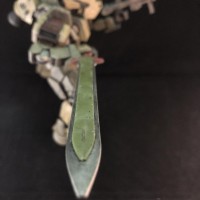
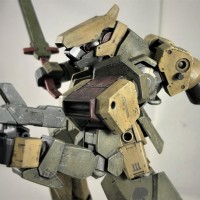

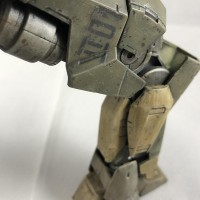
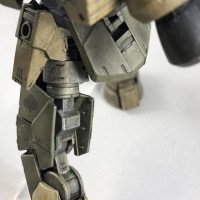
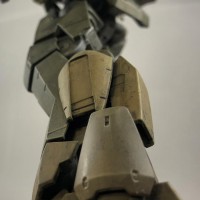
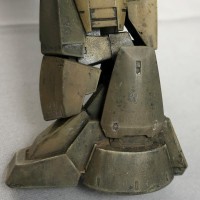
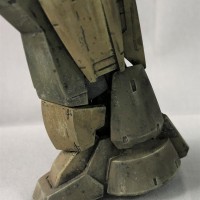
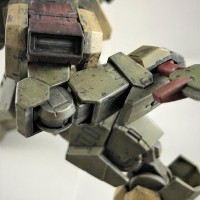
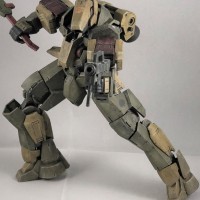
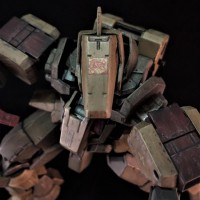


I'm not usually much of a Gundam fan, since they generally seem to be snapped together and left unpainted, looking like toys. Yours however is so nicely painted and weathered that it has great visual interest! Well done.
I appreciate it sir! These are actually great kits, the pre-planning that goes in can be pretty extensive if you want it to go from toy to an actual model kit. I know nothing about Gundam so it gives you the liberty to only limit the weathering to your imagination and that's what I really enjoyed about it!
Wow. I have never gotten into Gundams, mainly because I thought they were too bright. Your paint scheme makes it look like a purposeful machine that has seen some action. Great job. What is gunk wash? Can you give a brief tutorial?
Thank you sir, "gunk wash" is a technique where you use oil paint. I used Ammo by Mig's oil brusher: starship filth. Super easy technique, first you just paint the entire kit with the oil paint color (no need to thin or worry about how thick you're putting it on) once done painting let it sit for about 5-10 min then take a soft rag, I use an old t-shirt and simply wipe off. It gets into all the nooks and crannies like a wash and does slightly tint the model. So it's kinda like a wash and filter at the same time. You can also use q-tips to help wipe off excess oil paint in the nooks and crannies you want to tone down or don't want at all. For different effects first, varnish your model with either gloss or matte. Gloss will wipe off more easily and create more of a streaking effect, matte for a dirtier tint. Hope this helps and thanks again!
Great looking model. Great 'hero posing' 🙂
Your subtle color pallet and perfect weathering make this a piece of art.
I'm looking forward to your diorama.
@LA5OB, Wow, thank you sir, I admire your work, truly appreciate the kind words!
I'm another who isn't a Gundam fan, but I am a model fan - as I'm sure we all are. However, your fighter looks very interesting and exceptionally well done!
Bravo!
@mikegolf Thank you sir! As always I appreciate it, I personally know nothing about Gundam, I just saw this kit at my local hobby shop and thought it looked cool. I can say that it was a joy to build, my favorite part (besides the weathering) was the pre-planning and that was due to the challenge it posed. With these Gundam (I think most) kits you build the inner frame (skeleton) first then the armor is attached. So pre-planning the pose leads to what color to paint the inner frame, how to weather it because due to the pose some of the frame will be exposed if you're going to install an LED, how and where are the components going to be installed and so on... I know most consider them toy like but parts can be glued for the final pose, the weathering possibilities are endless and it was just plain fun to build! I highly recommend them if your looking for something different to do. I was originally going to just use the kit as my "practice" kit but tried a few new techniques and enjoyed it so much I kept going and want it as a display build. Even bought another Gundam kit, it was so much fun! I've rambled enough sorry but thanks again!
Sounds like a lot of pre-planning, Travis @Snaps0351
In the end, all that preplanning paid off in a great looking figure!