Messerschmitt’s ‘Destroyer’
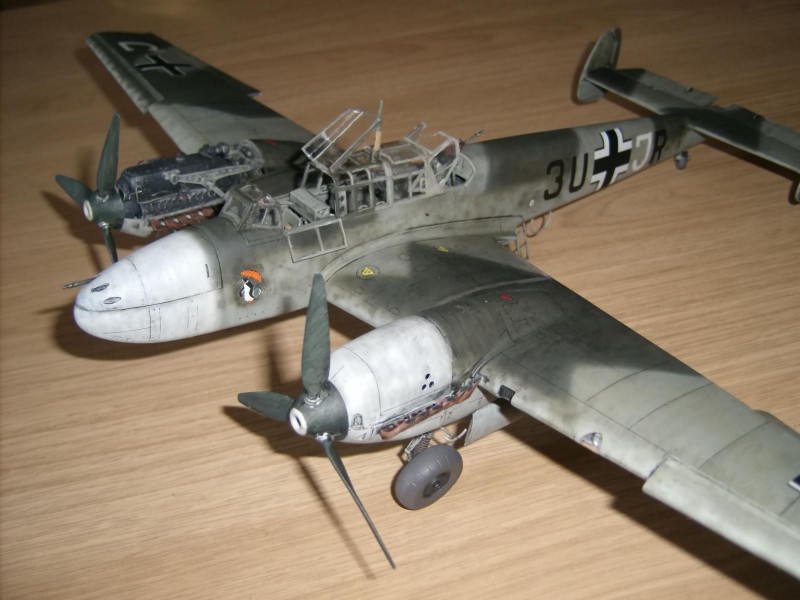
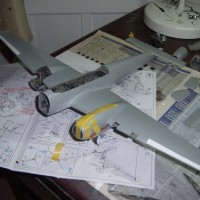
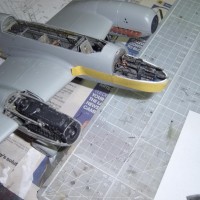
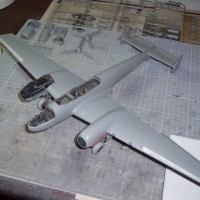
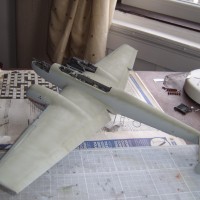
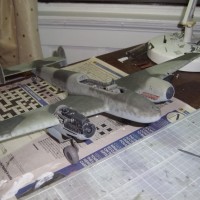
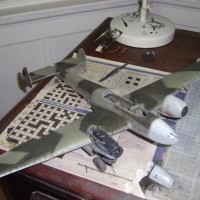
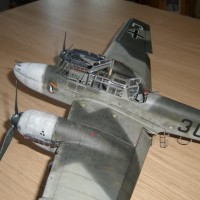
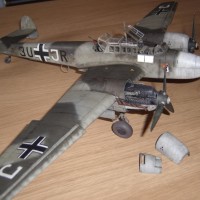
So, back with another selection of photos... this kit was finished at the beginning of this year and is Dragon's 32nd scale Bf110C-7 kit finished as a C-4 during the Battle of Britain. All the control surfaces are moulded in neutral, so I started by separating the flaps, ailerons, slats, elevators and rudders so they could be re-attached at different angles later and thus give the kit a bit more 'life'. The bulkheads between the engines and undercarriage bay are virtually devoid of any detail, so I elected to close up one side and leave the other open to expose the engine, which itself had some additional cables attached, using fuse wire; the bulkheads had some scratch-built details added to make things look more realistic.
The cockpit is certainly busy but is well-detailed and was no problem to assemble; the nose MGs likewise, although a little strange that you get nice detail but a one-piece nose cap to cover everything up, so I cut open the top cowling section so the bay could be seen. Again, some additional wires etc added using differing lengths of fuse wire. The space where the slats had been cut from was blanked off using plastic card and sealed with Kristal Klear. Once the model was up on its undercarriage, a light undercoat was applied, over which RLM65 pale blue was later added. After that, the colour scheme could be started.
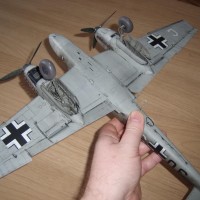
I should note at this point, that this aircraft did not actually have white engine cowlings, but the publication I took the colour profile details from showed it with white cowlings, albeit in error. I only became aware of this on completion but decided not to rework things. The RLM02 grey-green and RLM71 dark green were freehand sprayed, the latter from the Humbrol enamel Luftwaffe-specific range, with the pale blue and RLM02 my own mixes.
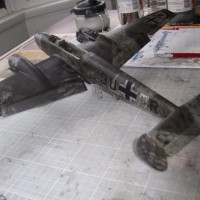
After spraying the scheme, gloss varnishing, applying the markings and varnishing again, the model was blackwashed and set aside for about an hour or so, then the wash was carefully removed and another coat of varnish added to seal in the residue. Later, a dusting of matt varnish was applied just to dull the sheen from the gloss coats.
All in all, a really enjoyable build; trickiest sections were the undersides of the flaps, trying to get them to slip into the back of the nacelles... this was the one area of the kit I failed with, but it still looks half decent. Another was painting out the double white chevrons behind the 'penquin' emblem; these weren't added to the unit emblem until after the unit had moved to the north African theatre in 1941, and lastly, manufacturing the white letter 'J' for the codes. These are home-made and quite a bit of cutting and trimming was required but they did the trick nonetheless.
So, apart from seatbelts, a few lengths of fuse wire and alternative markings, everything else was out of the box. A fine kit to build, but there are a few pieces, mainly small internal ones, called out with wrong numbers on the instruction sheets, and a few others not mentioned at all, so beware those slight pitfalls.
This aircraft was operational with 7./ZG26 during the Battle of Britain and was damaged during an escort flight for KG55's He111s, but managed to regain the French coast before the pilot, Oblt Ernst Matthes, executed a successful belly-landing; the other crew member was Ofw Franz Santel; both survived this action.
Enjoy, and thanks for looking in.
Regards,
Paul
Nice work on this.
Good-lookin' build, sir...
Very nice build and weathering effort! Kudos.
Nicely done Paul.
An excellent build!
This is a very nice looking 110... Well done.
Great work - love the 110. Nicely done.
Guys, thanks again for your kind comments. This kit was a good one to build with few major problems. I really like the end result with the colour scheme, and pleased you all seem to as well.
Regards,
Paul