1/32 Sopwith Camel BR.1by Wingnut Wings

Introduction
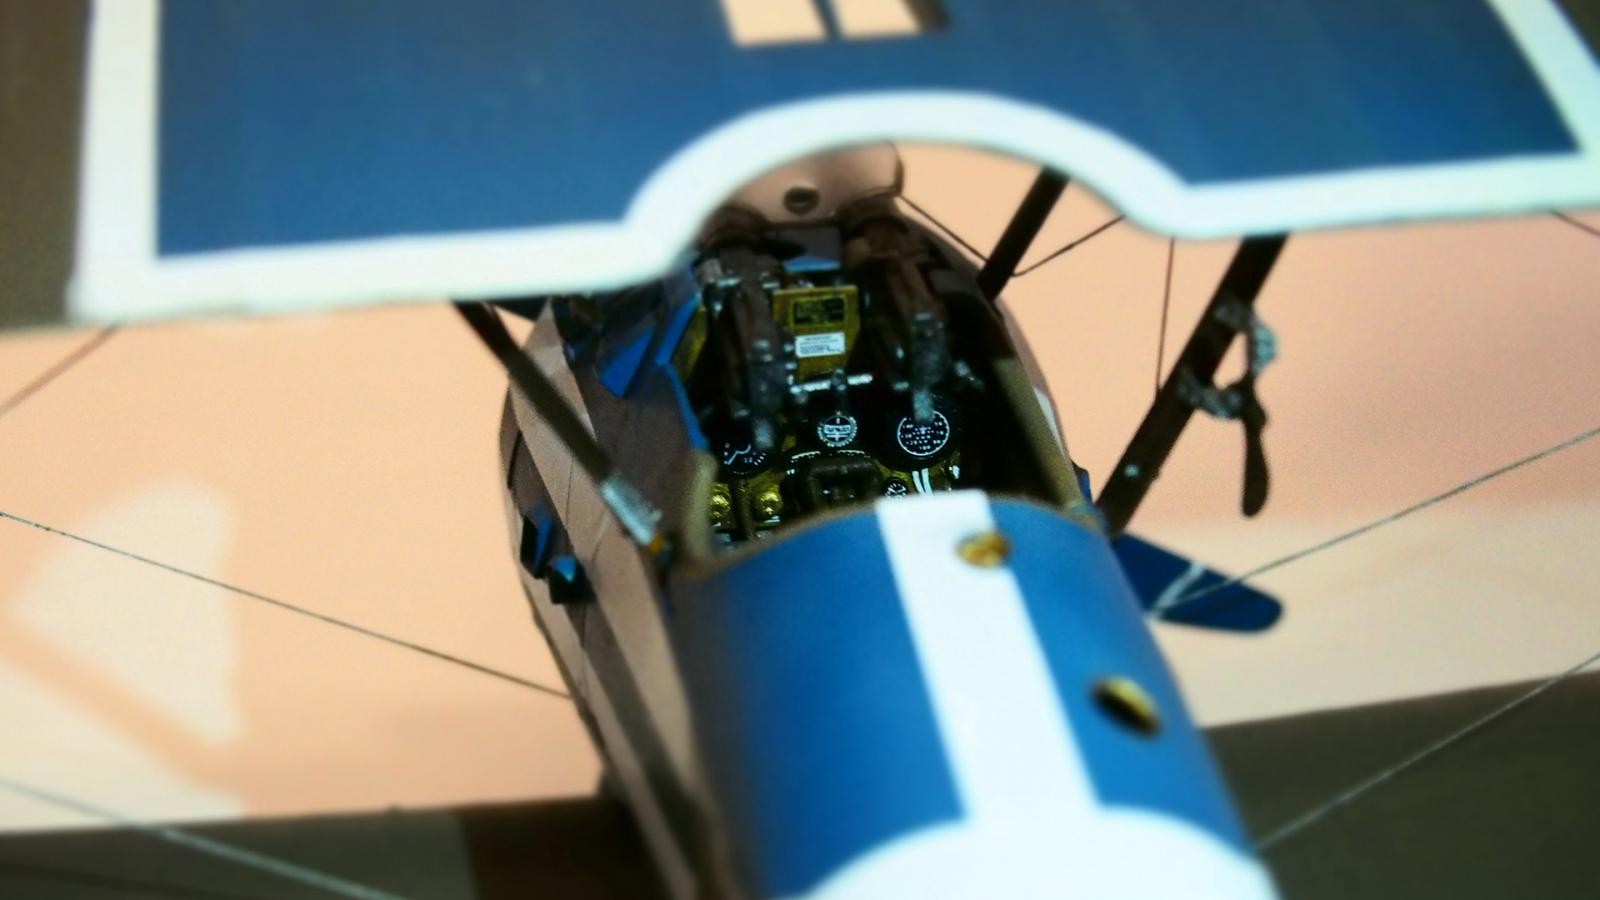
As promised in my last article I finally completed my Wingnut Wings (WnW) Sopwith Camel. before I get into the actual I'm going to preface this with the fact that I did not try to build this model as accurate as possible. I took some liberties with photo etched parts and internal painting (so I wouldn't lose my mind). With that being said this is the MOST detailed model I've seen, I could have made a whole article about the cockpit detail.
First Look
Right from the start this model was amazing the box art was premium quality with embossed lettering. The instructions were very easy to follow and the were in full color. It even gave you a painting guid with brands and the paint number (for example Tamiya Xf-1) so you could have the exact right color for the kit. This kit is already standing out and I haven't even glued two pieces together.
Assembly
Almost everything went together smoothly, my only complaint is that during the cockpit assembly some of the slots for pieces to slide into were so tight I had to strip the paint off them to fit (if you want to have a go at a WnW kit keep in mind even paint can make a piece not fit right).
The only other problem with assembly was when it came time to glue the fuselage together, the internal rigging and the paint on the cockpit assembly made in so the two halves didn't perfectly meet up. No big deal some filler and sandpaper made the seam disappear.
Painting
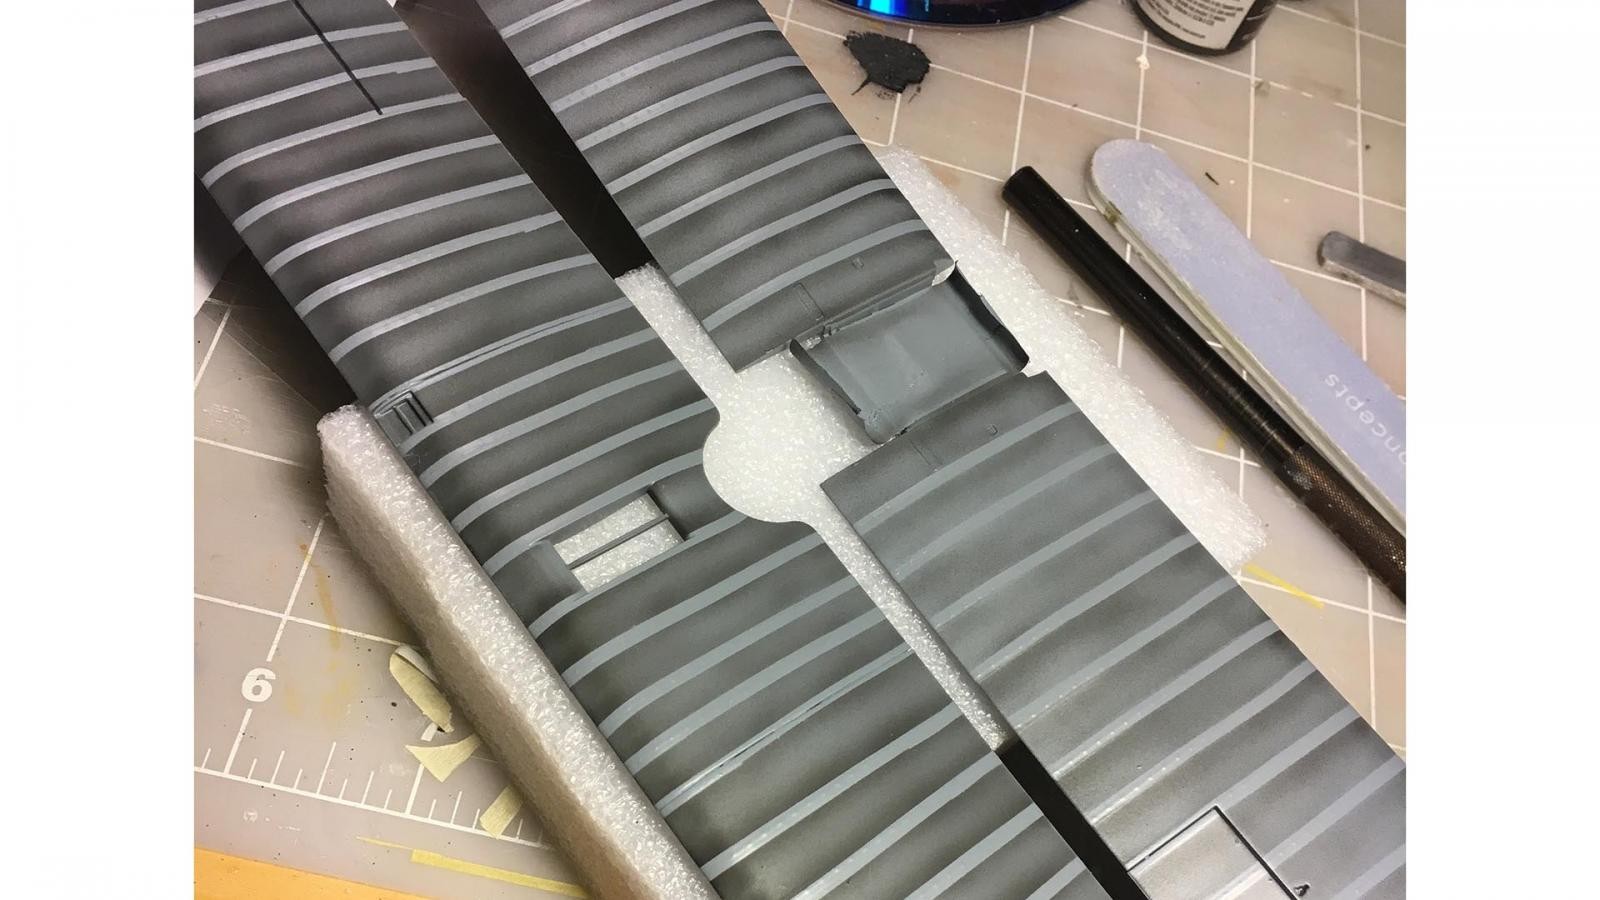
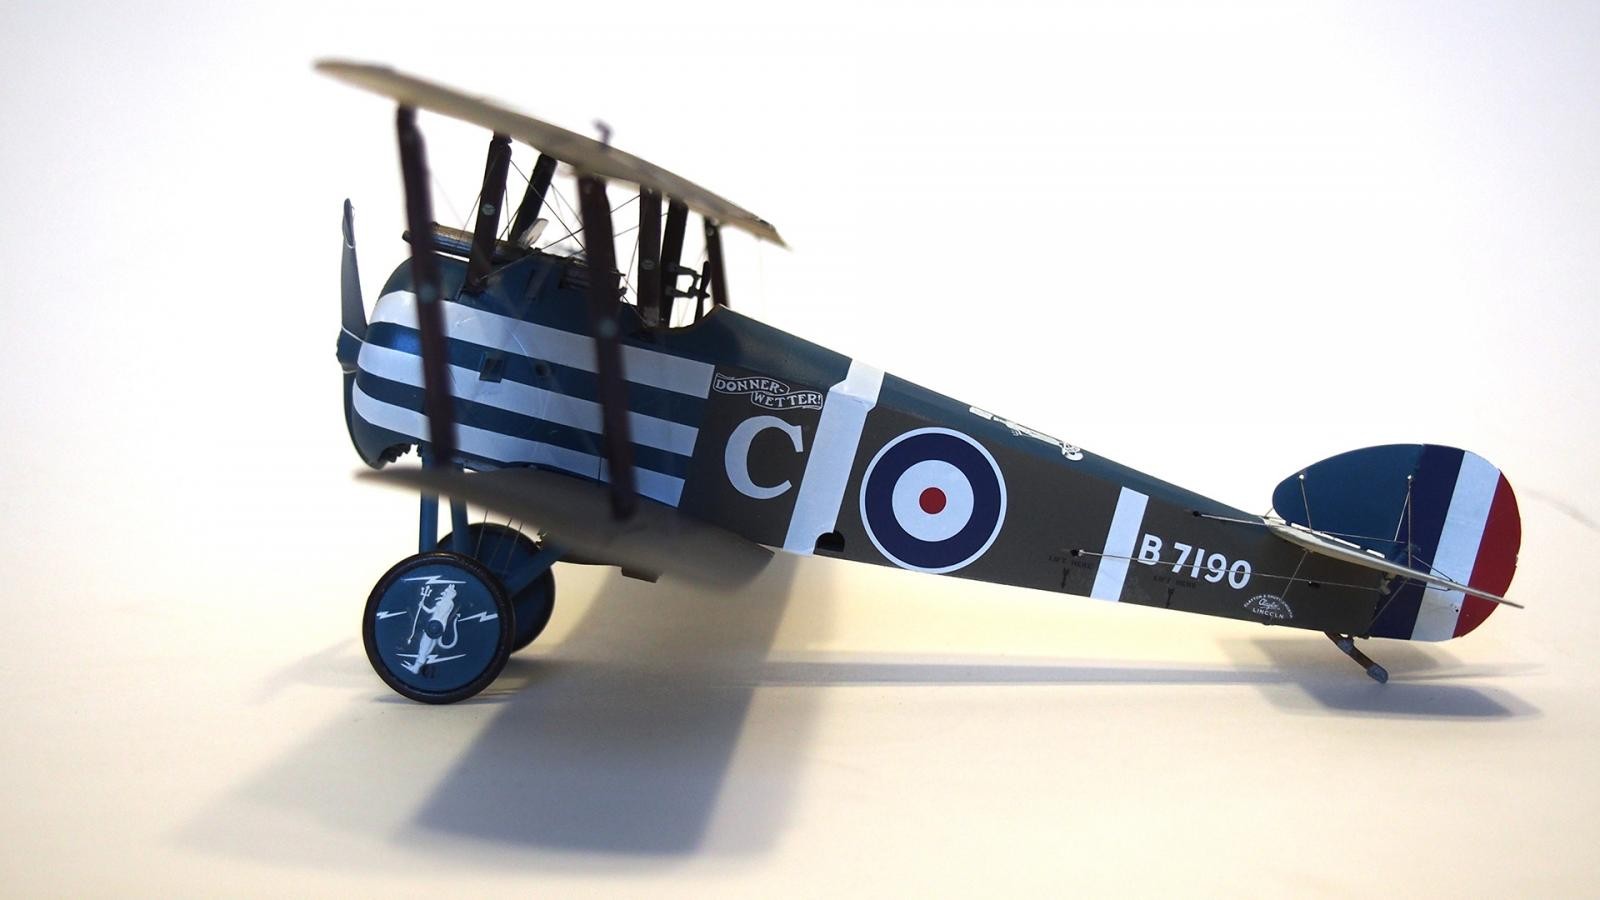
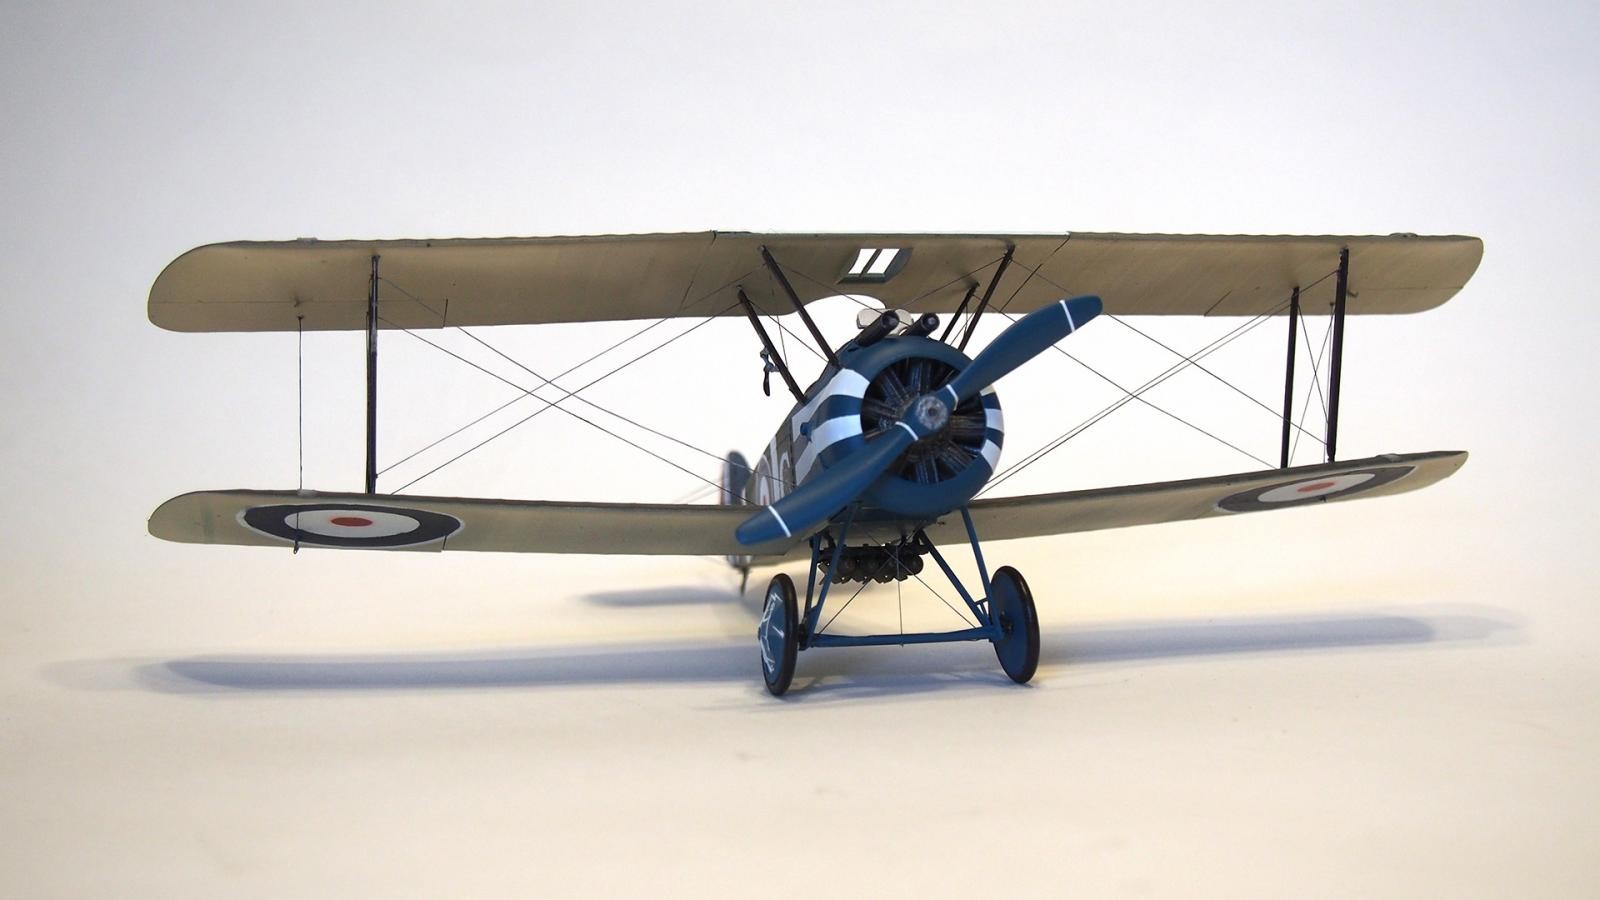
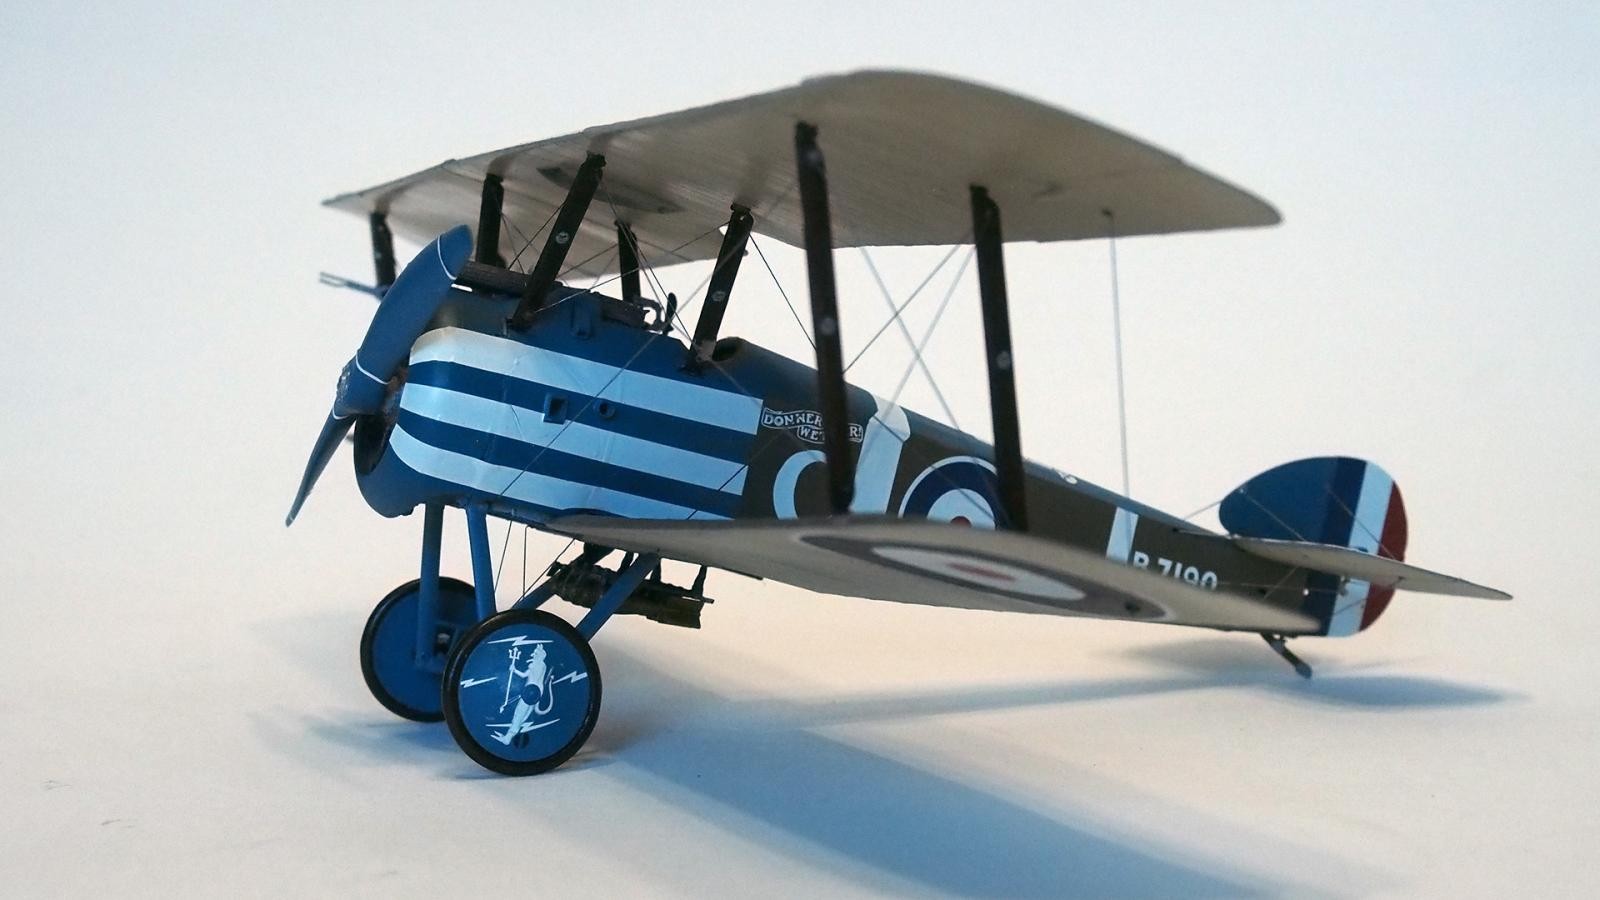
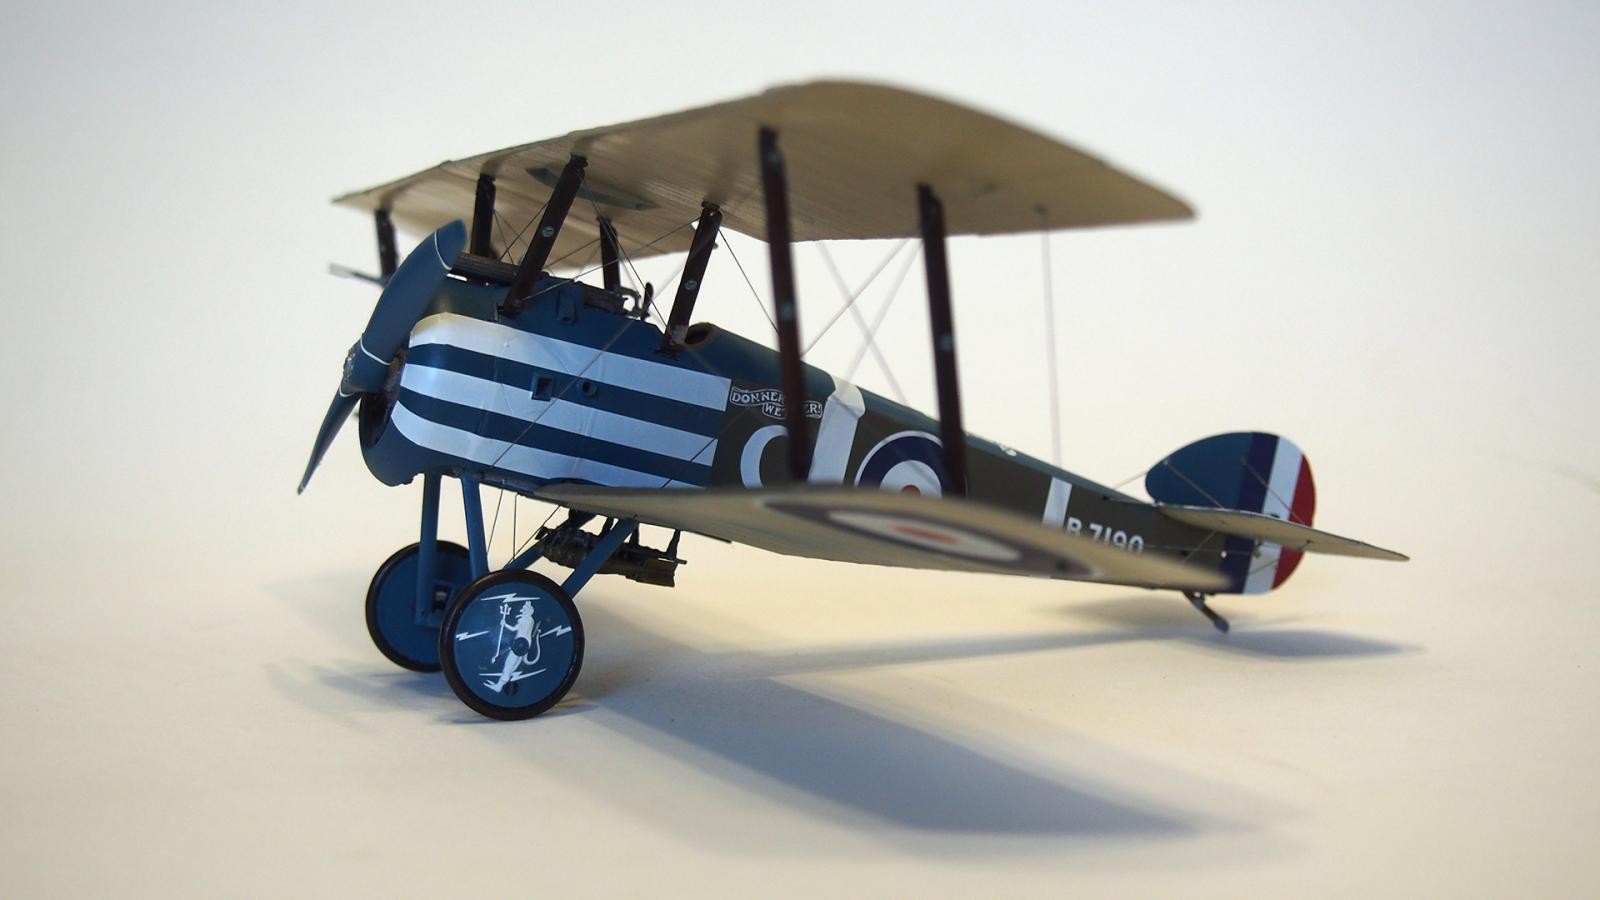
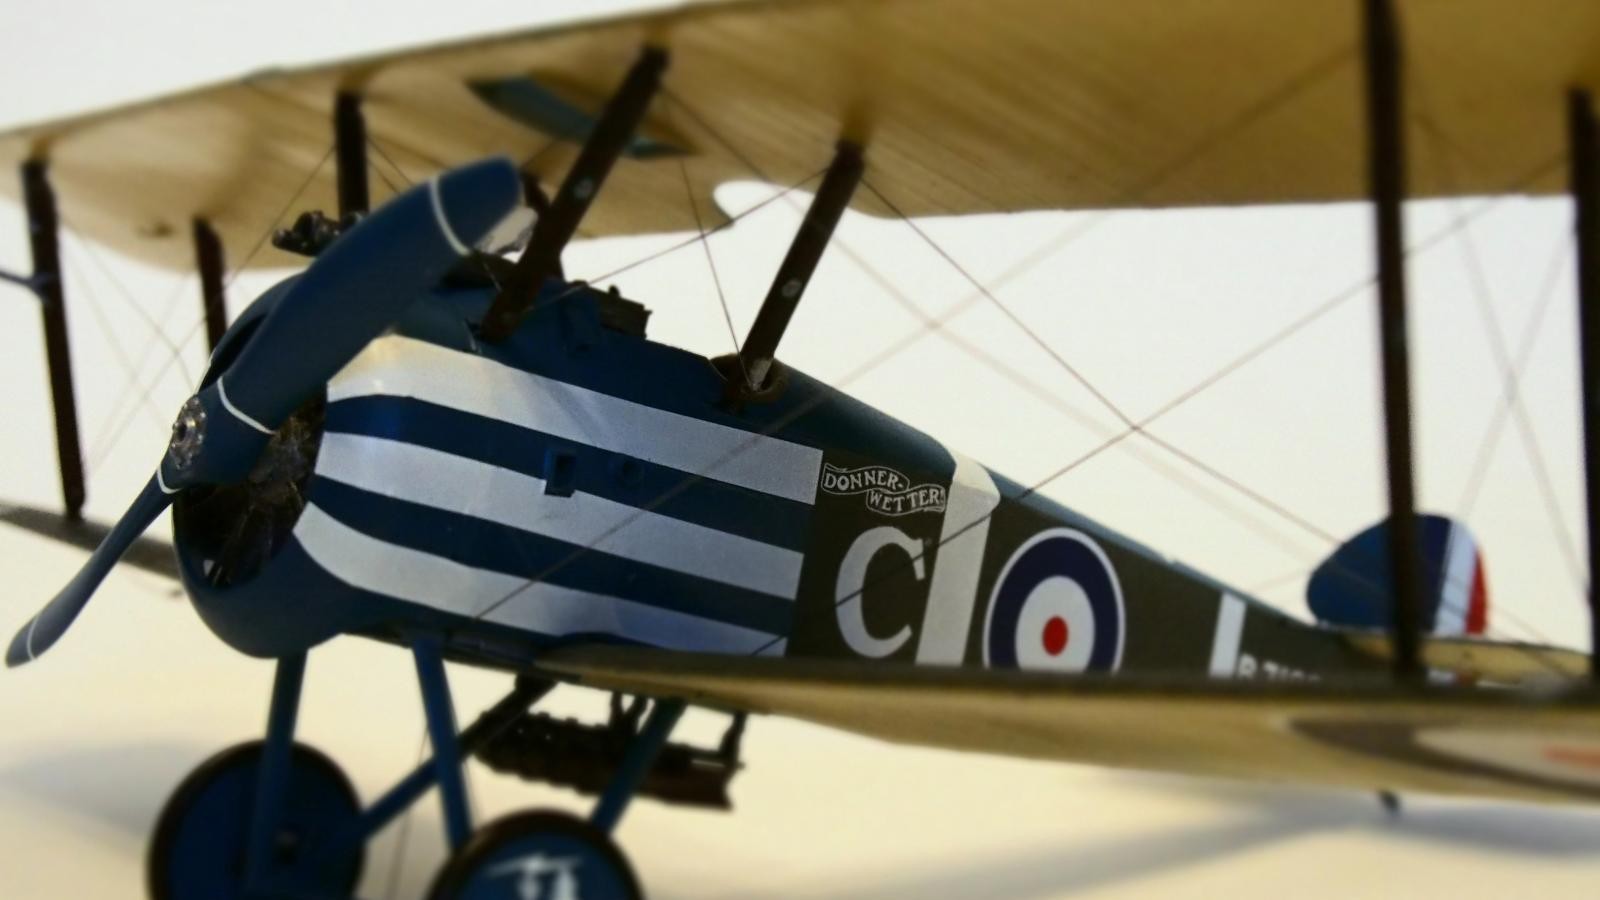
This kit came with 5 different paint job options. This one stood out the most to me so I took a risk and tried it and I think it paid off. I tried to do something new with how I painted the wings on this one. I taped the high parts of the wing and painted the lowlights black then painted the final color, I don't know how much that did but it was worth a try.
The hardest part about painting is getting the right mix of colors to match the picture in the instructions (I did not go out and buy the suggested paints from the guide). I went through about 5 iterations of blue and 3 of the brown before I got it to where I liked it.

Decals and Weathering
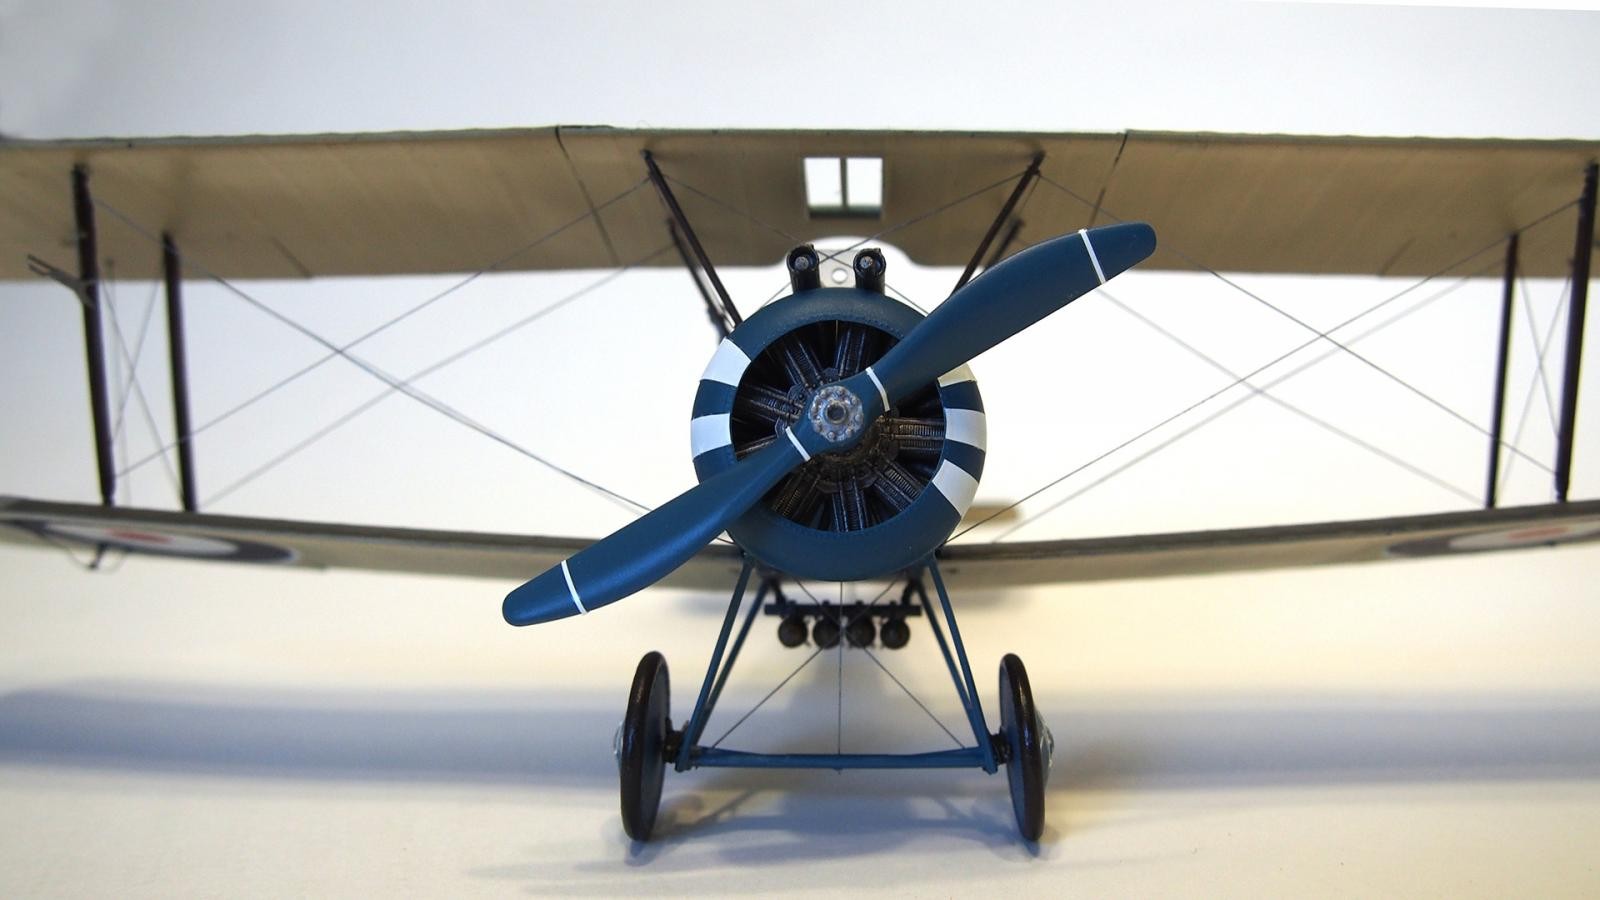
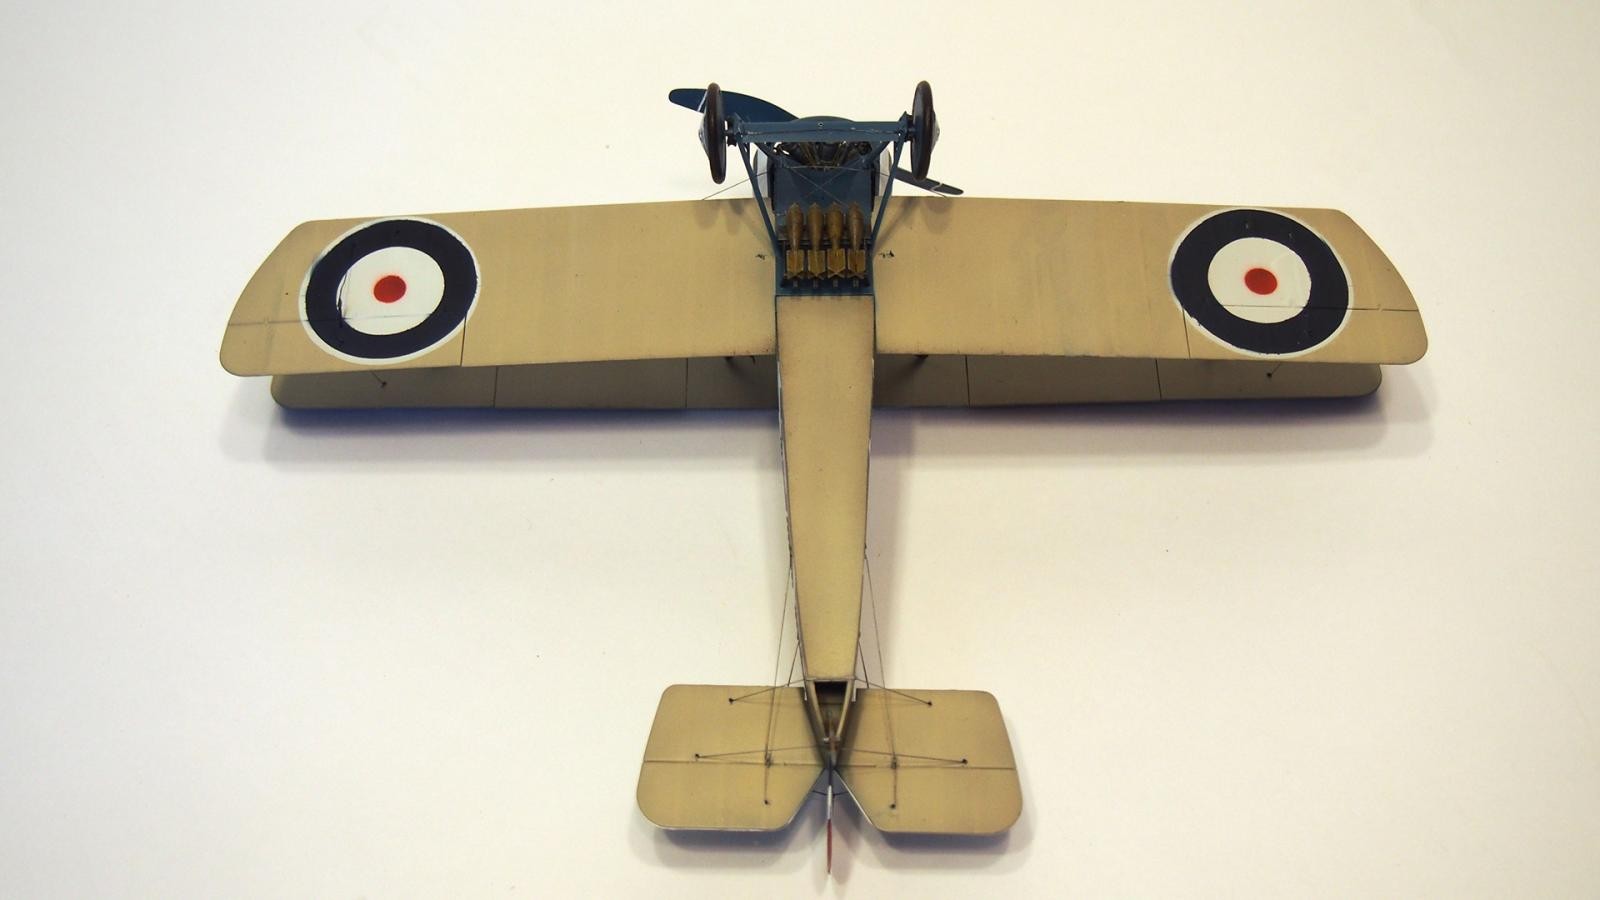
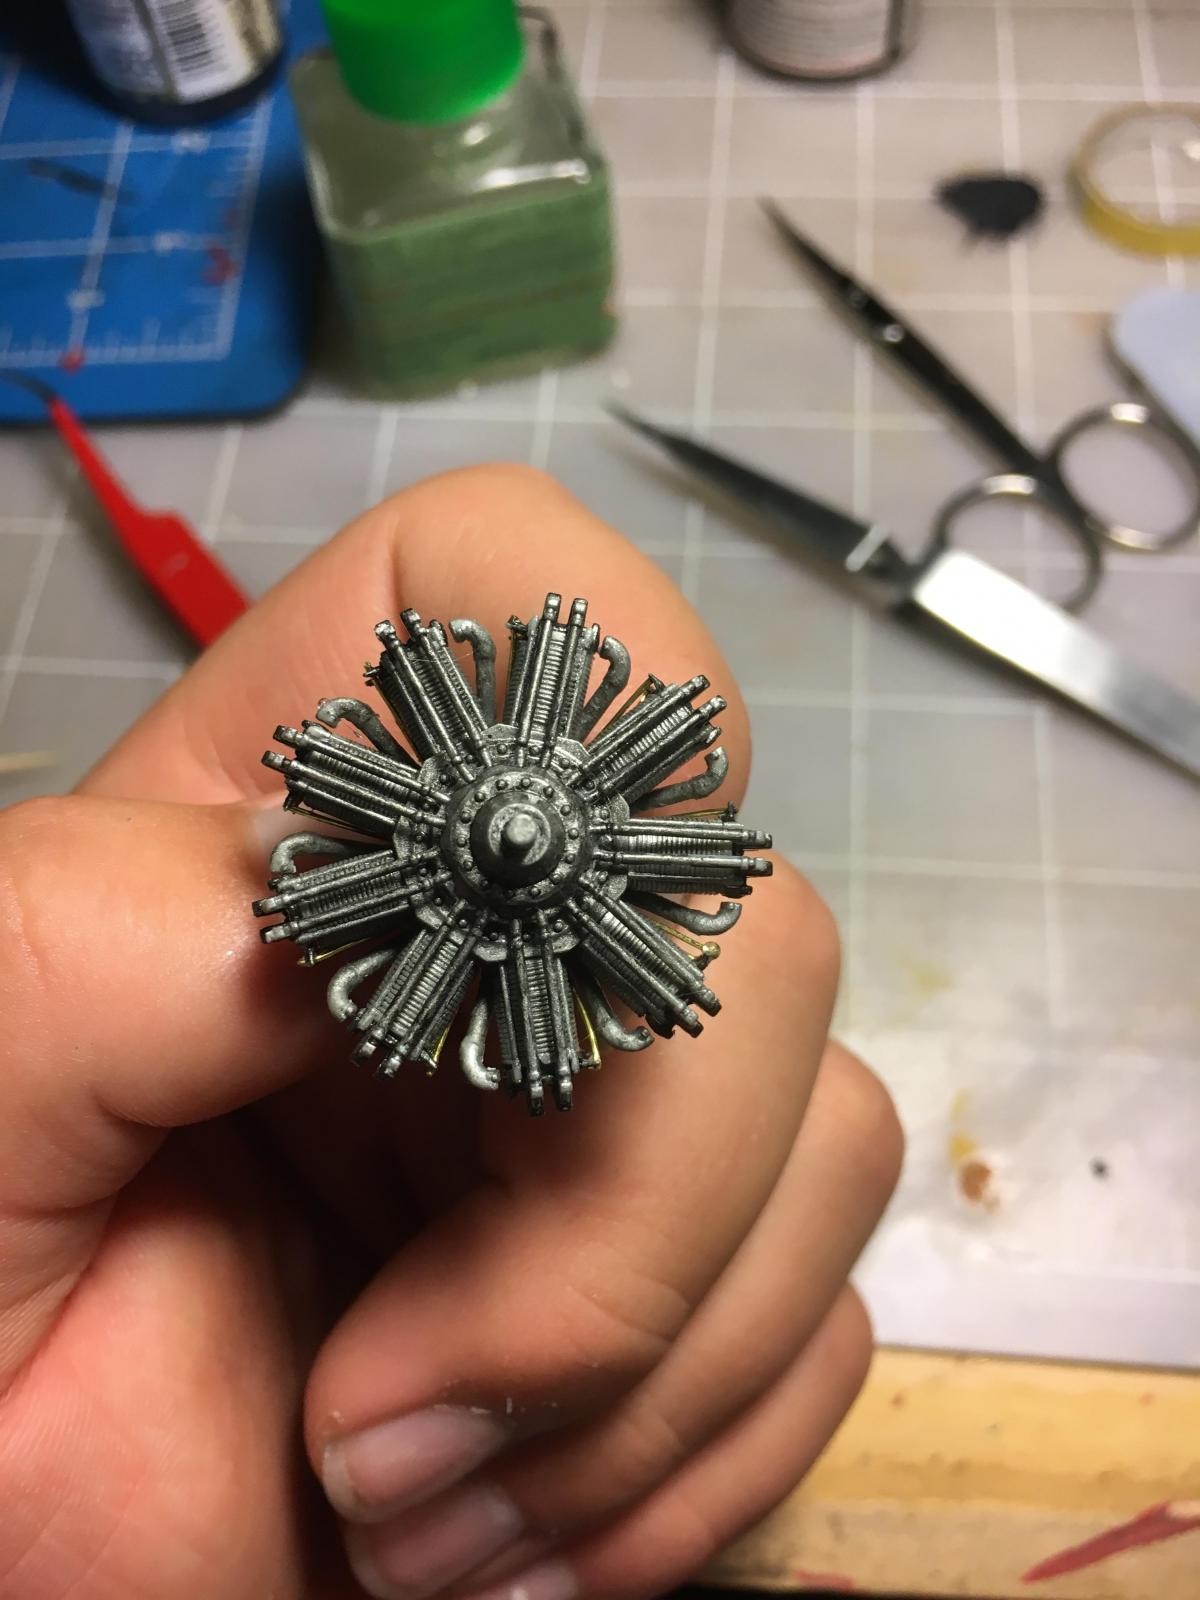
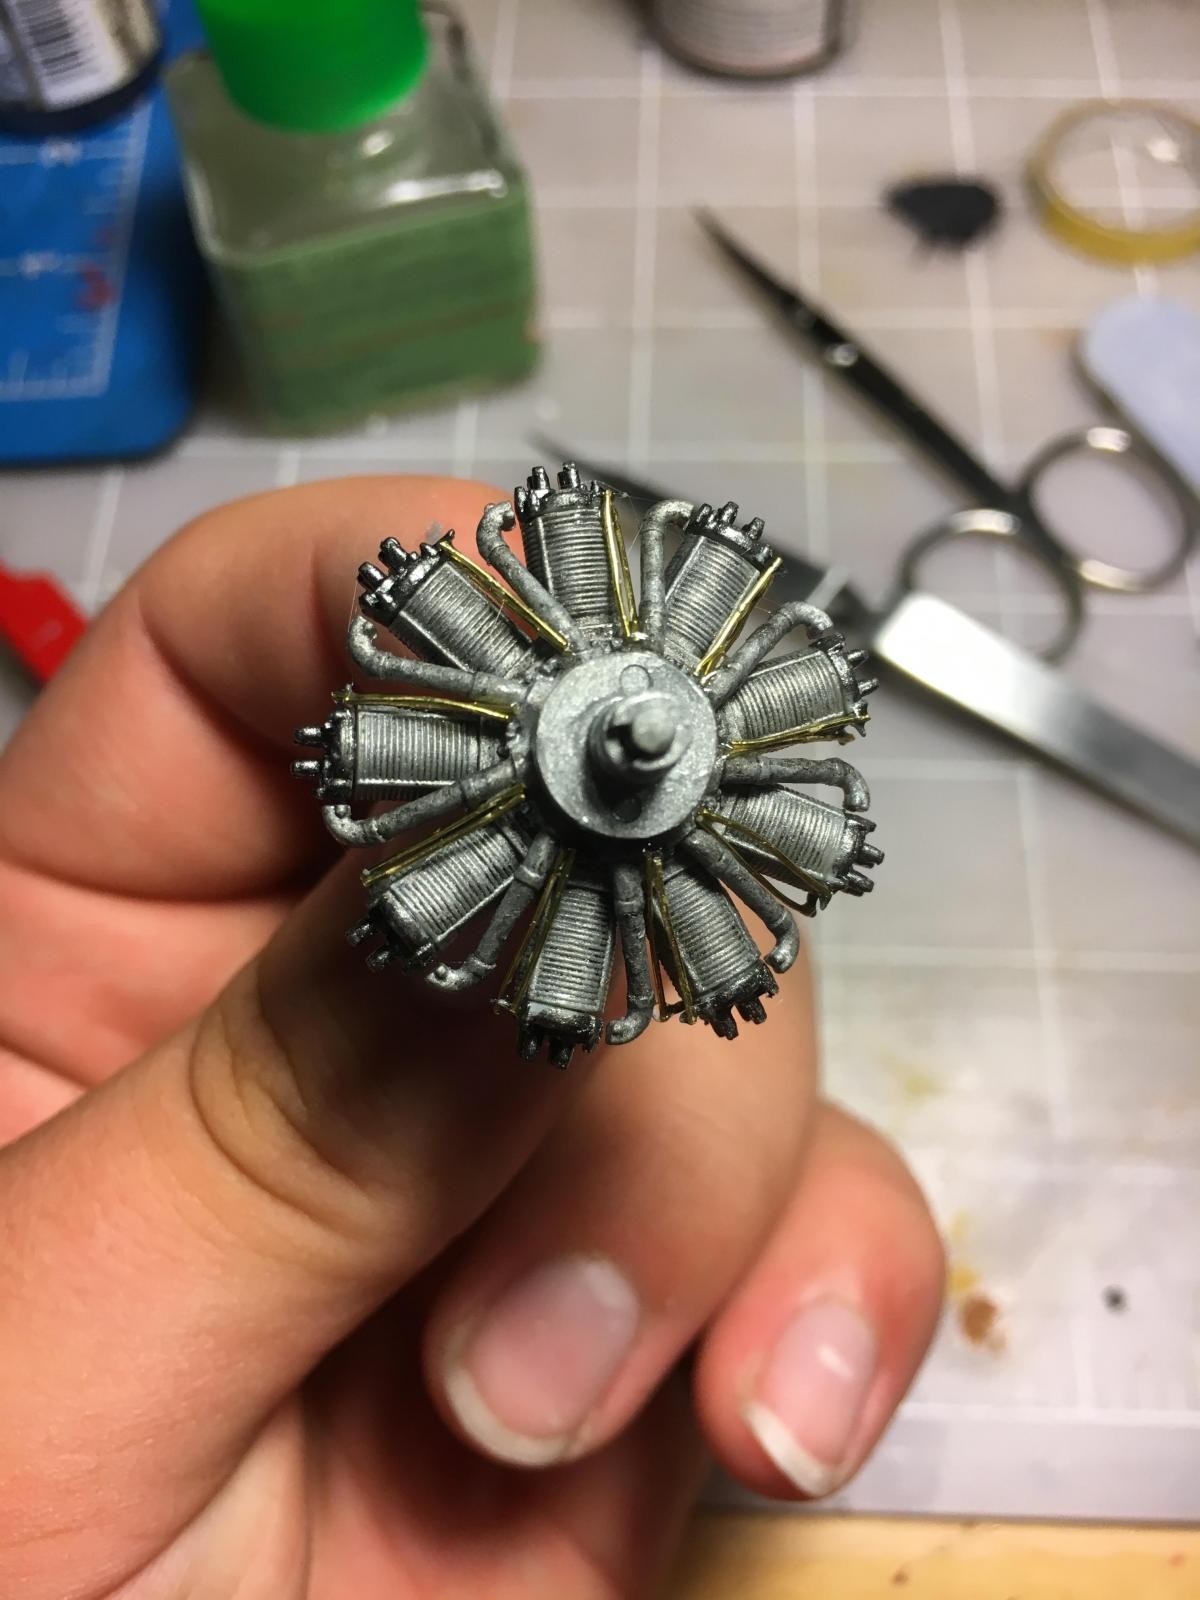
The decals that came with the kit were good quality and fit as the were supposed to, but I tore one that was supposed to go on the wing (the red, white, and blue circles) so instead of trying to fix it I just painted those on, easy said than done. I didn't feel like covering up this interesting paint job with weathering so I didn't do any the scuffs on the underside are from my handling of it and it looks rather good. The only other part i tried to weather was the engine (150hp Bently BR.1), and I'm proud of how it came out.
Rigging
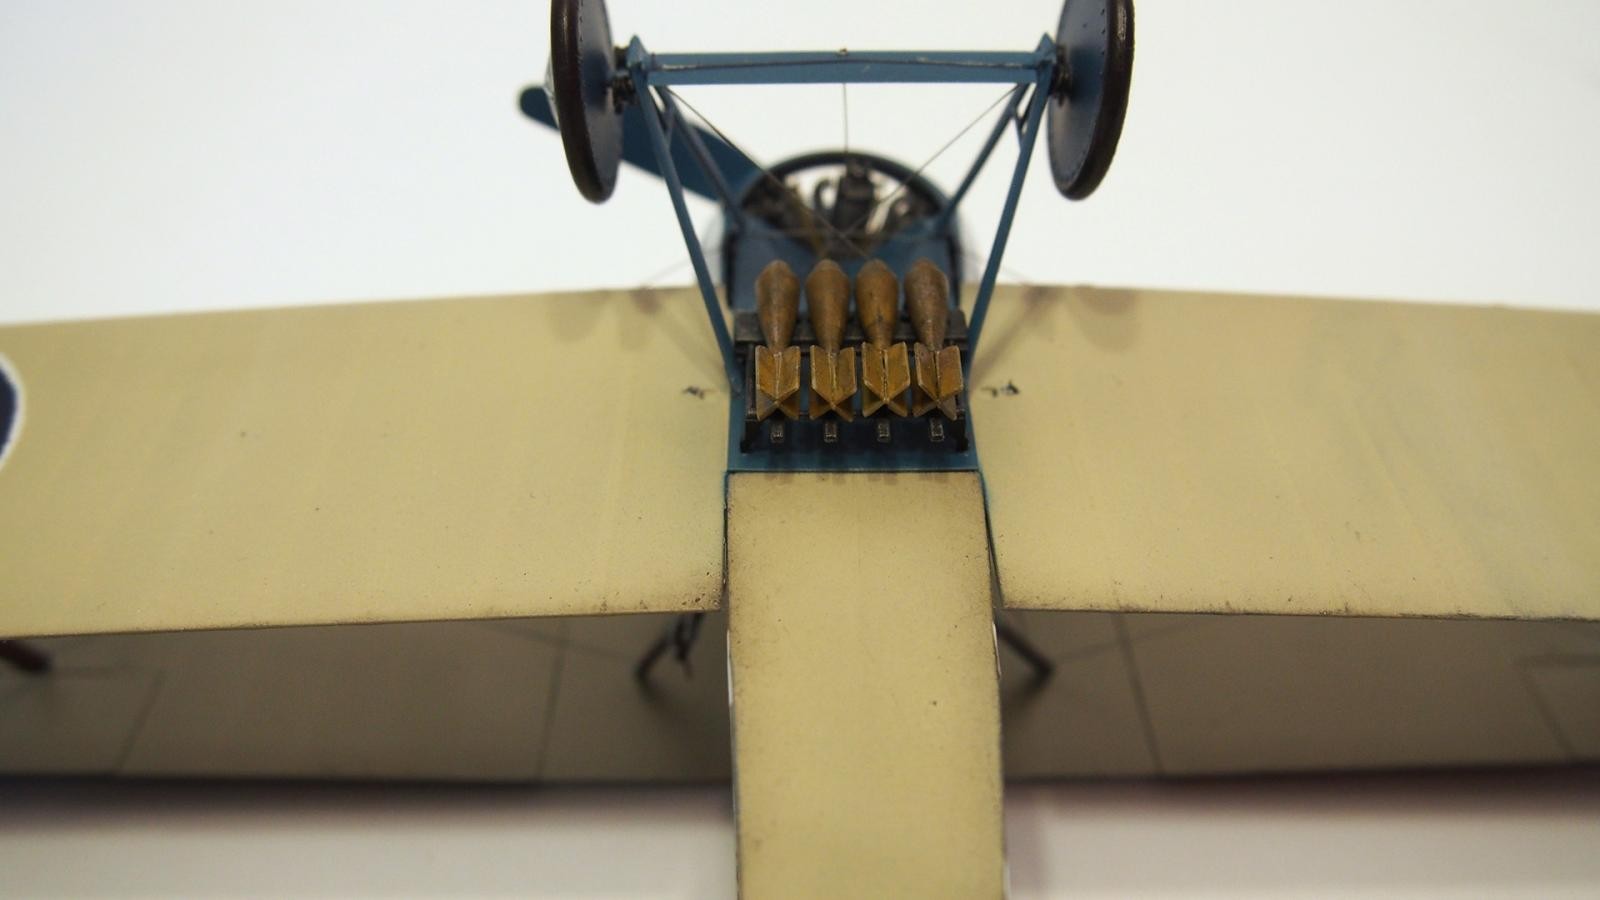
Rigging this was actually more fun than it was frustrating. I learned from my last plane to drill holes the pieces before assembling and to use one long thread (EZ line). The line between the front wings is one long piece; it took some thinking through but I was able to keep it in one piece. Sopwiths used steel line for their rigging so I pained it using a brush and some steel bottle paint. I almost had a heart attack when the line started to droop under the weight of the paint after it dried it rigged up and looks good as new (of course these pictures don't do it justice, trust me it is steel colored).


History
The Sopwith Camel is probably the most iconic WWI plane, getting its name from the "hump" that covers the machine guns. the first prototype of this plane was constructed in 1916, and went into production in early 1917. around 5500 of these planes were build by The Sopwtih Aviation Company, and various other smaller companies. With a top speed of 116mph (187kph) and two Vickers machine guns this plane was created to advance the allied air power and become the new standard of aviation.
The marking on my version of this plane belong to a Walter George Raymond Hinchliffe, the marking on the fuselage are believed to be based on the city of Liverpool (his home town's) coat of arms. Beginning flying in 1918 he amassed a total of 6 victories and lost an eye in an almost fatal crash. After the war he flew civilian until 1928 when he attempted to fly across the Atlantic and was never seen again. (this is paraphrased from the instructions provided by WnW)

Looks great !. One of my first by-plane builds was one of these: and an ESCI in 1/72. (I didn't do the rigging on that one)
Came out looking great! Nicely done.
A masterful job!
Outstanding result, sir...and very eye-catching scheme I might add.
Great looking Camel!
Holy cow that's nice.
Great Camel!
Important point about the tightness of parts fit and paint.
Excellent result here. Proof that with a WNW kit if you take you time and follow the instructions, you're pretty much guaranteed a museum-quality result, as you have here.
Great to see this finalized. Obviously, I sat next to him in our office as he build this kit (since he’s my son). I have to say, way more patience’s than I had at 16. Great job Pal. Glad you’re happy with it.
🙂 … Greetings … 🙂 :
Beautiful rendition of a Sopwith Camel in all it's glory Carson.
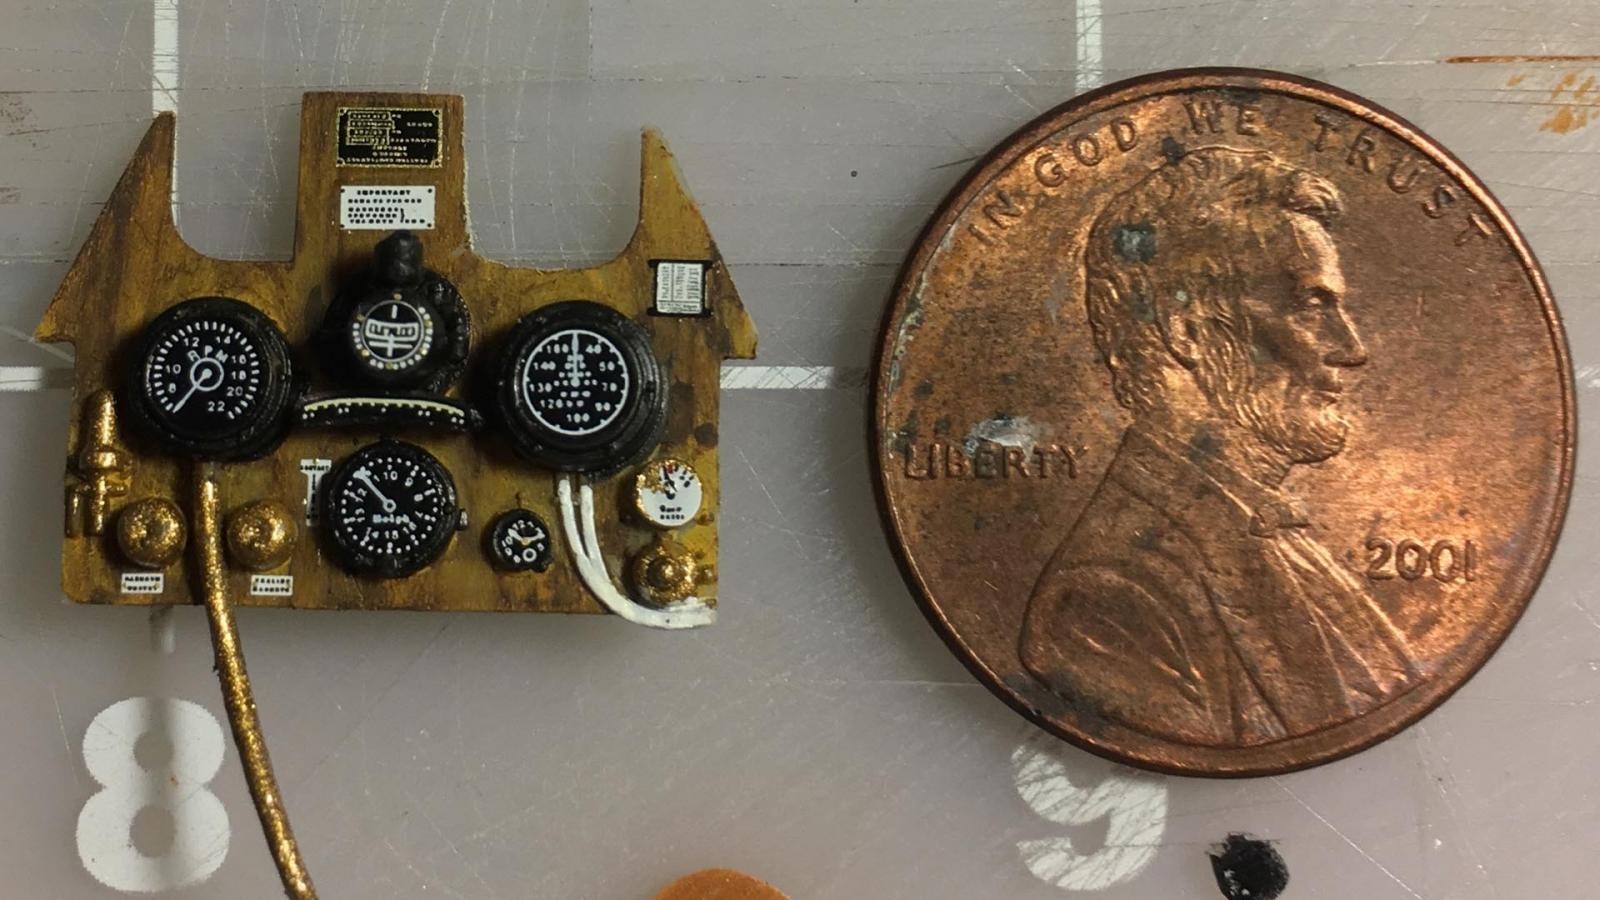
Good sharp work on that instrument panel, nice work on the rigging.
Carson that's a great looking Camel. Really like the paint scheme and the IP. Well done.
Absolutely gorgeous, Carson! As Tom said, this is museum quality.
well done sir