ICM 1/48 B-26B Invader
History:
The Douglas A-26 Invader designated B-26 after 1948, was designed by Ed Heinemann, Robert Donovan, and Ted R. Smith as a replacement for the Douglas A-20 Havoc light bomber. After service in World War II, it saw combat in the Korean War and several major Cold War conflicts with both American and other air forces.
The XA-26 prototype, serial 41-19504, first flew July 10, 1942 at Mines Field, El Segundo, with famed race and test pilot Benny Howard at the controls. Flight tests revealed excellent performance and handling, but engine cooling problems led to cowling changes and elimination of the propeller spinners on production aircraft. Repeated collapses during testing led to reinforcement of the nose landing gear.
The aircraft was originally built in two different configurations. The A-26B had a gun nose, which originally could be equipped with a combination of armament including .50 caliber machine guns, 20mm or 37mm auto cannon, or even a 75mm pack howitzer that was never used operationally. Normal nose armament was originally six and later eight .50 caliber machine guns; it was officially termed the "all-purpose nose", later commonly known as the "six-gun nose" or "eight-gun nose". The A-26C was equipped with a "glass" nose for a bombardier using a Norden bombsight for medium altitude precision bombing.
After about 1,570 A-26s were produced, three machine guns were installed in each wing, rather than the underwing “gun tubs” originally used, which coincided with the introduction of the "eight-gun nose" for A-26Bs; thus some “gun nose” A-26s had as many as 14 .50-caliber machine guns in fixed forward mounts. An A-26C nose section could be replaced with an A-26B nose section, or vice versa, in a few man-hours, thus physically and officially changing the designation and operational role.
The original "flat-top" canopy was changed in late 1944 after about 820 production aircraft, to a clamshell style with greatly improved visibility, which made exiting the cockpit in an emergency much easier than with the earlier canopy. A crew member typically served as navigator and gun loader for the pilot-operated nose guns. In most missions, a third crew member in the rear gunner's compartment operated the remotely controlled dorsal and ventral gun turrets, using a novel, complex and problematic dual-ended periscope sight, with traversing and elevating/depressing periscope sights on each end. The gunner sat on a seat facing rearward. Looking into a binocular periscope sight mounted on the column, he controlled the guns with a pair of handles on either side of the column. When aiming above the centerline of the aircraft, the mirror in the center of the column would flip, showing the gunner what the upper periscope was seeing. When he pressed the handles downward, as the bead passed the centerline the mirror would automatically flip, transferring the sight "seamlessly" to the lower periscope. The guns would aim wherever the periscope was aimed, automatically transferring between upper and lower turrets as required, and computing for parallax and other factors. A great deal of time and trouble was spent trying to get the system to work effectively, and it was difficult to keep maintained in the field even once production started.
The B-26 Invader in Korea:
At the outbreak of the Korean War in June 1950, the Fifth Air Force had a total of 73 B-26s in use and in storage, operated by the 3rd Bombardment Group (Light) at Johnson AFB on western Honshu. The group had equipped with the B-26 just before the end of World War II, and brought the planes with them when they became part of the post-war occupation force. In the five years between the end of World War II and the outbreak of the war in Korea, the US armed forces were drastically reduced, and flying hours and maintenance were at a minimum. Nevertheless, the group was able to move to Ashiya AFB and carry out missions over South Korea on June 27 and 28, when they attempted unsuccessfully to attack road targets near Seoul in the early evening. On June 29, 20 Invaders bombed the Munsan rail yards near the 38th parallel and hit rail and road traffic between Seoul and the North Korean border. One B-26 was heavily damaged by anti-aircraft fire; all three crewmen were killed when it crashed on return to Ashiya, marking the first USAF casualties of the Korean War.
On August 10, 1950, the 452nd Bombardment Wing of the Air Force Reserve, based in California, was activated for Korean service: among the unit's pilots was former AVG ace and top scoring surviving USAAF ace of the CBI in World War II, Charles Older, who became the only AVG pilot to fly combat in two different wars. The unit flew flew its first missions in November 1950 from Itazuke, Japan, providing daylight support to UN forces retreating out of North Korea following the Chinese intervention. The 3rd Bomb Wing flew night missions. As a result of the Chinese intervention, both units were forced to depart the fields they were flying from in South Korea and the 452nd moved to Miho Air Base on the west coast of Honshu. In February 1951, the bombers returned to Pusan East (K-9) and continued daylight as well as night intruder missions. In June 1951, the wing joined the 3rd Bomb Wing at Kunsan (K-8)) flying night interdiction missions over North Korea, with the 452nd taking the eastern half and the 3rd the western half of the country. The 452d was awarded two unit citations and the Korean Presidential Citation. The 452nd Wing flew 15,000 sorties - 7,000 at night - with a loss of 85 crewmen. In May 1952 the 452nd was inactivated and its aircraft and equipment along with regular air force personnel were absorbed by the 17th Bomb Wing.
On September 14, 1951, Captain John S. Walmsley, Jr. Of the 3rd Wing attacked a supply train near Yangdok, North Korea. He attacked it until he expended his ammunition and called for backup. He then used his spotlight to illuminate the train for subsequent attacks, exposing himself and his crew to intense anti-aircraft fire. The mission resulted in the successful destruction of the train, and Walmsley was killed when his heavily damaged aircraft crashed. He was posthumously awarded the Medal of Honor.
During the course of the Korean War, B-26s were credited with the destruction of 38,500 vehicles, 406 locomotives, 3,700 railway trucks, and seven enemy aircraft on the ground. Invaders carried out the last USAF bombing mission of the war 24 minutes before the Armistice Agreement was signed on June 27, 1953.
The Kit:
The B-26 has been popular with manufacturers and modelers for a long time. Monogram released a 1/48 kit in their balsa-and-plastic “Speedee-Bilt” series in the 1950s, which I built. Their first three all-plastic kits, included an 8-gun B-26 in “box scale” that was something in the vicinity of “1/72", which I also built. Airfix released a B-26 that had been hit by their “mad riveter” in 1969, which I also built. Italeri more recently released a 1/72 kit which is the newest tooling available in this scale.
Monogram finally released a 1/48 B-26 Invader kit in the mid-1990s which appeared (in ProModeler release) as a World War-II B-26B with the “six gun nose” and a (Monogram) B-26C with the “glass nose.” The kit was originally scheduled for release in the late 70s-early 80s, with their other 1/48 bombers, and is representative of kits of that era as regards fit and overall accuracy. It is still available and the ProModeler World War II version has been recently released by Revell.
ICM announced release of an “8-gun nose” B-26 this past summer. Release of computer designs of the parts and photos of test shots increased anticipation by modeling fans of the B-26, and it was formally released the first week of October. It has been primarily available through dealers at eBay and online hobby shops, with prices ranging from $39.00 to around $72.00, with the prices varying as to whether shipping is included. I was able to obtain my copy from an eBay dealer in Ukraine for $54 delivered.
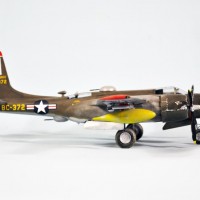
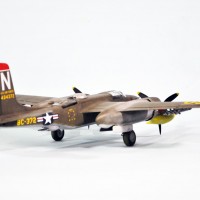
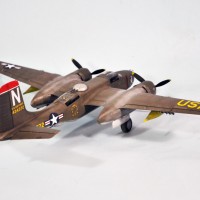
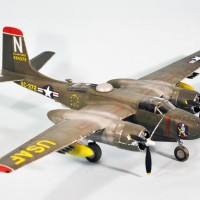
The kit is a good example of ICM's current products, with crisply-molded parts, petite engraved surface detail, and sharp trailing edges on flying surfaces. The clear parts include both the early “flat top” and later “clamshell” canopies, which are closed. Decals are provided for three B-26s, two camouflaged airplanes and one NMF, all from the 3rd Bomb Group in 1950-51.
It was obvious from the outset the kit would be released in the earlier World War II configuration, and this has been confirmed with the announced release of that kit due next month. A “glass nose” B-26C cannot be far behind.
Construction:
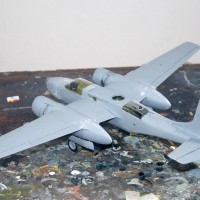
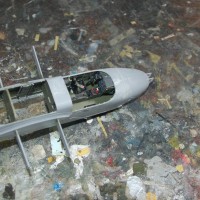
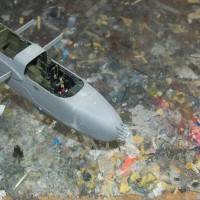
I started by doing as much preparatory painting as possible prior to starting construction. The interior of the fuselage and the cockpit and gunner compartment parts were painted Interior Green with additional detail done according to kit instructions. The interior painting was “popped out” with Tamiya “Smoke.”
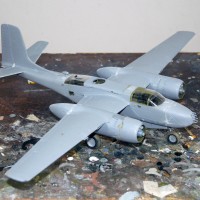
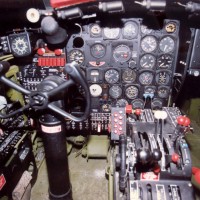
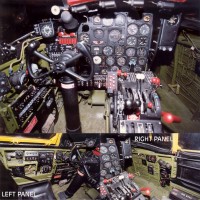
I assembled the cockpit, and decided I would take the time to scratchbuild the numerous levers on the centerline panel, using photos of the cockpit to do this. I also used Eduard seat belts for the pilot's seat. I folded the navigator's seat against the wall on the right side. I then assembled the rest of the fuselage. Taking care in the process, I was able to do this without needing filler for seams, merely needing to lightly sand the centerline seams. When I discovered the dropped part from the interior of the upper gun turret by the “crunch” when I stepped on it, I decided to use the closed bomb bay doors.
I assembled the multi-part gun nose next. This is fiddly and you need to take your time to get good fit. Once it is fully set up, this is the place to put the weight the model needs to nose-sit, though I also included some additional ones that turned out to be unnecessary in the space behind the instrument panel in the fuselage. I glued the nose to the fuselage and used rubber bands to hold it in position overnight to set up completely.
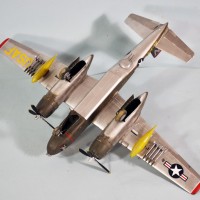
Assembly of the wings was easy, and I finished that process by attaching the engine nacelles. Again, care in assembly resulted in needing only a bit of “filler” using CA glue on some seams. With a bit of research, I had discovered the unused 5-inch rockets from an Eduard P-51D fit perfectly in the mounting holes in the lower wing, so I decided to arm my B-26 with rockets rather than the single bomb provided in the kit.
The engines are little models in their own right, and anyone who wanted to do a servicing diorama has all they need to start that with what's provided. If you're not doing that, the only part of the engines you're going to see once inside the deep cowlings is the front. I concentrated on that. I also found that the exhaust stacks, which cannot be seen, are fiddly and make attaching the engines and cowlings to the nacelles difficult. I cut off the tips of the exhaust stacks and glued them in position, since that is all you can see inside the cooling flaps once everything is attached.
Once all that was done, I slid the wings onto the spars and glued them to the fuselage. I finished off basic assembly by attaching the horizontal stabilizers and elevators, which I set slightly “drooped.”
I attached the landing gear and gear doors at this point.
Colors and Markings:
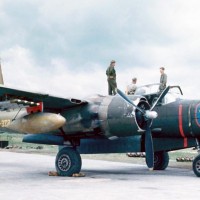
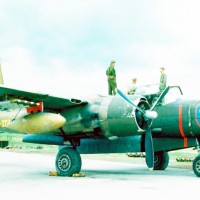
I found a nice color photo of one of the decal options at the 3rd Bombardment group's website. Other people have looked at it and somehow concluded that it is half-painted black on the forward fuselage, with OD upper surfaces and black lower surfaces, perhaps an early attempt at night camouflage. This is not right.
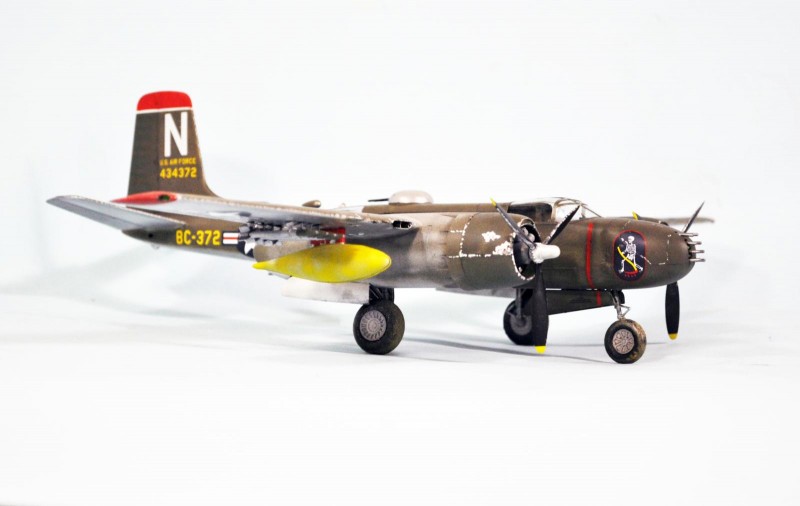
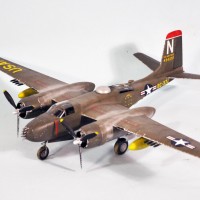
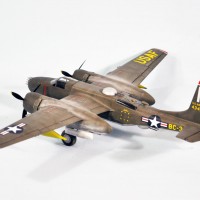
The photo has a lot of shadows, since it was taken mid-day with the sun high overhead, on a partly-cloudy day. I put it in PhotoShop and ran color-correction, which revealed that the lower wings were still NMF, as the lower surfaces of the horizontal stabilizer clearly was. Also, the dark color on the forward fuselage wasn't black. It appeared to be fresh Olive Drab, since it was tonally-similar to the engine cowling and the obviously newly-repaired and painted rudder. I brightened the shot, and the color definitely came out as olive drab. This confirmed that ICM had done their research, and that the boxart painting of this airplane was correct. I was also able to identify the drop tank under the wing as a napalm tank with a ratty yellow paint job applied.
I decided to paint the airplane the way the real one had been painted. The B-26s all came out of the factory unpainted, and the olive drab camouflage on their upper surfaces was applied in late World War II “in the field,” in anticipation of their use in the coming invasion of Japan.
I painted the red with white stripes for the rudder and wingtips, then masked that off. I then gave the model an overall primer coat of Tamiya X-18 “Semi-gloss black”, and then an overall coat of Vallejo “Aluminum.” I painted the lower surfaces of the ailerons and elevators with Vallejo “White Aluminum” to simulate the aluminum lacquer these fabric surfaces were painted. I then pre-shaded the upper surfaces along the panel lines with Semi-glass Black.
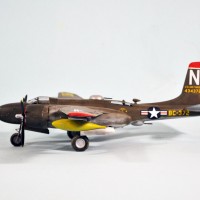
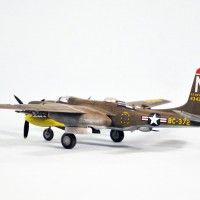
I first painted the dark olive drab on the rudder, engine cowlings and forward fuselage back to the rear of the canopy, going back over them with the paint lightened with “white” for post-shading, then masked those off. I painted the rest with hand-mixed “faded olive drab” and went over it twice, once with some yellow added, then with some Tamiya “Deck Tan” added, for post-shading. I used the “Deck Tan” for the oxidized areas of the exhaust staining on the engine nacelles. I “dinged” the model with Vallejo Aluminum, using the photo for reference.
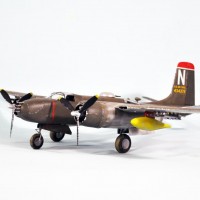
The drop tanks were robbed from an old Monogram P-38 kit. After painting them aluminum, I gave them a “ratty” coat of Flat Yellow that you can see the aluminum under in various places.
When I unmasked everything, the model looked like what I wanted: a beat-up, well-used B-26 hard at work trying to “hold the line” in the first three months of the war.
The kit decals went down without problem. They're nice and thin and settled in under an application of Micro-Sol.
I “muddied” the wheels and attached them. The props were “dinged” according to the photo and attached. The gun turrets and underwing ordnance went on without problem.
Conclusions:
This kit is a vast improvement over the earlier Monogram kit. It turns out, the Monogram kit's funny “look” when completed is due to the fuselage being too wide. The ICM kit has an accurate outline and definitely “looks right” when finished. The model is complex but not complicated to build, and super-detailers can have fun with it since a lot of “raw material” is there. Any modeler with experience building models, who is willing to follow the instructions, can get a great result of a very worthy subject. Highly recommended.
That is an awesome paint finish Tom. Would the yellow drop tanks be napalm?
Yes - thank you @RickWilkes for pointing that out to me.
Nice worn and weathered finish.
Nice one , great job on the paint and weathering.
Great job!
Interesting how something that looks like a dekooning (abstract painting) can be so hard to paint. The a/c is a mishmash of colors and bear metal which is hard to do. Two thumbs up TC.
My only niggle with the kit are the tires which has nothing to do with the modeler. I'd replace them with resin. B-25 mains would do the trick ...the nose gear either from a Black Widow or perhaps a P-38 main. Maybe the resin folks will take heed and fill in the blank.
Now, that is the look of a hard fighting aircraft! Also, the B-26 looks so purposeful and “modern”, really like an airplane ahead of its day. No wonder it was so successfully modernized into the version that roamed the night skies over Vietnam. An impressive “weapons system”. I really like this color scheme and the yellow napalm tanks. Stellar job, Mr. Cleaver!
Very cool, finish looks great.
All compliments are wonderful. As Mark Twain said, "A man can dine out for a month on a good compliment." (and I've got a good seven months here) But to paraphrase "Animal Farm" - all compliments are equal, but some are more equal than others. Thanks, Mike.
I made a number of those old Monogram B-26s. They had raised insignia areas as I recall. Your skills make this ICM kit looks fantastic, Tom. Nice job!
Looks great to me ?
wonderful job...i still love the box scale monogram...might be the first for me around 1960-61
The amazing thing is, that kit is more accurate in outline and dimensions than the 1/48 kit.
Bill Bosworth told me:
So, it’s finally out there. Something all of the “experts” have missed for decades now. The Monogram A 26 fuselage “doesn’t look quite right”. Yup. Doesn’t look quite right. Say by…maybe ¼ inch in width. That’s 1 scale foot! I can tell you personally that they had about as much research to work from as the average modeler had at the time of design. The company was CHEAP in the extreme! They relied on the staff in many cases to provide what was needed to “get close enough”. Heck, it’s just a model. Their pattern maker called me at the time and asked me if I had anything on it as I was a modeler/friend (working on MacAir account) and might have access to data. No time and way too much effort from me and the folks in St Louis who considered yesterday to be ancient history. Example: It took me 15 years and an inside contact/friend before I got what I needed to do an XP 67 with some degree of correctness. And I worked with them on a daily/weekly basis. “Why would you want that?” Oh, never mind.
still a great build in the hands of someone like roger Jackson
Indeed it was. Don't know whatever happened to him, but he fell off the internet around 10 years ago.
A great-looking Invader Tom - love the effort into making it "war-weary."
Tom, I see you used the yellow USAF marking on the underside of the wing. If the aircraft was left unpainted on the underside, should the USAF marking not be black? Just a thought. You did an outstanding job, and I am building that very aircraft currently, hoping it comes out half as nice as yours. Thanks for your insight into color shift due to shading, sunlight, etc.