Airfix 1:72 Commonwealth CA-13 Boomerang (Series 1)
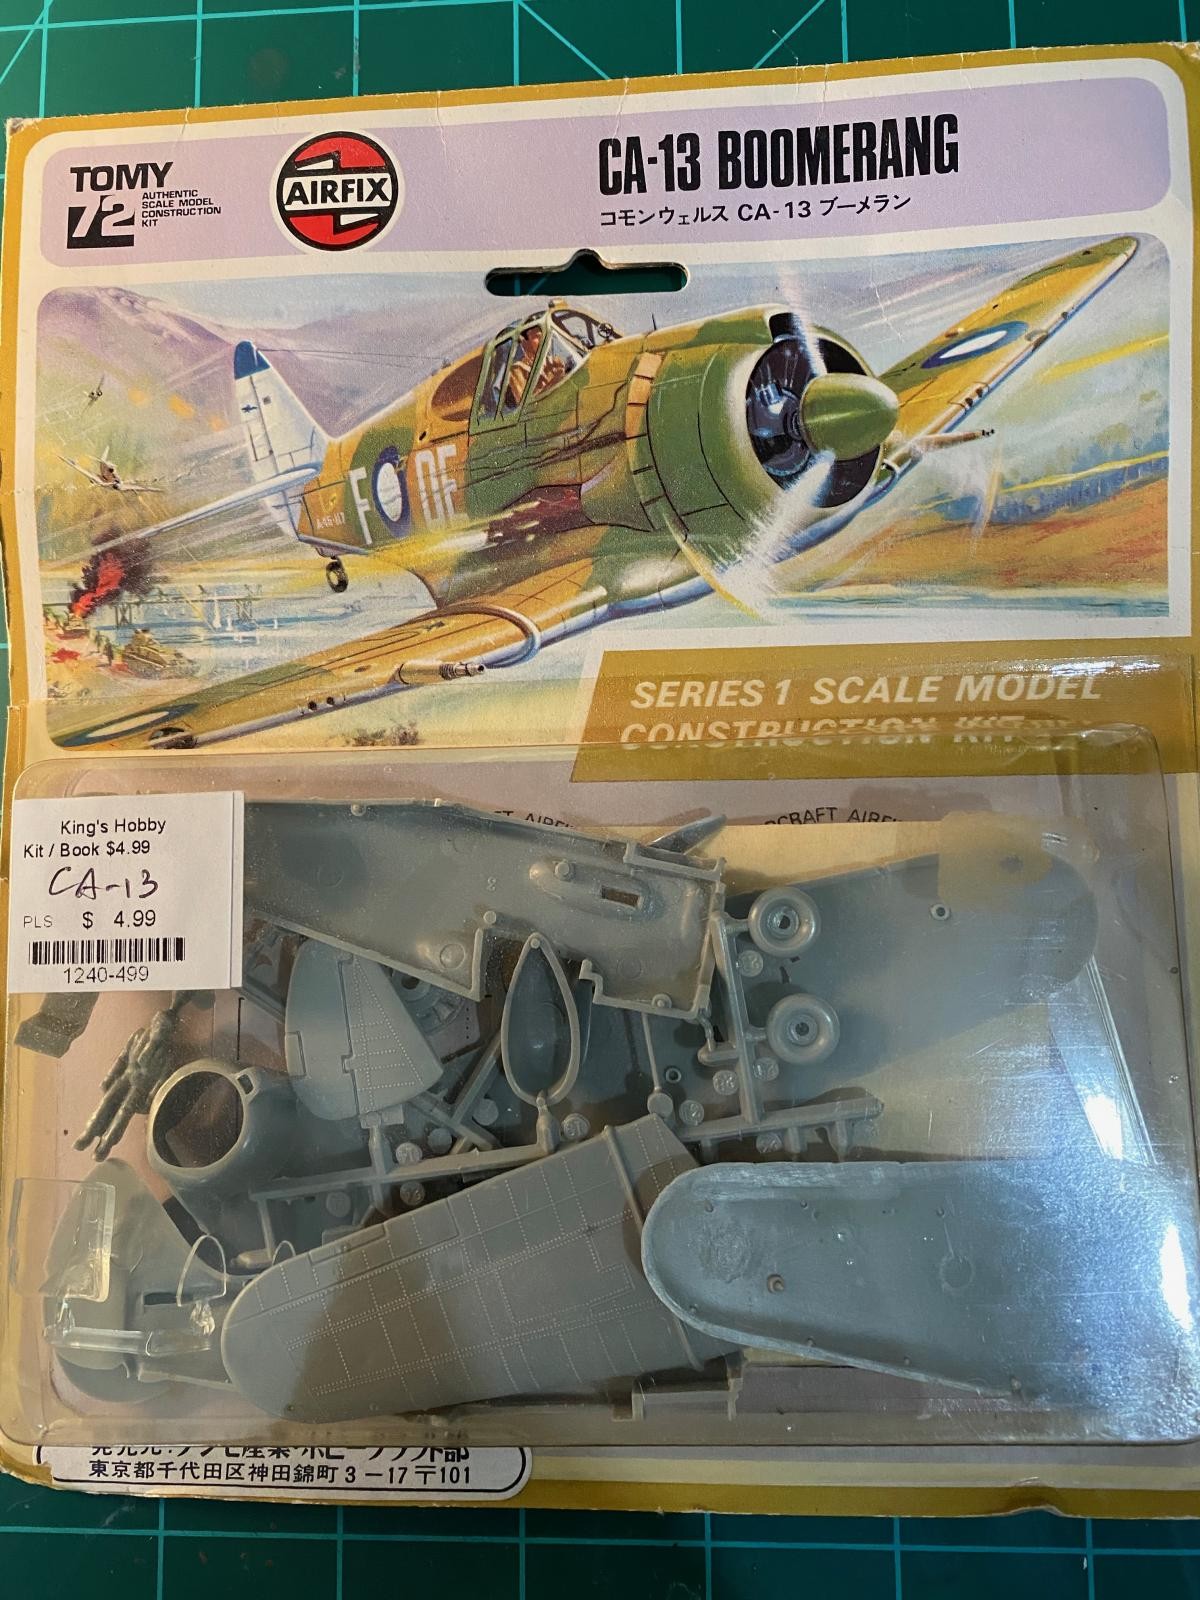
This was a quick build that I wanted to use to fill the time while waiting for some masks and paint for a Japanese plane I wanted to build for Works in Progress. Of course, I always seem to pick things that have some challenges. This is a really old Airfix kit from the mid 1960s that I got for a few bucks from a nearby hobby shop.

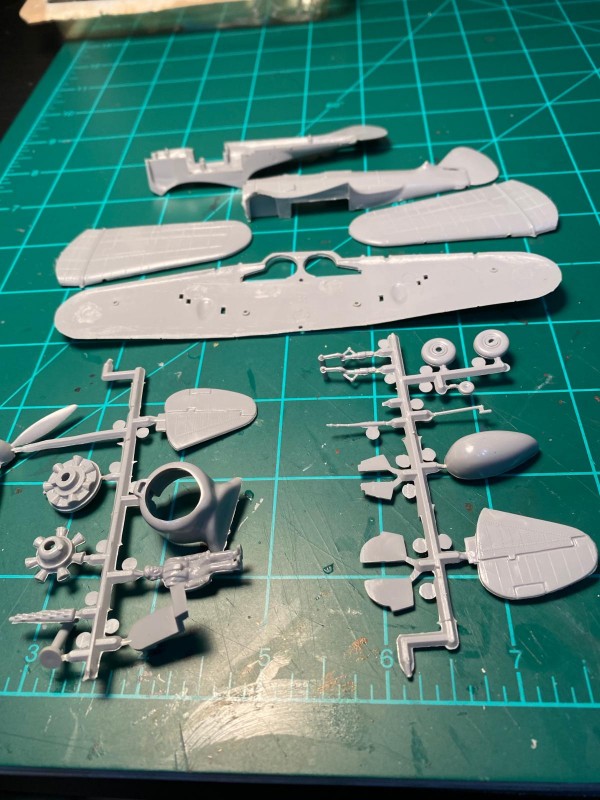
The 50+ years the parts and decals spent in the box didn't do them a lot of good. The decals were unusable, and several of the larger pieces, especially the wings, were terribly warped.
-
- 1. Notice the twist in the bottom wing

Luckily the plastic was very soft and easy to massage into something close to its intended shape.
-
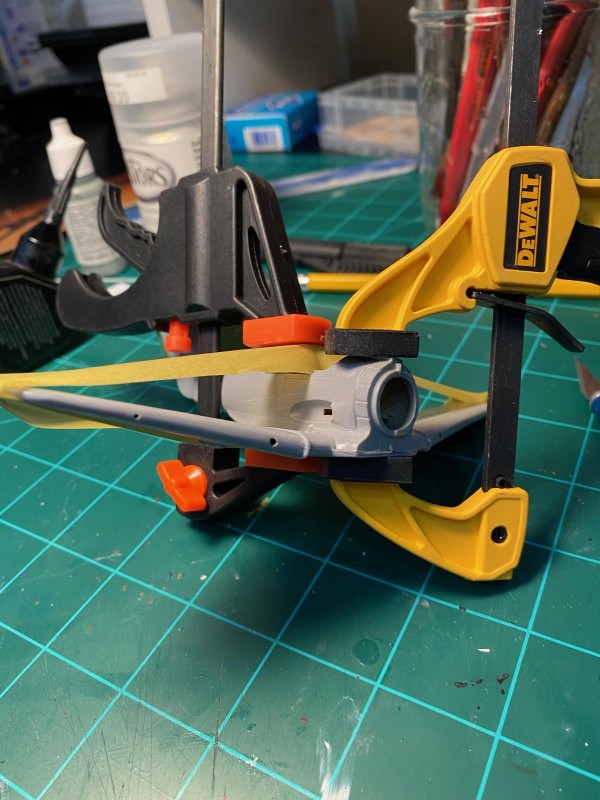
- 1. A little muscle applied to take the massive twist out of the wings

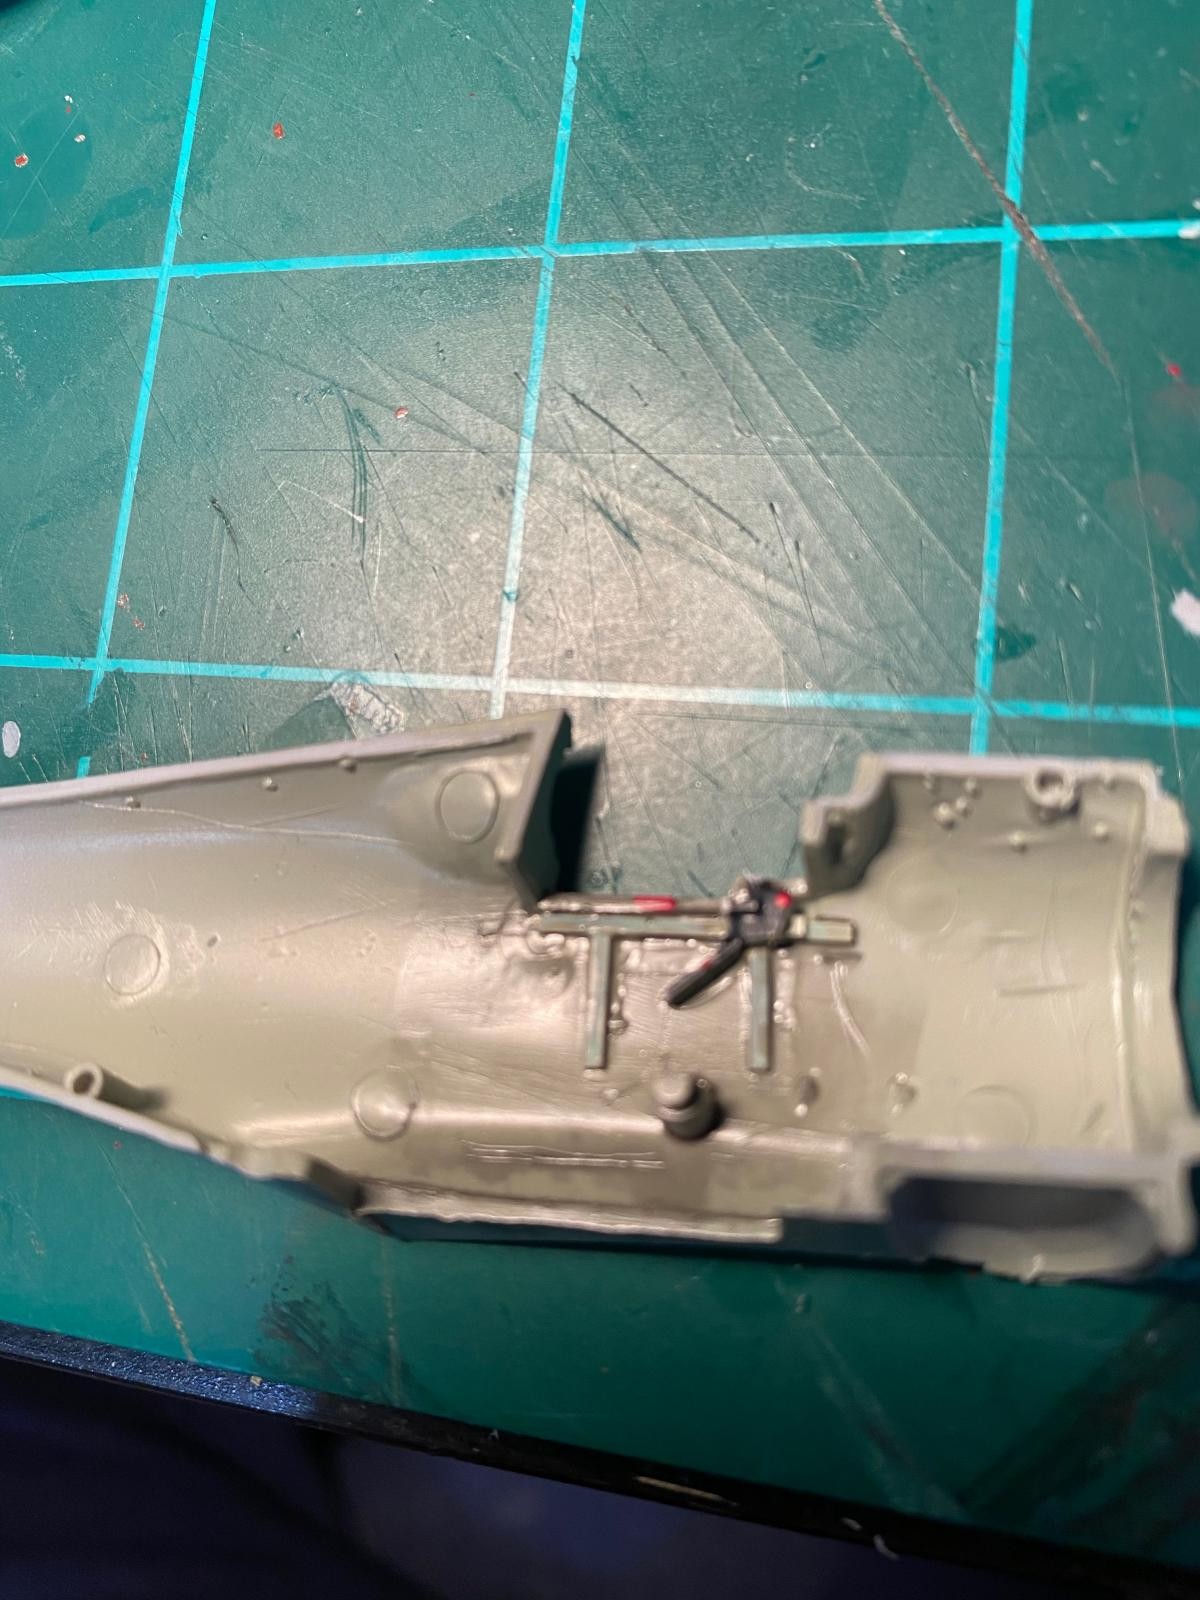
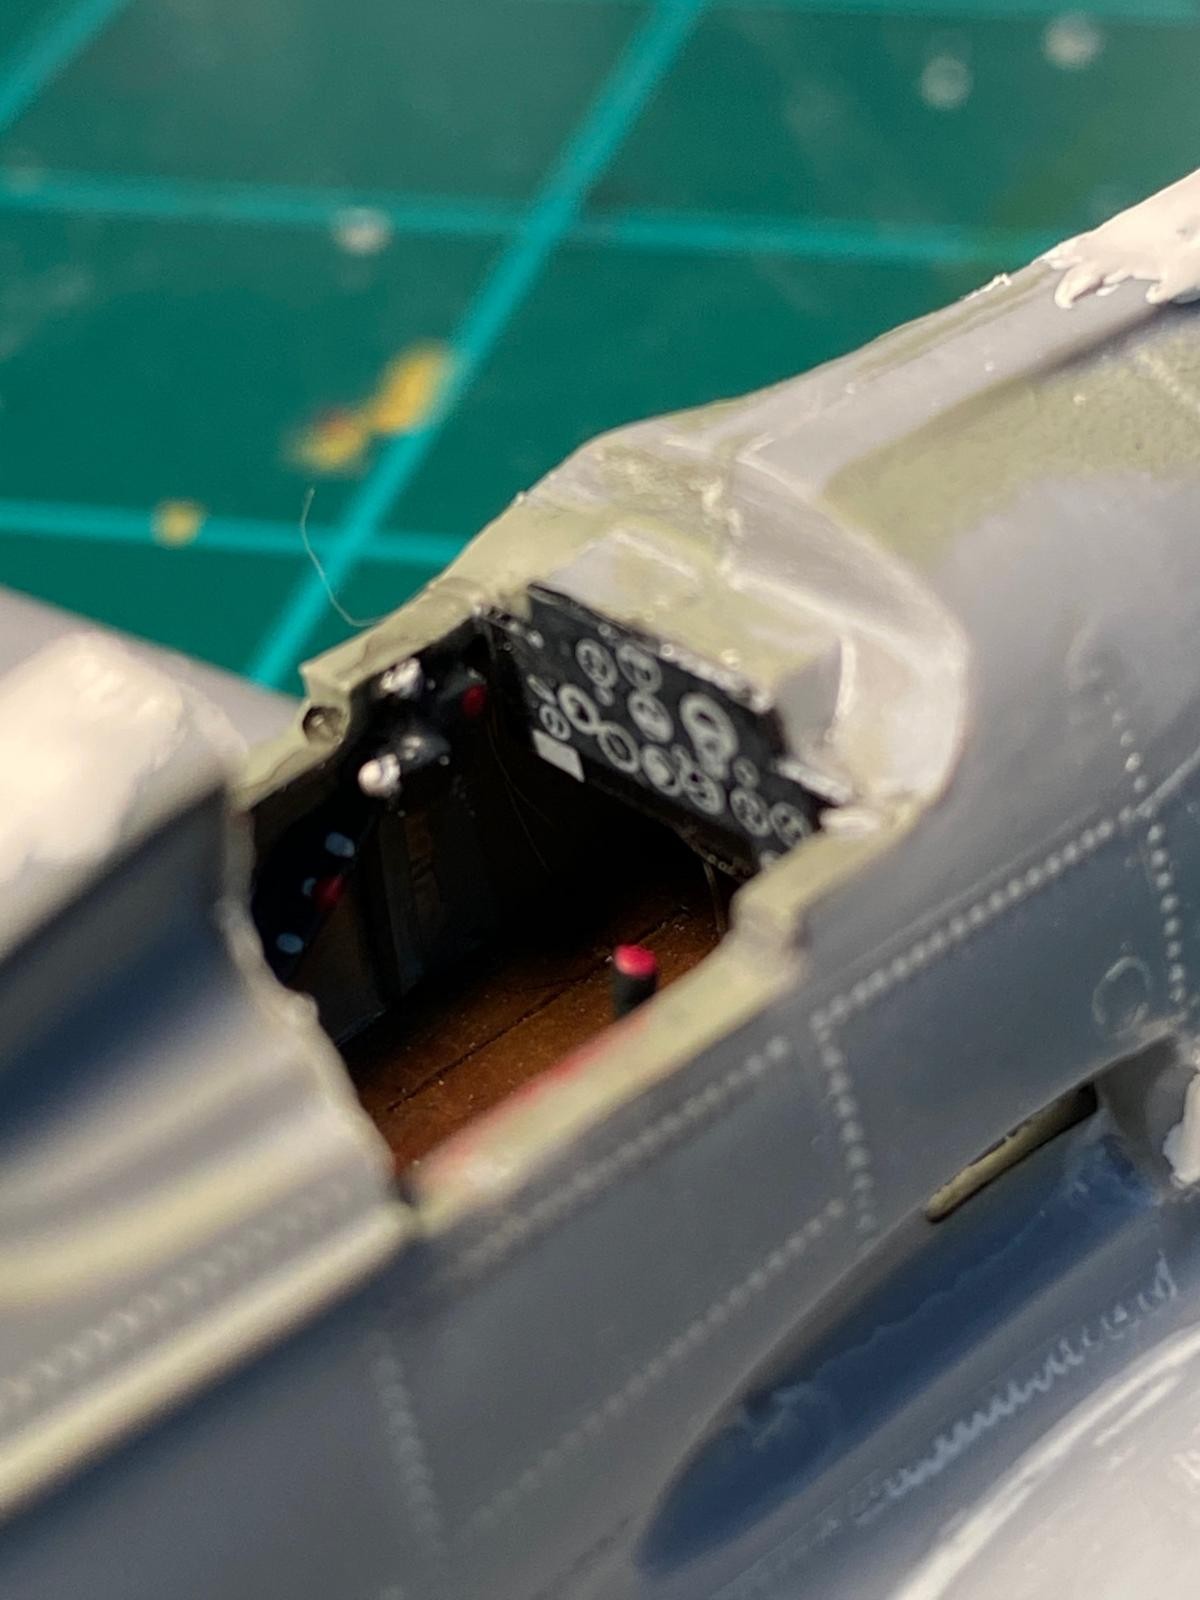
I really hadn't planned on doing any scratchbuilding on this kit, but the cockpit consisted of an oversized seat and a blob-like pilot sitting on 2 pegs in the cockpit. I wanted to dress the cockpit a little, so I decided to build something that would pass for a cockpit. I added a floor and rear bulkhead, scratchbuilt a seat and headrest, added some detail to the side walls, and added a stick.
-
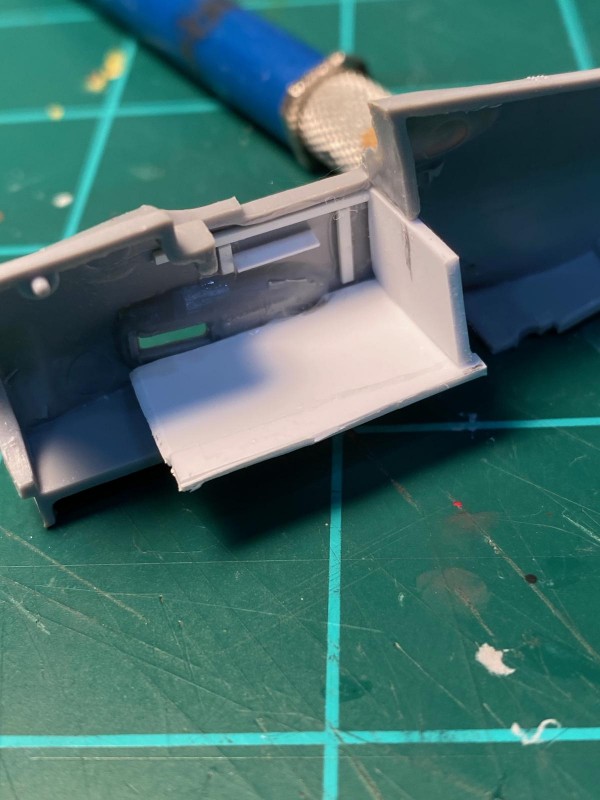
- 1. Cockpit fabrication under way

-

- 1. Throttles and other detail added
-
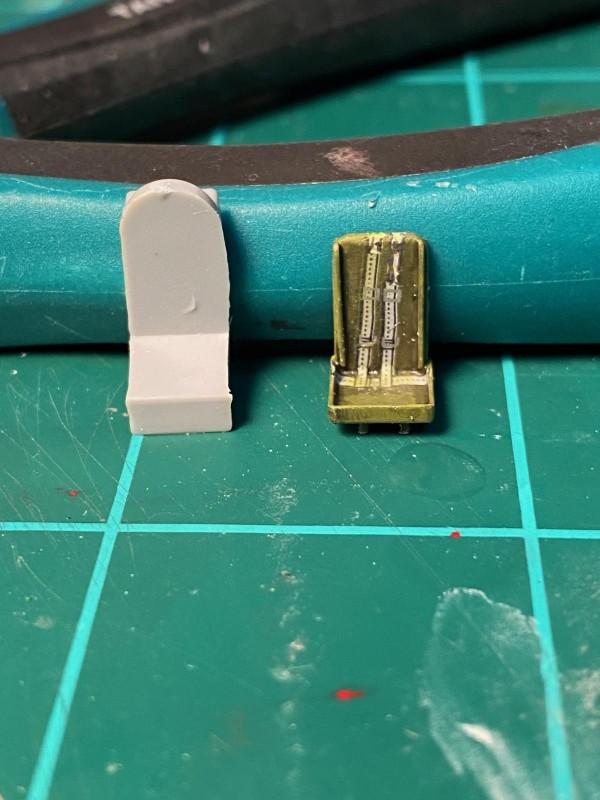
- 1. New seat makes a big difference

I found some old Monogram instrument panels that would work to fill in the front of the cockpit.
-
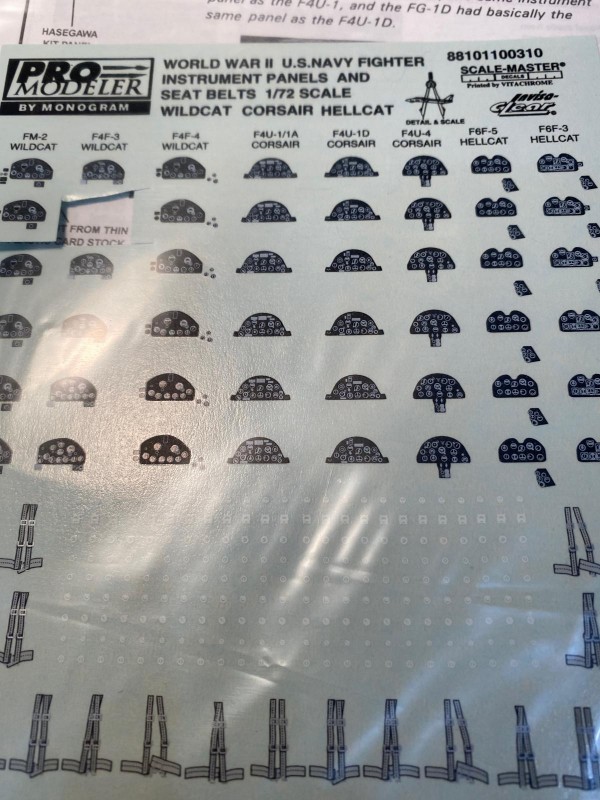
- 1. These panels come in handy all the time

-
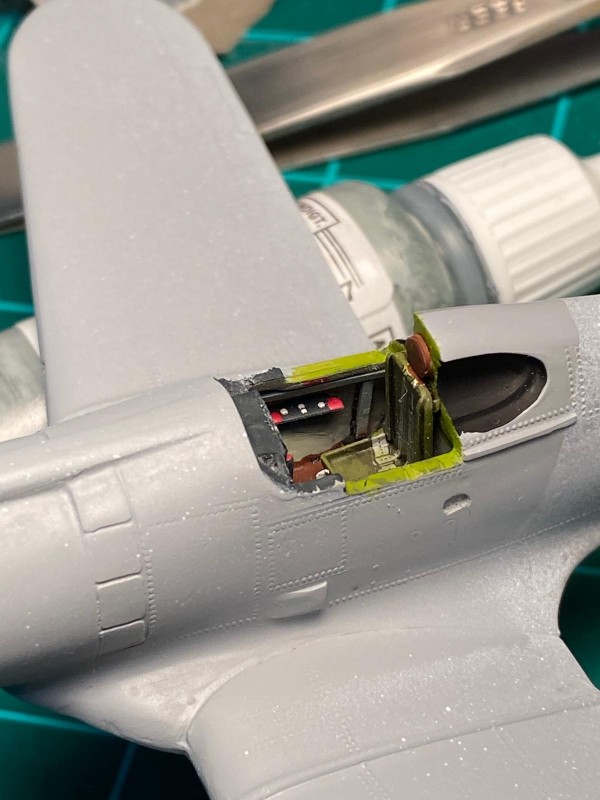
- 1. Seat and headrest added

Assembly of the plane was relatively trouble free, with the exception of the landing gear. I looked a little too quickly at the instructions and then managed to put the landing gear on backwards, but I doubt anyone will notice.
-

- 1. If you miss this arrow, it is easy to put the gear on backwards.

-
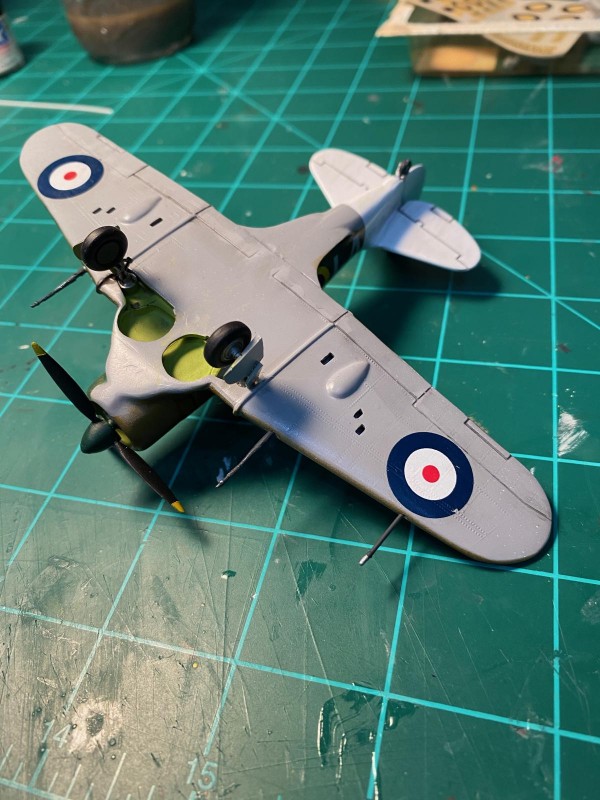
- 1. Backwards landing gear not too noticeable

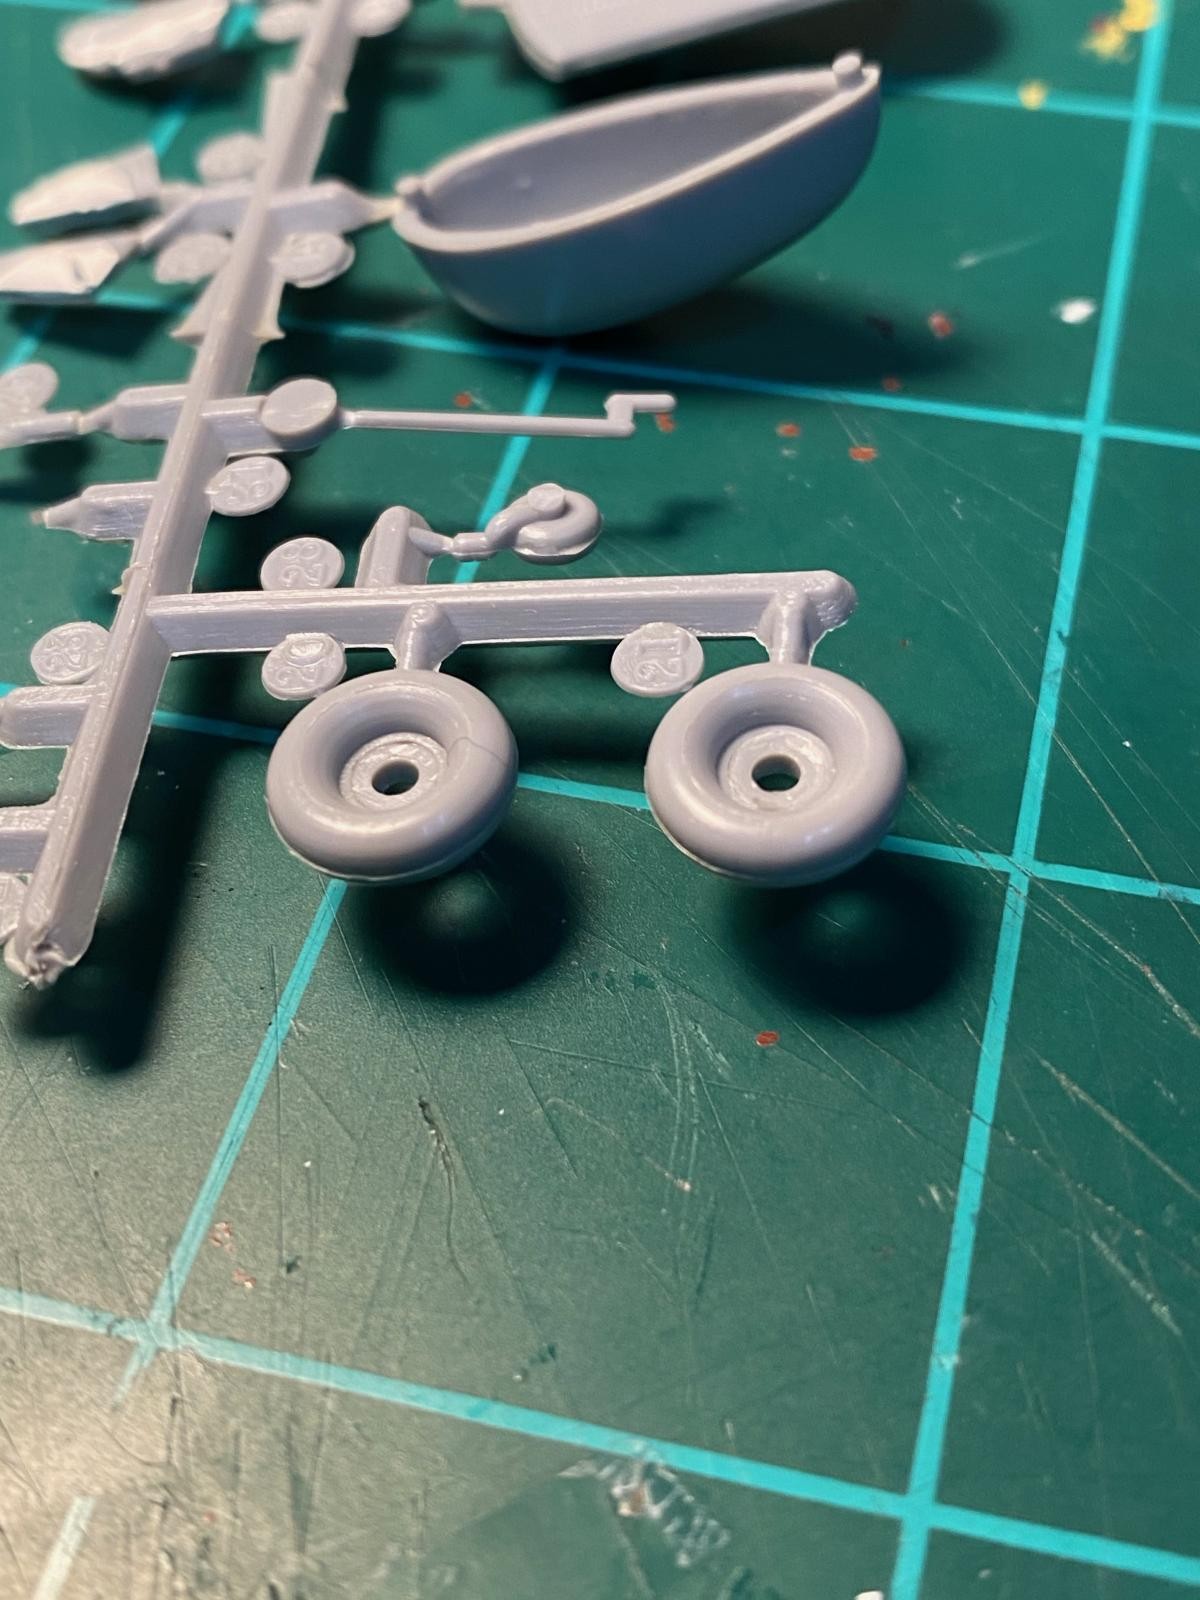
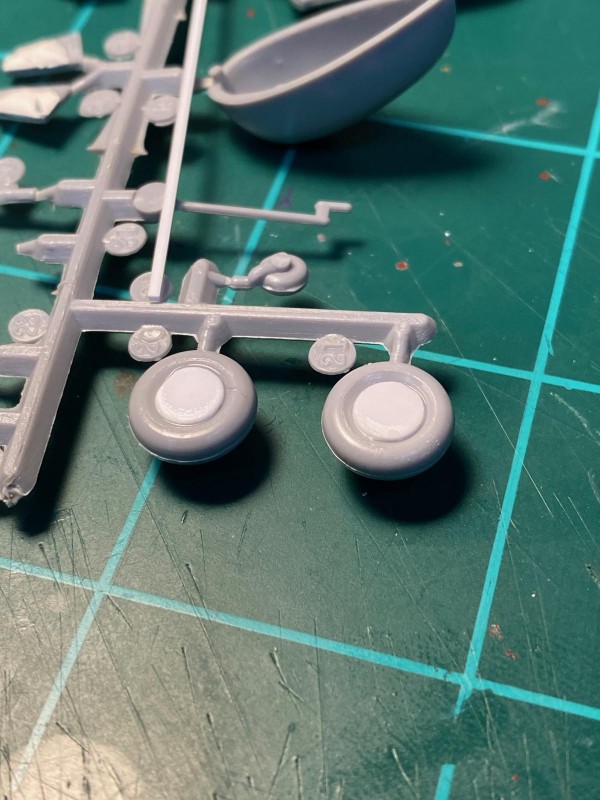
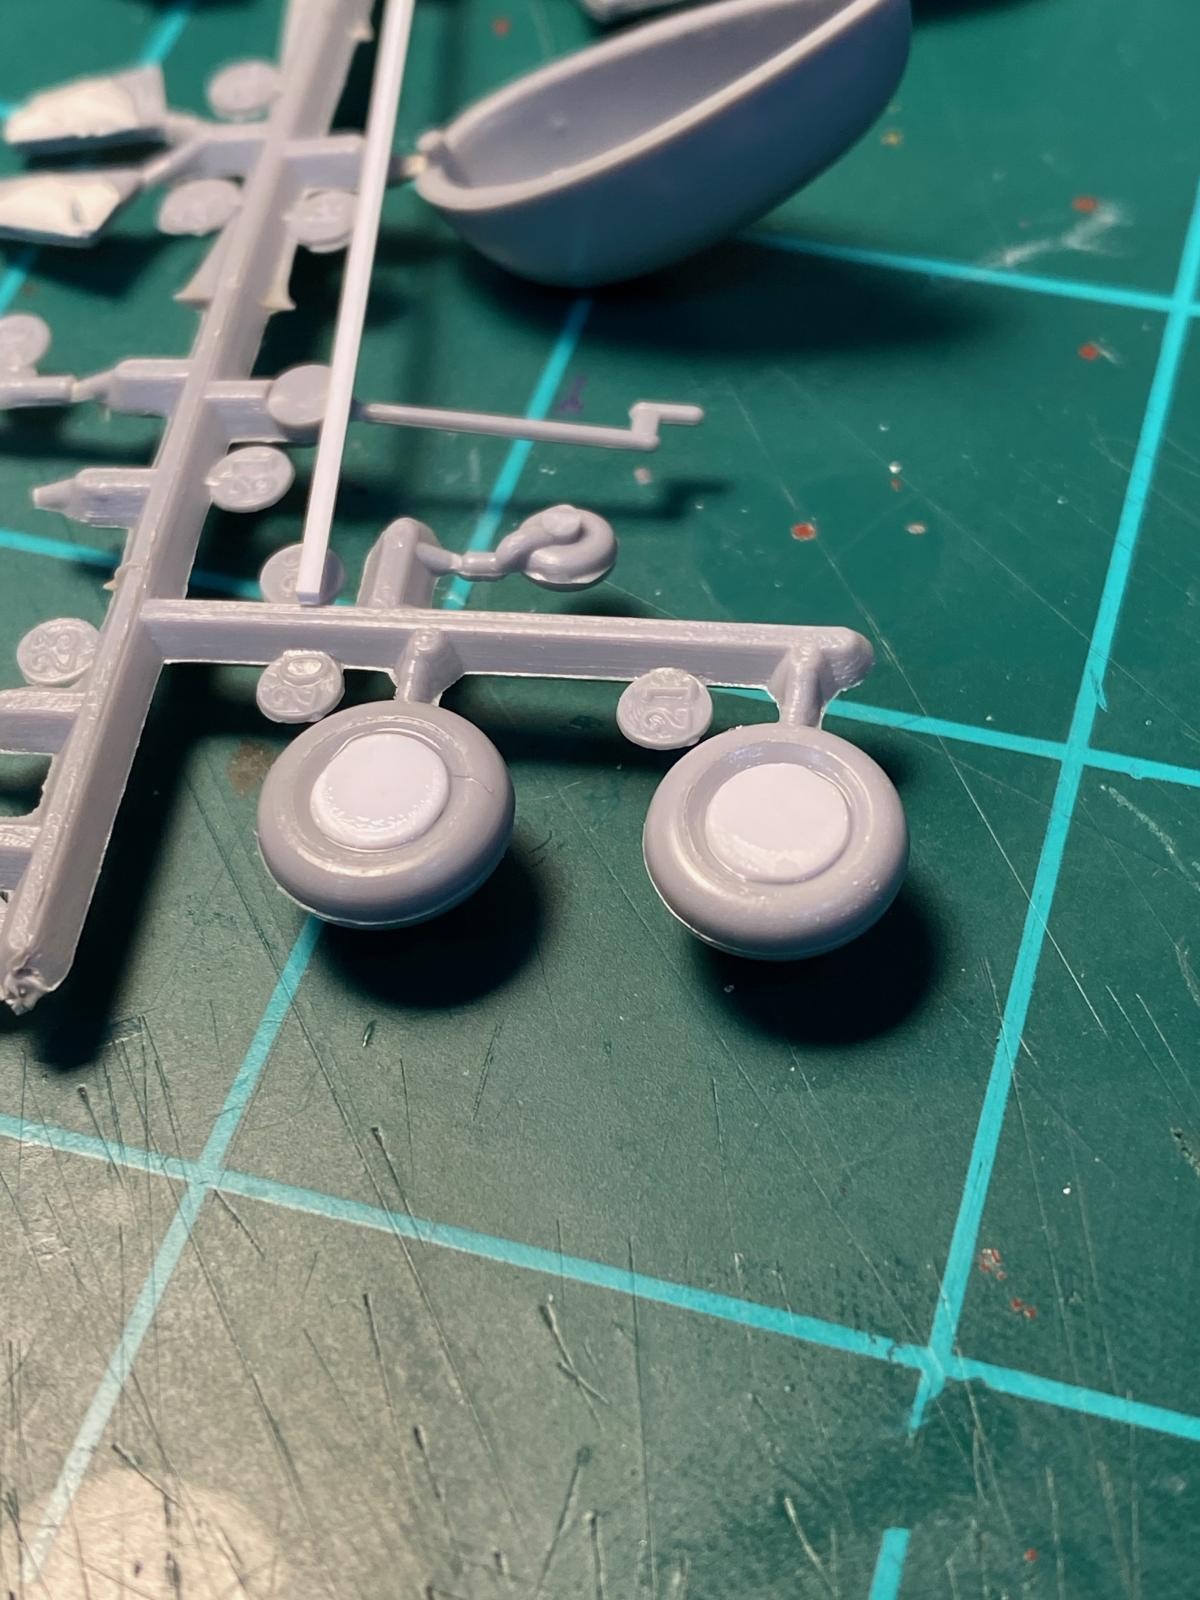
The main wheels had a weirdly deep depression on one side which I filled with a small disk of plastic.
-

- 1. Nothing fills these large depressions in the tires
-
- 1. Plastic disks fill the holes
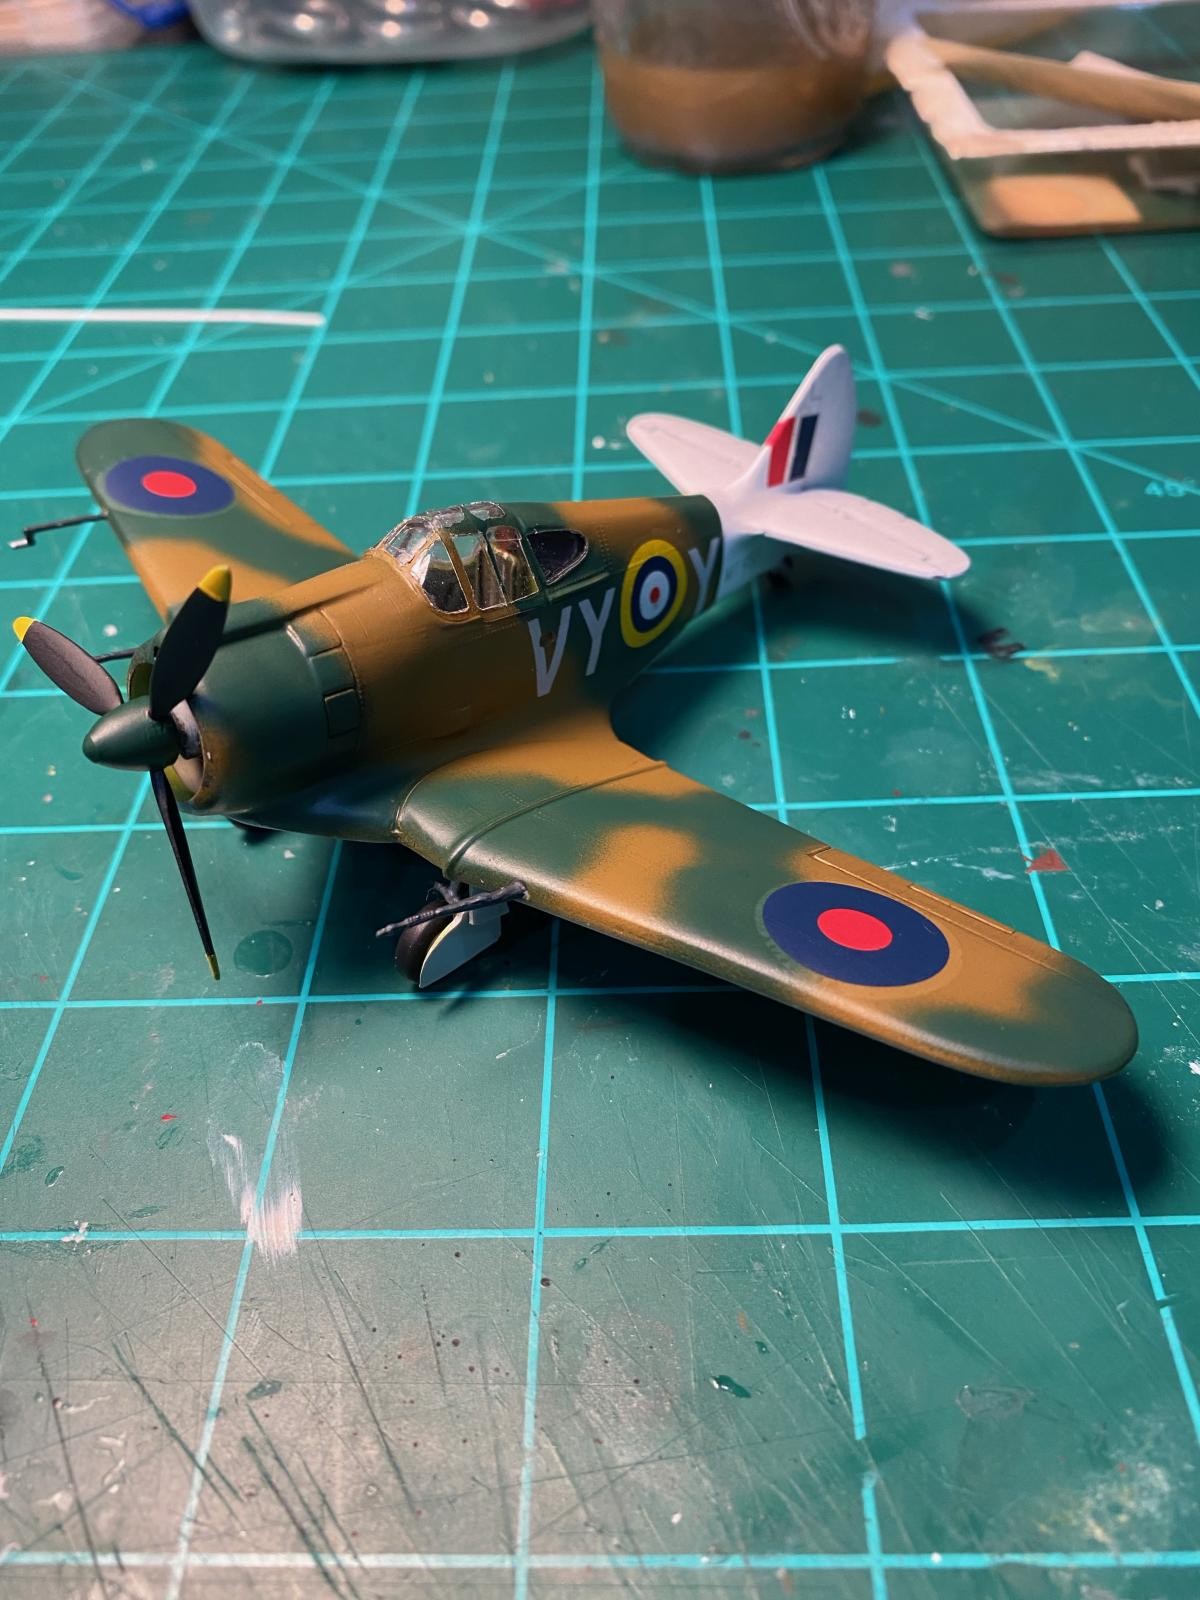
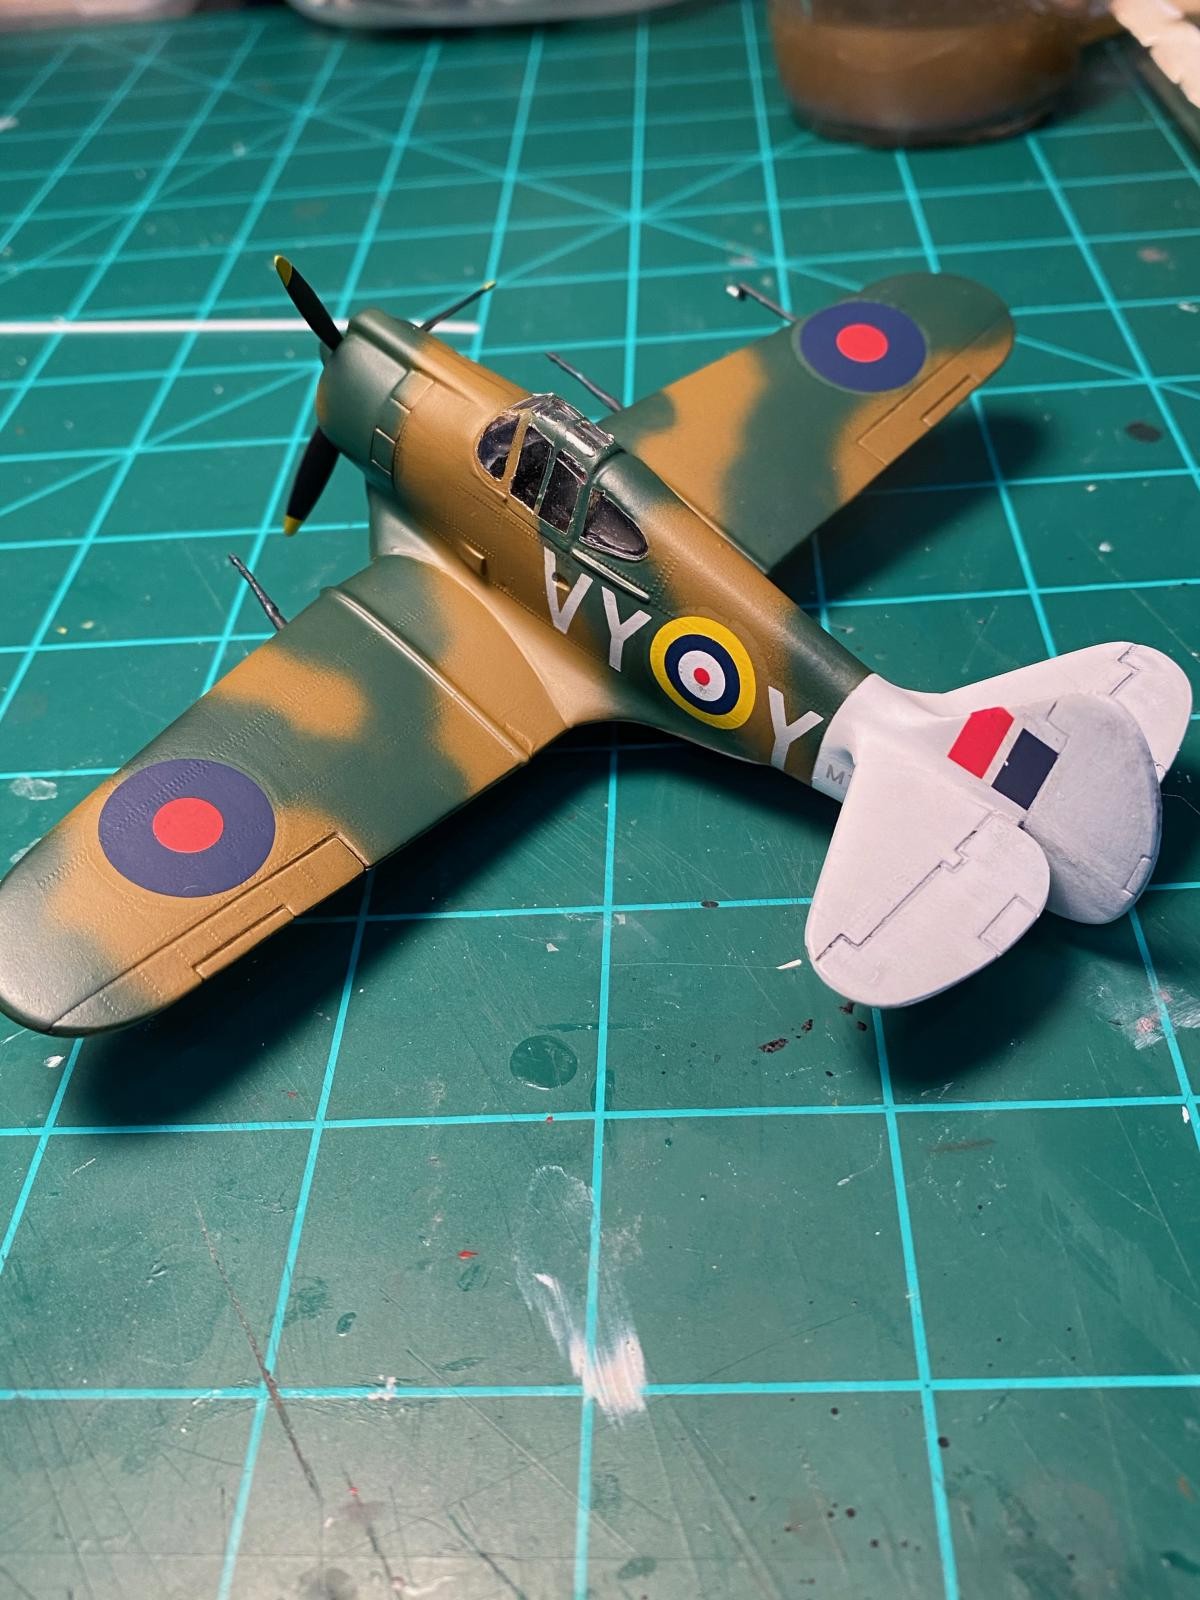
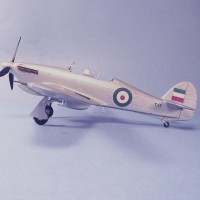
Before I moved on to painting, I sanded off most of the large rivets that cover about 90% of the surface of the plastic. Painting started with some white primer sprayed over the plane, which I simply masked off for the tail. The brown is from Vallejo in the spray can, which really works well. I decided to add the green portion of the camouflage using Tamiya green hand sprayed from my airbrush. I don't usually apply camouflage by hand, mainly because I'm not very good at it, but it came out OK. The markings are some old decals for a Spitfire from my spares. I still plan to do some weathering and panel fading using oil dots, but I wanted to get this article posted. So, start to finish in 3 days. Not totally accurate, but it was fun to build and looks OK unless you are an aficionado of WW2 Australian fighters. Everyone stay safe!

You've brought this bird to life, nice work!
Great pick, George. That’s an oldie that still looks good. I wish Airfix would re-release it.
A perfect choice, George! Just love these old beauties sealed in bags. I simply cannot resist!
Your great skills resulted in a beautiful model.
All the best my friend and stay safe!
Thanx a bunch for the trip down memory lane @gblair. Those small changes makes a lot of difference here, and that white tail makes it look good!
Well done!
I remember building this kit when it was first released. I was impressed by its sturdiness as were its pilots. Yours looks a lot better than mine would have. I painted the wings on the sprue to get a "perfect " demarcation between upper and lower surfaces and was impressed by the heavy duty rivets. For added realism I did exhaust stains with an hb pencil.
Looks great George! an Airfix classic.
The kits themselves never quite lived up to the box art but you have transformed this one!
Nicely done George, and it appears you had some fun building her. That's what this hobby is all about. Nice upgrade you did on that nonexistent cockpit.
That's some old school building right there man! Good job!
By George, I believe you got it! Building a simple kit just for a quickie ends up being a little bit more in the end, and though most of us are not anal, still gotta have a bit more in the cockpit and help out the basic details that in the end builds up to an otherwise decent model. This is a great example of that. Thanks for sharing.
Great job adding some nice details and updating this old kit! Those are my favorite projects - in fact I've got an old Lindbergh Hs 129 almost to the paint stage now that had to have a little extra "love'' applied to get it closer to realistic. Love these obscure subjects! Yours turned out great!
Thanks everyone for the good words. I wanted to post a final update on the Boomerang. I wanted to make the plane look a little less "new" using the oil dot technique and see how it would work as a final weathering layer. If you haven't seen this method before, it is fairly common among armor modelers. You simply place dots of various colors of oil paint on the surface, and then blend them using mineral spirits. The first big caution for this technique is to be sure you are using it over a layer of clear that won't be dissolved by the mineral spirits. My final clear coat was a flat, clear lacquer. I initially used a buff color to fade the upper surfaces, followed by various greens, a yellow, and a light brown. I used an Oil Brusher (Starship Filth) for some oil stains. The last step was to add some exhaust stains around the engine exhaust and some gunpowder stains around the guns using powdered pastel chalk. With that, she is done. I'm still waiting for some stuff to arrive from Hannants for my Lorna, but I just found a photo of an all-black Ki-43 that looks really interesting. Cheers & stay safe.
5 attached images. Click to enlarge.
1. Just starting the blending of the buff oil dots
1. These are the implements of destruction