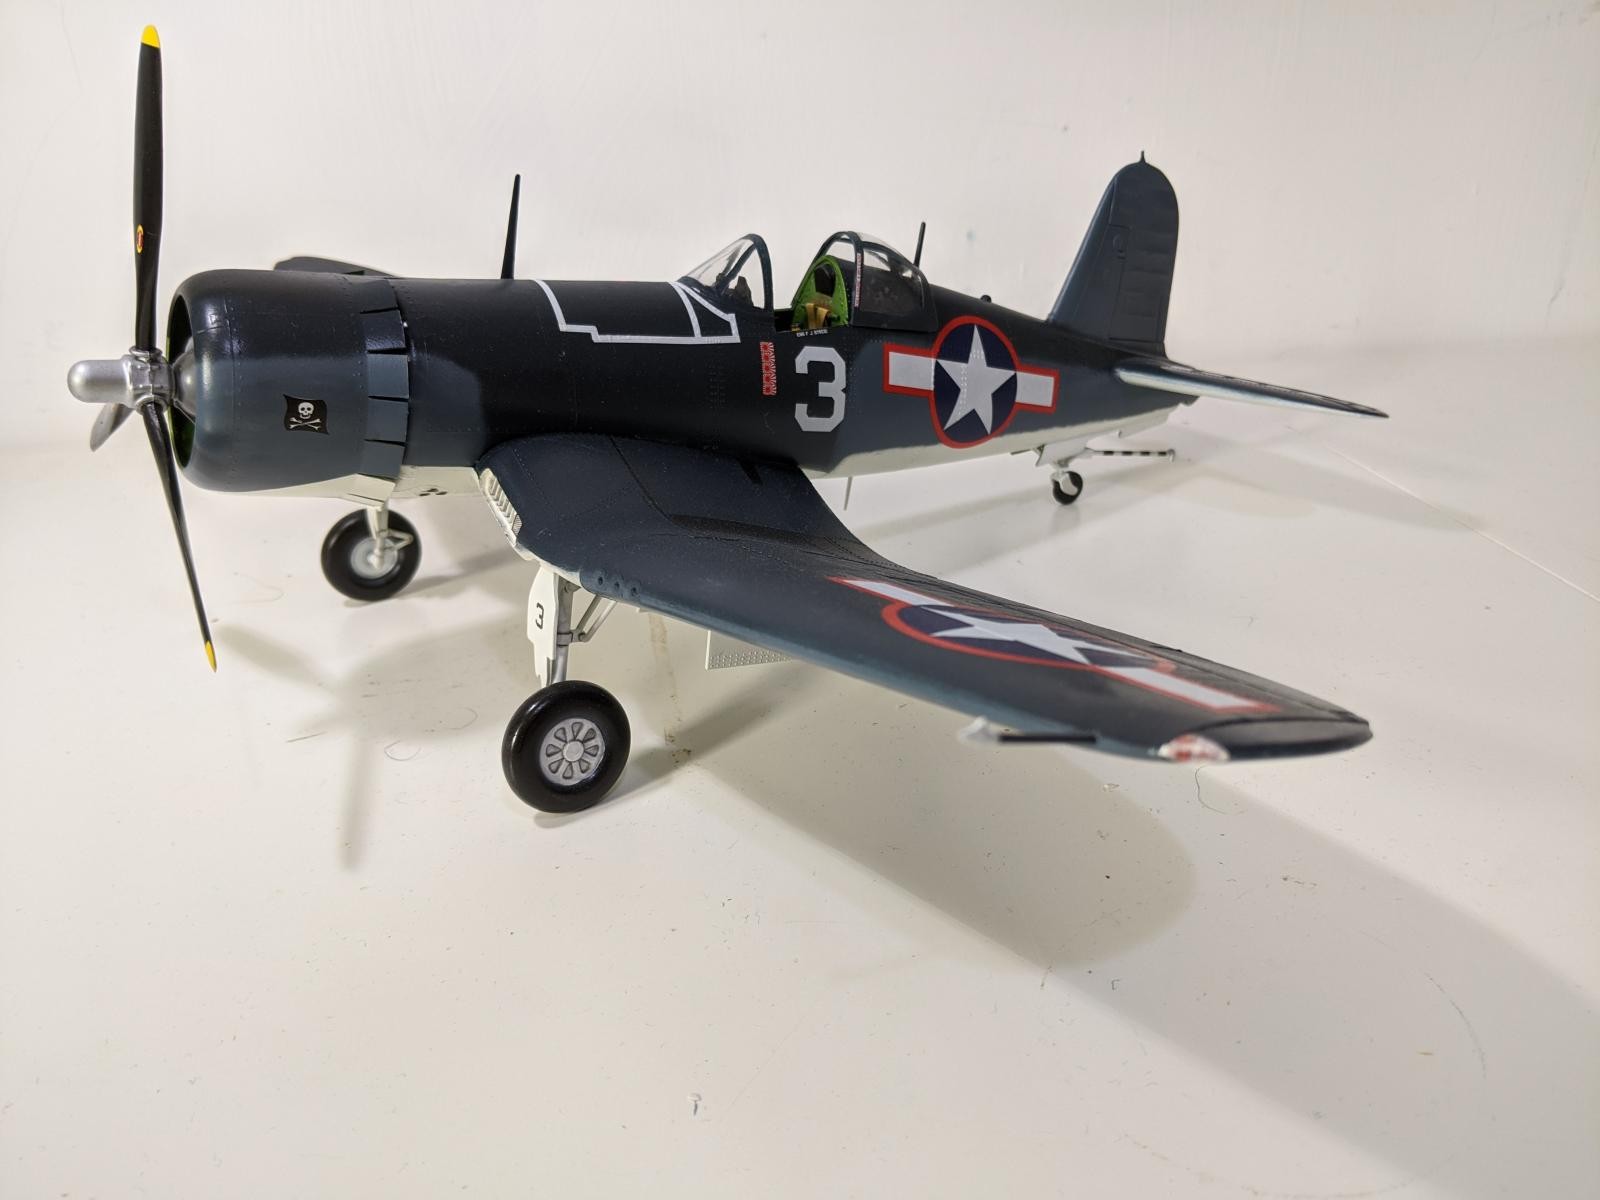
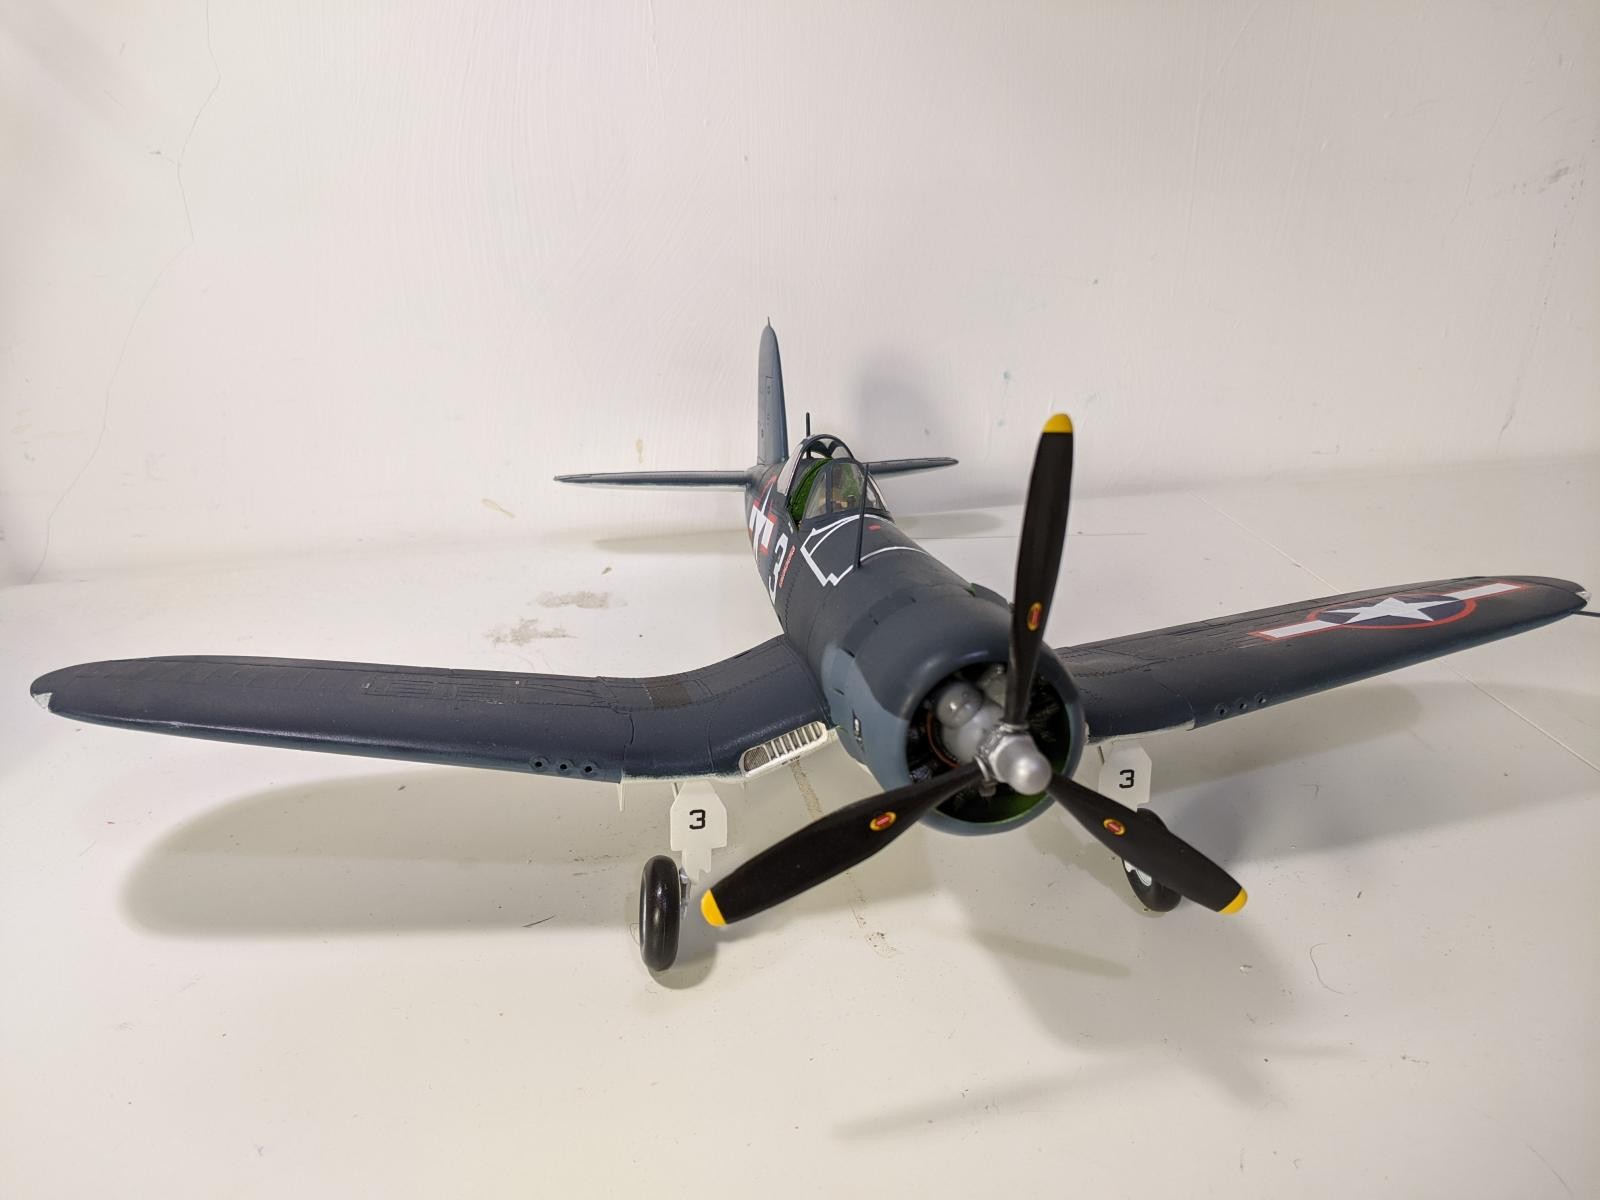
Revell 1/32 F4U-1A Corsair
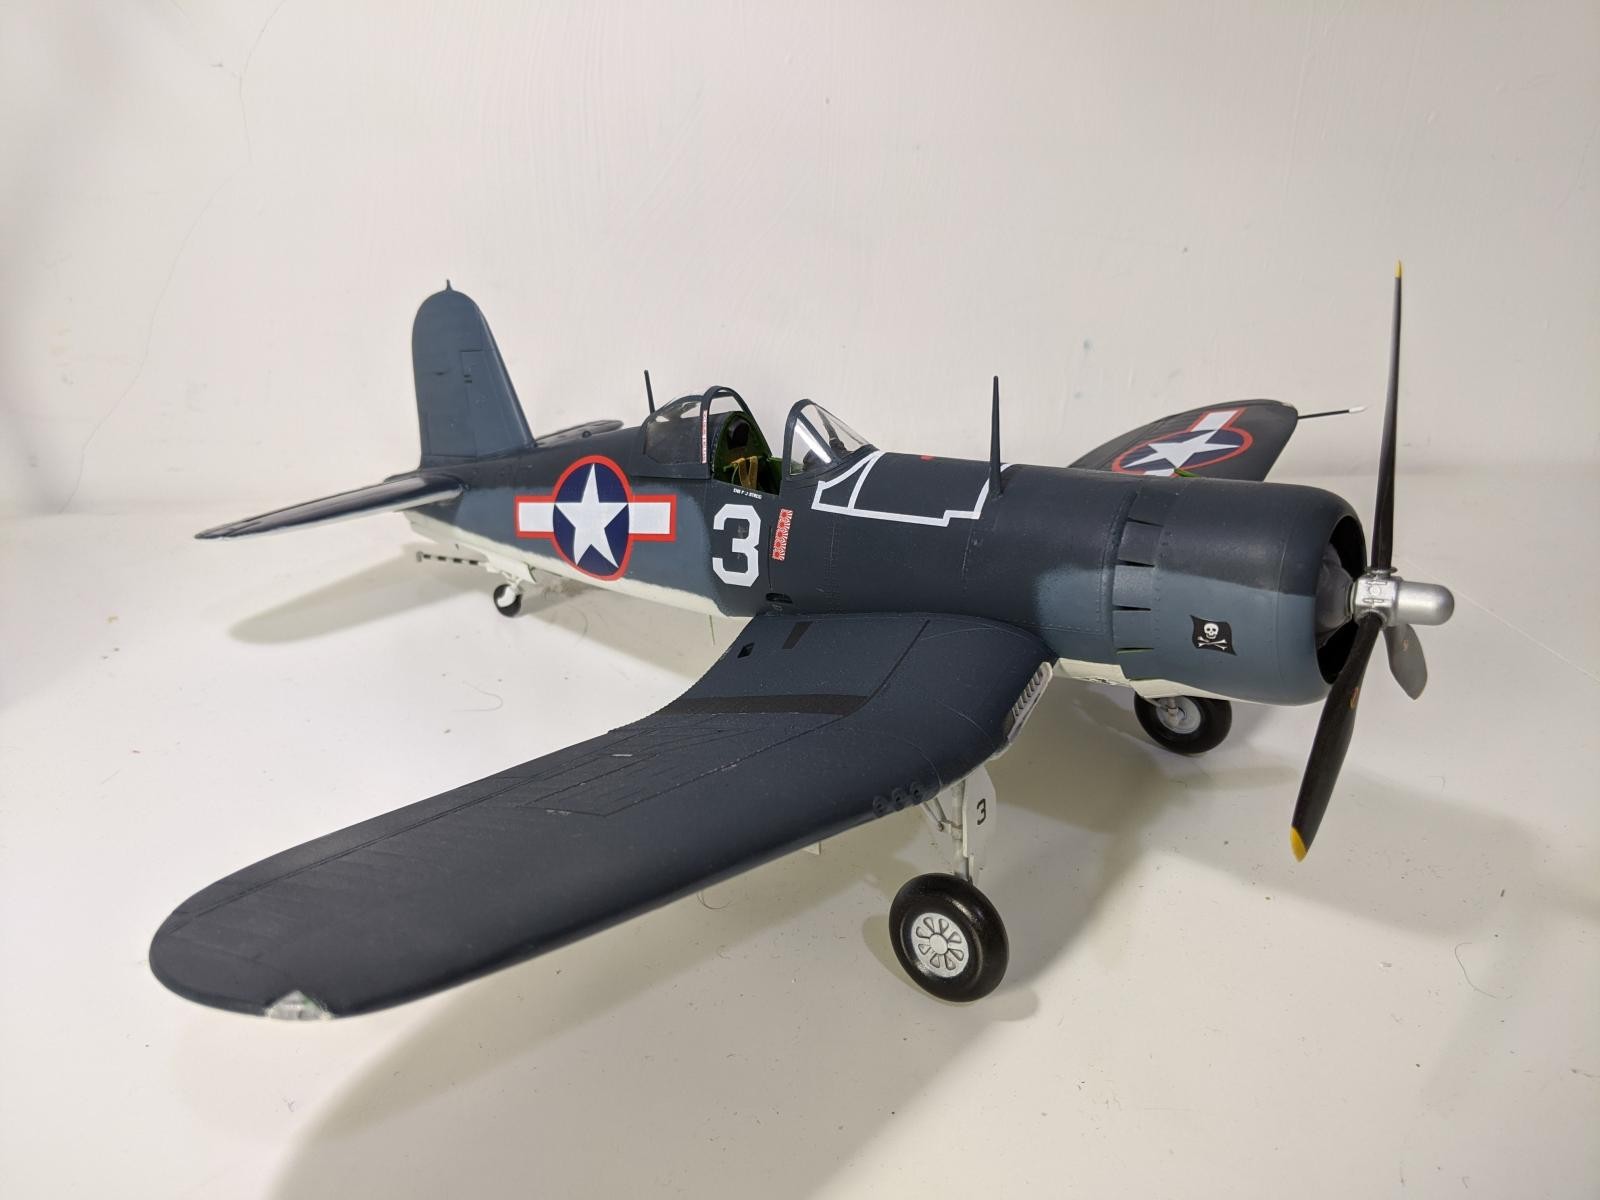
This is Revell's 1/32 Corsair from around the time I was born, so it's old. I picked it up for £10 during last year's Black Friday sales, due to the minimal investment I felt it was a ripe candidate for experimentation and it's the first kit I scratch built bits for. The cockpit in particular is lacking in detail and has gaping holes all over the place.
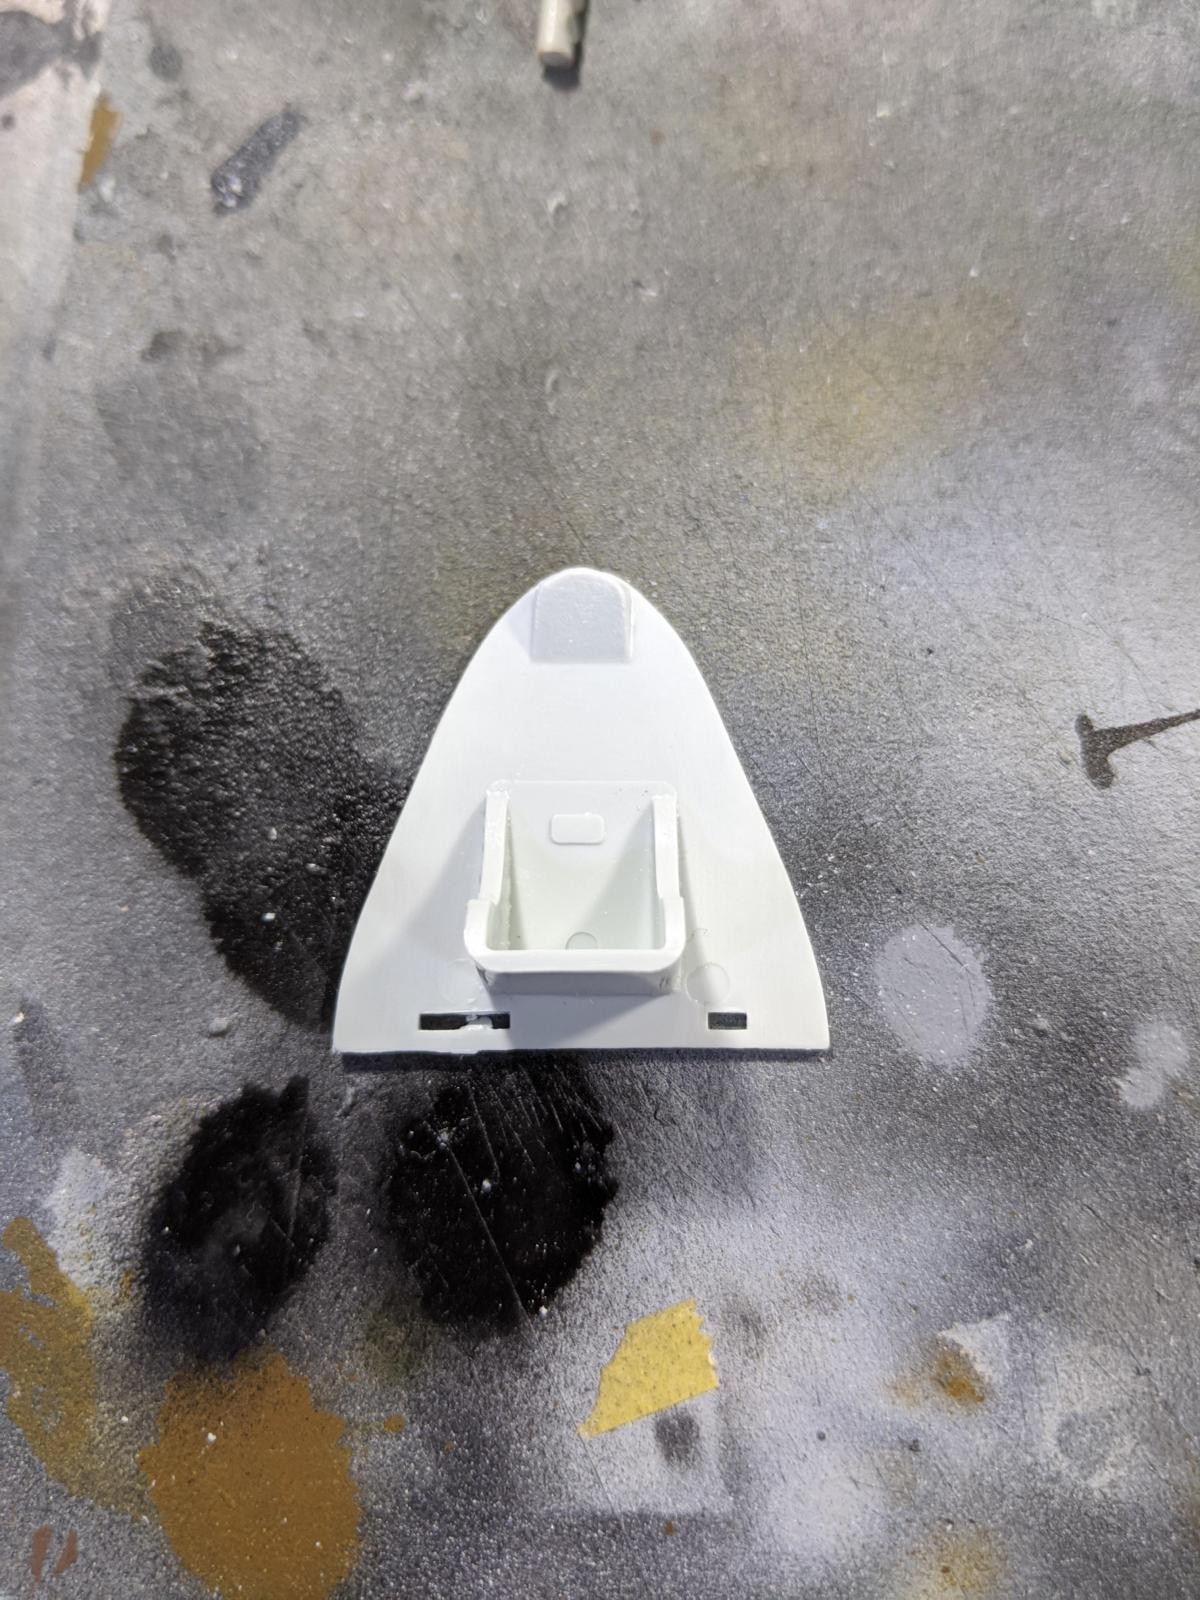
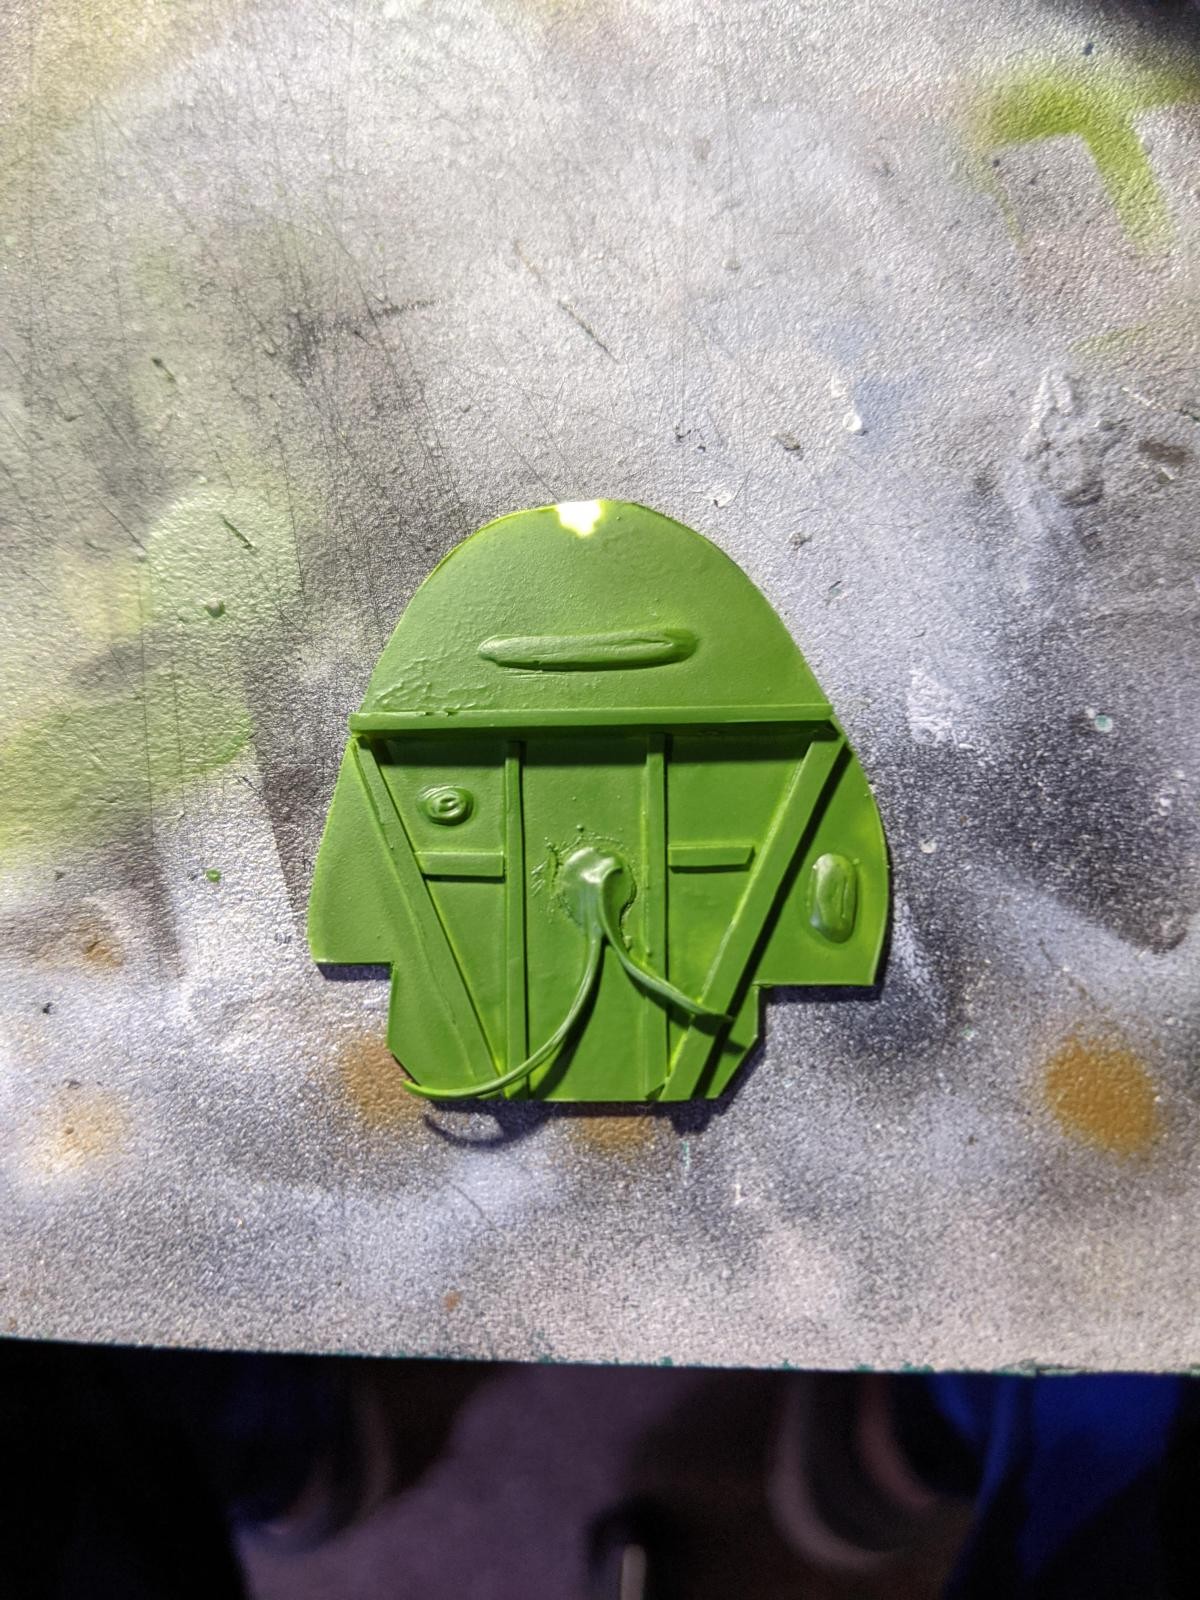
The Corsair has no cockpit floor and a window underneath, the kit has neither of these features so, in my newfound interest in modification, I put them in.
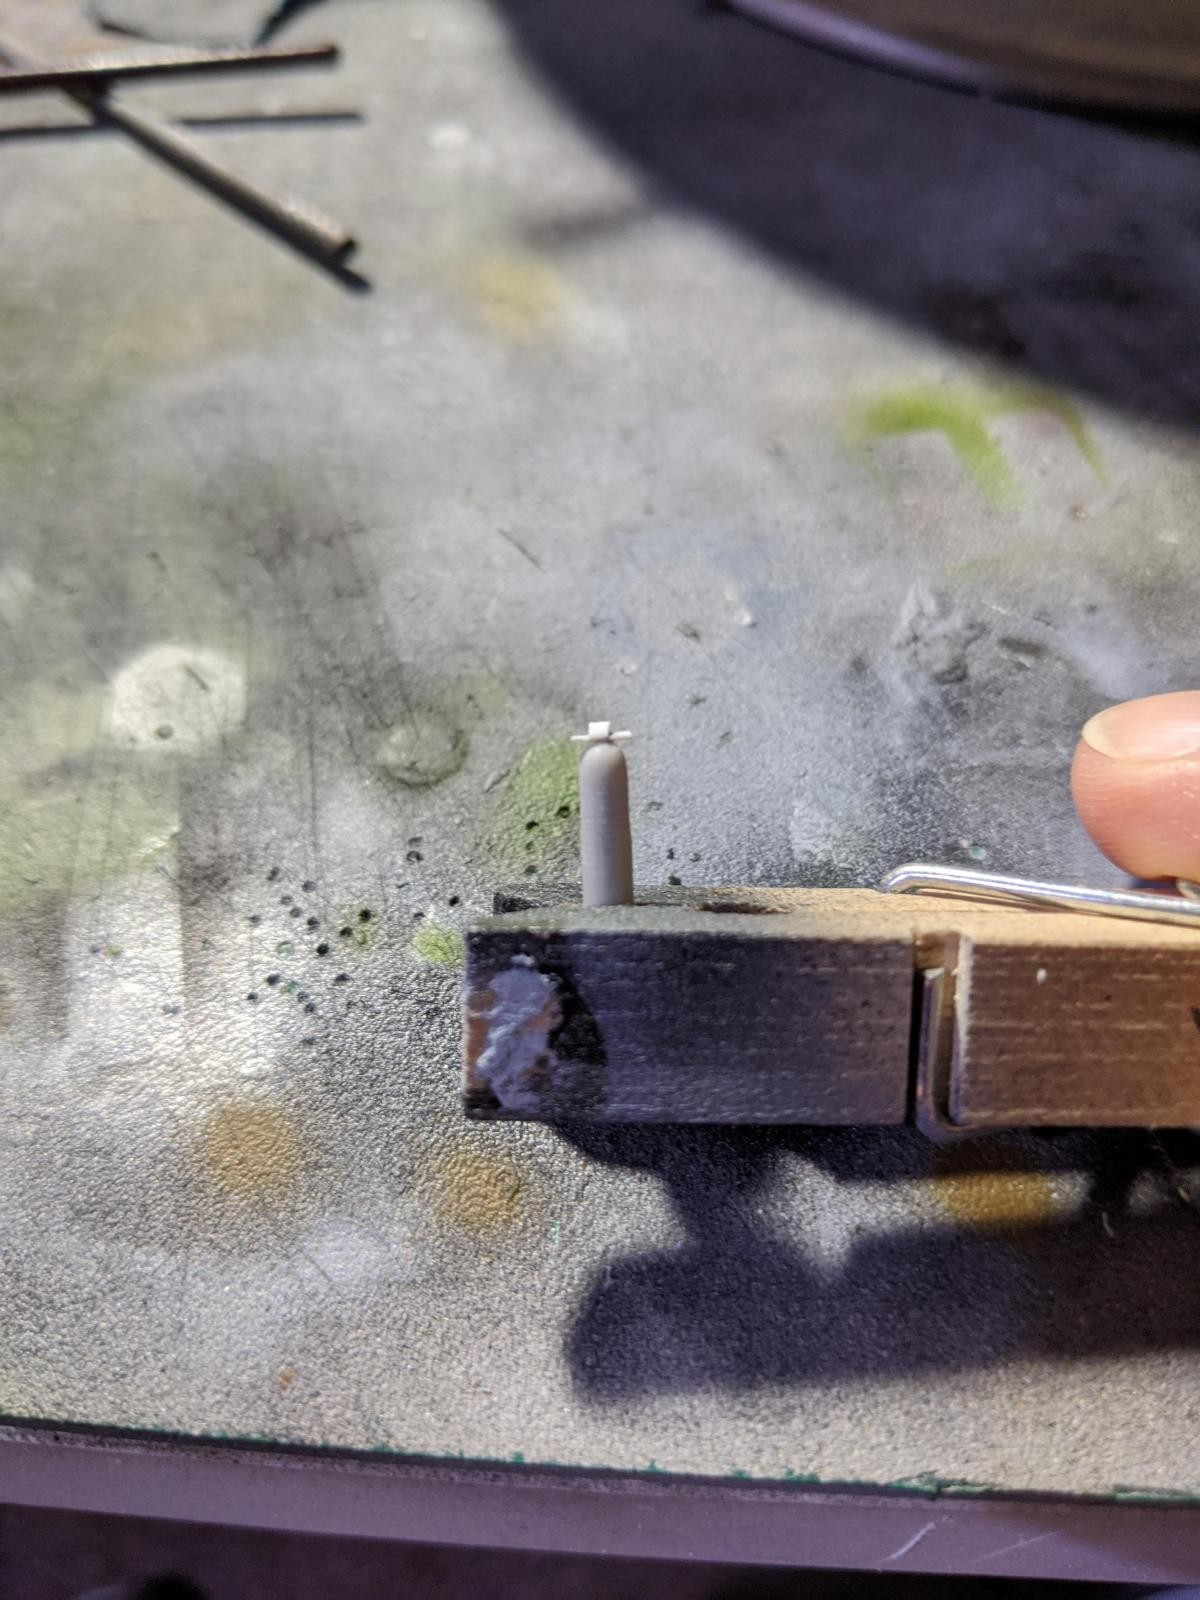
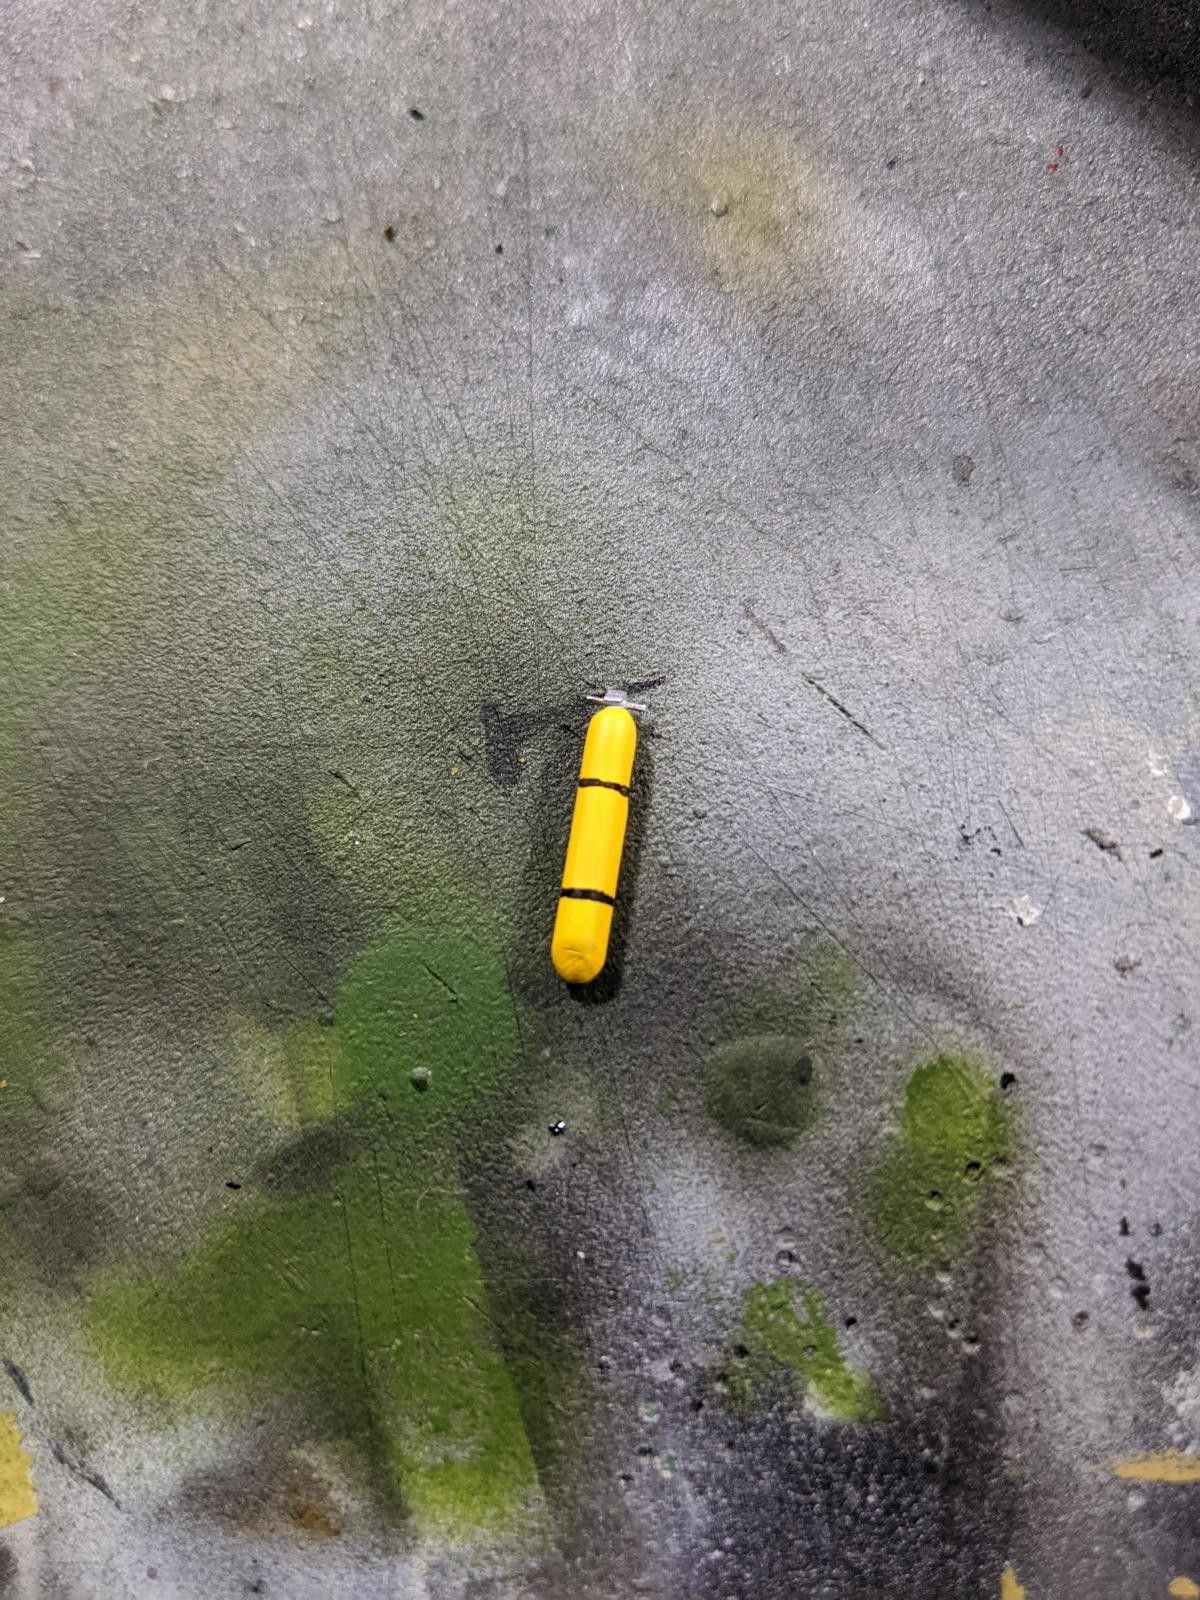
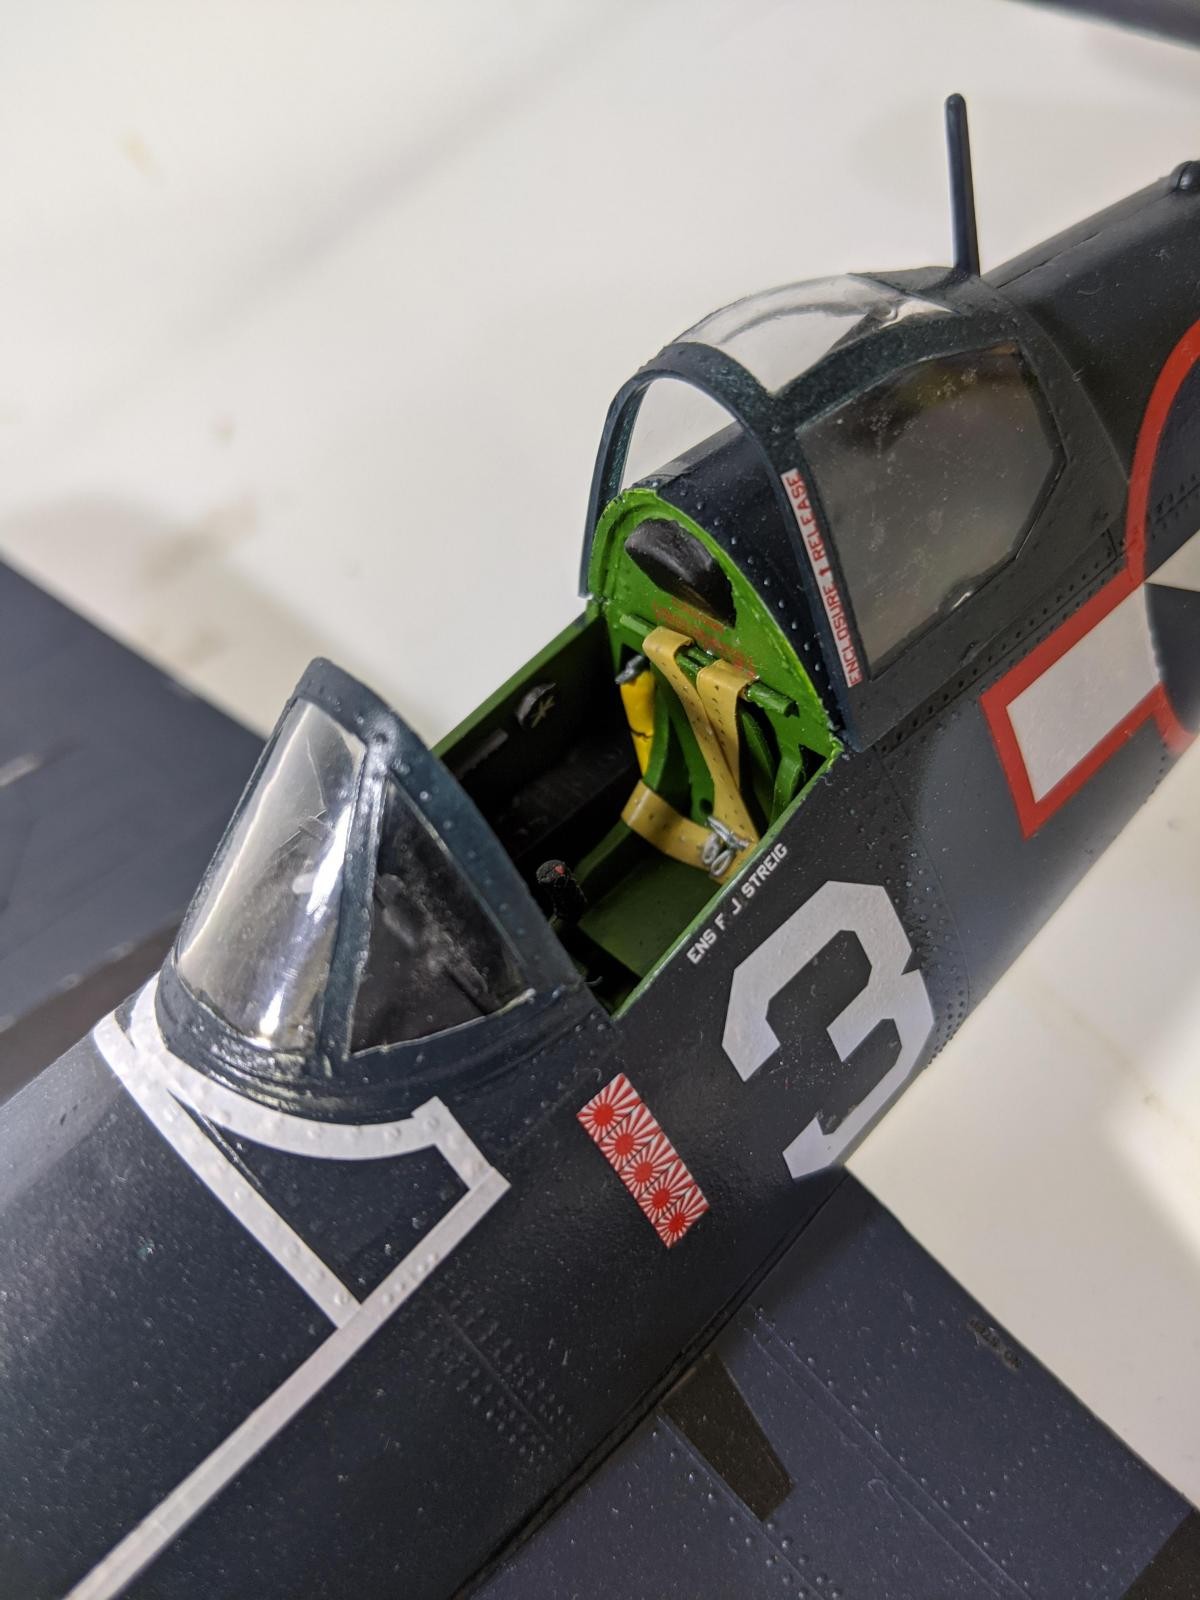
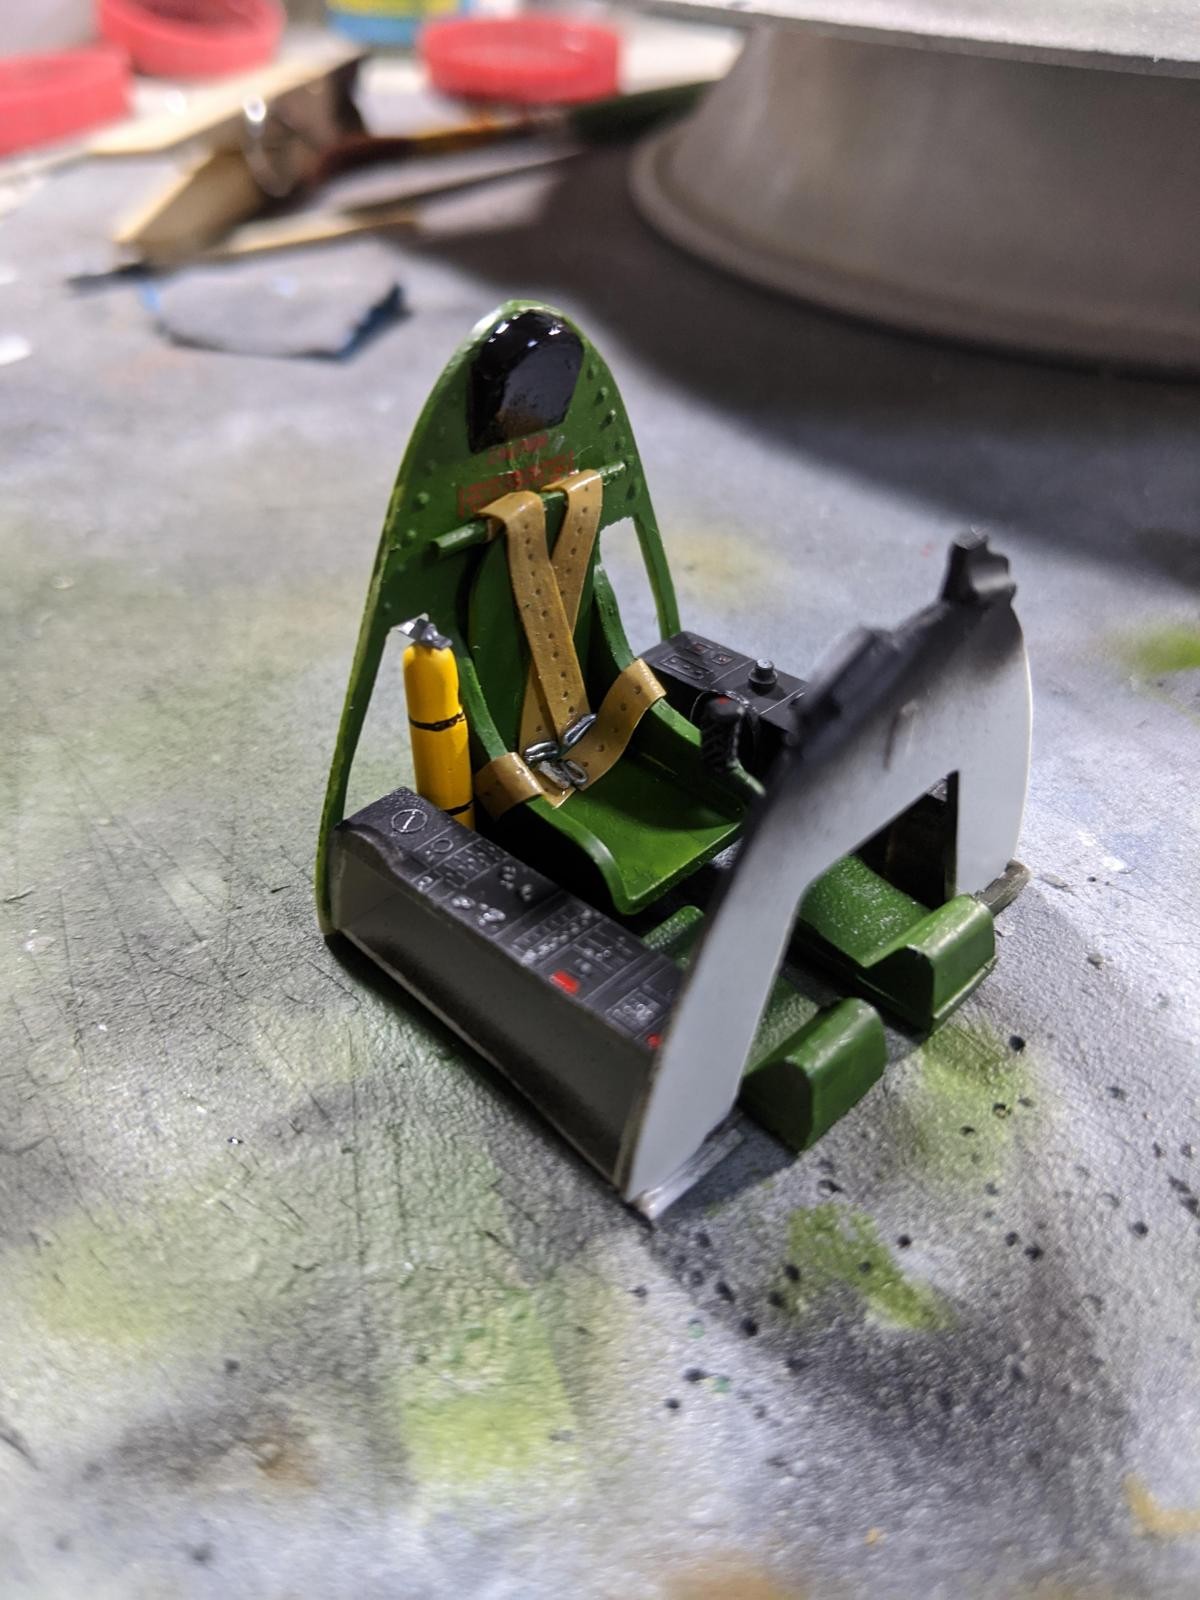
I built an oxygen bottle
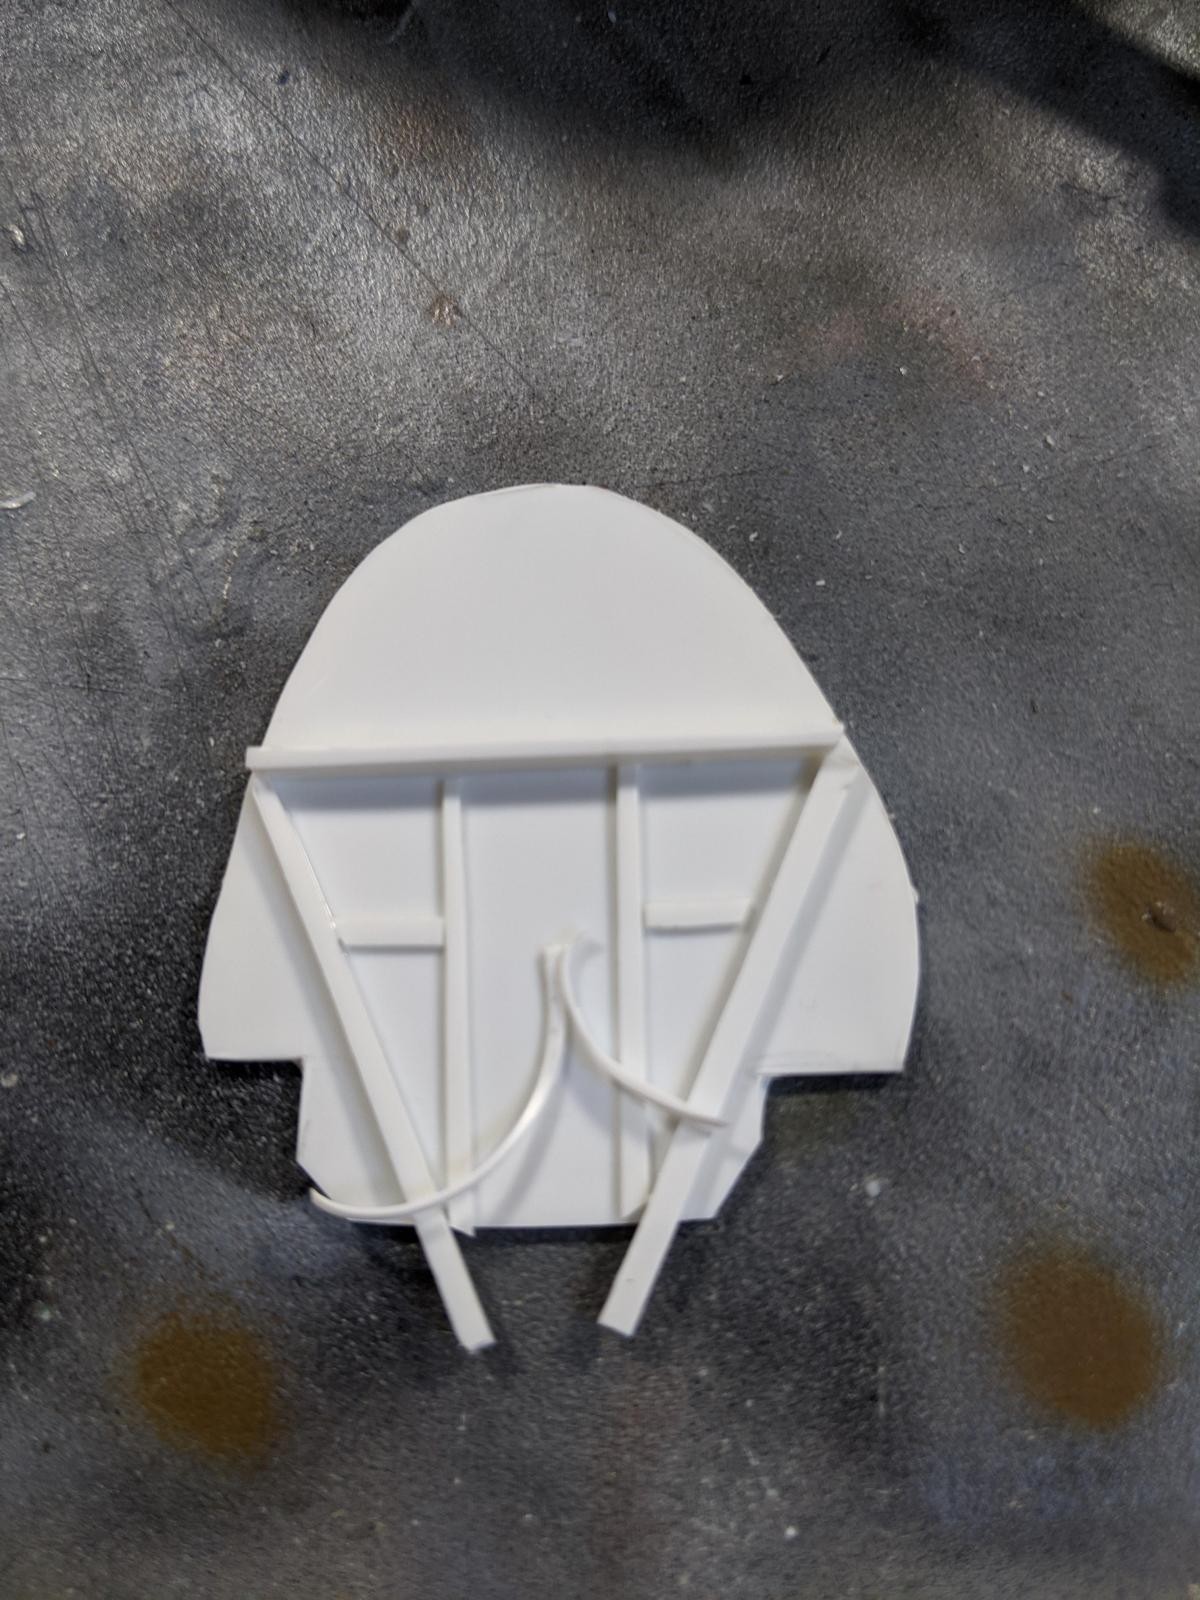
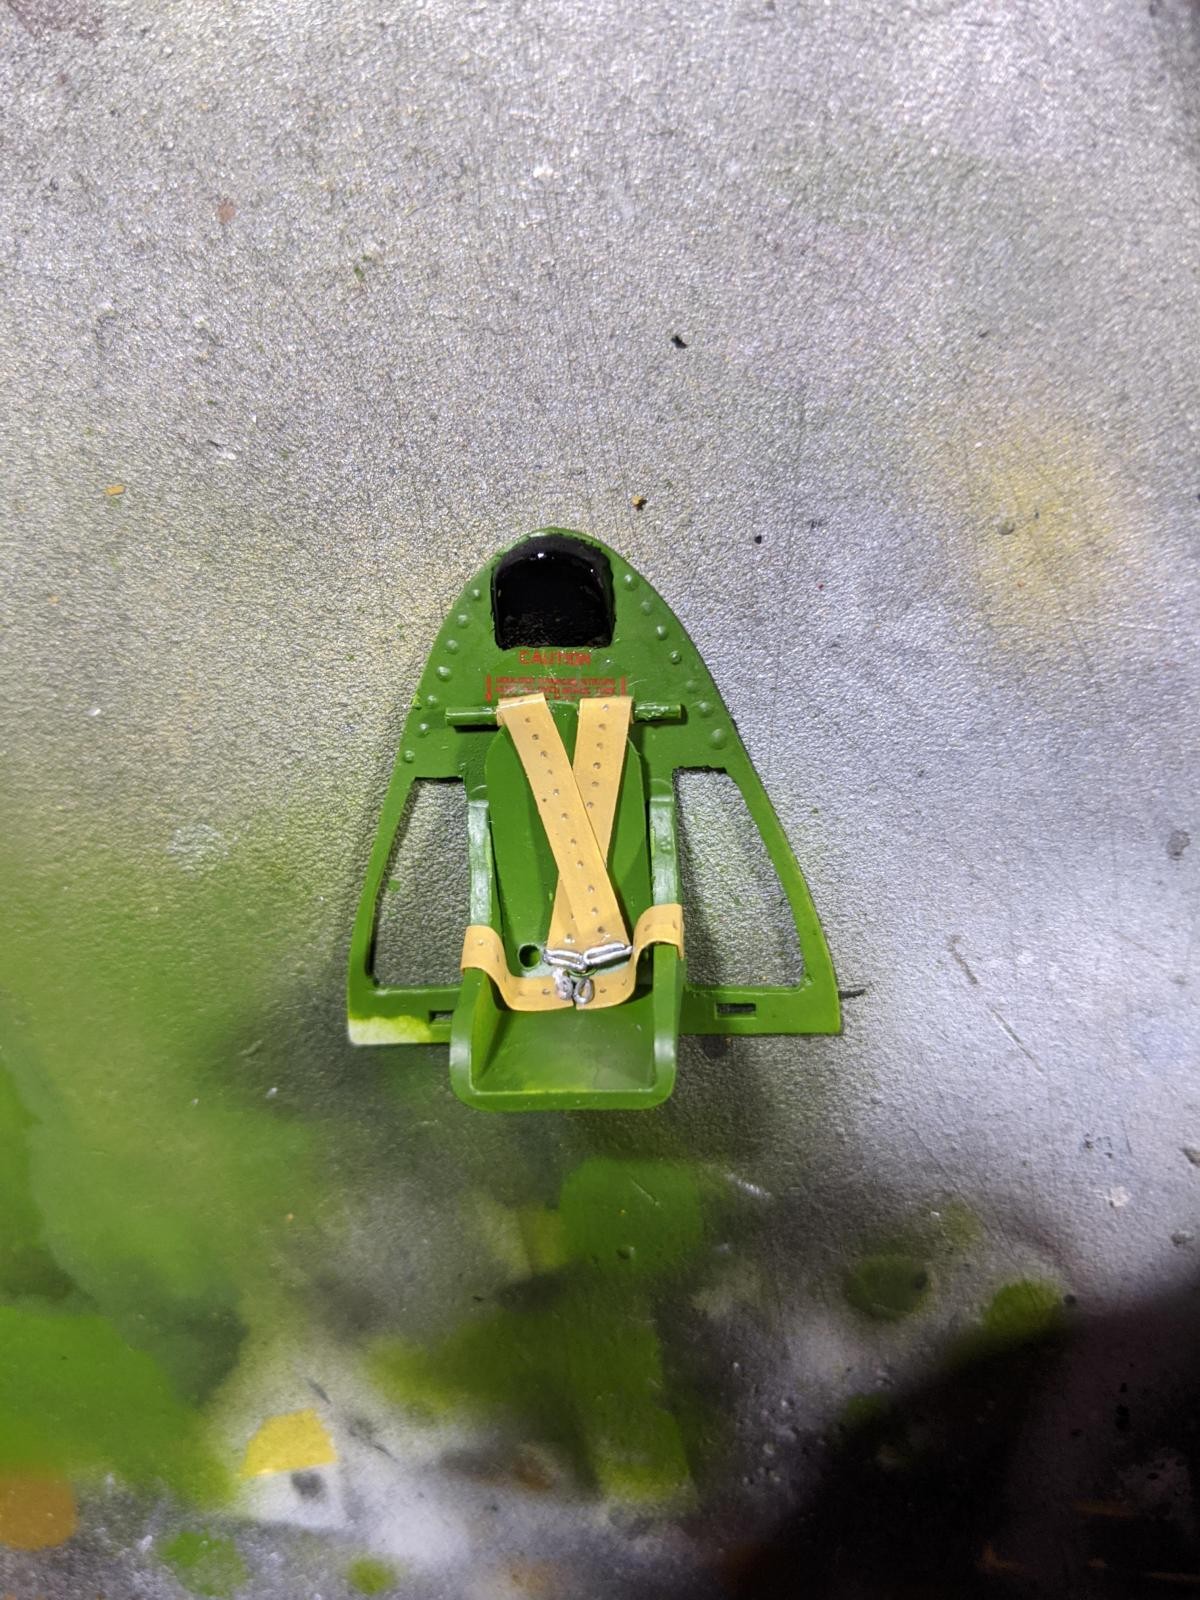
a bulkhead

and added seatbelts.
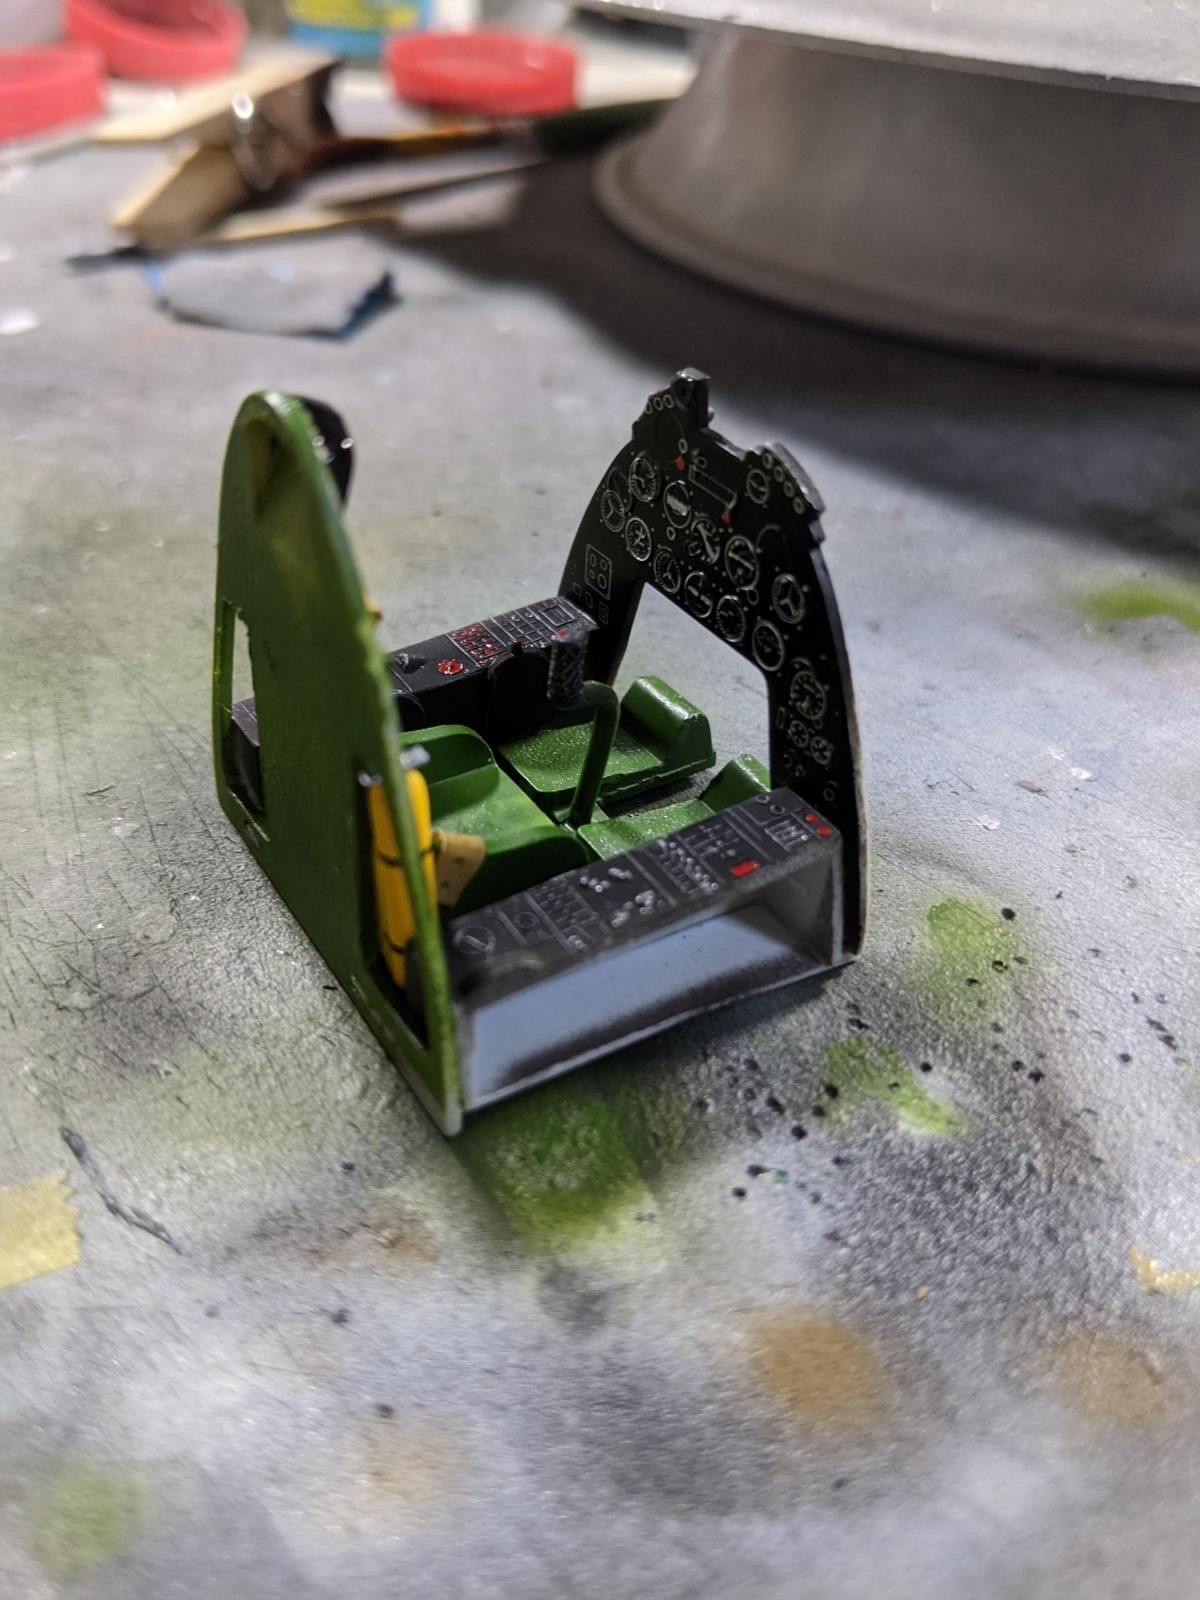
My finished cockpit looked like this, and I was quite happy with it.


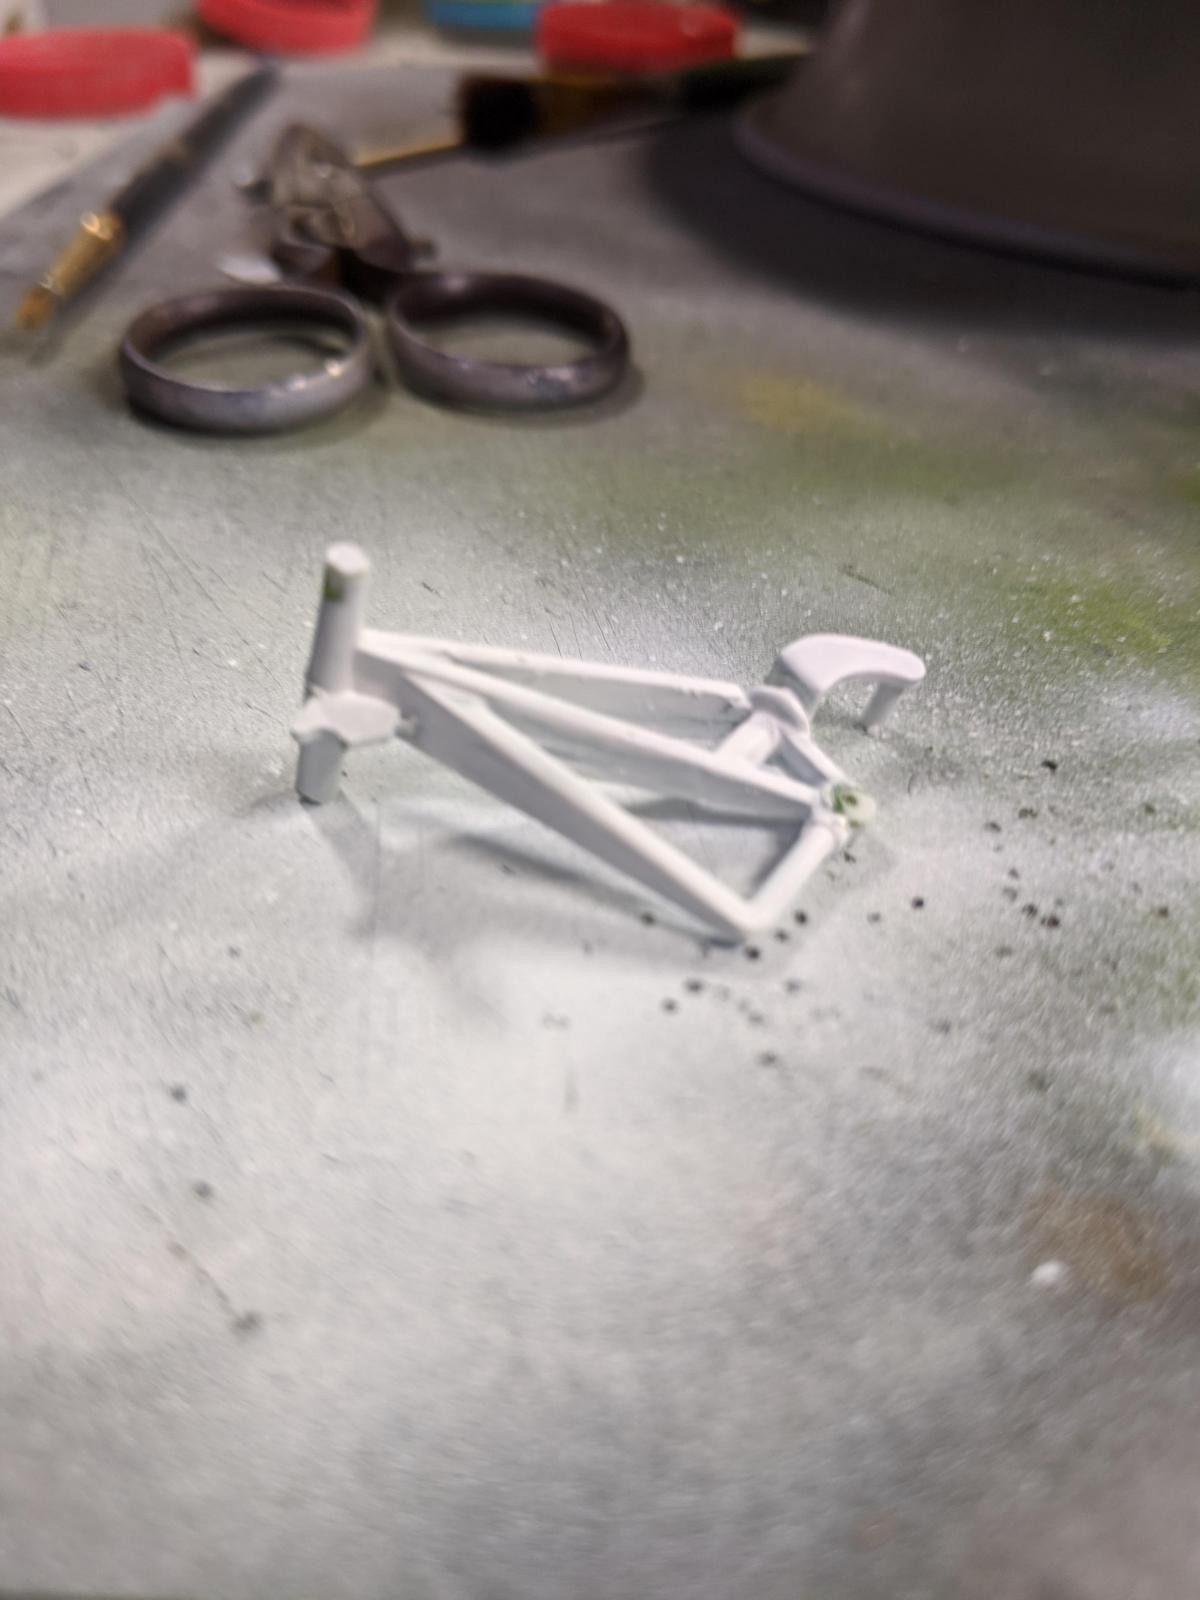
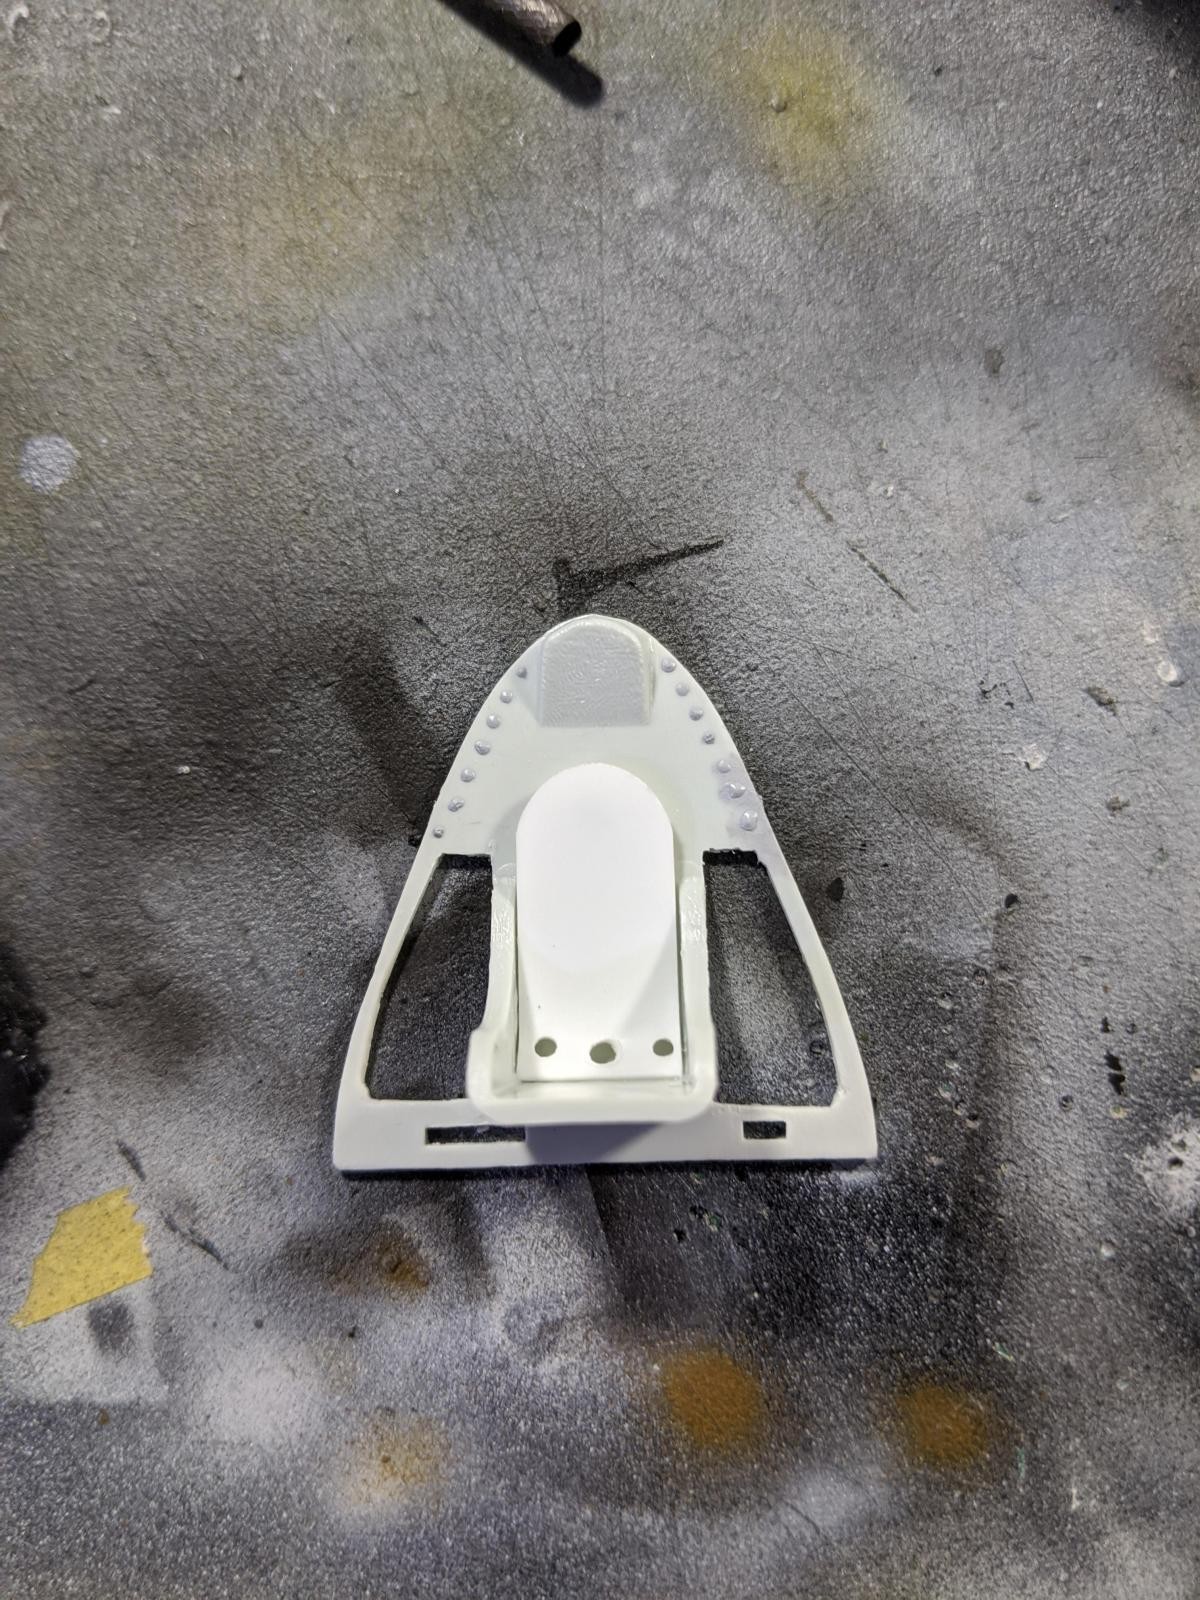
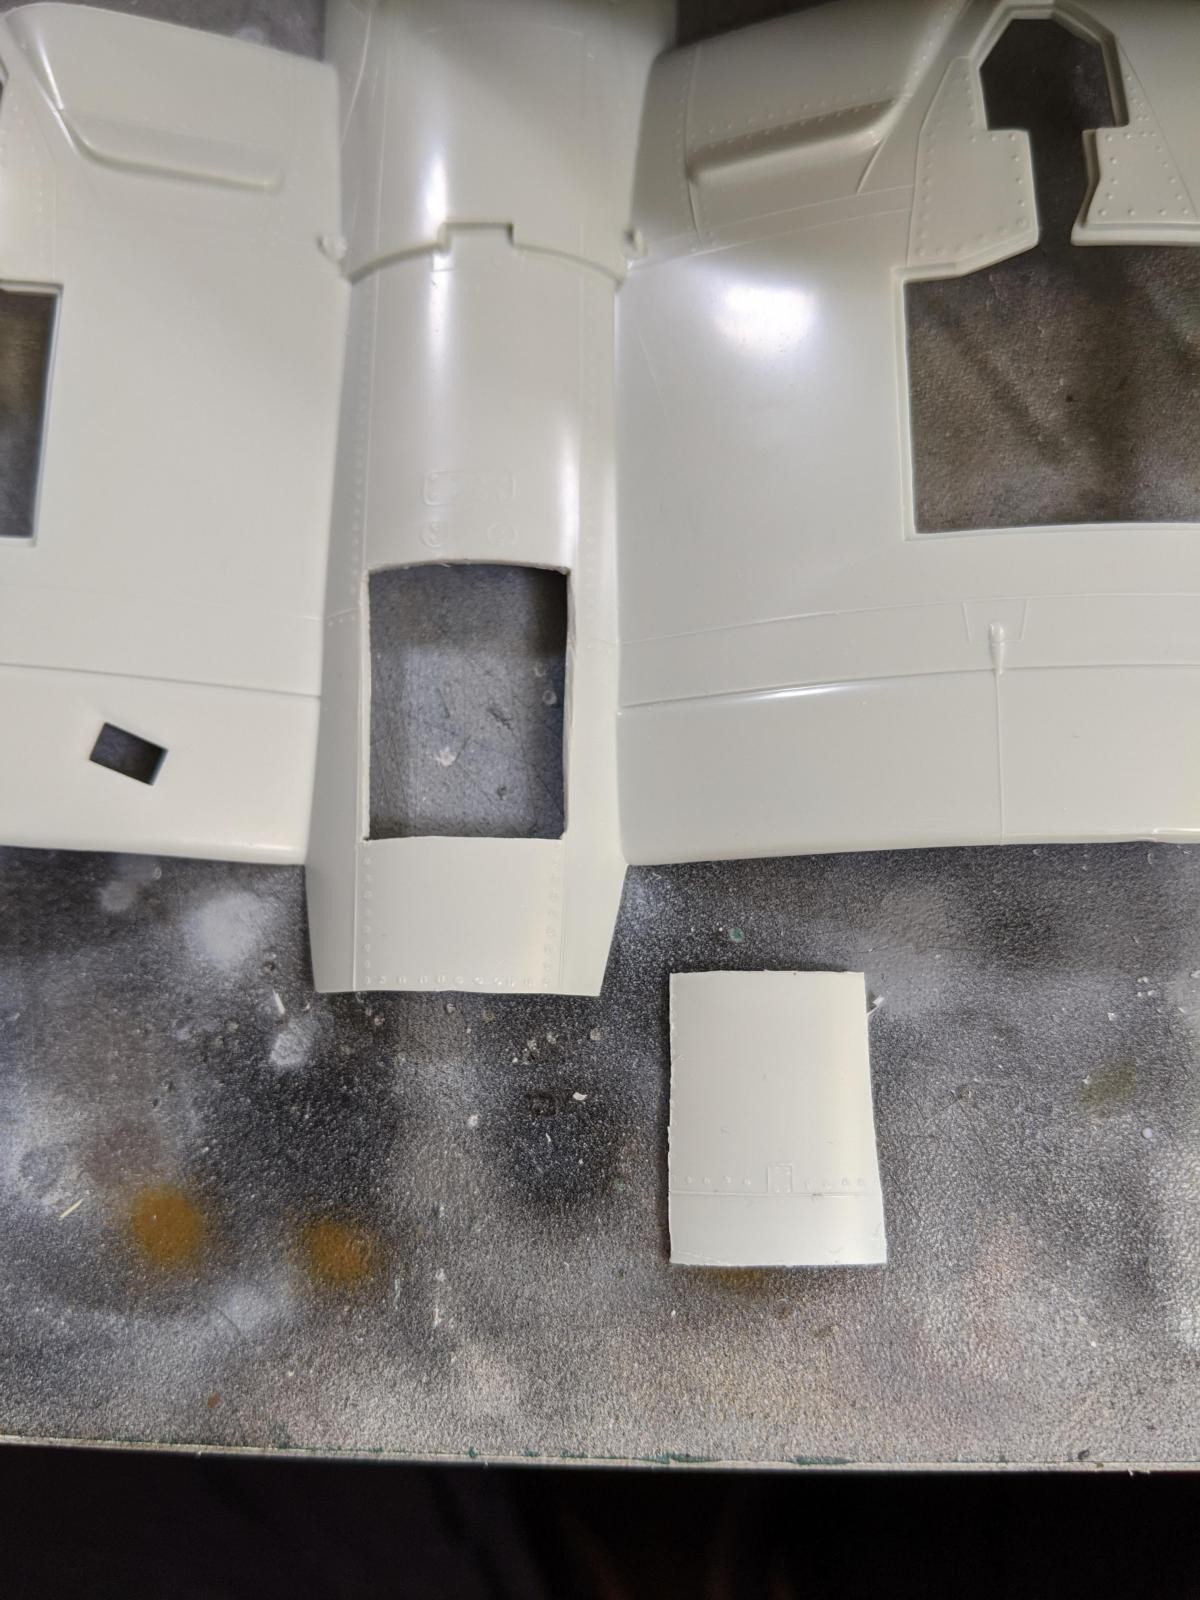
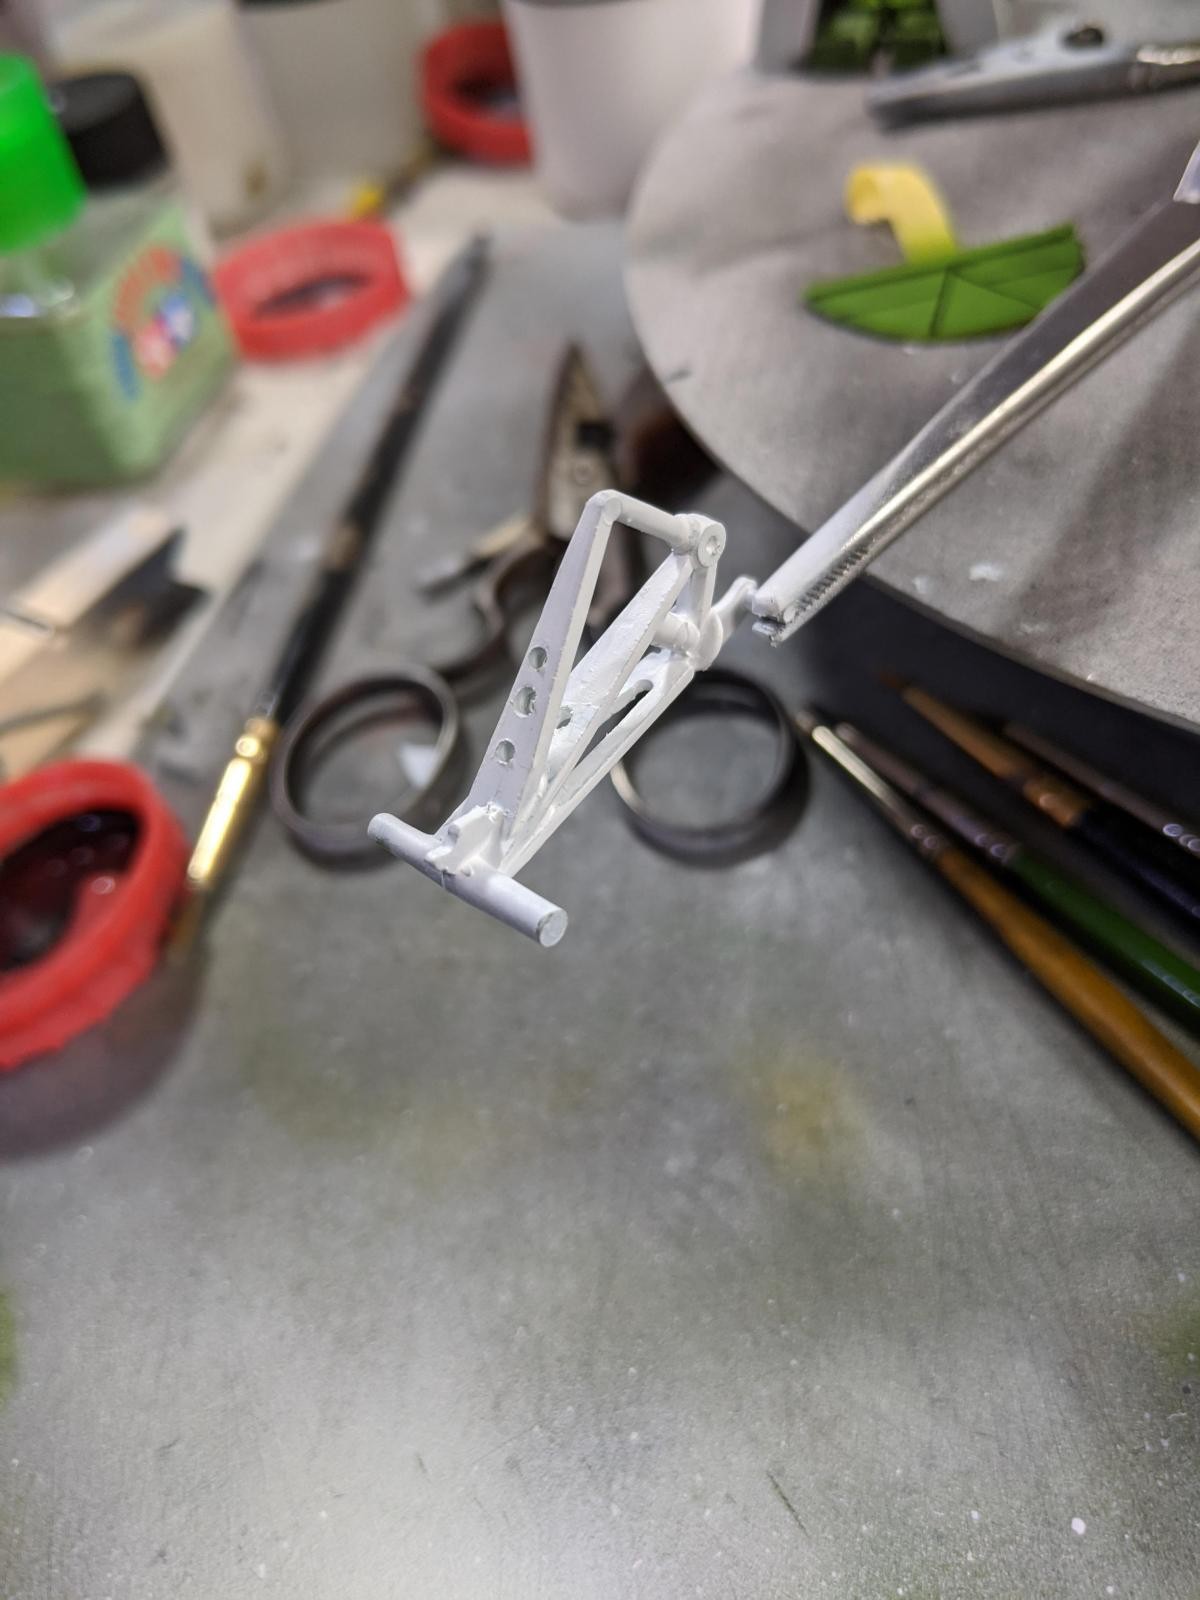
The undercarriage was simply solid blocks of plastic, not like the real thing, which has holes and gaps (for weight reduction?) so I added those too.
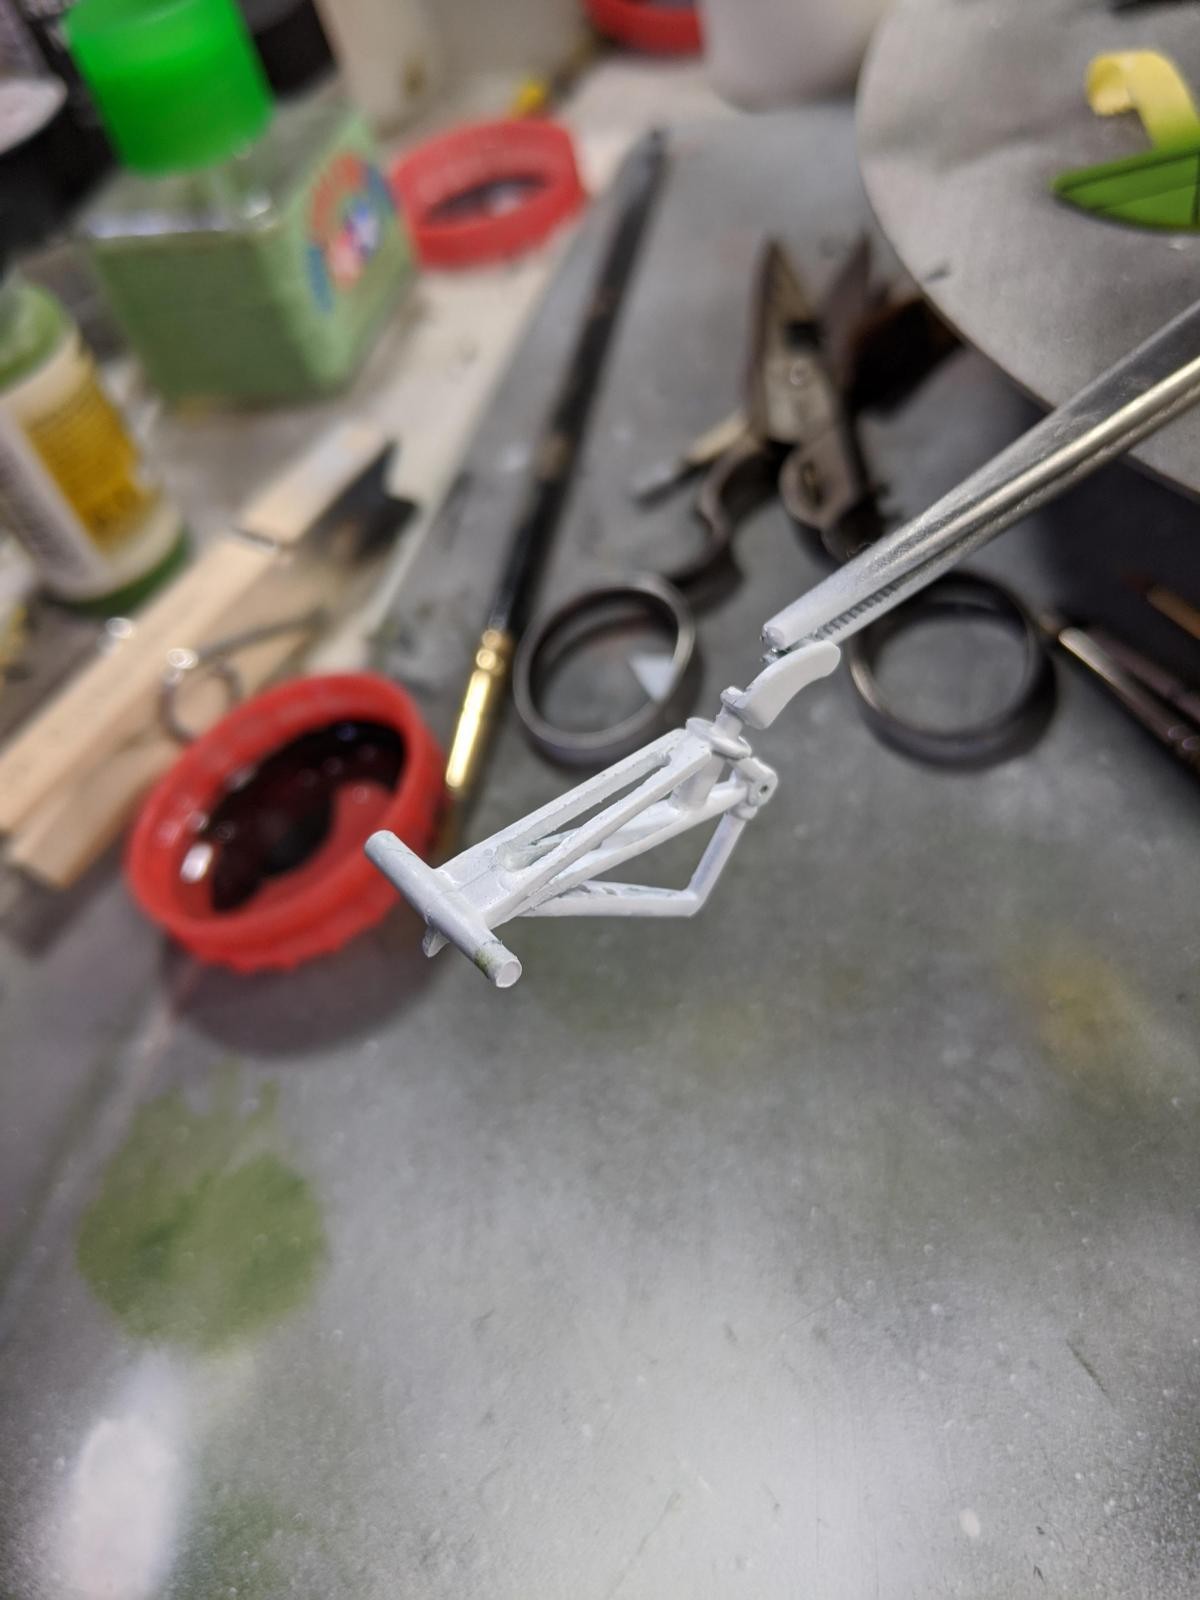
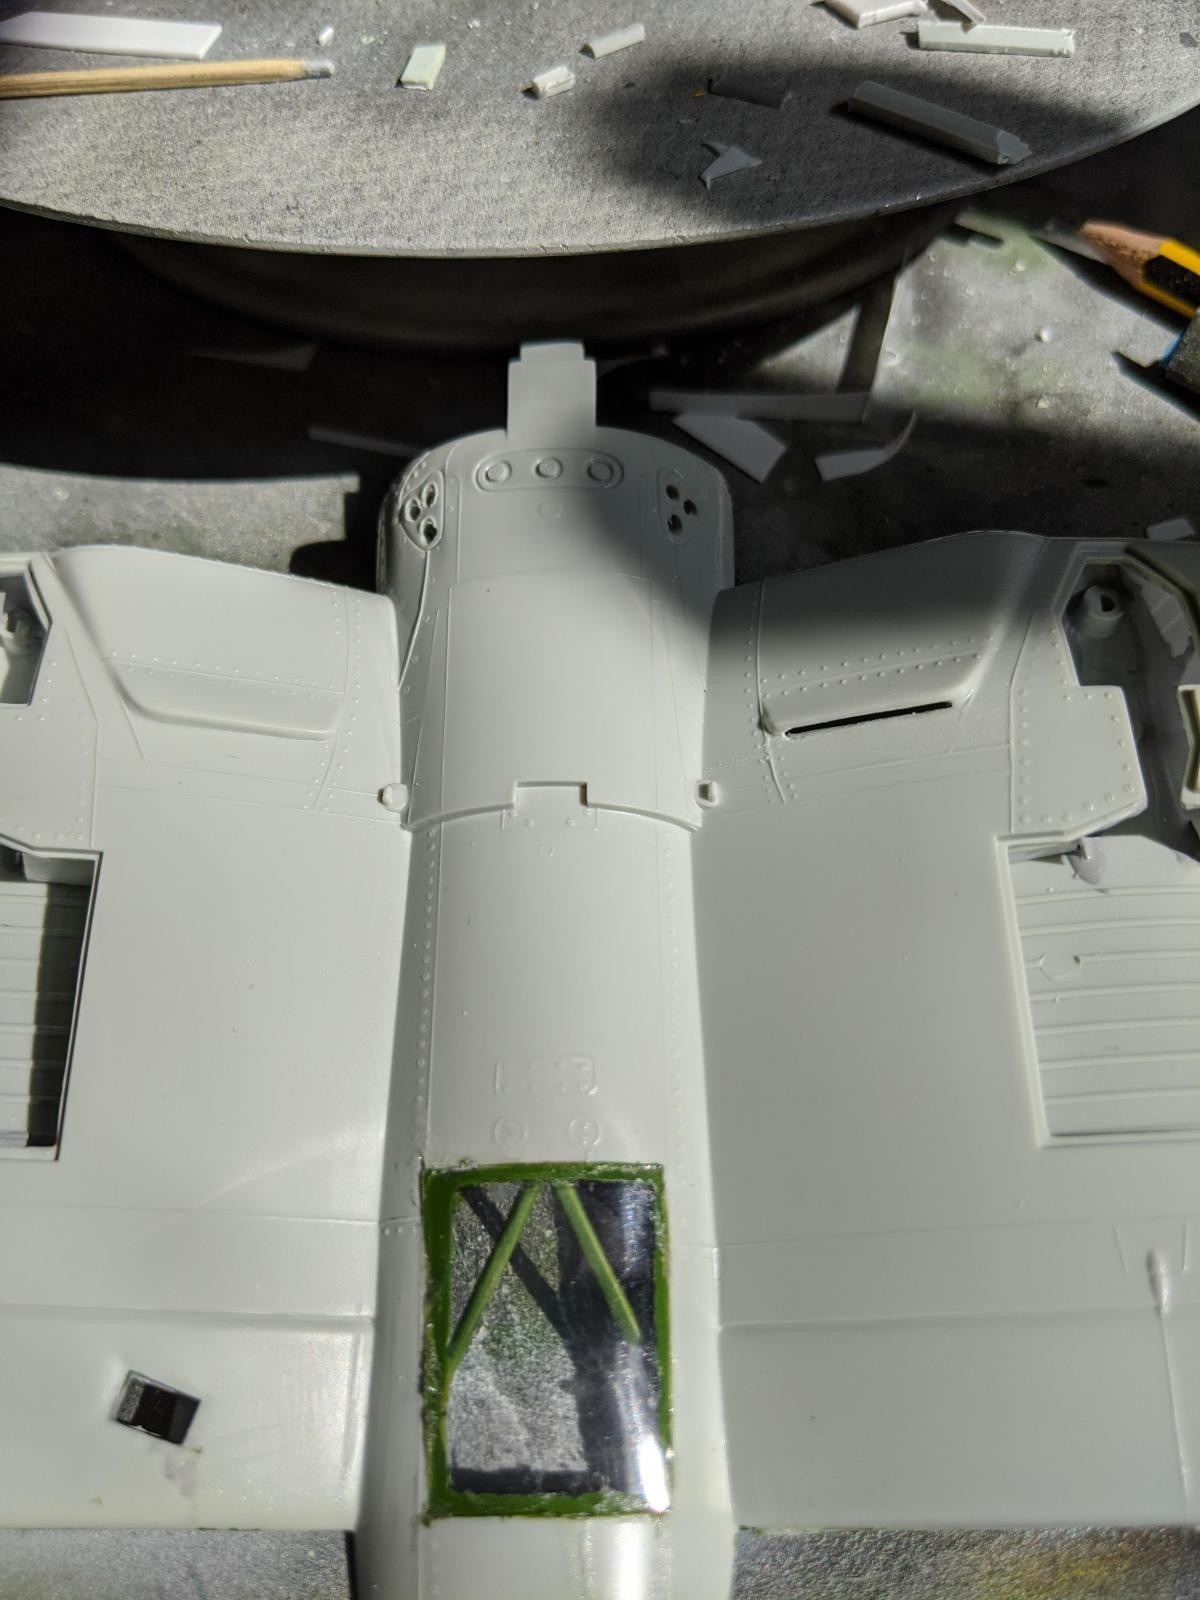
I also added ribbing and structure inside the undercarriage bays and around the newly added window.
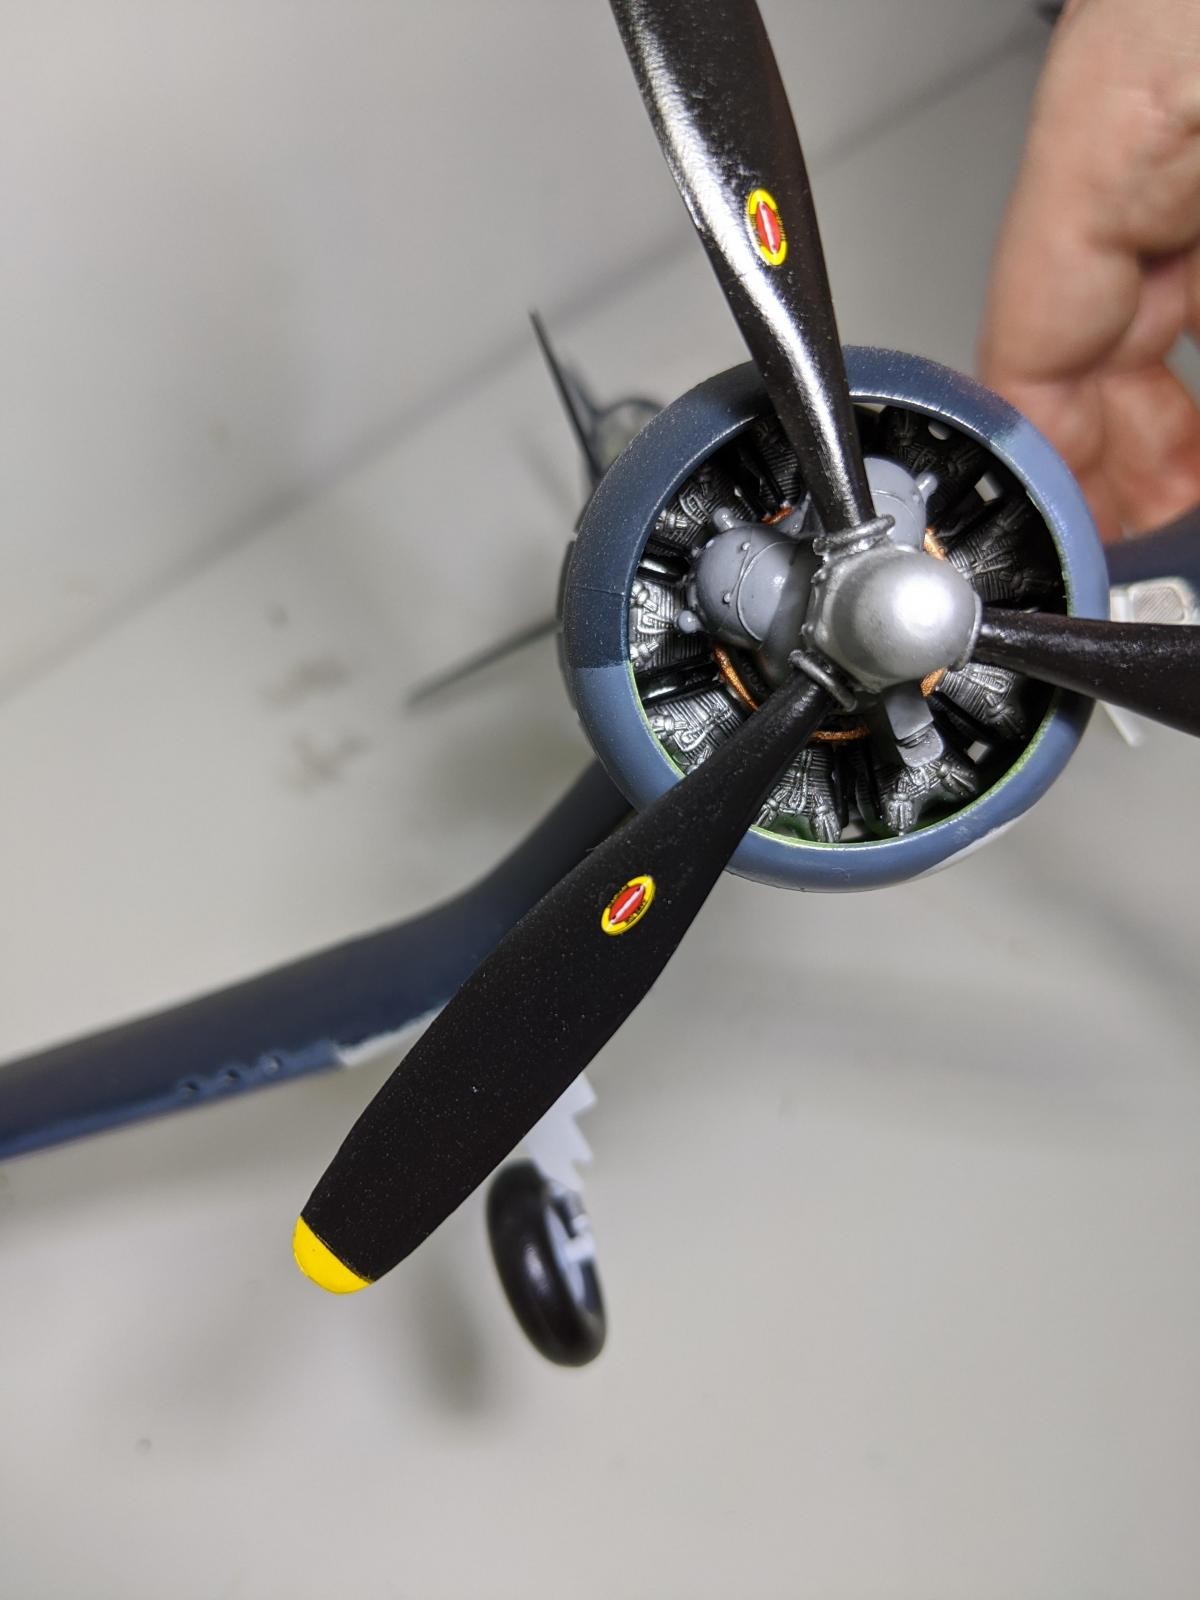
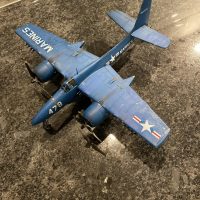
I painted the main scheme with Vallejo Model Air paints and finished with a Vallejo Matt coat.


Well done Matt, nice job of scratch building for added detail. She looks great
Thanks, I quite enjoyed scratch building, it gives a great sense of achievement.
I actually had no idea the corsair had a window. That's very cool! And well done on the old bird. In still in the process of finishing mine.
Nor did I until I started researching the build.
Great work, Matt!
Thank you.
Looks great, I had an old revel catalog when this kit was introduced. talk about old.
It definitely shows its age, but that's part of the challenge.
I was referring to myself being old. The Corsair is great.@throwaway
You did a fine job with your Corsair. It's my favorite plane...
Thank you.
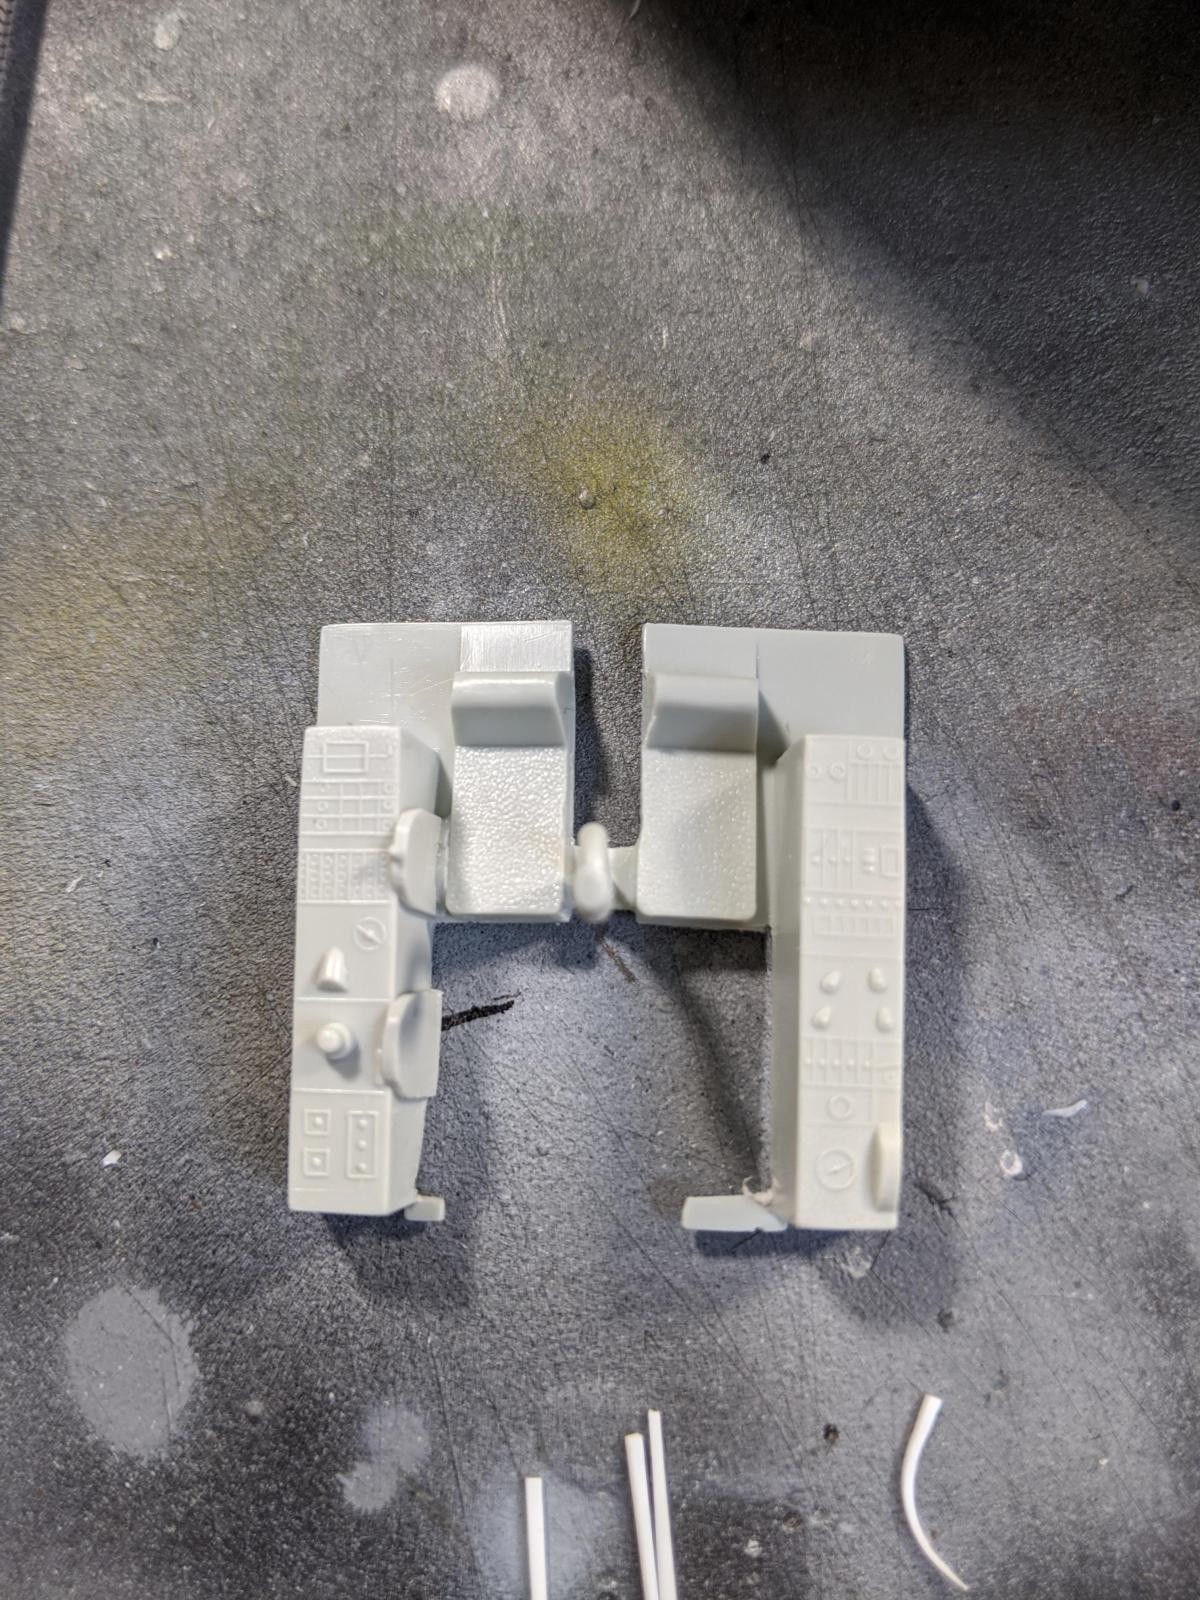
Nice Matt! What's the secret to the instrument panel/gauges? They look very realistic!
The main panel is just the kit decal, the side panels are hand painted as the decals did not match the panels at all. If you look really closely you can see that the raised detail on the panel doesn't match the dials on the decal. When I noticed this for the first time it really annoyed me but it is not noticeable to a casual inspection so I can live with it, just.
Great model, Matt! I love your scratchbuilding. Have built the same, a dozen years ago, but just OOB. I wish I could have done your improvements.
All the best!
Thank you.
Nice added touches, and the final build looks great!
Thank you.
Nice additions, that bent-wing bird looks ready to take off!
Thank you.
Sharp looking ! good looking work on the scratch build items.
Thank you.