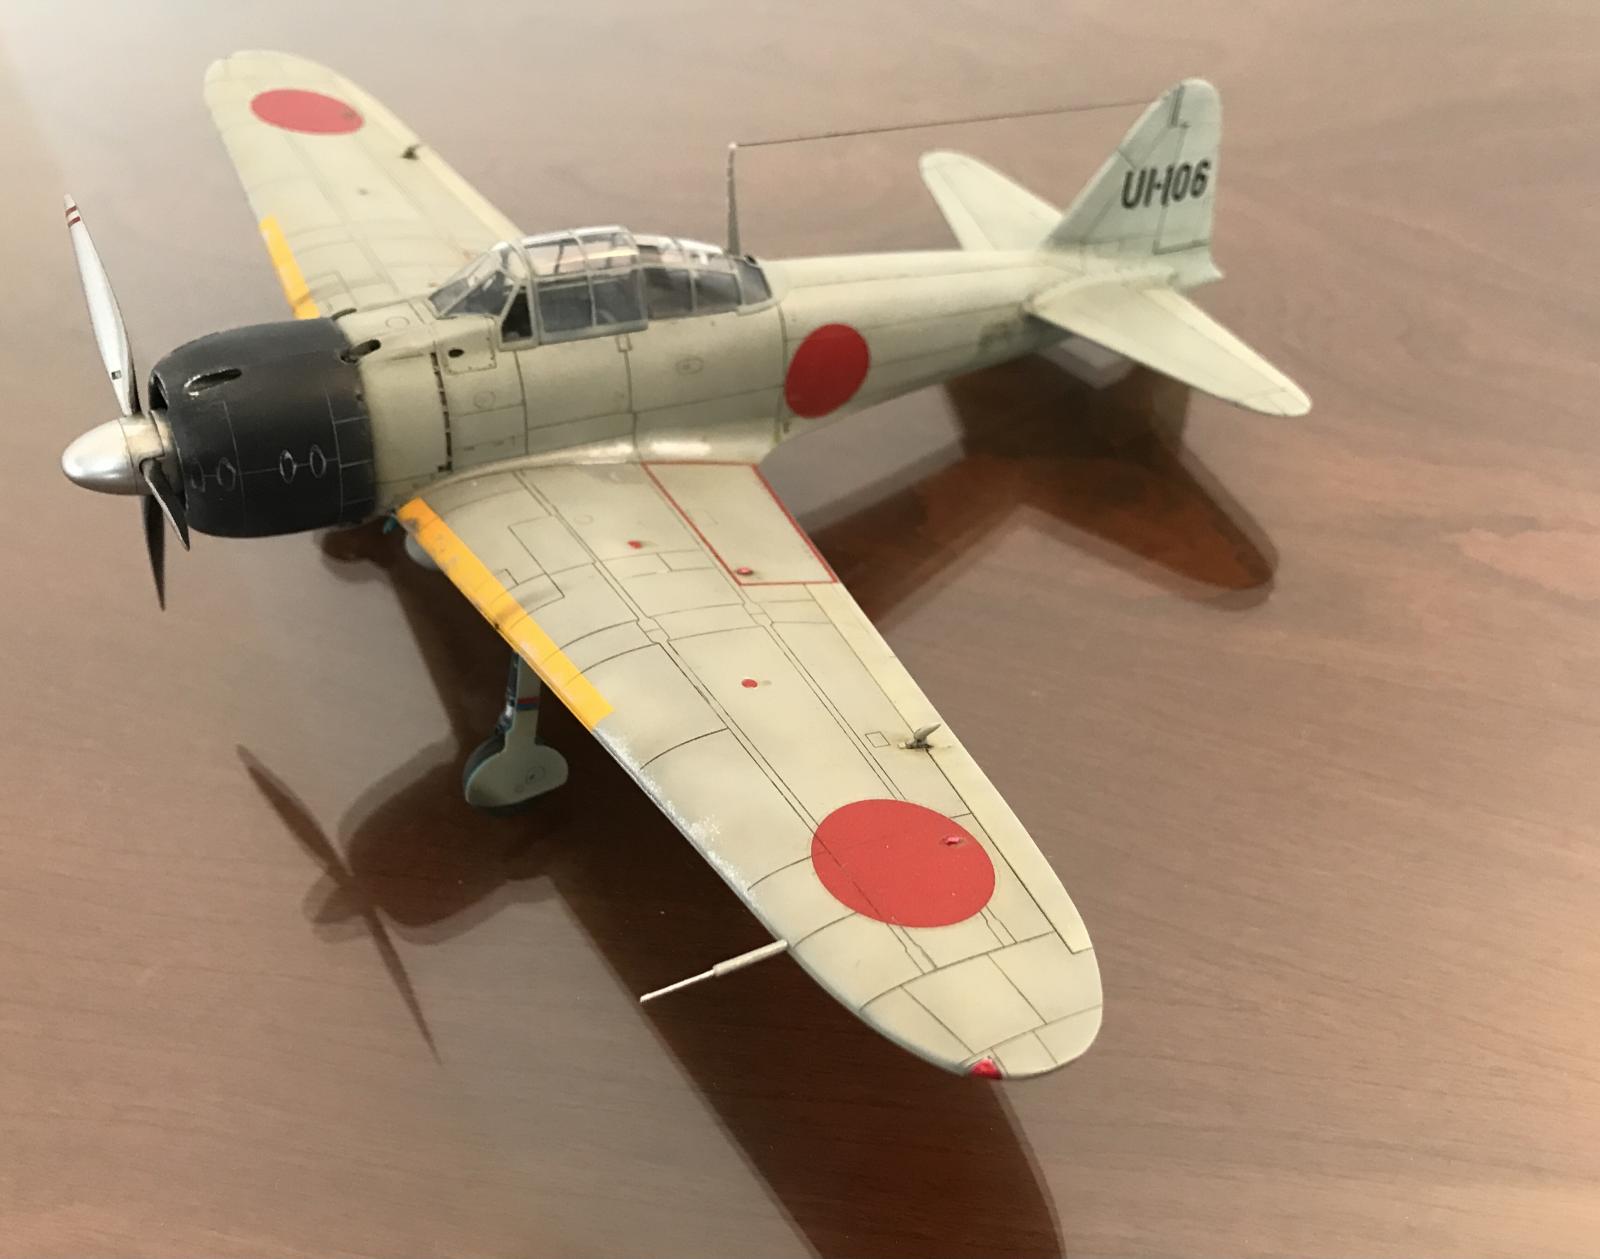
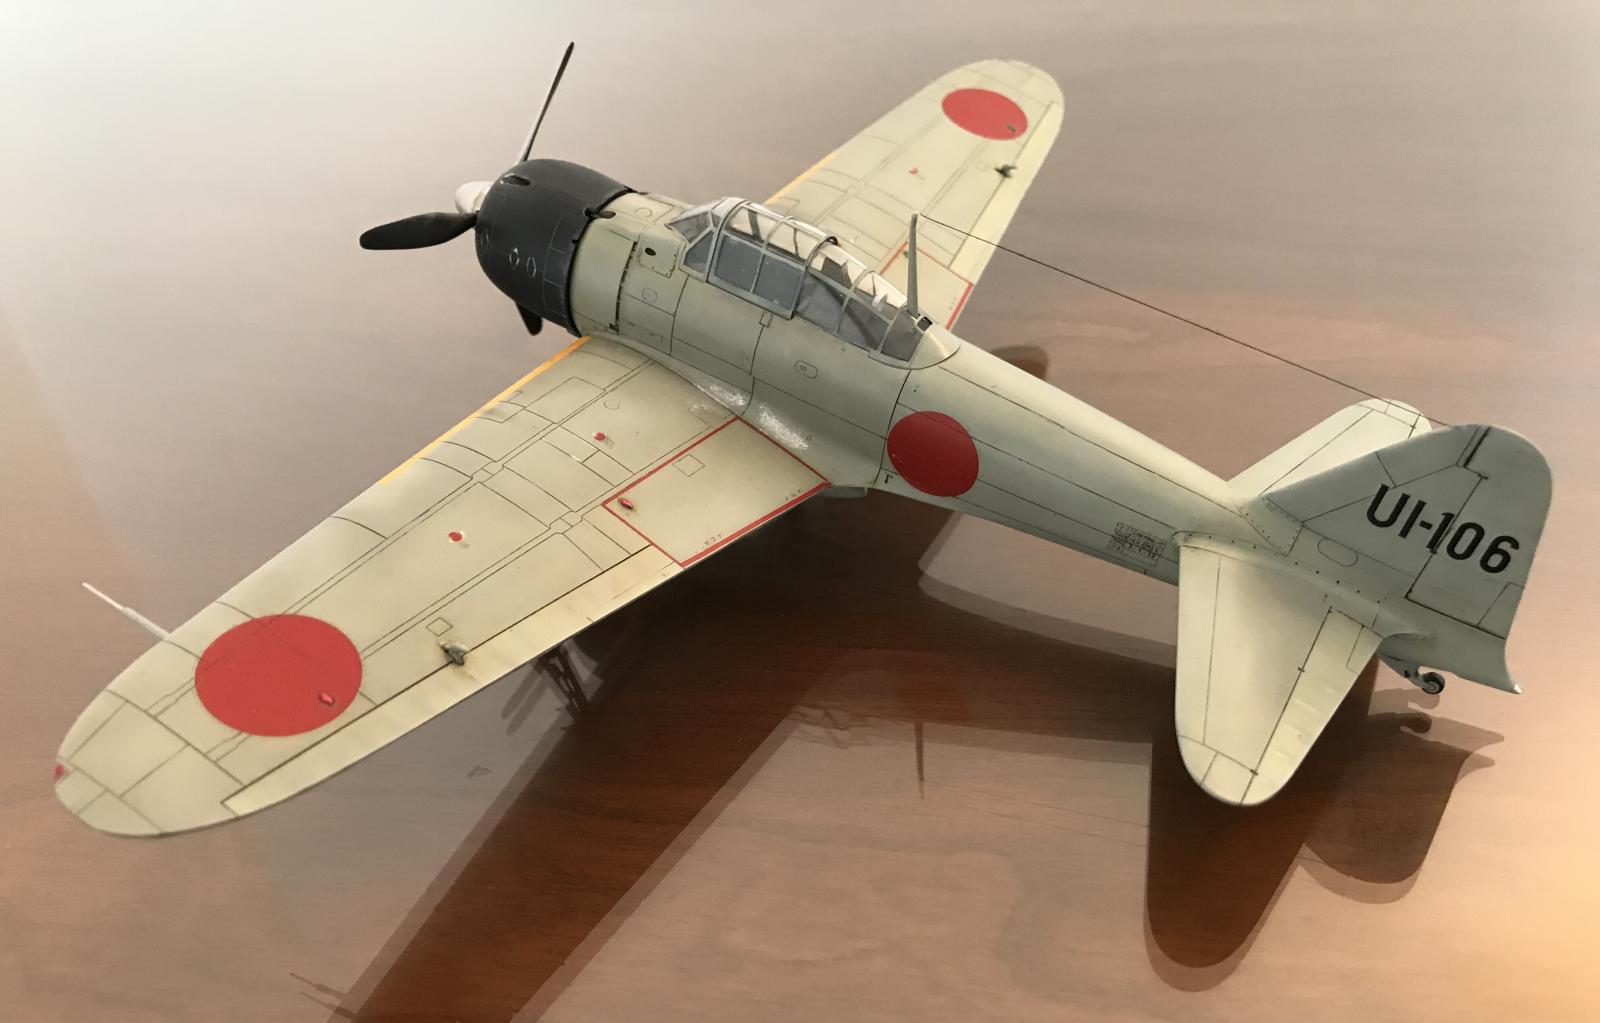
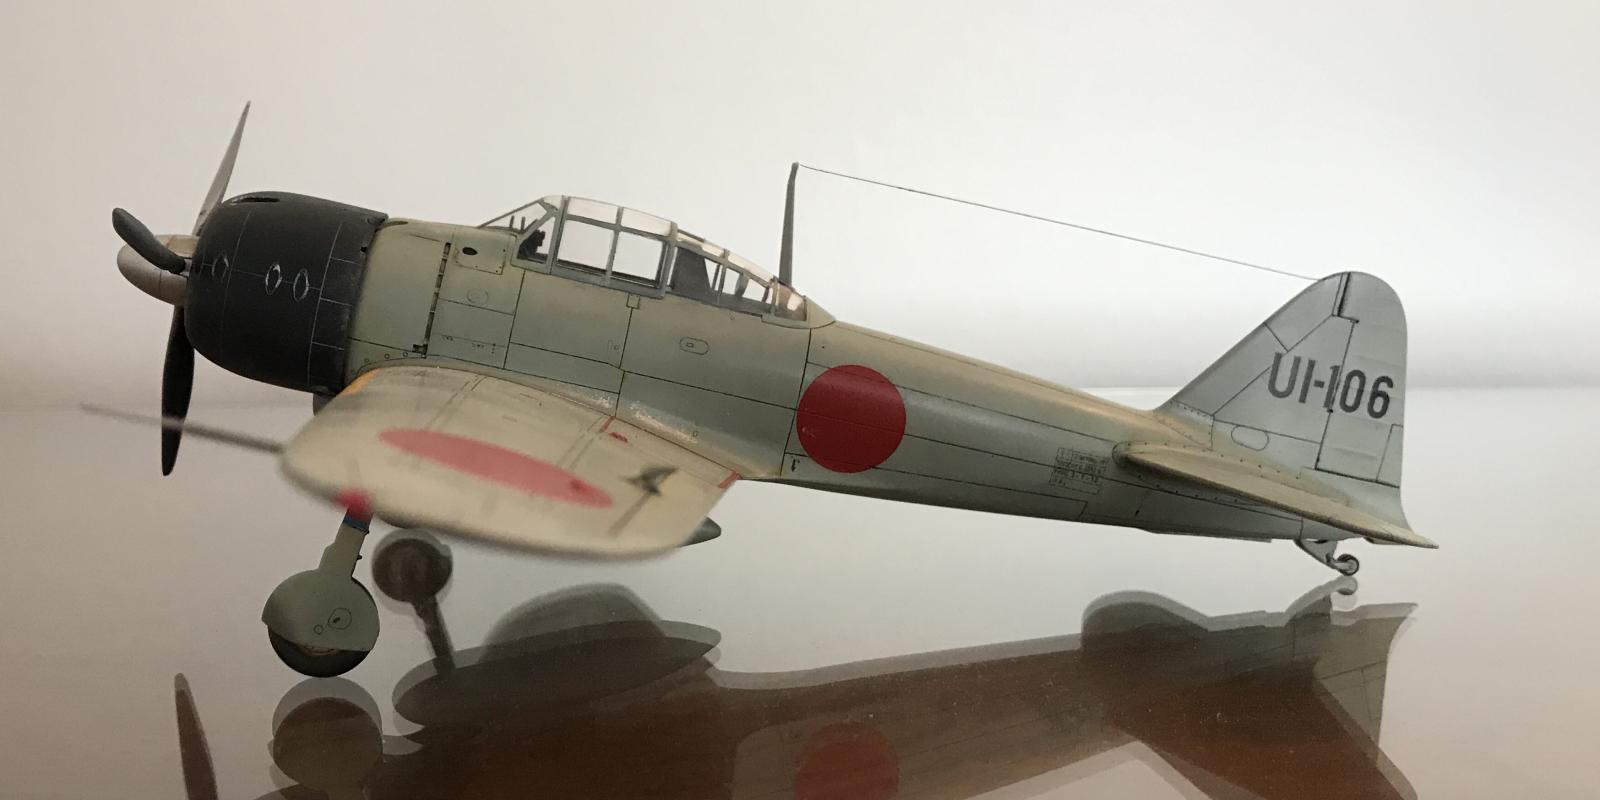
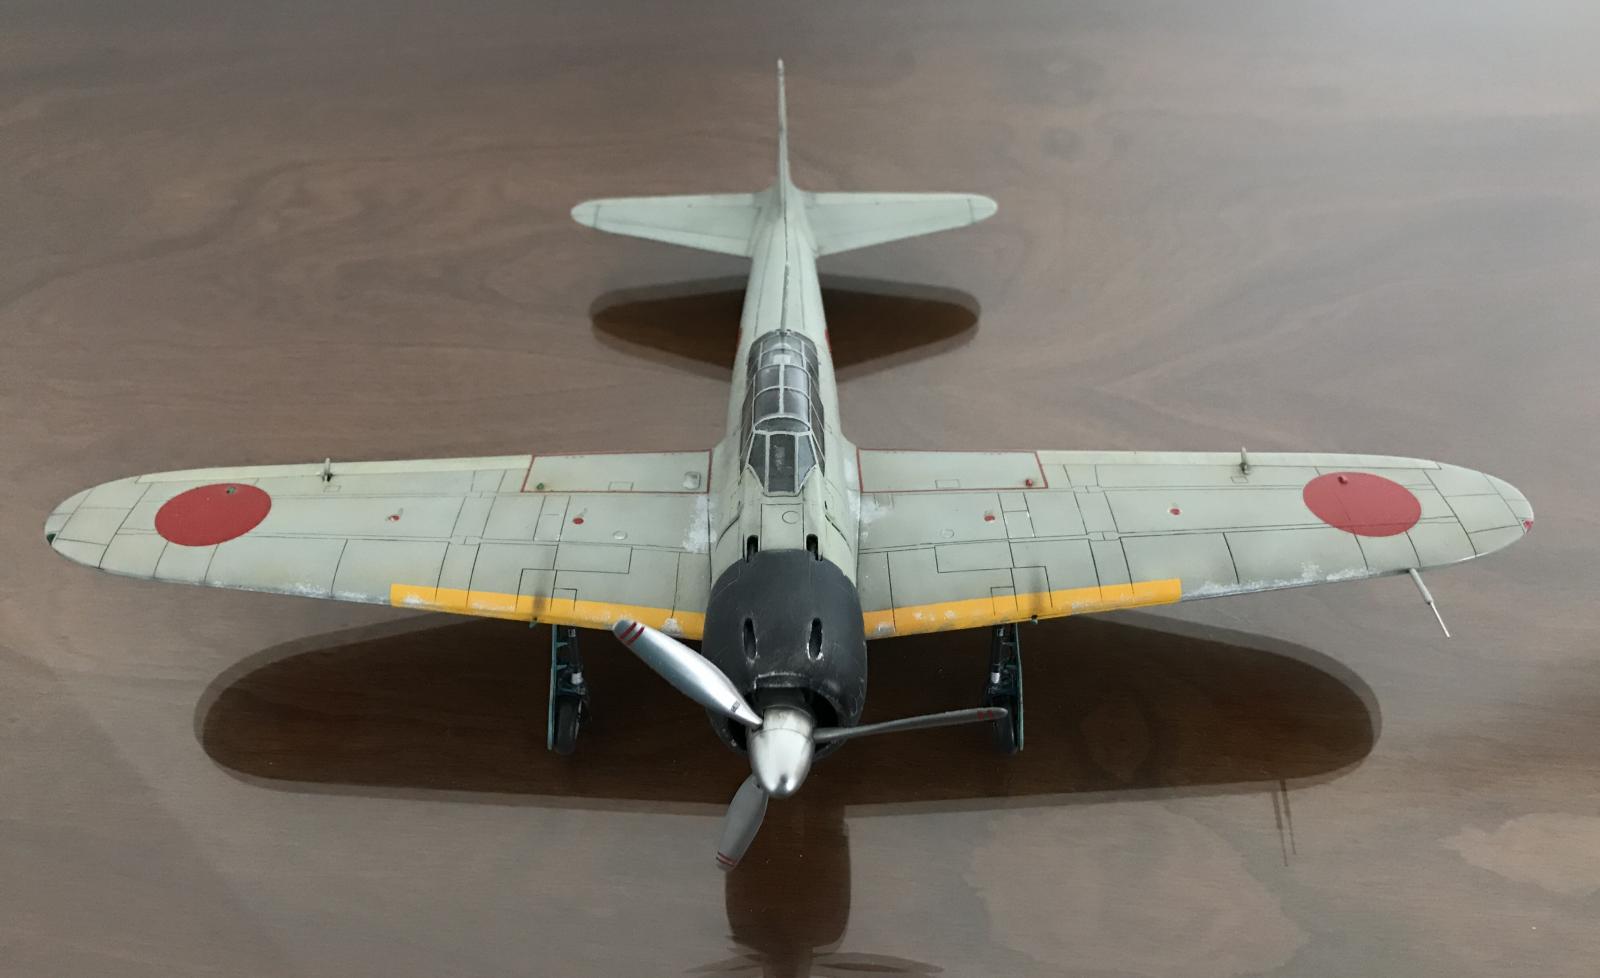
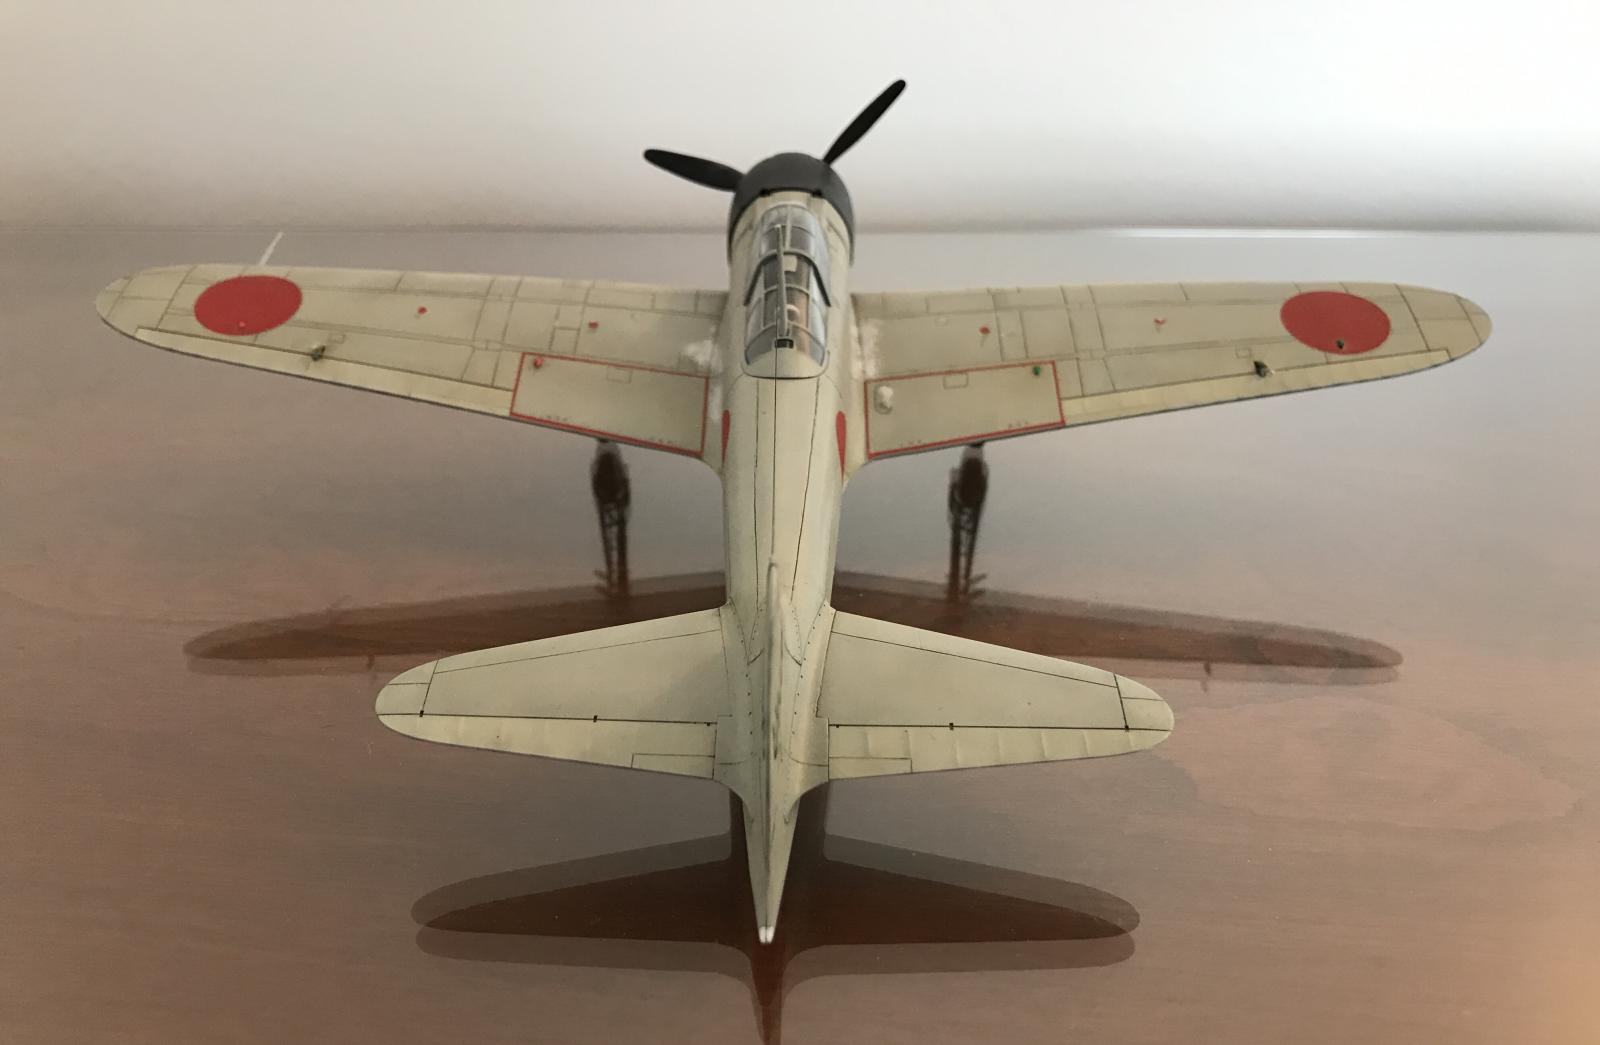
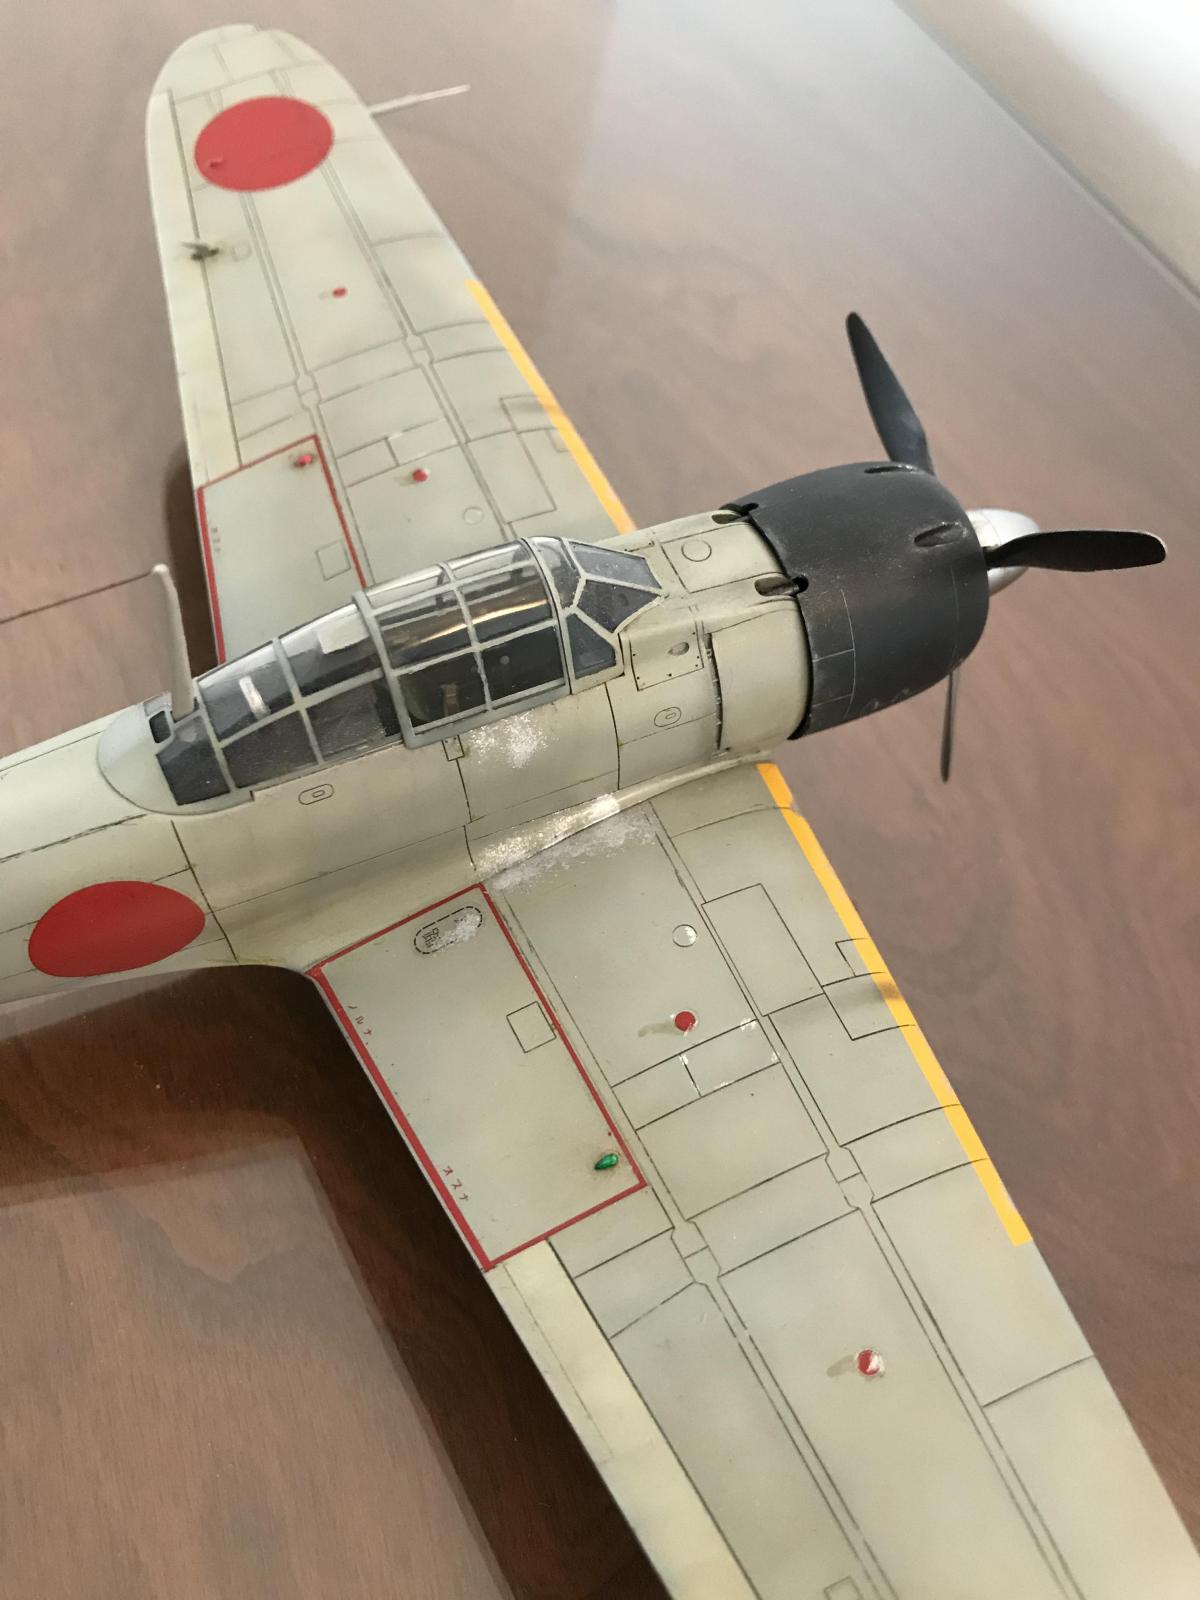
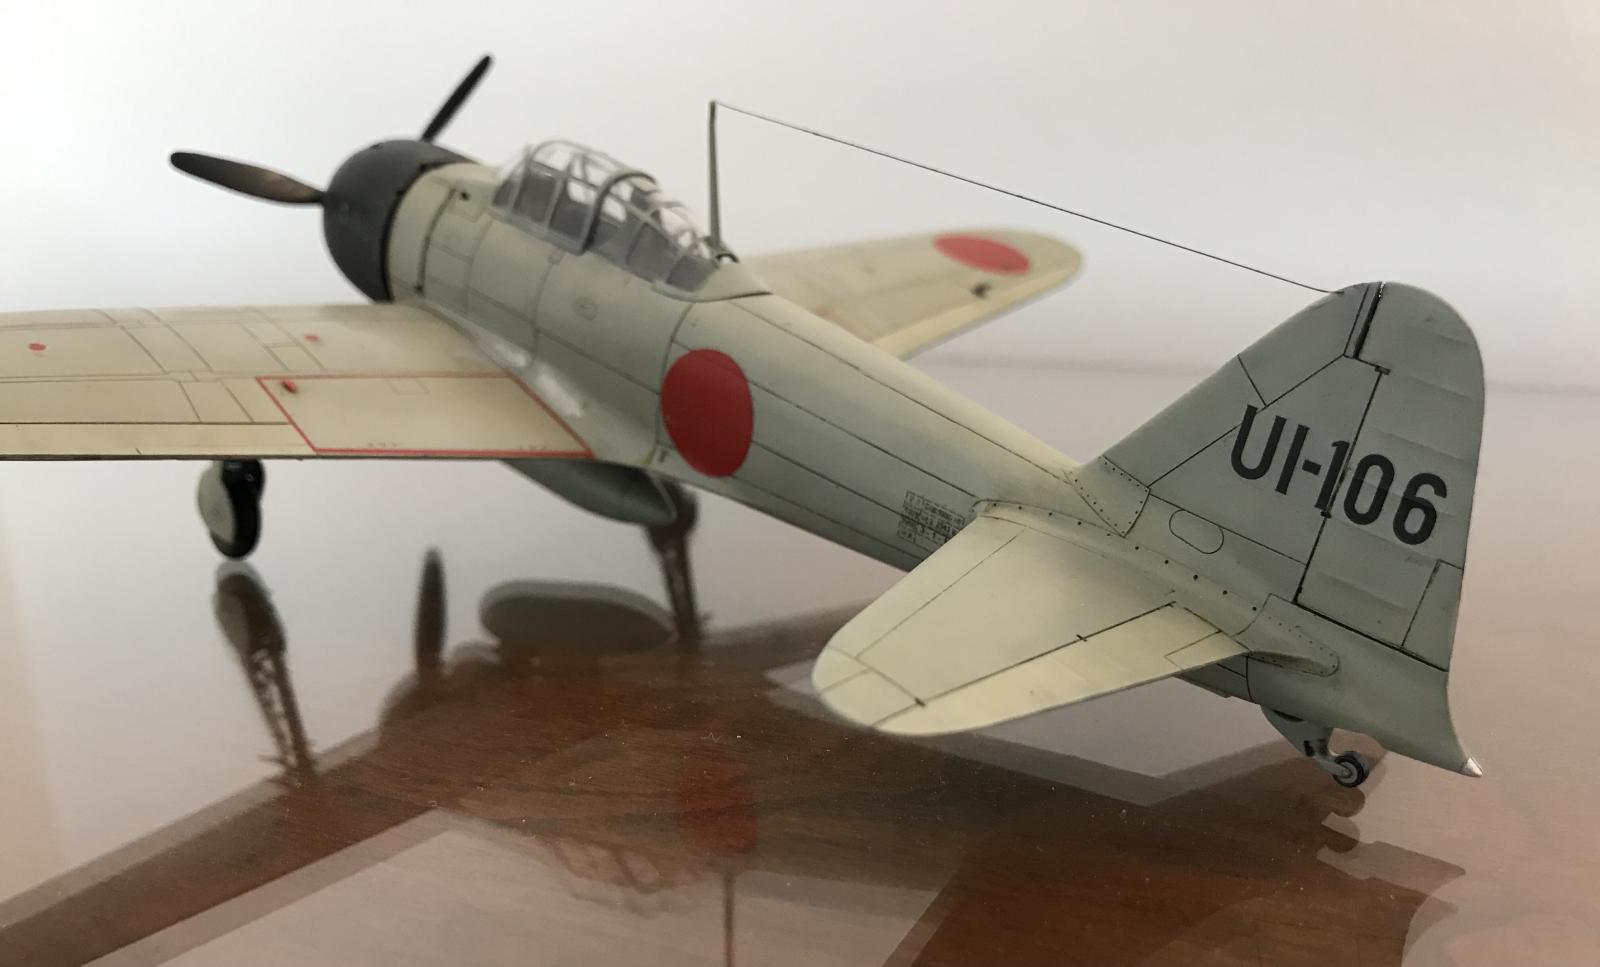
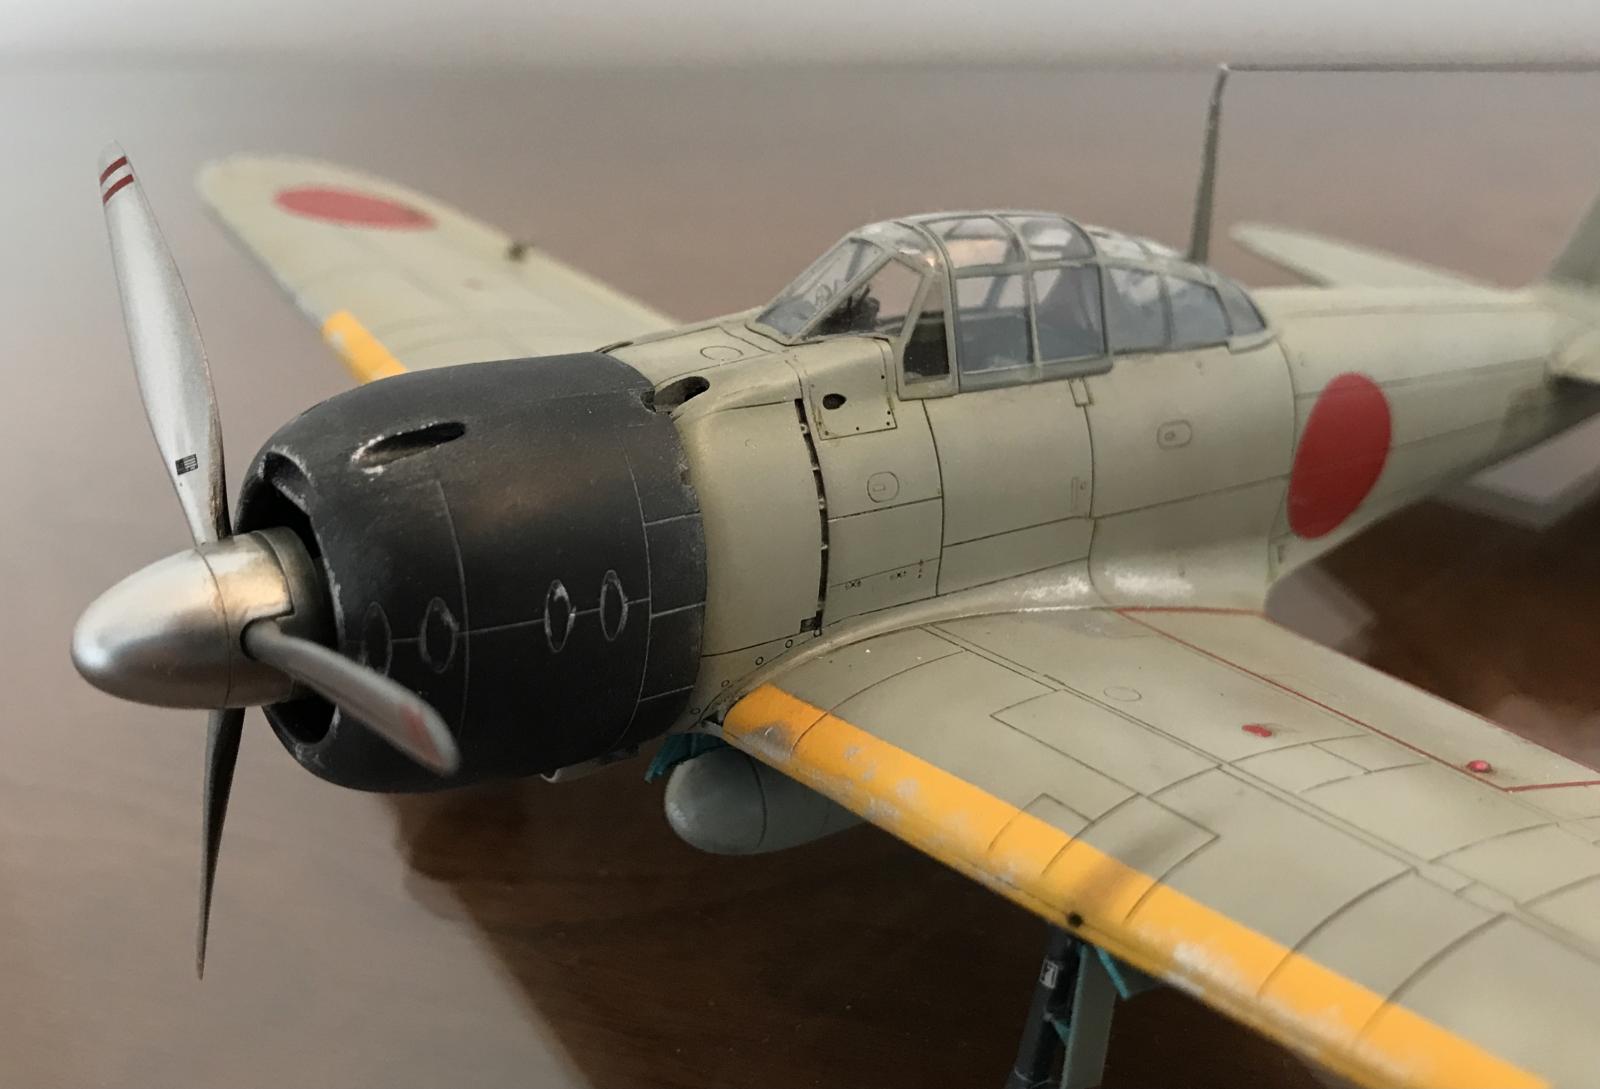
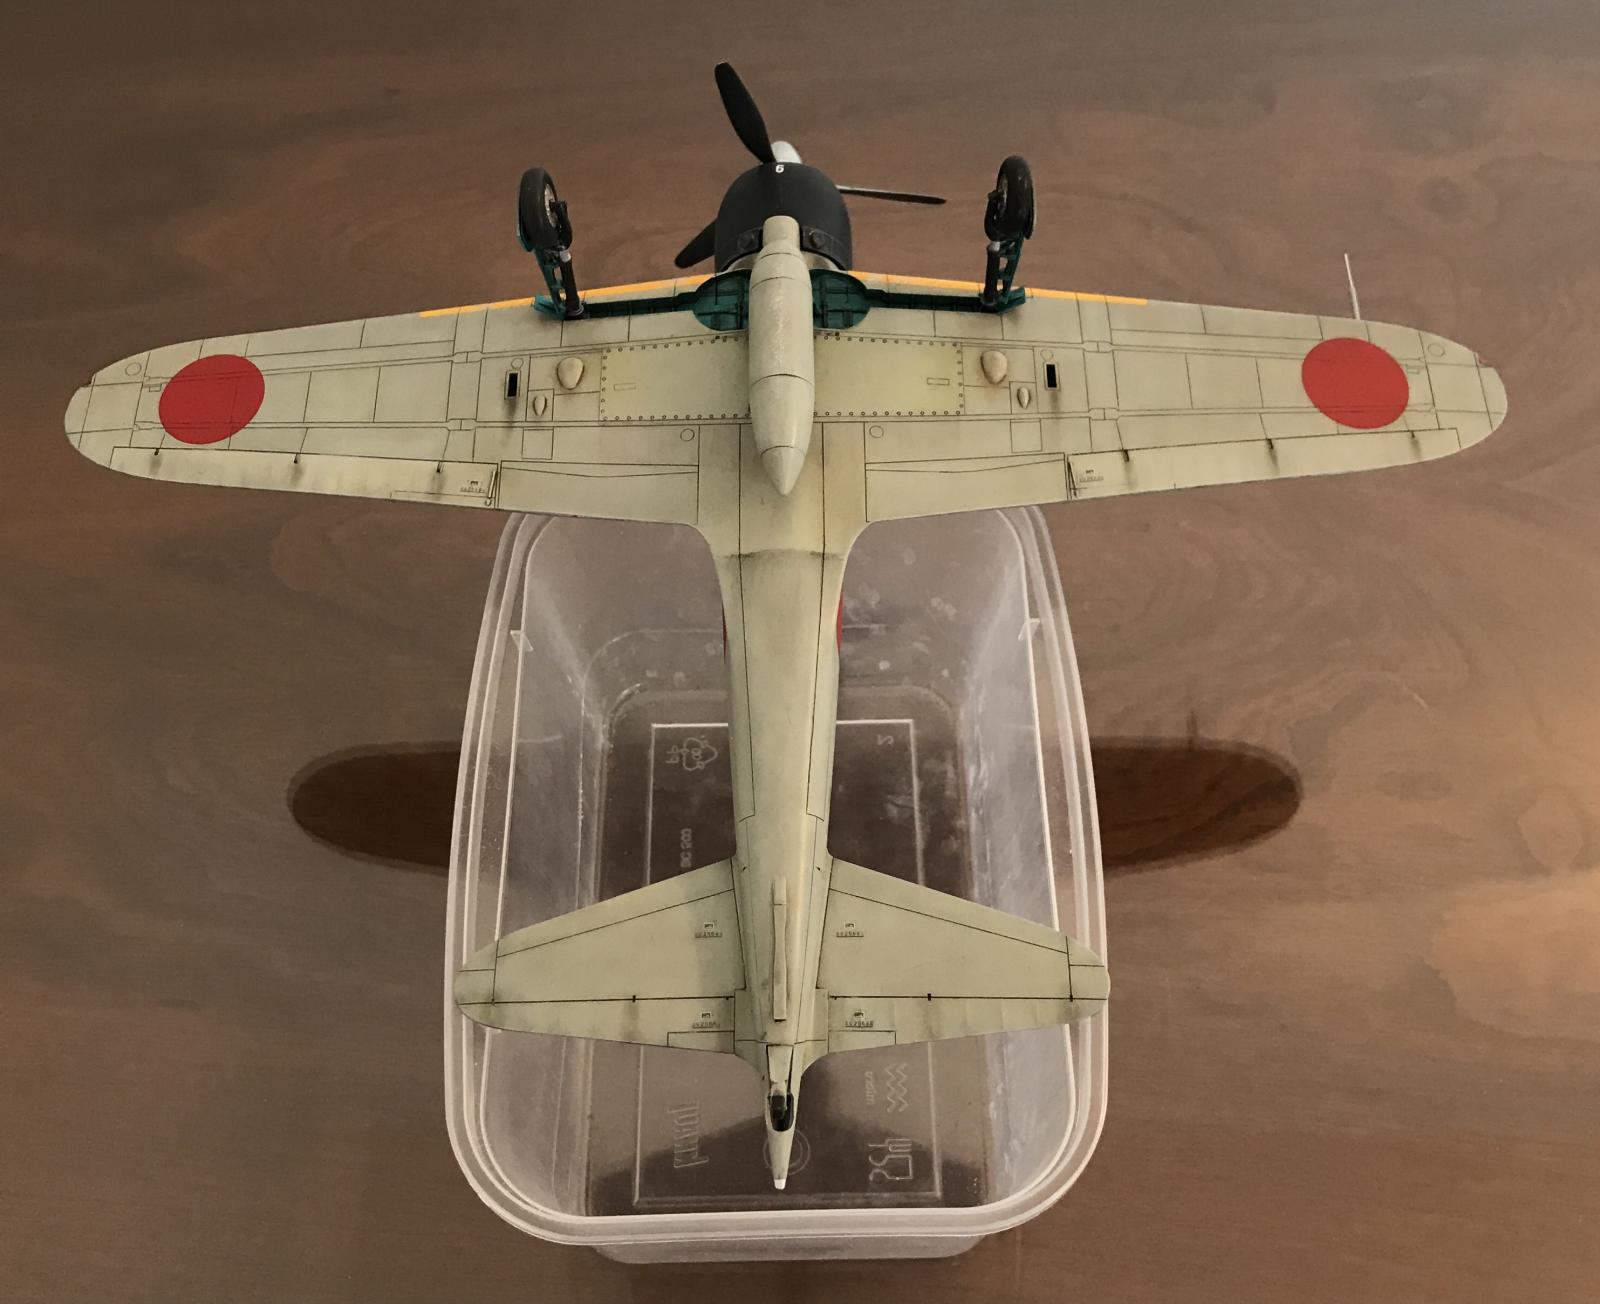
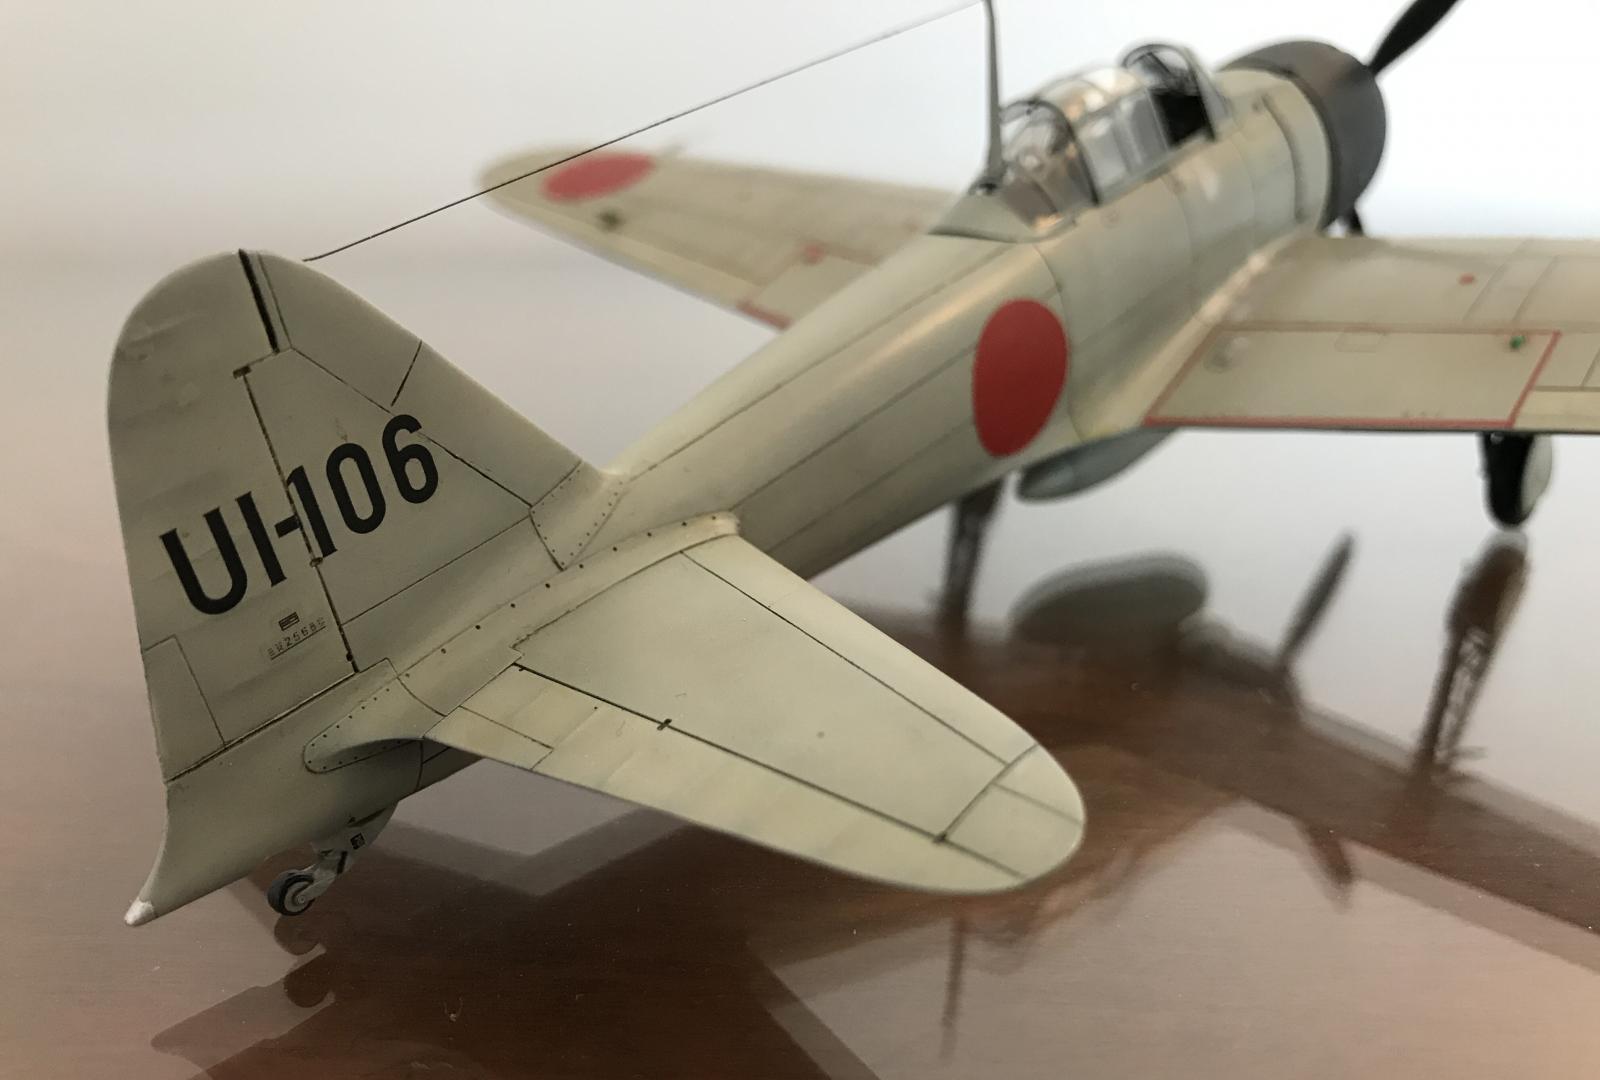
Mitsubishi A6M3 Zero Type 22 - IJN 251 Kokutai - Hiroyoshi Nishizawa – Spring 1943
Bonjour dear iModelers,
After my previous Corsair, it was logical to follow with a Zero fighter. I had on stock the Hasegawa A6M3 Type 22 model (JT17) for more than 20 years, therefore it was time to take care of it.
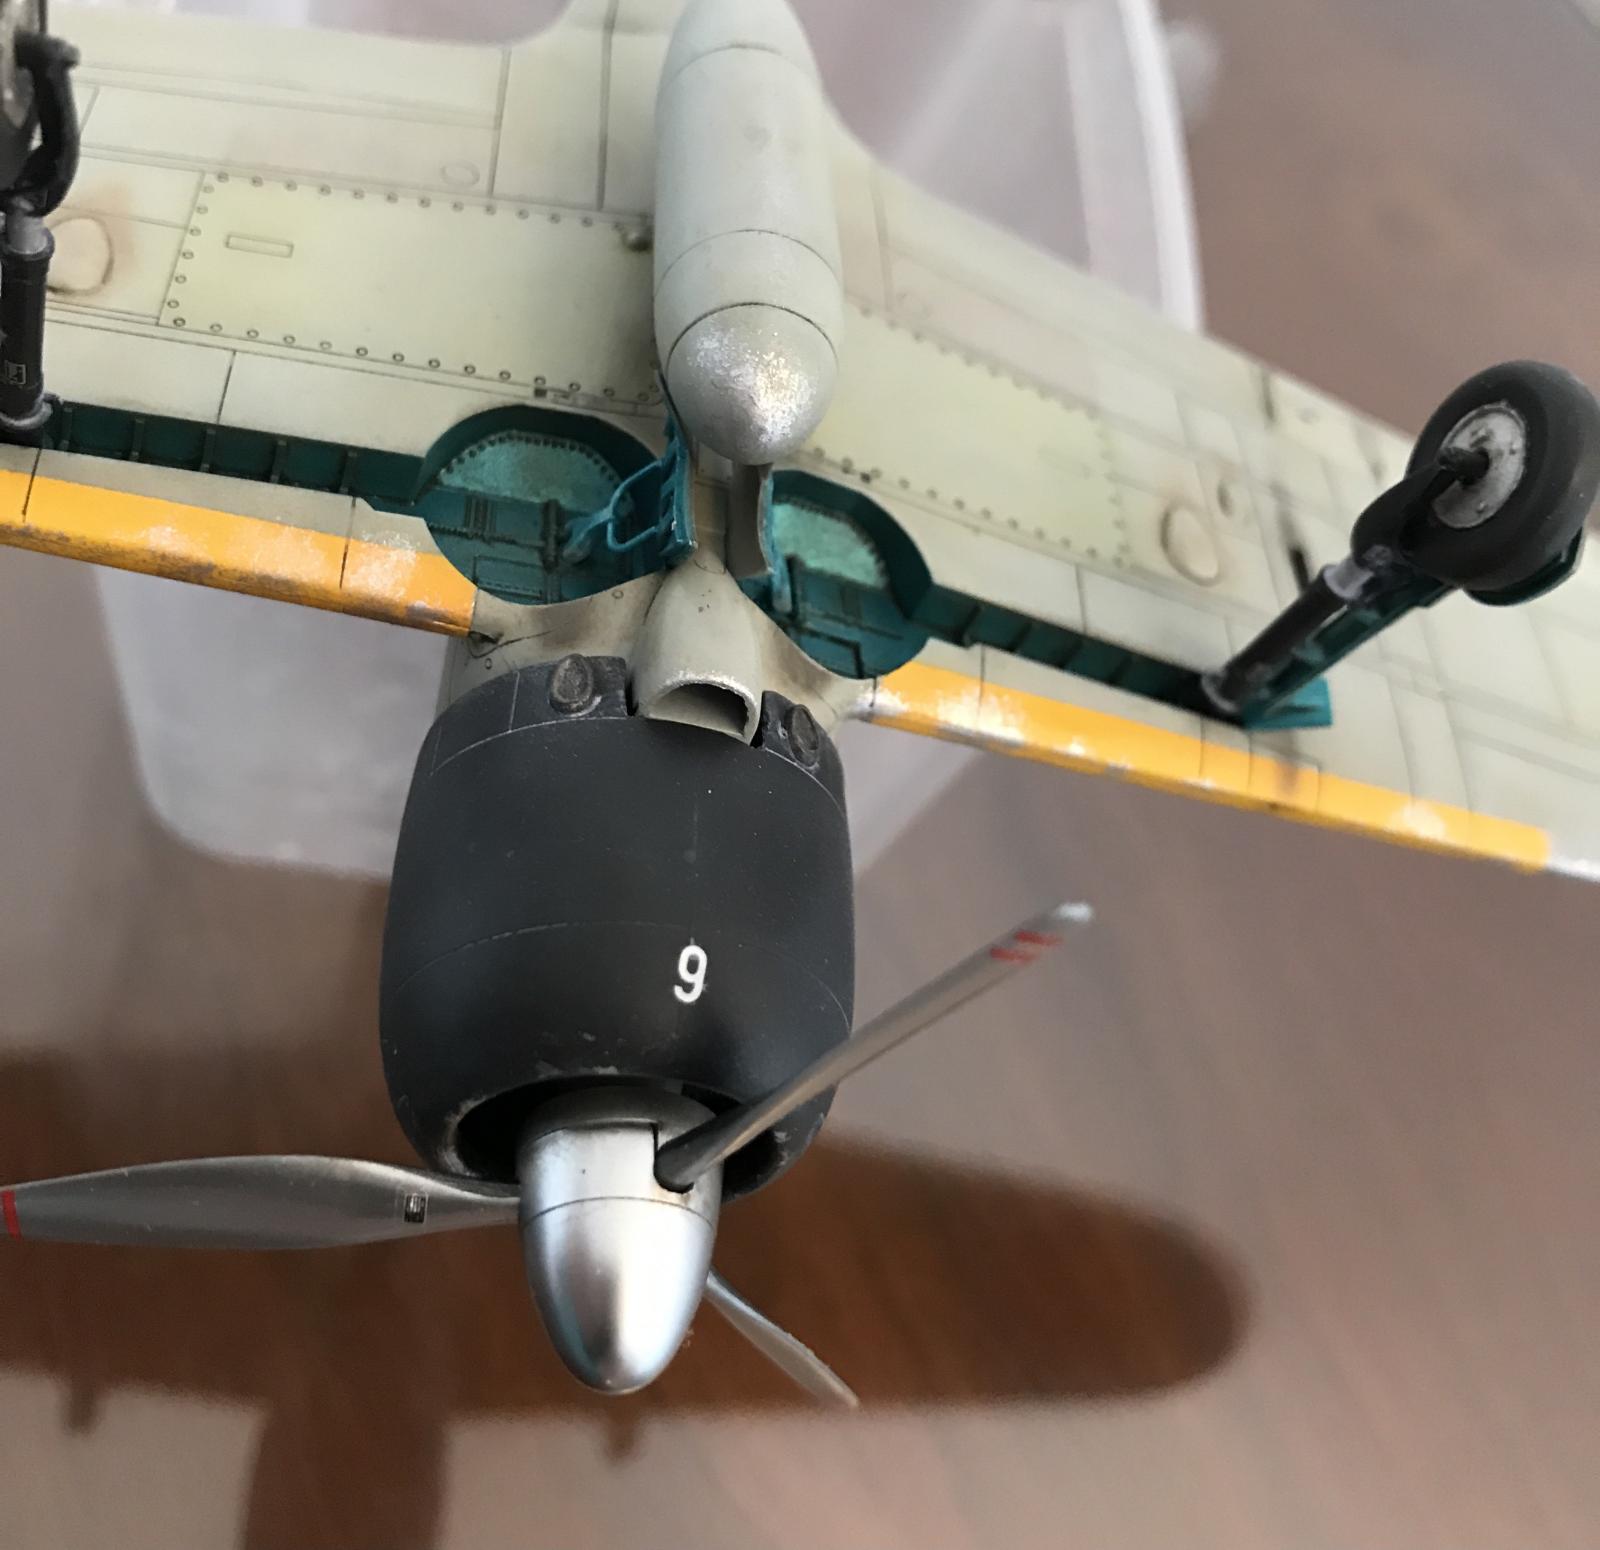
I decided to make a blue/gray instead of traditional green camouflage. The original decal sheet was in poor condition, and to find a brand new with the wished version was not that easy. Finally I selected the Techmod sheet (48118). No PE parts on this model (I just added a copper wire per landing strut to simulate hydraulic hose).
Paints are Mr Hobby Aqueous, Mr Color and Tamiya. I used many colors of oil paints and pigments for weathering, and I had lot of fun with it. I tried also some watercolor pens, but I did not get the wanted results. Anyway, it would be better next time.
I hope you like it!


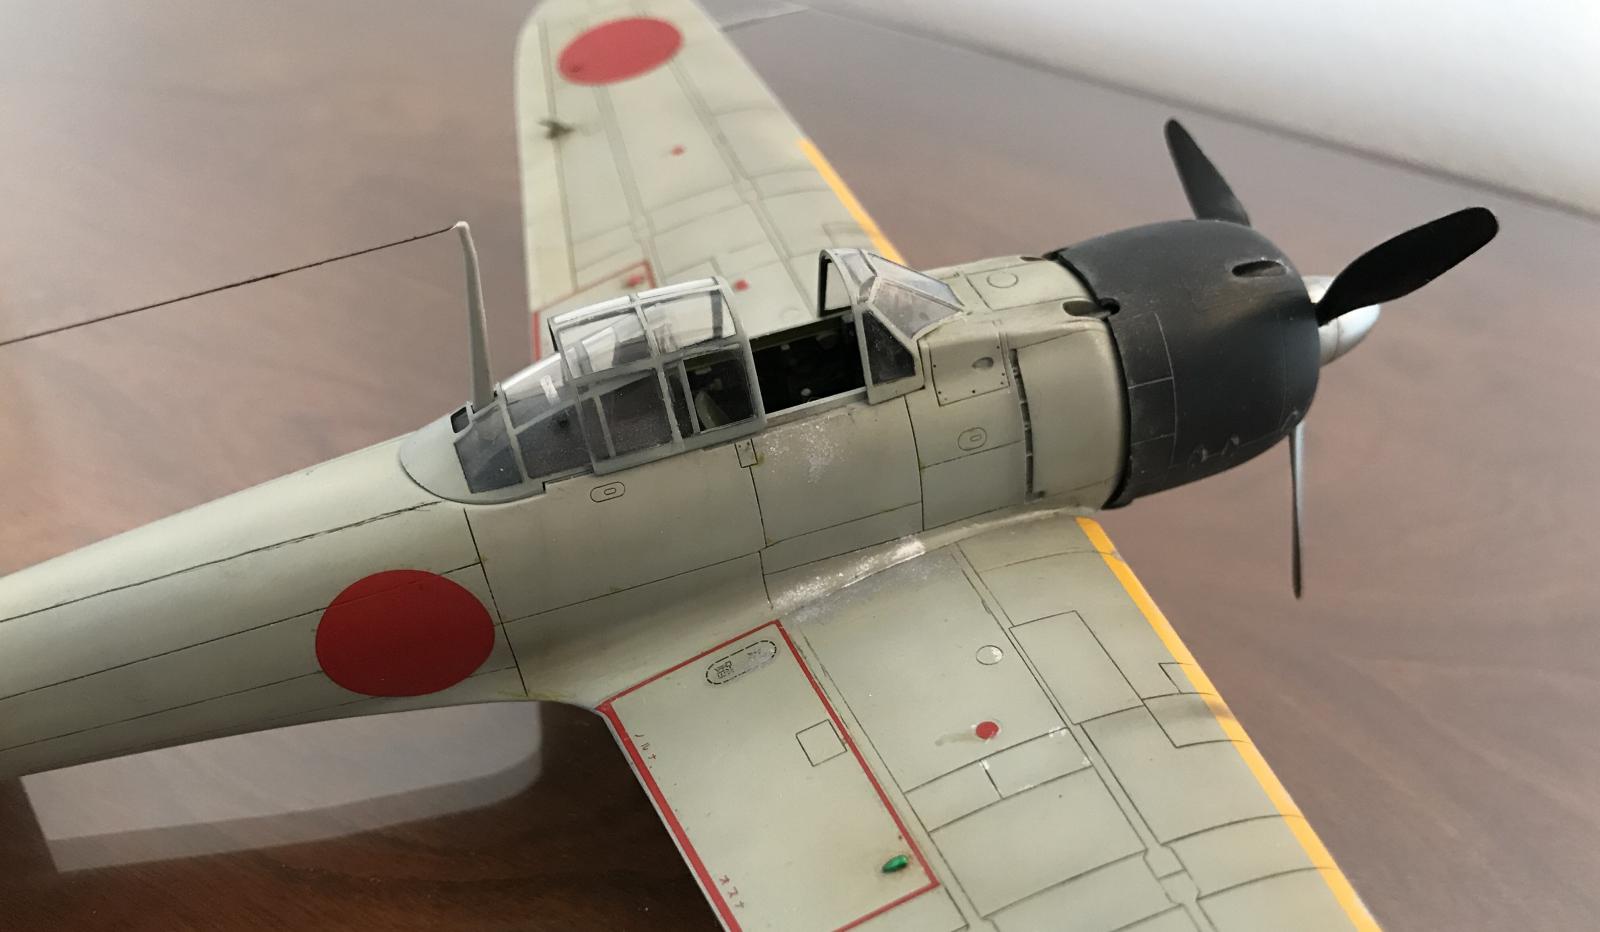

That is a very slick rendition of the Zero-Sen. Very crisply done. Thin, sharp canopy frame lines help with this, and a popping paint job.
Very nice Zero, Stéphane!
I love the weathering too, as well as the brake lines.
Well done!
Great job on the model and the finishing, looks awesome.
And great photos. Thanks for posting - definite hit on the ‘like’ button.
Bill, Spiros and George, my sincere thanks to your kind words.
That is a very nice zero you built.
Japanese design at its best.
Magnifique.
Thanks Bernard,
I fully agree, Zero fighter is it a very fine, elegant and racy plane.
Nice looking machine
Thanks George.
Very well done, Stéphane! Getting the wing to fuselage fit to be neat is always a challenge with the Hasegawa Zero series, and yours looks spot on. I like the Techmod decals, too. Their hinomaru sets come in very handy, and they make several nice Japanese sets.
Thanks Christopher.
Yes, Hasagawa models are rarely without fitting problems. This Zero is unfortunately no exception to the rule. I am working actually on a TA-4J, and fitting is quite challenging.
However, I consider Hasegawa as no.1 for the quality and accuracy of the panel scribing.
Beautiful build, Stéphane.
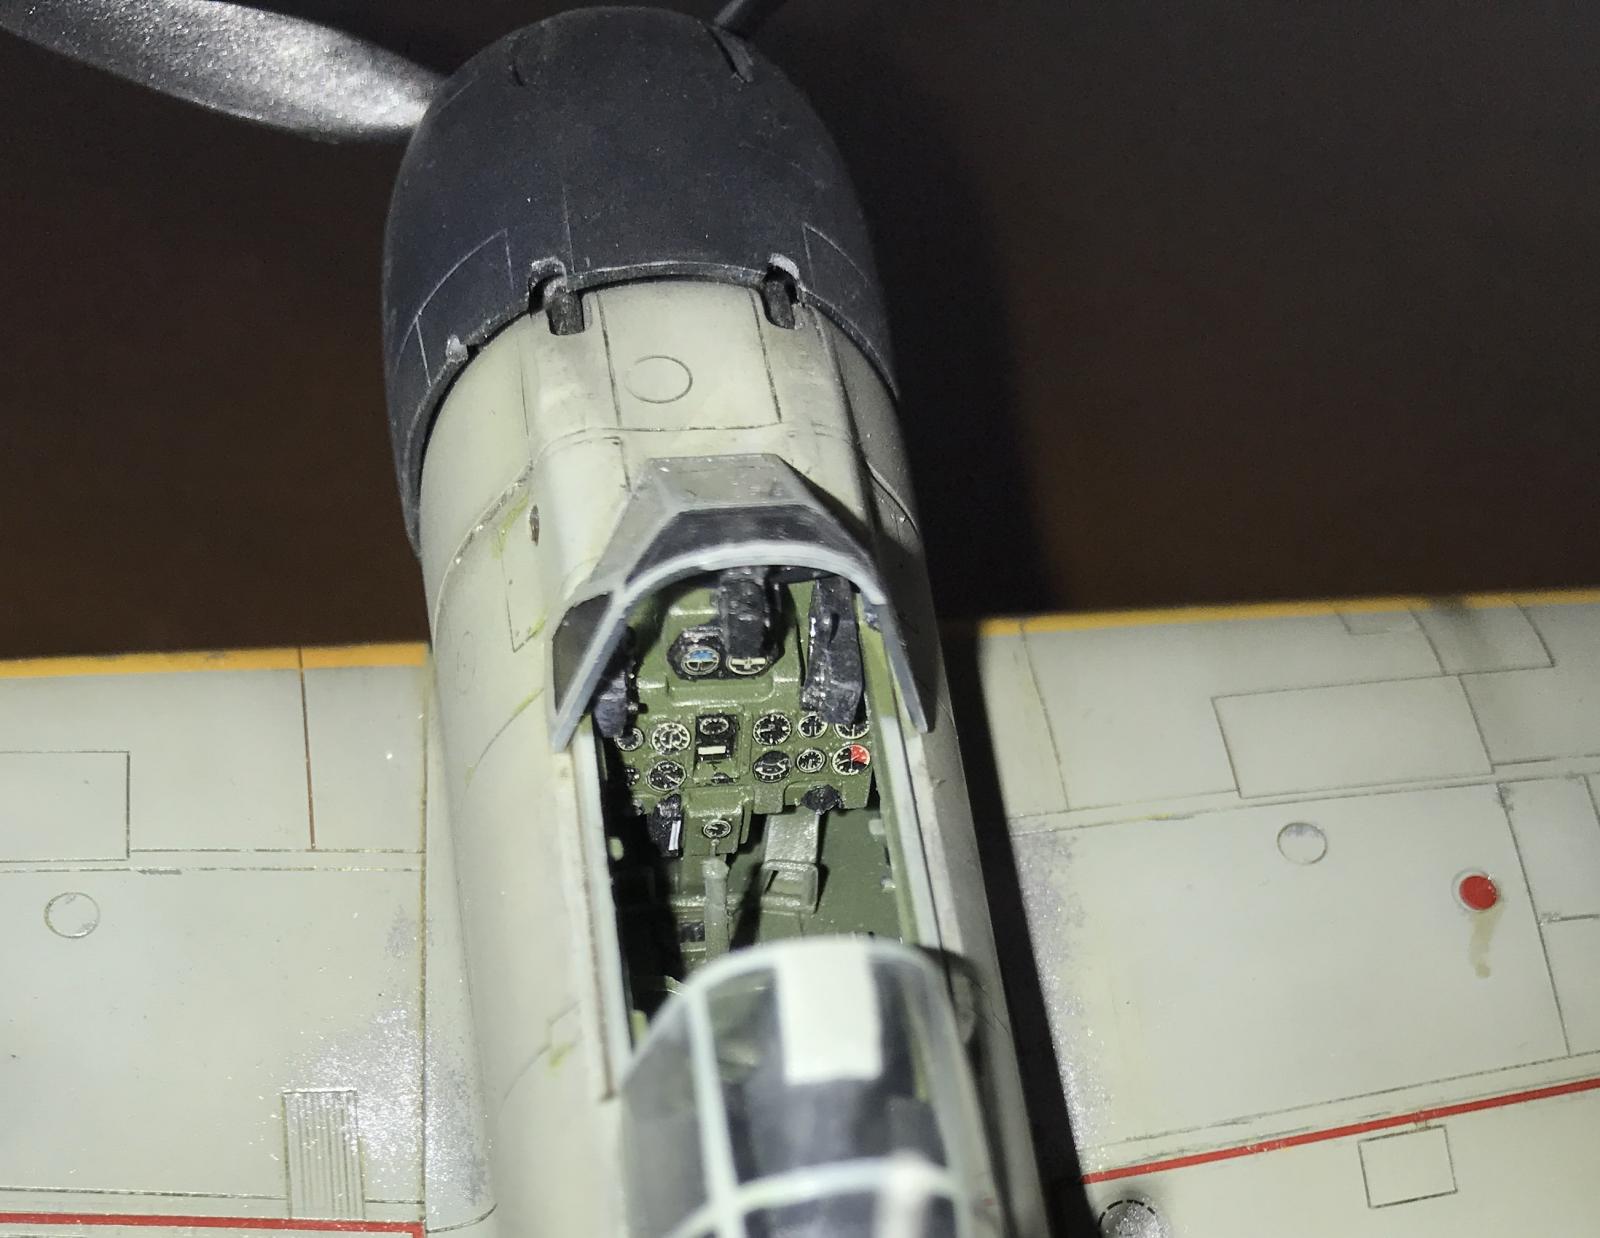
I like the details on the interior a lot.
Overall finish is fantastic.
Hi John,
Thanks for you nice comments.
I changed recently my method for doing interior. In the past, I spent hours and hours with PE parts, paint, weathering, paint again and so on, for a let's say an average result compared to the spent time. I realized too that finally, all your efforts can't be seen one the fuselage is closed.
Therefore I changed my method, and life is beautiful 🙂 I start with a black coating (Tamiya Nato black for instance), then I paint gently interior of the panels with the correct color, but well diluted and in very thin layer (0.2 mm needle) Then clear drybrushing on raised panels and structures (thanks to the black primer coat, it is not nessary to use PLW). For the buttons, I simply sand the paint, and gray plastic color appears naturally. This is enough for the eye. Then I put some red, white and yellow spots there and there. For the instrument board, I use whenever it is possible decals with Tamiya Mark Fit. Then a coat of mat varnish, a drop of gloss vanish (or Klear) in each instrument, and some alu traces there and there. I use PE parts for seat belts only when necessary. That's all.
Lovely example of a Zero, especially considering the age of the original kit. Definitely liked.
Thanks George.
This kit is not bad, except some fitting issues, as usual with Hasagawa models.
Great looking Zero - I really love that scheme.
Nice work !