1/32 scale WnW AEG G.IV (late)
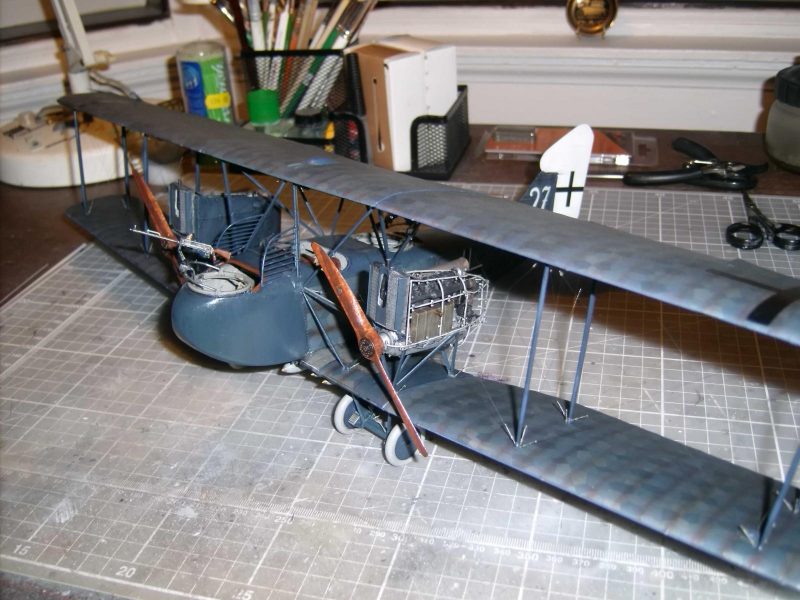
Hi... with some time on my hands this evening, I've finally got around to posting these images of my AEG G.IV. This kit was completed before the start of the 'Imperial German...' group build, so couldn't be included.
No matter, this was certainly a challenging kit and the biggest WW1 aircraft in 1/32 scale to date. While appreciating it looks a rather daunting undertaking, it was easier than I had imagined although not without a couple of small spanners in the works.
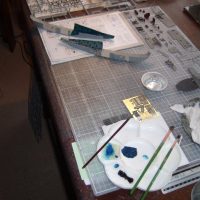
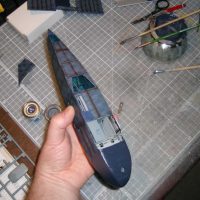
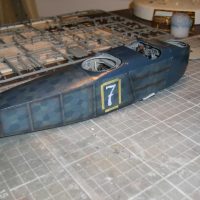
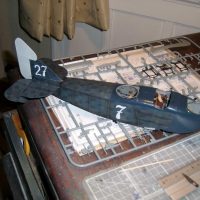
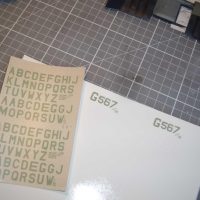
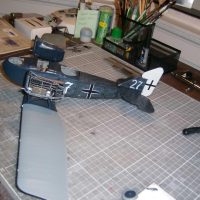
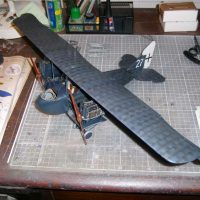
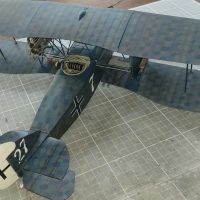
WnW made two versions of the aircraft - early and later variants, although the pieces for the latter are included in the early kit - the decals options are the main difference. So, I built my 'early' kit as a 'late' version and sourced the smaller blueish lozenge transfers from Aviattic. Fuselage and fin numbers were hand-painted and the smaller codes were from RAF markings from a long time ago, manipulated to bring about the correct code on Photoshop and printed off on my home printer.
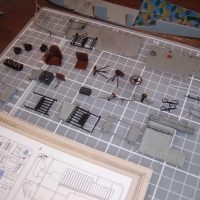
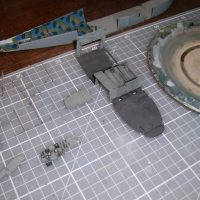
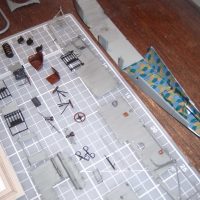
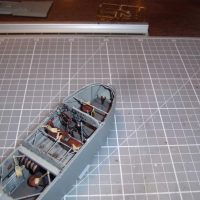
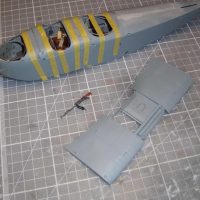
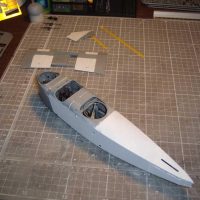
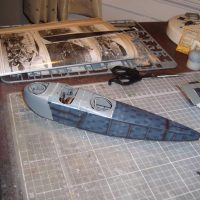
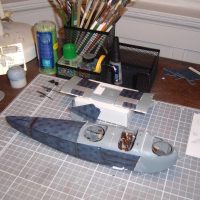
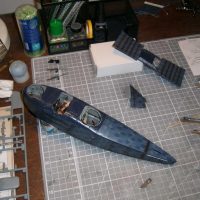
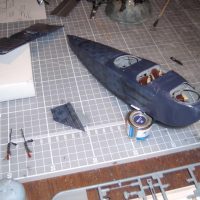
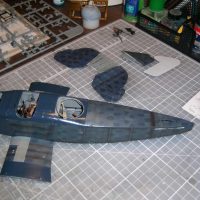
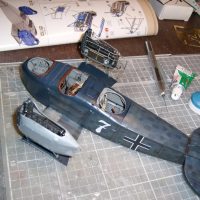
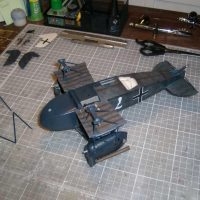
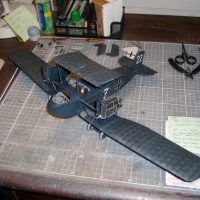
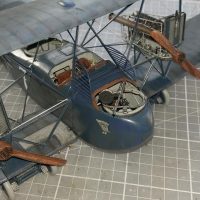
Cockpit interior went together well and the only thing to watch out for is the large triangular transparency on the underside for the ventral MG to fire through. I left this open and any white you see around this area in the build photos is some tissue paper inserted into the rear cockpit to keep the clear plastic from getting damaged or painted.
The cockpit surrounts were a neat fit and initially, they went down well, but the small bulkhead behind the pilot's seat detached after the fuselage halves were brought together and the surrounds were in place, necessitating the removal of the pilot's surround to retrieve and reattach the bulkhead. This caused a bit of poor alignment later on on the build, but I managed to get it sorted eventually.
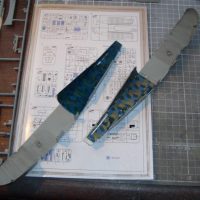
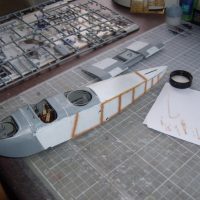
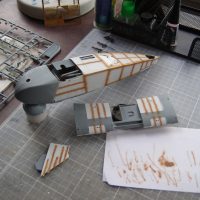
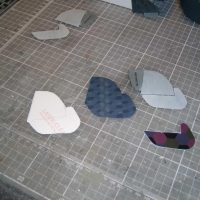
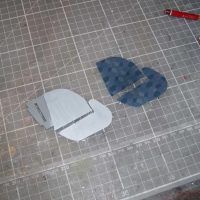
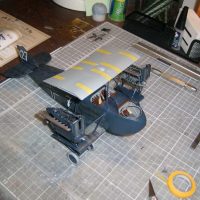
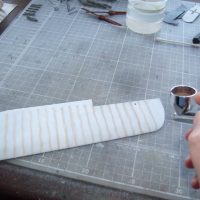
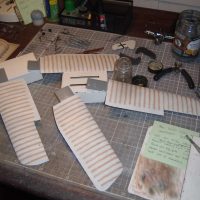
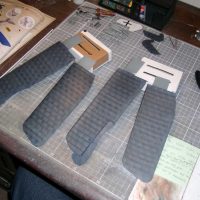
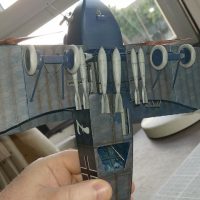
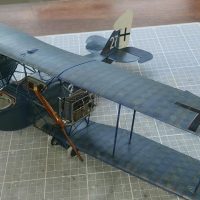
The fuselage was then painted white and shaded with tan after drying out, then the whole assembly was gloss varnished with floor polish prior to attaching the fuselage transfers. The same was done the the lower wing centre section in the relavant areas around the walkways. The underside logenges are a slightly lighter hue. As I had elected to do a camouflage scheme with alternative lozenge dimensions, I used the kit markings as templates to cut out sections from the replacement sheets. I was quite pleased with the neatness of my handiwork with this. There were a few occasions where it fell a bit short but nothing a few careful dots of paint couldn't handle. In real life, the Germans sometimes oversprayed the lozenge lightly with a dark green shade, and I tried to replicate this as well without decreasing the effect of the transfers too much.
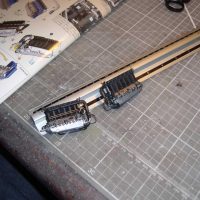
The trickiest area was between the engines and fuselage sides, where there are several closely-arranged struts that can be awkward to access when doing the rigging. The large angled cabane struts were also in need of some careful attention as was the fitting of the upper wing centre section, but everything came good in the end.
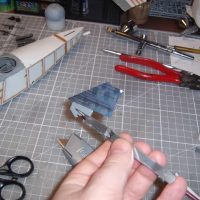
After that, the upper and lower wing outer sections could be prepared for their transfers and ultimate attachment. The support struts had small grooves to attach some of the turnbuckles but others had to be drilled with a very small, slender drill bit. The outermost struts angle outwards slightly, and there is a significant bow of the top wing which was part of the design; the connection of the upper wing section to the centre section is poor and it appears it was supposed to be. Careful analysis of contemporary photos of the day show the connection to be less than perfect, and I was happy to be guided by that information.
Sundry items such as the large external bombs, propellors and undercarriage are all well produced, with the latter having nicely 'flattened' tyres to convey a sense of weight from the airframe. The rigging between the interplane struts was relatively easy due to the height of the upper wing, allowing better access for potentially clumsy fingers. Turnbuckles used were from the GasPatch range.
AEG G.IV 'White 7/27' was operational with Bogohl 8b, mid-late 1918.
Hope you like the finished result, and thanks for looking in.
Regards,
Paul
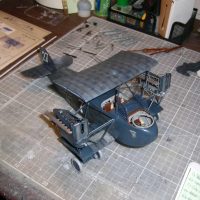
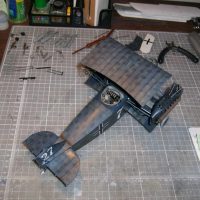
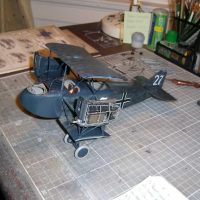

Brilliant model. Don’t know much at all about WW1 bombers, it looks like some sort of night camouflage?
Fabulous. Looks like a helluva lot of work. I get a kick out of the fat fuselage, vs. nicely shaped wings. Kudos, great build.
That’s an amazing build! I can’t imagine flying missions in one of those beasts. Thanks for sharing.
Superb, Paul.
Paul: the build and finish...absolutely phenomenal. Special.
Fantastic work!
This is a superb build, Paul!
Lost of words.
Very impressive build. I can definately see why you would need lots of time on your hands.
I wonder if you had to be a fatalist, unimaginative or just plain brave to get up in one of those contraptions? Imagine a bunch of those aircraft warming up the engines before a mission, the overwhelming noise, the cold air and hot exhaust, all is vibrating. Yourself is wrapped up in long underwear, uniform and heavy leather. Blimey!
Anyway, well done. Looks like a fun project getting a slightly different model on the table. Like the dark colours.
Awesome results, Paul.
Have to agree with all remarks above, this is such a beautiful build.
Wonder how long it took in real to build such a plane.
Guys... thanks you all of you for your kind comments... :-).
Pedro, yes you're correct, the camouflage is that of a night bomber.
Haslam, I agree - having time on your hands for this is beneficial - three months of my life I won't get back, but a very productive three months, so no complaints from me... :-).
I should've added into the narrative, that the inside of the rear fuselage apparently had lozenge fabric covering, so i added this in, despite very little of it being seen. I did that part of the build before receiving the alternative lozenge sheets from Aviattic. I just used whatever lozenge i had, then experimented with using oil paints, to see how it would look when darkened. I thought the outcome was interesting, and possibly a technique I could use in the future. This process is what you see in the top row, right-side image - a 'before and after' view of the lozenge coverings.
Wow! Those WNW kits are something else. That's a lot of work and it was well worth it. Well done sir.
Awesome build! Looks fantastic.
Thank you, Greg... ;-).