1/35 RFM Challenger II TES "Megatron"
4 of 4 for 2021!
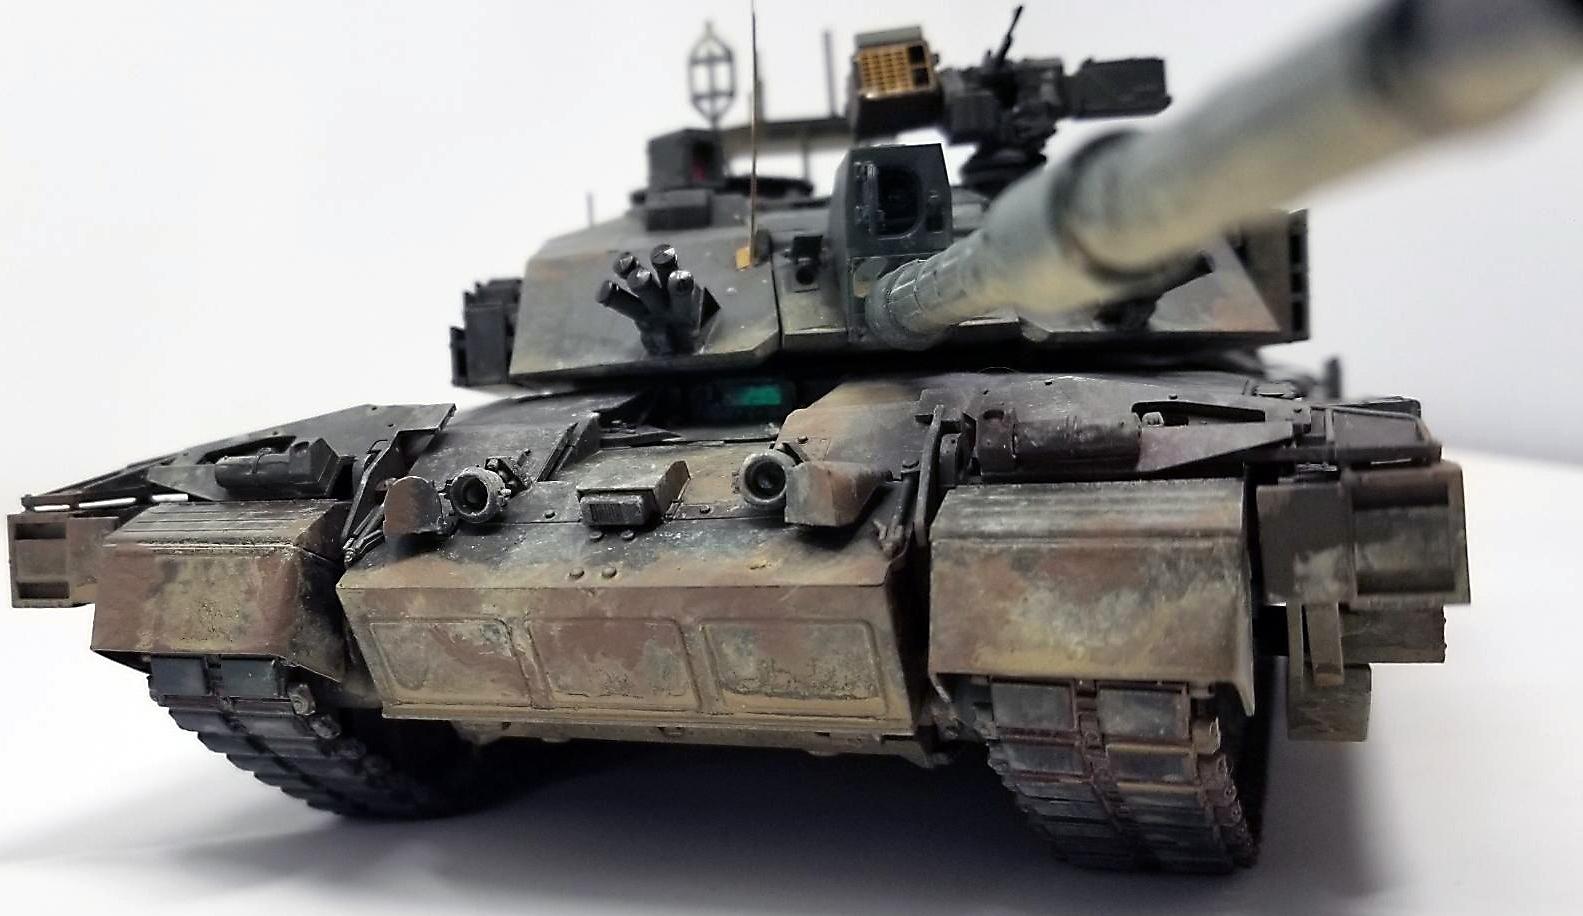
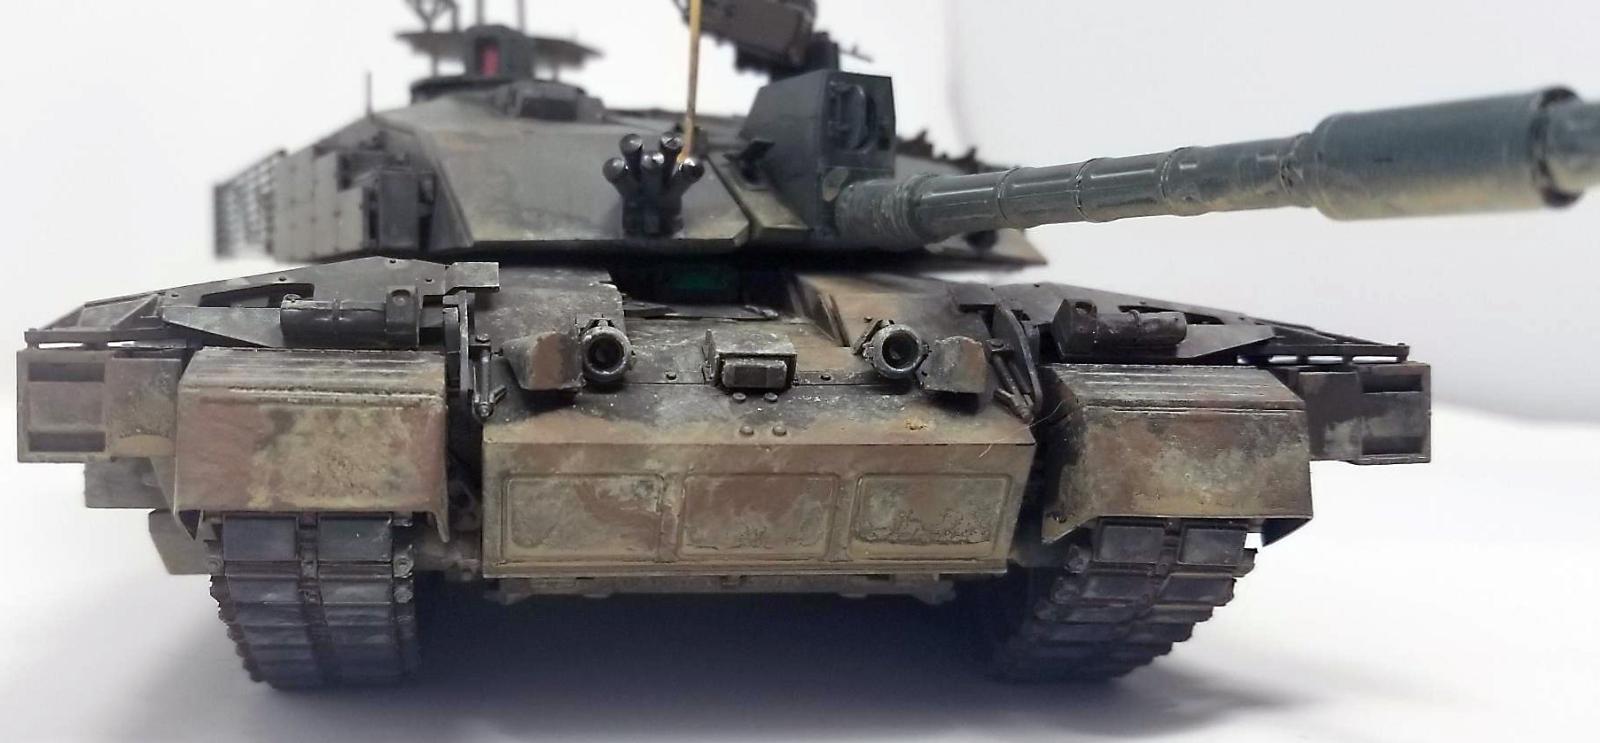
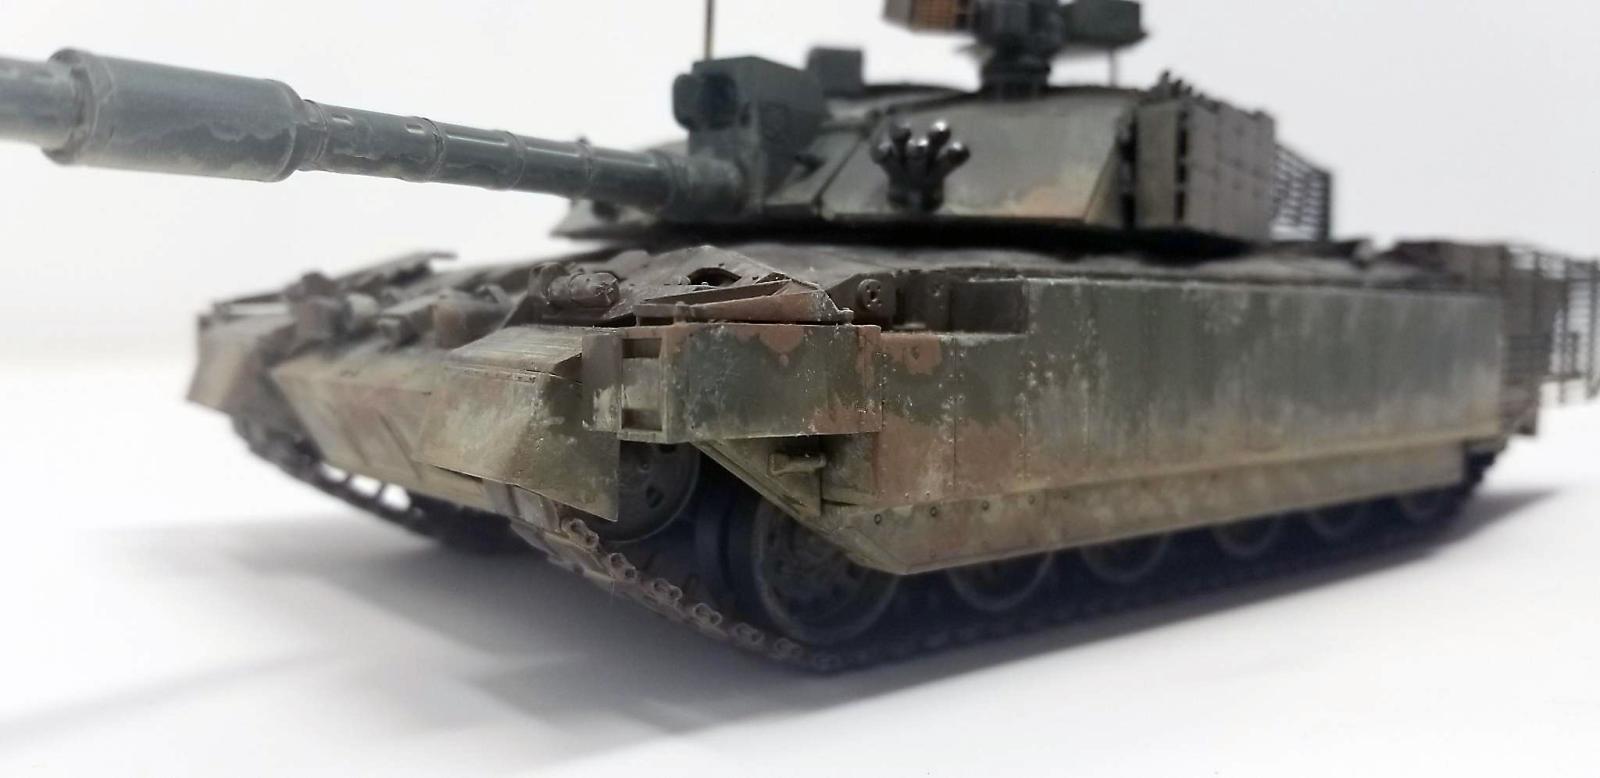
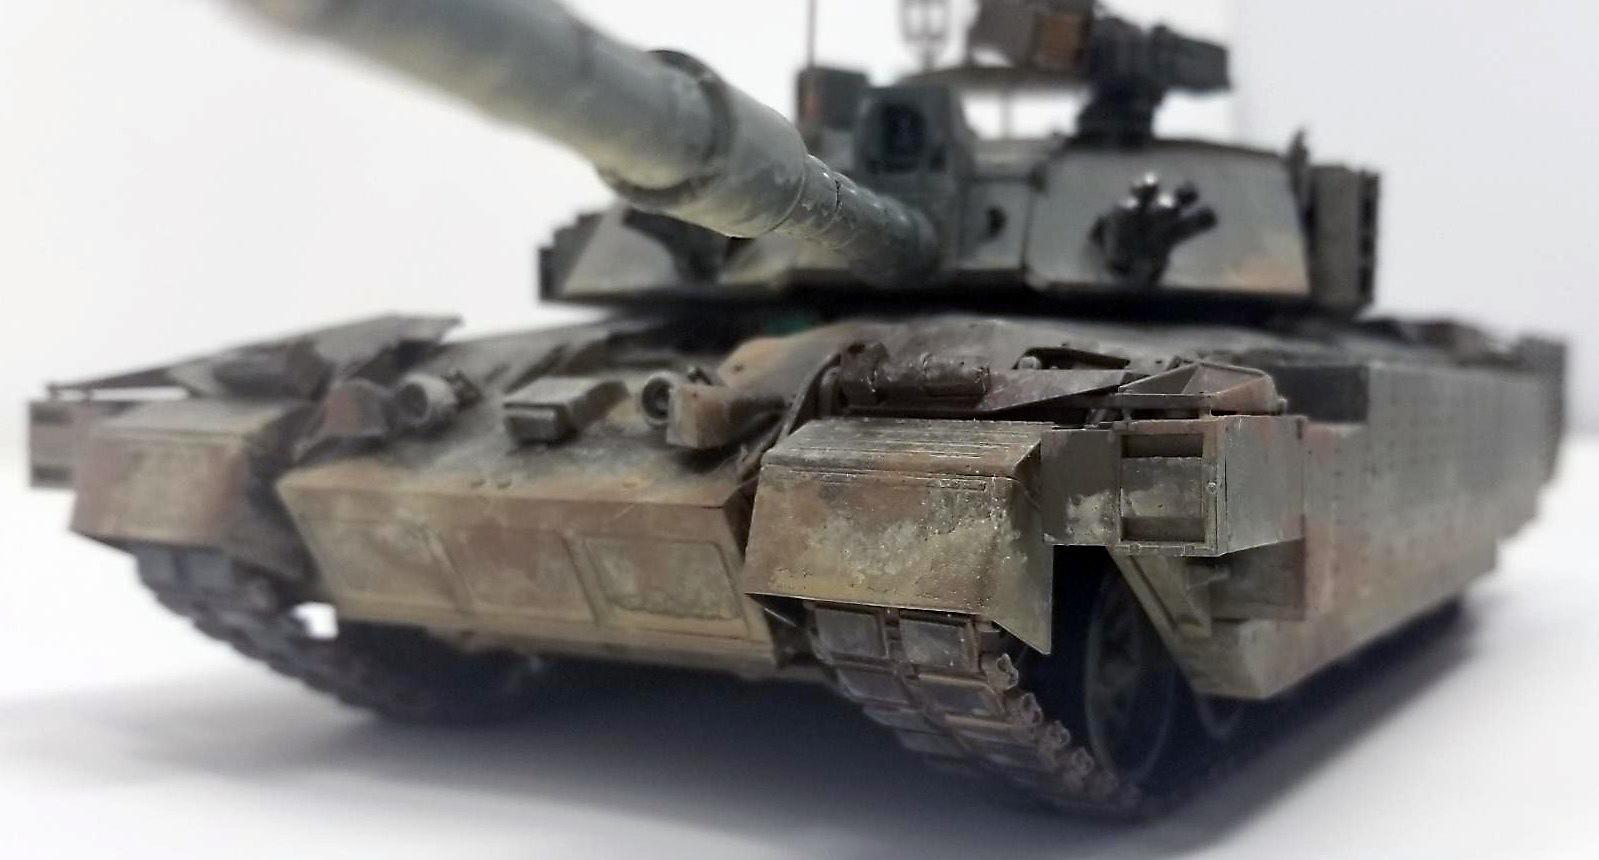
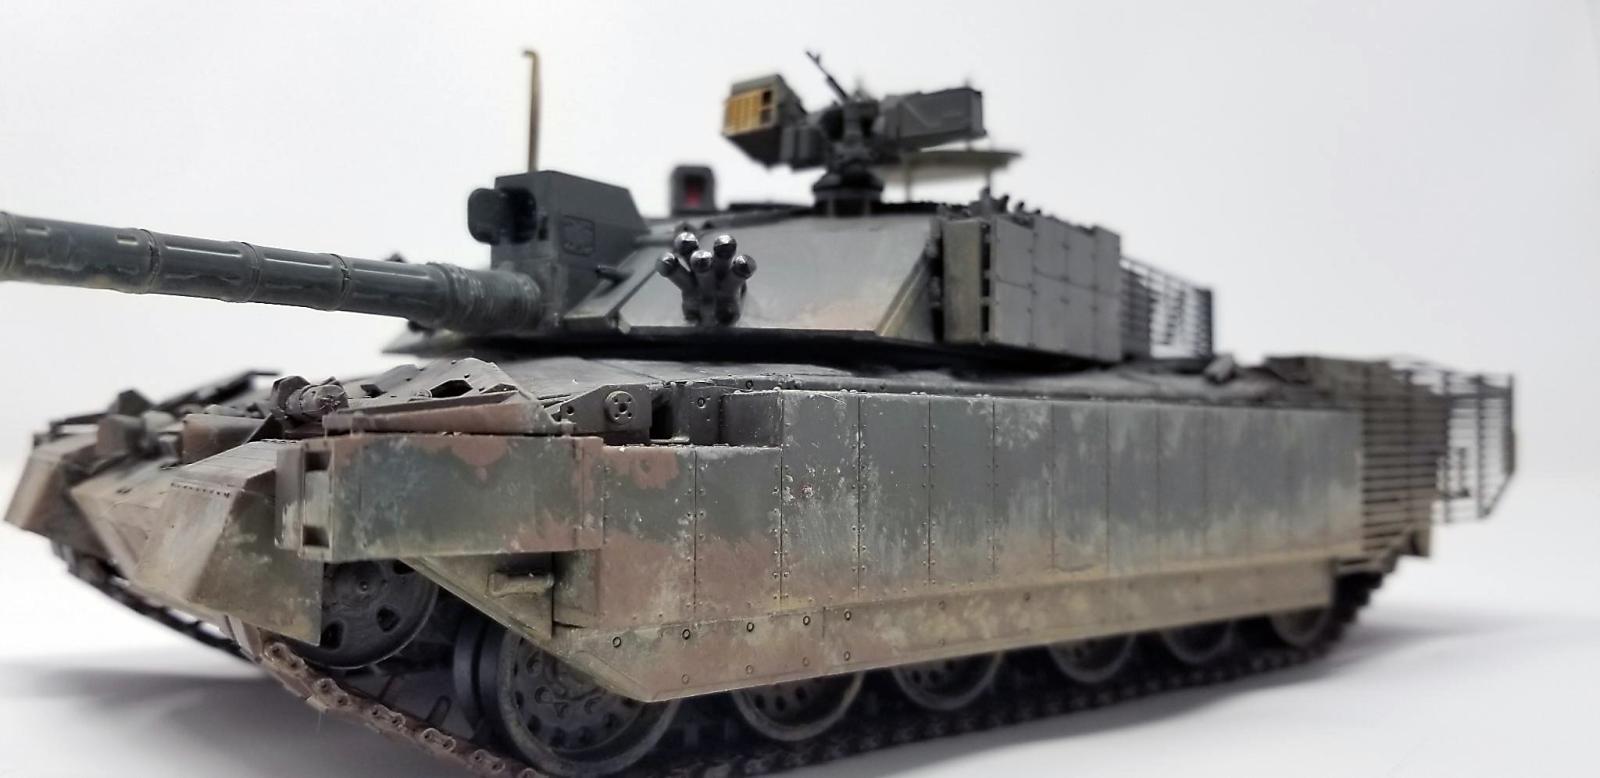
The Challenger II is one of, if not the best protected MBTs in service today, with heavily sloped composite armor throughout. This is fine for conventional warfare where your tank can hull down with only its turret peeking out and safely pop targets at range, but "needs must" as the term goes, and tanks wind up getting tossed into hideously inappropriate scenarios like urban conflict. Tanks rumbling through a blasted-out cityscape are very intimidating, until someone gets the unsportsmanlike idea of popping out of a sewer drain to fire a RPG at the rear of your turret, or hiding a bundle of random artillery shells in some rubble, or any number of things that just aren't healthy for tanks.
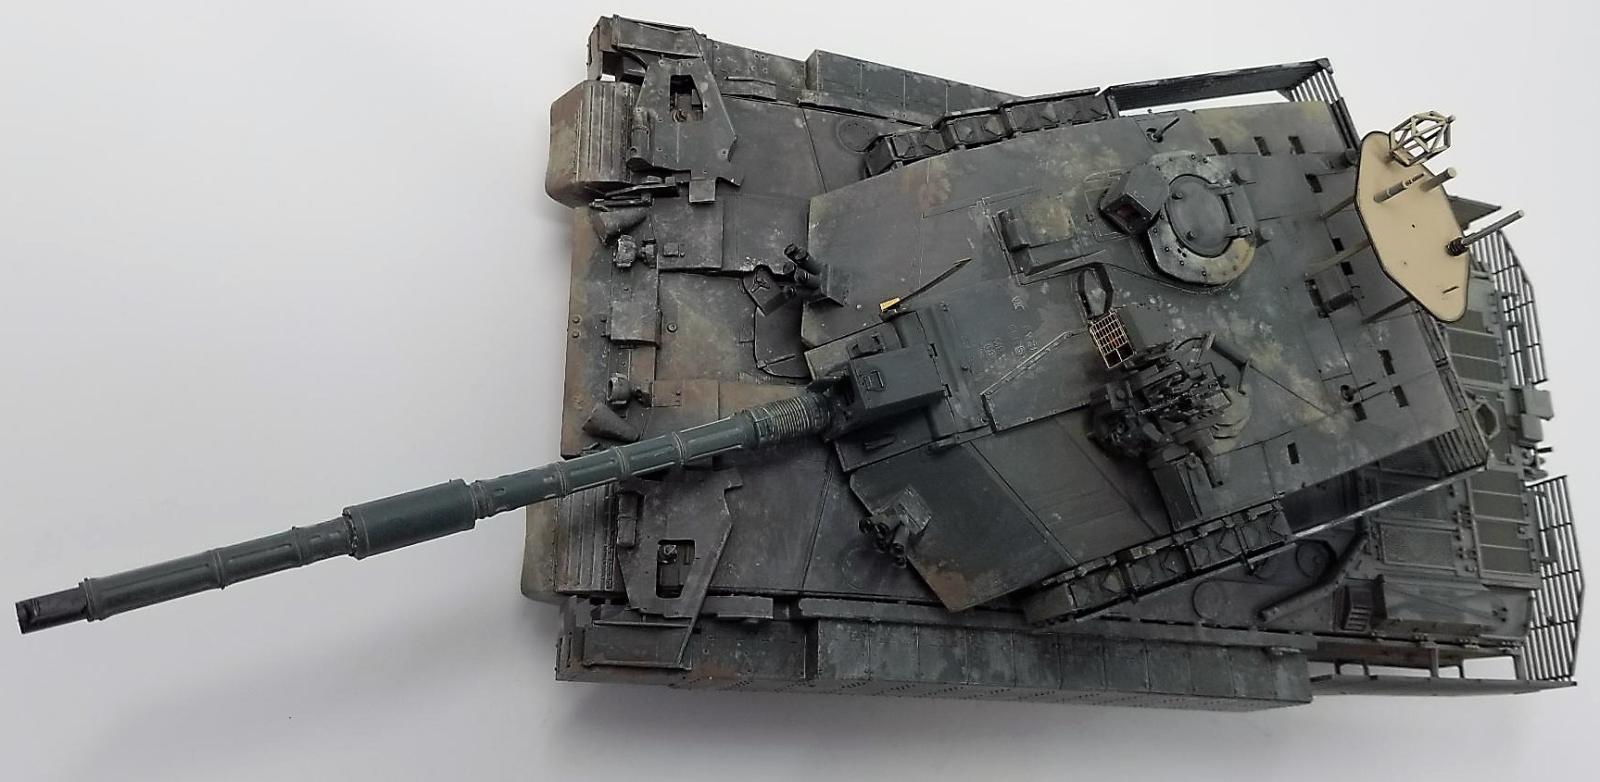
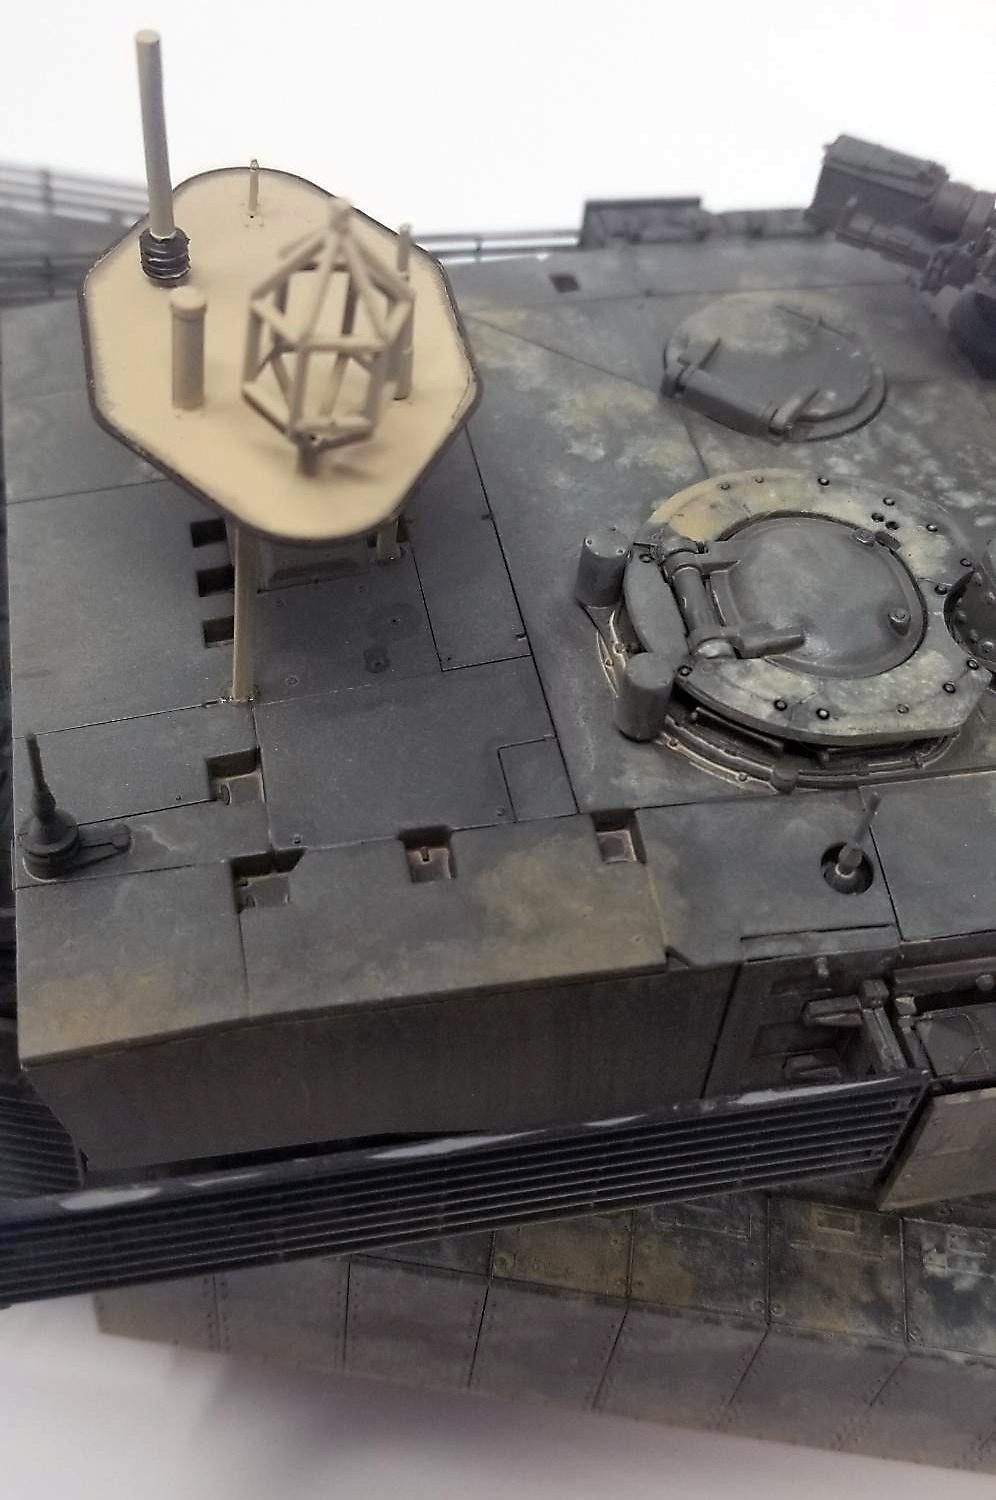
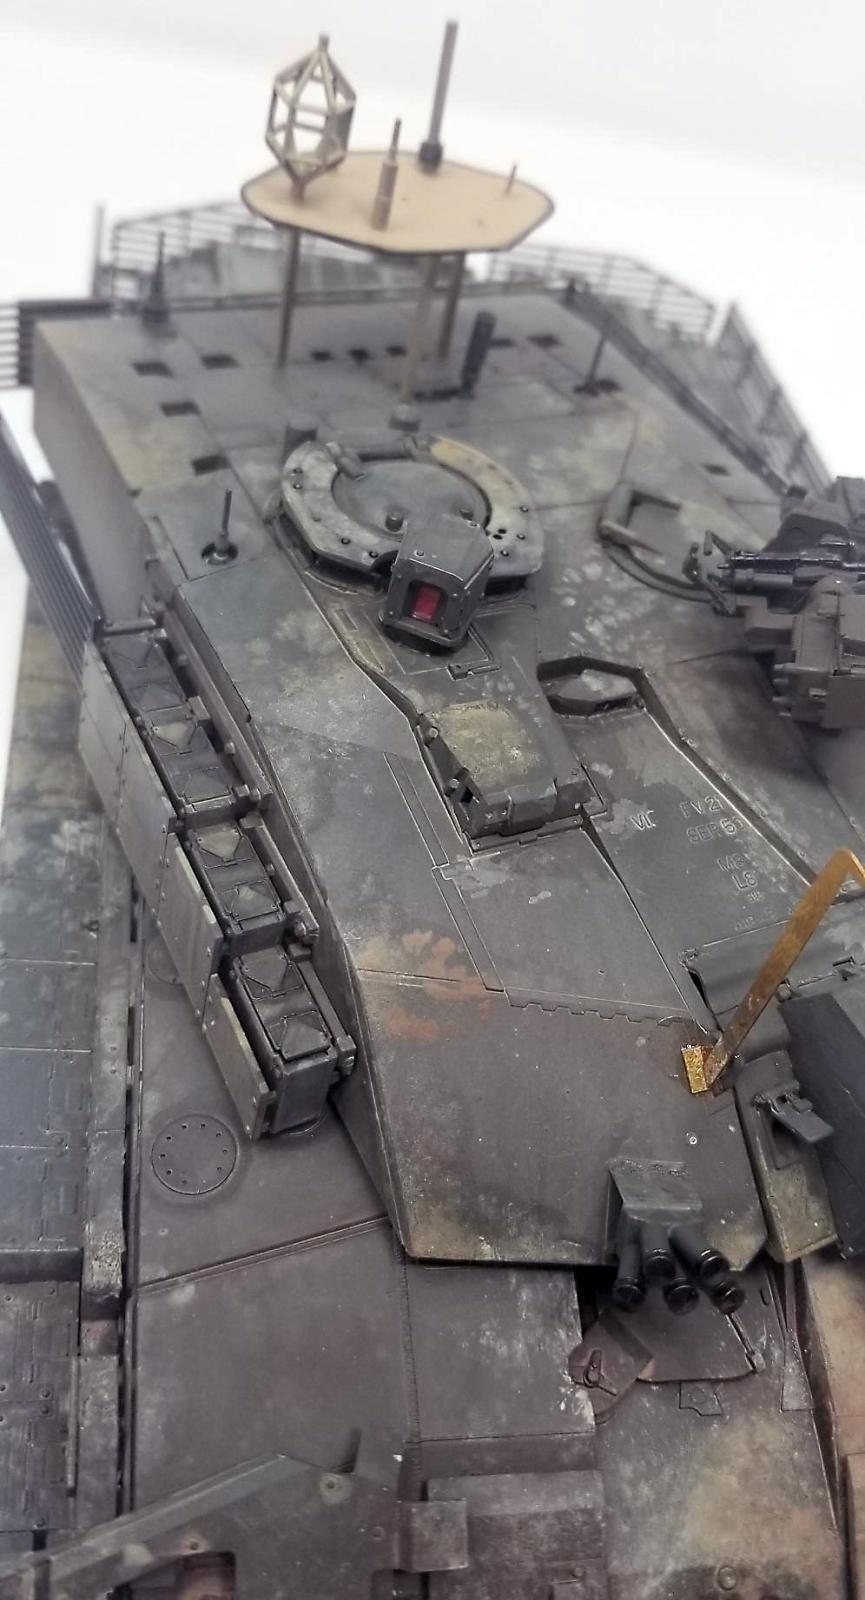
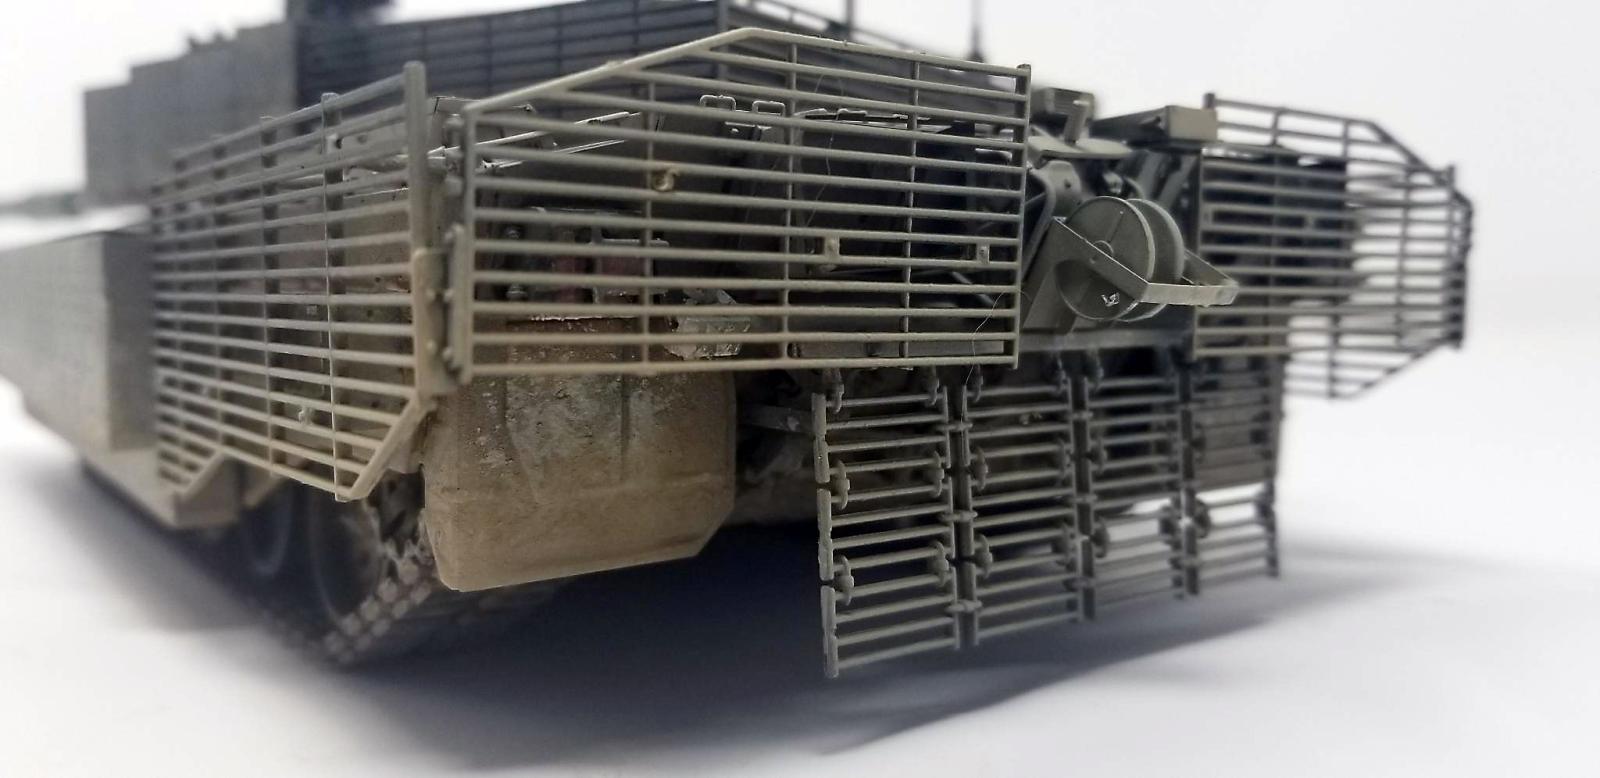
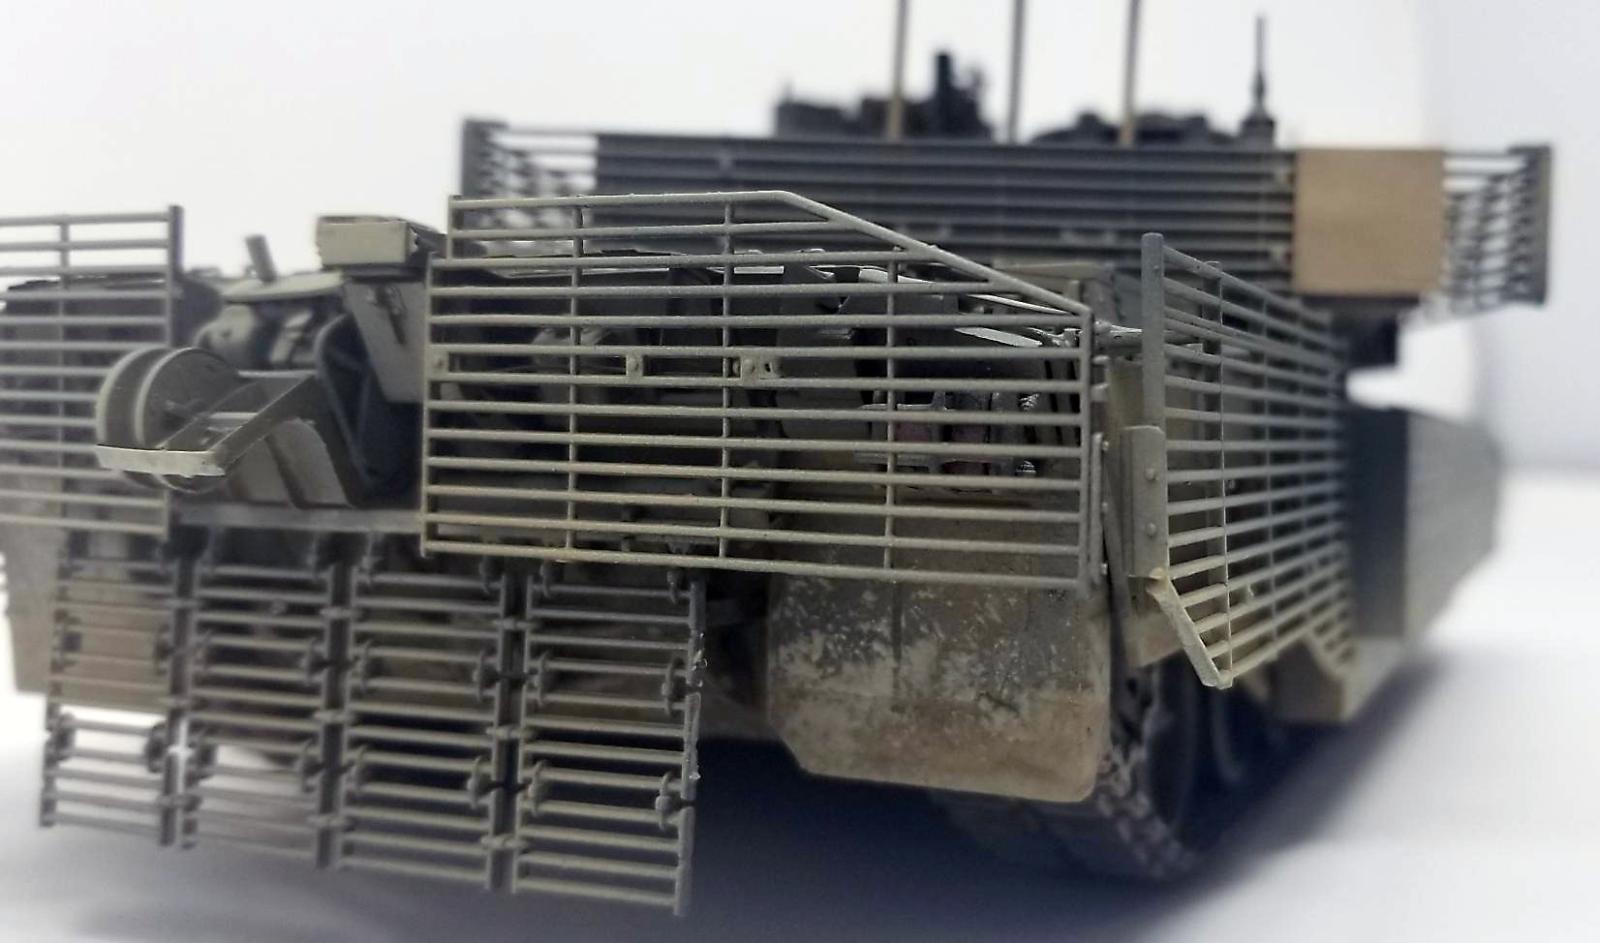
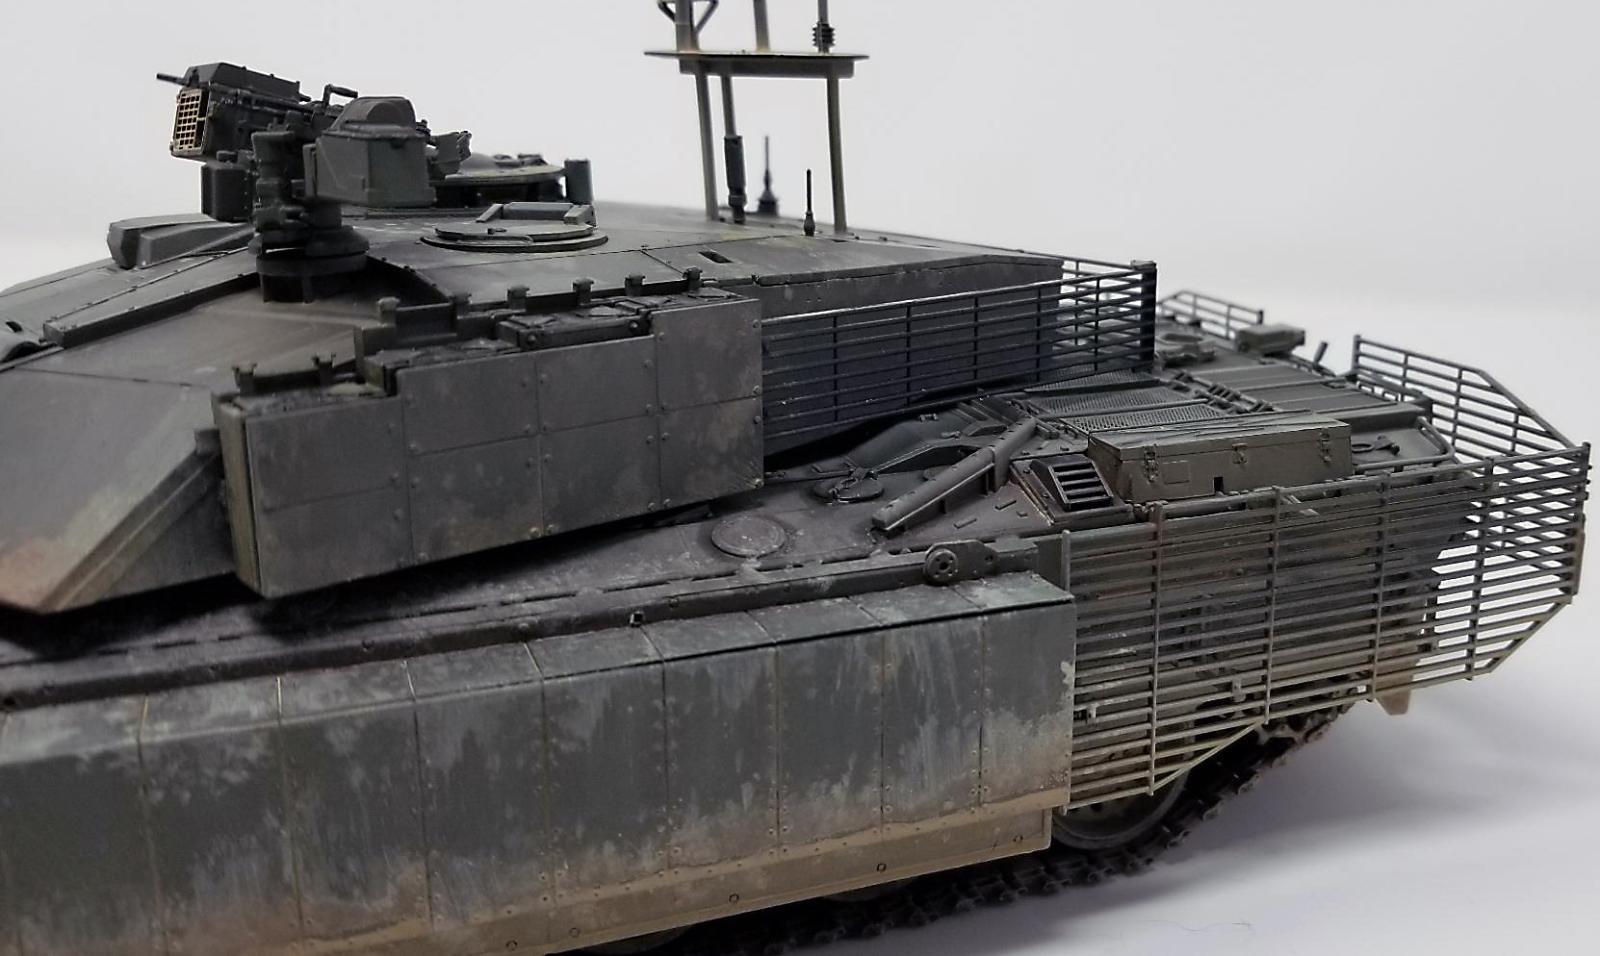
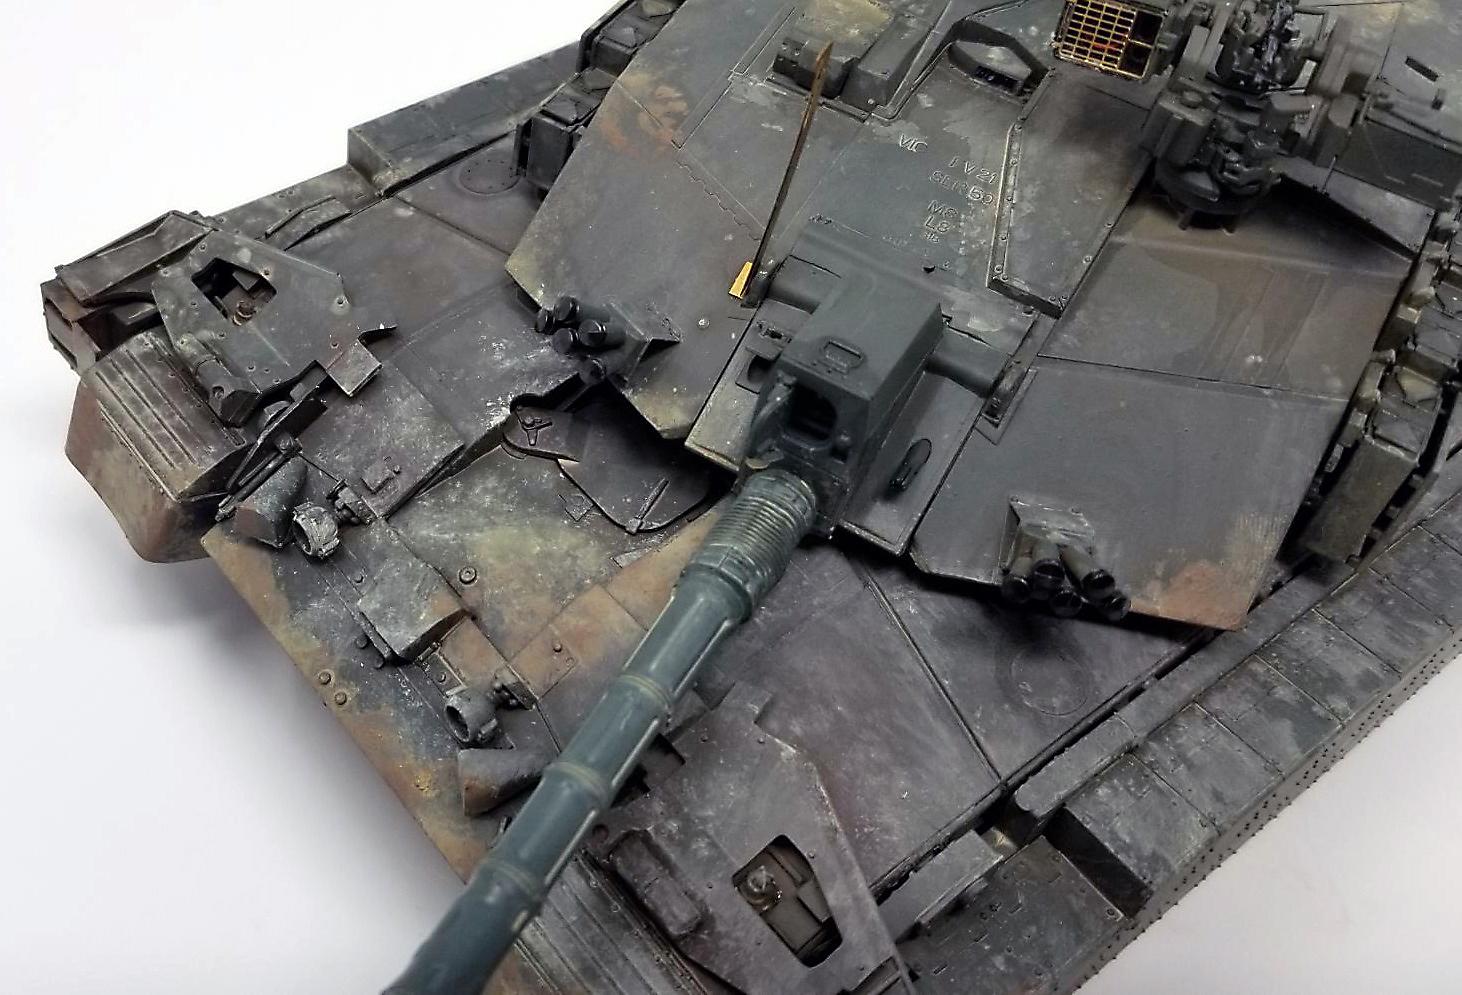
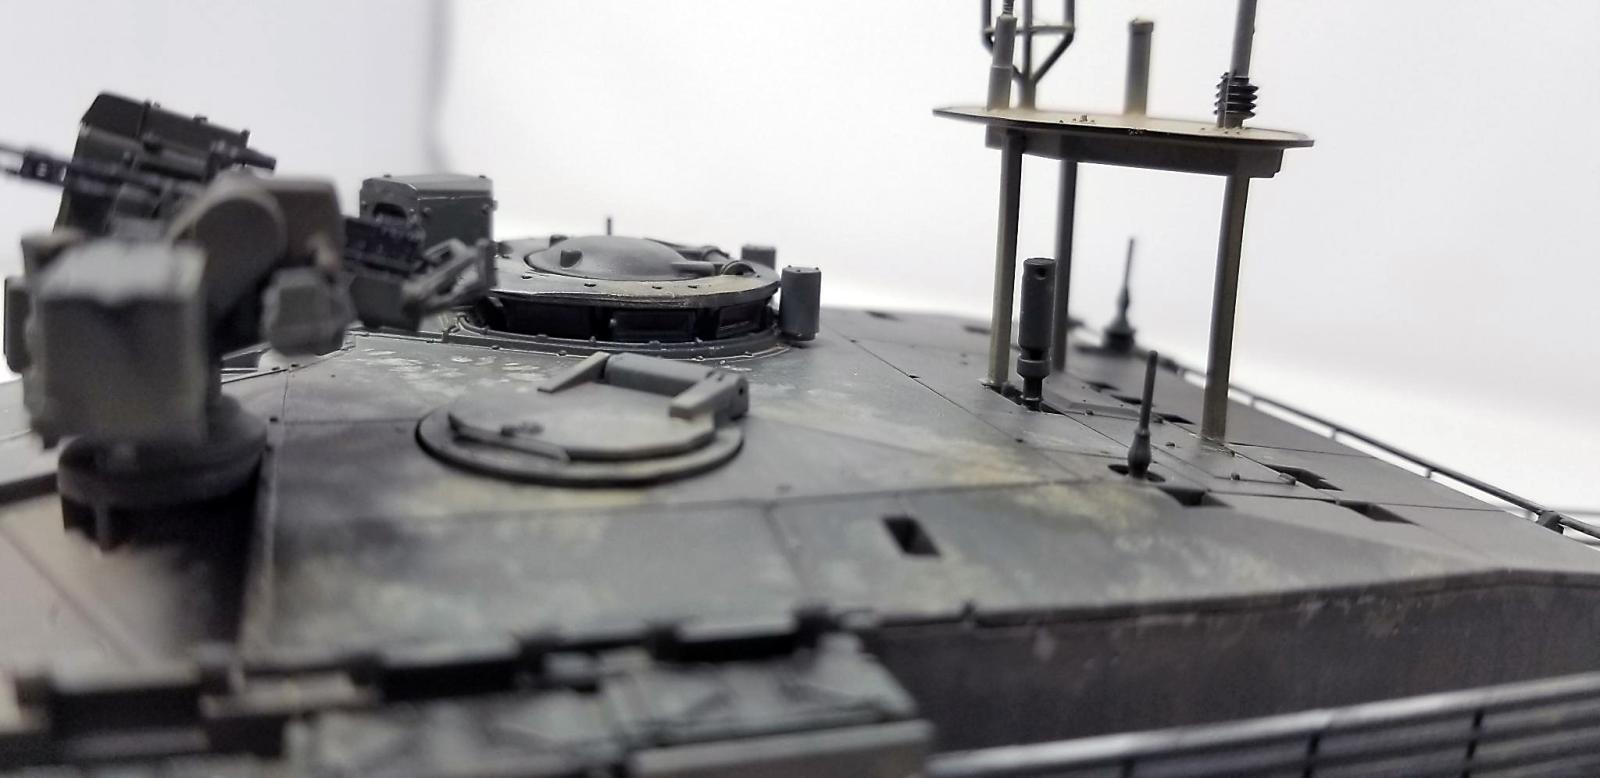
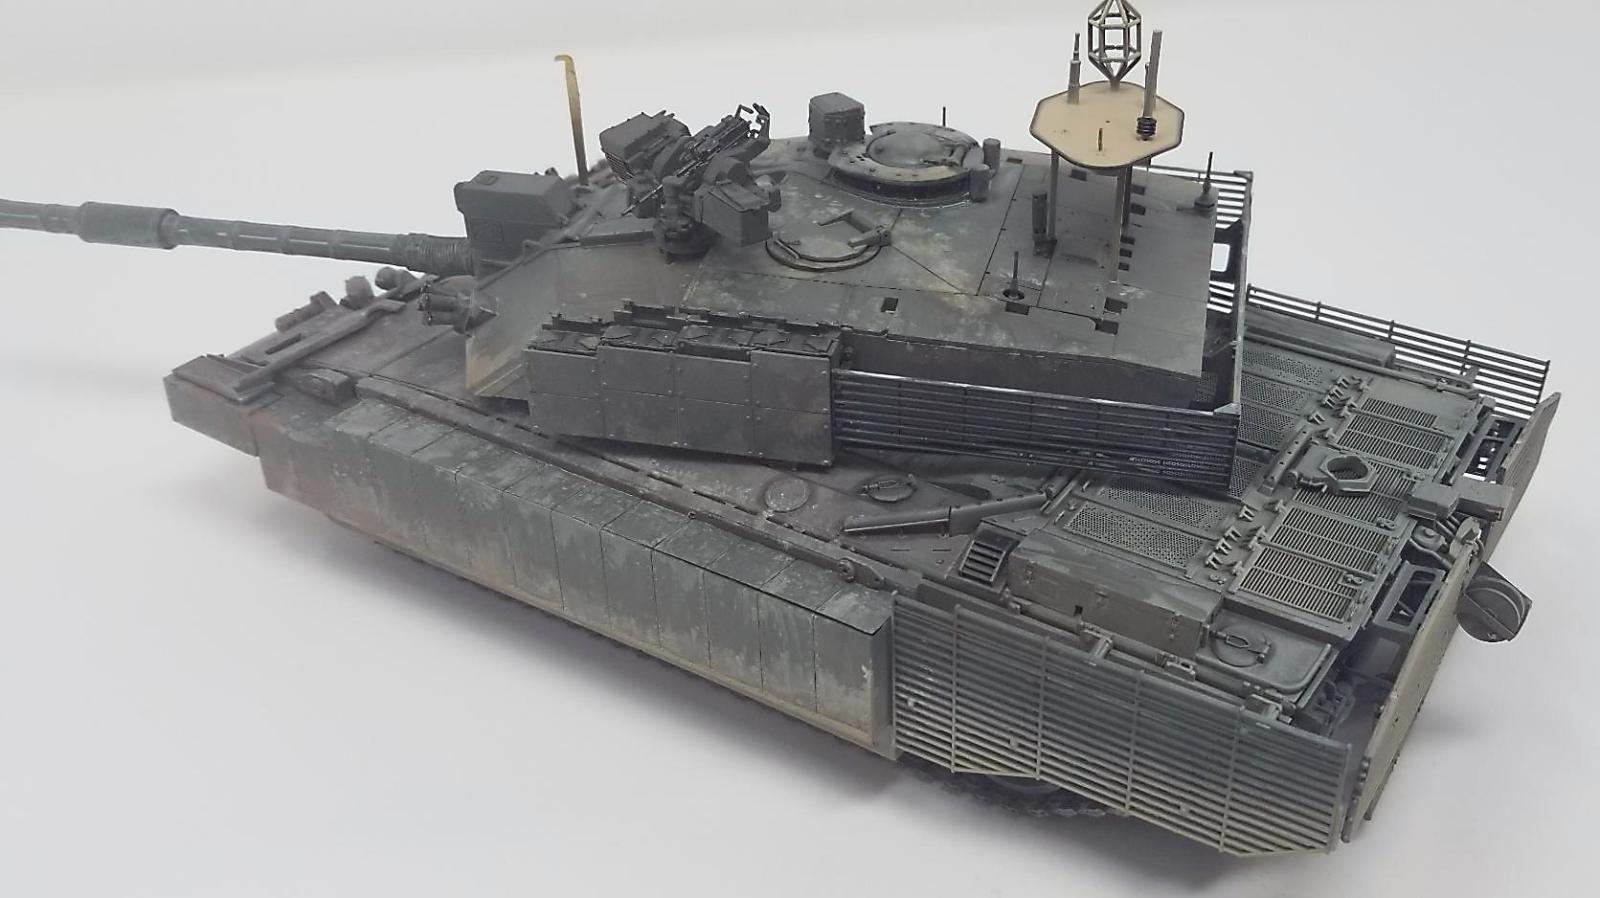
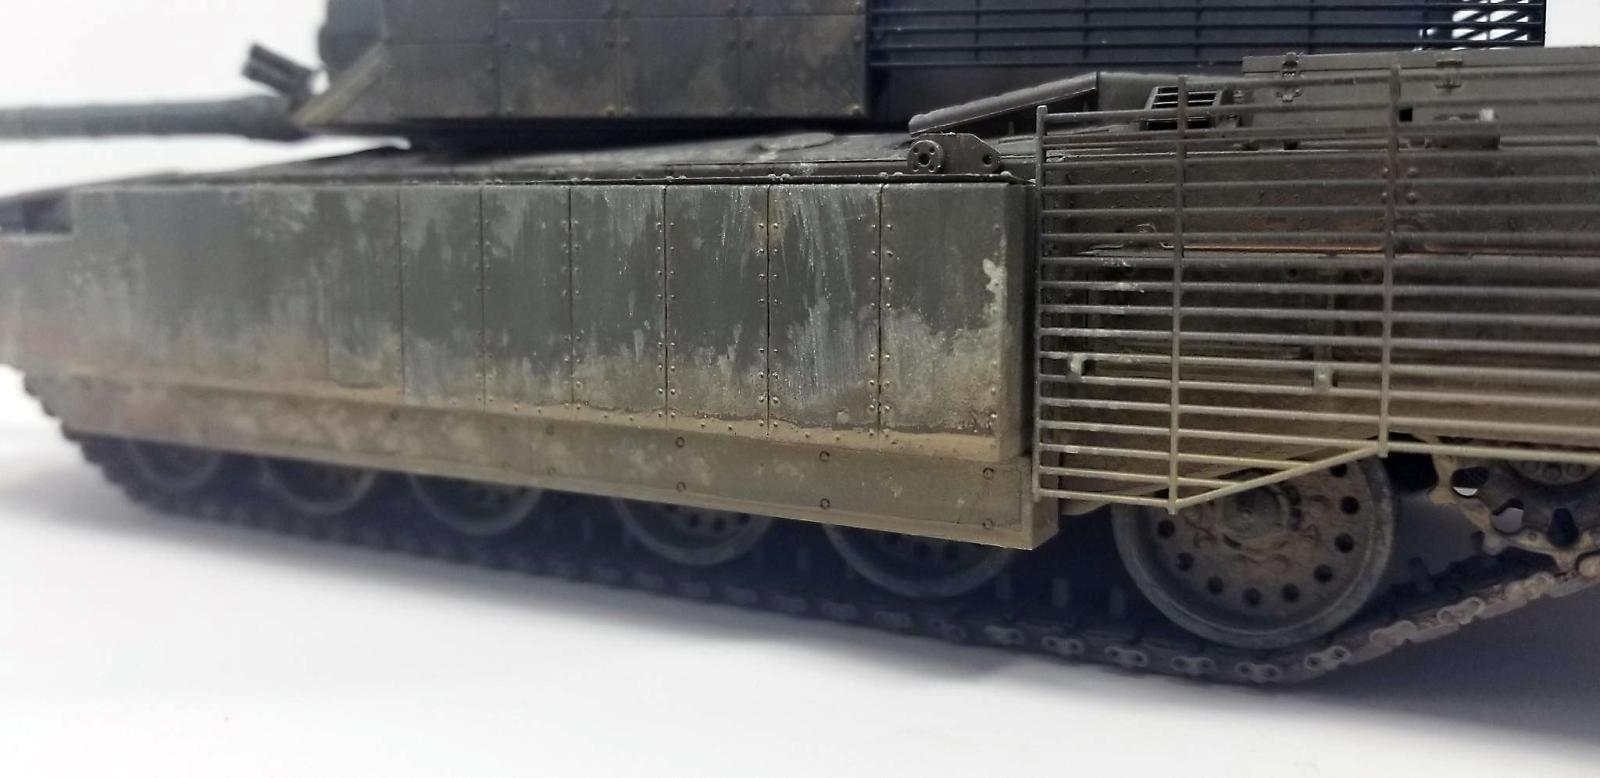
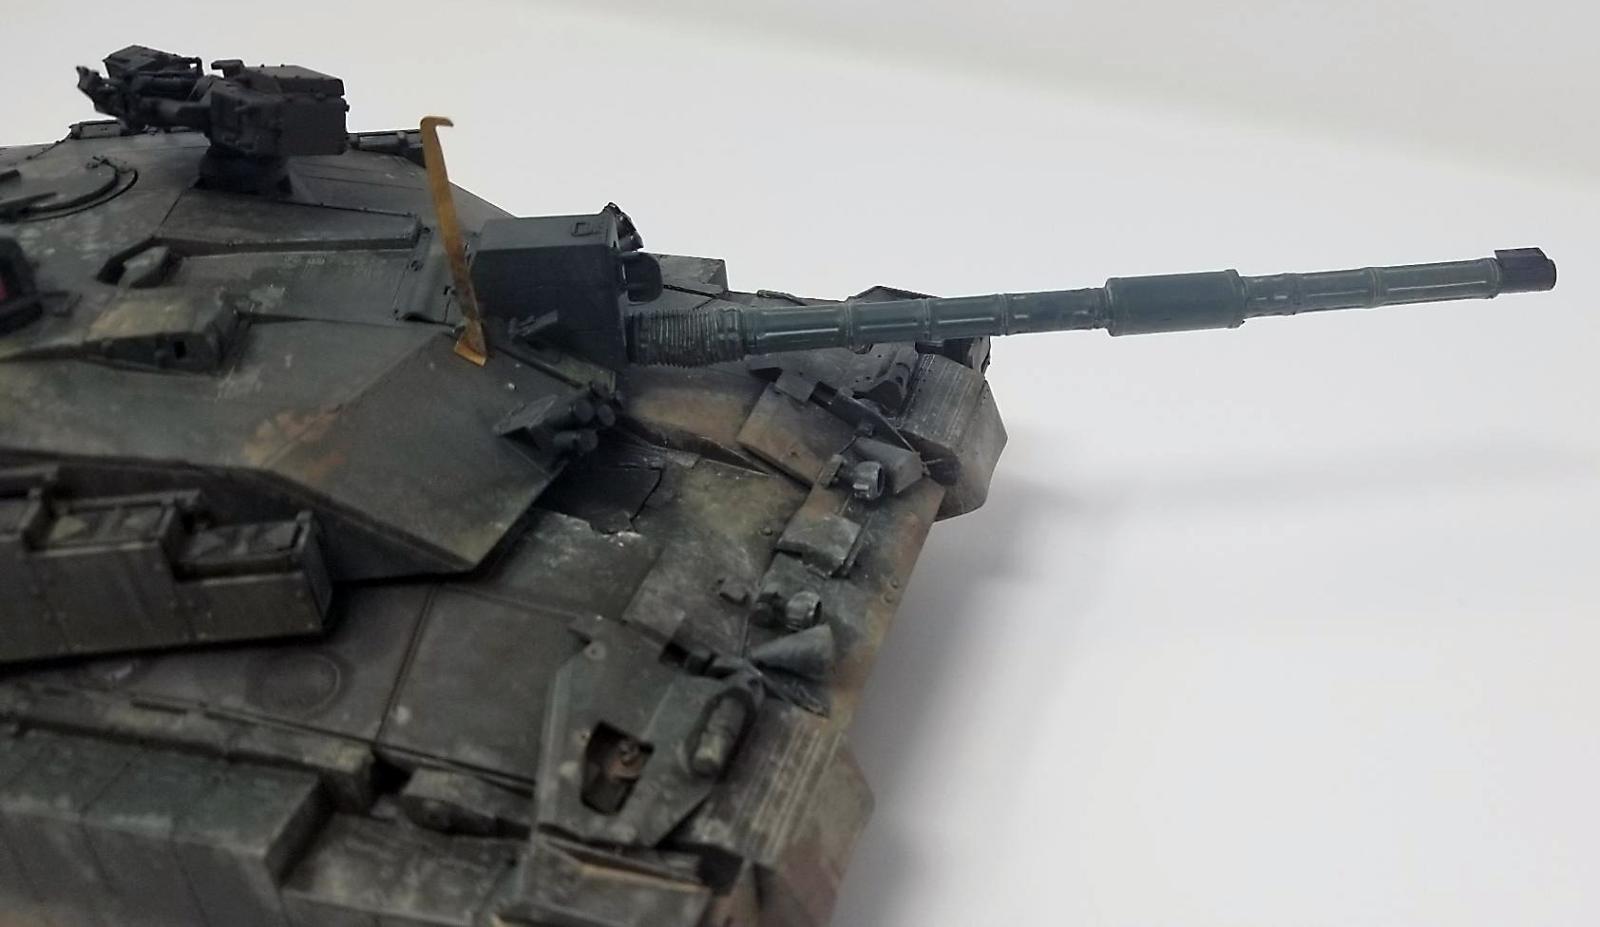
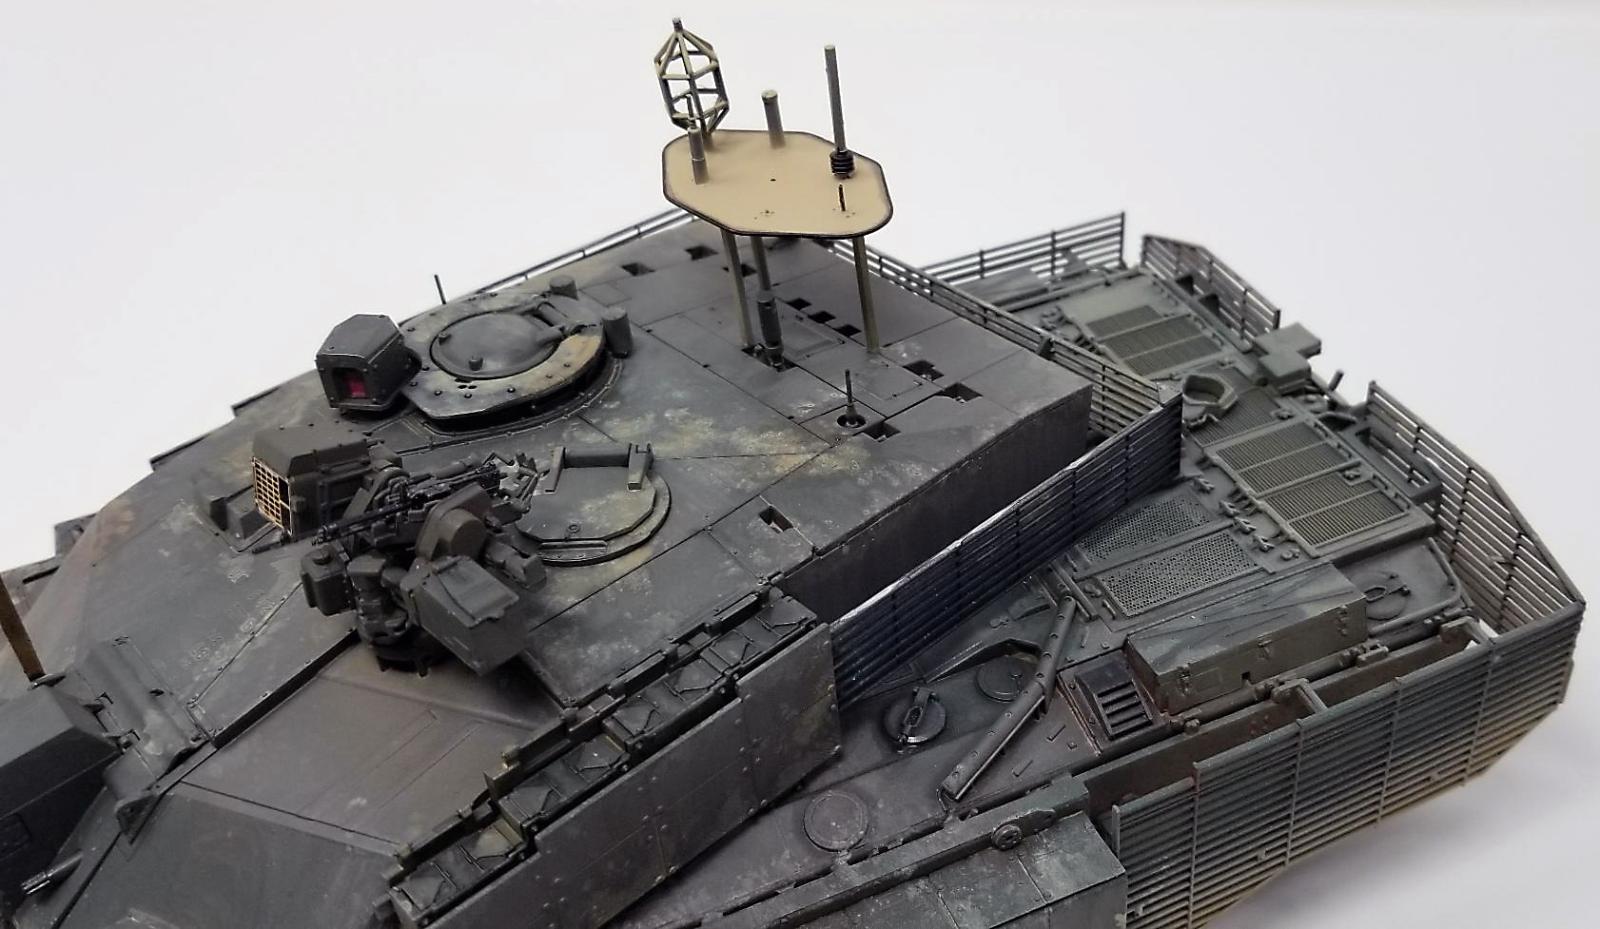
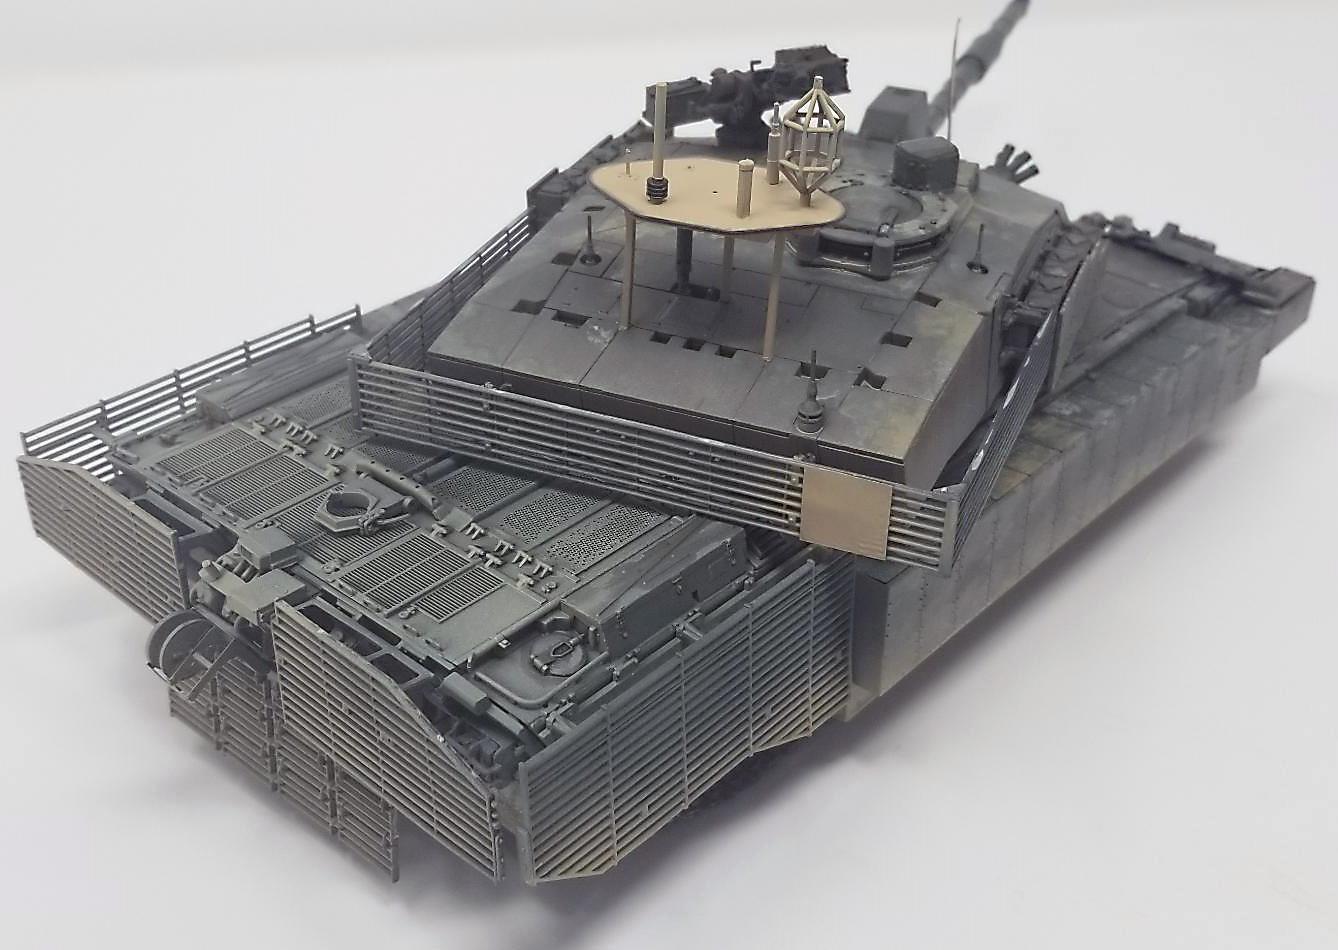
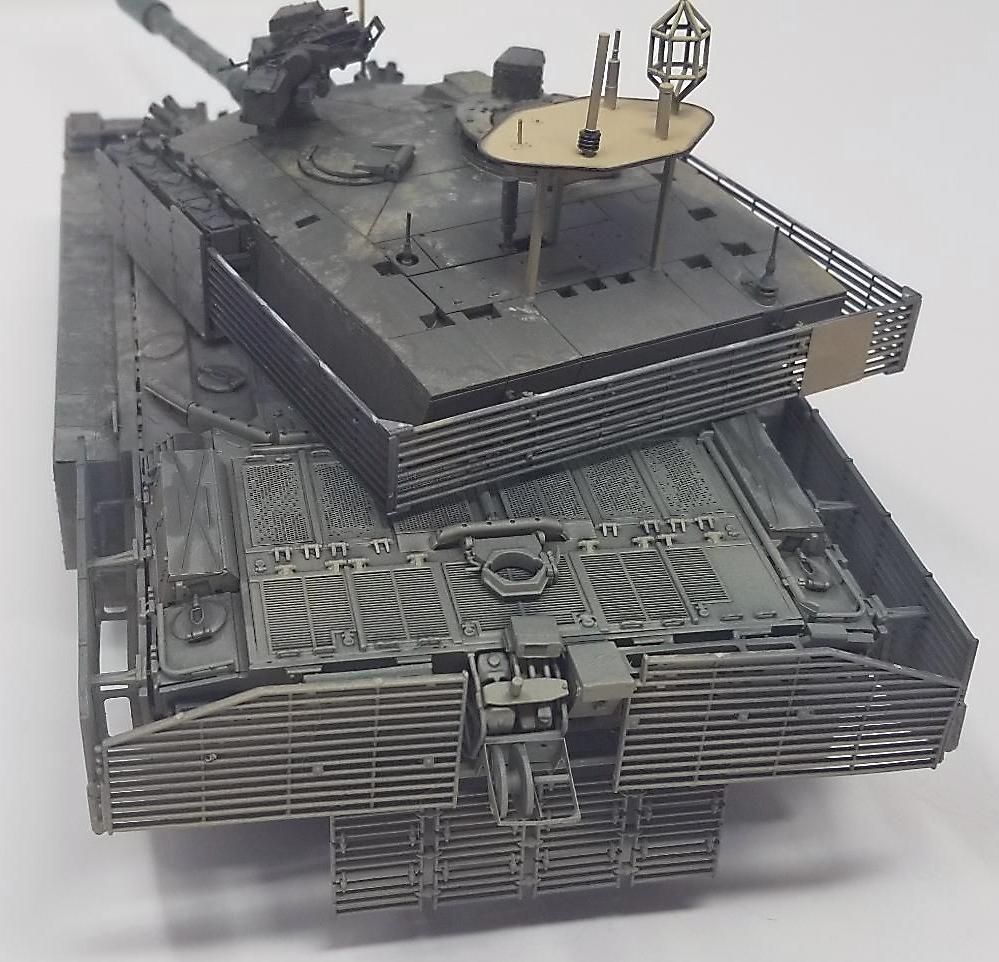
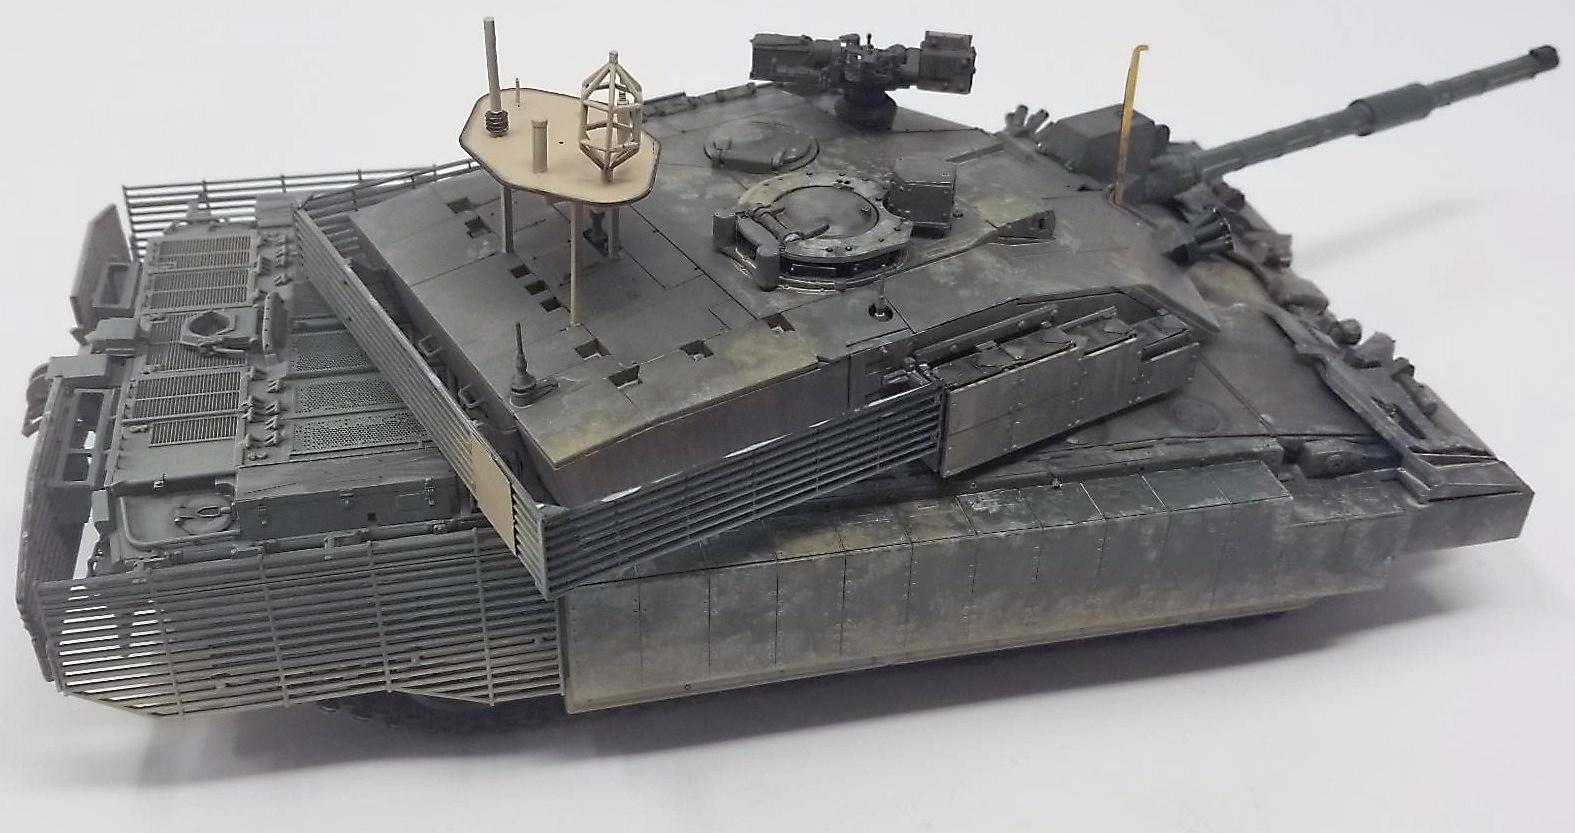
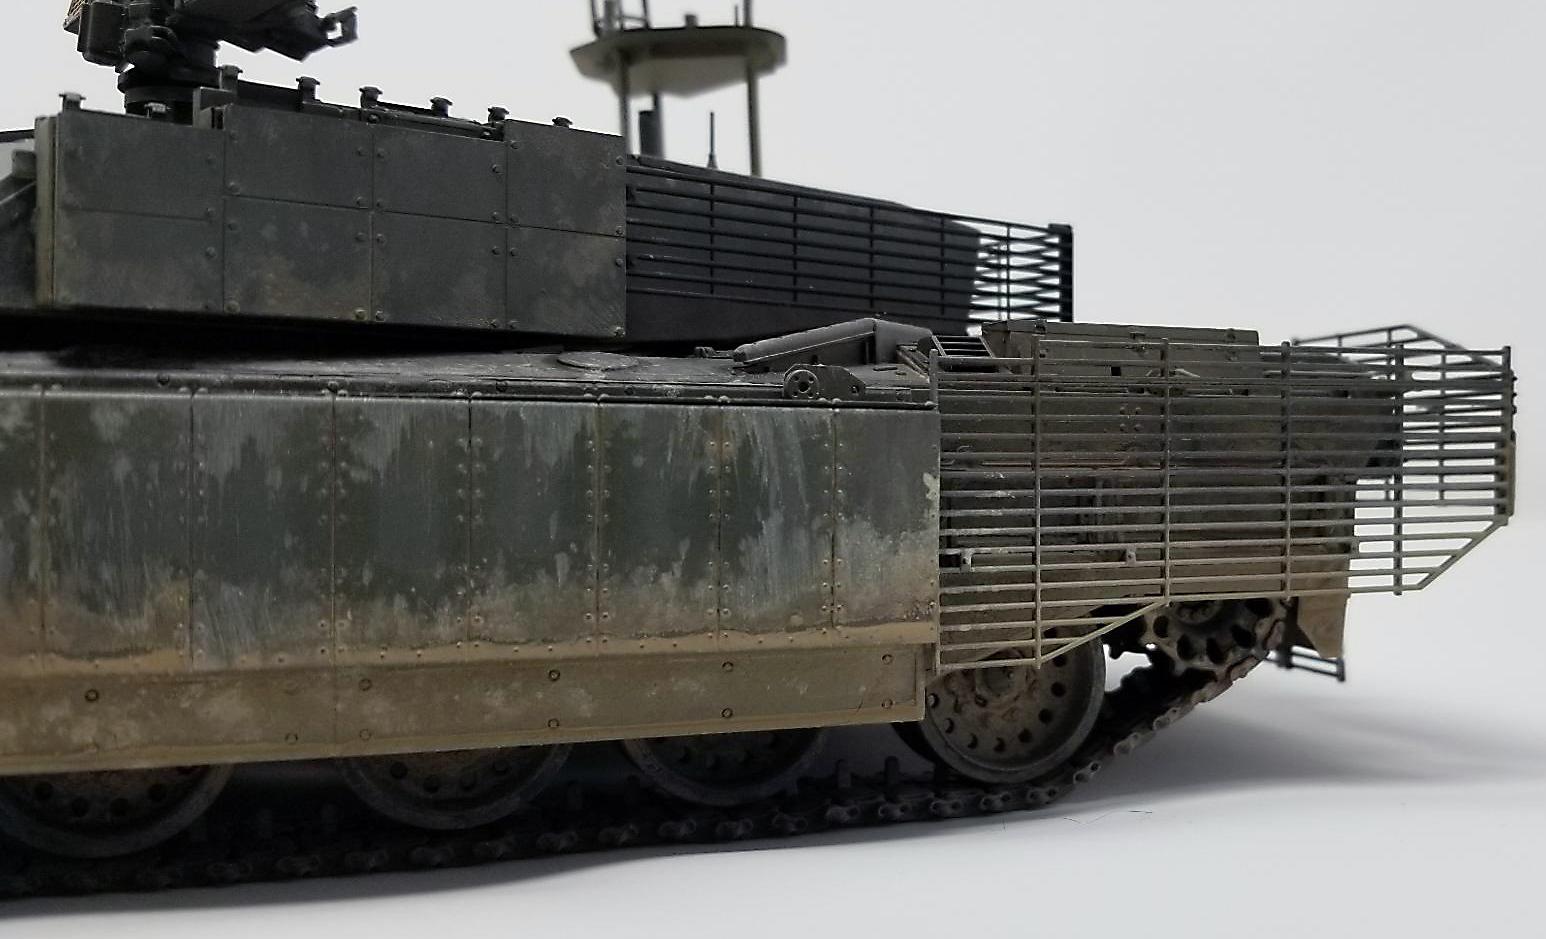
In an effort to address these threats and squeeze more life out of the Challenger II platform, BAE developed a host of add-on elements to increase protection. Additional armor on the belly, RPG cages around the rear of the tank and rear turret, ERA blocks over the side skirts and turret sides, a remote weapon station and what looks like a picnic table sitting on the rear turret playing host to a array of antennas; all of this brings the tank up to Theater Entry Standard (TES). The kit's subject, MEGATRON, is actually the TES reference vehicle and company demonstrator.
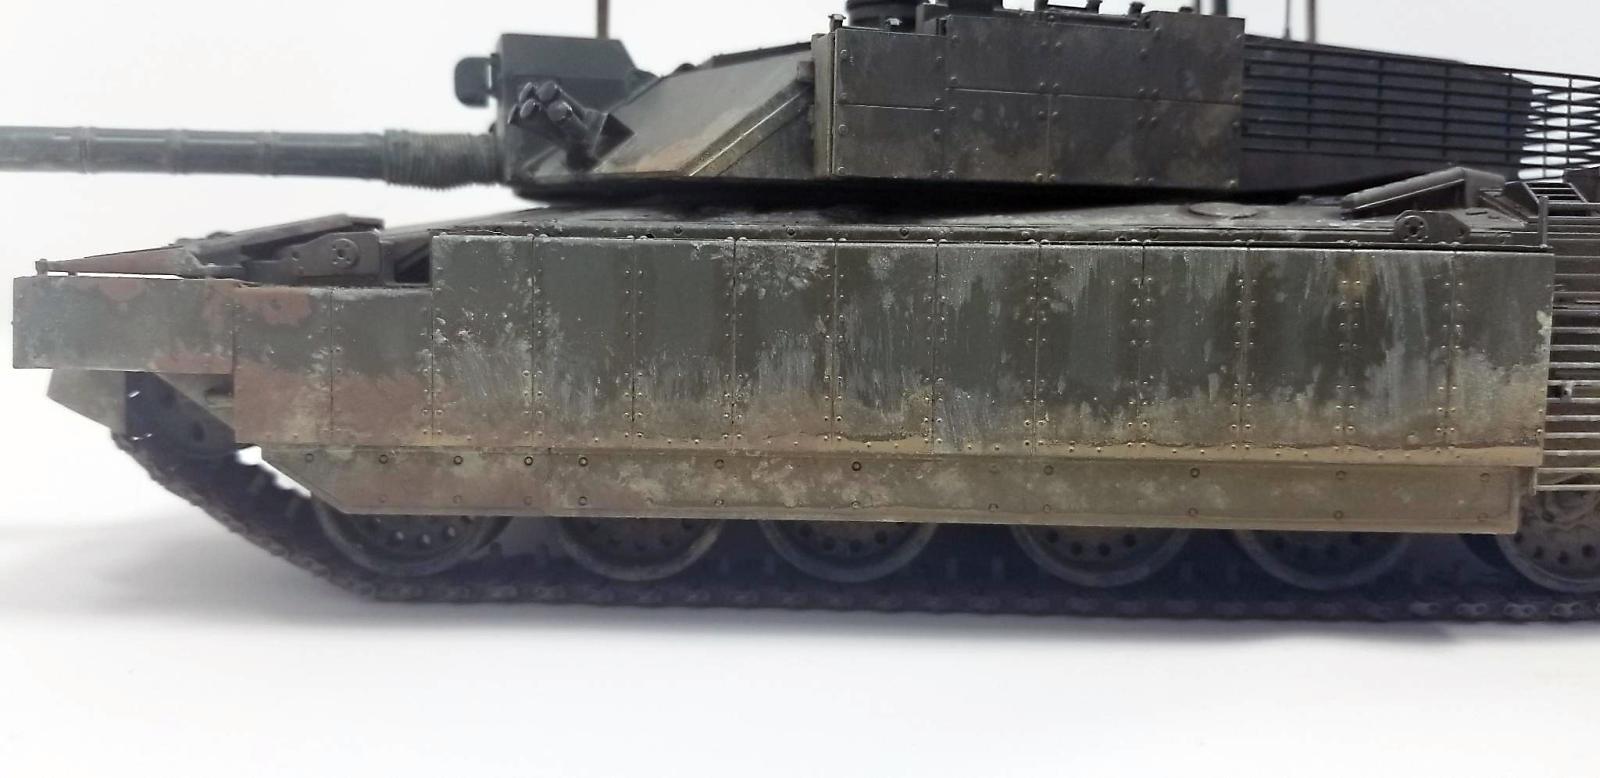
After my last experience with Rye Field Models and their M4A3E8, I swore I wouldn't put myself through another torturous experience like that again. And I didn't! The Challenger II kit is, despite its daunting amount of parts and apparently fragile assembly, a satisfying kit to build. I followed the weathering process I used for my Leopard C2 MEXAS: https://imodeler.com/2020/06/meng-1-35-leopard-c2-mexas-dozer/
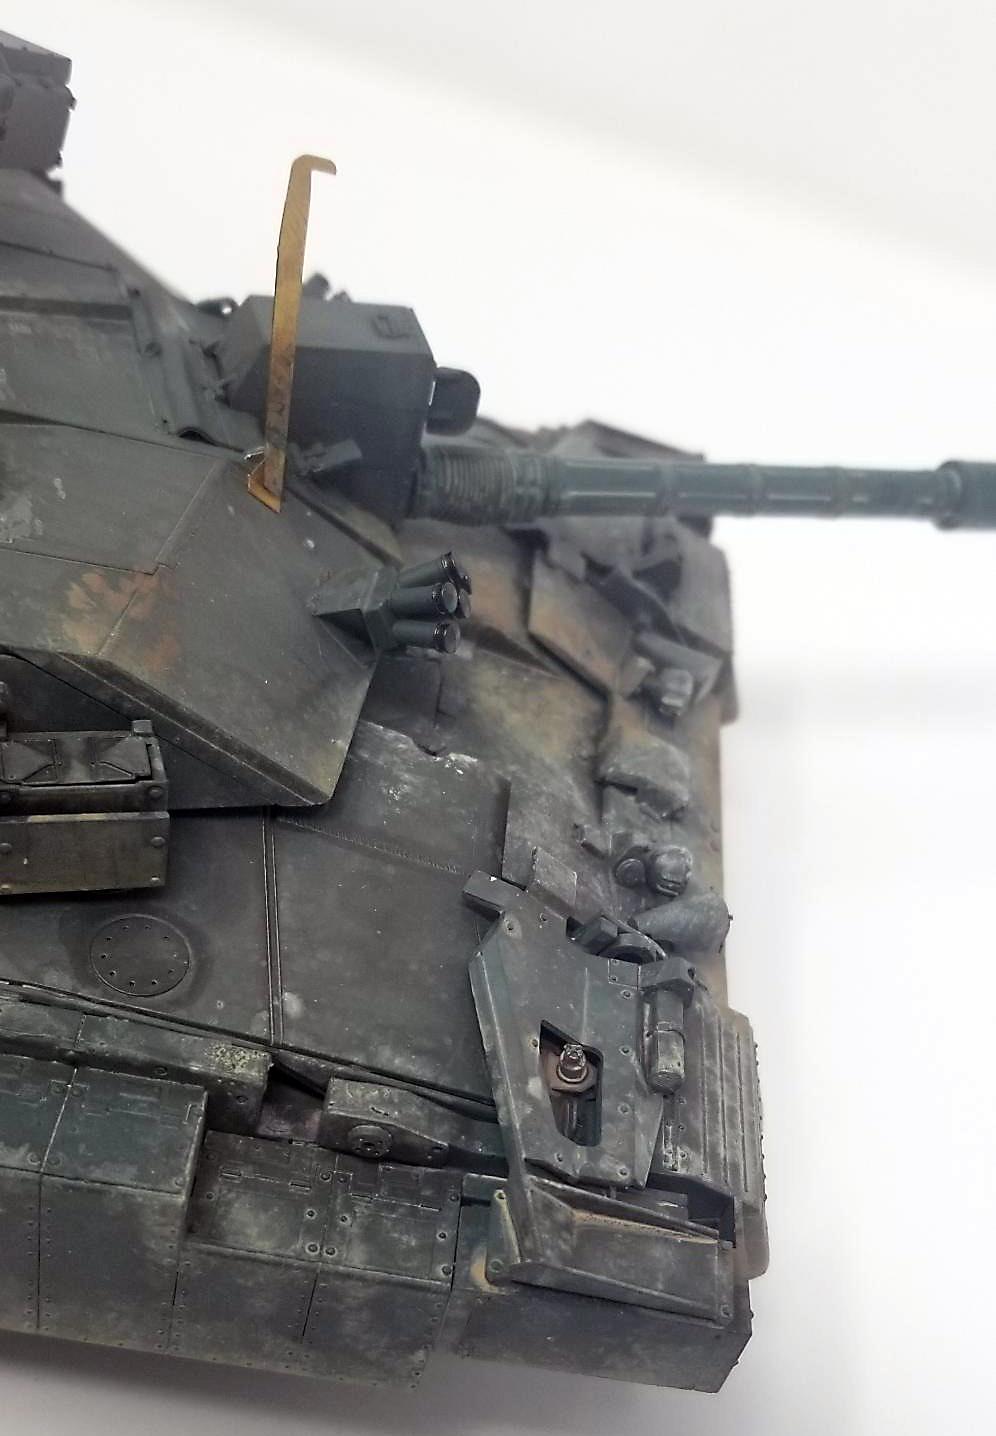
RFM provides you with an important correction sheet that highlights errors in their instructions. You're going to lose this sheet, so make the appropriate edits to your instruction booklet now before you get stuck in. The anti-RPG slats seem fragile, but they're actually quite sturdy. You can replace them with photoetch, but this is the best example of "just because you can doesn't mean you should."


This is a superb build, Wes!
I also loved reading the supporting text. There's much more in "armor" than a number of non armor modelers (like me) think.
Thanks for sharing this wonderful model!
Very good work! It looks like a fearsome tank. You gave it a very formidable look.
Very imposing Wes! I'm not much for armor, but this is appreciable. I especially like what you've done with the side armor plating, top to bottom, front to back. Impressive variation in paint and weathering.
Great looking armor, Wes @avispa93
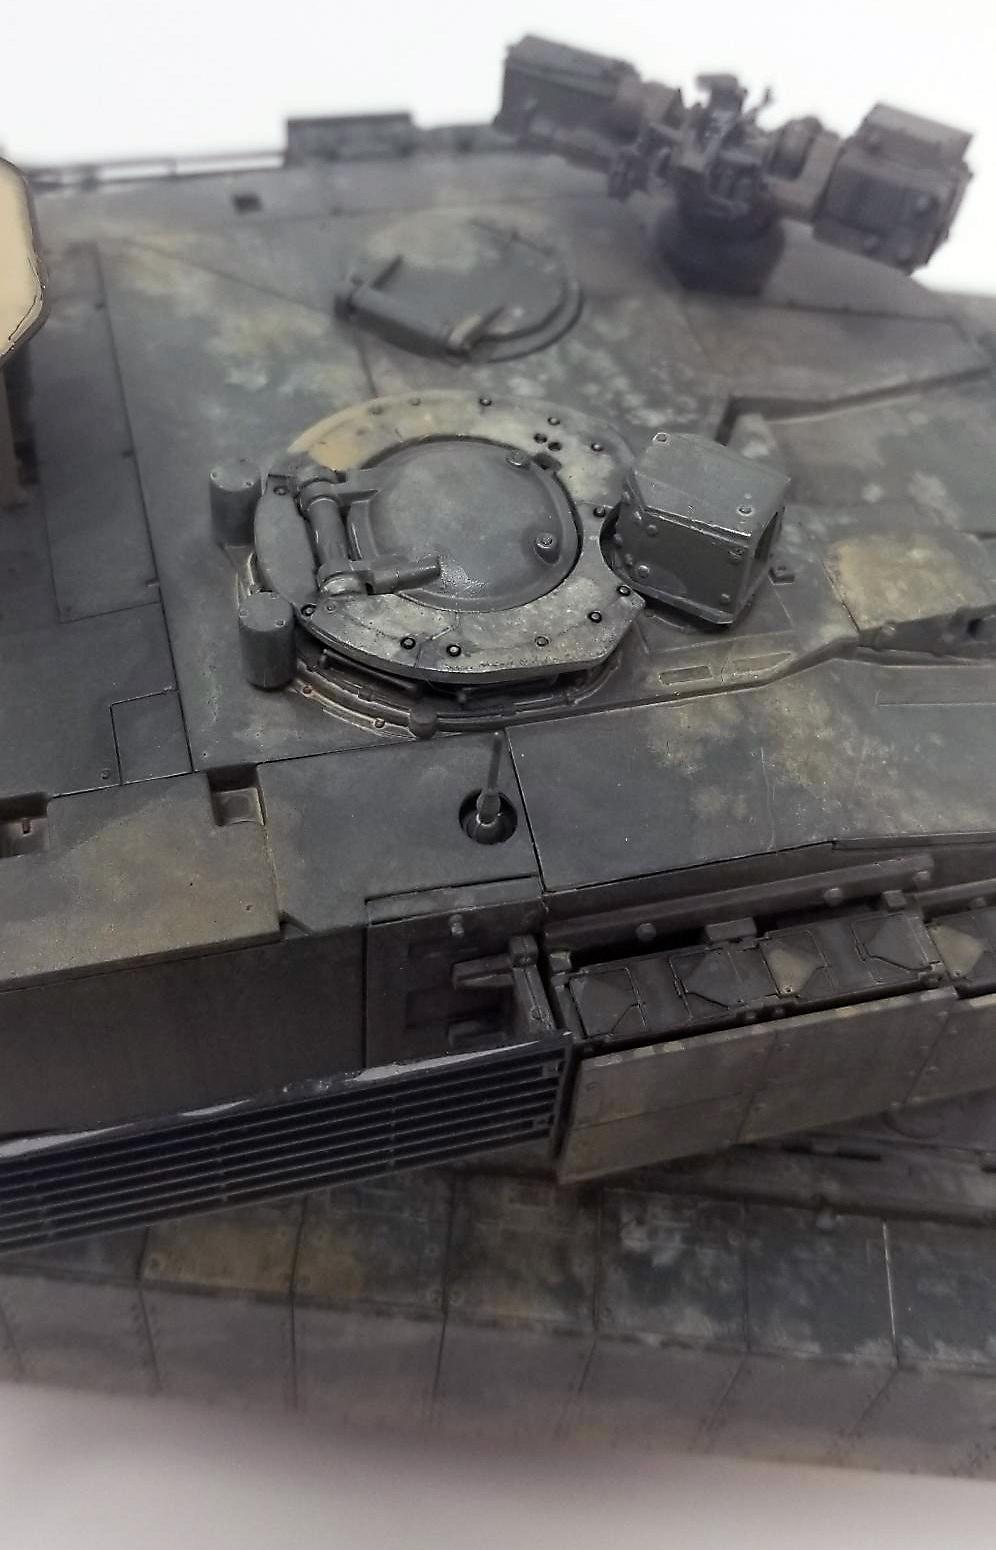
The weathering on this tanks looks perfect, even at your close-up pictures it looks very realistic.
Well done Wes, nice photography as well.
Wes, @avispa93
I served as a "tanker" in the old M-60A1's and for a very short time in the M-1A1 Abrams. I went through all of the crew positions, starting out like everyone did as a loader, then driver, gunner... you get it. Having spent a lot of time living in these beasts, I can tell you from first hand experience, that your model looks spot on. These things are dirty, noisy and not the most comfortable thing to live in, but it sure beast the hell out of walking... like a "grunt" does. In the desert, these things become a dust magnet too. It gets into everything and everywhere...
I enjoyed reading your article too. I will tell you this. As much as having a very good tank, with all of the latest upgrades, etc., it boils down to the crew and their training. Tossing in a little bit of luck never hurts either. I would take a great crew and a good tank any day... 😉
I definitely checked the "like" box. Happy New Year to you and your family.