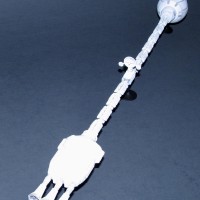
"Houston, we have a problem." 1/350 Moebius Discovery
The USS Discovery One with the registry number of XD-1 was originally planned as the first manned mission to Jupiter. With the discovery of TMA-1 on the moon in the year 1999, the mission profile was changed from an exploration of the Jovian System to an expedition to Saturn particularly the moon Iapetus where the signal from TMA-1 was aimed at. What changed was the voyage would be a one way trip for the Discovery One due to a lack of available fuel and resources for making a return trip from Saturn. The crew of Discovery One would go into hibernation till Discovery Two came along to “rescue” them and return them back to Earth some five years into the future
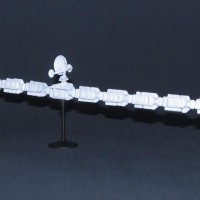
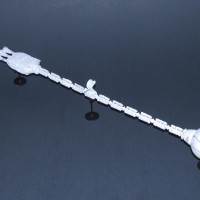
Discovery was the largest man made space ship built by man at the time. It carried a crew of five (two astronauts and three mission specialists), three EVA pods, supplies for three years, five hibernation chambers and a HAL 9000 AI computer system which handled most of the control systems including the AE35 comm system. It was powered by a nuclear reactor which also provided the energy for the magnetoplasmadynamic drive which propelled the ship.
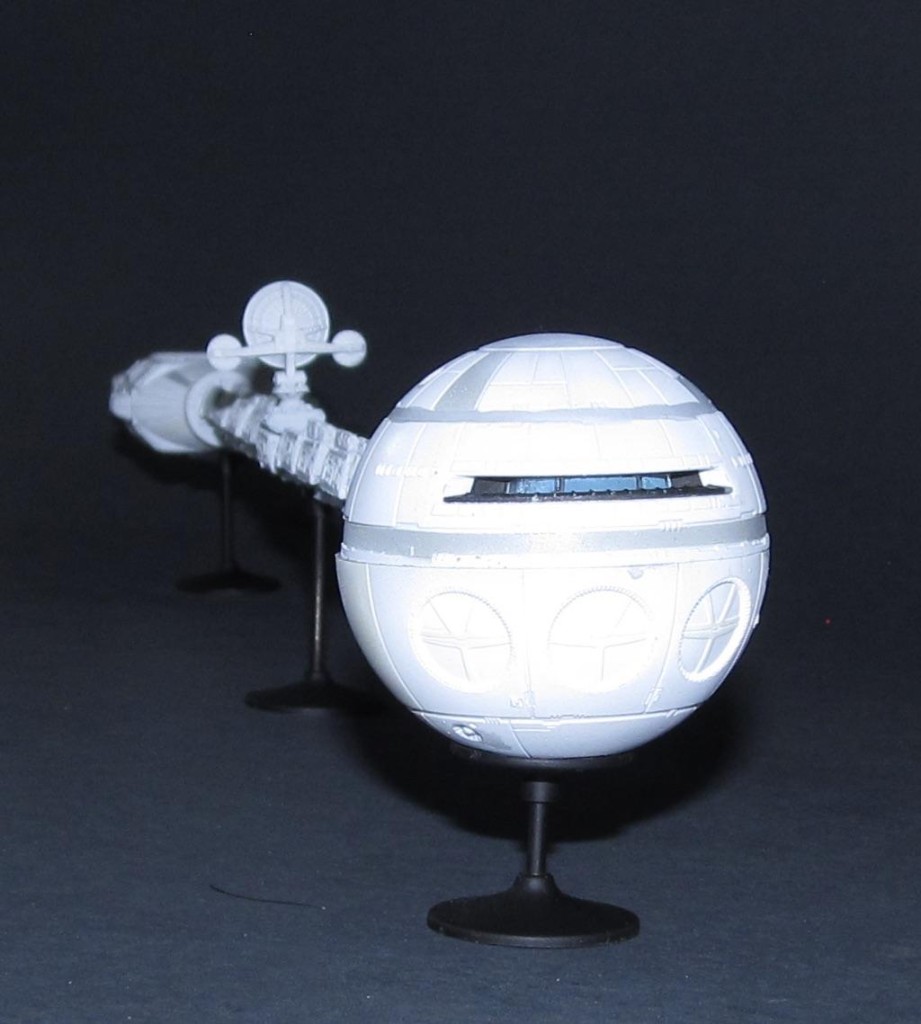
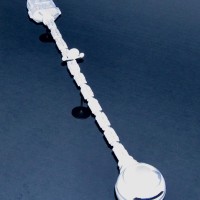
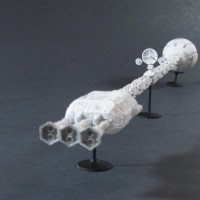
The main spherical shaped crew compartment was kept far away from the reactor as possible at the opposite end some 80m away. To provide some form of gravity, the sphere contained a centrifuge which spun and generated a “gravity” of 1/6g, which contained the main living/work area as well as the hibernation chambers, with the pod bay and control deck separate from the centrifuge area.
Sometime during the mission, HAL 9000 went insane and killed all but one of the crew who then lobotomized HAL 9000. Lone survivor Mission Commander Dave Bowman continued onto Saturn and disappeared without a trace after encountering a much larger version of TMA-1 aka TMA-2 in orbit around Saturn's moon Iapetus.
Note: this information is based on the original script of 2001 which had the Discovery going to Saturn. The reason for the change in the final film script from Saturn to Jupiter was because the special effects team led by Doug Trumbull couldn't make visual effects for Saturn's rings that could satisfy Kubrick's demanding perfectionist tendencies. The Saturn ring effects would be developed later and used in Trumbull's own SF movie “Silent Running” in 1972.
THE KIT
Moebius placed three identical sprues of light grey plastic which contain parts for items required in triplicate (engine nozzles, pod bay doors, stand base and cargo pods along the spine), two identical sprues in the same light grey plastic for the engine/reactor compartment, one large sprue of light grey plastic for the crew module and antennas, one clear sprue with two windows, a metal rod for the spine, three metal rods of varying length for the stands and one photo etch sprue for the antenna details
There isn't much flash on the parts, but I had some around the pod bay door openings. The surface detail is excellent for 1/350 scale. One area of concern is the spine pieces which don't fit as snugly as they should and have some glaring gaps than require the usual fill/sand seamwork to hide.
The instruction booklet provides most if not all the information you need to build this model. The most complex (also fragile and tedious) part of assembly are the five types of cargo modules running up and down the spine. The instructions show which cargo pod type goes where up and down the length of Discovery.
The paint scheme is pretty straight forward. It is a basic flat white with some light grey paneling. Moebius kindly adds a painting and weathering guide to help modelers decide how they want to approach painting it. I think that the basic brown/black washes would stand out too much and would have to go with Moebius' suggestion of using a dark grey wash to make the details stand out but not overwhelm the paint.
CONSTRUCTION
I began with the plot problematic antenna assembly. Moebius supplies the photo etch parts for the antenna mount which I used (parts attached using cyanoacrylate (CA) glue.) No problems there if you are used to attaching small delicate parts. I recommend using a good set of tweezers while assembling these as they will help place parts accurately and carefully.
Next up was the extremely tedious yet necessary task of cutting, cleaning excess plastic and mold markings, gluing and filling (using Perfect Plastic Putty and the excess removed with damp Q-tips) in the small gaps on each of the five different types of cargo pods plus the central antenna mount.
The engine pod with the three exhaust nozzles were glued together next. There were some gaps in the engine pod and exhaust nozzles that were filled in using Perfect Plastic Putty and damp Q-tips. Be careful with the orientation of each nozzle as it is meant to be added in a certain orientation as per the instructions as well as the mounting pins.
The pod bay doors were cut off from the sprue and added to the bottom half of the command module. Part of me was wondering if I could add an interior but decided against it because I think I would gone as mad as HAL9000 if I tried.
Next I glued on the plastic cargo pod superstructure that goes over the metal rod. There were some visible seams that needed to filled and sanded. I then glued each of the cargo pods and antenna support as per the instructions. I added the command module mounting structure at one end and the engine pod with engine nozzles at the other. I would attach the command module after painting.
Lastly the stands were glued together using CA glue.
COLORS AND WEATHERING
I painted the stands Badger Stynylrez black primer.
The various parts got sprayed a couple of coats of Badger White Stynylrez primer which doesn't cover as well as the black primer does. Once the primer coats were dry to the touch, I sprayed the various parts with two thin coats of Tamiya flat white paint.
Next I masked off various areas of the Discovery and sprayed on Vallejo Off White and/or Tamiya XF-80 Light Grey (which looks darker against the mostly white surface of the Discovery.) It took a couple of spraying sessions due to masking mistakes and overspray. The main viewport area was masked off and painted black.
The main view port clear piece was masked off on the external side and the frames painted black while the interior surface was sprayed with a light coat of clear blue to help obscure the blank interior.
After the model was completely assembled, I used Tamiya Light Grey Wash for the various details on most of the surfaces including the cargo pods and engine pod. The engine nozzles got the dark grey and black washes to show “heat” stress.
The excess was wiped away using oil paint thinner.
Once it was dry and my house vented due to the enamel thinner, I sprayed on a flat coat to seal everything in.
FINAL CONSTRUCTION
The command module was glued together after painting, but before weathering. The antenna was added last, facing rearward.
CONCLUSION
This is fairly easy kit to assemble with a lot of tedious work to do (cargo pods.) The paint scheme and weathering is the more difficult part of building this model. It is definitely for fans of hardcore SF models and 2001: A Space Odyssey.
I had some fun building this model as it went together and painted in less than three weeks. Once you get past the tedious cargo pods, everything assembles quickly and easily.
It works out to be 17+ inches in length for 1/350 scale which is still pretty long—which is similar in length to a large 1/350 submarine. However, I find it way more manageable than the 1/144 scale version's length of 41 inches.
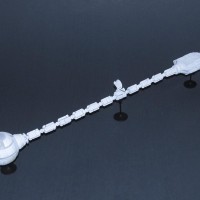
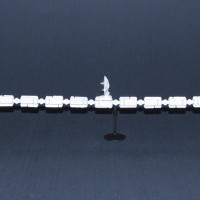
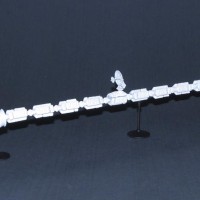
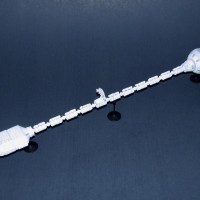
Great Model Dan. Will you hang it on your ceiling ? Seems like no other way to display this craft.
The train concept Of individual cargo components appears to be a viable option still for spacecraft.
It's actually sitting on a shelf. It fits along the back of the display cabinet.
I have the 1/8 EVA pod and have no idea where that goes if I ever start building it.
Amazing build and an excellent result, Dan!
A big, imposing model!
Thanks very much Spiros. It's actually not that imposing, just awkward.
Great result, Dan @dbdlee
A very unusual build of this pretty large structure.
Well done.
Thanks John.
Daisy daisy... Nice work! I did this kit a little while ago, those cargo pod parts were crazy. The 1/350 kit is more manageable then the 1/144 and cheaper.
1 attached image. Click to enlarge.
Yours looks very good too. I didn't even consider getting the 1/144 kit. It was too expensive and too big for me.
1/350 is perfect. I'm glad Moebius made one.
It took long enough.@dbdlee
Very nice result.
Daisy... Daisy... tell.. me your.. answer true... I'm... half crazy...
Thanks Tom!
Very Nice Dan - man its big, looks really cool. well done.