North American F-86D "Sabre Dog" – Revell 1/48
Good day iModelers, today I wanted to share my first completed kit of 2022.
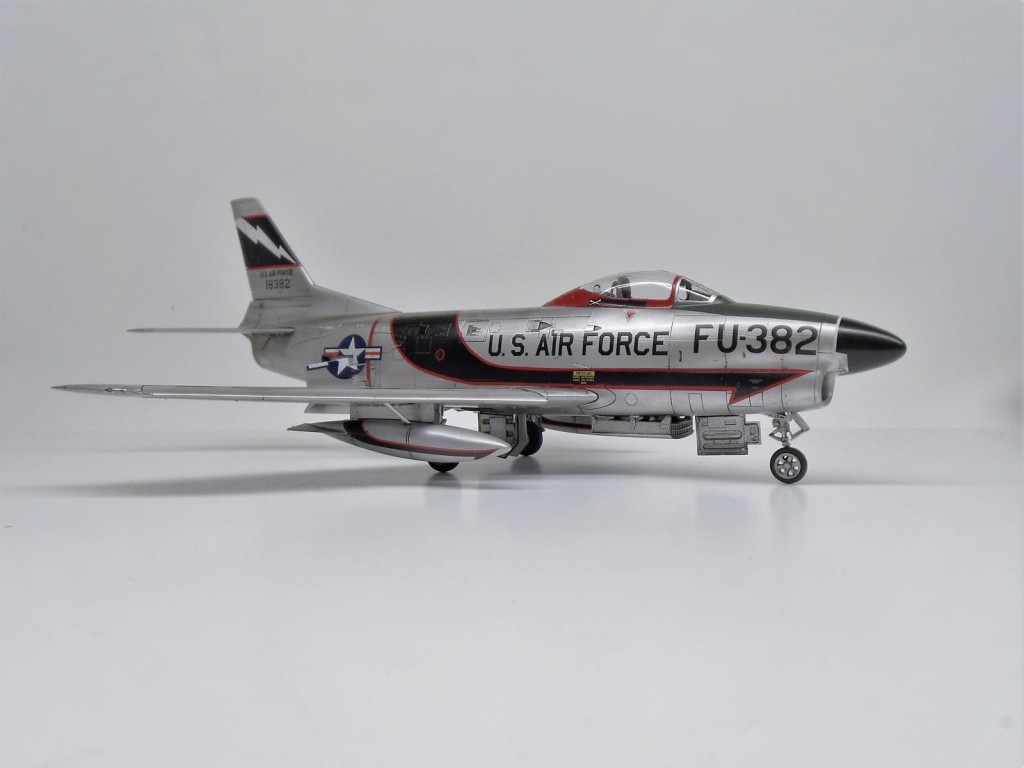
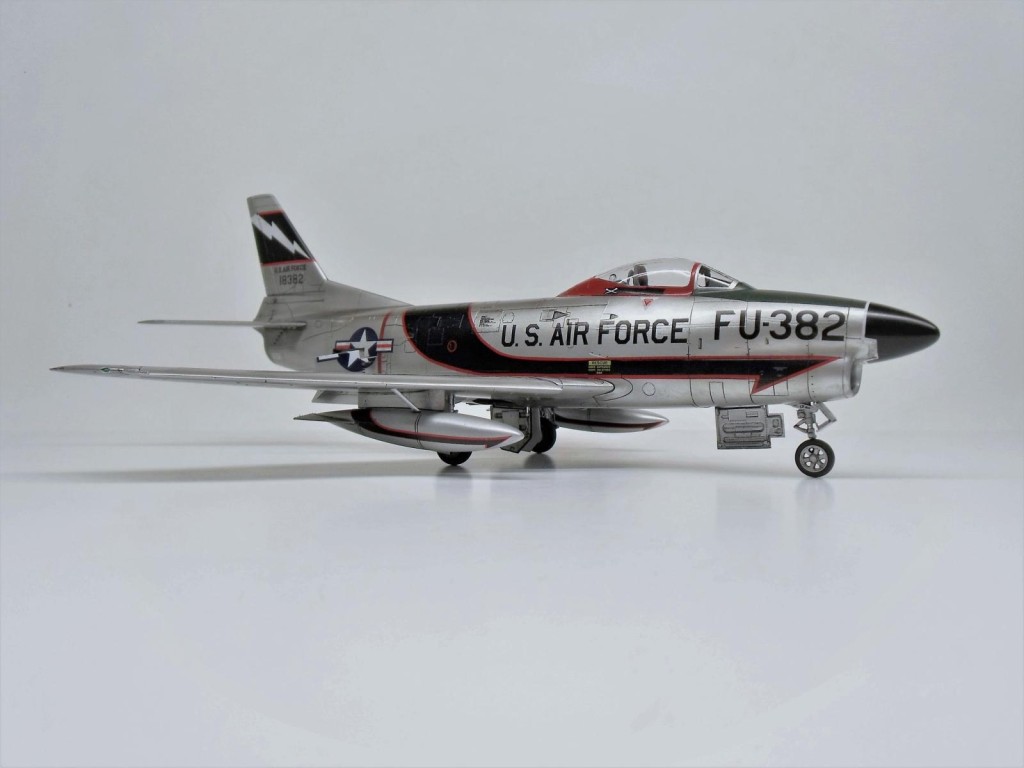
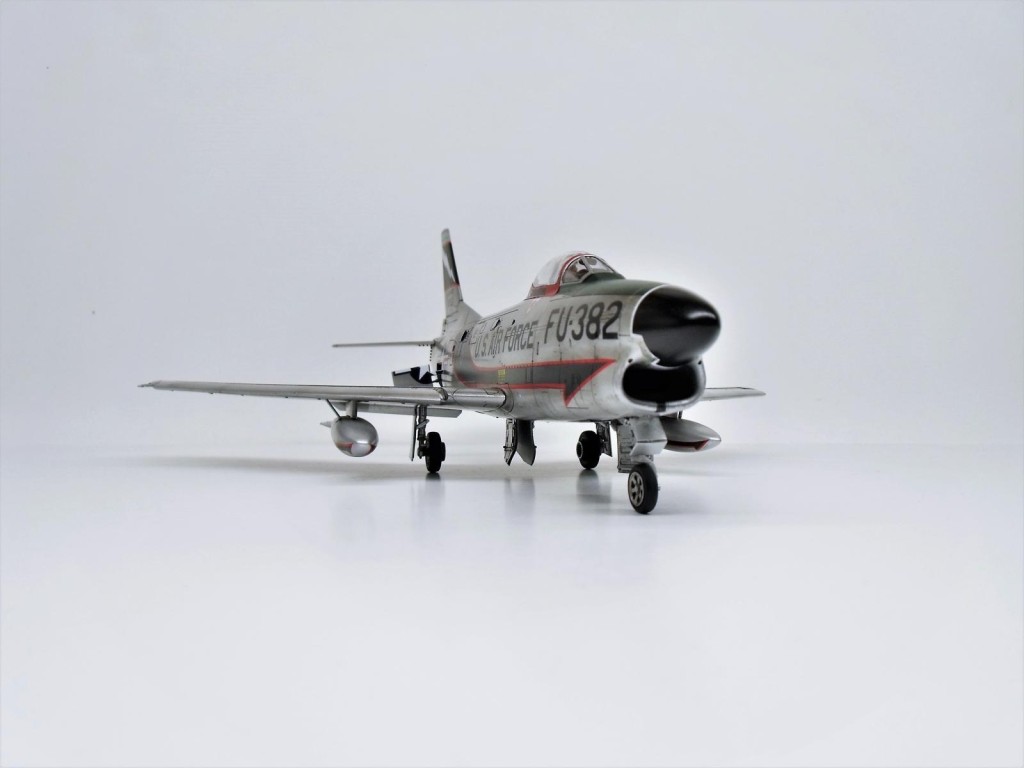
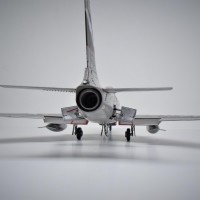
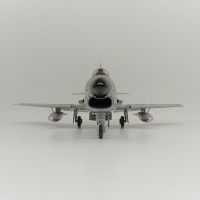
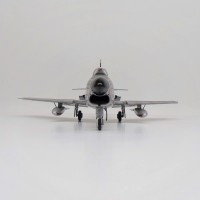
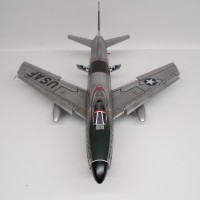
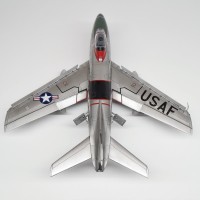
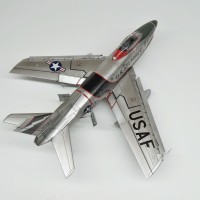
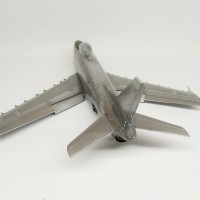
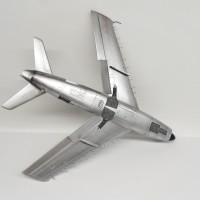
This kit is the well known and widely available Revell F-86D in 1/48 scale. This kit is about 20 years old now, but if I didn't know better, I might've guessed that this kit was a more recent kit from the likes of "Tami-gawa". This kit was a joy to build, and though there are some disputed accuracy quibbles out on the internet (depending on the version you are building), it sure looks like a Sabre Dog completed! The best part about this kit is that it builds up exceedingly well, considering the affordable price I usually see it on sale for.
I'm not sure what prompted me to start this kit after finishing my Airfix P-40B, but I knew that I didn't want a tough kit, nor did I want to do another prop-plane right away... Having had a look into this kit when I initially purchased it, I recalled being amazed by two things. First, the sprues are engineered in such a way that they interlock together, such that the parts are all protected from being jostled about in the box.. cool! Second, upon opening, and curious to see the footprint of this swept-wing bird, I decided to cut the fuselage halves and lower wing from the sprues to fit them together. To my amazement, it was a near seamless slip joint that felt too good to be true... I was curious enough, I suppose, that I gambled on making this my next build.
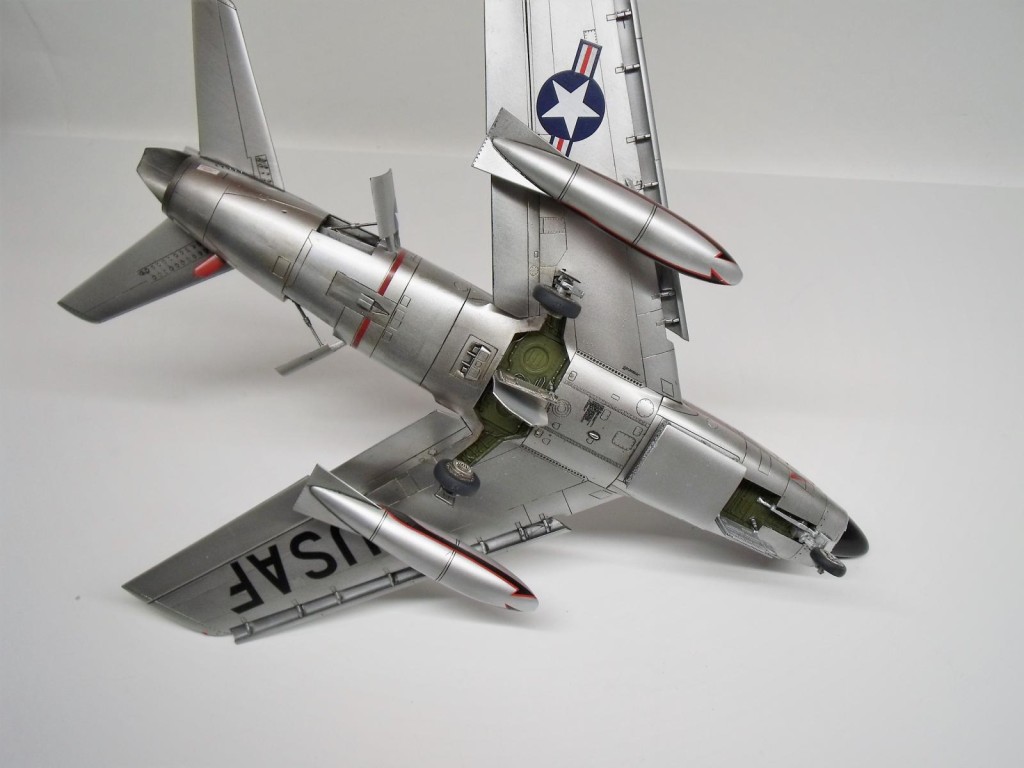
Long story short, this kit has excellent detail and beautiful fit. Honestly, this kit fits better than a Tamiya kit of the same vintage (eg their F4D-1). The cockpit has excellent panel and seat detailing, and the canopy can be posed opened or closed accurately. A decent looking pilot is also included, with posable arms. The exterior details are great, save for a few that fall on what look like intentional mold breaks, but more over, the wing and fuselage joints caused only minimal fuss. The flaps and airbrakes are intended to be posed "dirty", but I feel pretty confident that they would fit excellent in the closed positions with only minimal work. The gear bays are handsomely detailed OOB, and the doors are very appropriately thin, with excellent structural detail on the "inside" surfaces. The main struts have finely molded brake lines which loop away from the strut body, and the wheels hubs are even very well detailed, no need for resin!
I even magnetized the rocket deck to be removable:
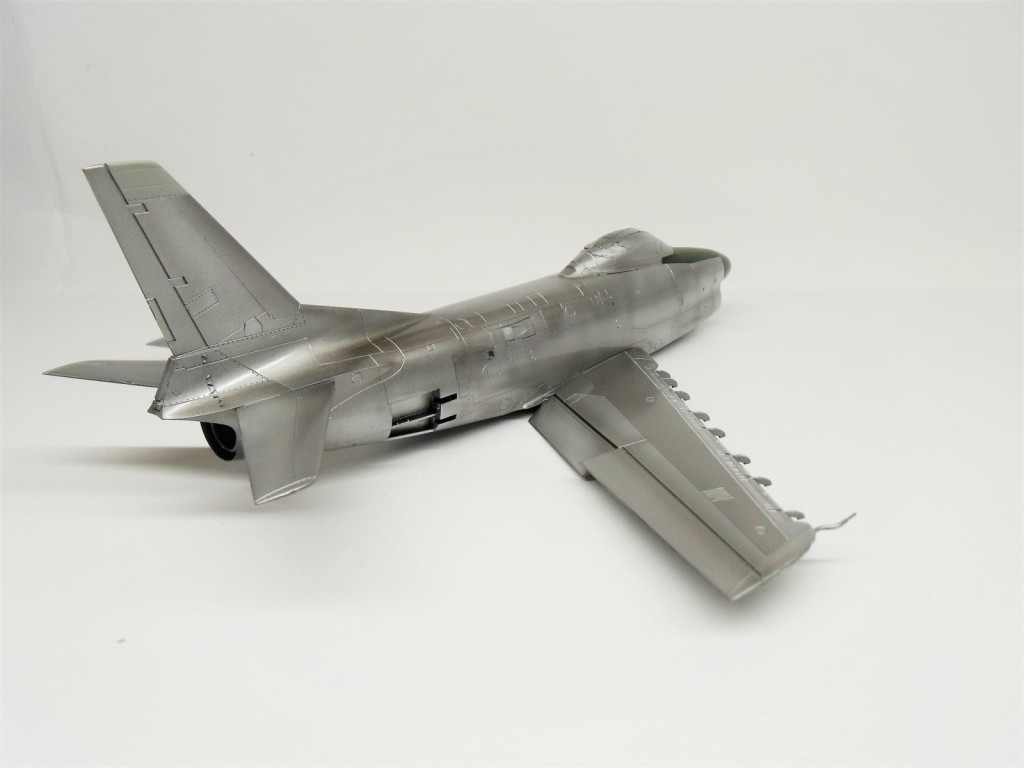
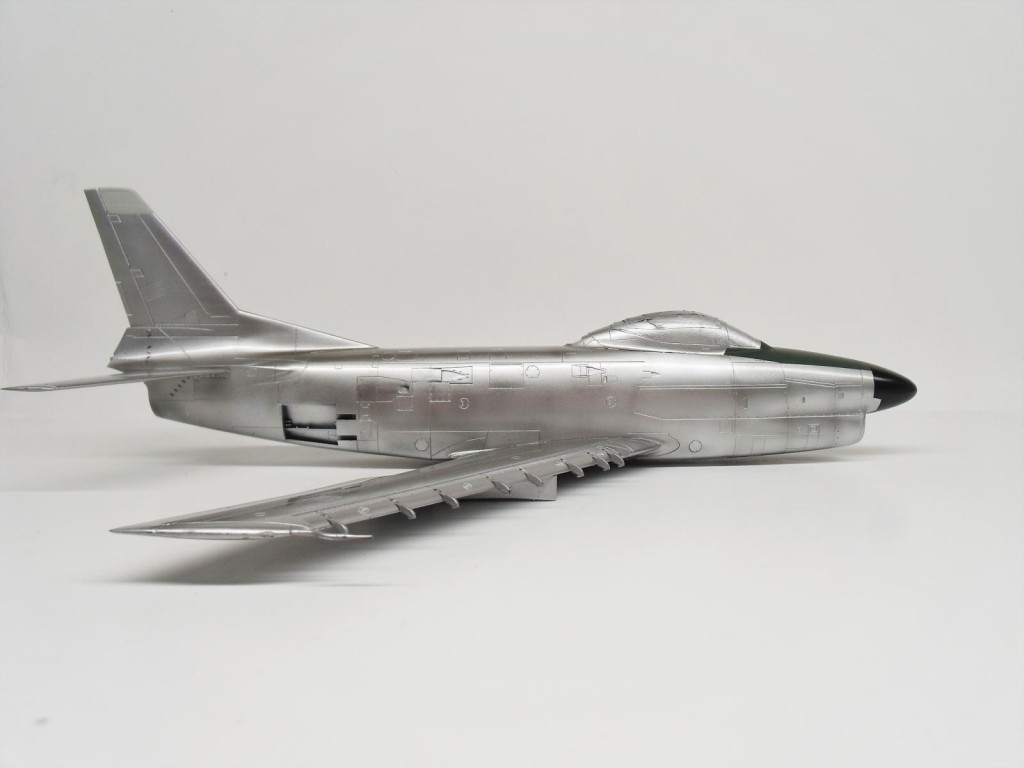
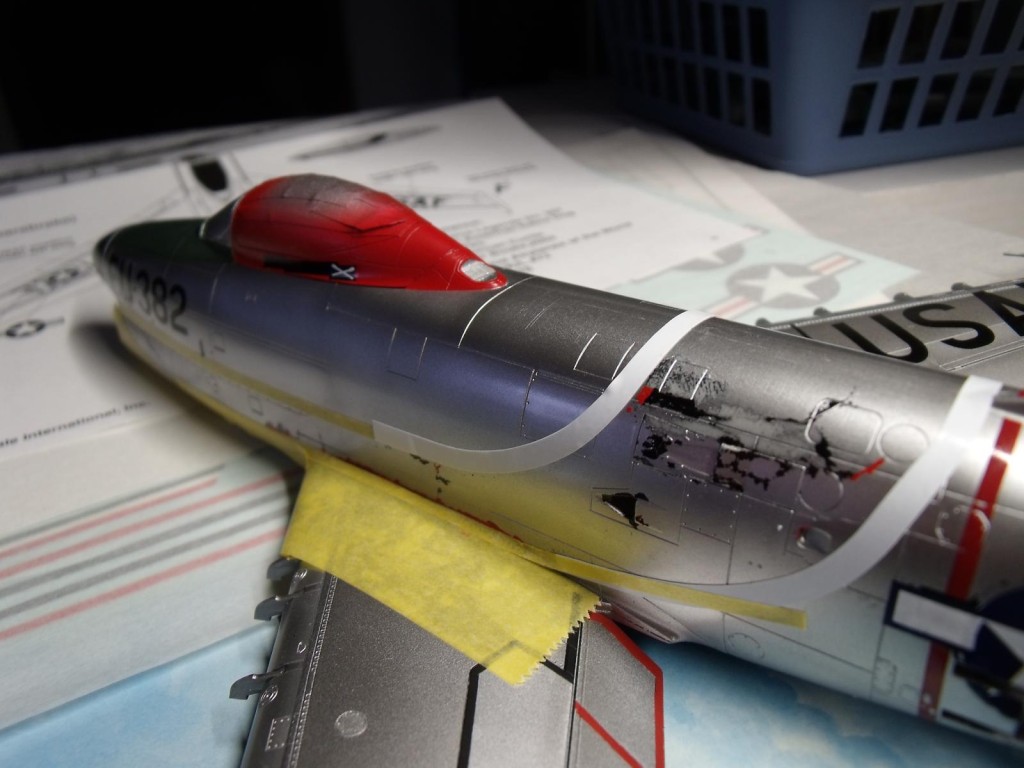
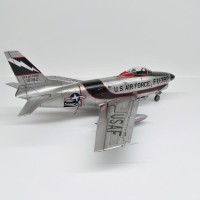
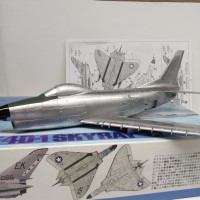
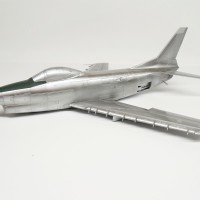
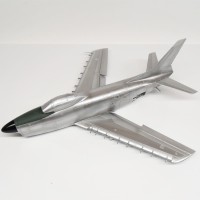
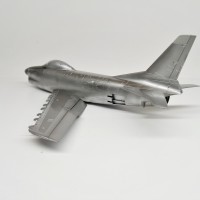
For paint and scheme of this aircraft, I originally intended to keep with the OOB theme and use the kit decals, for a 51st FIS bird. To accomplish this, I started by applying a base of black Mr1500 primer to the built fuselage, and smoothed it down a bit. I then applied a base layer of Vallejo Dull aluminum, allowing a few days of dry time. On top of that, I sprayed the wing centers with Duraluminum, painted most of the doors (airbrush or brushed, depending on size) standard aluminum, and then without masking, I oversprayed the control surfaces with semi-matte aluminum. Without masking, some panel edging/shading and smaller darker panels were then sprayed with Duraluminum lightly to achieve some darker variation, followed by some more Dull aluminum and perhaps regular or white aluminum on top to help blend out... When you have some many shades of aluminum, its fun to layer. In my opinion, unless you're spraying thin layers of chrome or aluminum over gloss black, you can treat NMF like any other color, really. Try it! All this was sealed under Tamiya X-22 thinned with Mr leveling thinner, as usually.
Moving on to decals, I began trying to use the kit decals, and that was a mistake. The kit's decals were a bit off color (insignias look more black than blue, etc), and the carrier film was beginning to yellow a bit. Despite that, I was able to get a few set with no big issues, just some minor cracking on larger areas with ink... Unfortunately, after a couple of the decals were set, I had back-to-back decals shatter as soon as I slide them around on the paper! Almost immediately I ventured to find a means to remove most of the kit decals I had applied. In spite of my effort to lift the Revell decals (including tugging at them with Gorilla Tape), bits and pieces of the buggers would just not come off.. and sanding was not an options. This left me with no other option but to paint or decal over top of them.
I now had to decide on a new scheme. Searching online, I found a few that I like, namely that of a 339th FIS aircraft, available on a Super Scale International sheet, 48-1124. I was a bit hesitant about the thought of getting the large fuselage decals set correctly, but in the end my optimism and fondness for the pallet won out. However, I was right to be hesitant. The SSI decals that were primarily carrier (the USAF stencils, etc) set perfectly, but decals saturated with ink hardly reacted to MicroSet or MicroSol. As such, they did not conform to even the slightest of complex surfaces even after being cut into smaller pieces. The most luck I had was with the drop tanks, but even those didn't set down fully. In the end, I had no choice but to paint the black, white, and red. Those parts of the decals aside, I must note that the separate red stripes for the fuselage insignias were not sized correctly (too small) which was meant I had to cut portions of the sheets fuselage blast warning stripe down to size. Separate from all this, I'm not sure the "USAF" fonts are period correct... Word to the wise, I suppose.
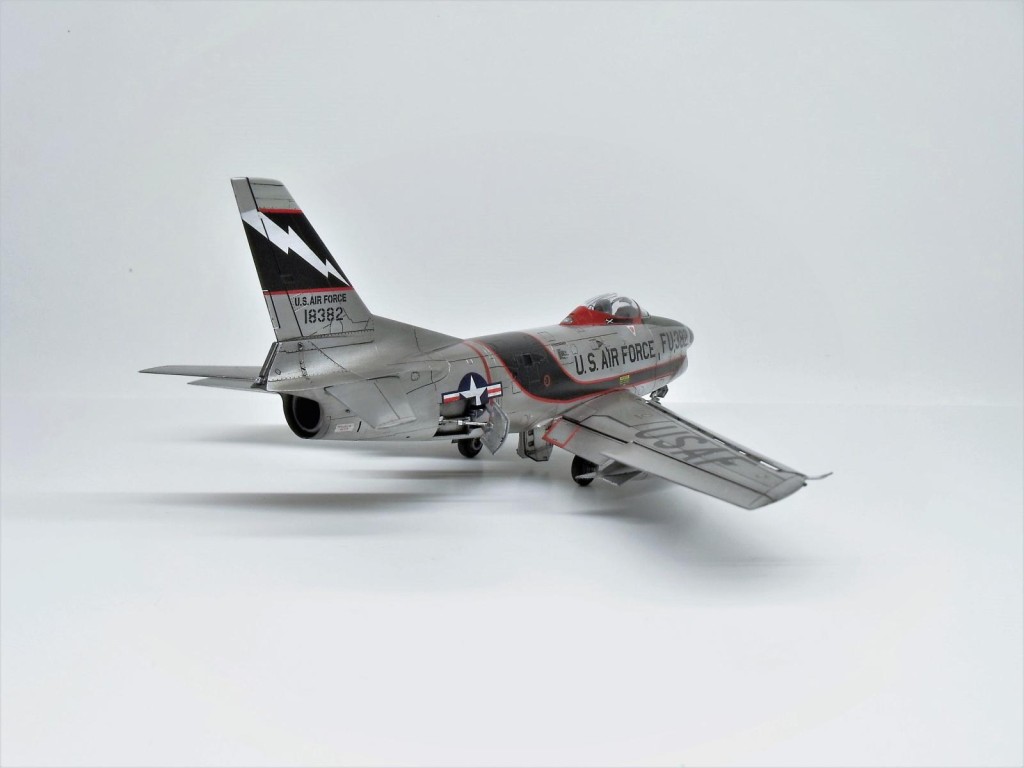
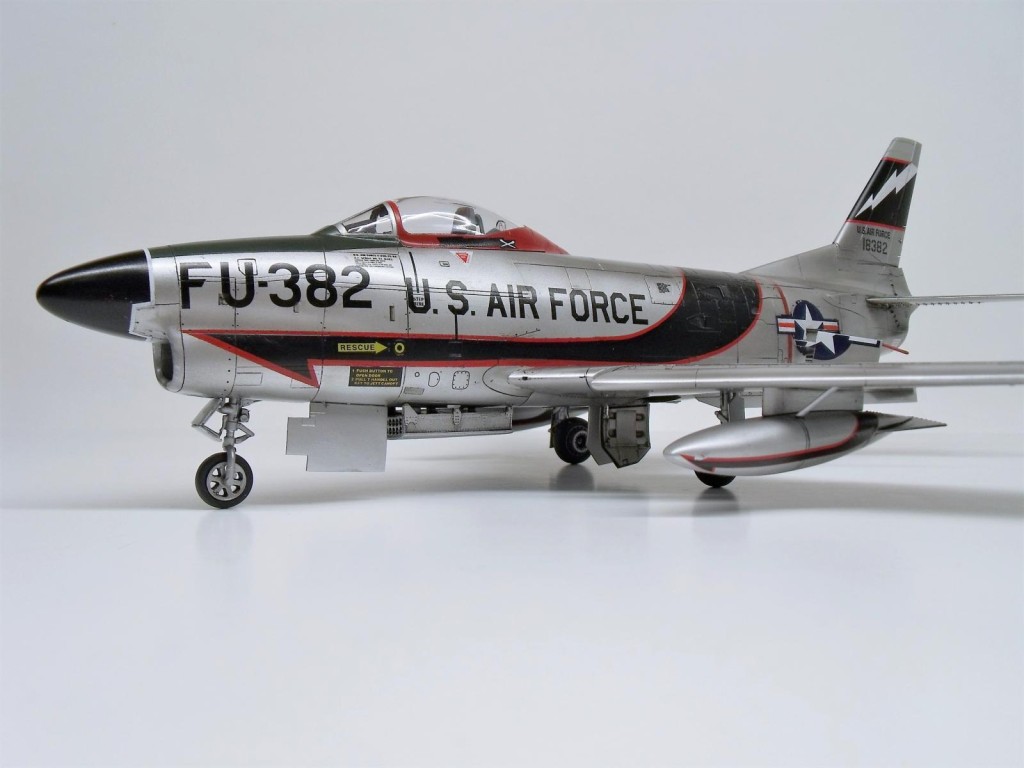
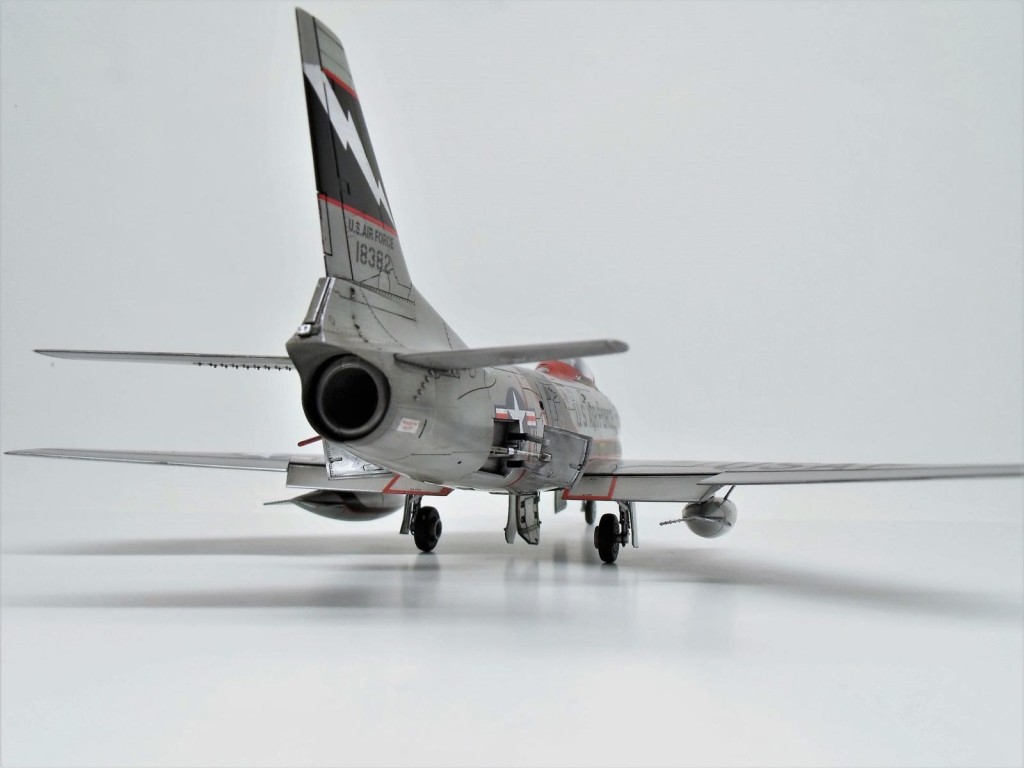
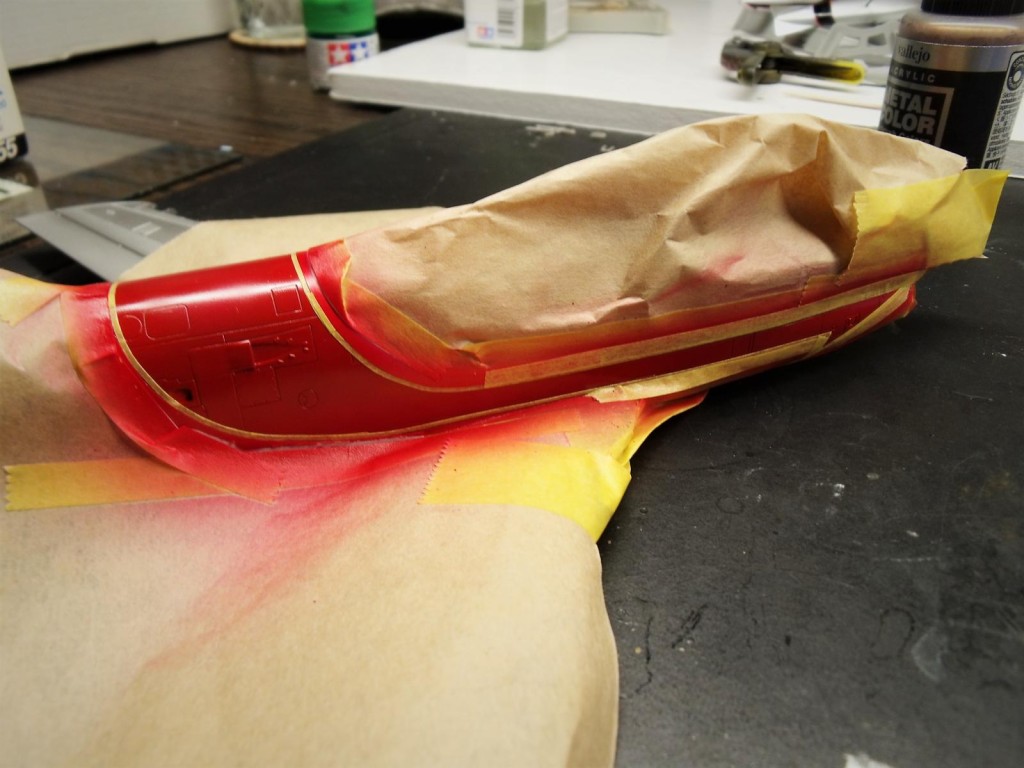
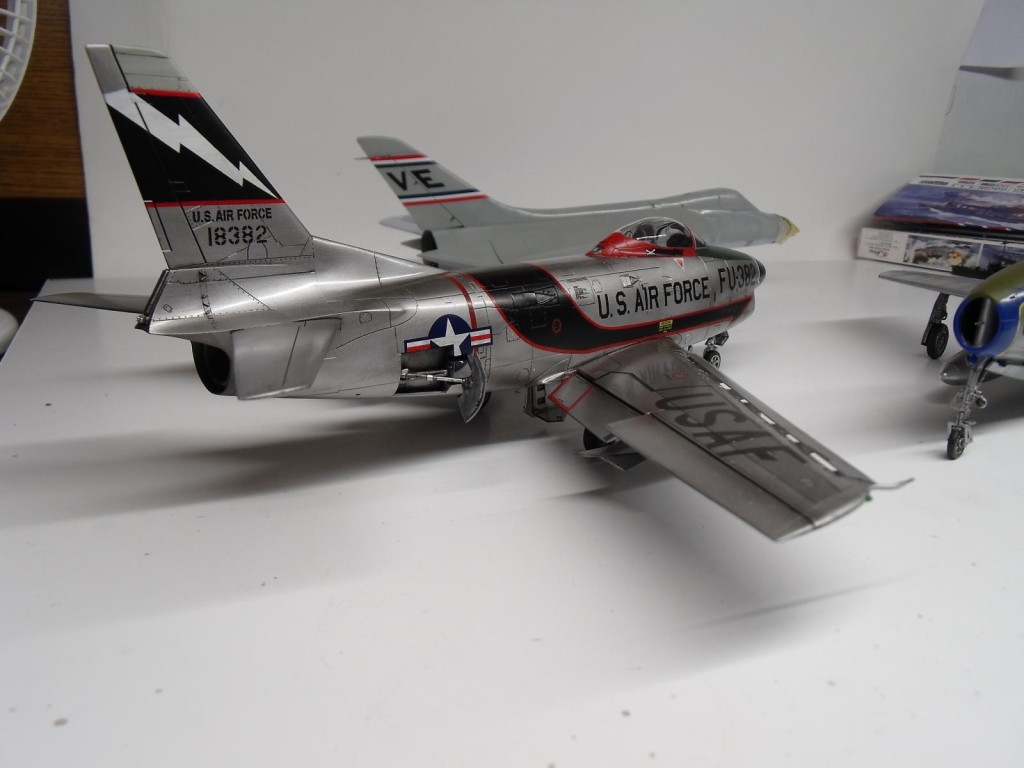
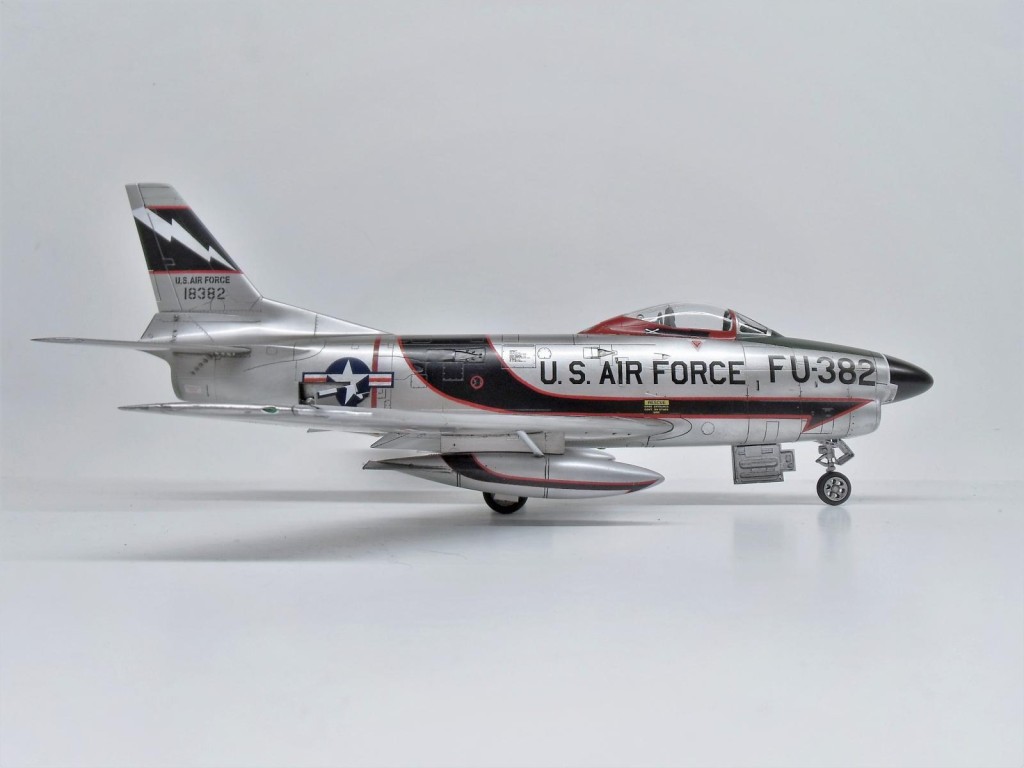
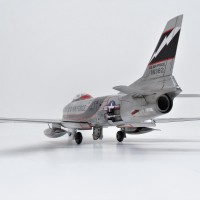
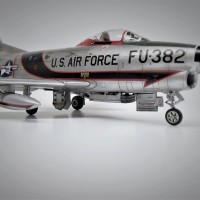
With some careful measuring and masking, I was able to replicate these fairly basic patterns. For the fuselage, I sprayed Model Masters red, then edged in the masks and sprayed the black. On the tail, I first sprayed some Tamiya white primer. On top of that, I lay down a piece of Tamiya tape cut out by stenciling a printed copy of the original decal's lightning bolt. Next the red was sprayed, followed by masking and the spraying of the black. I'm quite satisfied! Once completed, the panel lines were washed lightly with blacks and grays, then all was sealed with a glossier-semi-gloss Tamiya X-22/X-35 mix.
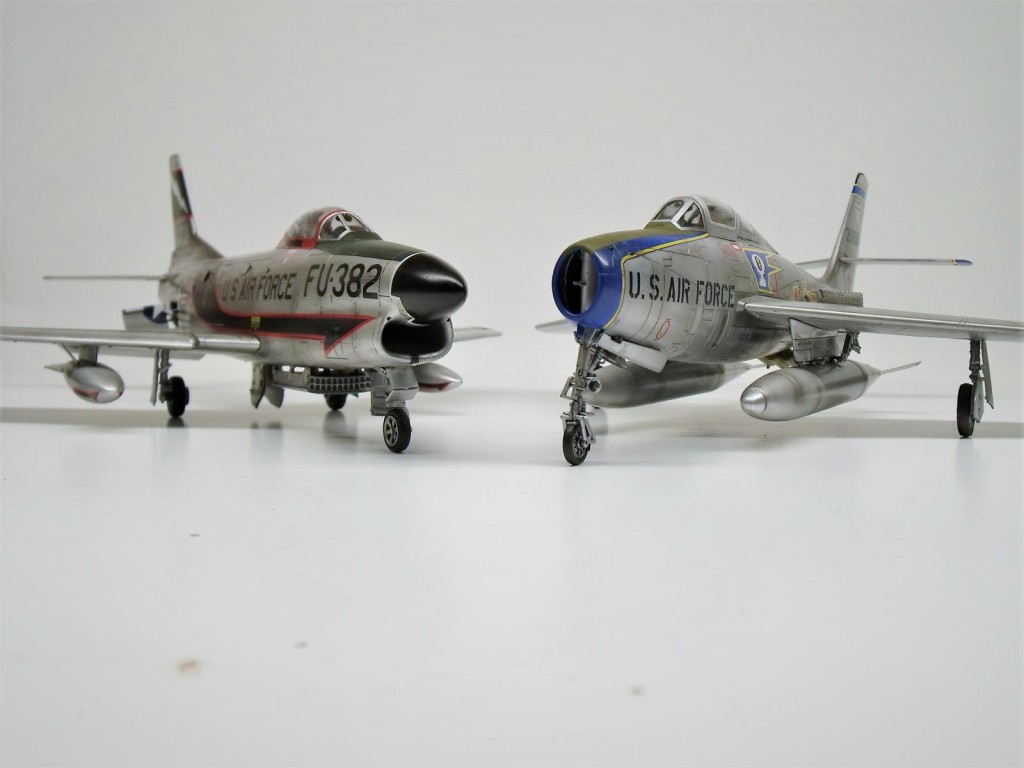
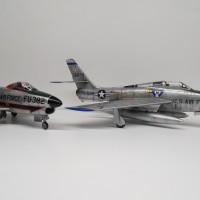
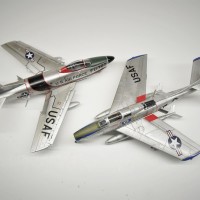
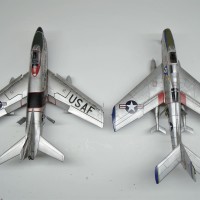
A lot of unexpected work went into this one, but I'm overall very happy with the end results, and can surely say that the build was very satisfying overall! I've also included some shots with my F-84F, just because I like seeing these two "era" birds next to each other... soon to be joined by a certain Mr Douglas Ford!
The aircraft modelled is intended to represent F-86D-36 Sabre S/N 51-8382 of the 339th FIS, flying out of Chitose, Japan in 1956. I was unable to find photos of the actual plane, but I hope you still like it!
Beautiful!
Thanks!
Amazing result on this F86, Andrew @pb_legend
Beautiful result on the red/black area.
The magnetic solution is a great addition as well.
Thanks @johnb.
I liked the sleek look without it deployed, but also liked the detail included on the kit's parts... Best of both worlds!
Way to go Andrew ! Looks great x2. !
Jay, thank you sir.
Very slick looking machine
George, I'll give credit to the swept wings for that look... 😉 thanks!
Birds, eras, NMF, and mainly your beautiful rendition, exactly what I like the most. Bravo!
Kind of you to say.. Your jets look great as well!
Way to go indeed, Andrew!
What a spectacular result!
I have the same kit un-built and it sure looks great in the box!
Temptation is rising now...
Congratulations!
Spiros @fiveten, it is a very low risk kit on the frustration scale, so far as the plastic is concerned. Plus it can be built up in a variety of schemes.. Happy building!
Andrew, this is a great looking Sabre Dog, nice work.
Thanks Bob, I've got a few more Sabre jets wanting to join the stable... I'm thinking this one would have been best saved for last, hoping the others dont put up too much of a fight. 😉
Great job Andrew!
Joe, thanks!
I love jets of this era and this is a perfect example.
George @chinesegeorge, this era has grown on quite a bit over the course of the pictured builds, and there are definitely a couple more "Cold War" US jets in the pipeline. 🙂
Magnificent Sabre Andrew! ? Man, what a great finish you've achieved here; that is so impressive. I also have this kit up on the stash shelves and with your glowing review, perhaps it should "get in line". I love the jets from the 1950s and have built more than a few (and I'm eagerly awaiting your Ford too!). Thanks for posting this beauty Andrew @pb_legend! ?
@garybrantley, I can only recommend you find a nice decal sheet (not SSI), and get started! 😉 It was a fun kit for sure, and would fit right in with your other NMF builds.
Thanks for that recommendation Andrew @pb_legend. And yes, the "Dawg" would look so good parked with her 1950s mates! ?
Beautiful work. Love the metal finish and markings. This kit is going to be reissued by Revell this year.
Plenty of life left in this mold, good to hear there will be more new options.
You're in luck - the USAF font is done in "North American font" which is the same on all F-86s (and, it turns out, F-82s).
The "big problem" with the kit is the wing is swept at 37 degrees rather than 35 (enough of a difference to be seen if you sit it next to a Hasegawa F-86F) on the leading edge.
But, as with many other modelers, you didn't worry about that and you got a really nice model out of the project.
@tcinla, great information on the USAF font, thanks. I never would have known about the angle, and even now knowing that has negligible impact of my opinion of this kit. I'll be sure not to park it too close to any other Sabre jets on the shelf though. 😉
Looking fabulous!
I glad you like it Michel.
Well done Andrew, having build one of these kits I concur with your conclusions about the kits fit and overall detail. It's very nice and one of Revell's better issues. Nice save on those decals and a great looking NMF paint job.
@tom-bebout, Thanks Tom! It helps that this kit started life in the "Pro Modeler" lineup, it's the best Revell aircraft I've yet built (and I've built a few), hands down.
Wow ,amazing job Andy ,awesome!
Thanks Neil!
That is indeed a great looking Sabre Dog Andrew @pb_legend. Your photos and descriptions of the build are also top notch.
@eb801, Thanks for the compliments. I only wish I had more time to develop some historic anecdotes for my articles, but your interest and enthusiasm is thus all the more appreciated.
Excellent result- beautiful finish. Looks like it is a great kit, will put it on my wish list!
Thanks David, happy building! 🙂
Excellent - love the masking and paint work - turned out fantastic.
Thanks Greg, I appreciate the nod. 🙂