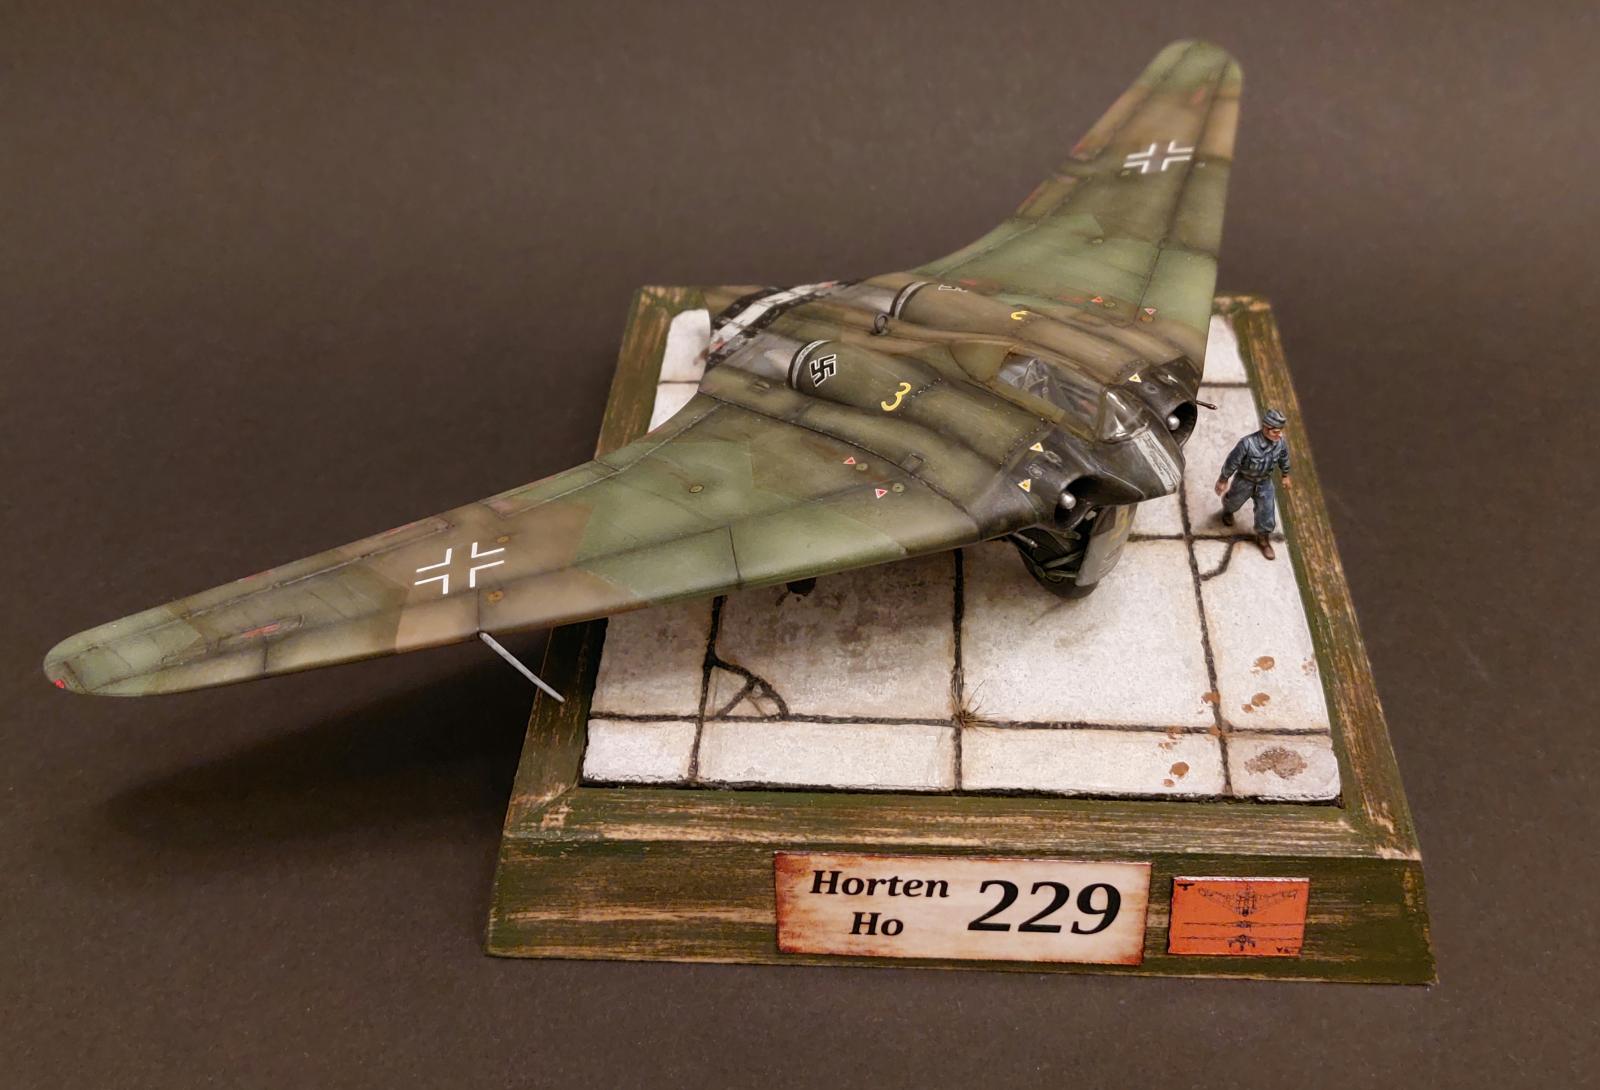
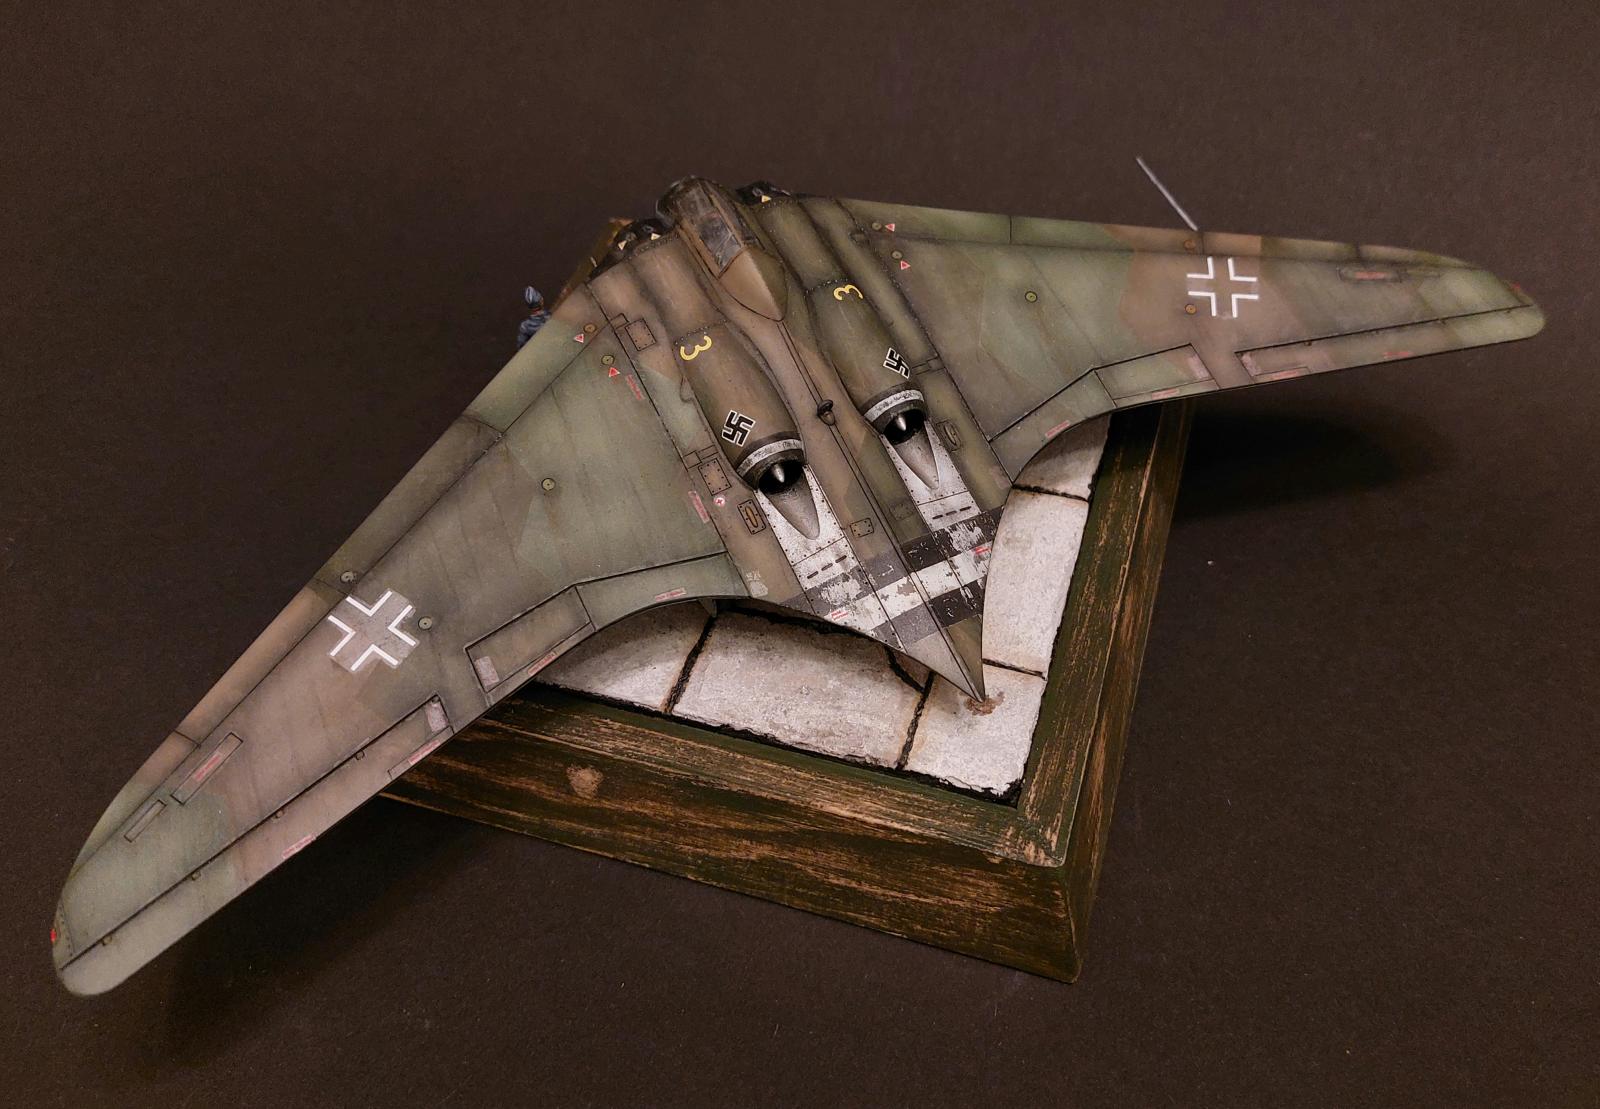
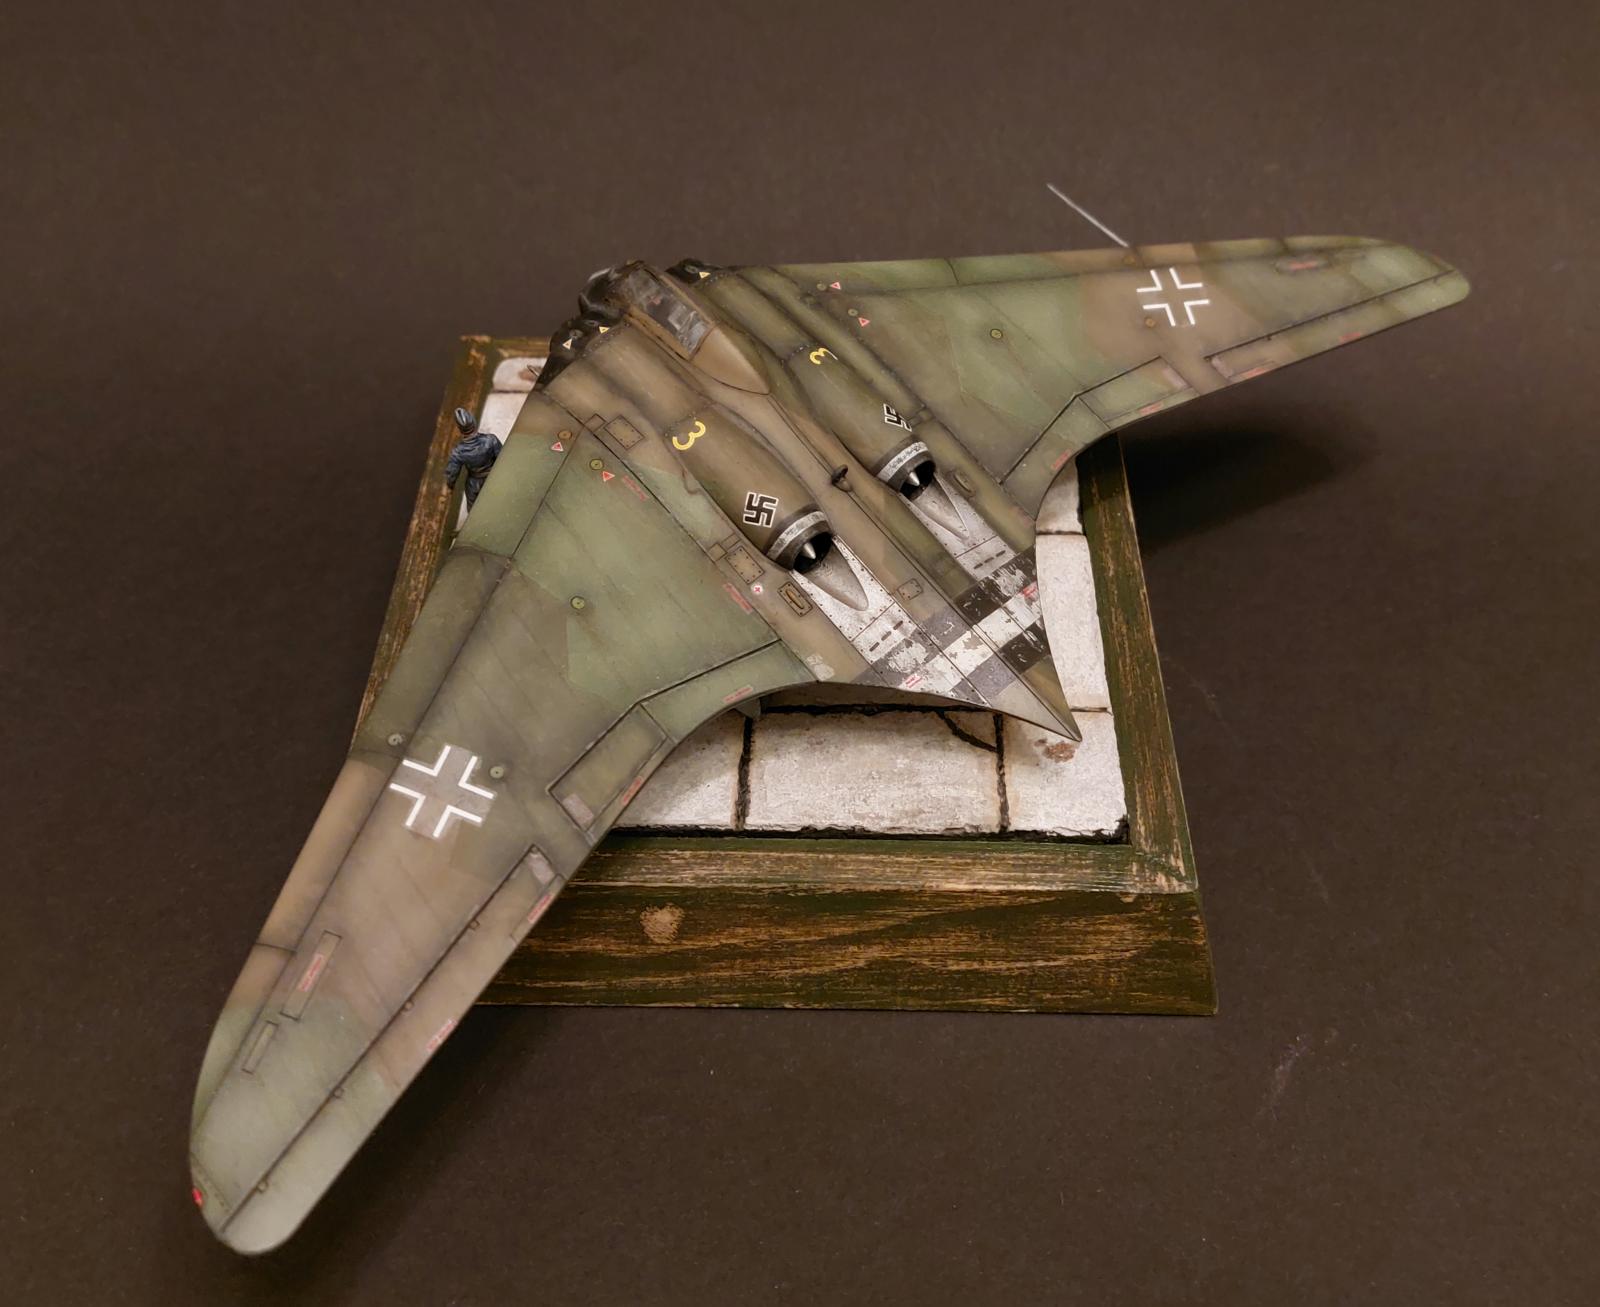
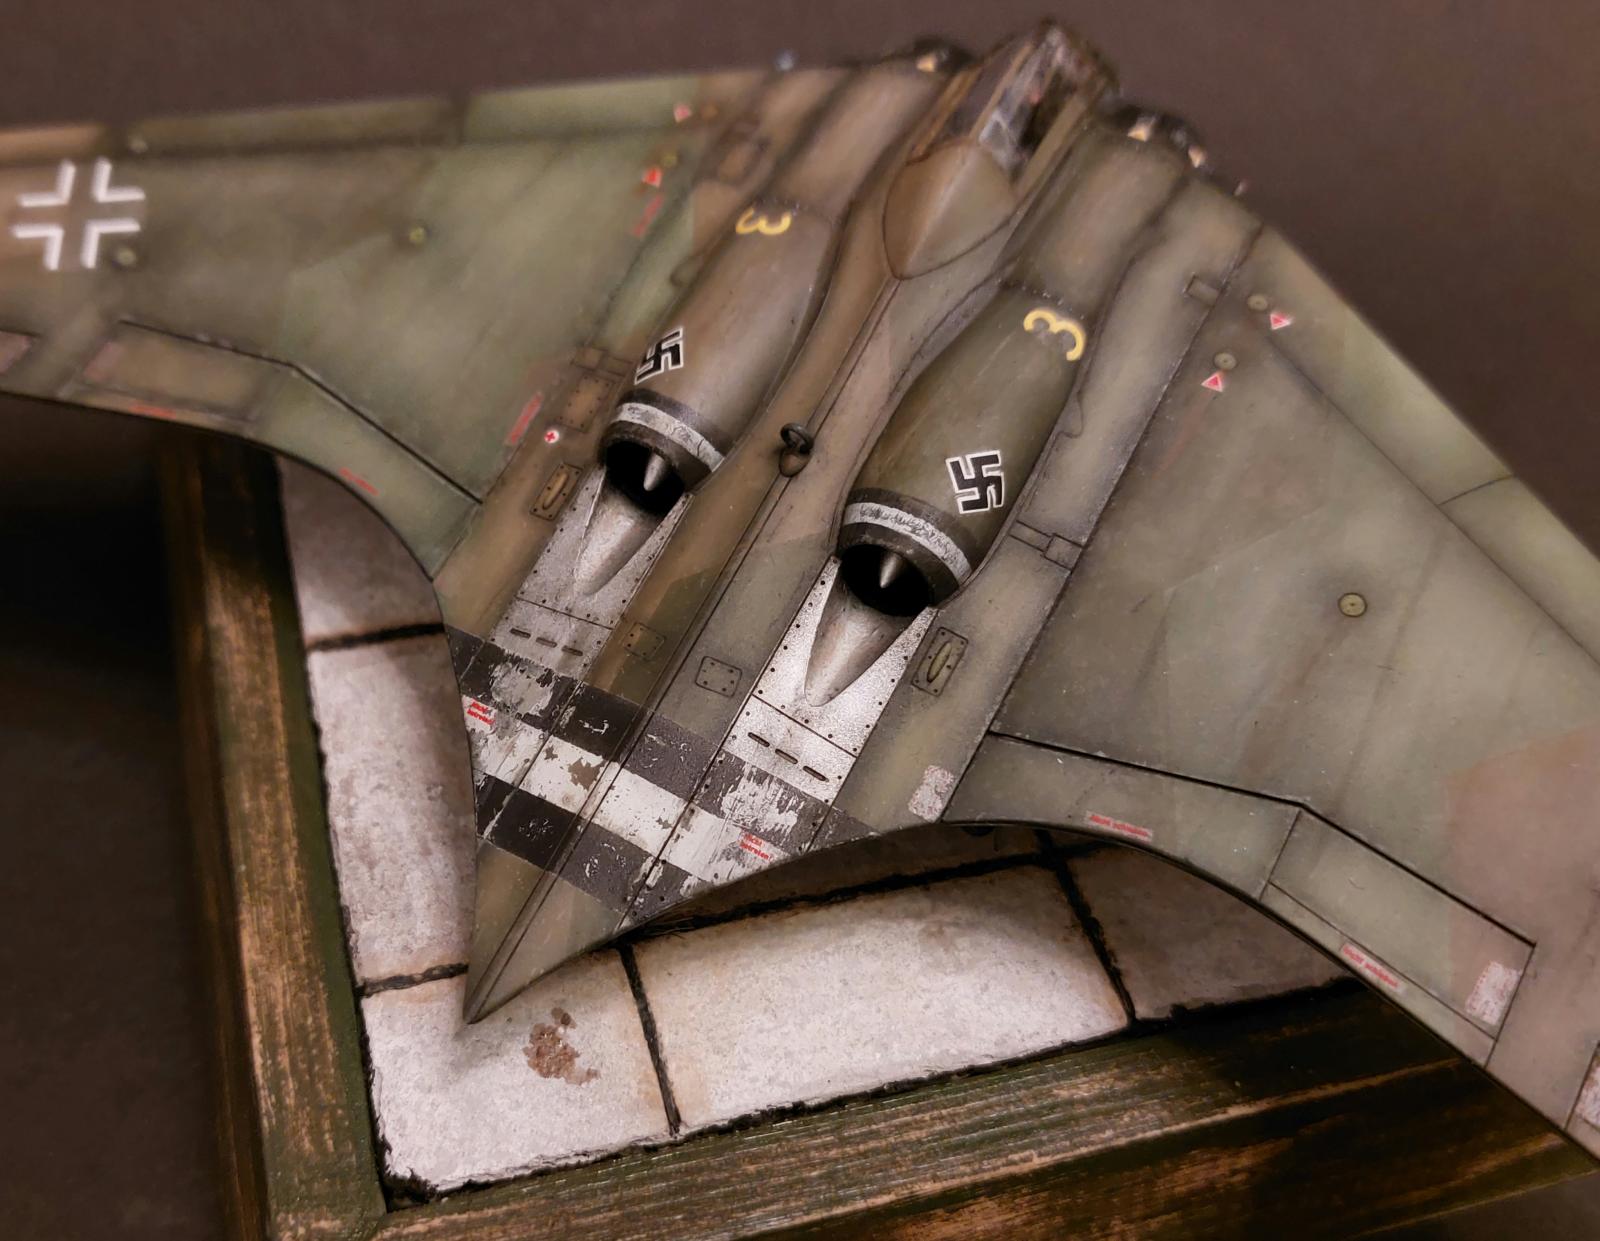
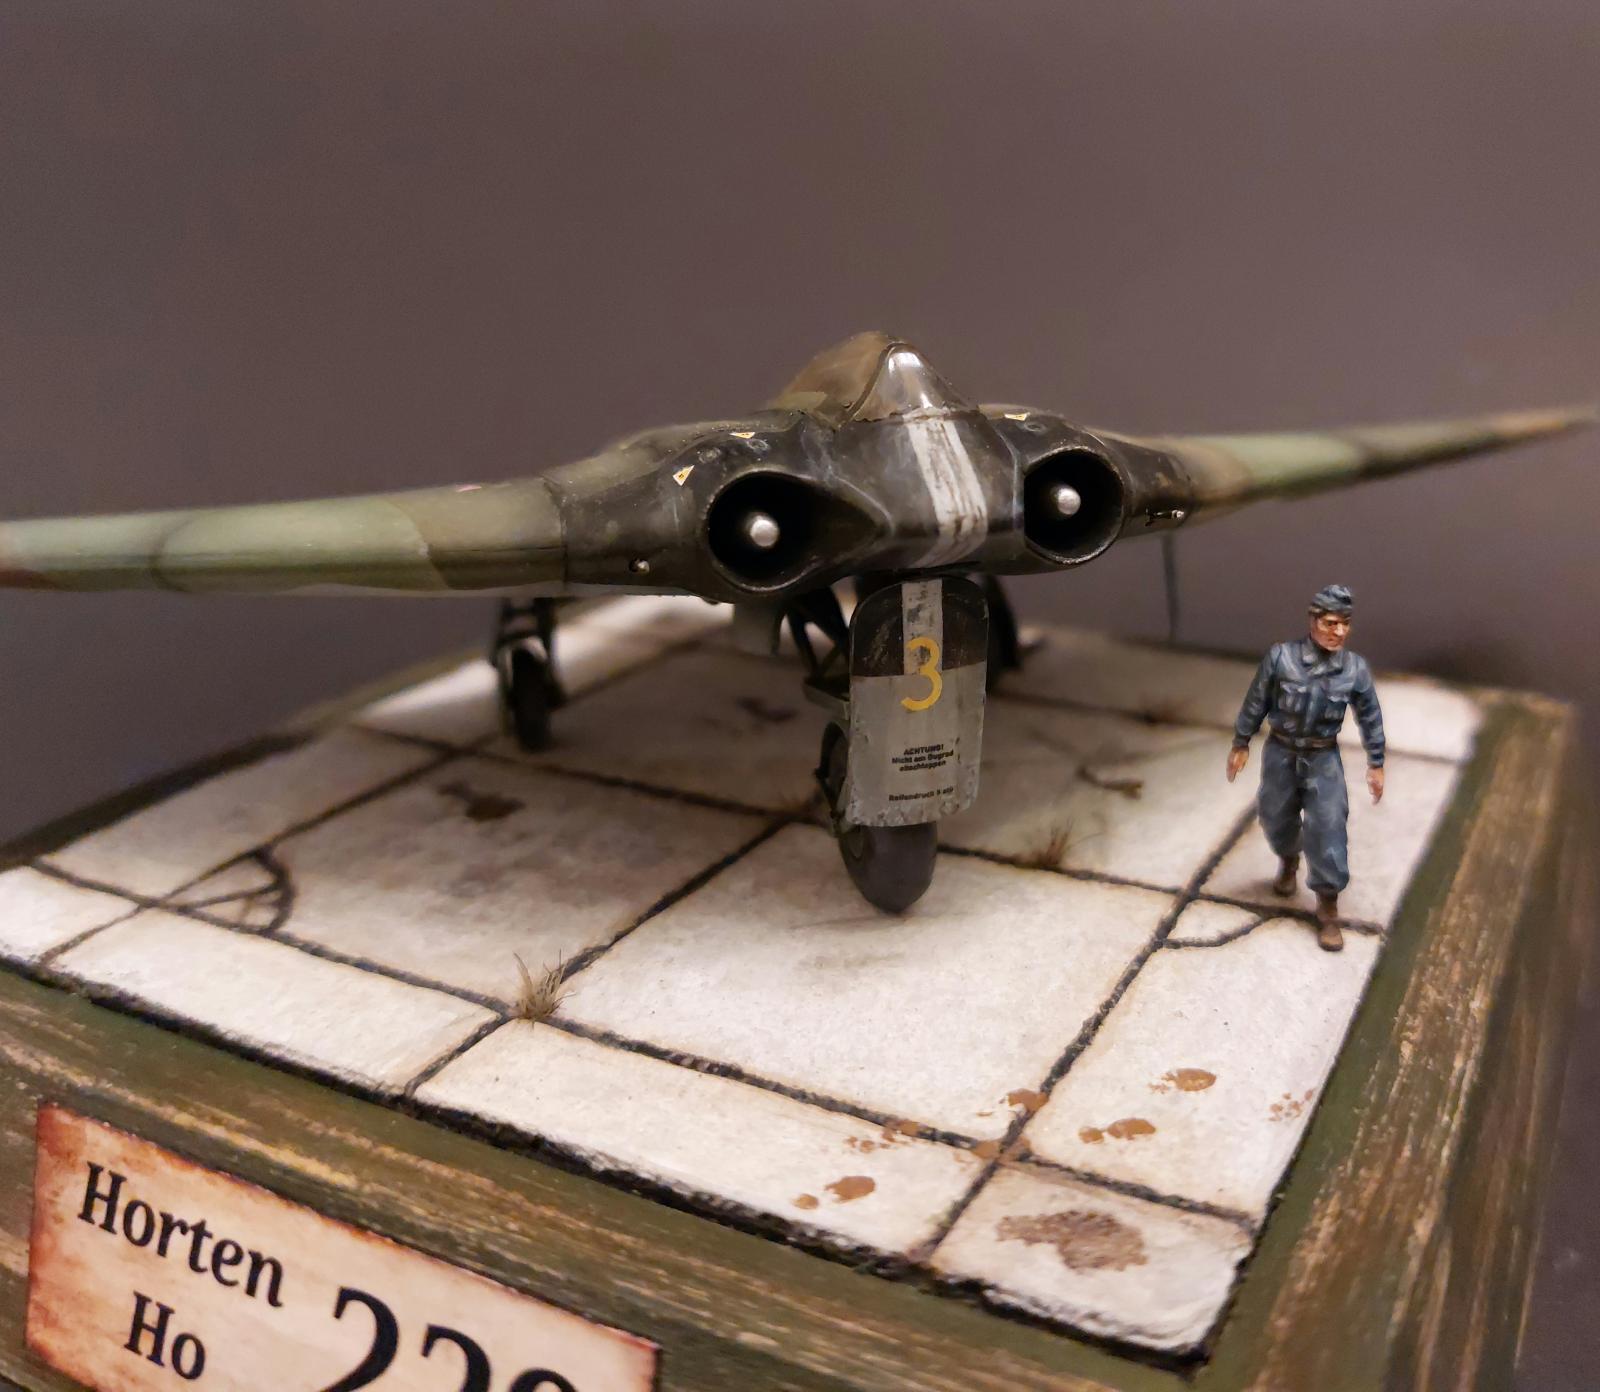
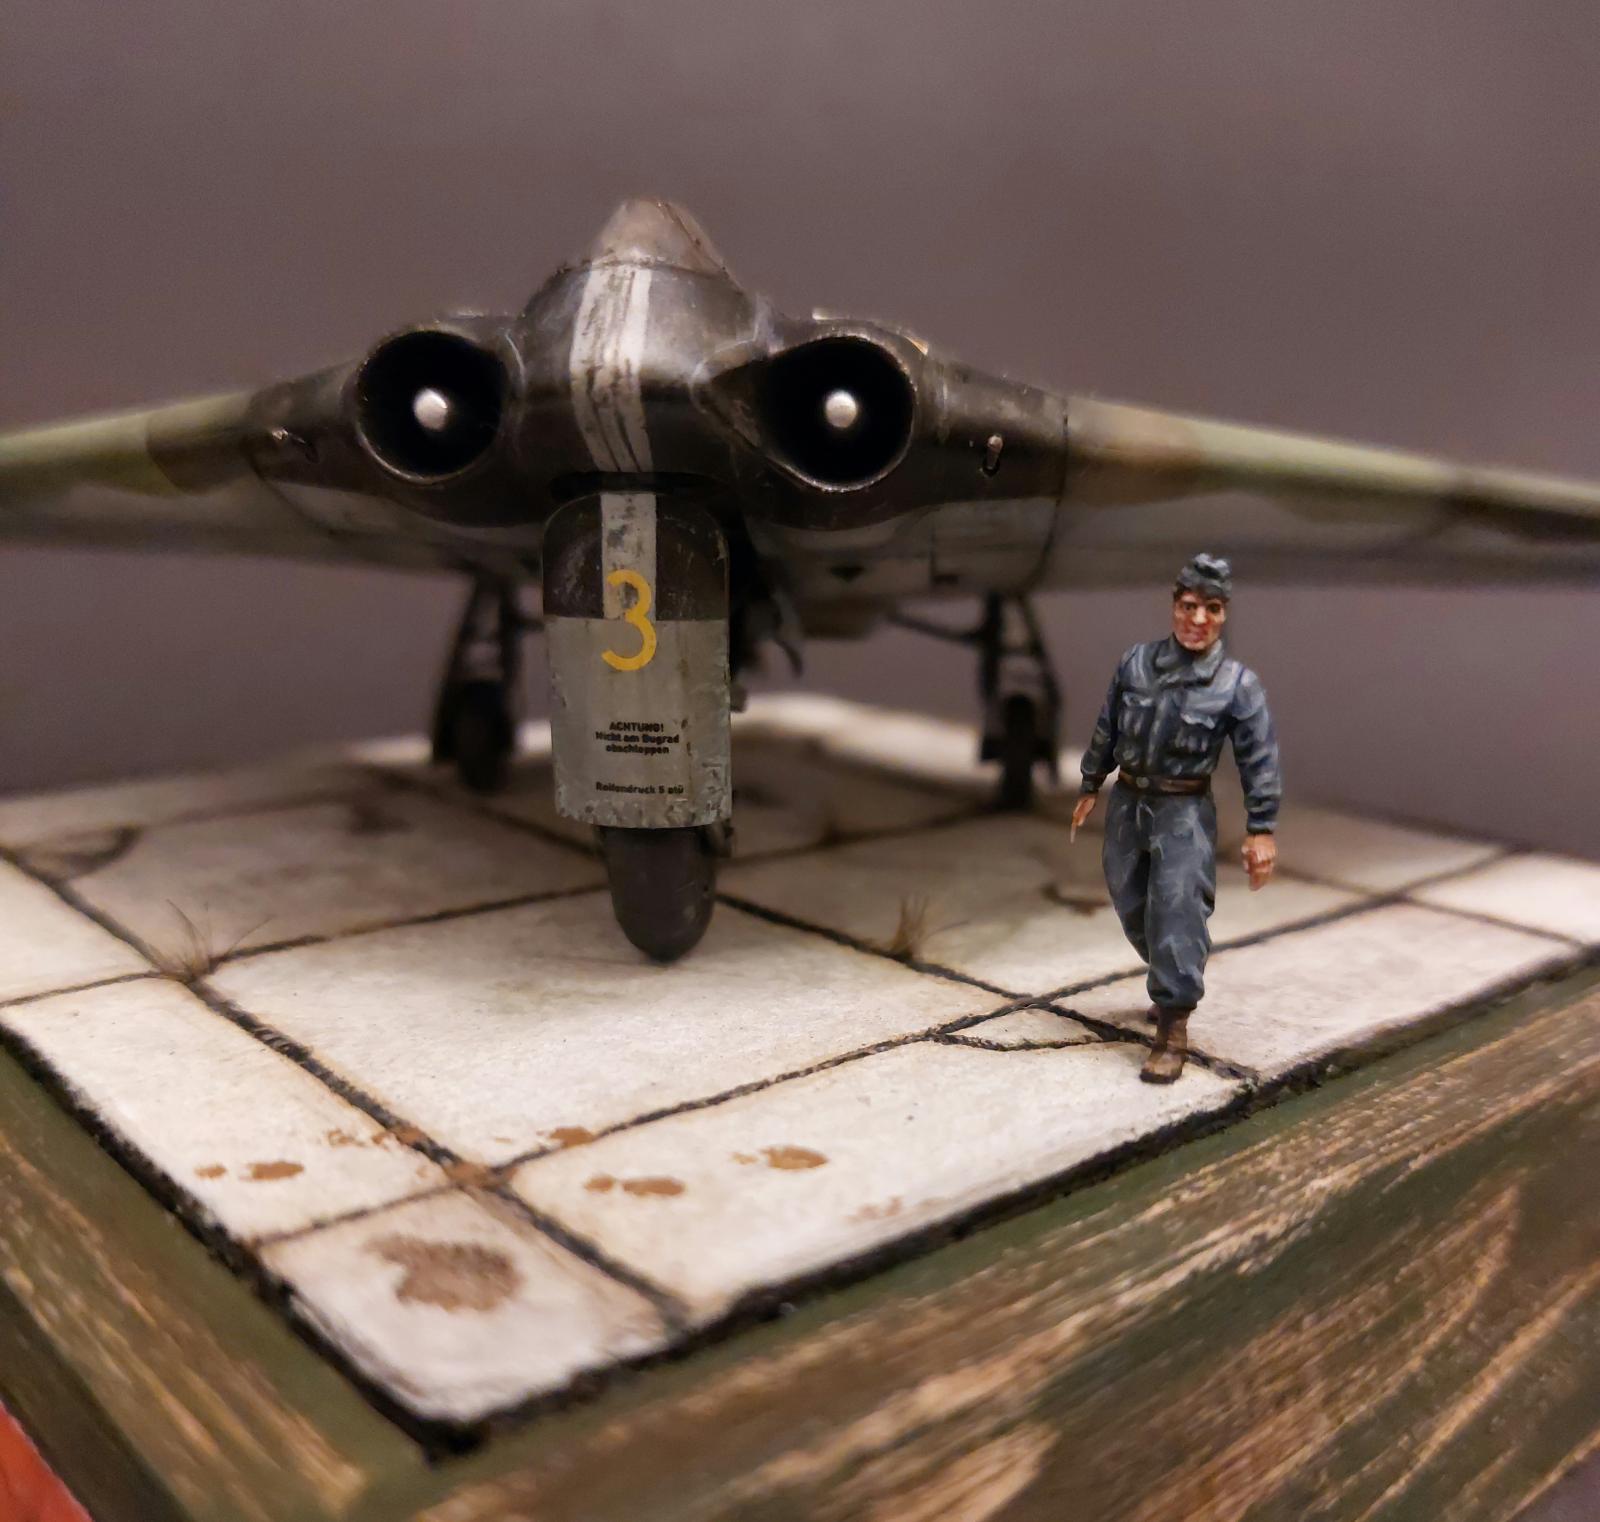
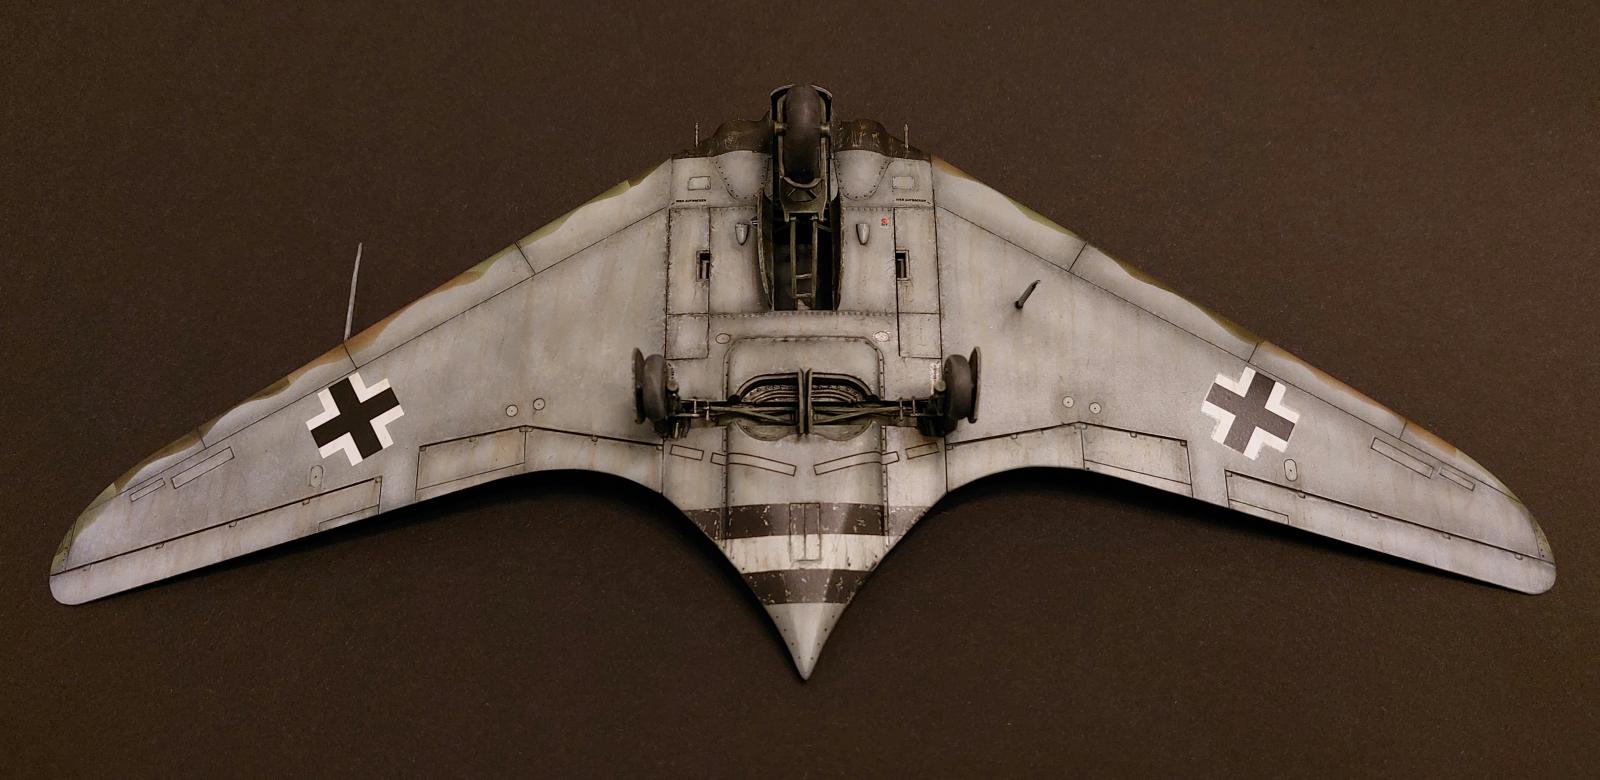
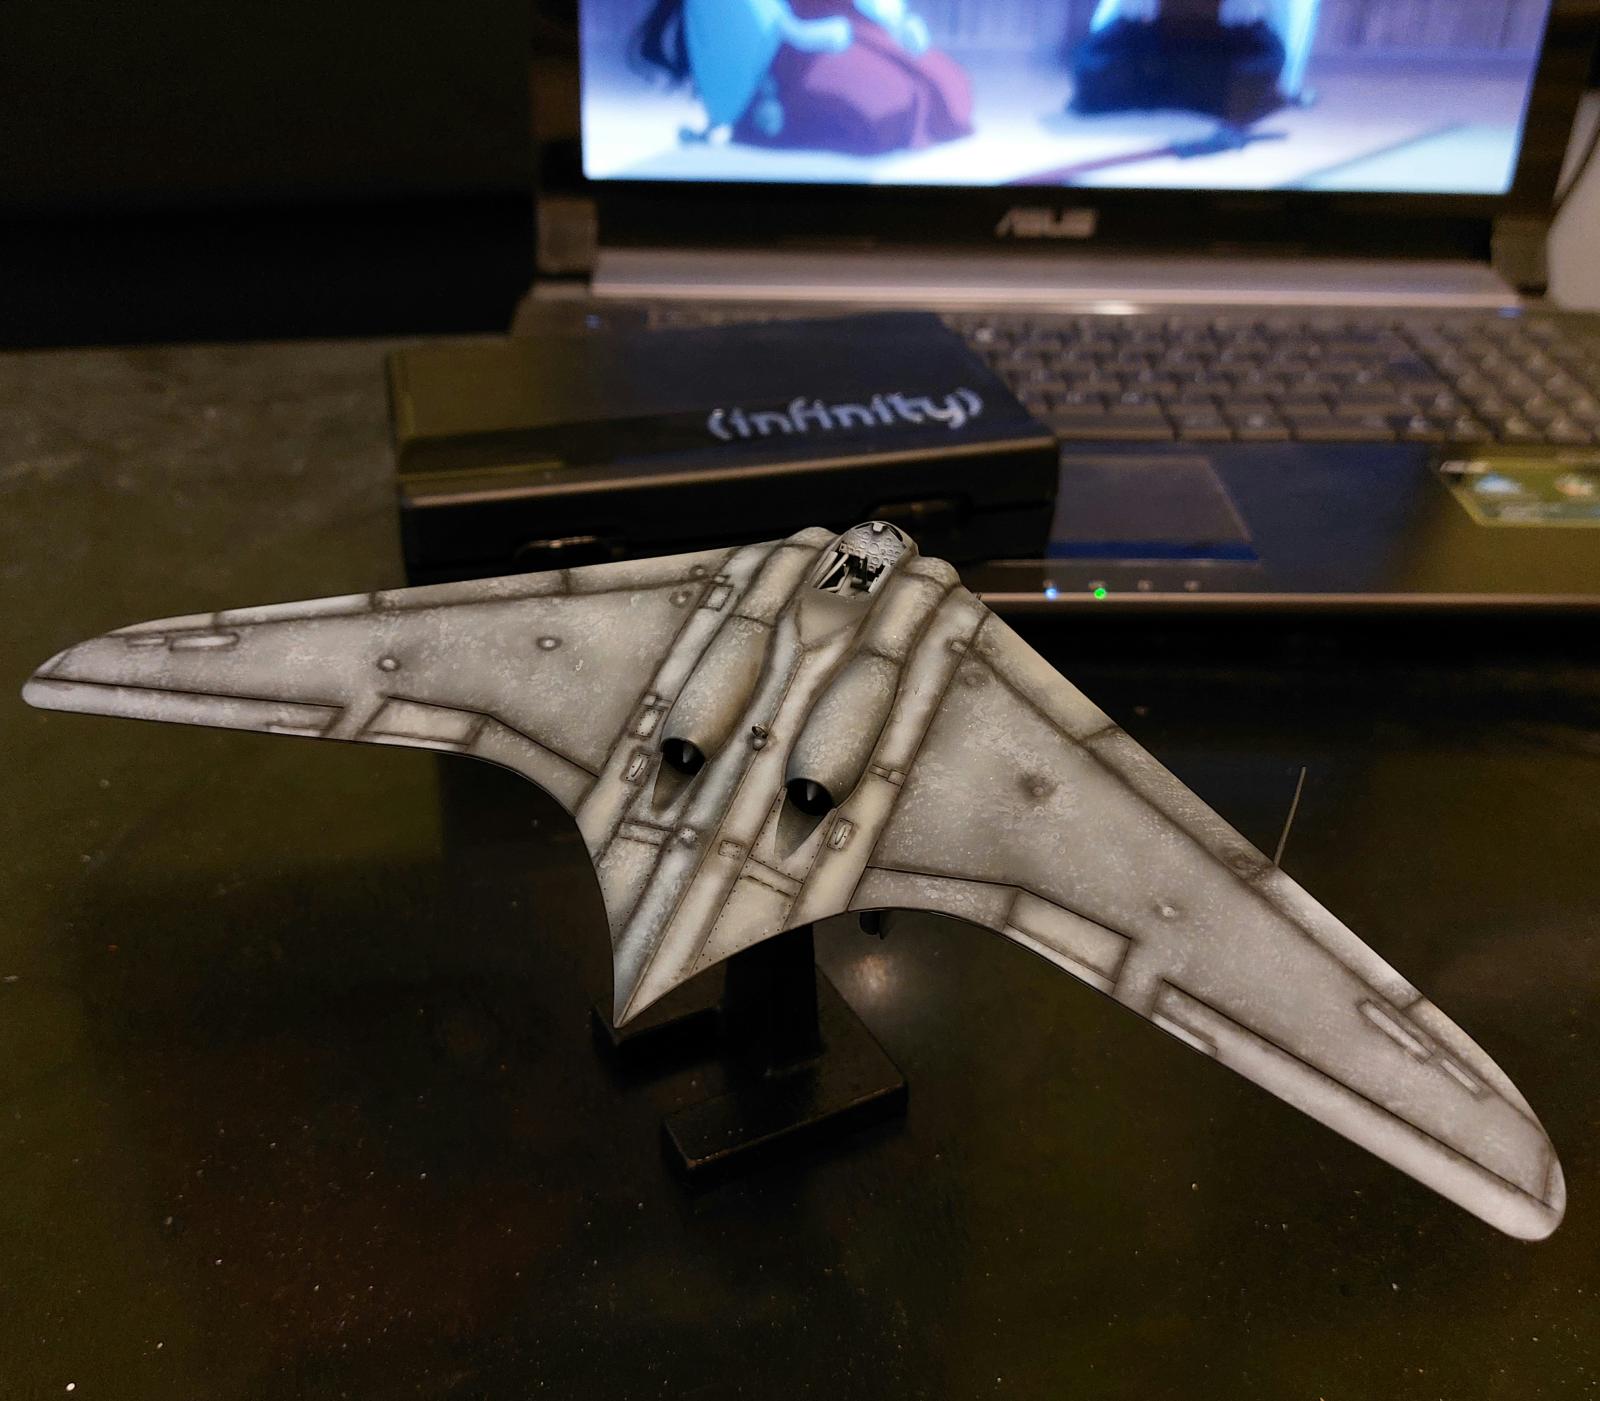
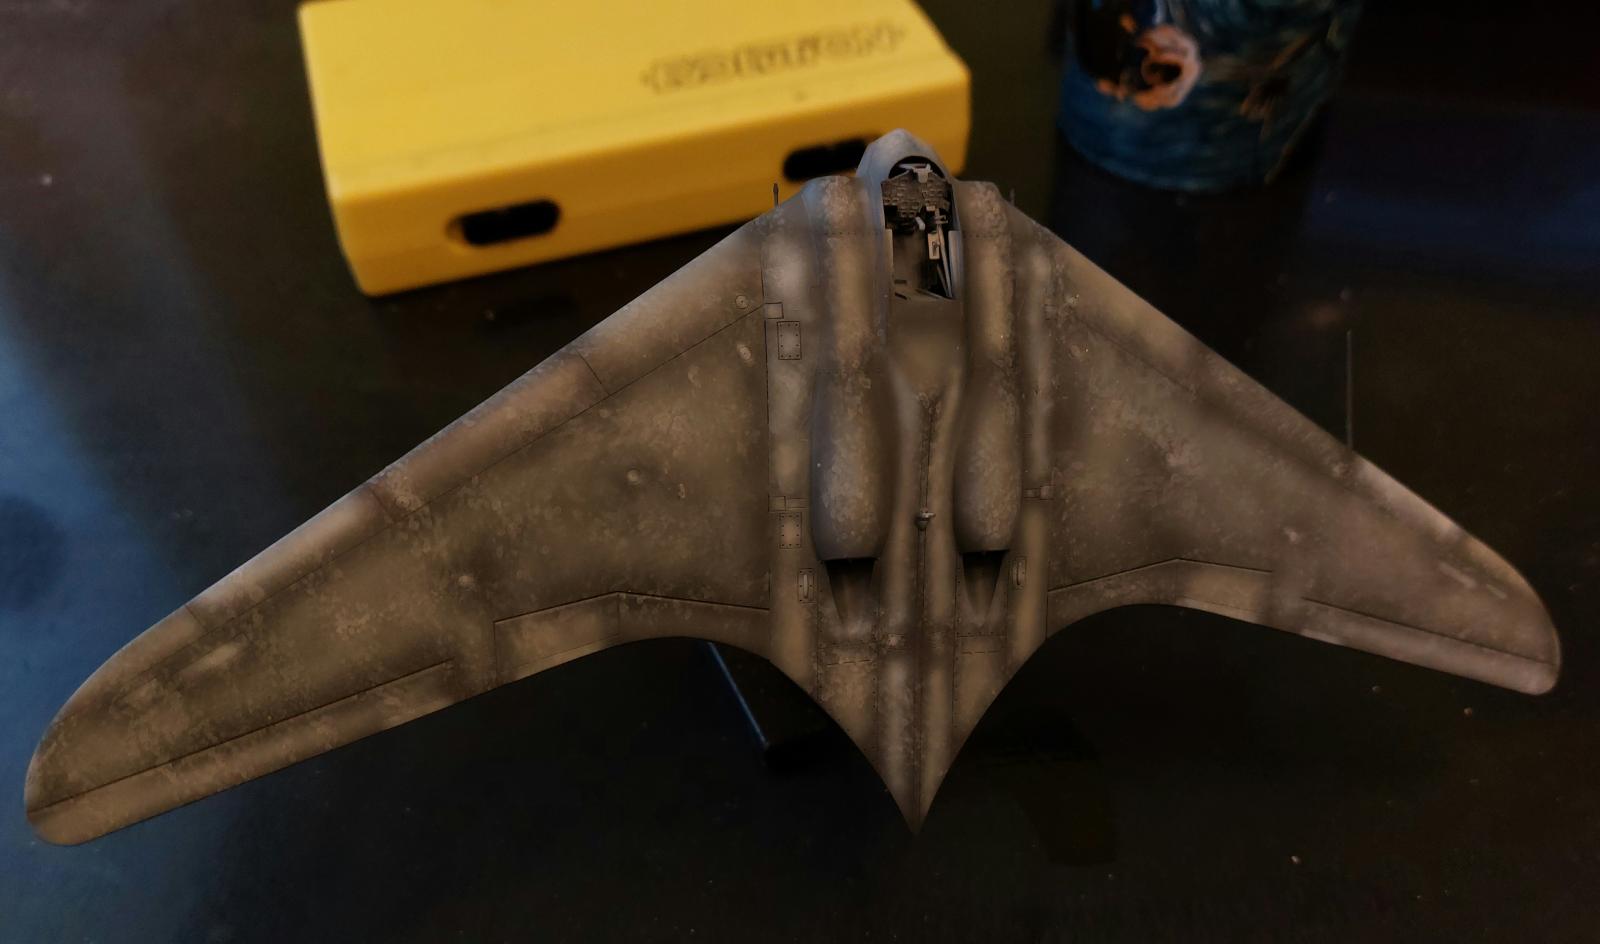
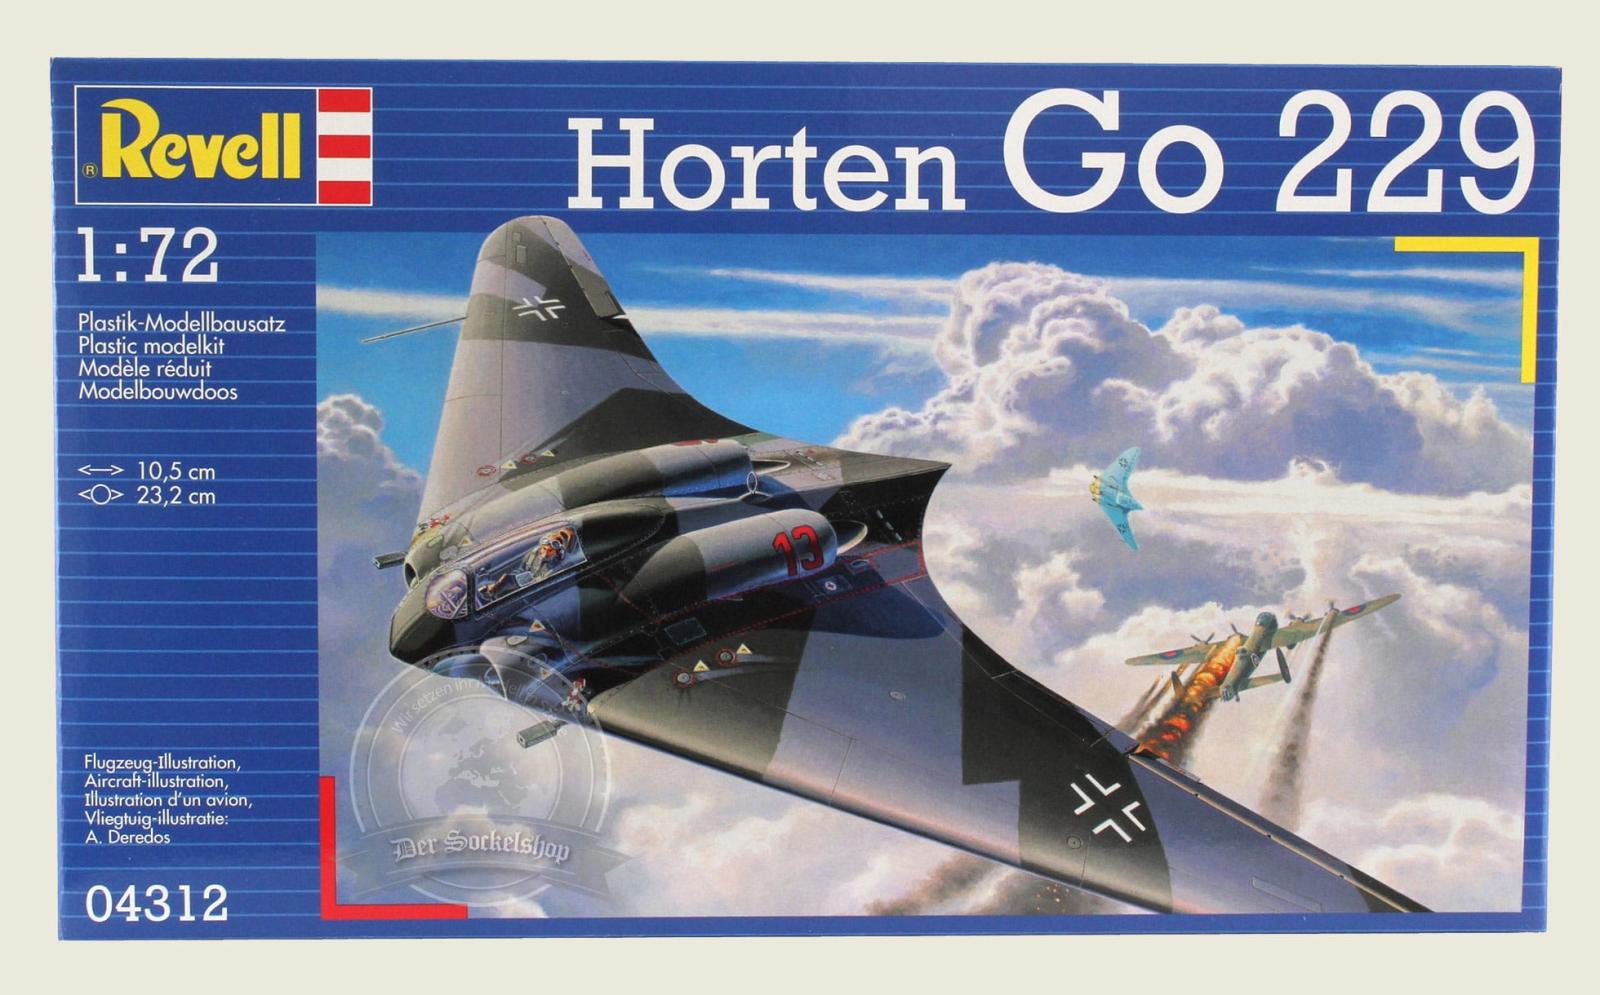
Horten Ho 229 (1/72)

This is my Horten 229.
This project came about more out of a spontaneous desire than out of real passion.
My other interests are more related to the "ground" 😉 and that's why this is only my second finished airplane so far.
The construction of the Revell Horten (04312) was generally problem-free and the fit of the parts was okay.
Still, some sanding was necessary.
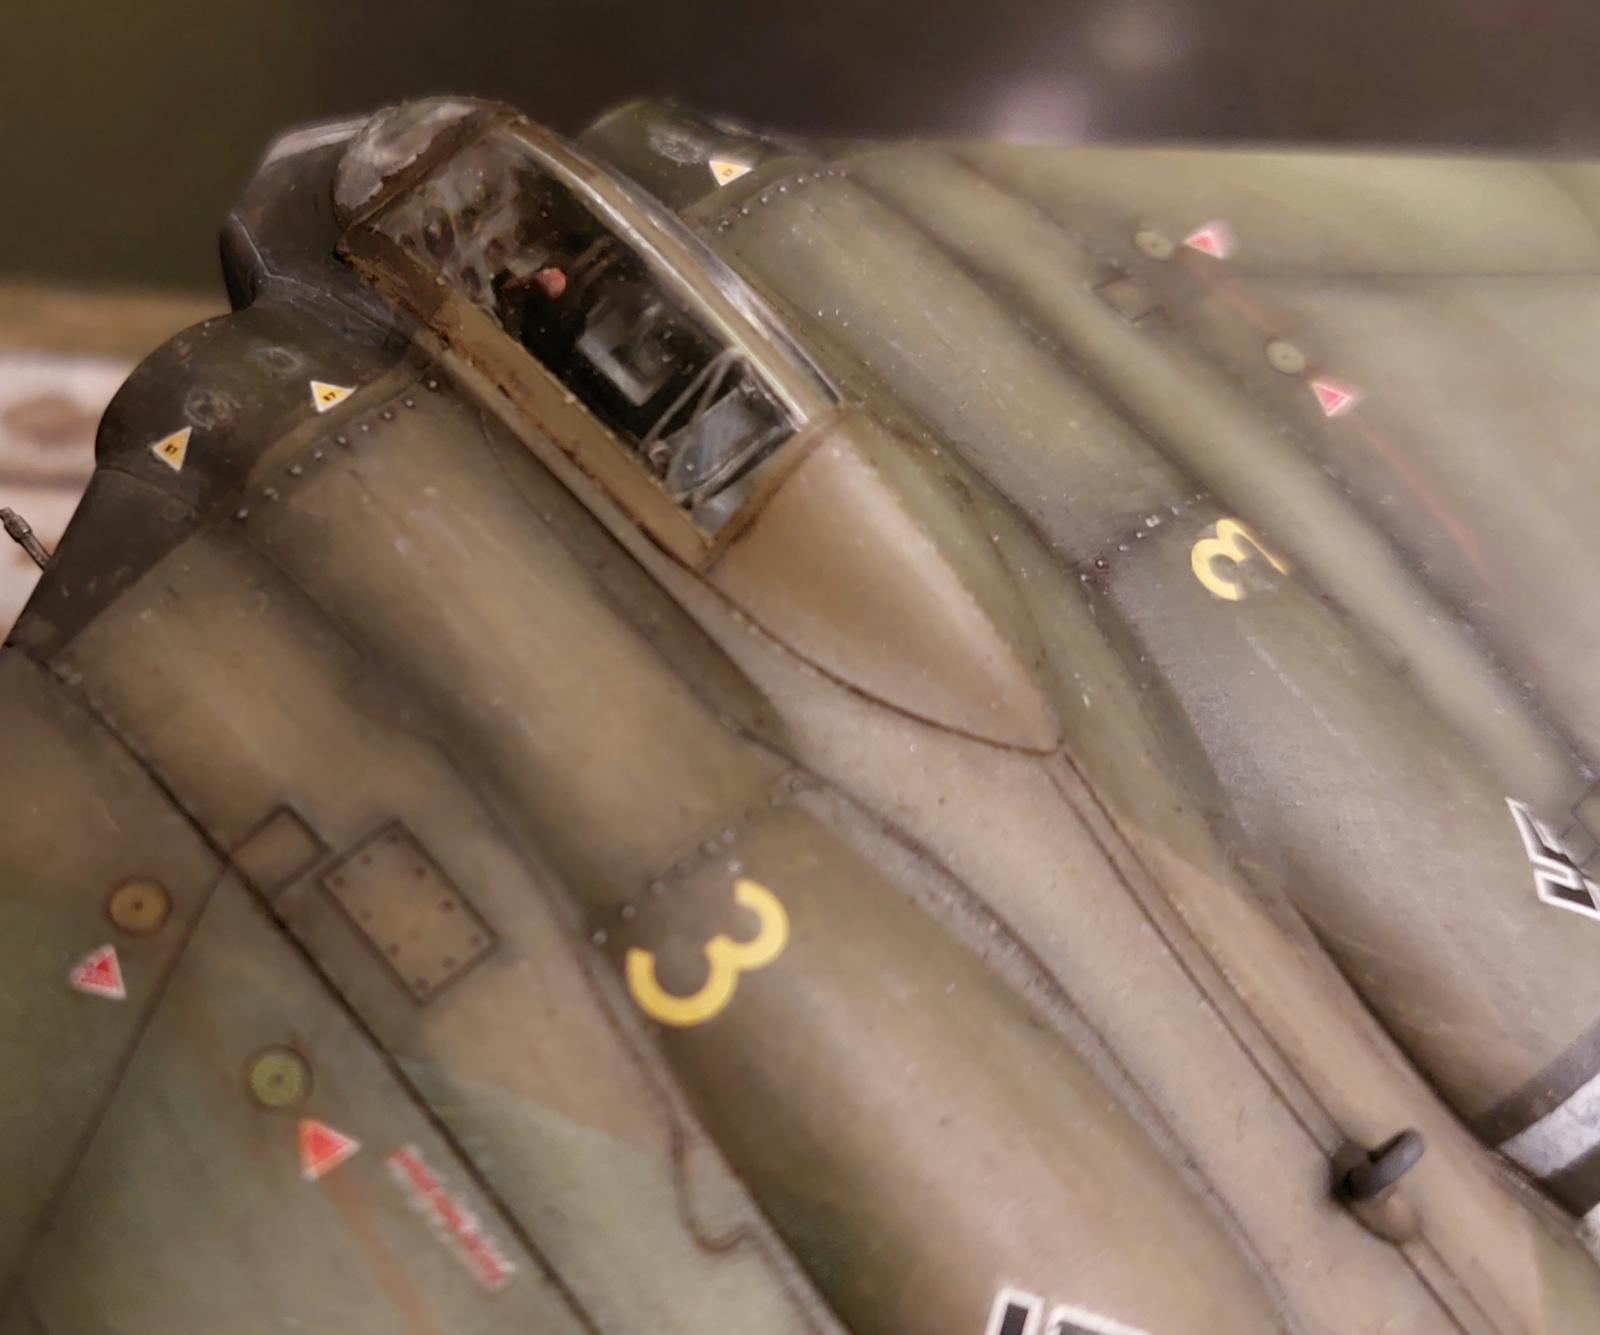
Additionally I used Eduard's PE detail set (72186), which was mainly used in the cockpit.
For the first time in a project I had big problems with the decals (you can clearly see them on the pictures).
Although I treated and processed these on clear coat and with decal products, they did not stick to the surface.
The decals from the kit also seemed very thick to me.
I also used old Hobby Boss decals from my spare box, which also worked better.
The base is selfmade using Ammo's concrete acrylic texture paste and pigments.
The ground crew is from an German Luftwaffe figure set by Zvezda.


Your aircraft modelling skills are excellent as well, Simon @s-nagorsnik
Especially the weathering is superb.
Just amazing Simon, beautiful work.
A wonderful result, Simon!
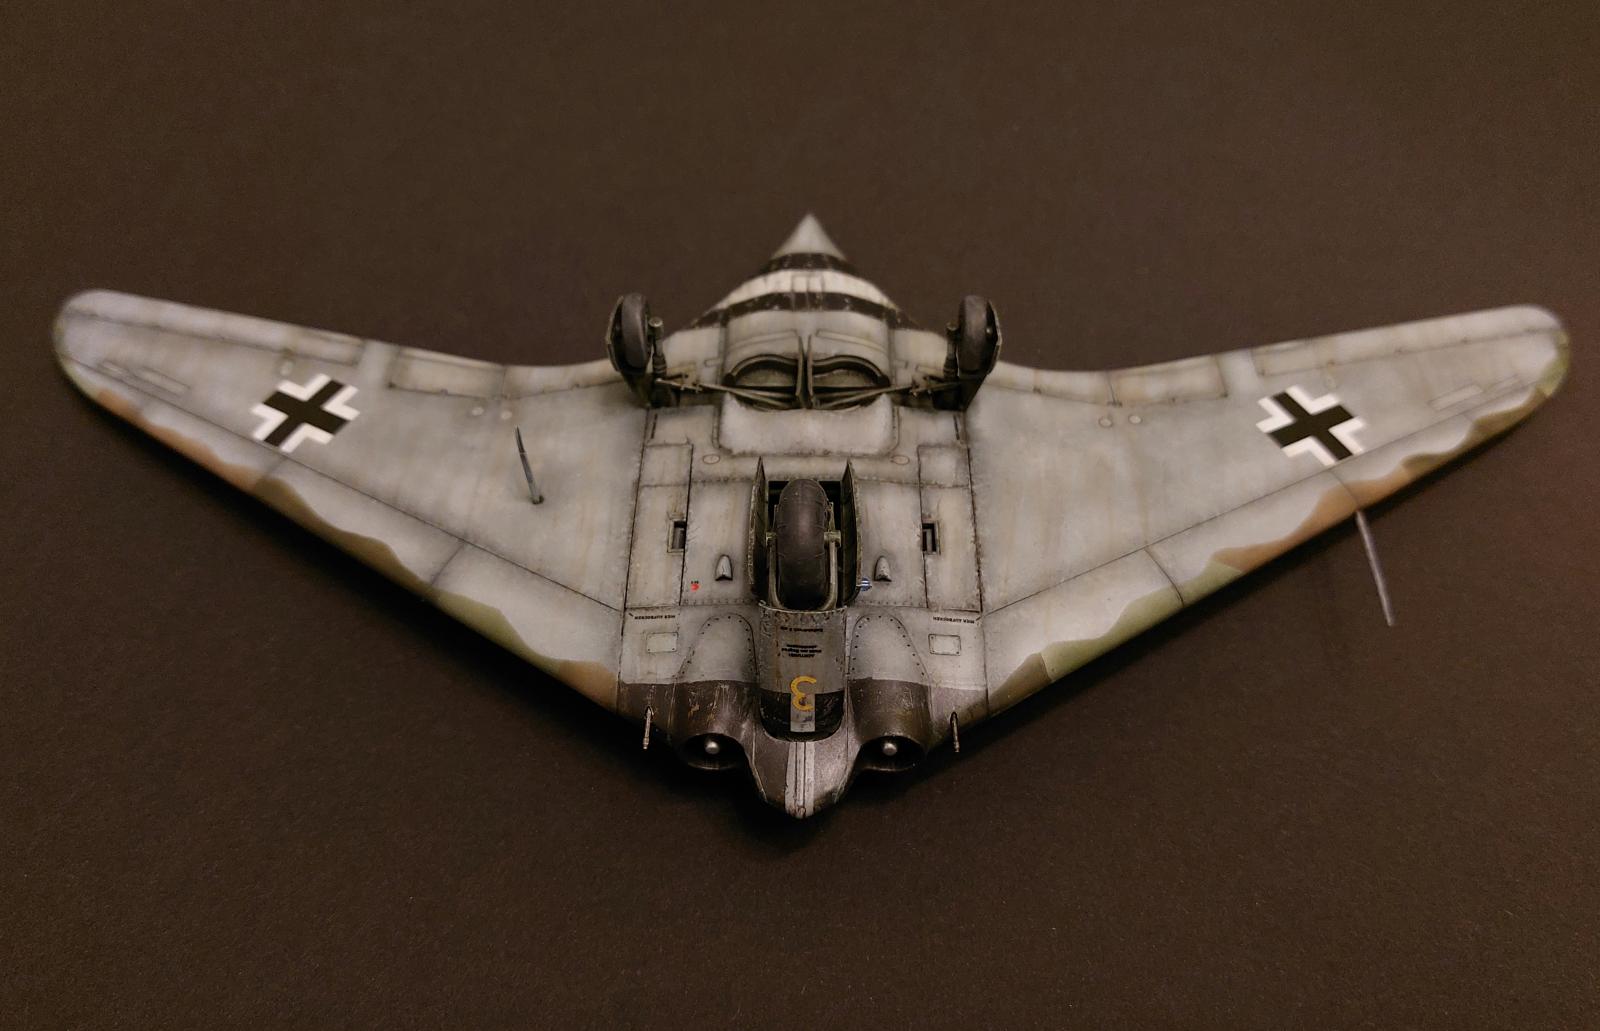
Very nice work. The only thing that looks strange to me is the direction of the "Balkenkreuze"; the photos to my knowledge show them in flight-direction and not perpendicular to the frontline of the wings.
nice very nice
Nice work and a good result. You can still save the decals, even at this stage. Take a brand new #11 blade and slice the daylights out of them, then flood with setting solution. The air bubbles (the cause of the problem) will dissipate and the decals will settle back down so well you won't know you did this (except the model will suddenly be as close to "perfect" as models get). Trust me, been solving the problem this way for a long time.
Well done, Simon. You certainly have found your sweet spot with 1/72 subjects. I like it! Good luck with the decal save... I think with your talent you could pull that off without a hitch.
Excellent work, Simon... I like the finished model very much.
Regards,
Paul
Thank you a lot for all your nice comments!
I don't have that much experience with planes yet and had to think about how to go on.
Nevertheless, I am reasonably satisfied with it.
@wimfi: I think in the instructions these were so indicated but I am no longer sure.
And as I said before, aviation projects are really the exception for me and have not yet dealt with this genre in a single way.
This project was more of a spontaneous inspiration for in between.
But it's good that you bring it up, next time I'll certainly pay closer attention to it!- thank you!
@tcinla: Thank you very much for your tip, I will definitely remember for later "problems" if it becomes necessary 😉
With this one, however, I will leave it as it is - as a reminder that you should learn from your mistakes!
@gwskat: Thank you for your support Gary but before I destroy a finished work now I prefer to leave it and will try it on a few sample pieces.
Hi Hans @wimfi!
Regarding the Balkenkreuze position, at swept wing planes, as was the Me-262, they were applied in flight direction but also at cases perpendicular to the wings, as this pic displays...
1. Perpendicular
Looks great - love the paint and weathering work. Well done!