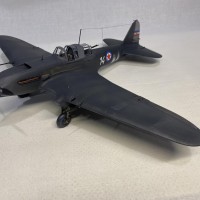
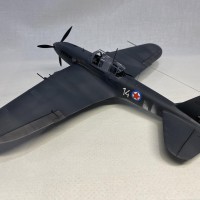
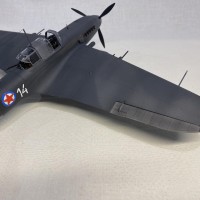
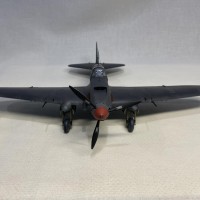
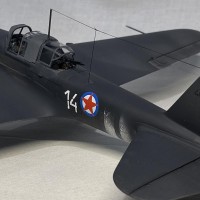
1/48 Accurate Miniatures IL-2m3 Night Fighter
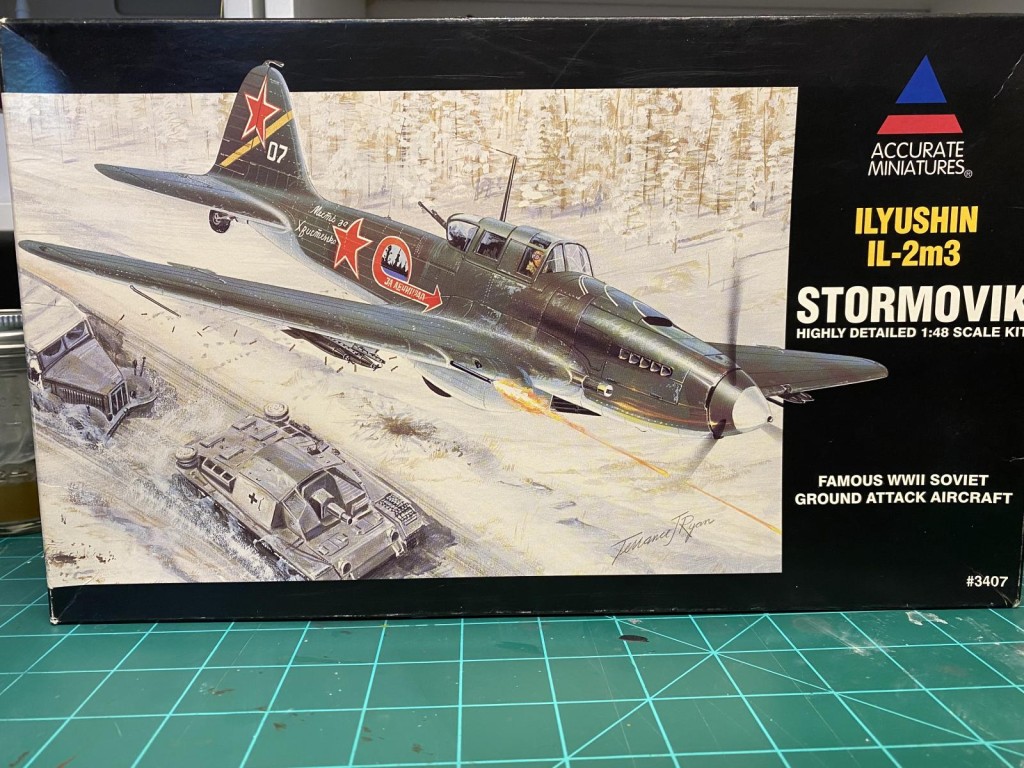
I built this kit as part of a IL-2 "combo-build" with several other iModelers in the Work-in-Progress Group. This was a great experience where we were all building an IL-2 at the same time. I had an Accurate Miniatures IL-2m3 that has been sitting in my garage for a long time, mainly because I had heard it was a difficult kit to get right.
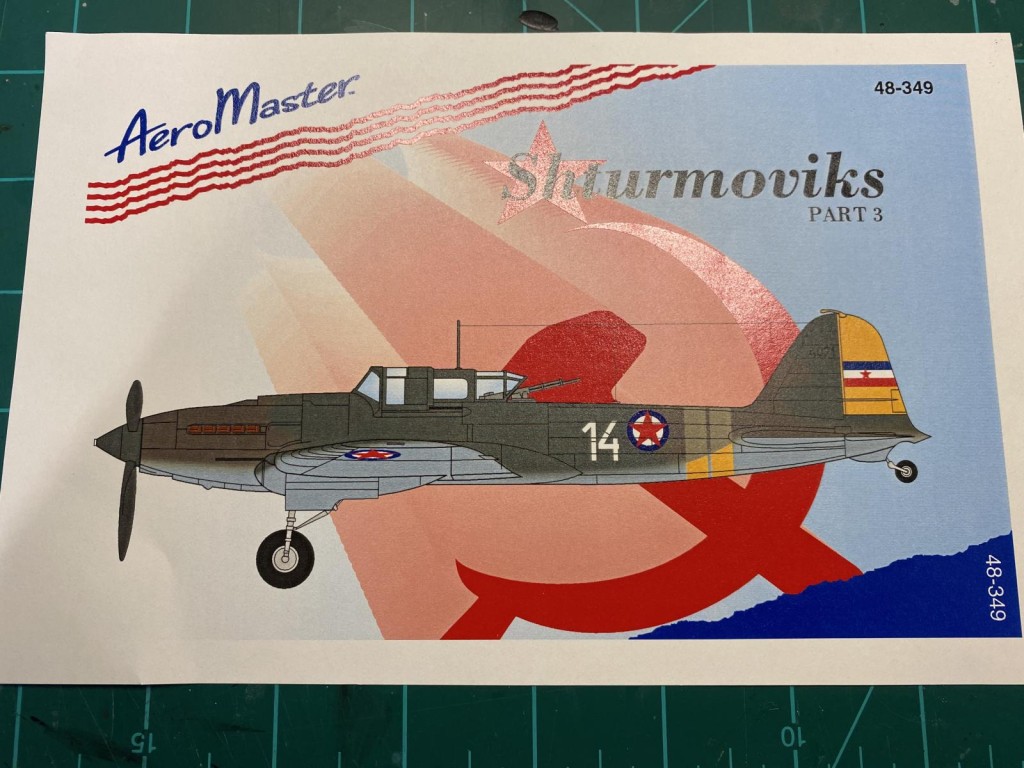
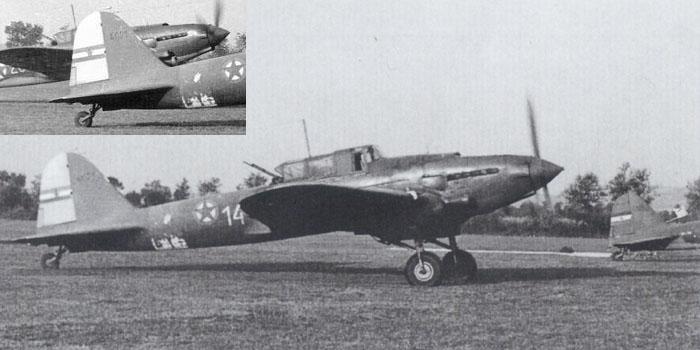
I am always on the lookout for something that is just a little bit different, and I managed to find an unusual plane for this build. I found a photo online of a Yugoslavian IL-2m3 that had been converted into a night fighter. The plane had been over-painted in a black or dark gray paint that faded, allowing the underlying camouflage and markings to show through. I looked through my decal stash and found a set of 25-year old Aeromaster decals for this exact plane.
I was doing some research into things like interior colors and cockpit configuration when I started running into photos that made me doubt the accuracy of the colors depicted in the decal diagrams. As I did more research, I was also able to discover a lot of cool info about the Yugoslavian Air Force and their IL-2s. It turns out that the Russians and Yugoslavians had a falling out in 1947, and the Yugoslavian military went their own way. Their IL-2s were repainted in either an overall dark gray or a two-tone gray camouflage. At some point, this plane was over-painted with a black or dark gray paint to be used as a night-fighter. Some sources say this was a permanent conversion and others say it was part of an experiment. This black paint subsequently faded, allowing the underlying camo and markings to show through. Based on this, I decided to paint this model in a two-tone gray camouflage, which would be over-painted in a thin black paint that allows the camo to show through.
The next issue was with the yellow tail and fuselage bands. The diagram with the decals shows these to be yellow, and I found several diagrams online that also showed the same thing. But I noticed that the white stripe in the national markings on the tail looks lighter than the paint on the rudder and bands. Black and white photos are notoriously difficult to determine colors, but I started to doubt that the tail was yellow. I found a great website by Massimo Tessitori that has a tremendous number of photos on a variety of Soviet airplanes. He analyzed the same photo and came to the conclusion that the fuselage bands were white and the tail was a light gray. He discovered that in this particular squadron the rudders, ailerons, and elevators were painted with a light gray paint as part of a maintenance routine. He had photos of other squadron aircraft that confirmed this. He had also analyzed the fuselage bands and come to the conclusion that they were white.
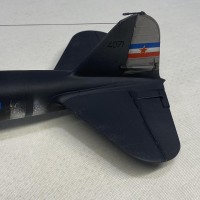
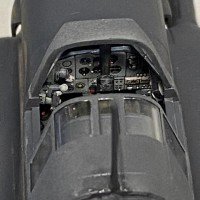
The build was slow and frustrating. The model seemed overly complicated in places. Thanks to some suggestions from Tom Cleaver (@tcinla), we were able to avoid some fit issues with the wings. I used a Quinta Studios 3D decal set designed for the Zvezda kit for the cockpit. They worked very well and created a nice-looking cockpit. I eventually got to the painting stage, which I think is the most fun part of the build. I used AK Real Colors and Tamiya paints to create the camouflage, and then sprayed some chipping fluid on the appropriate areas. I then sprayed a very thin coat of Tamiya Flat Black (with some Panzer Gray mixed in), over the camouflage in very thin layers. I was a little worried about the age of the decals, but they performed flawlessly.
That's about it. I am glad to be done with this one so I can move on to something else. If you want any information on the build, please visit our thread in the Work-in-Progress Group. Thanks to Spiros (@fiveten) and John (@johnb) who initially started this combo-build and then allowed me to jump on the wagon. Great idea. Cheers.
Very nice, other George. I like it a lot. For some reason I stalled out on mine during the winter camo painting years ago. I should really take a re-look at it
Thanks, George (@blackadder57). This build was full of one step forward and two steps back, and I am definitely glad to be at the end of it. I like it a lot more now that I am done. :o)
Very nice result George. Superb research translated into excellent work and a great result. Glad to have been of help in avoiding the worst part of the minefield.
Thanks for the kind words and insight in building this kit a different way, Tom (@tcinla). It was nice being able to dodge some of the bullets in this kit.
You turned this one into a beautfilul Stormovik, George @gblair
Besides the sometimes difficult kit, you were able to overcome the difficulties and made it look superb.
It was a pleasure to have you on board this little groupbuild, learning a lot from each other.
Thanks a lot for your intensive research.
Well done.
Thanks, John (@johnb). It was great being able to work with you on this kit. It seems this model, regardless of manufacturer, has some pitfalls. Sometimes it was nice just having moral support as the build continued.
Lovely Job on that kit. I have one awaiting it's undercarriage still (After 8 years!) But my Tamiya one is much further along. Now,, of course I have the Zvezda Single Seat version AND their new Interim 2 seat version so those are going onto the to do pile as well, especially with their complete engines! By the time I make a start their IL-2M3 version will be out as well.
A while ago I ordered a set of Soviet Nightfighter decals from Owl in the Czech Republic, despite them being a little expensive. When they arrived I found a set of PE radar aerials included for, of all things, a wartime Soviet A-20G Boston/Havoc. Guess which kit box they live in now. (And it explains the price! Sadly they are currently listed as OOP.)
Thanks, Brett (@wurger41). I also have the Zvezda single-seater, but I think it can rest on a shelf for a while. One of the frustrating things about our hobby is that things like kits and decals seem to come and go fairly quickly. Over the years, I have usually purchased a model or decals that I want to build, even if it will be some time before I can get to it. If you don't buy it when you see it, then it is either unavailable later, or will cost twice as much. Thanks to 20 years in the military when I didn't have time to build much, I ended up with a huge collection of unbuilt kits that I am now working my was through. On the other hand, I like to build old Monogram and Revell kits, which seem to be available forever. And Accurate Miniatures kits seem to be reboxed by other manufacturers all the time. :o)
Turned out wonderful, George! Research and the build itself are second to none. And equally great that you were a member of our little "combo" group.
Congratulations!
Thanks, Spiros (@fiveten). You were the pathfinder on this one as we worked our way through the intricacies of this kit. It was cool working in a group on a model and watching how you all approached the kits using different techniques.
Great looking build and nice work on the research. I have found that the Russian plane’s schemes are hard to nail down, same with the captured Russian planes in Romania and Finland.
Thanks, Bob (@v1pro). The Russians, in particular, would often use whatever paint they had on-hand, so standardization was hard to find. Then you throw in black and white photos, and the guessing really begins. Finding this site by Mossimo Tessitori was an eye-opener because he has tons of photos and in his analysis he notices things that I probably wouldn't have.
Great job, George and thanks for the support during my build! Thanks to John and Spiros from my side as well! This is a very neat and mutual supporting building indeed!
Thanks, Sebastijan (@inflames). It was a pleasure working with you on this group build and seeing your model take shape. I wasn't sure I would like doing a group build like this, but it was a great experience watching the techniques used by other modelers on a similar kit. Looking forward to watching the finish on yours.
Nice build and scholarly research George. The support of our contributors to get our kits as close as they were, is truly remarkable.
Great work.
Thanks, Bernard (@bernardbedeur). Building a kit in a group that is all building a similar kit was a great experience, even if we had kits from several manufacturers. It was a great learning experience.
We’ll done, George! Nice work on a variant I never knew existed.
Thanks, John (@j-healy). I am always on the lookout for something a little different, and this one certainly fit the bill. I am not sure if I ever would have built this kit if it were not for the group build.
A great project - love everything about it - the research, the unusual livery, etc. And the execution is brilliant!
Very cool George! Love the finish and extra attention you paid to small details. It all really paid off. Well done! Thanks for sharing
Thanks, Greg (@gkittinger) and David (@dbutlr). I have several more Accurate Miniatures kits in the stash, but I think I will wait for a while before I jump into them. This was definitely not a shake and bake kit.
G'day George (@gblair),
A great finish to difficult build.
Well done.
Liked!
Thanks, Michael (@michaelt). This was one of those builds that you like a lot better after you are done.
Great work George @gblair. I really enjoyed following the Stormovik group build. All those tips and suggestions will certainly make my attempt at this kit less daunting. Meanwhile I will just keep staring at the sprues and re-reading the instructions until I can drum up the necessary courage to dive in.
Thanks, Eric (@eb801). I think you would like it if you jumped into it. The Accurate Miniatures kit is fairly complex, but many of the problems I had were self-induced. The pictograph instructions you get in kits now train you to look at the diagrams and start gluing. The AM kit came from the days when instructions had diagrams and written instructions for each step. As I found out, it you just look at the diagrams you will get yourself in trouble fairly quickly. A suggestion from the others that helped was to download the instructions for the Eduard IL-2m3, since the basic kit is from AM molds. The Eduard instructions are clearer in many places. Looking forward to your IL-2. Cheers.