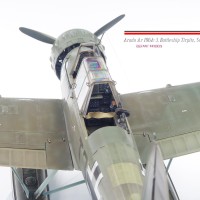
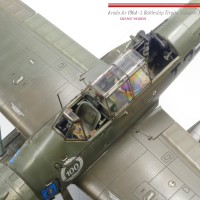
Arado Ar 196A-3, battleship Tirpitz, 1943 (1:32, Revell)
Arado 196A-3 was german the most successful reconnaisance floatplane.
It served on battleships and cruisers as well as at coast guard.
The kit
Material is not great at first look. The plastic is too bright in my opinion and look
too-hard-to-sand. In the end, it was fine. All details were clear and sharp, all parts
went well together. Not seamlessly, but fair enough. I used just small amount of putty.
Cockpit is full of details and I add only HGW fabric belts and made simplified inner
fuselage structure.
I also rivetted wings and some fuselage parts with my new 1mm rivetting wheel from "Be Izzi".
Not as precise as "Dousek", but the quality is very close.
There are two things to be mentioned:
Canopy and decals.
Canopy is molded from side and top parts. This would be bad enough, but some i***t responsible
for that sh*t made seamline going across the transparent parts. So it is impossible to glue
canopy together and get full transparency. (I would recommend to look for replacement
part - HPH or AlleyCatModels.)
Decals are printed without swastika. I fully understand we should not adore brutal regime,
nor its symbols. But we are talking about the fact that machine they used, HAD once swastika
on it and if we want to build replica, we should use it.
Finally, when I found out that they really ingored facts, I cut the mask and painted it.
Ok, enough about that.
Overall, the kit is definitely among the best what is saw from Revell in this category.
It allows you to open the engine section and fold both wings. By my opinion, it is OK
even with only kit parts. However, if you are big fan and a bit skilled, add some details
from scratch or buy resin replacements.
This build is almost straigt out-of-the-box and I built it as a last one for my friend.
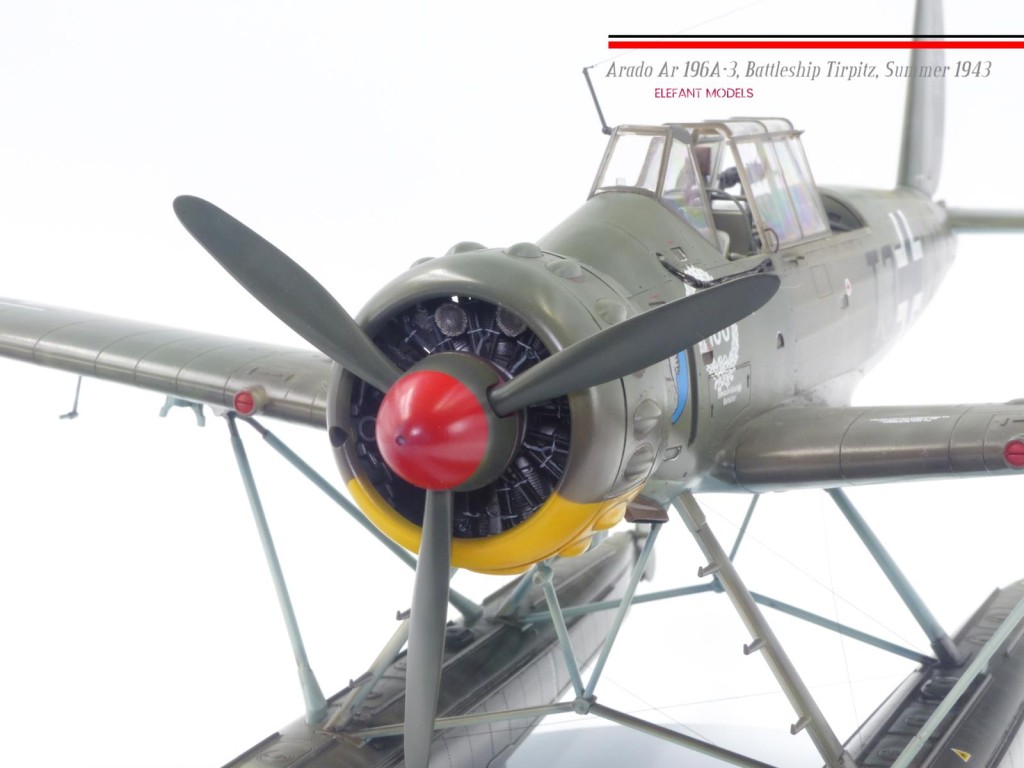
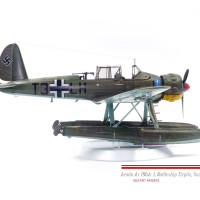
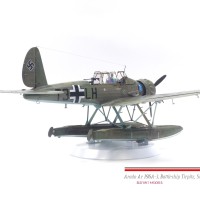
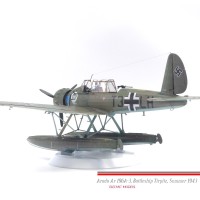
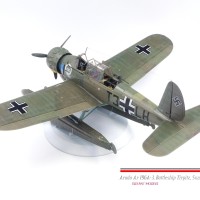
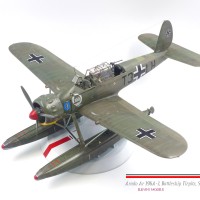
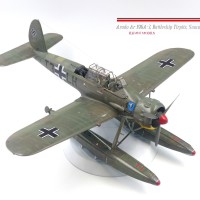
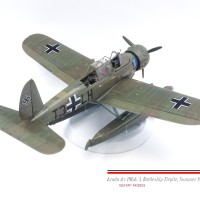
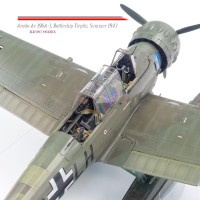
Very nice Arado, I particularly like the subtle weathering on the wing surface. did you used oils or pencils to add that effect?
Too bad the kit doesn’t come with a trolley. The smaller 48th scale brother (Italeri) has one
Hi Pedro, no I have not used any.
Everything is pure airbrush with lighter or darker shade of basic colour. The only technics used after airbrushing was wash. 🙂
Trolley is made by HpH, but the price is about the half of the kit, I guess.
Great build and finish, including modest, but very effective, weathering. All good.
A very nice result indeed, Martin @naviatik
Well done.
I'm impressed!
Every aspect...SUPERB!
Nice result! It is one of Revell's better 1/32 kits.
Does it actually float, Martin? Don’t worry, I’m only joking, but it would make an interesting diorama. The model looks great by the way.
With all this weight in floats it is very unlikely 😀 ... And yet, it was still not enough to avoid backsitting pose.:D 😀
But you are right, it would be nice to put it into water (epoxy) - this would solve all troubles and also add some artistic value.
However, my friend did not want anything like that and I am not skilled enough to do that (although it is nothing super difficult).
Excellent result, Martin!
Amazing weathering!
Great work on this Martin, the 196 is a lovely design in my opinion and you really pulled this one off ,well done.
I would imagine your friend will be delighted with this model Martin, everything appears to be very precise and finished to a high standard. Excellent!
Very beautiful job!
Great finish. Amongst the best builds I have seen of this kit. Your airbrushed approach to weathering is very effective. In all details this is excellent work.
Terrific work on this one, Martin (@naviatik). Your paint and weathering is perfect. As with the others, I am surprised you got the great weathering on the wings and fuselage with airbrush alone. Well done.
Hi George,
thank you!
Yeah, this type od weathering is my favorite - I just loaded brighter shade into the gun and made irregular lines along panels and rivetting.
But the fabric parts required three day of masking - 1. basic shade -> masking -> 2. lighter shade to show construction -> masking -> 3. irregular areas of darker shade to make a contrast. (it is called "invisible details"). And this all had been done in both colors separately, so they were 6 painting steps just for fabric parts. It was time consuming process.
Very nice Martin. Your profile photos are excellent. Impressive.
Beautiful paint work - stunning model!