Hasegawa 1/72 SOC Seagull
This is my first RFI post and I've chosen the Hasegawa SOC Seagull as the subject. This is an old kit and not really any particular version of the prototype. For example the kit cowling includes engraved (though inaccurate) cowling flaps which were only present on the SOC-1 and none of the other versions. It also includes a couple of small bulges which were only fitted to the SOC-3 so it's really a bit all over the place. Surface detail is very nice but not accurate and incomplete. In the picture below I've removed some of the fabric ribbing and replaced it with the metal panel that was there.
-
- 1. The added metal panel on the right hand side

Hasegawa are stingy and you can either build the wheeled version or the floatplane version but not from the same box (apart from one dual combo set). Once again we have a mixture of features - for the floatplane the lower wing is wrong and for the wheeled version one needs to fill the floatplane strut location holes. For the wheeled version there was a fairing added in front of the wing which was removed on the floatplane. One needs to remove this fairing if one is modelling a floatplane version and to restore the fuselage. Thankfully the wheeled version was common.
-
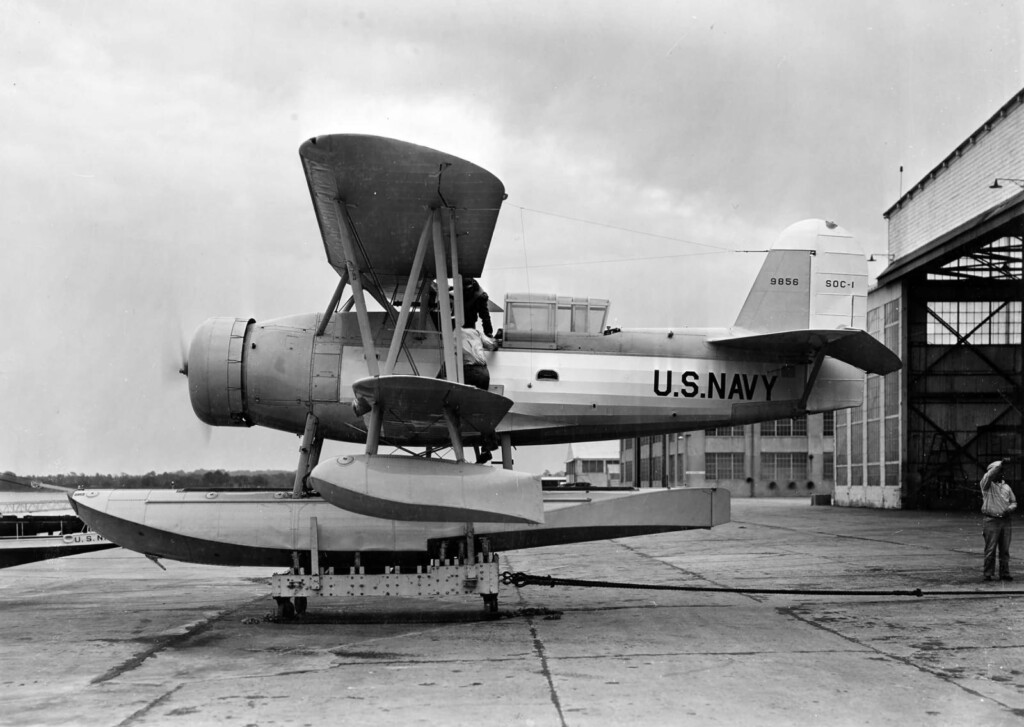
- 1. SOC-1 on floats showing lower wing without front fairing

Incidentally, there are a lot of metal panels to add to the fuselage which were omitted when Hasegawa tooled the model. Adding and replacing detail is a must. The kit engine definitely needs replacing and the Radial Engines and Wheels Pratt and Whitney Wasp 1340 is a superb addition. You do need to widen the interior of the cowling to take the new engine but this is not too onerous and it helps to make the cowling flaps thinner and more prototypical
-
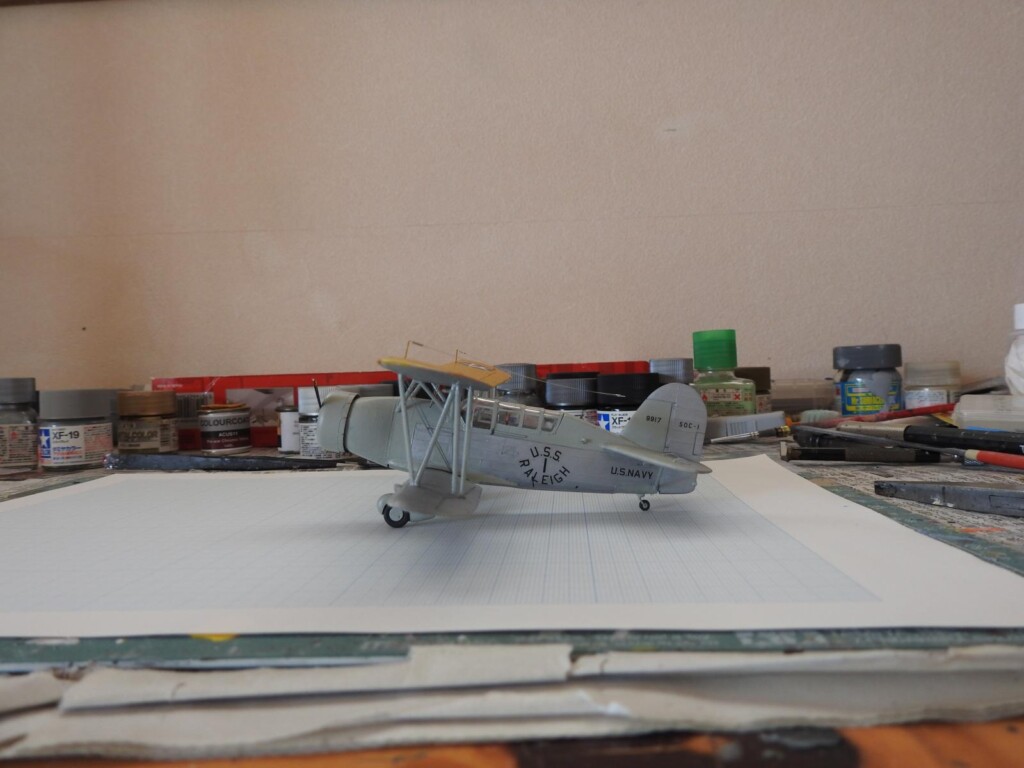
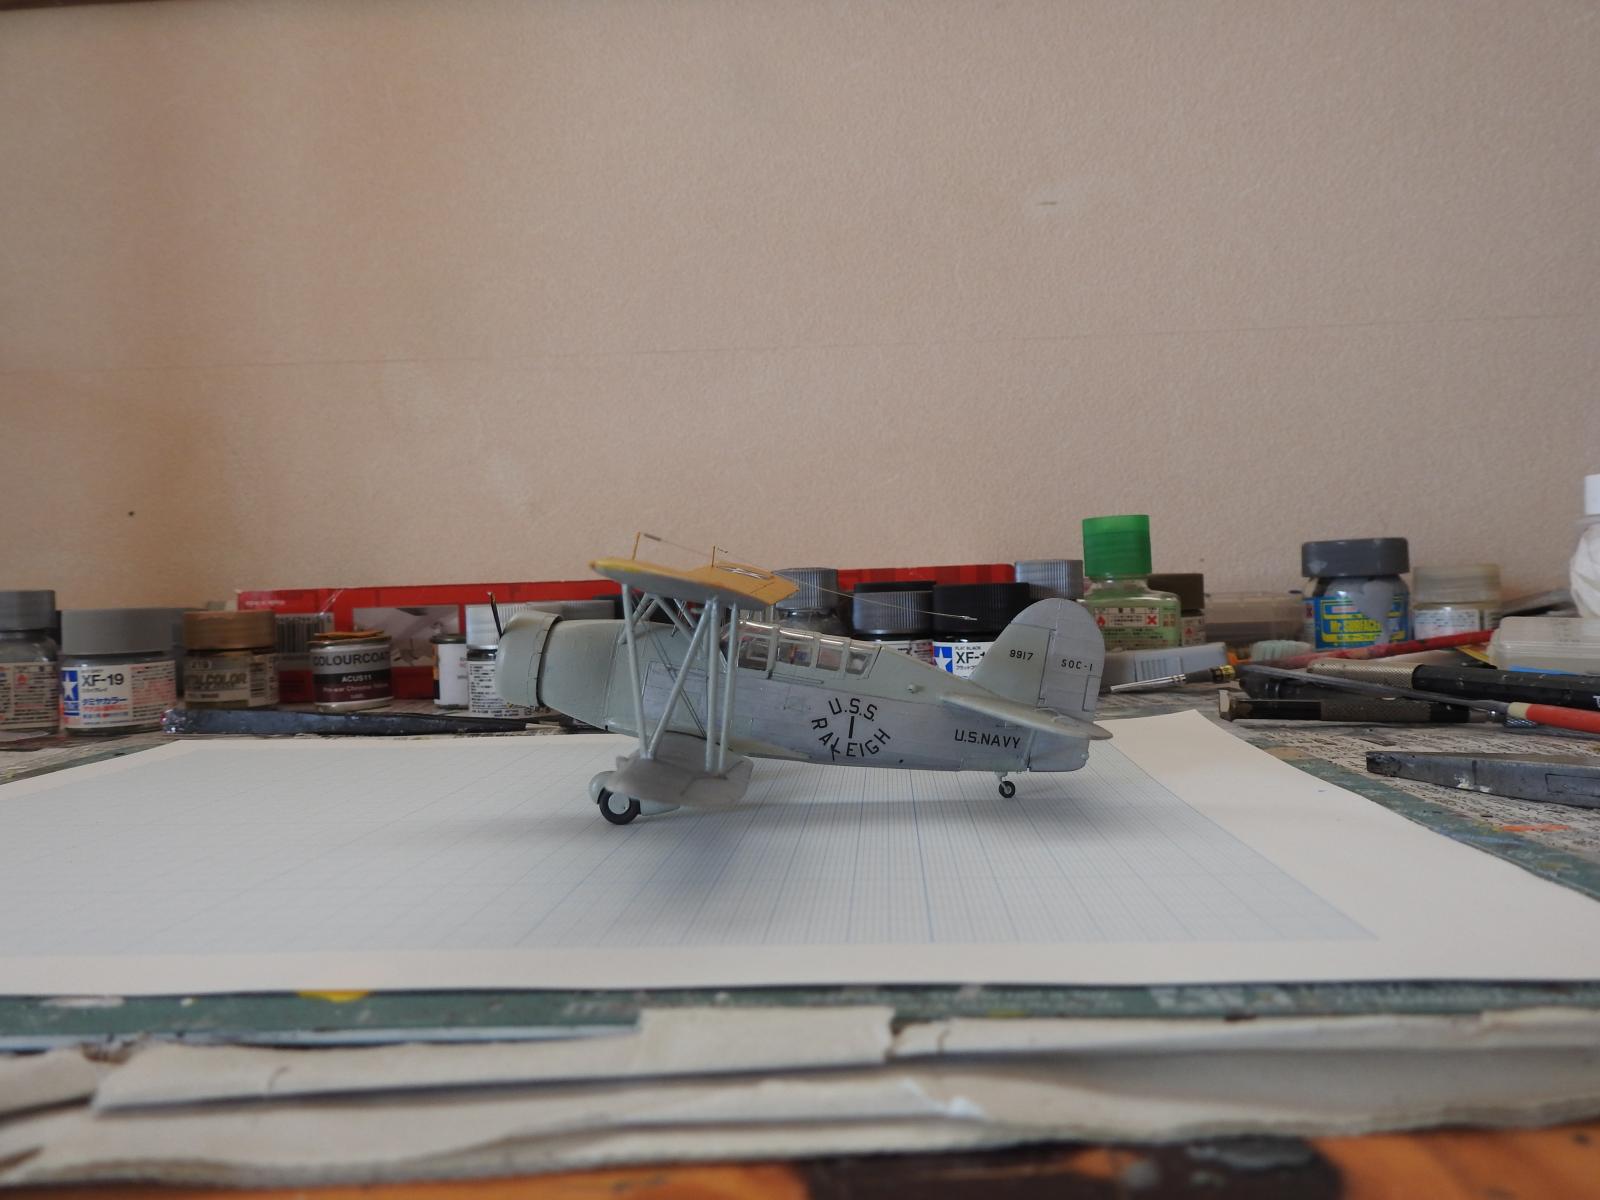
- 1. Side view of the SOC-1 with thinned out cowling flaps
Other alterations and additions included detailing the propeller which only has detail on half. Adding a cockpit. Here one can use the Starfighter Decals improvement set but that is also simplified (though far better than the kit version) and doesn't include fuselage stringers. I scratch built the whole cockpit. The underside of the centre wing needs detail as does the underside itself. I extended the fabric portion using 0.064 mm brass rod for the ribbing. I also added panels and position/navigation lights to the upper wing as well
-
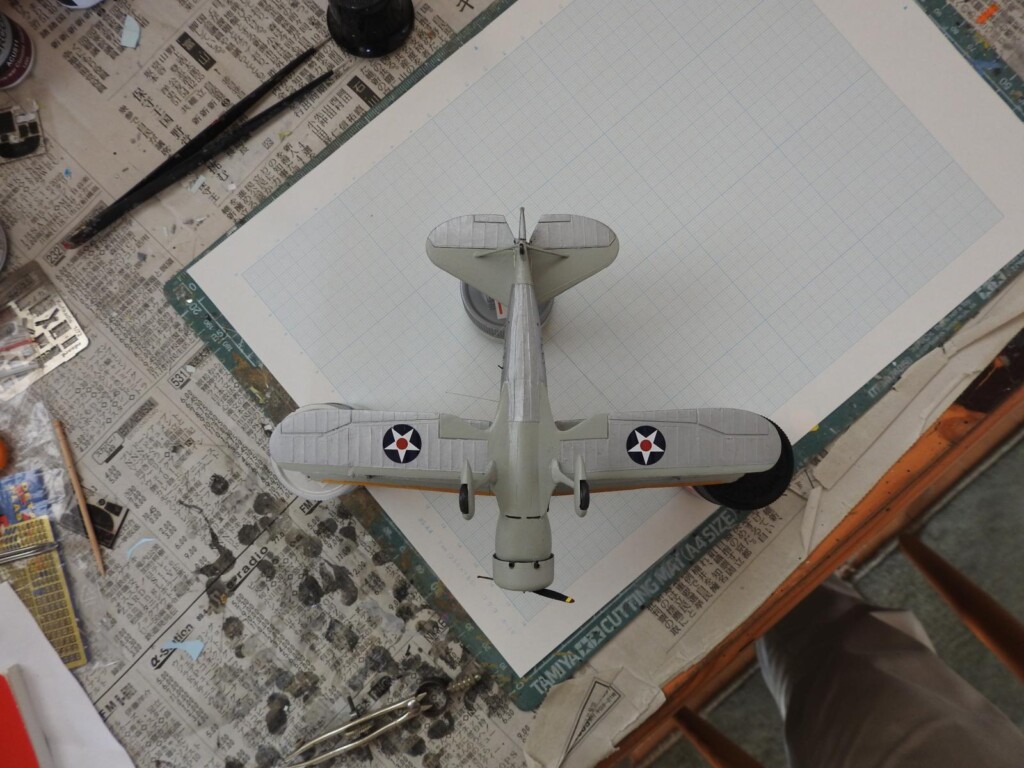
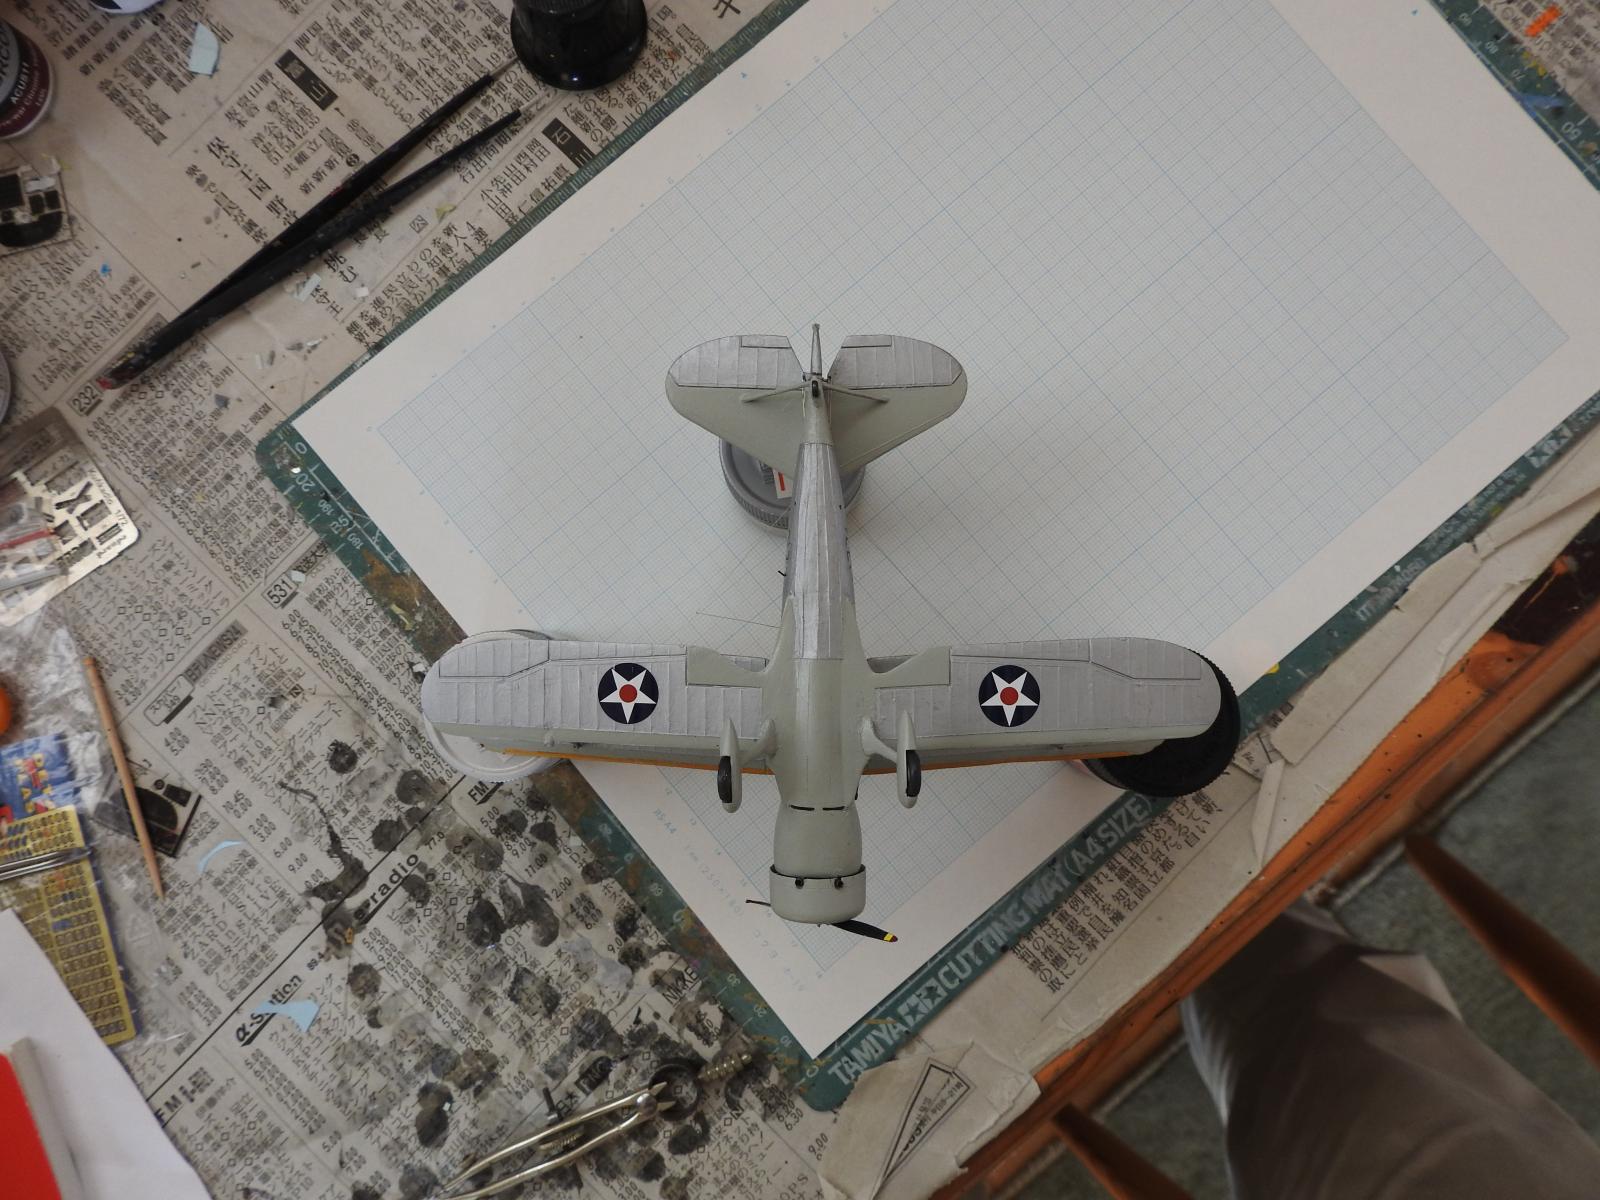
- 1. Extended fabric portion and other underside details including panel lines and cooling air vents that were missed by Hasegawa
-
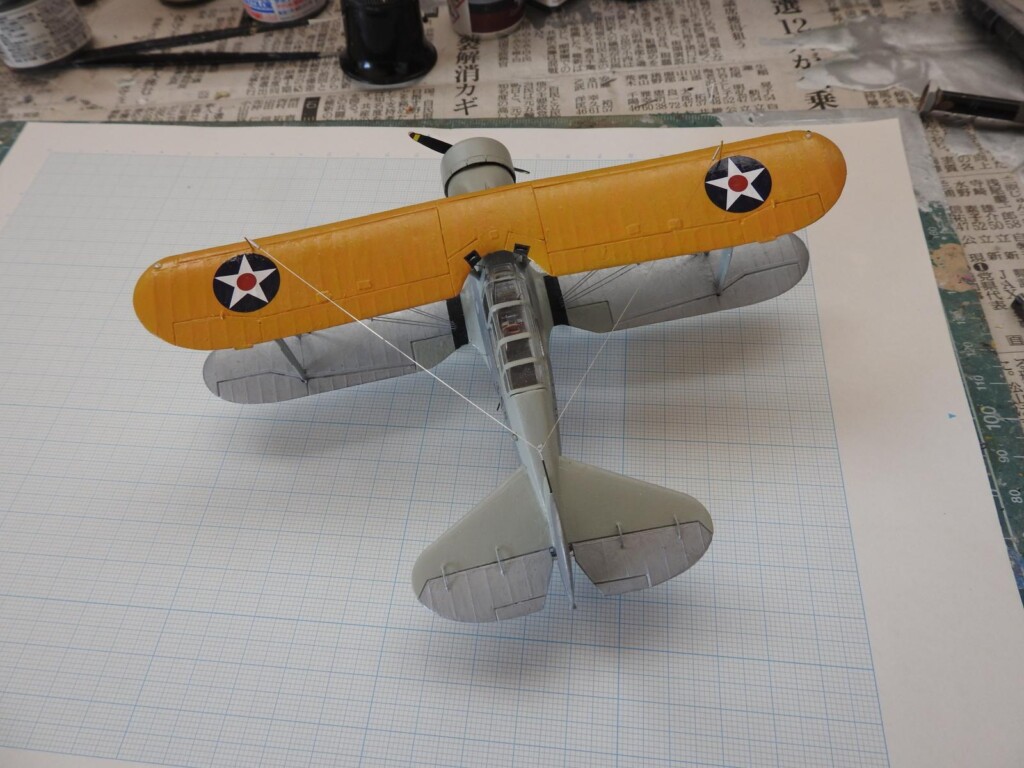
- 1. Upper wing showing improvements - access panels, aileron hinges, position and navigation lights and trim tabs

Some surface detail needs replacing by finer details particularly the trailing aerial and elevator actuators. The 'coffee cup holder' on the left hand side (third picture from the top) usually had a pole included which is what Hasegawa have modelled but sometimes was empty and also can do with drilling out. For reference I used the absolutely superb Steve Ginter book (No. 89) which covers the SOC in fantastic detail. This is a must if you want to make an accurate model of this aircraft. Rigging was 0.2 mm brass rod with the spreader bars from 0.4 mm plastic rod. The radio aerials were 0.1 mm Albion Alloys rod with 0.5 mm brass tube cut to length to represent tensioners.
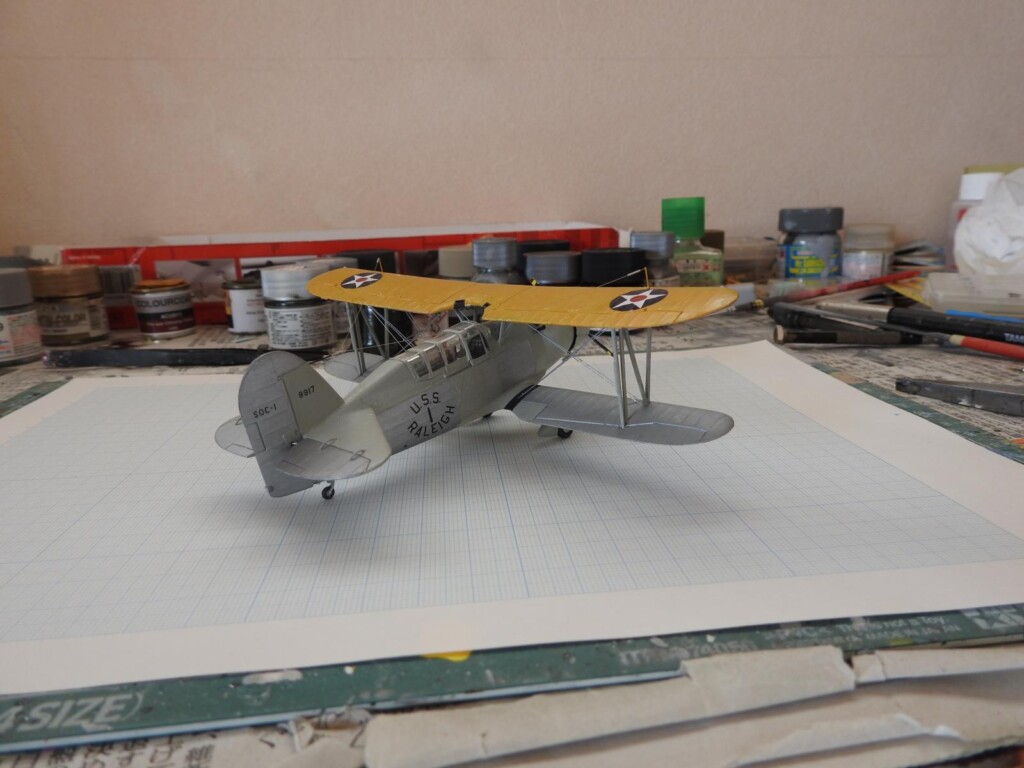
I wanted to do an early SOC-1 in the grey and aluminium dope scheme (Colourcoats Cerux Grey which is apparently very close to the interwar grey used by the USN and Tamiya Flat Aluminium enamel XF-16). I also wanted to do an independent aircraft allocated to an individual ship not one of the squadron allocated ones and chose one from USS Raleigh in 1936. USS Raleigh was the flagship of the destroyer scouting force at the time and it's aircraft had the rather fetching design on the fuselage. This was assembled from individual letters paying close attention to actual layout. The same process was carried out for the bureau number. The fonts aren't strictly accurate but it's impossible to find the correct USN 4 inch lettering font in 1/72. The roundels came from spare Starfighter Decals sheets which had some excellent examples. Weathering was kept light as the aircraft were generally clean.
This project was a lot of work but very enjoyable.

Your Seagull looks superb, Christopher! Thanks for all these important details regarding the accuracy of the kit.
I also believe Starfighter makes a resin interior for this dinosaur (it dates from 1967; I remember it when it was new). Amazingly enough, this is still the only injection-molded kit of this airplane. There is a 1/48 vacuform that was done by Wings - now long OOP but can be found from collectors. Mike West at Lone Star Models made an accurate 1/48 resin kit that I have; let's just say it's not an SBS resins kit, but it is accurate.
You have done a really nice model with this old kit, and the extra effort shows.
Thanks for the kind comments Spiros and Tom. I agree that this is a dinosaur but I do like to try to update and improve them (provided the outline is accurate of course).
I’m really impressed with the amount of detail you’ve added to this model, and in 1/72 as well, Christopher, very well done.
Your Seagull does indeed look great, Christopher @christopher
All those modifications did definitely improve the looks and realism.
Nicely done Christopher.
Impressive improvements on this classic kit. Difficult to do, especially on such a small scale aircraft. It looks great.
Nice work, Christopher. Excellent upgrades. I’ve always liked that kit.
Many thanks all for the kind comments.
I’ve always liked the SOC. This is an inspiring build and I appreciate your attention to detail. Thank you for sharing Christopher!
Nice work on this ancient for Hasegawa, kit!
Many thanks - the SOC is a nice aircraft to model and does deserve a new kit
For a dinosaur kit, you have made a great build. The finer details on the fabric areas looks great!
I have this kit, so will be referring to this build article in the future! Beautifully done.
Many thanks for the kind comments Greg and Bob.