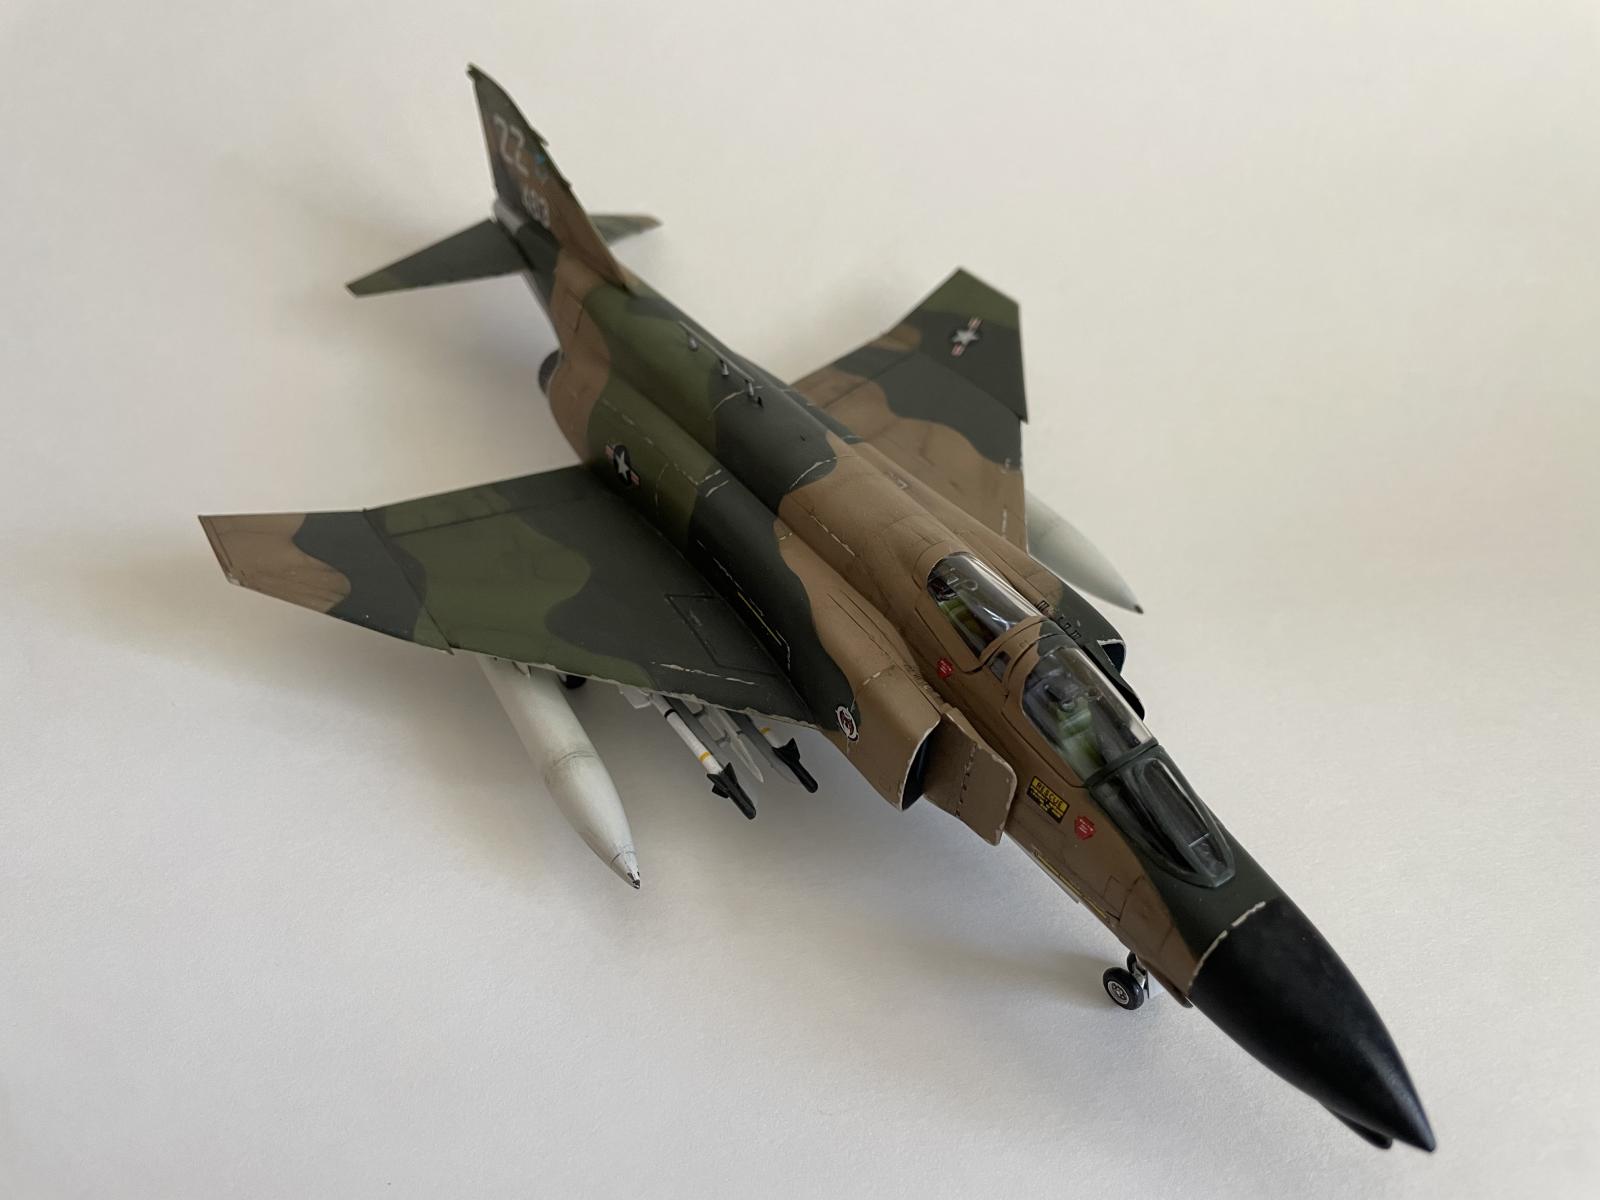
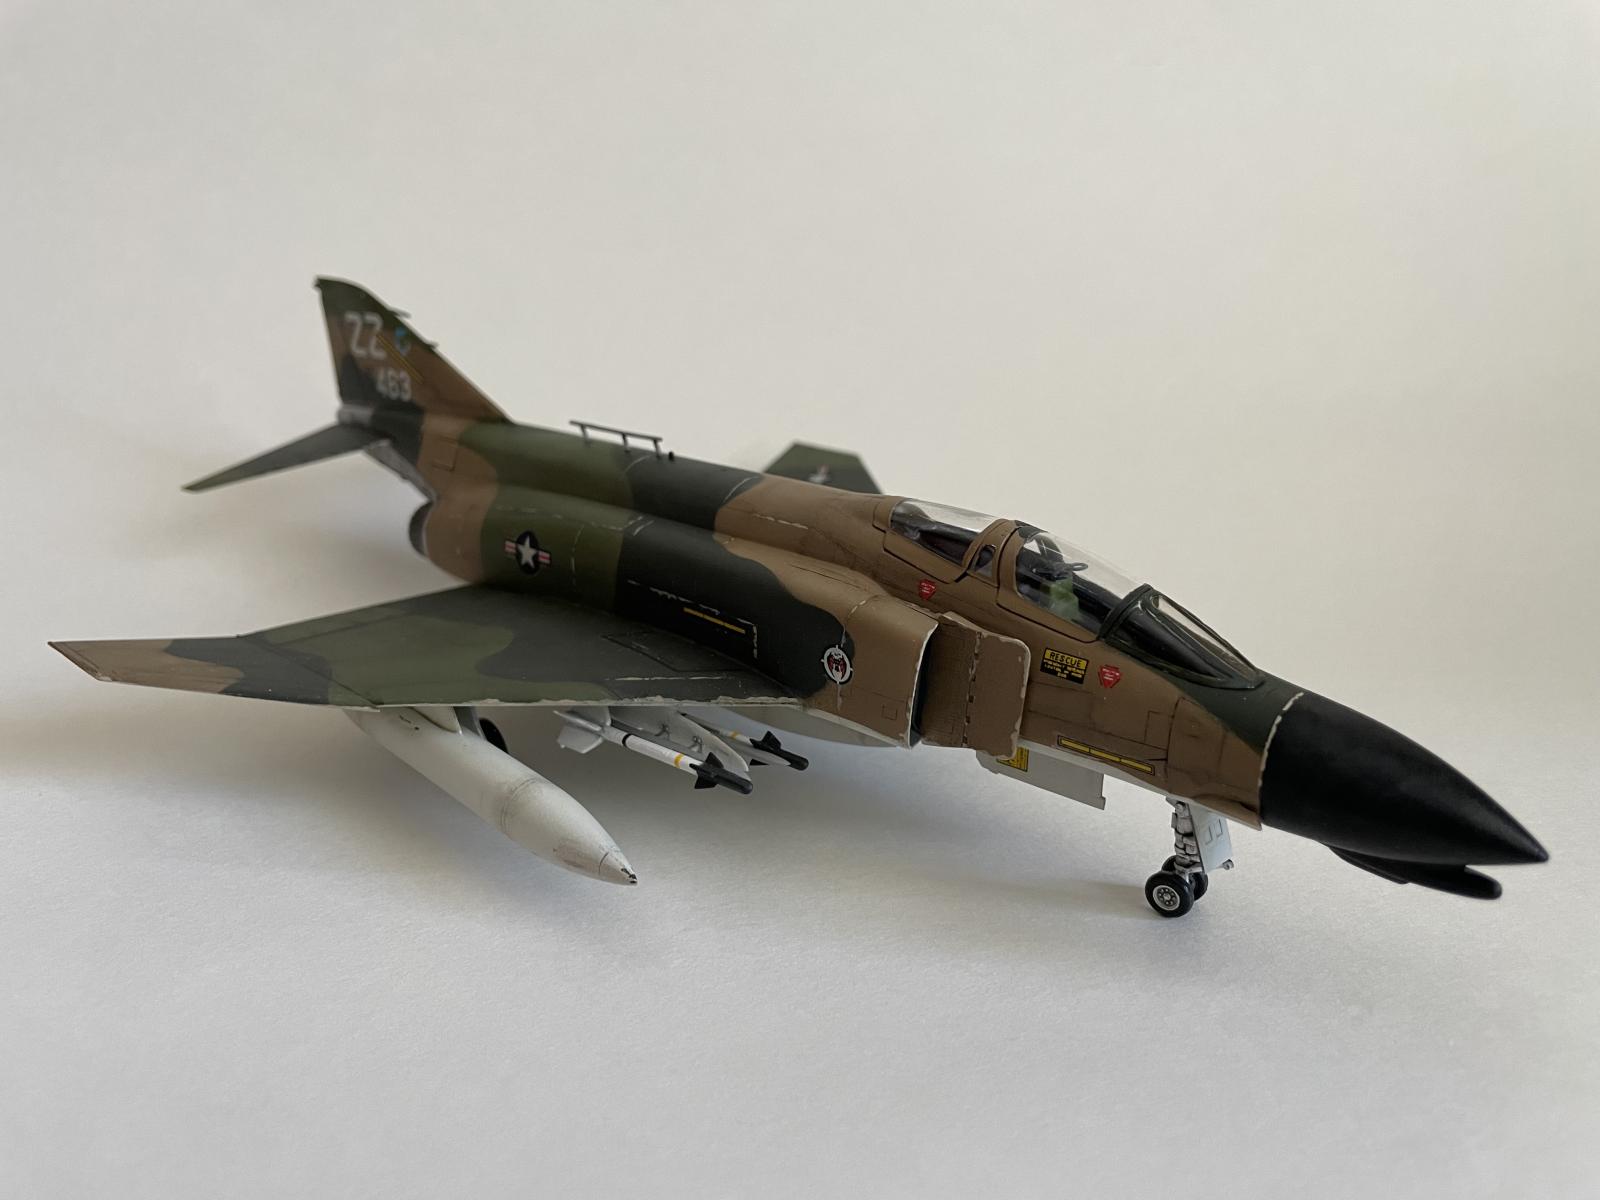
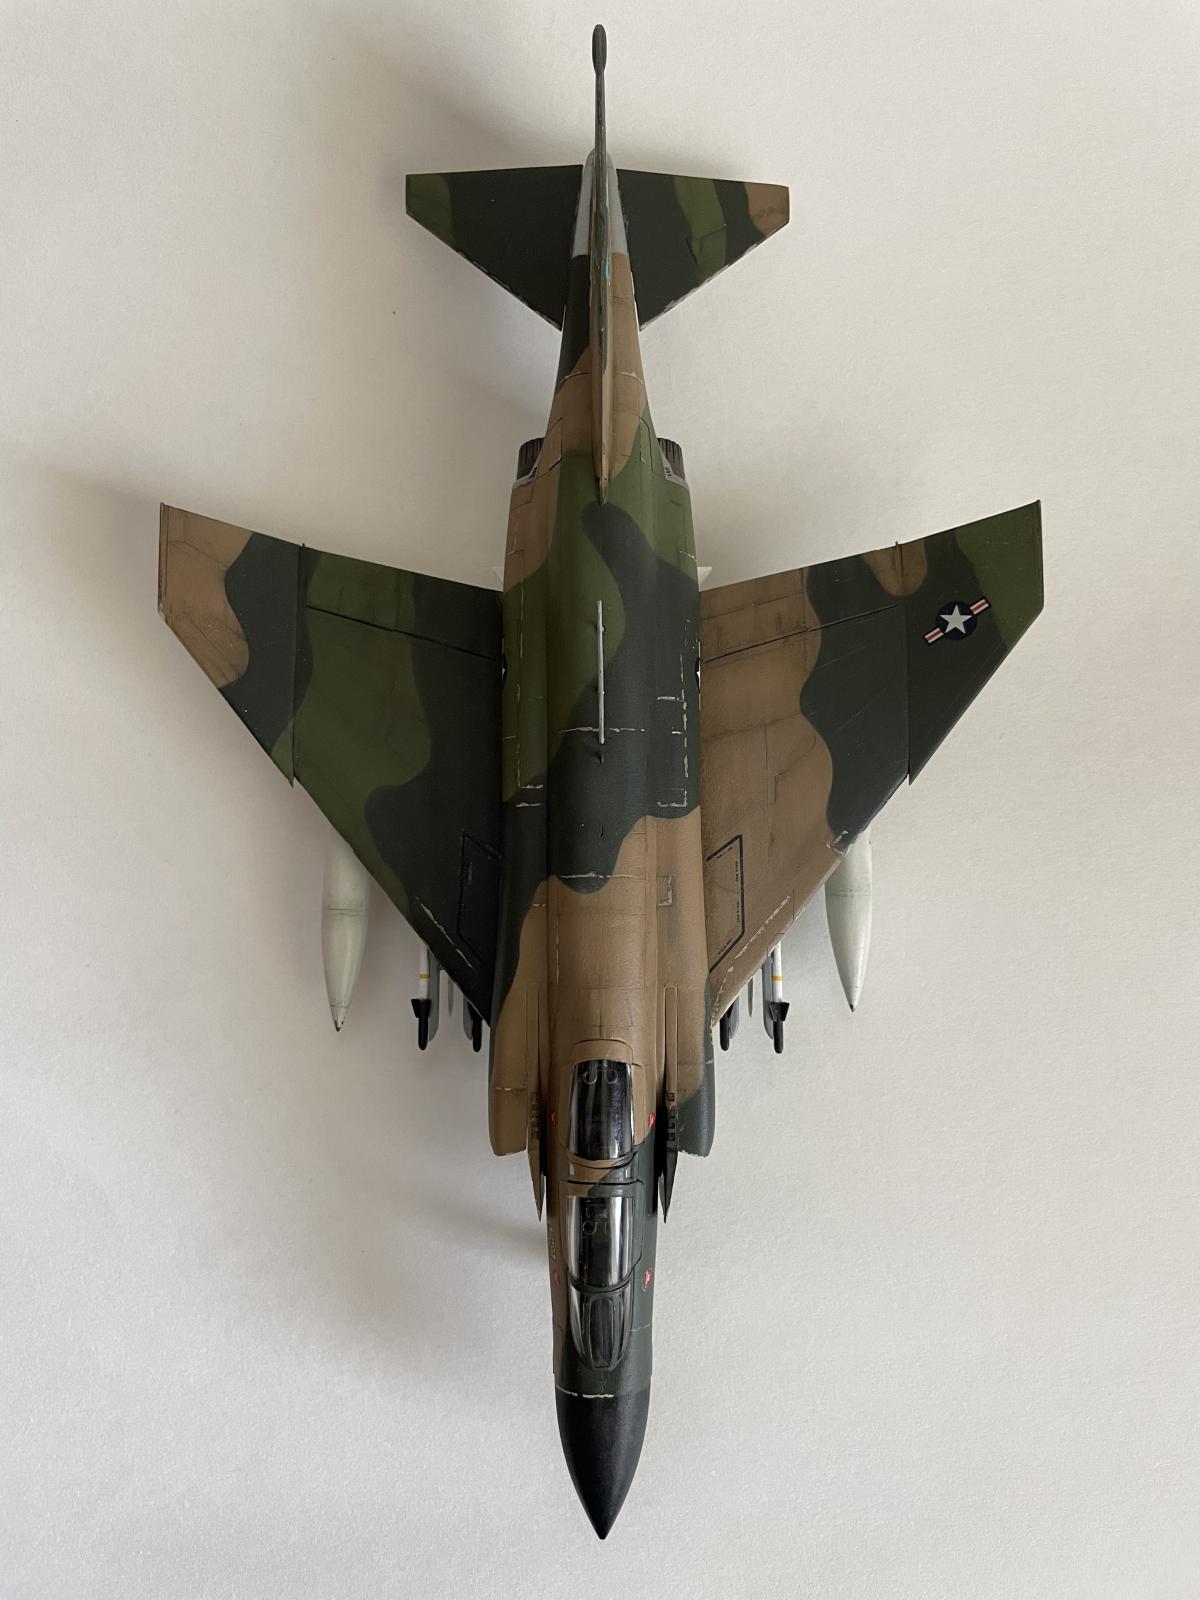
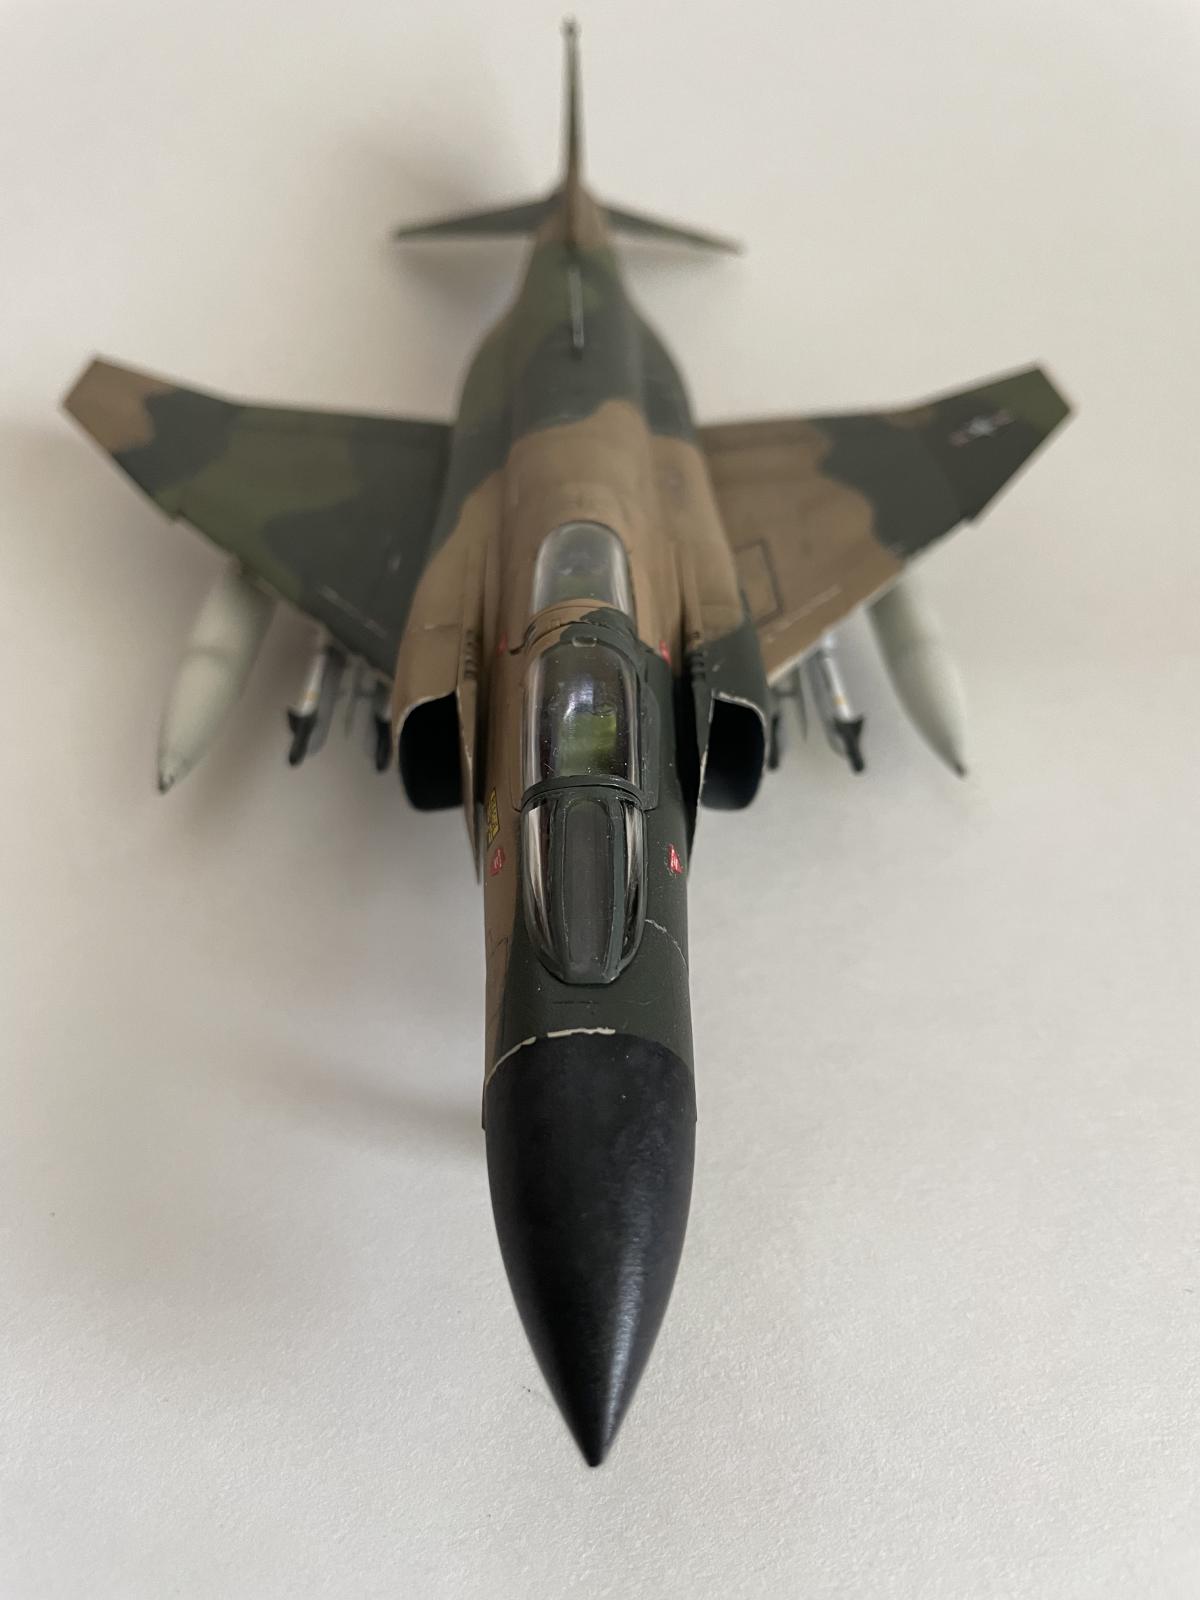
1/72 Fujimi F-4D Phantom II, Vietnam Era
The McDonnell Douglas F-4 Phantom II was introduced in 1962 as a high-speed, long-range interceptor for defense against Soviet bombers. Thankfully, this role never needed filling and instead the twin-engine F-4 went to Vietnam as a fighter/bomber for the US Navy and Air Force. With a maximum speed of Mach 2.2 and sizable payload capacity, the Phantom II was a major component of America's air campaign in Southeast Asia. Because it was designed as an interceptor, it was less maneuverable than the MiG-21 in aerial combat: it had a large turning radius (that it made up for, though, with its higher speed) and its size and apparently very smokey engines made it a highly conspicuous aircraft. Pilots needed extensive training to leverage the F-4's speed and vertical climb rate to match the more agile Mig-17s and -21s; the higher-than-anticipated combat losses allegedly inspired the need for the advanced fighter tactics training that would become Top Gun. The Phantom II lacked a cannon and its Sidewinders, Falcons, and Sparrows were often reported to perform poorly. It was discovered eventually that the jarring, high-G impact of carrier landings caused the guidance systems of some missiles to malfunction: nothing like finding that gem out in the middle of a war!
Despite its challenges, the F-4 Phantom II in my mind is the first, real progenitor of the modern fighter jet. It had phenomenal performance for its time and laudably filled multiple roles that it wasn't designed for. Retired by the US military in 1996, it remains in service in several foreign militaries, including Iran, South Korea, Greece, and Turkey.
The Kit
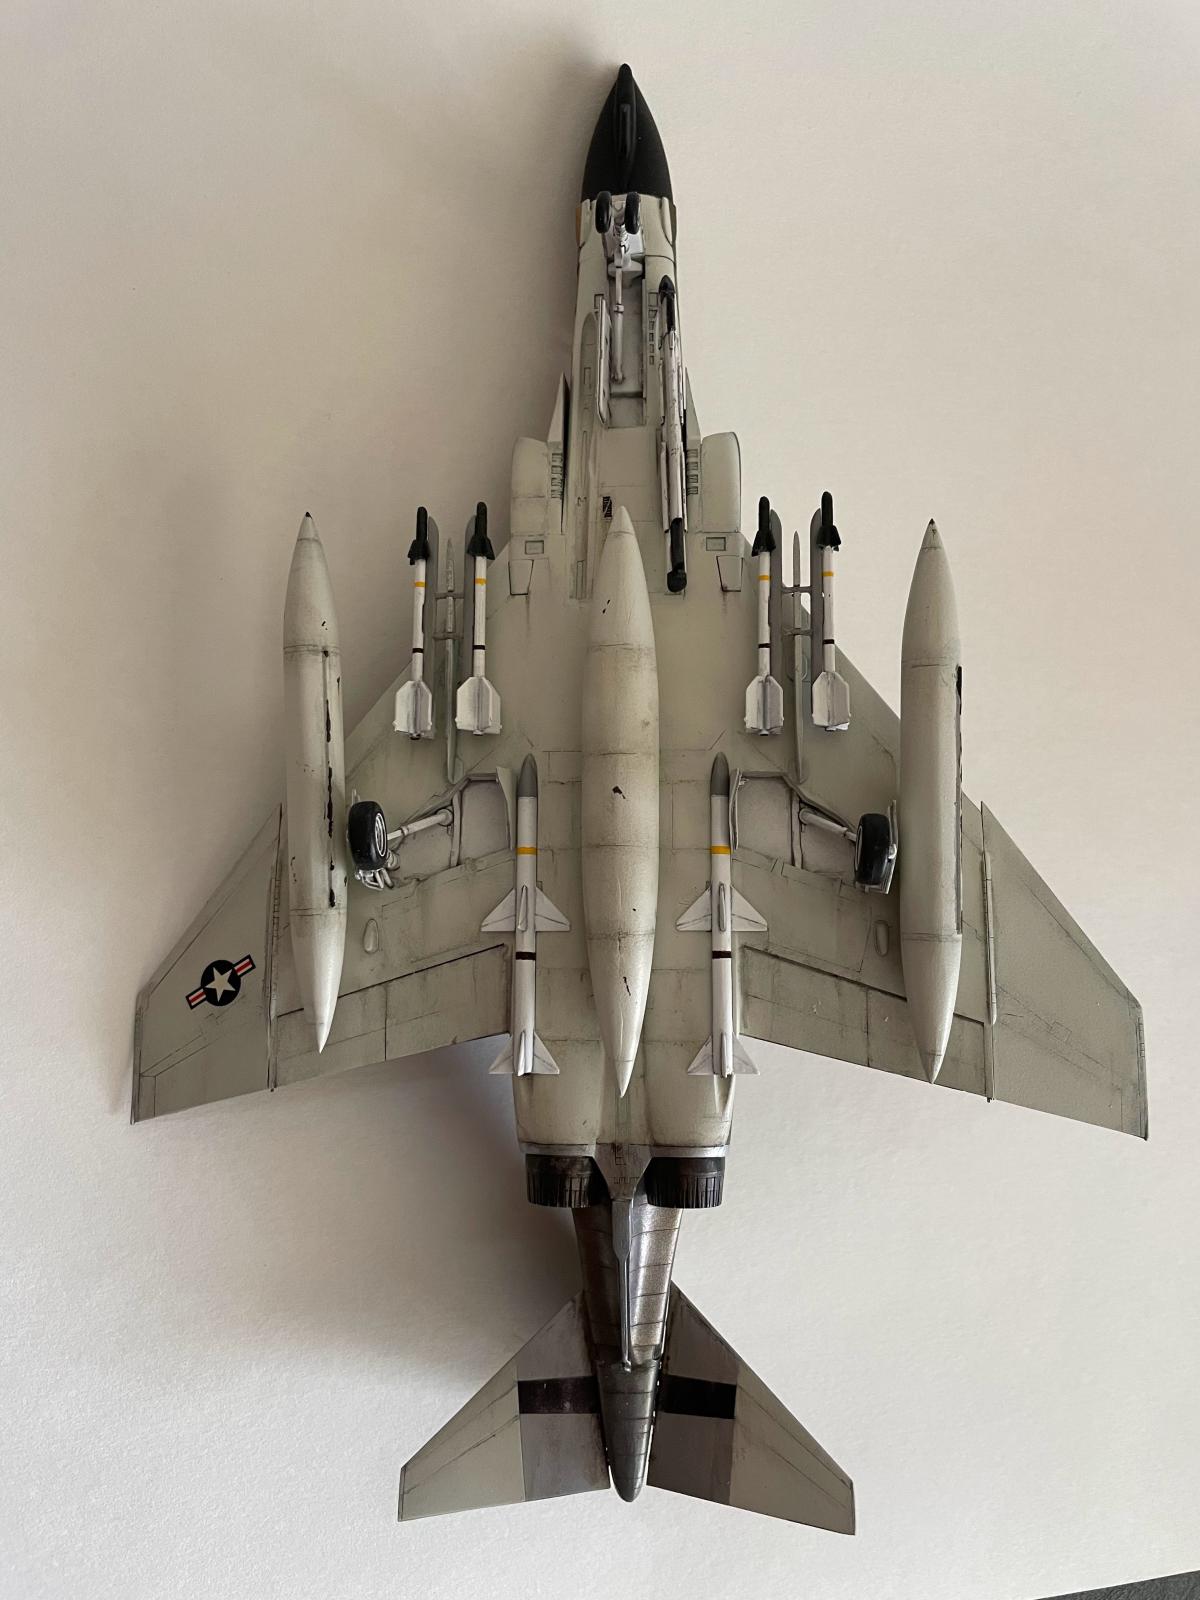
The 1/72-scale Fujimi F-4C/D has 90 pieces in gray styrene. Munitions include 4 AIM-7E Sparrows, 4 AIM-9B Sidewinders, and an ALQ-119 ECM pod. The kit also includes 3 drop tanks. You have a choice between the F-4D of the 18 TFW/44 TFS “Vampires” or the F-4C of the Hawaii ANG 154 TFG/199 TFS. These are both excellent choices for a Vietnam-era Air Force Phantom.
This is a classic Fujimi kit without major issues: there is nice recessed detail for the scale (though perhaps a little shallow), and parts fit well. The decals were very delicate and tore easily (par for the course with Fujimi, sadly), but thankfully I was able to mostly mitigate those issues.
My overall process was:
Prime (Stynelrez at 25 psi)
Base coats (Mr. Color (thinned 1:1), Tamiya (thinned 1:2), and Alclad)
Enamel pin wash (AK-Interactive and Tamiya panel liners)
Gloss coat (Alclad Aqua Gloss at 20 psi)
Decals
Oils (Mig Oilbrushers and Abteilung 502)
Dull coat (Alclad Klear Cote Matte (bottom) and Flat (top) at 20 psi)
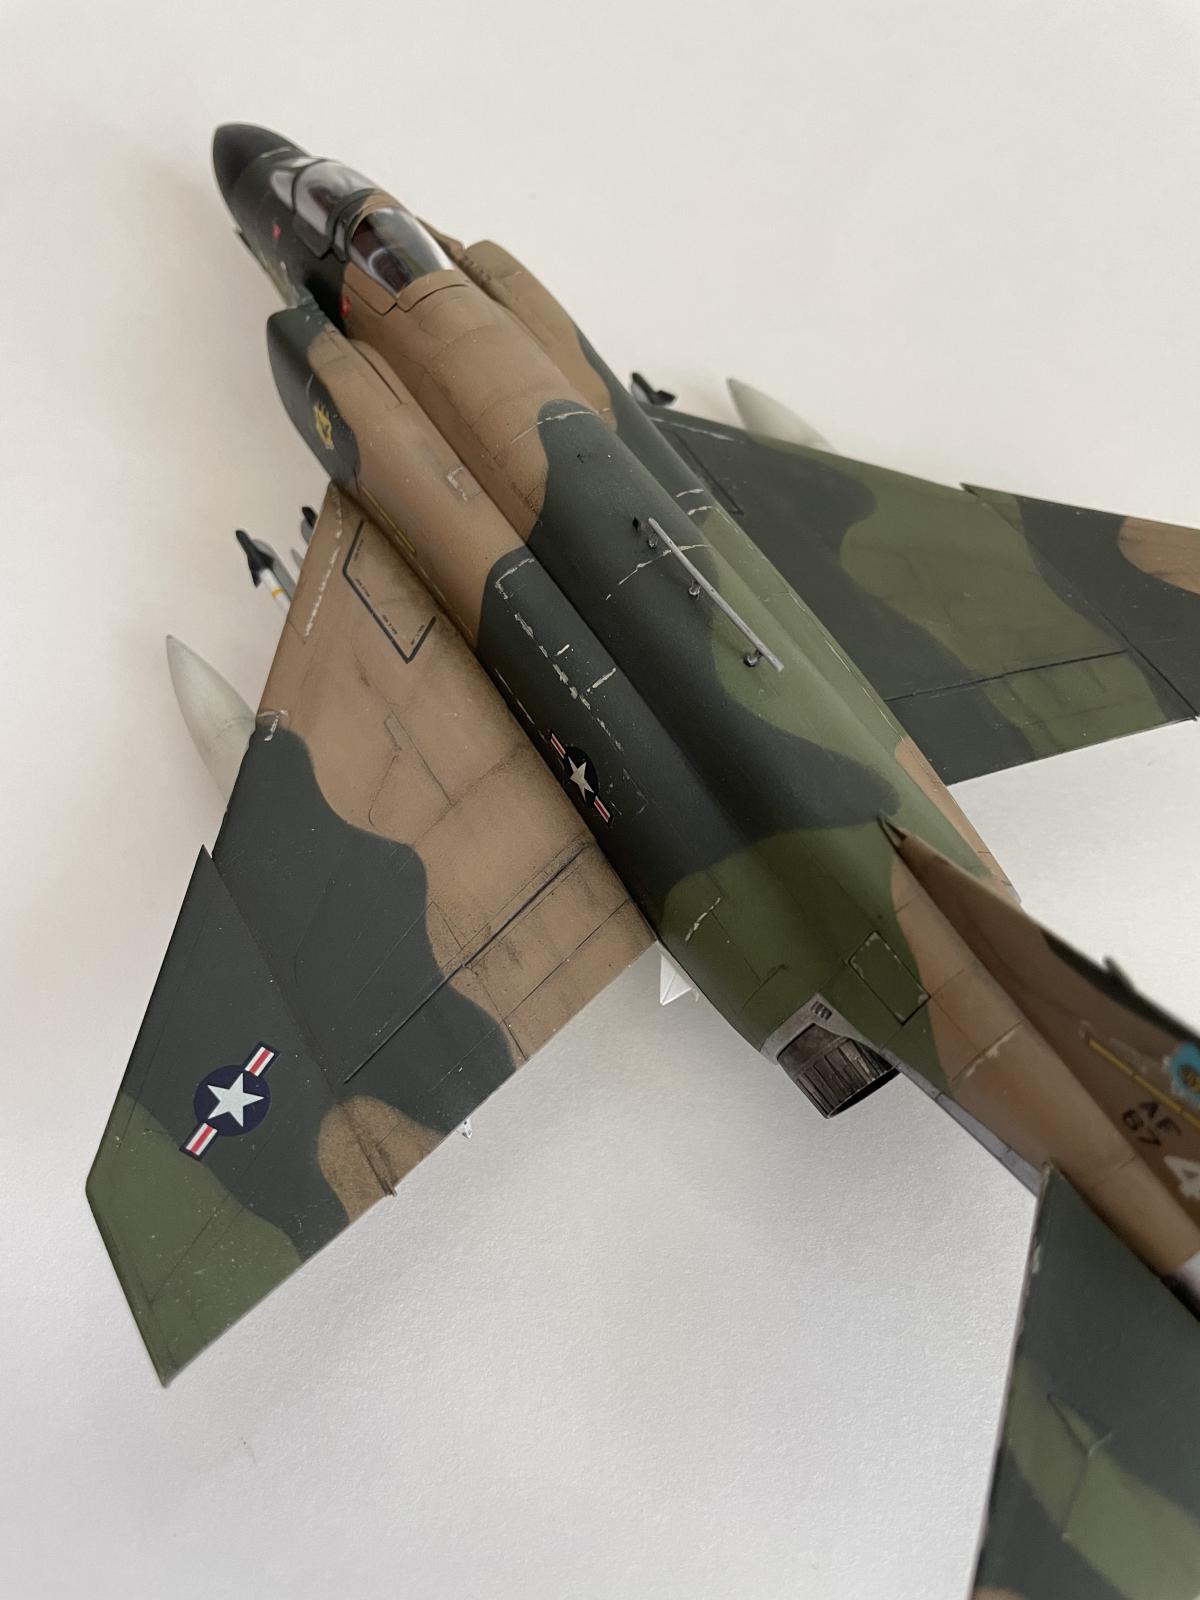
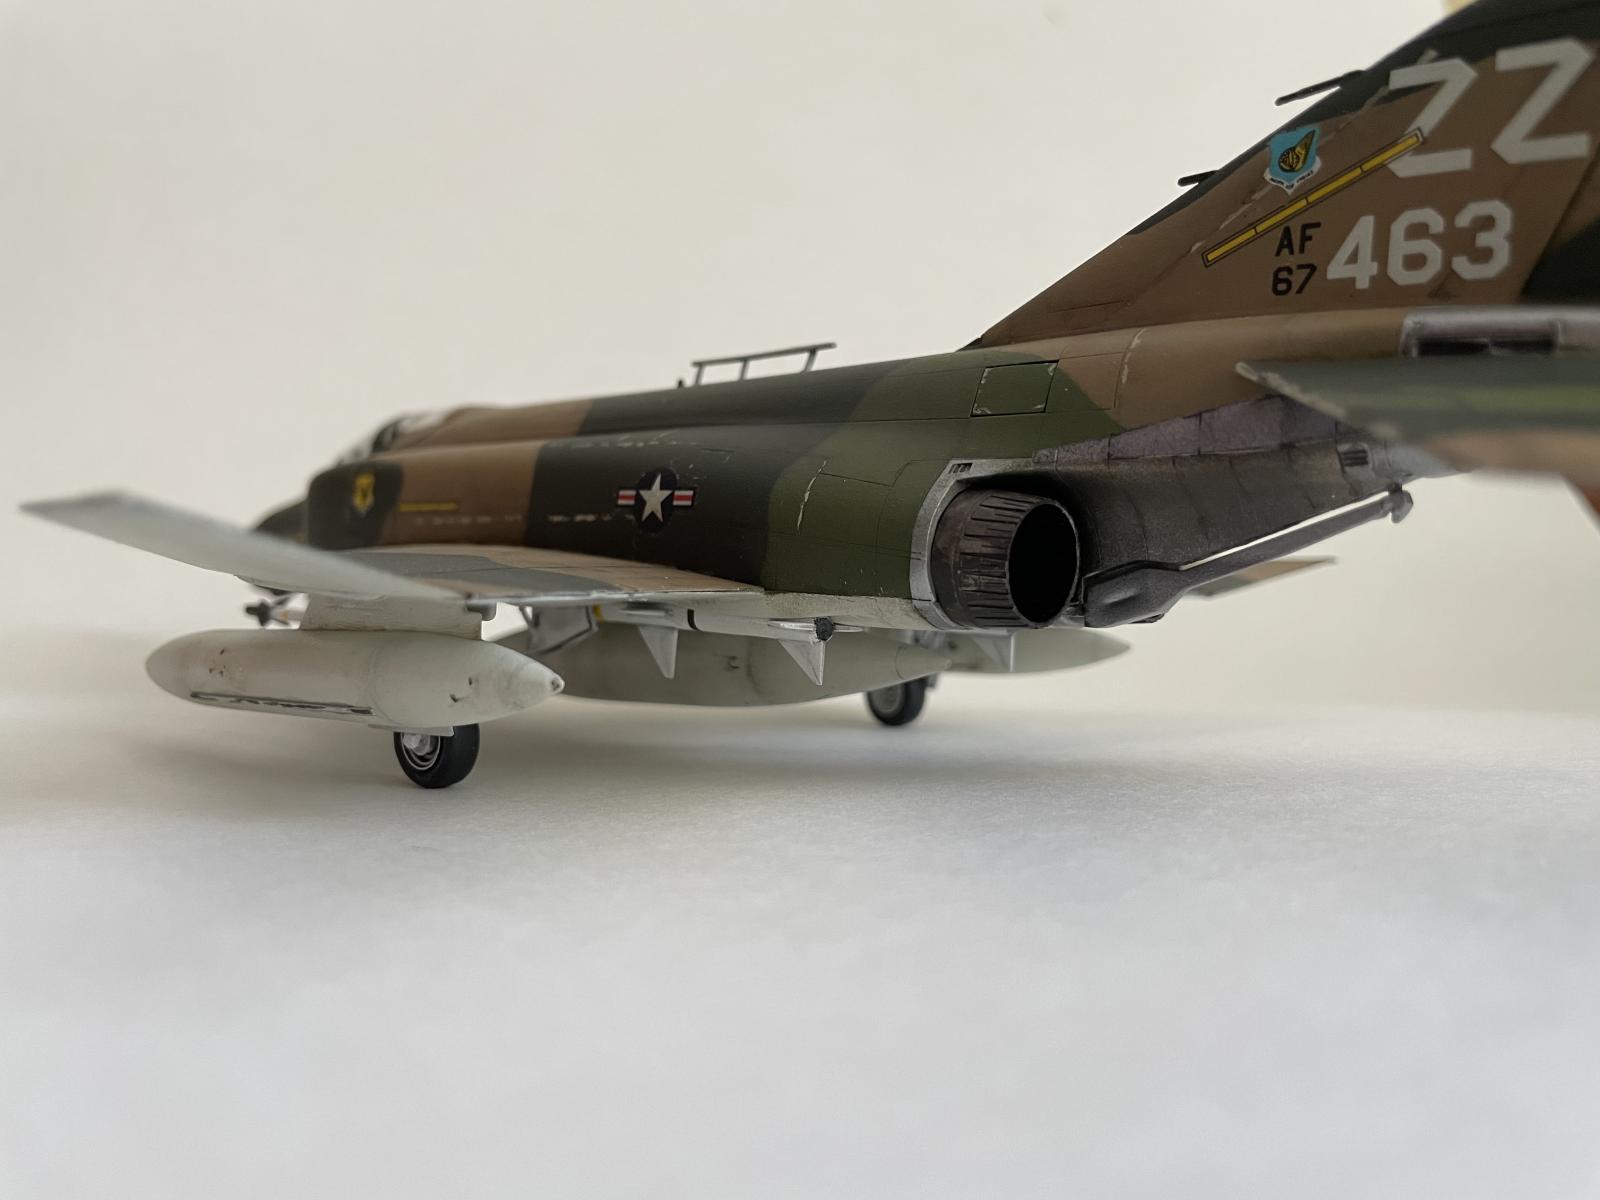
Engine Nozzles
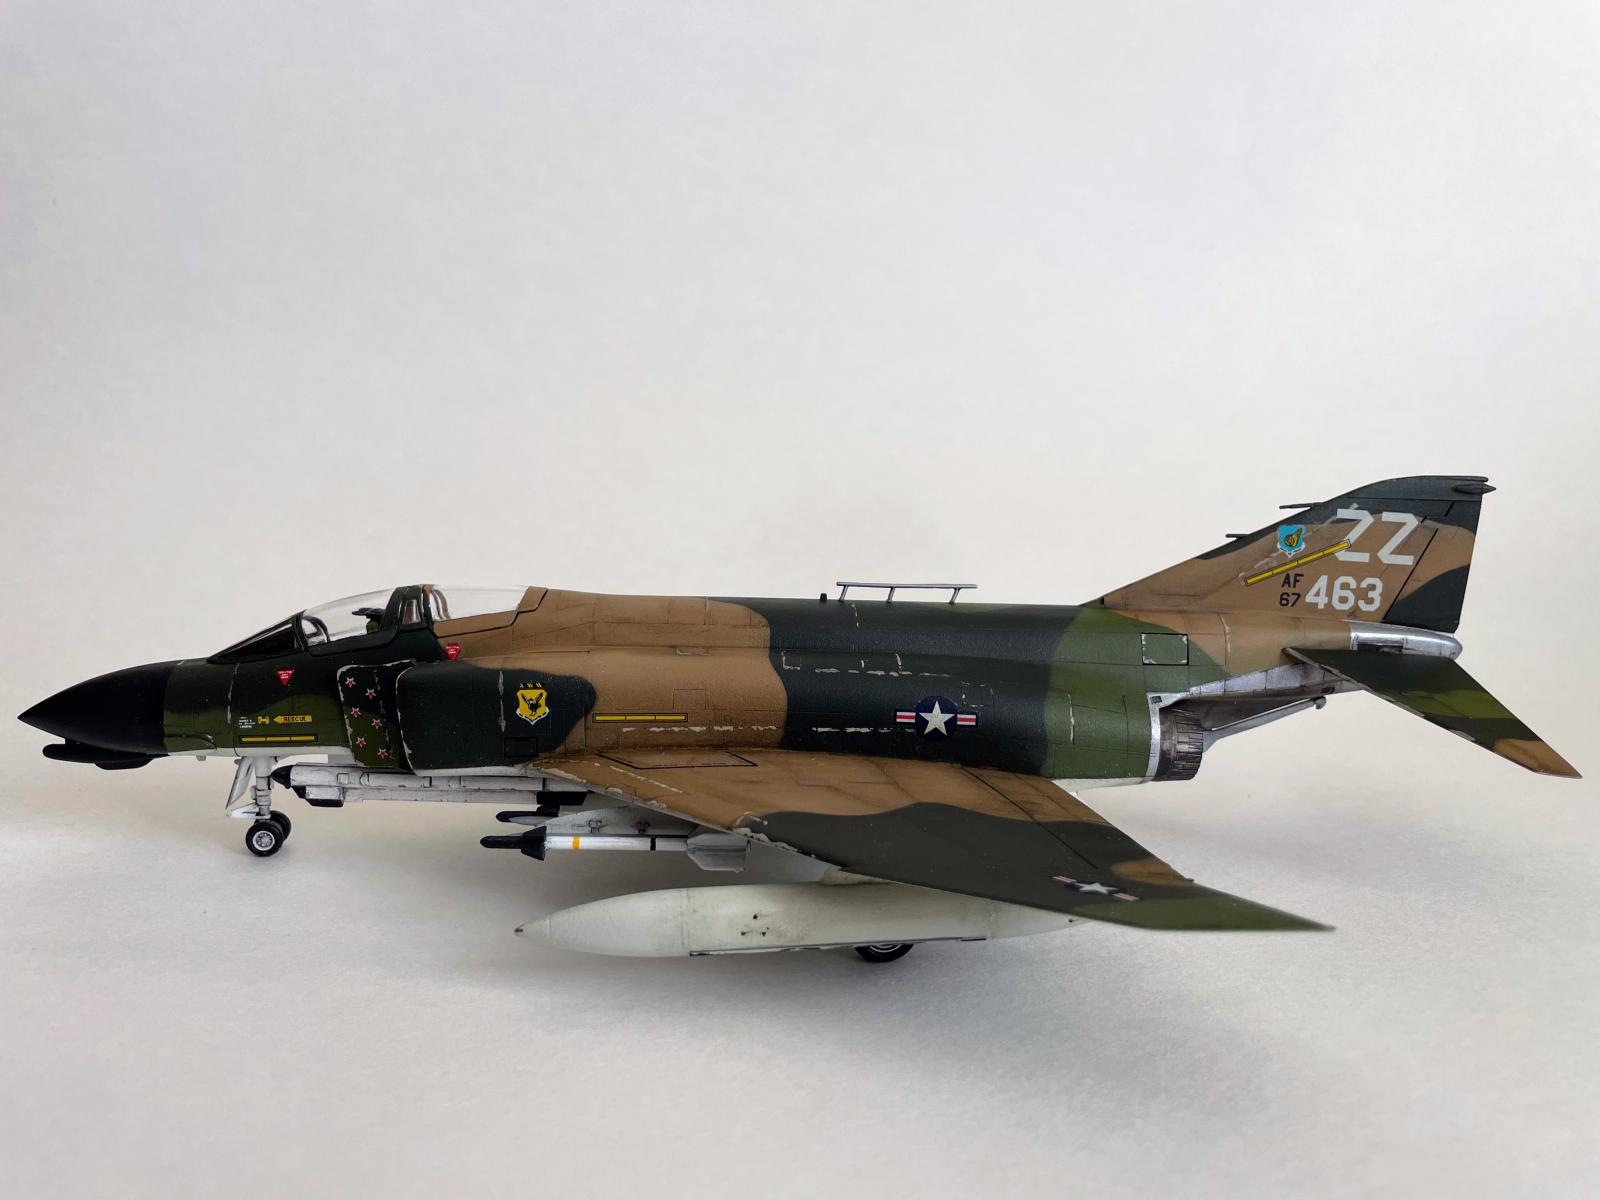
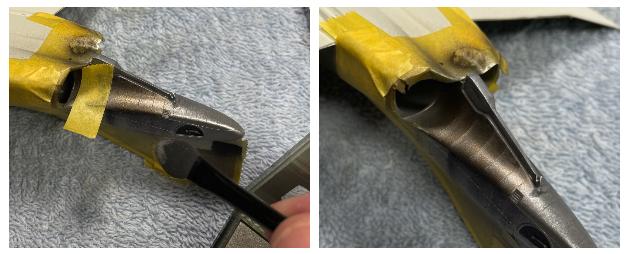
Having studied multiple photos of real, living F-4s and consulting several scale models, I was looking forward to the exhaust nozzles and the rear of the aircraft. There is a lot of potential for tarnished, burnt metal effects, sootiness, and just general wear and tear. I wanted the nozzles to be grimy and distressed, keeping with the hard, fast, and tortured life of a Vietnam F-4. Inspired by this video, I followed the following sequence: base coat of Alclad Aluminum, followed by very light and targeted Alclad burnt metal (left), followed by a light misting of Alclad Exhaust Manifold (right),
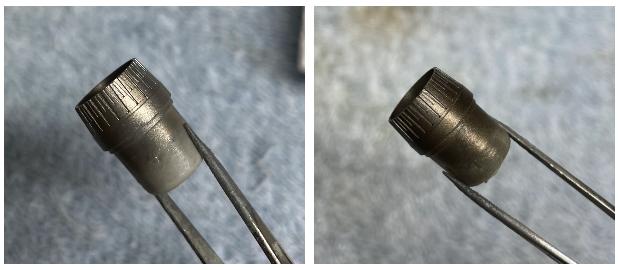
followed (after drying) by Tamiya XF-84 Dark Iron (left), which I then quickly removed with some X-20A thinner (right),

With Tamiya acrylics you only have a short window of time to remove paint, even with X-20A, and so you must act quickly.
To paint the inside of the nozzle, I dabbed some black and sepia oils and streaked outwards with a flat brush:
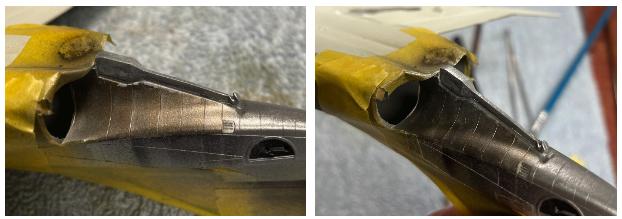
The metal on the underside rear of the aircraft is a magnificent collage of burnt metal and other wear and temperature effects. The 1/72 scale of the model, however, prevented me from even attempting to recreate these effects with much fidelity (see the above video and the links at the bottom for some amazing modeling work at 1/32 scale).
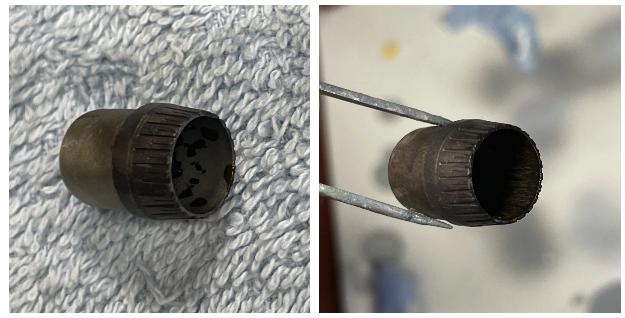
I started much the same way as above: Aluminum followed by Burnt Metal (left) followed by Exhaust Manifold (right):
I wanted to recover some of the aluminum tone along the panel lines that has about been covered over by now, but my airbrush is not detailed enough (nor am I skilled enough) to apply any more Alclad. So I decided to try out my new Tamiya Weather Master pigments: these are like eye shadow compacts:

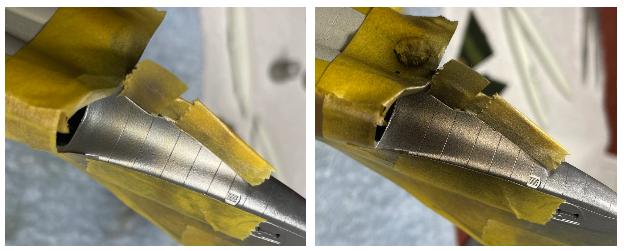
They come in a ton of shades: I applied some Light Gun Metal to the masked off panel lines to get the look I was after:
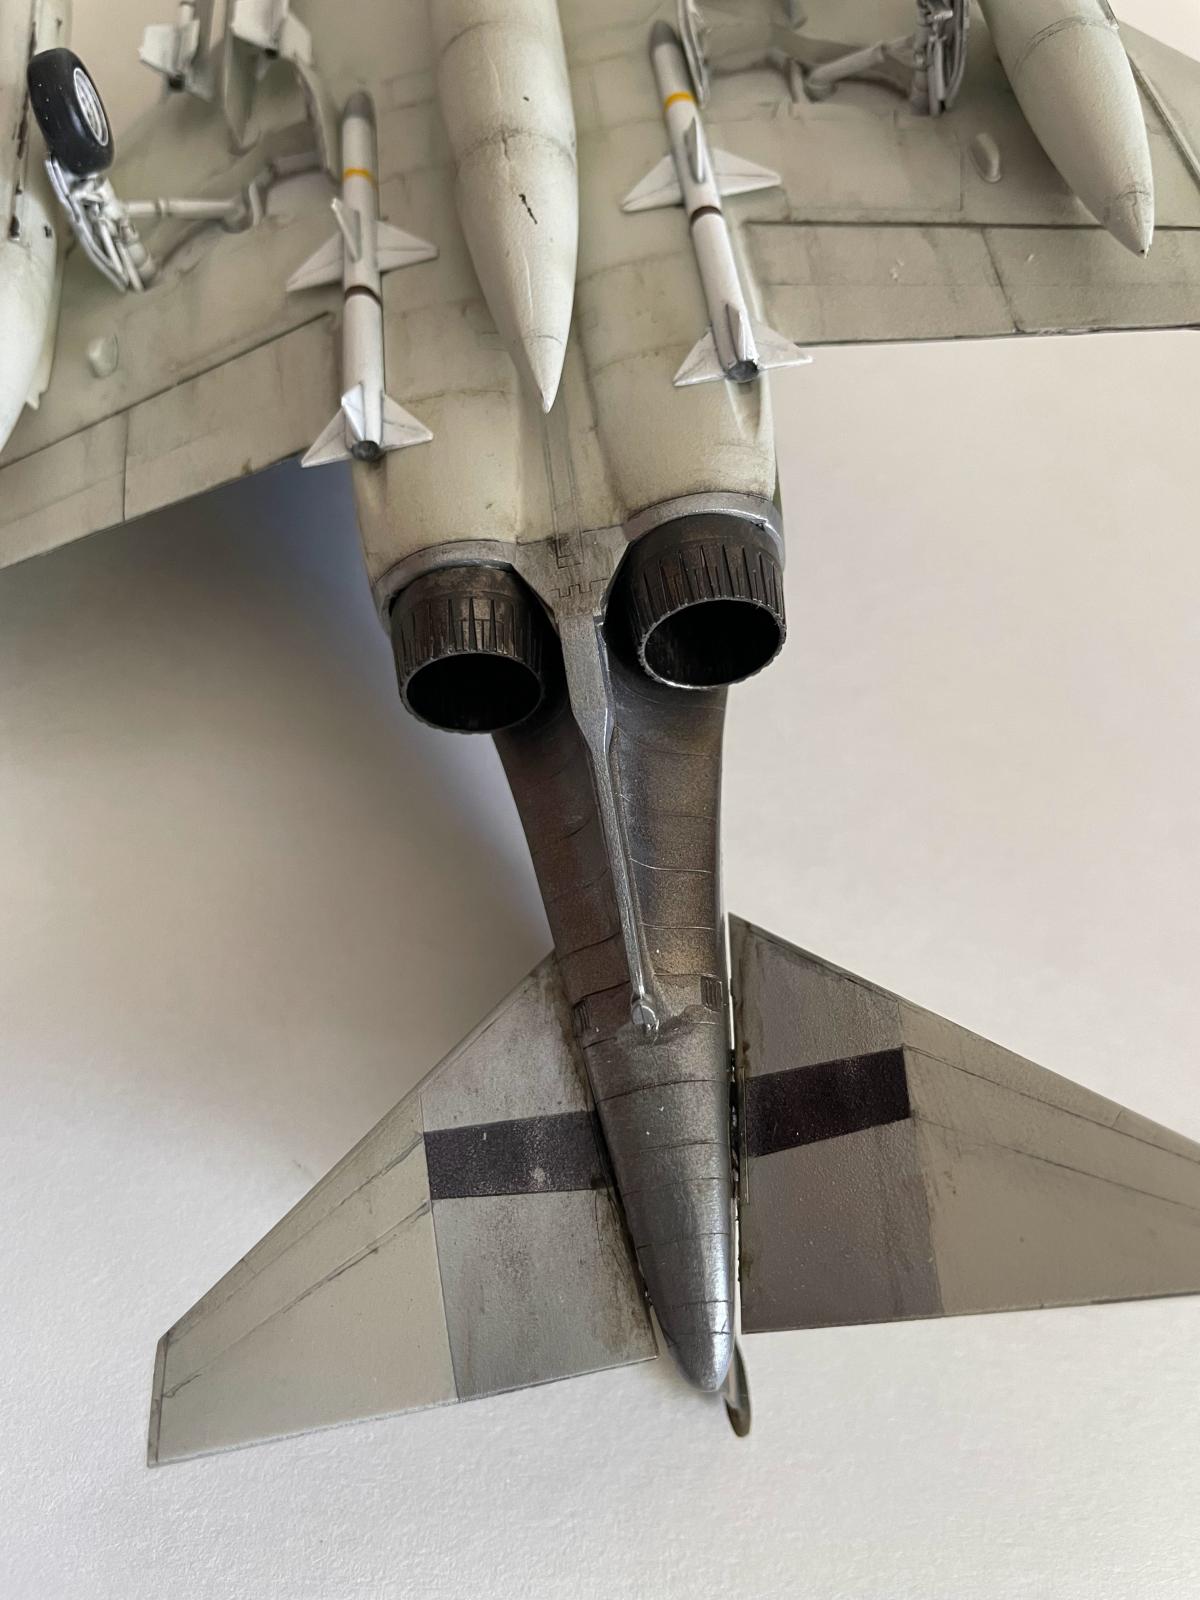
Finally, I played around a bit some Tamiya acrylics: I applied some Sky Grey (XF-19) along the edge and smeared it down, removing the excess with thinner:
This resulted in some light-toned, opaque “crustiness” (for lack of a better word) that I think adds to the heat-fatigued distressed look.
Here's the finished look:
Weathering
I applied AK-Interactive's enamel panel liner for “Green & Brown Camouflage”. It's a warm dark gray color and there couldn't be a more apt application. It worked well, just like Tamiya's product.
I've discussed oils in my past few posts, and while I don't have anything really novel to add, I did try my hand at using filtering to apply highlights and simulate fading to rather wide areas of the model. I applied some Mig Oilbrushers Medium Soil, Dust, and White to the wings and fuselage (left) and then blended with both a dry brush and kept some white spirit handy to remove excess. This is takes some patience to get things to look acceptable.
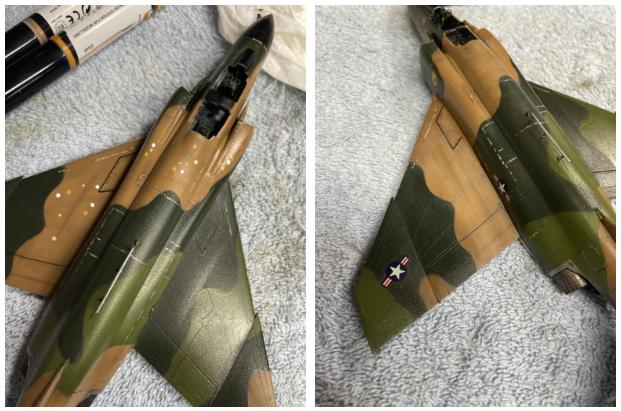
As you can see above, I also tried to simulate chipping along the panel lines by applying some Tamiya acrylics after the Mr. Color base coat. I found that Tamiya Buff (XF-87) lightened with white made for a subdued color.
To add some grime streaks to the panel lines on the underside of the aircraft (which requires only sparring amounts of paint), I dabbed some Oilbrusher paint on a palette and thinned it before applying it. I found that Starship Bay Sludge is an awesome color for this kind of work (a dark greenish/brownish tone) together with some Abteilung Sepia:
Decals
I've read about and also experienced once before Future reacting badly with Solvaset. While I don't generally use Future, I did spot apply some to the tail because my gloss coat there wasn't really smooth enough for the decal, which had lots of clear carrier film that I was afraid would show. Even after letting the Future cure for 36 hours, I observed the following white cloudiness forming upon application of Solvaset (left). I discovered, however, that this can be removed easily with X-20A thinner (right):

That's all for now! Thanks for reading!

Nice job on an elderly kit, Brian (@bapowellphys). You really brought out the best in this one. When Fujimi came out with all of their F-4s, I got one of each. They are still in the stash, waiting to be done.
Really some outstanding work on this Phantom ! Thanks for sharing your paint processes... very helpful .
I really enjoyed reading your post, Brian, especially the weathering, painting and general finishing techniques around the exhausts, you explained your process very clearly. All your hard work ended up with a fantastic looking Phantom, and all this in 1/72 scale, wow.
Fantastic job, Brian! The final result definitely fools the scale! Excellent article too!
Great result on this F4, Brian @bapowellphys
Those exhausts do look very realistic this way, thanks for sharing the process on how to achieve that.
A phine looking Phantom,Brian!
Thanks everyone! I always the appreciate the feedback on this site!