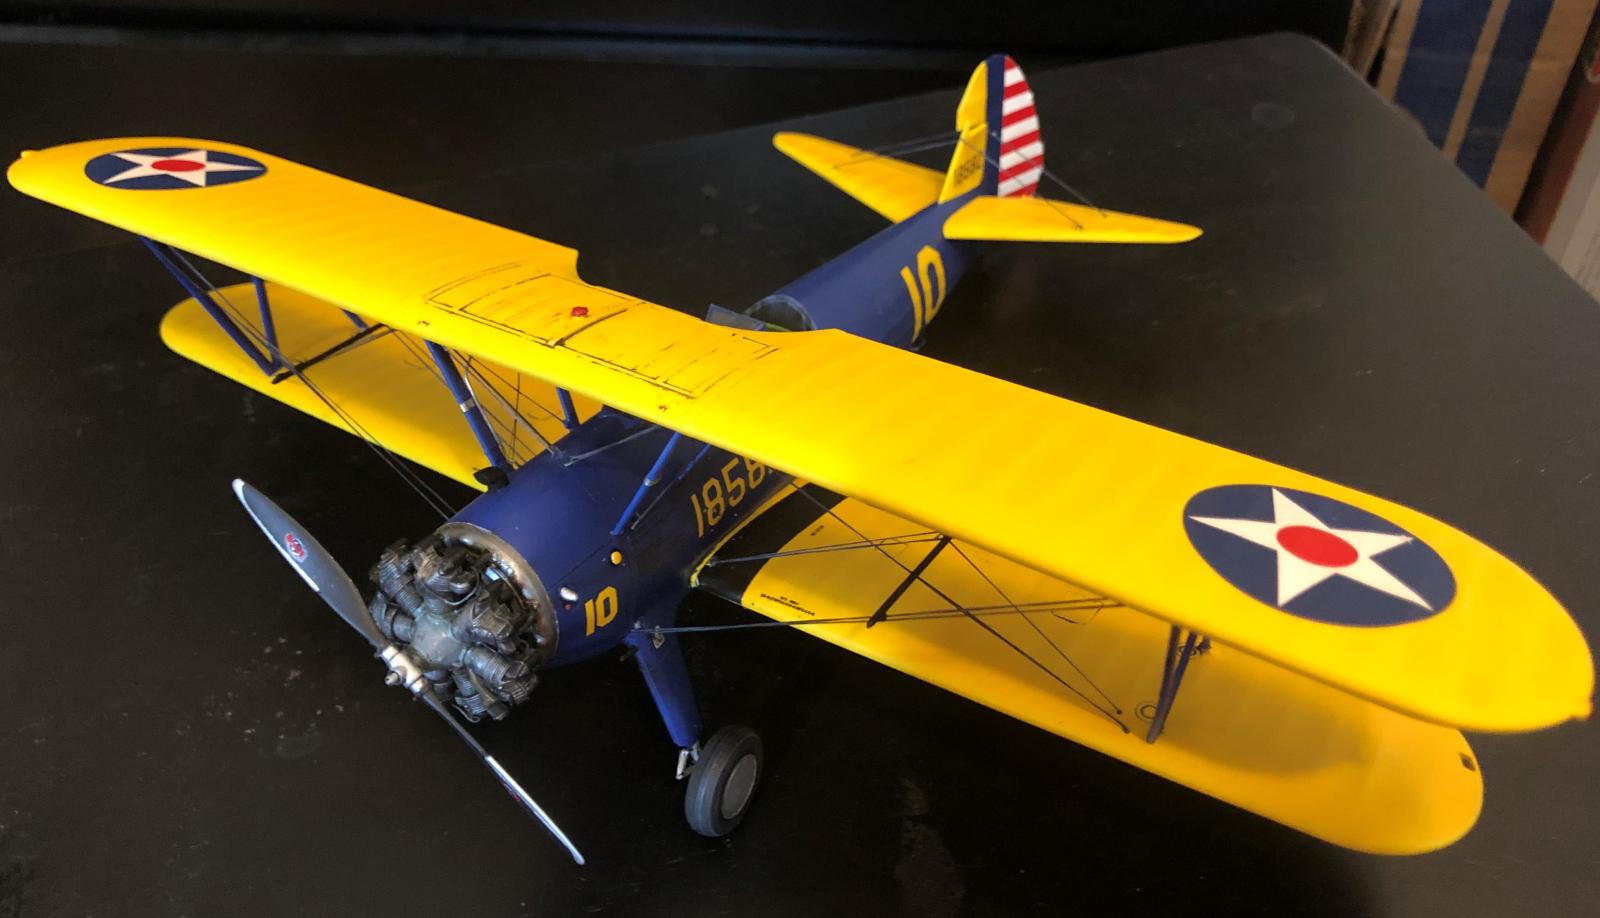
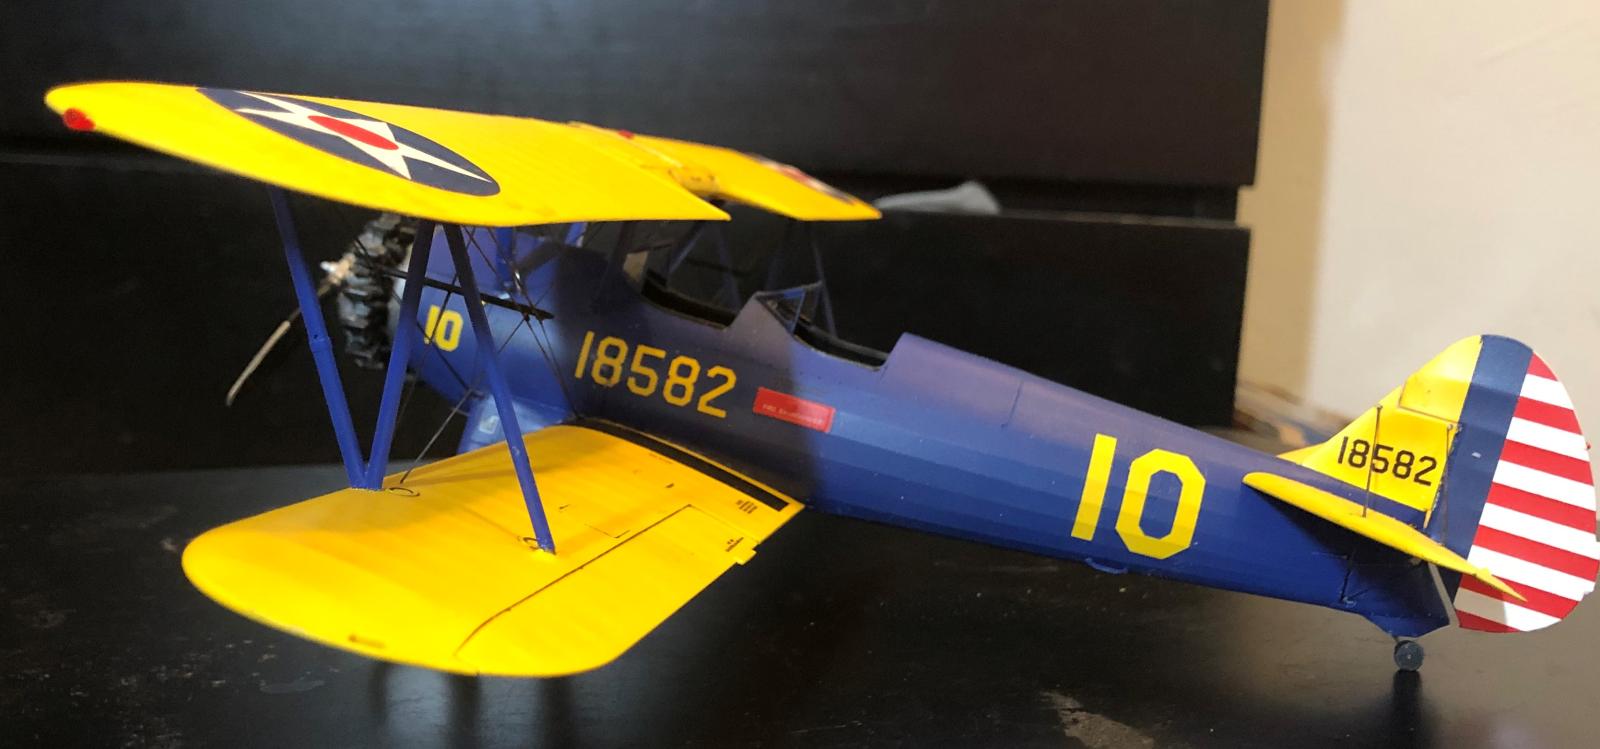
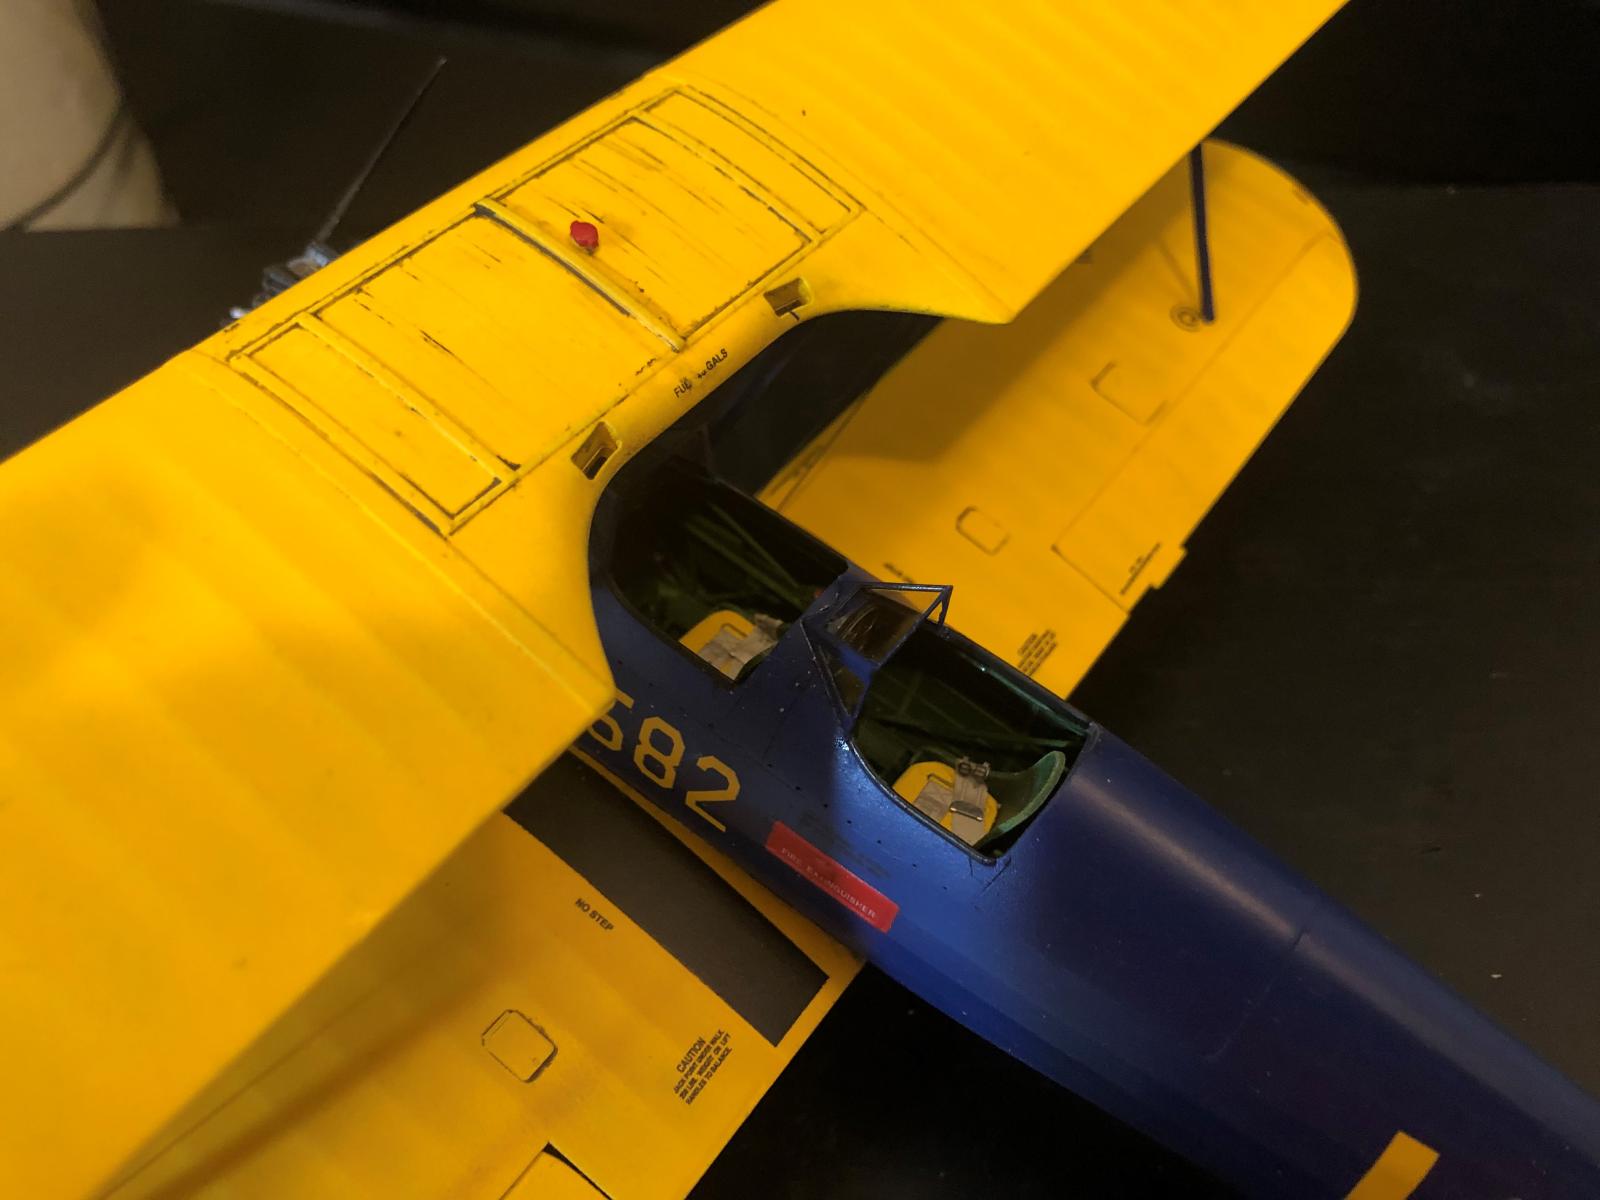
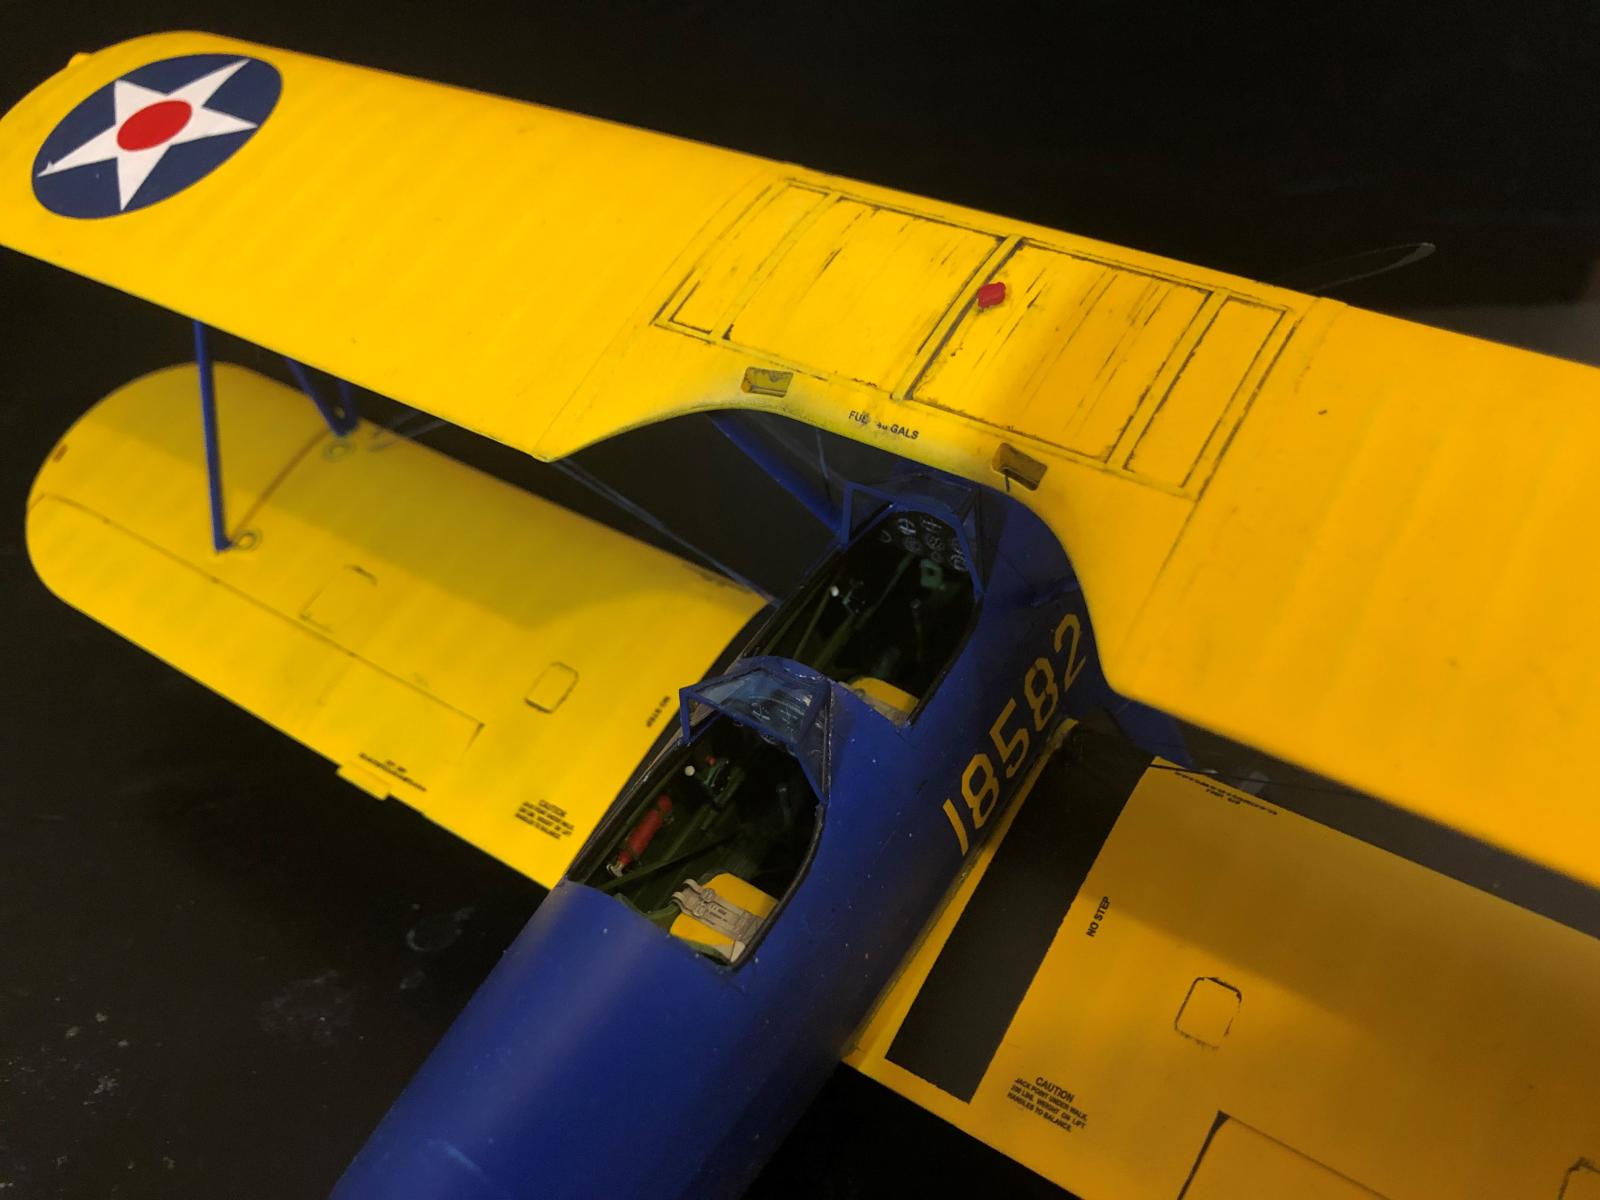
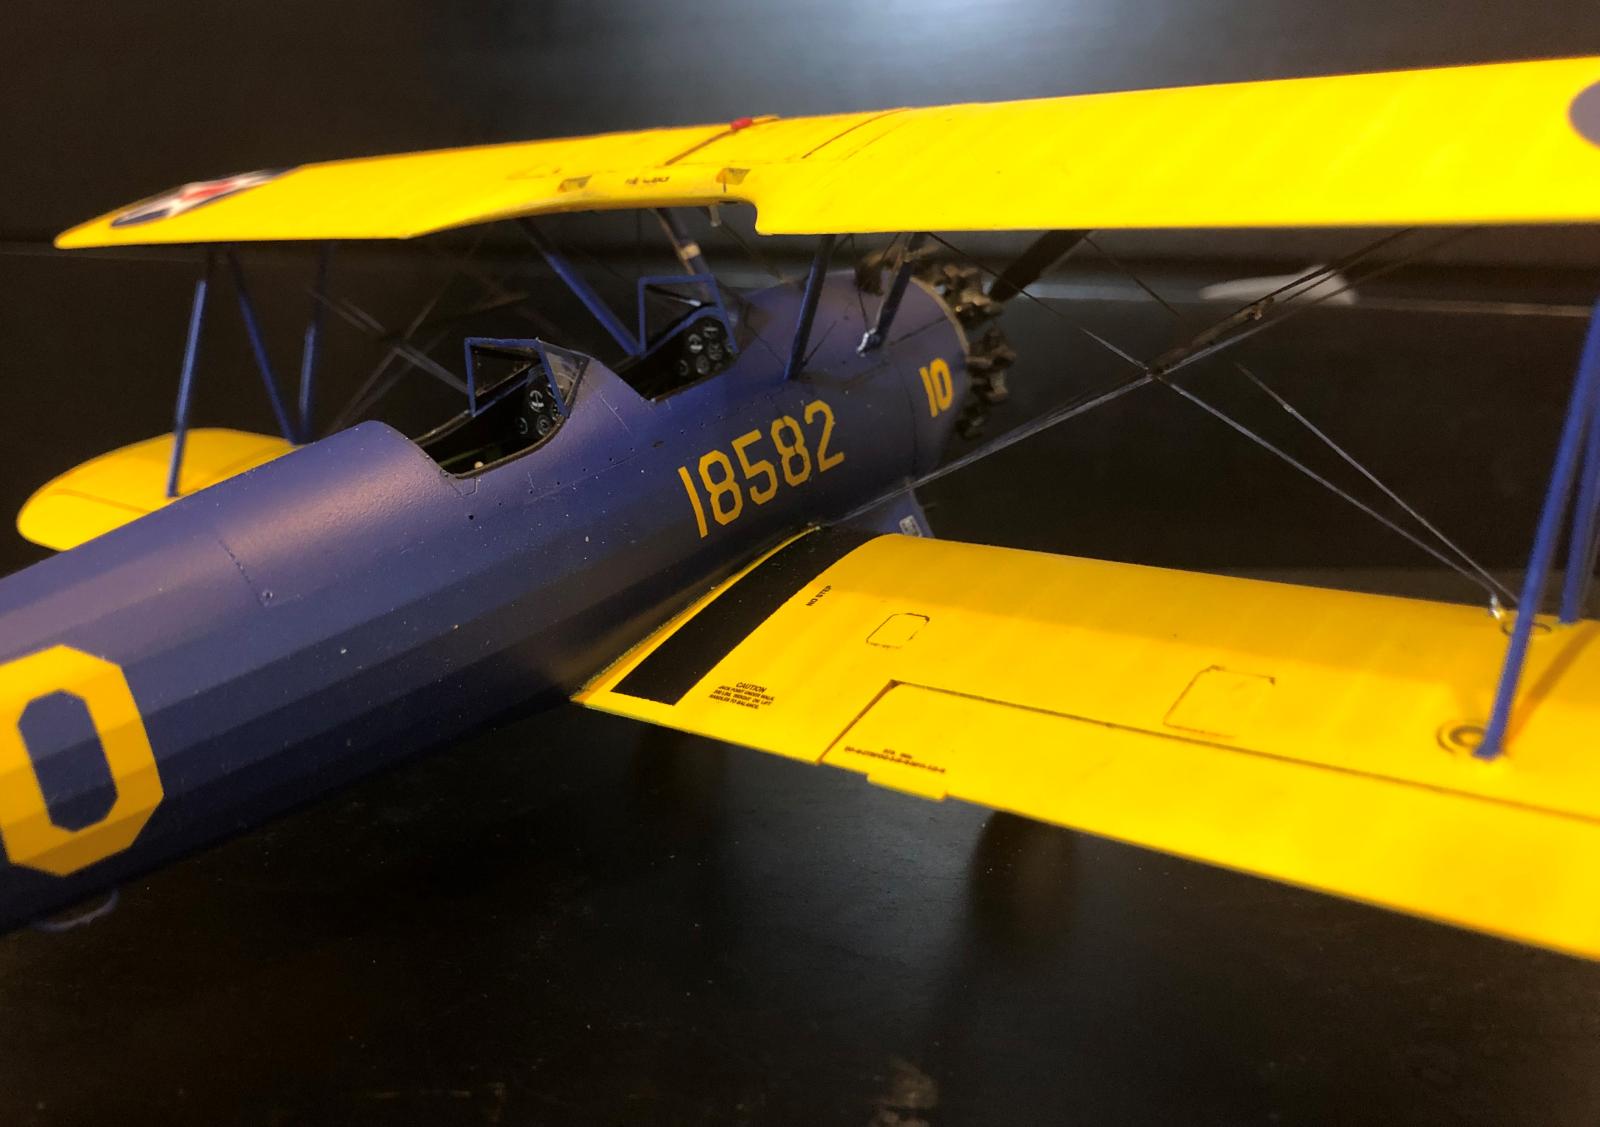
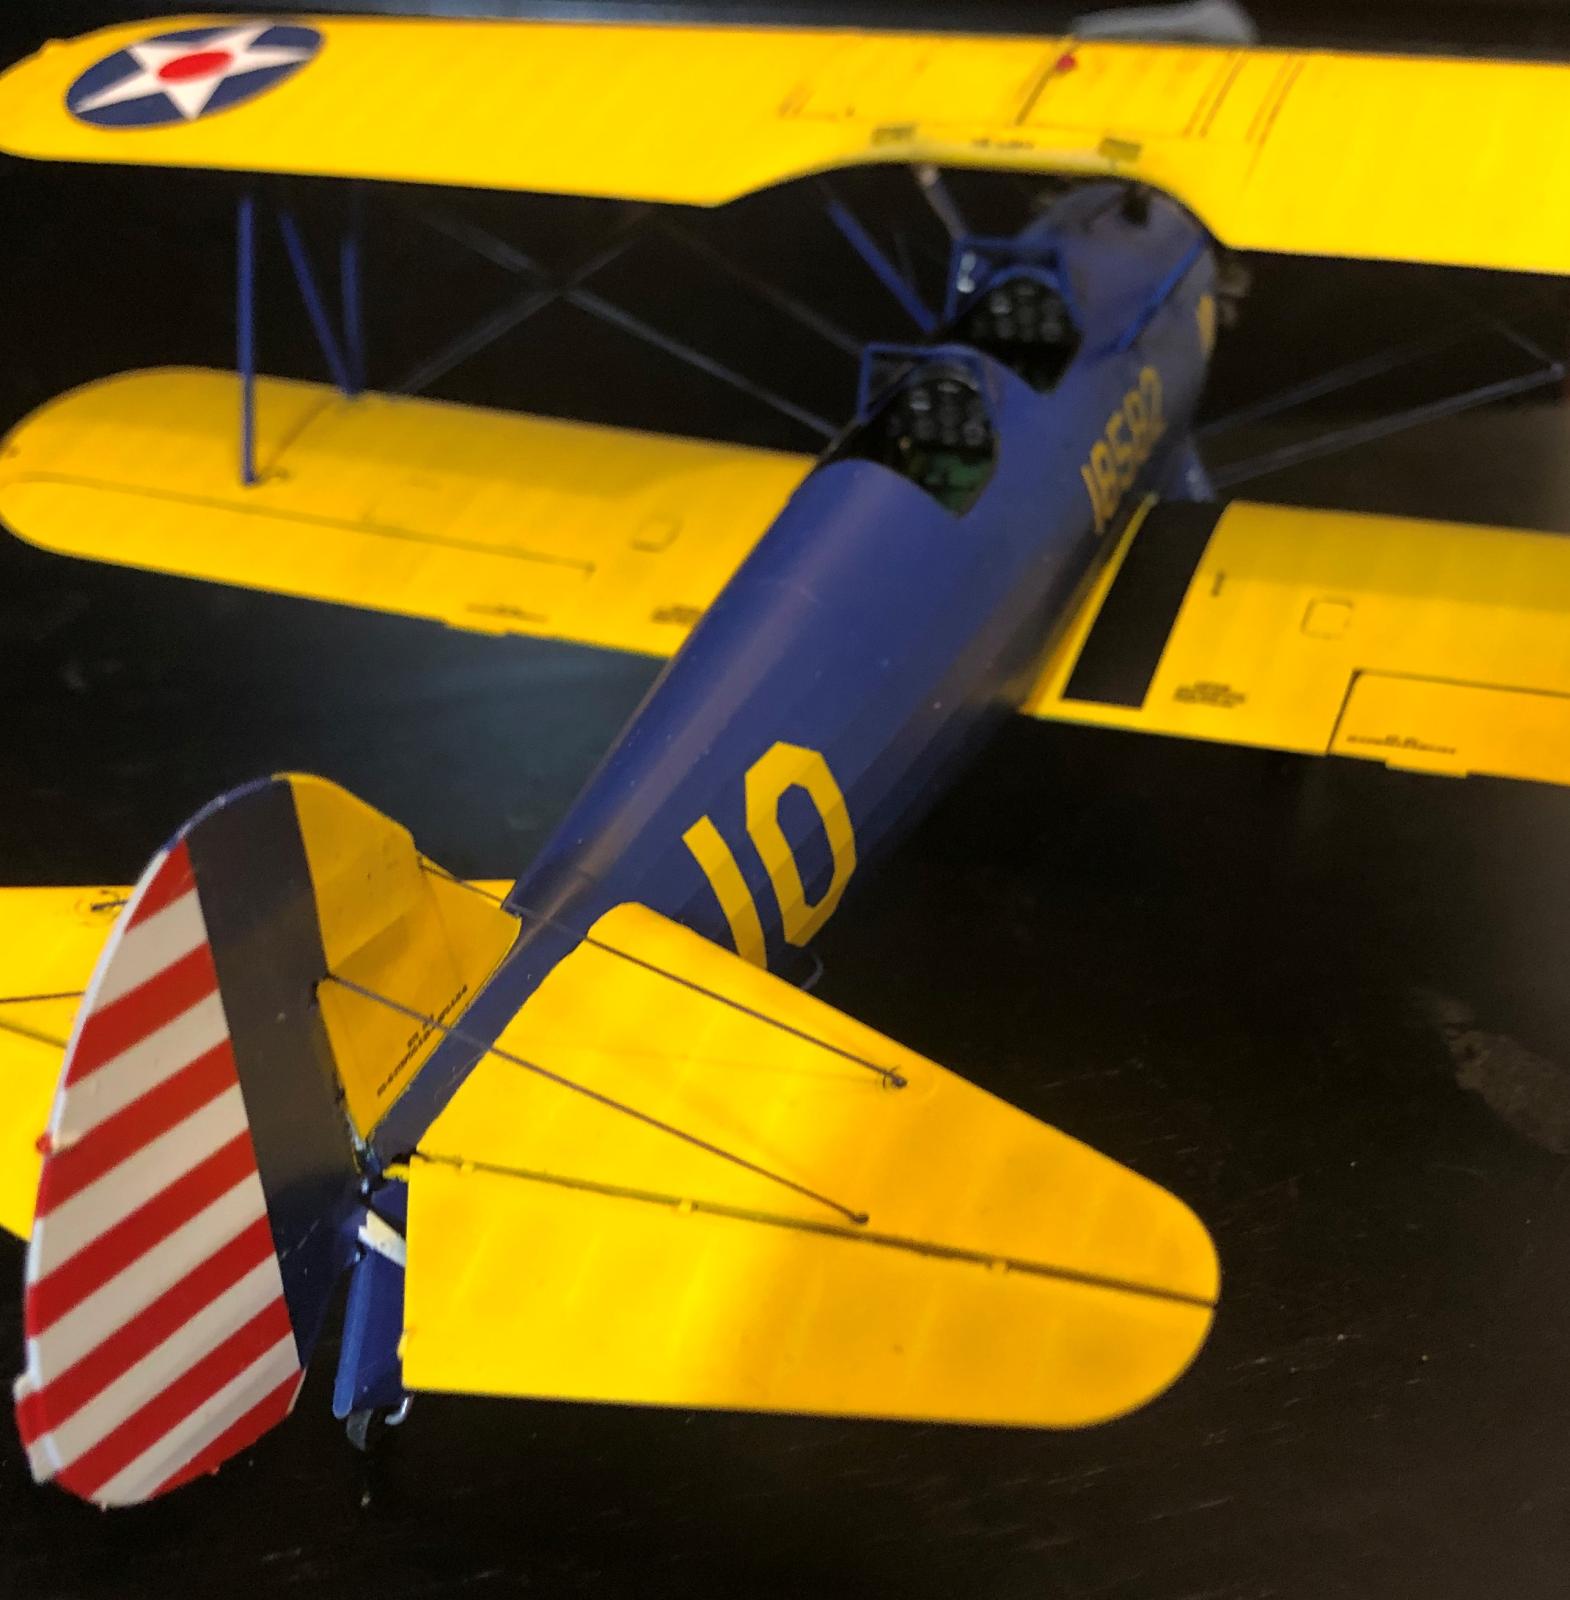
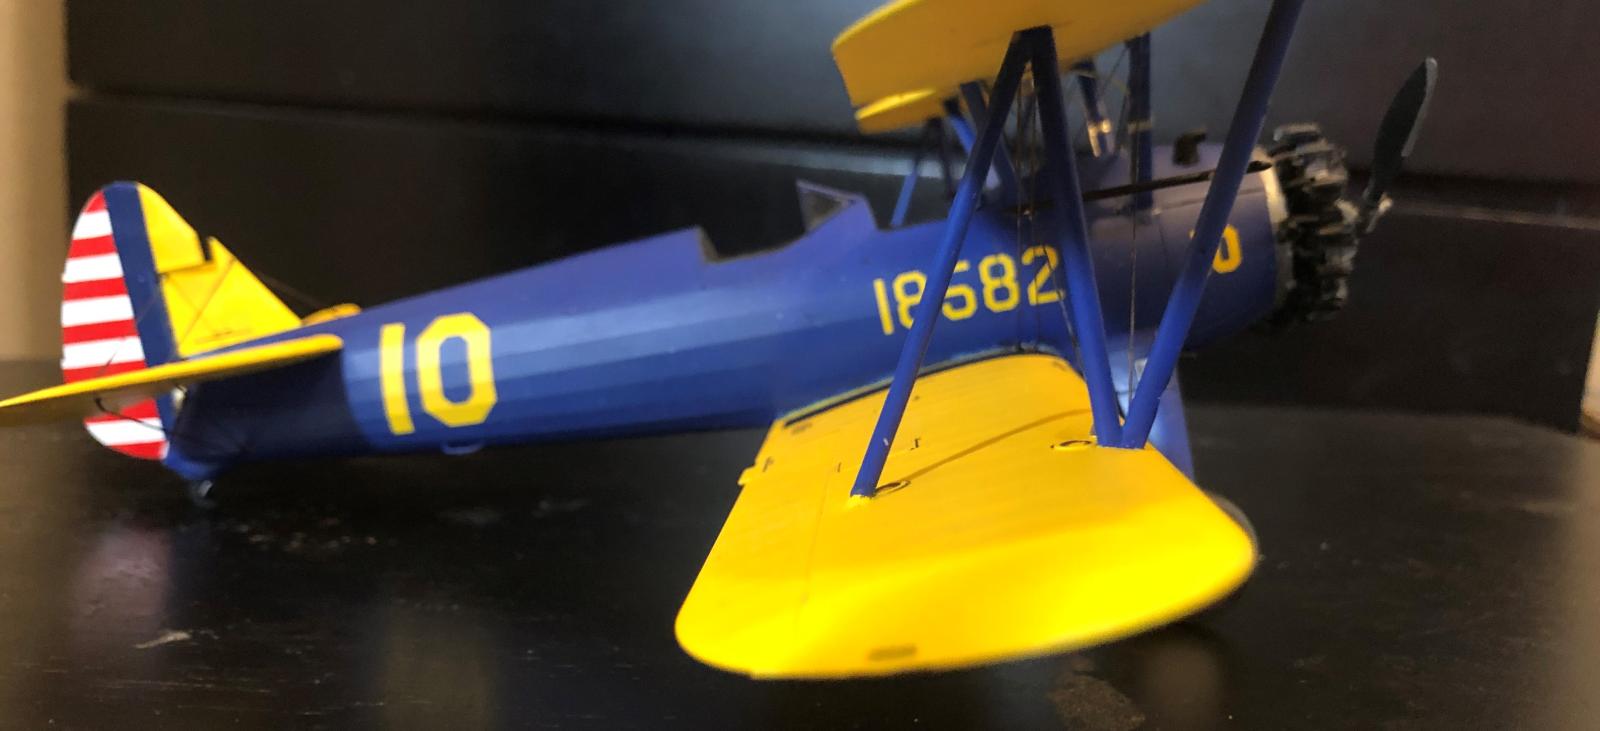
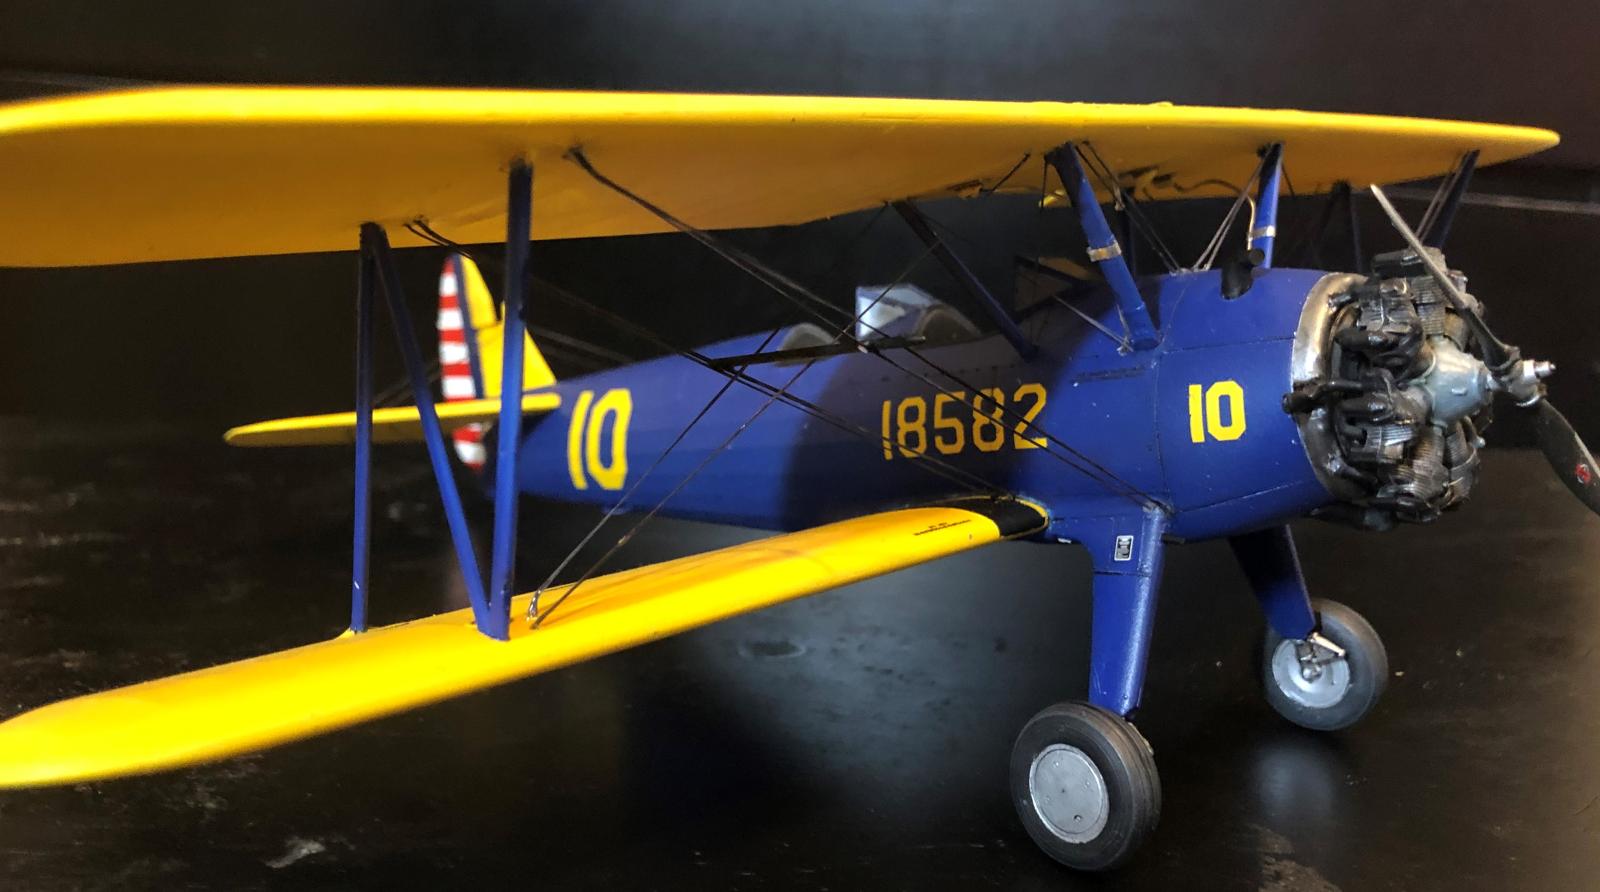
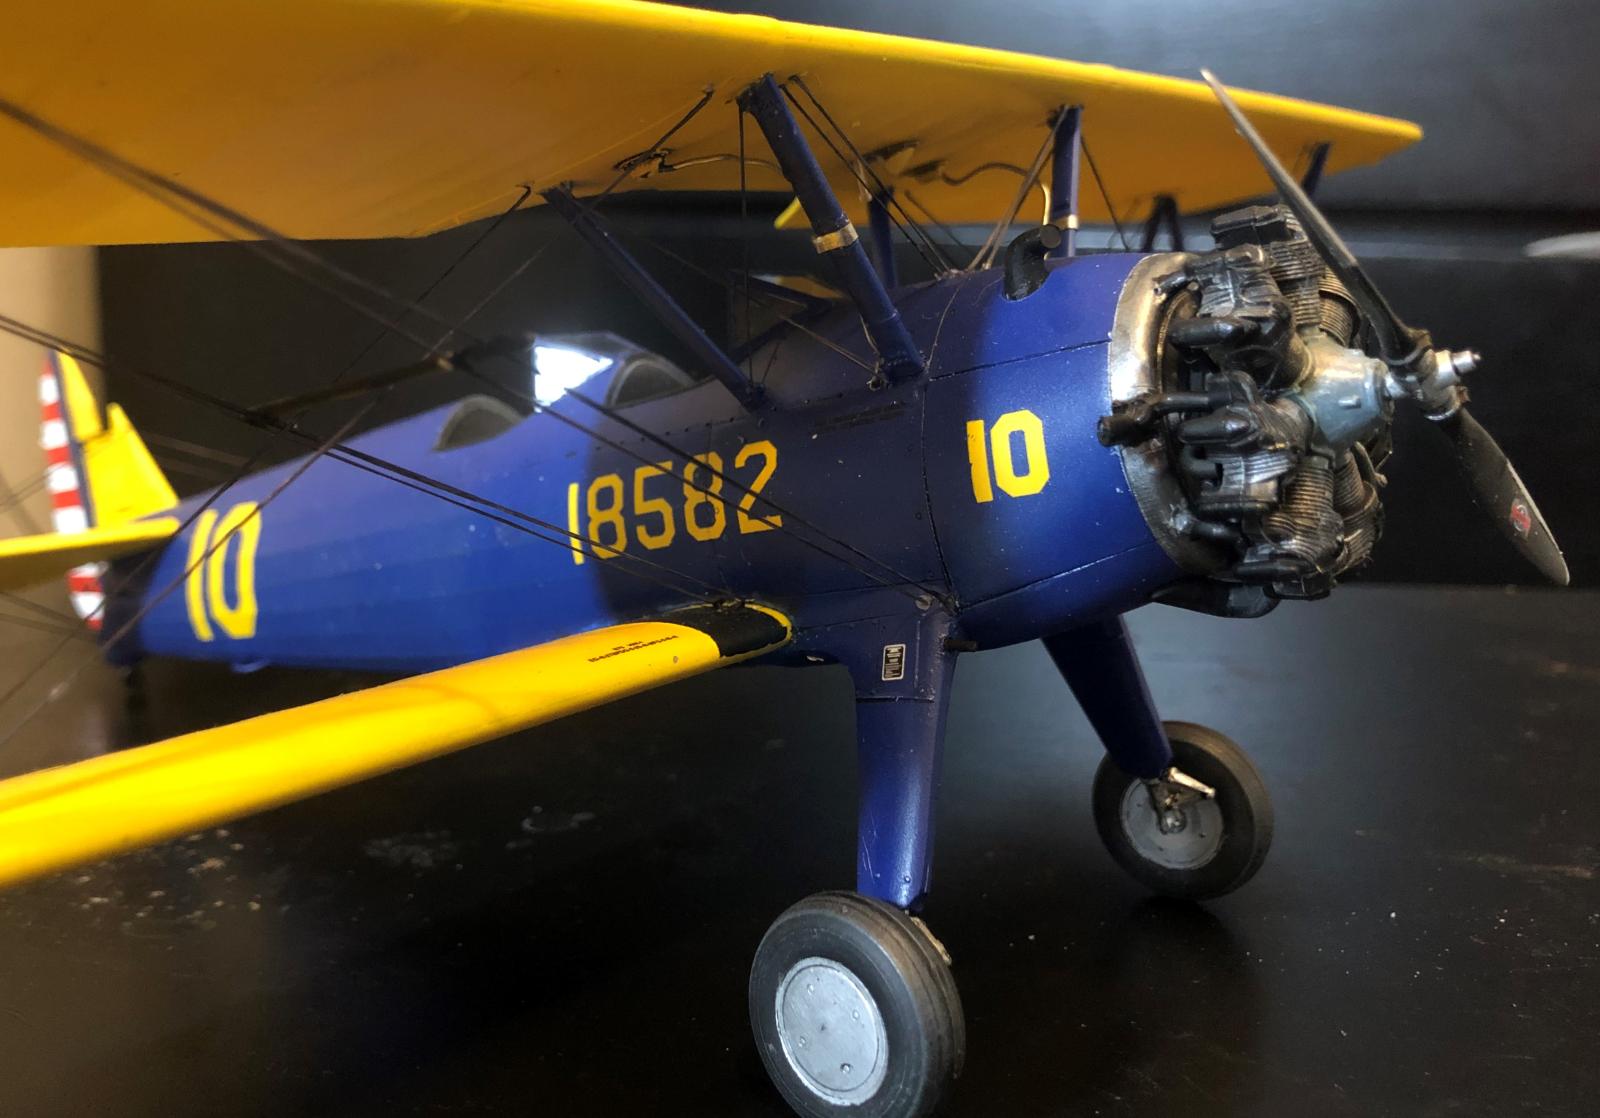
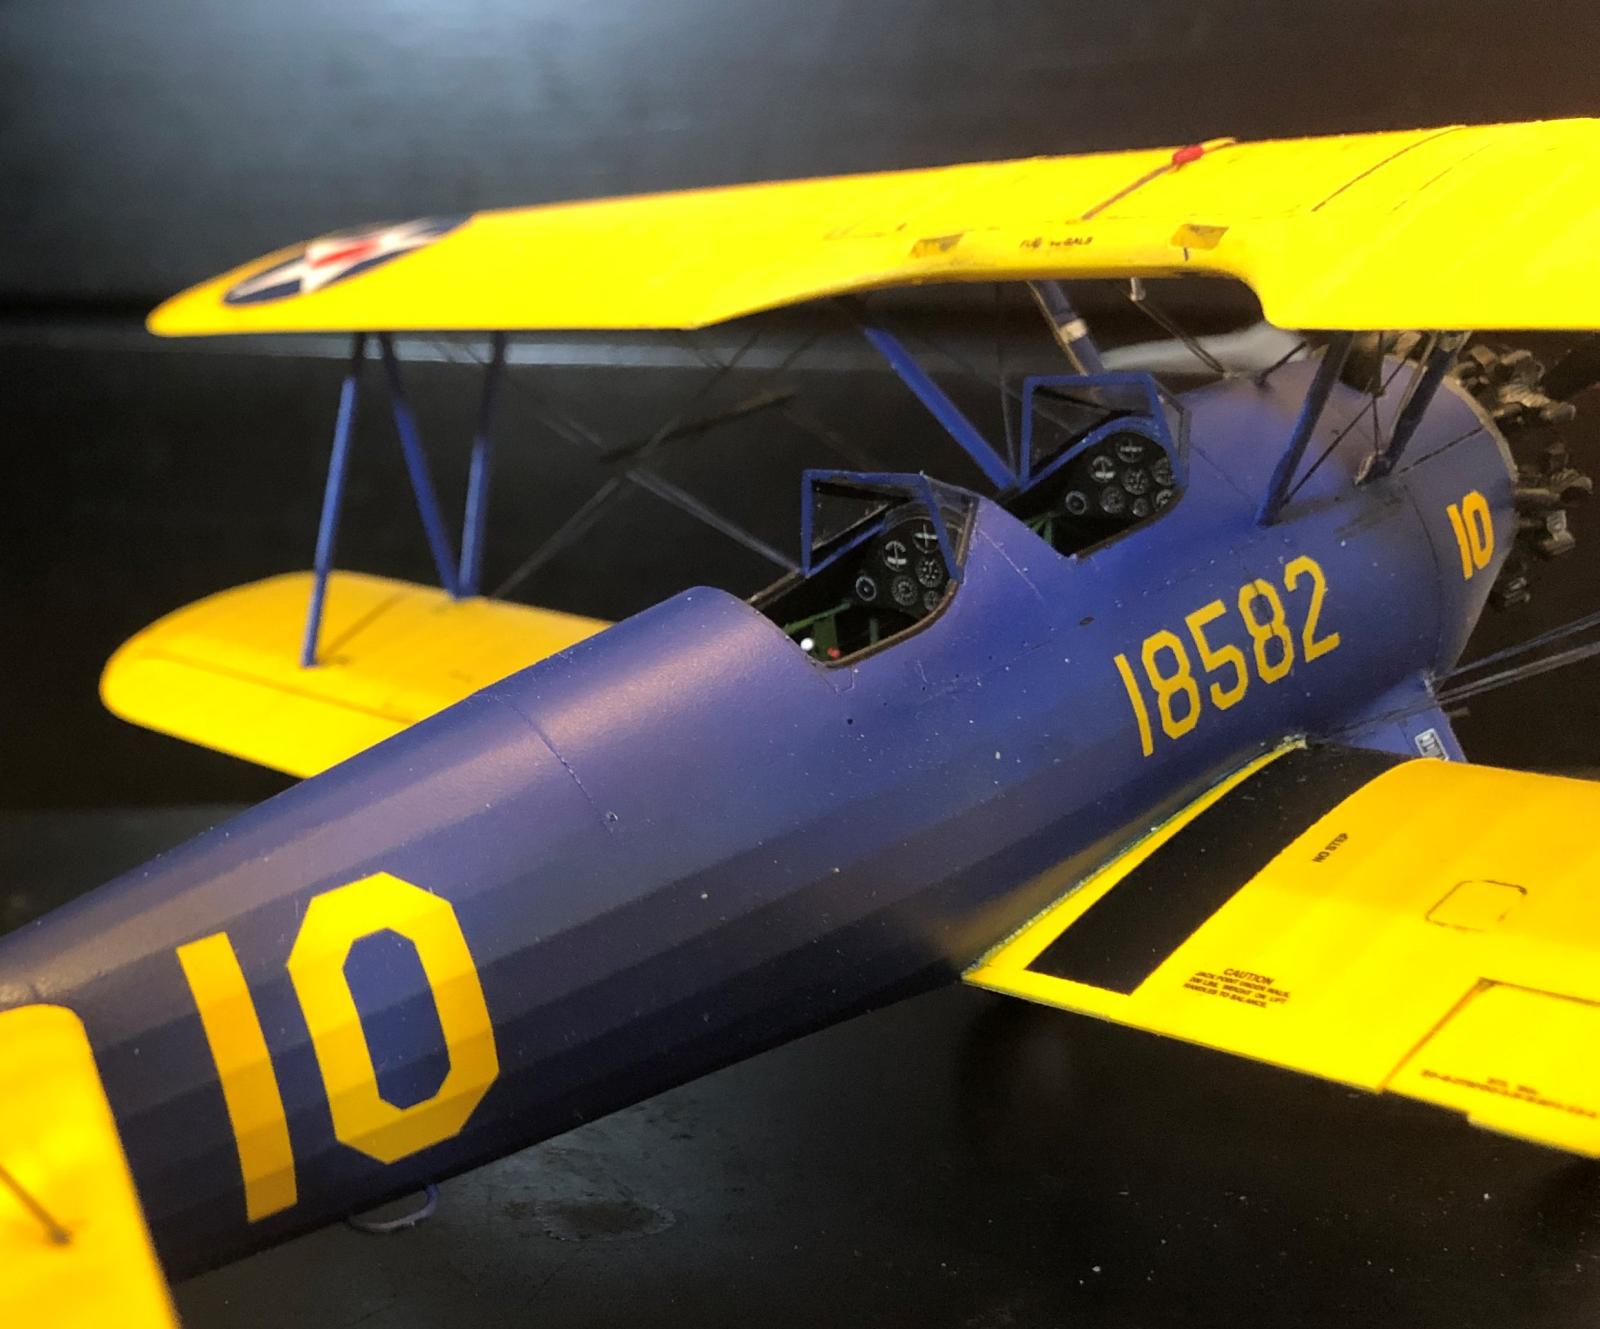
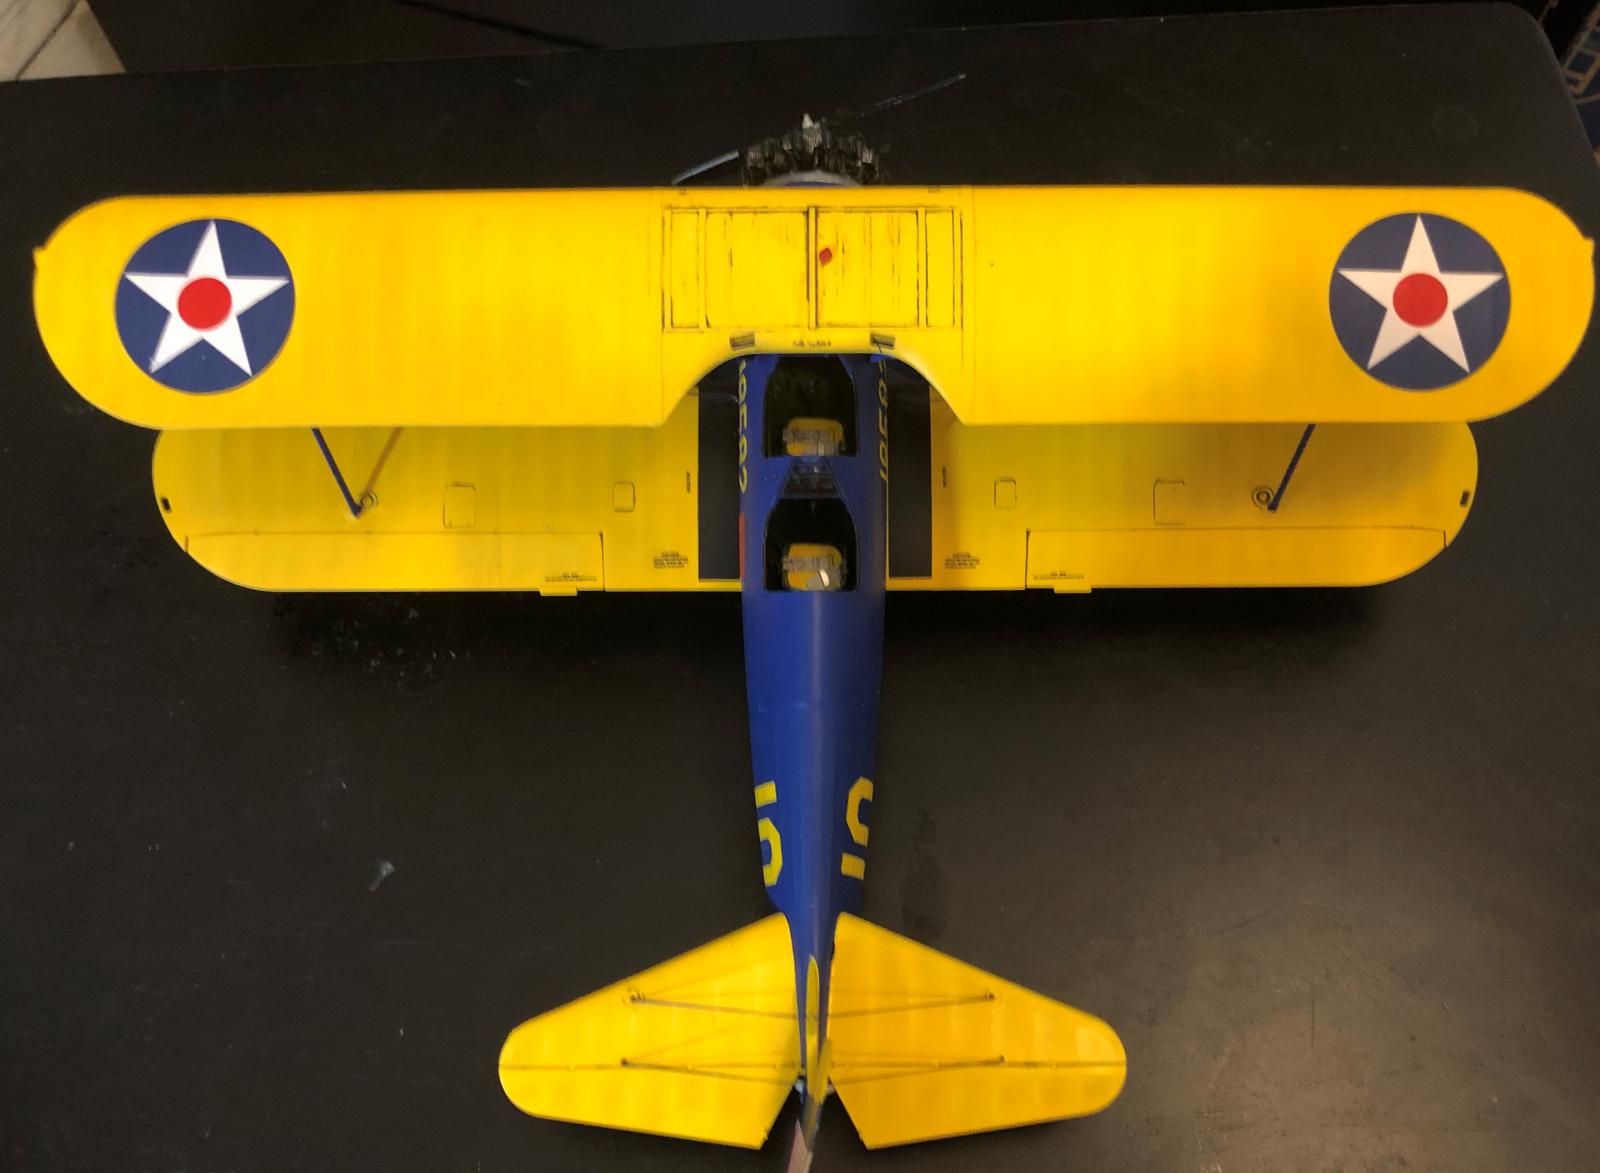
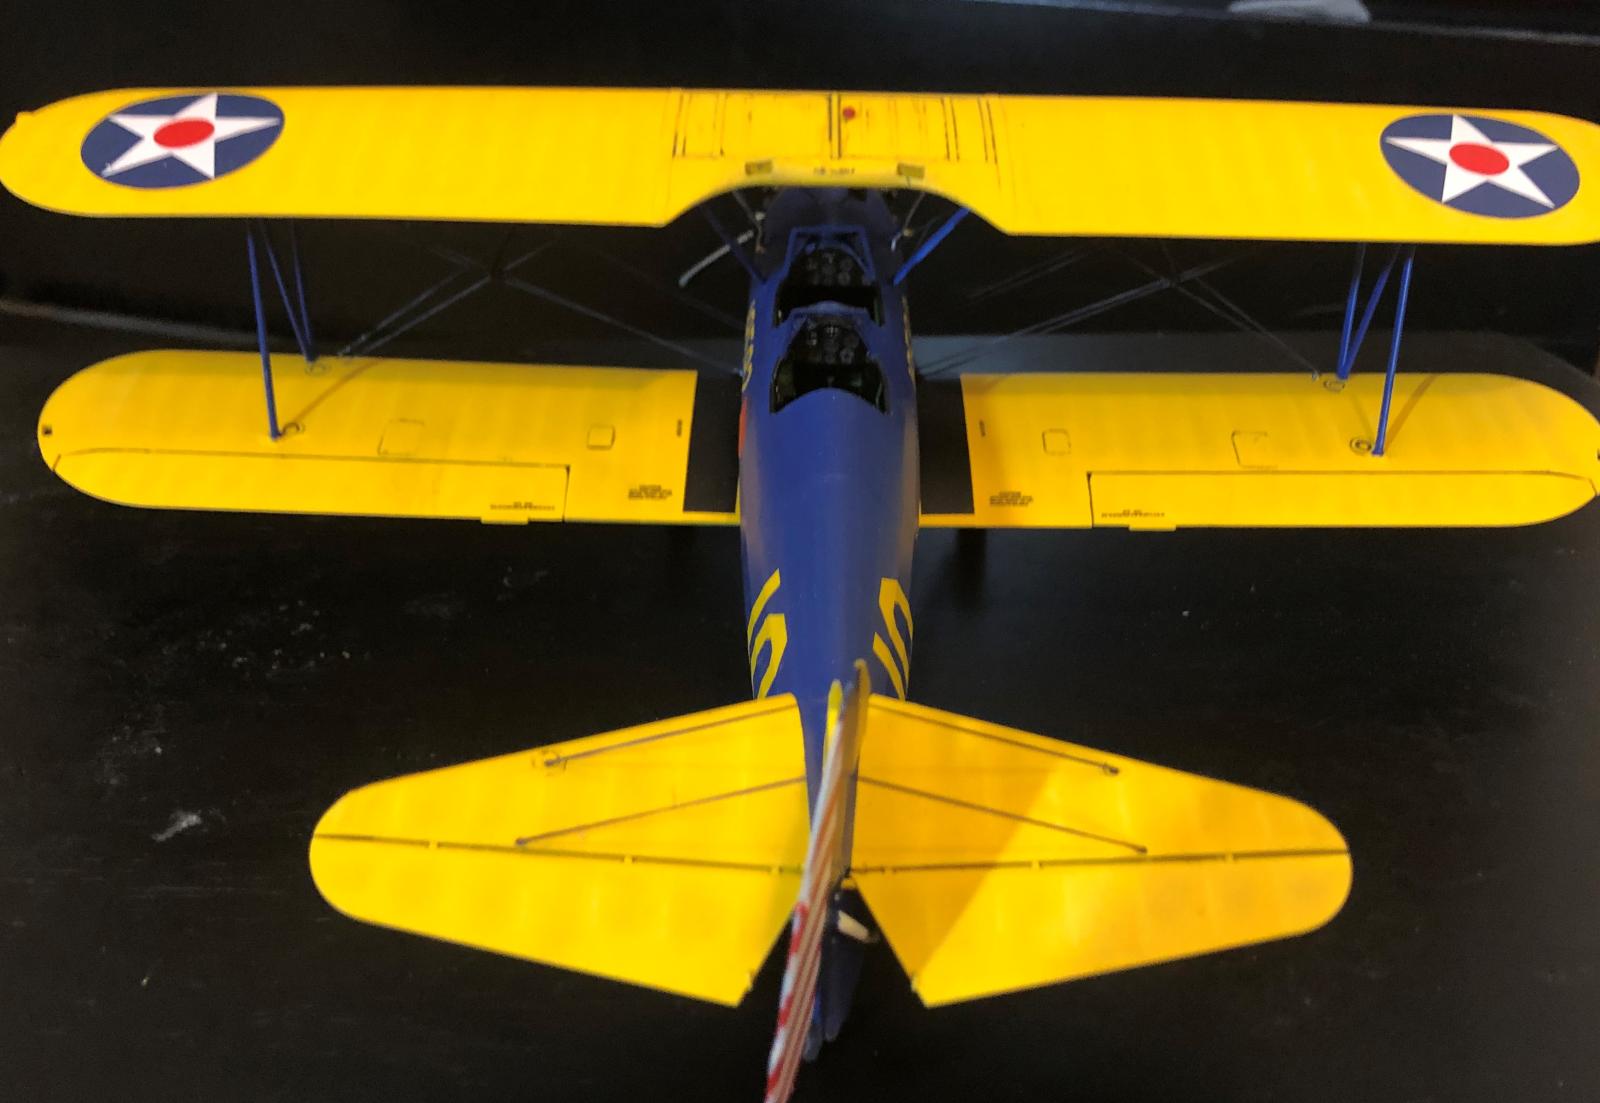
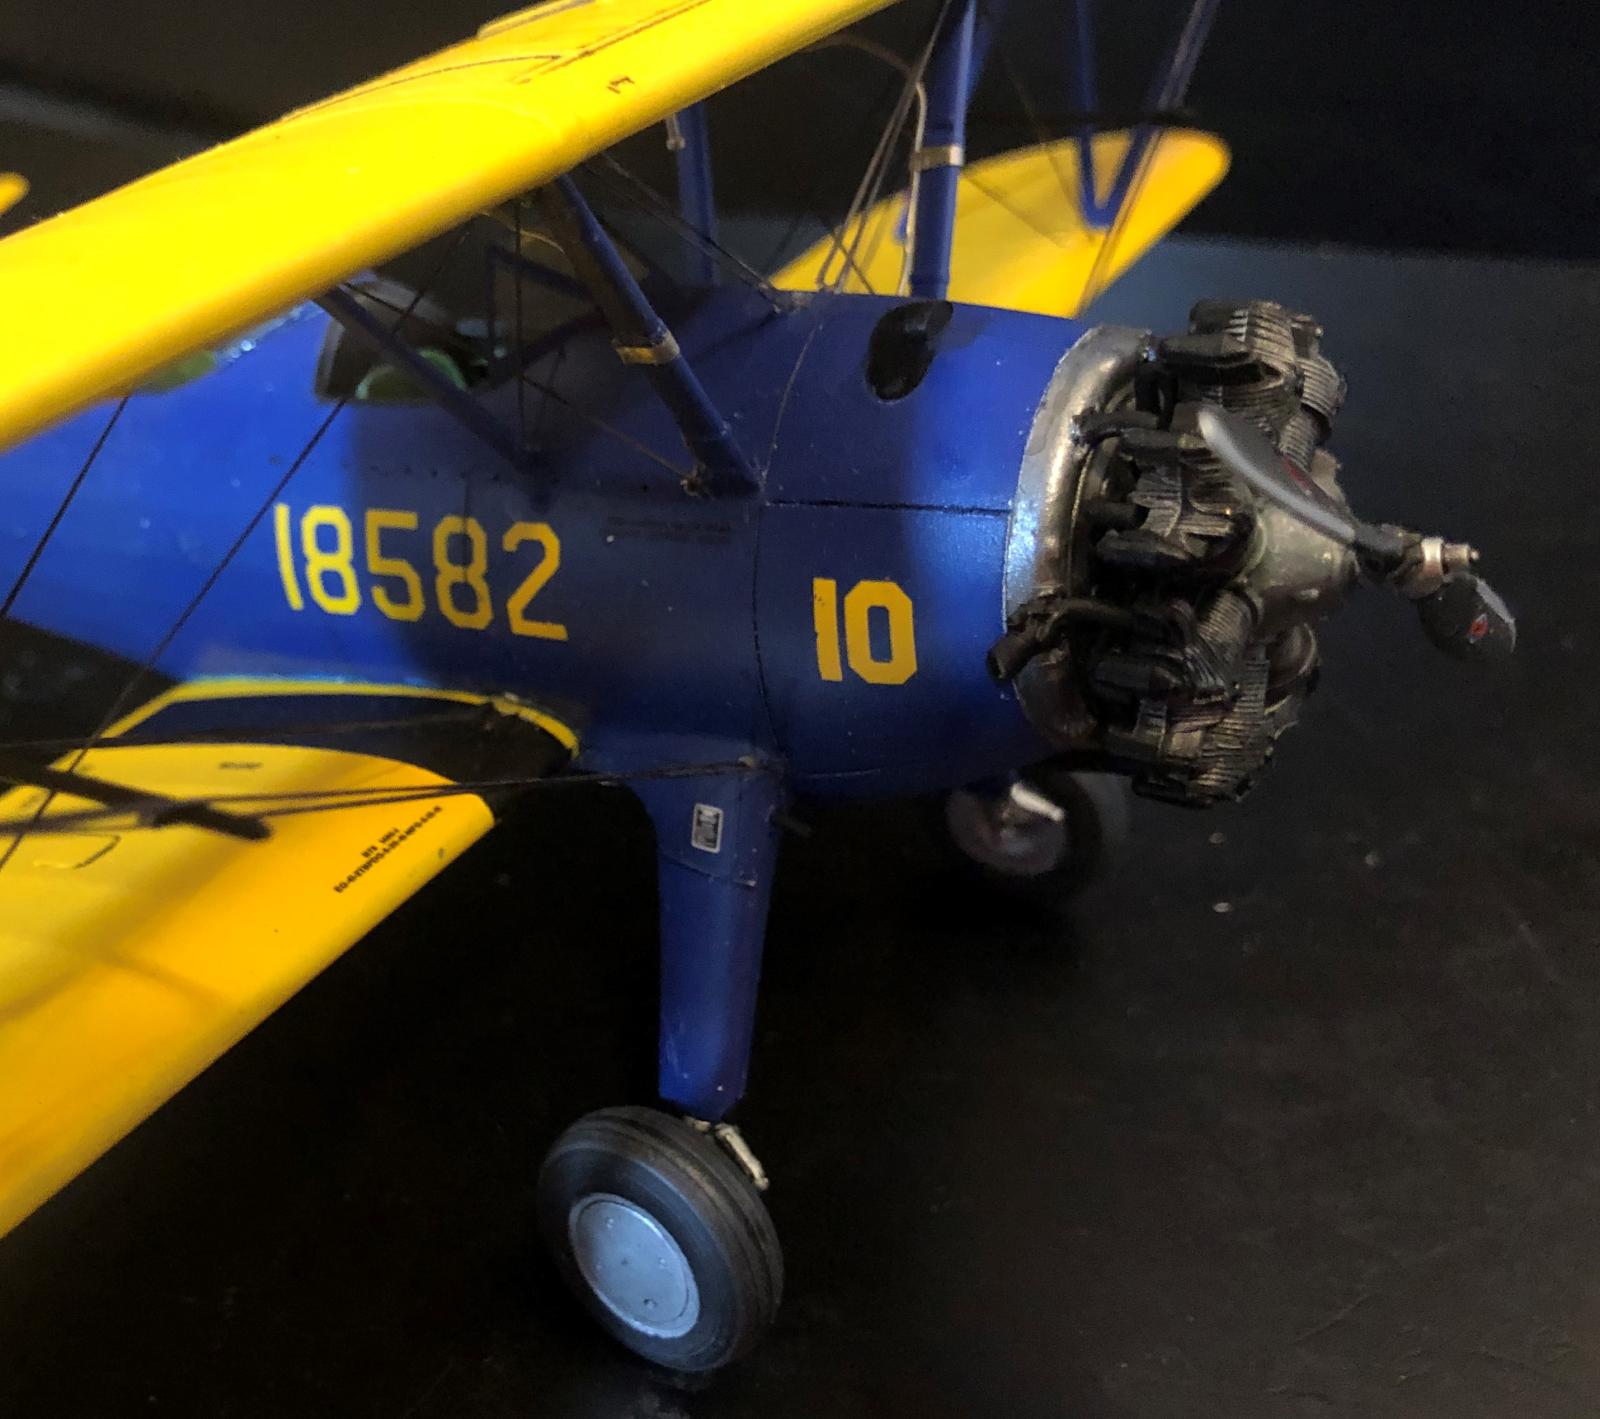
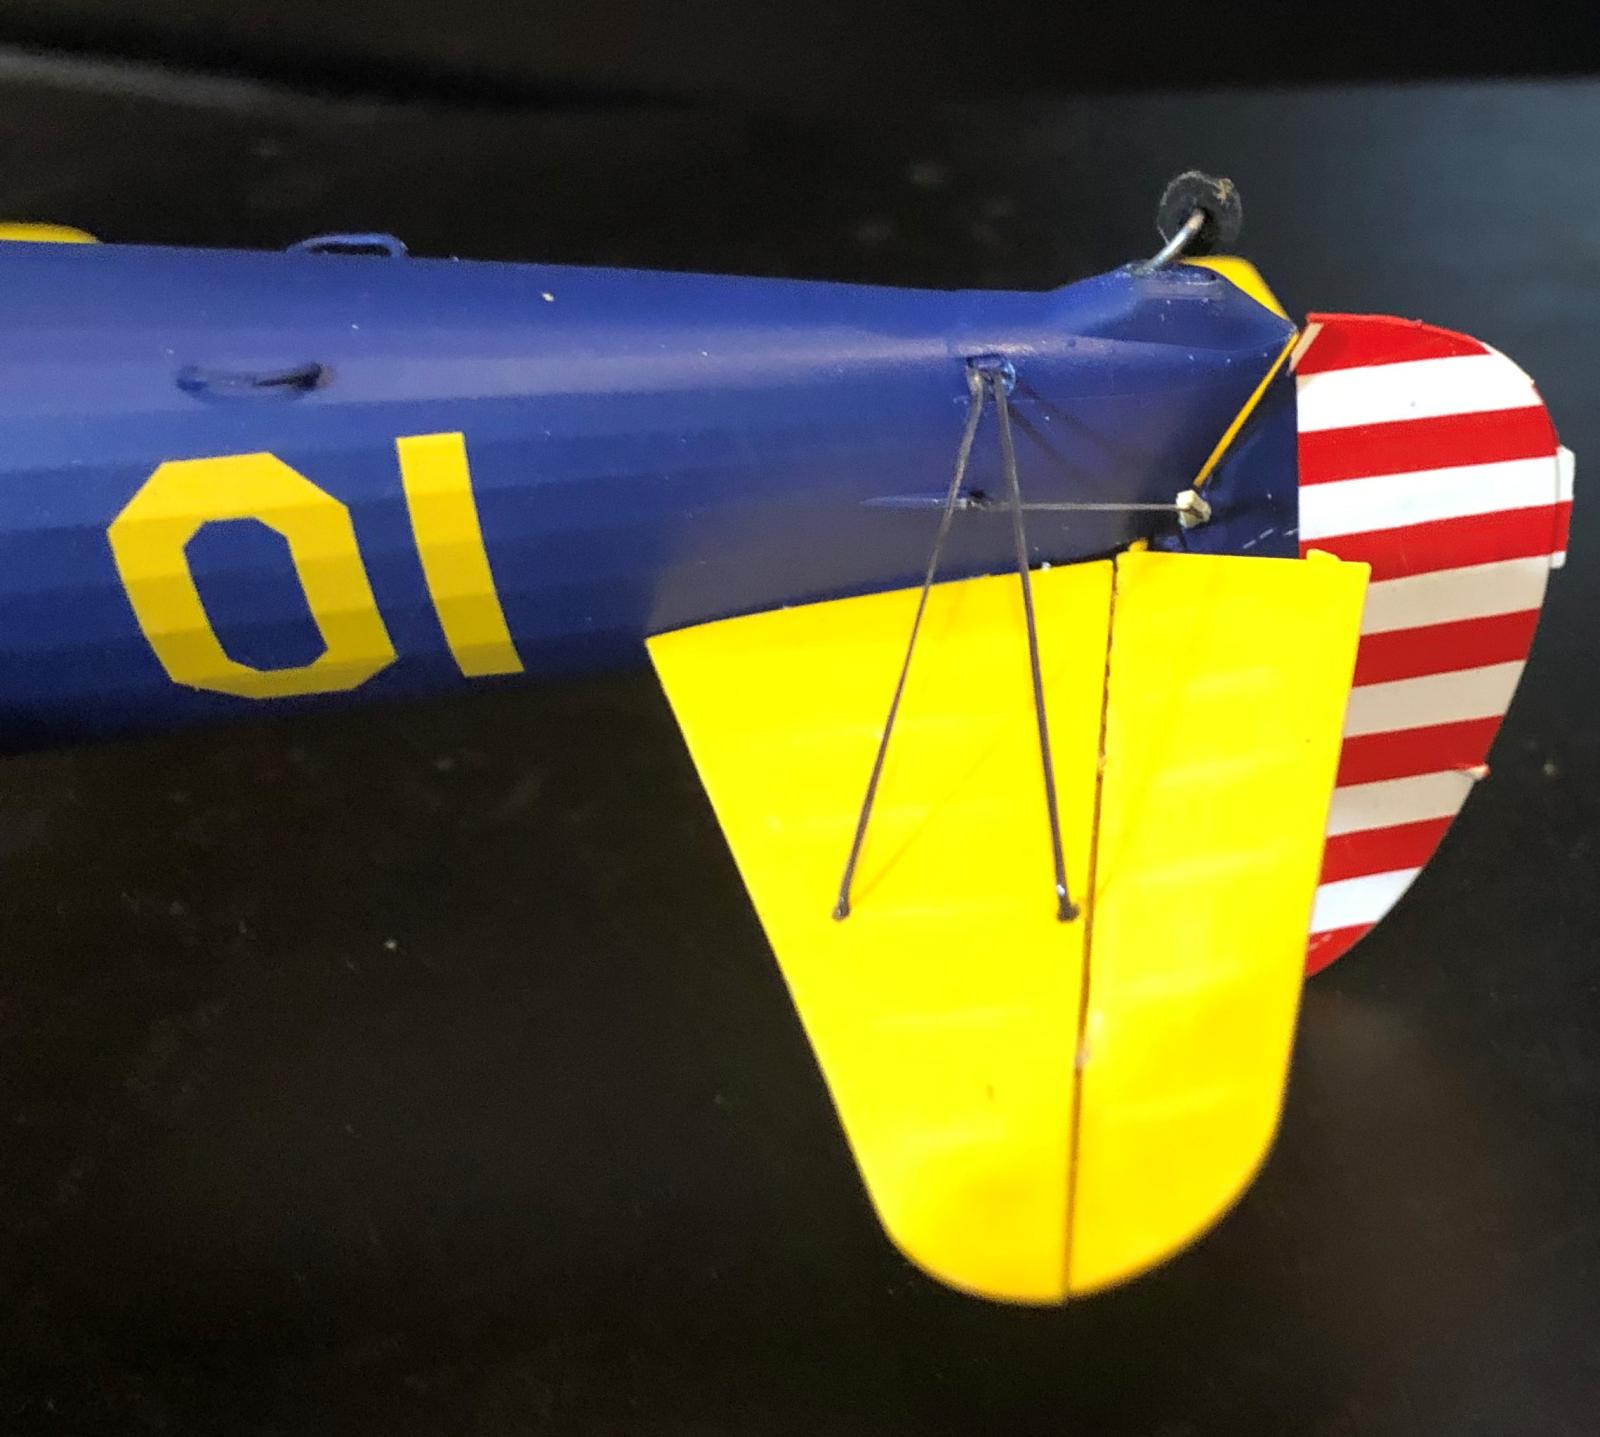
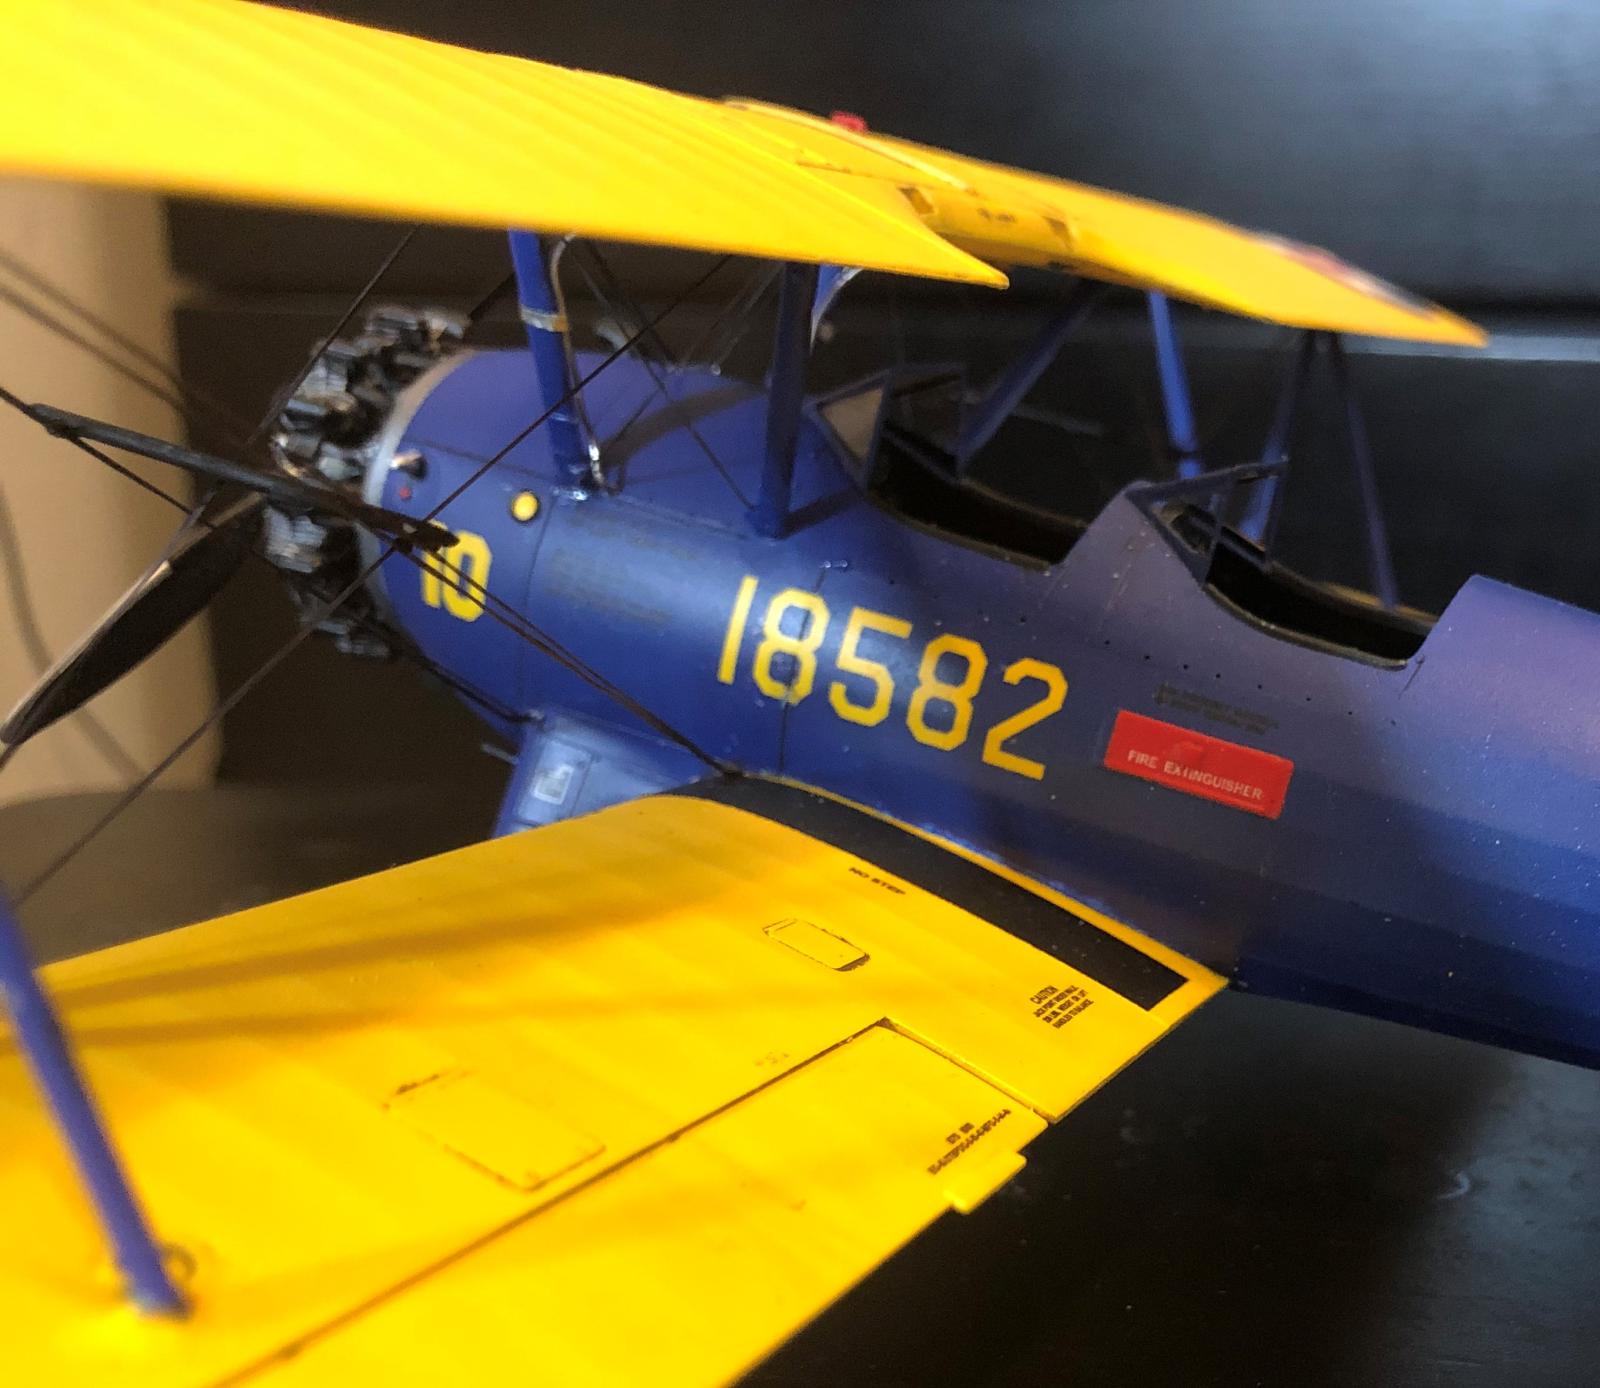
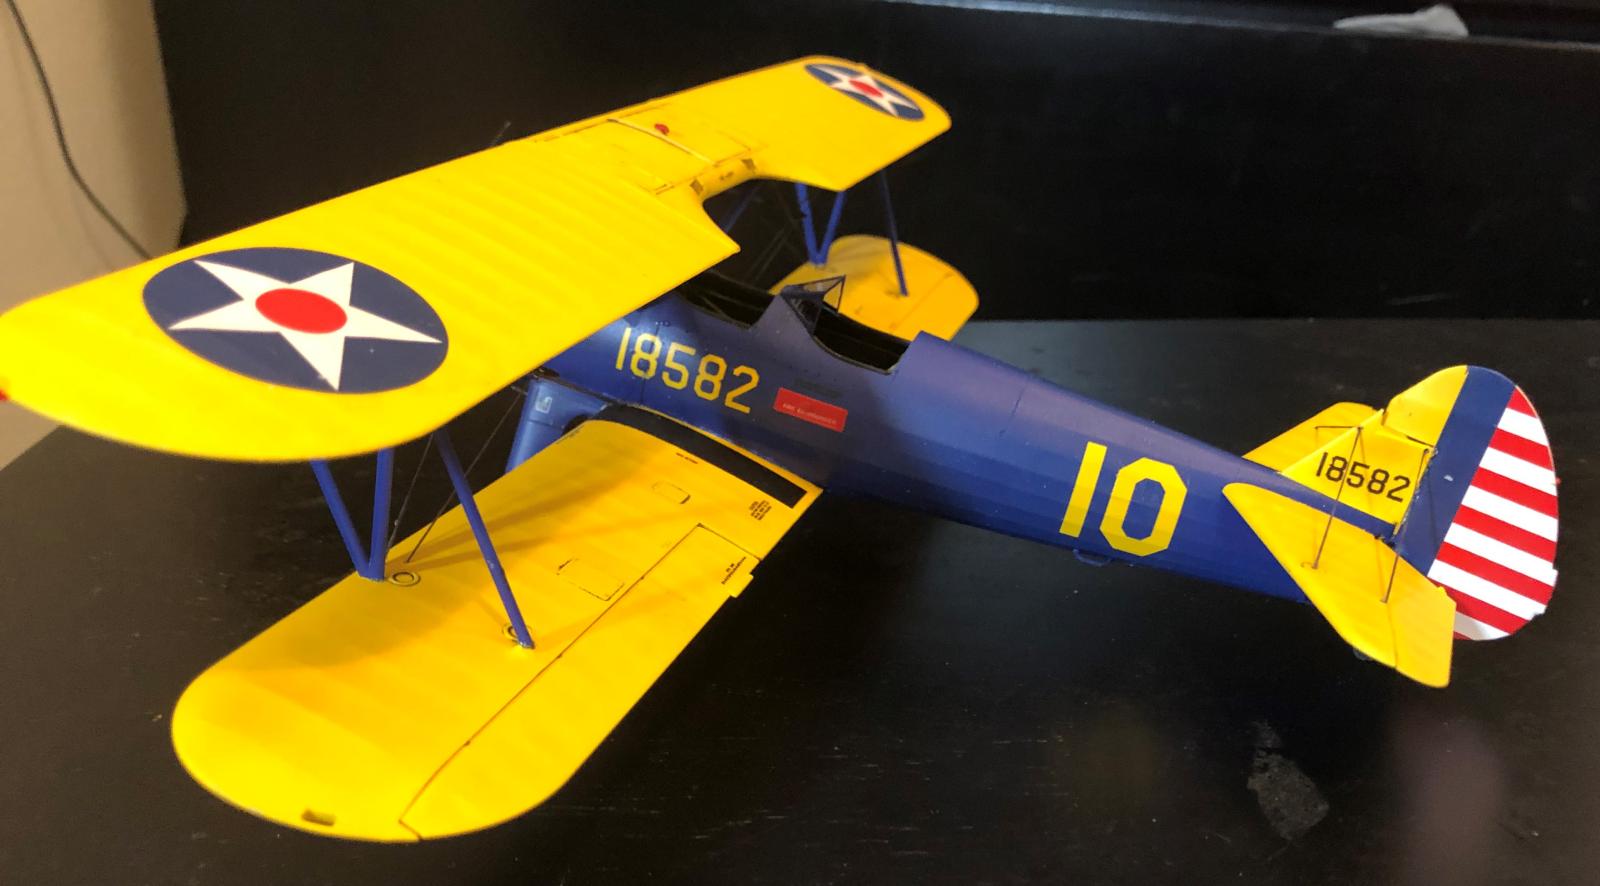
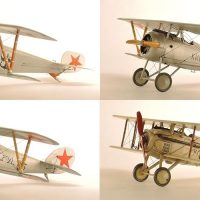
1/32 ICM Boeing Stearman PT-17
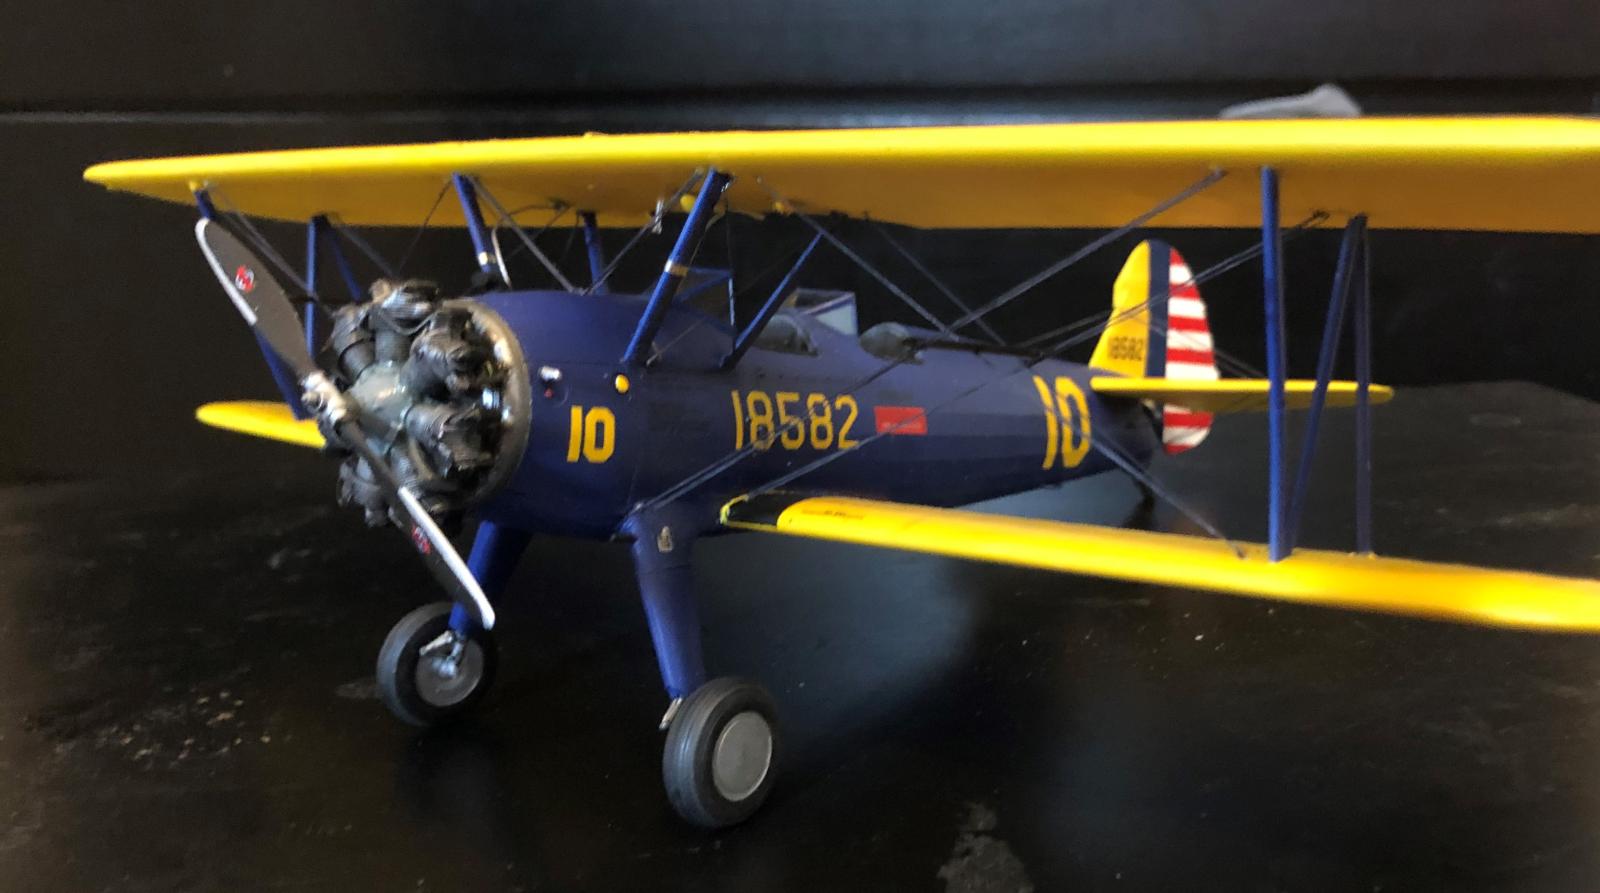
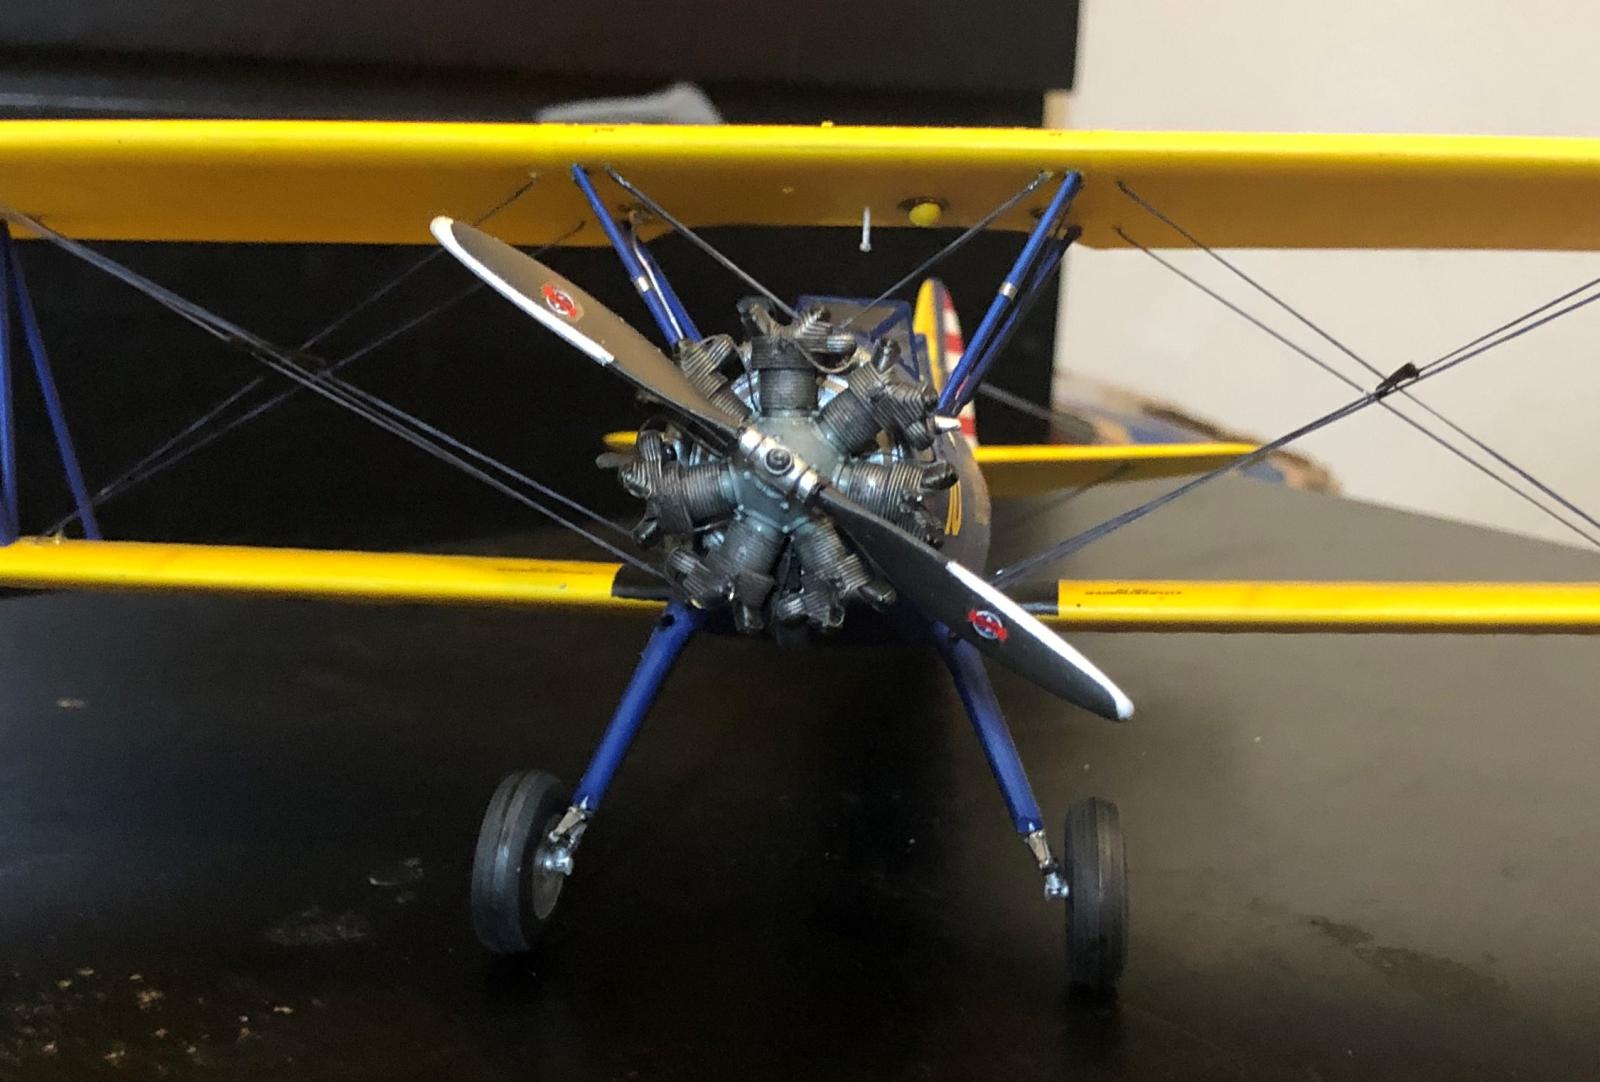
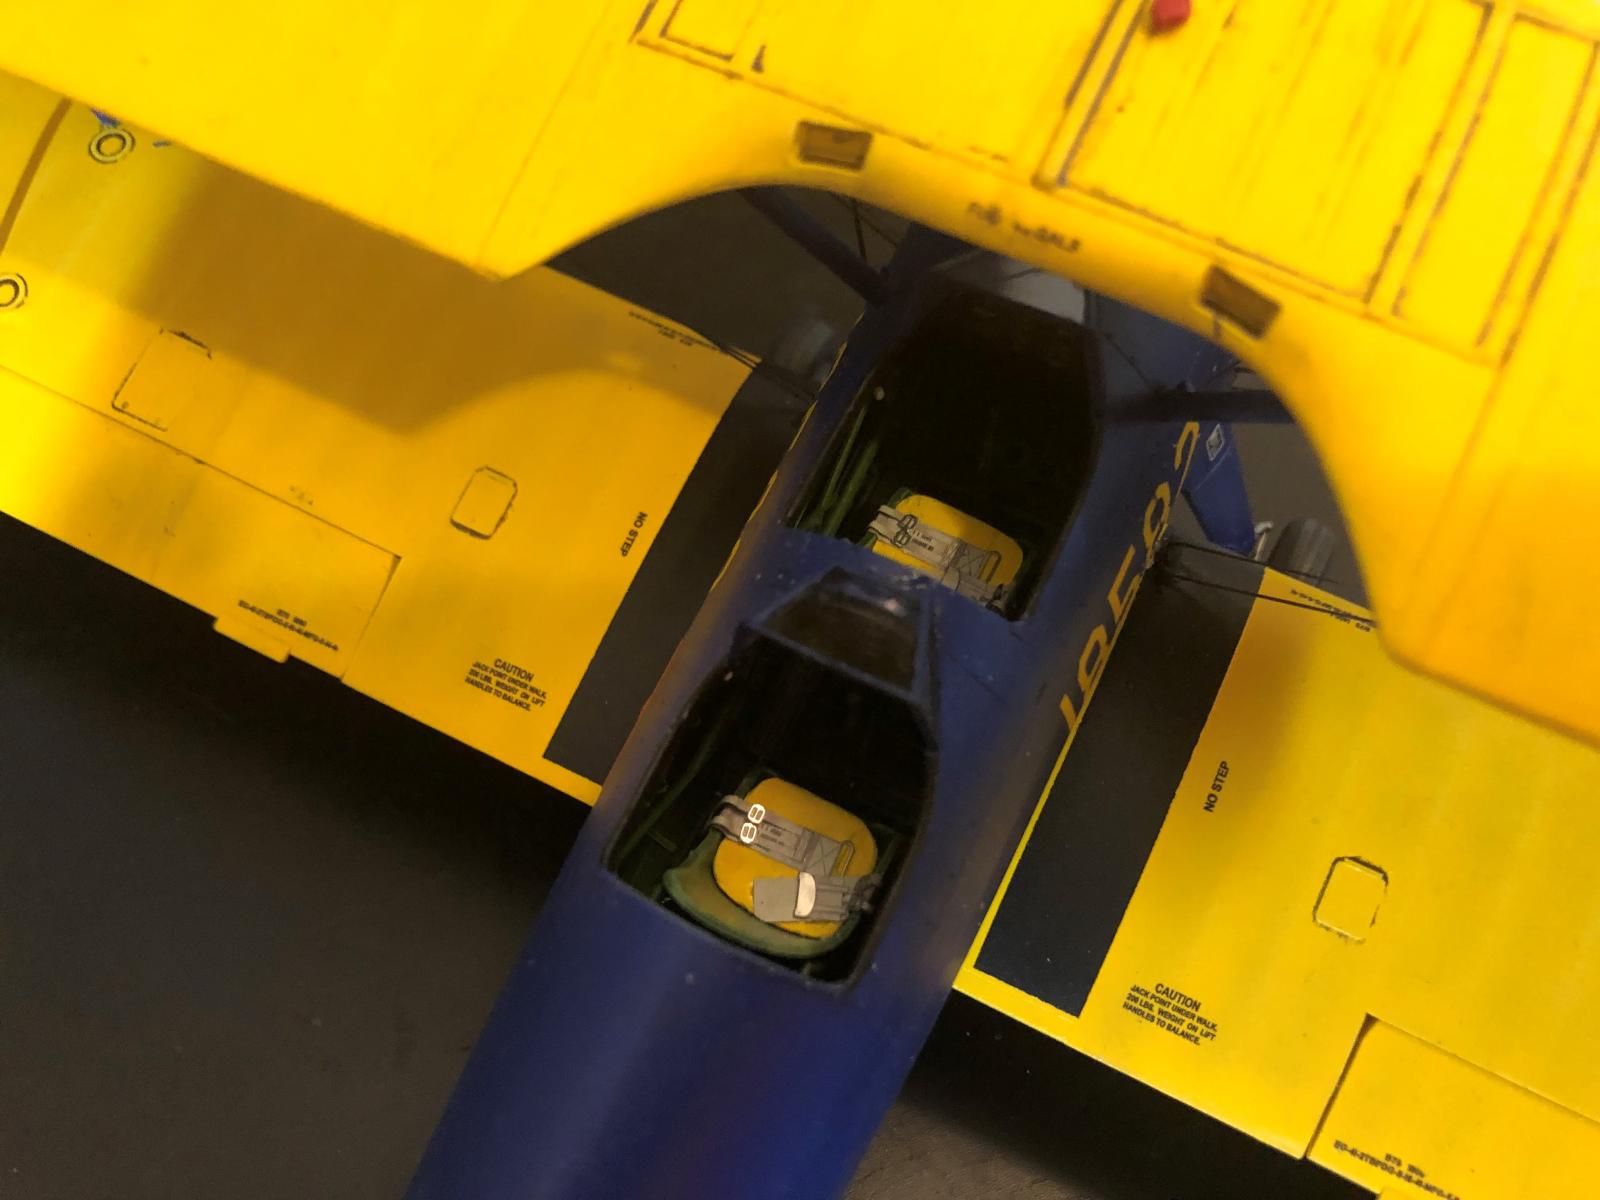
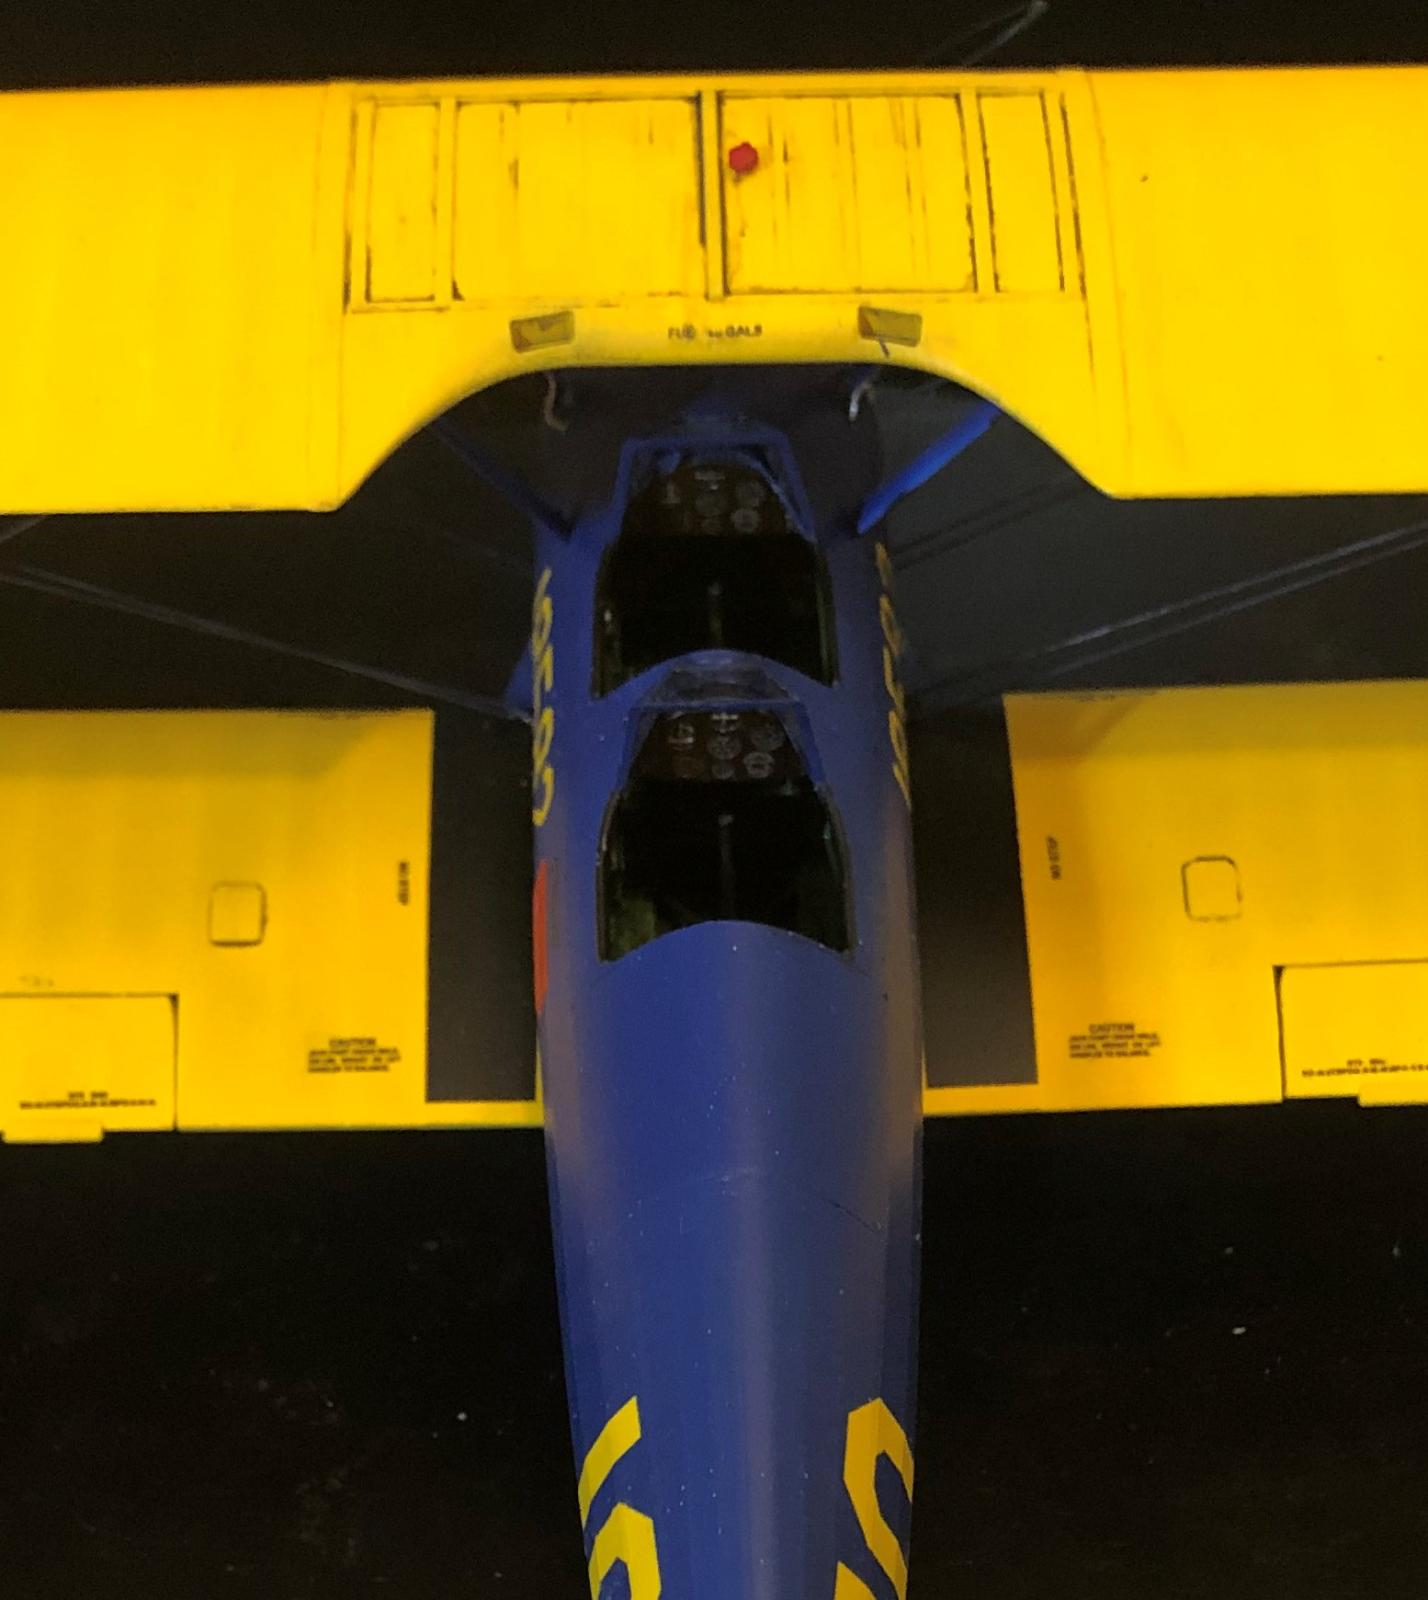
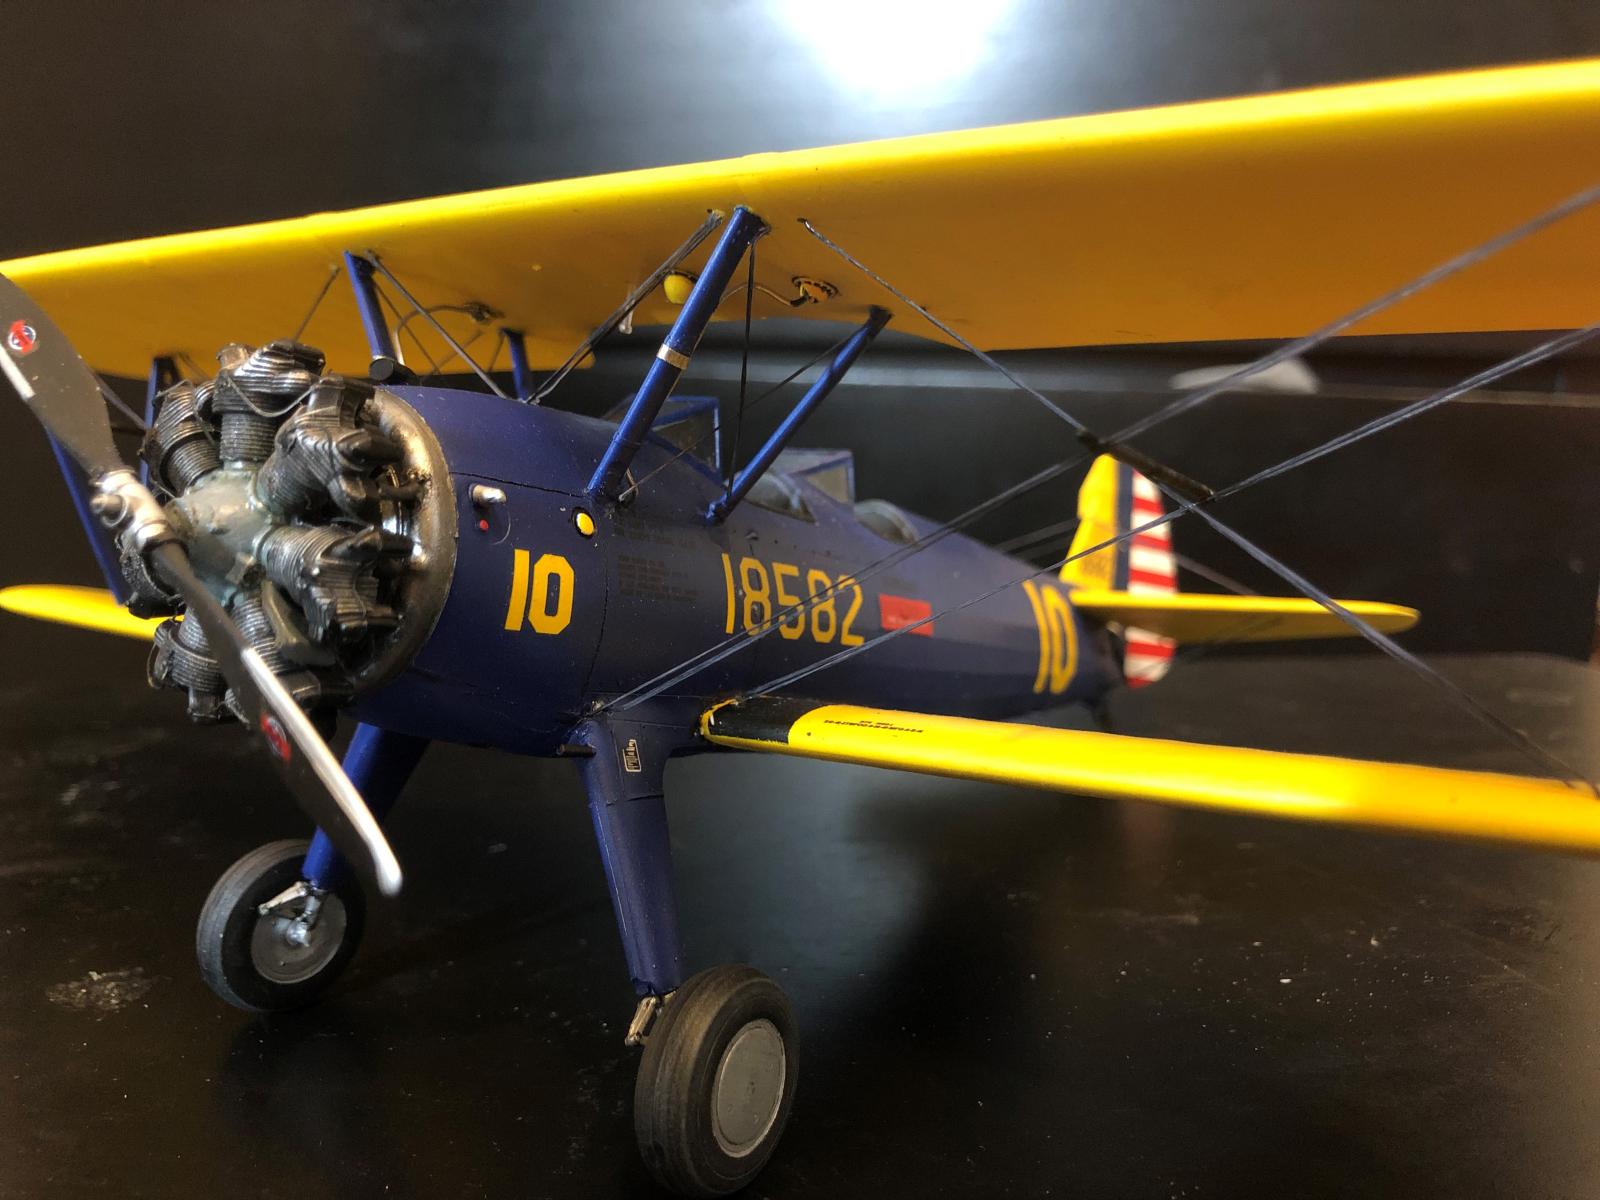
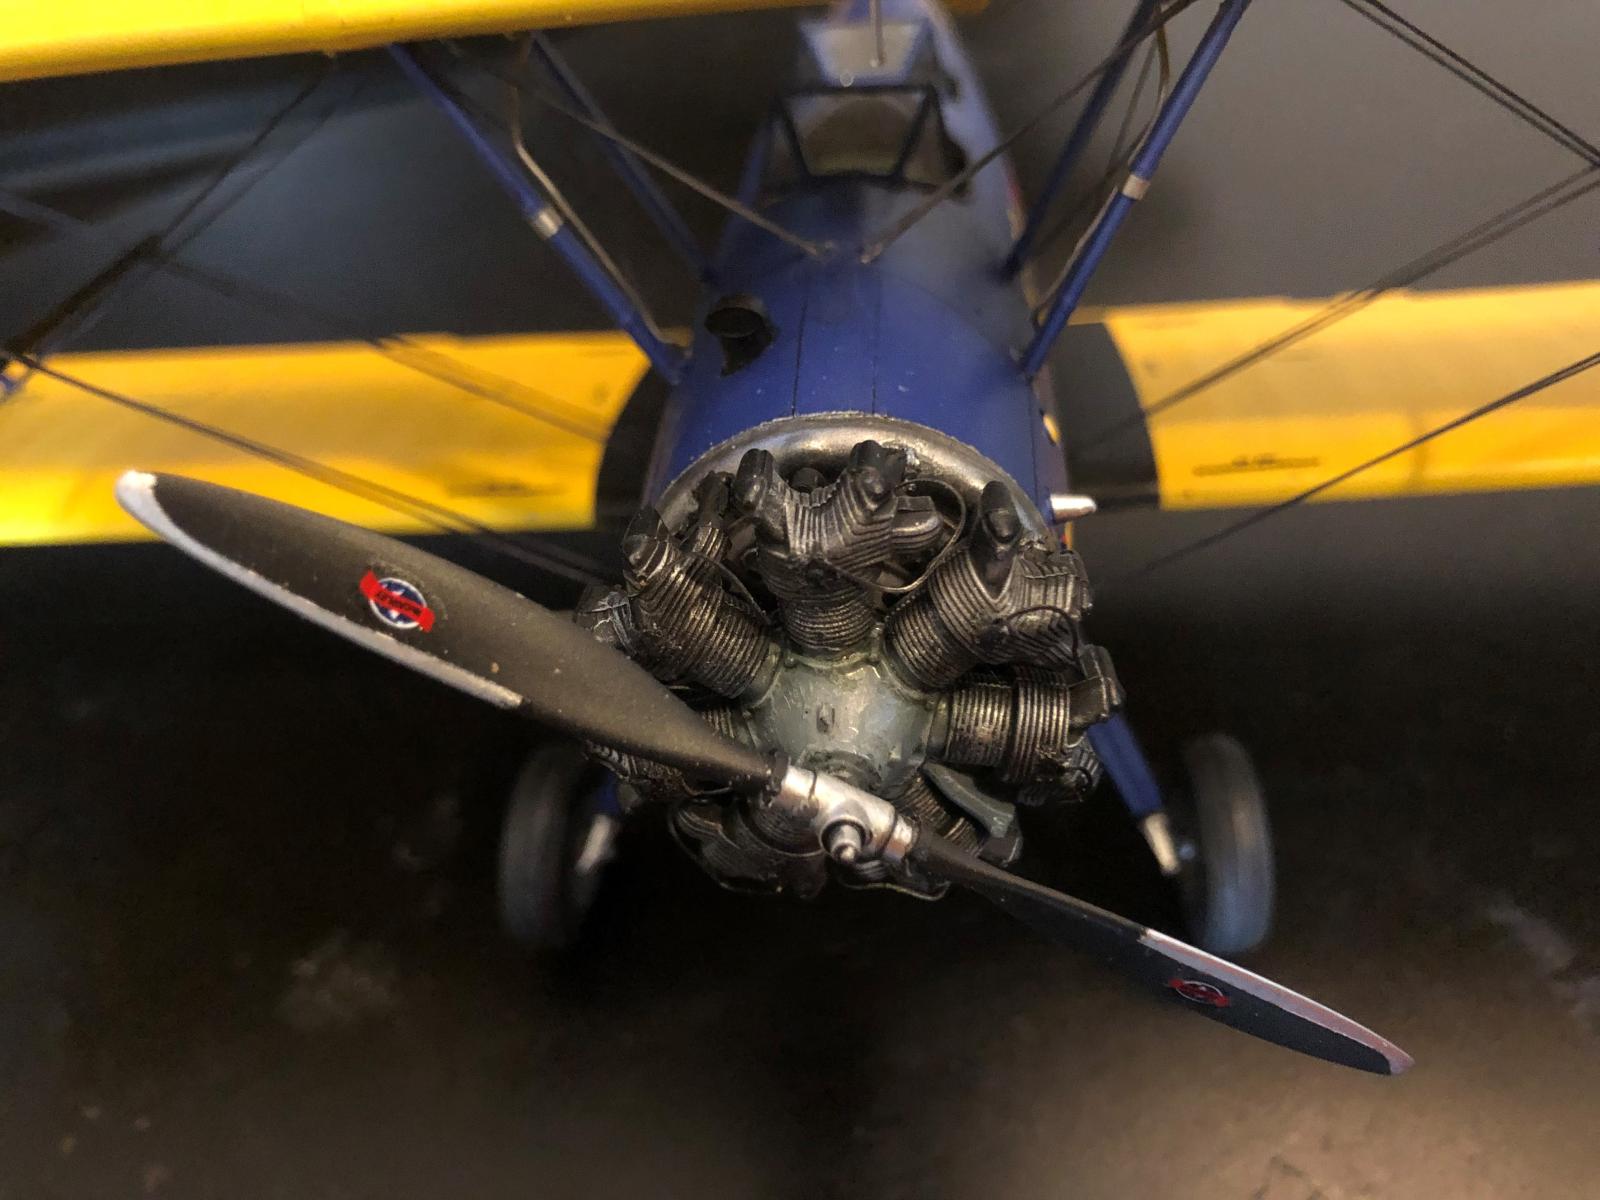
Overall, a straightforward enjoyable build with some pro's and con's. The pro's are accurate shape, reasonable parts count, good level of detail on most sections, good fit, lots of decal choices, detailed cockpit and engine, and separate control surfaces. Regarding cons: I feel that some of the parts are very fragile and fiddly to assemble. The most fragile areas which require extreme caution is the kits representation of the internal framework. Difficult to remove from the frame without breaking. The other fragile part is the tail wheel strut. It must be installed prior to the fuselage being closed and it broke off within a day. I needed to manufacture a replacement from metal wire. The 2 most difficult parts of assembly are installing the many little exhaust pipes connecting the engine to the exhaust manifold and the placement of the 4 middle wing struts. For both assemblies I needed to use a slow setting glue so that I could move the parts around a lot before glue setting to insure proper alignment. Tamiya Thin cement worked well for this. Install the outer wing struts 1st b/c they have more sturdy alignment points. Place the top wing on these outer struts. Then position the 4 individual middle fuselage struts between fuselage top and top wing. I thought the panel rivets and details could of been more pronounced b/c they essentially disappeared after several layers of paint, varnish and minor sanding. Rigging points are present on parts but need to be enlarged and made more pronounced prior to painting or they will disappear. Seats are the weakest parts regarding lack of accuracy and details. I highly recommend the Eduard photo-etch for details including engine wire harness, IPs, seats, and seat harness. The decals were sort of challenging. They were delicate, and stuck firm making them difficult to reposition once slid off the backing paper. I lost the port tail number decal as a result. Rigging was done using EZ Line and detailed placement instructions are provided. I manufactured the fuel lines connecting the bottom of wing fuel tank to fuselage.


Superb result out of a good but challenging kit, Paul!
Happy New Year!
Very nice result,, Paul @jjetmec
A great chosen scheme and well performed.
Happy New Year
great build, really like the sharp color scheme on these planes
Superb build - I especially like the engine. Well done.
Very nice! What yellow/ blue paints did you use?
Hello ILAN: Thank for positive comments. I used Tamiya Flat Yellow and Tamiya Flat Blue and lightened with Tamiya White. I would of liked the Blue a bit more lightened. I added a lot of white I thought but still on the dark side.
Nice work. The Stearman is my all-time favorite flying machine!
Absolutely beautiful! Many a career from flying to mechanics was started on this type aircraft. Nice to see your builds again.
Reminds me of old N747JR ("Sacramento tower, this is Boeing seven-forty-seven-junior..."). Nice work on this and a great result, @jjetmec.
Lovely job! I have this and agree with the comments. Any protruberance installed early on is going to get broken off! Like you, I trashed the underwing decals but ICM sent me another!
Has anyone come across a book called "Teacher Wore a Parachute" by Joe James. It's a very entertaining account from a Stearman Instructor. I think it's out of print.
Looks very nice, Paul, the yellow has come out very well, not always an easy colour to get right.
Well done Paul, really like the work you did on that engine.