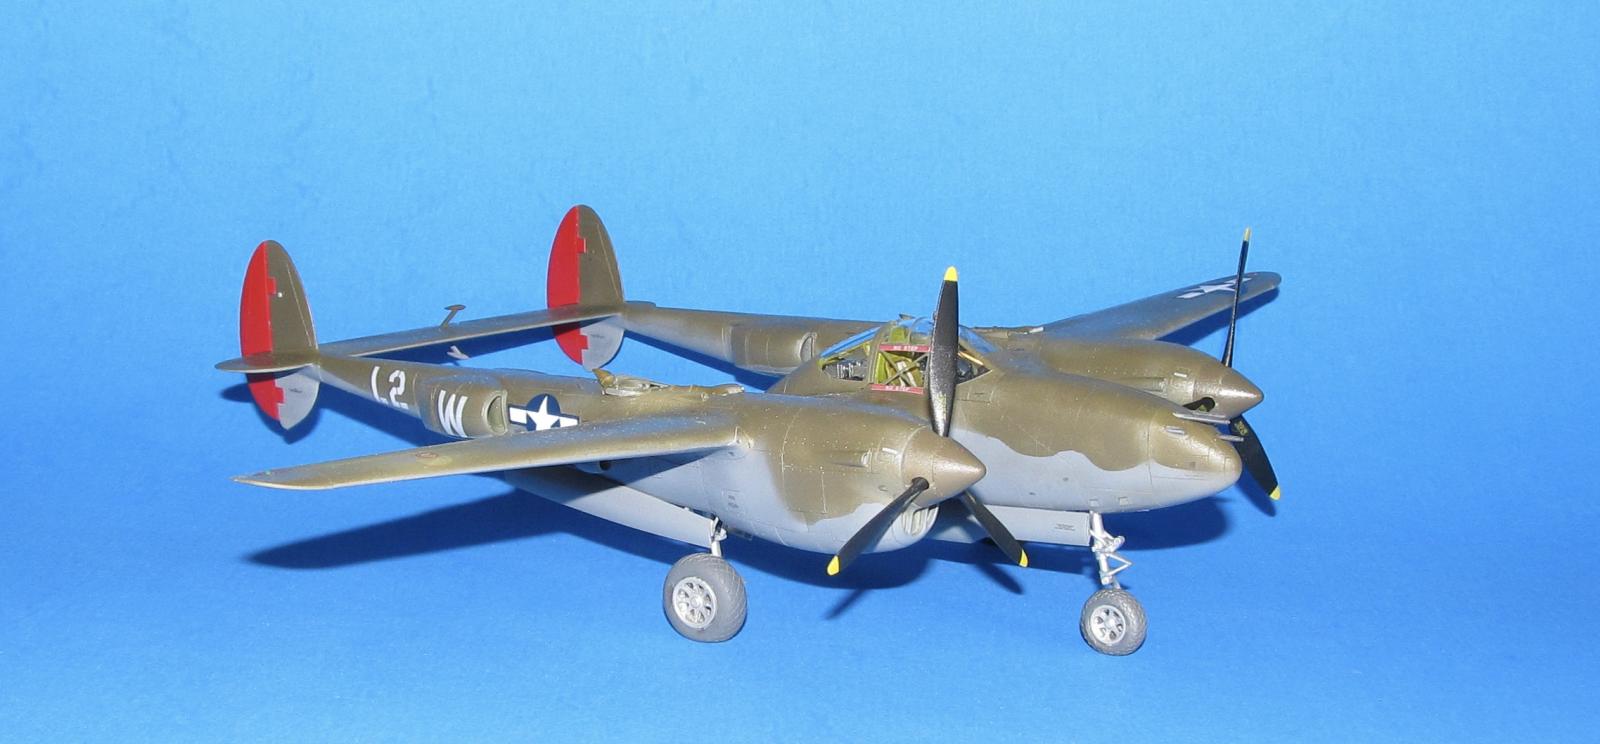
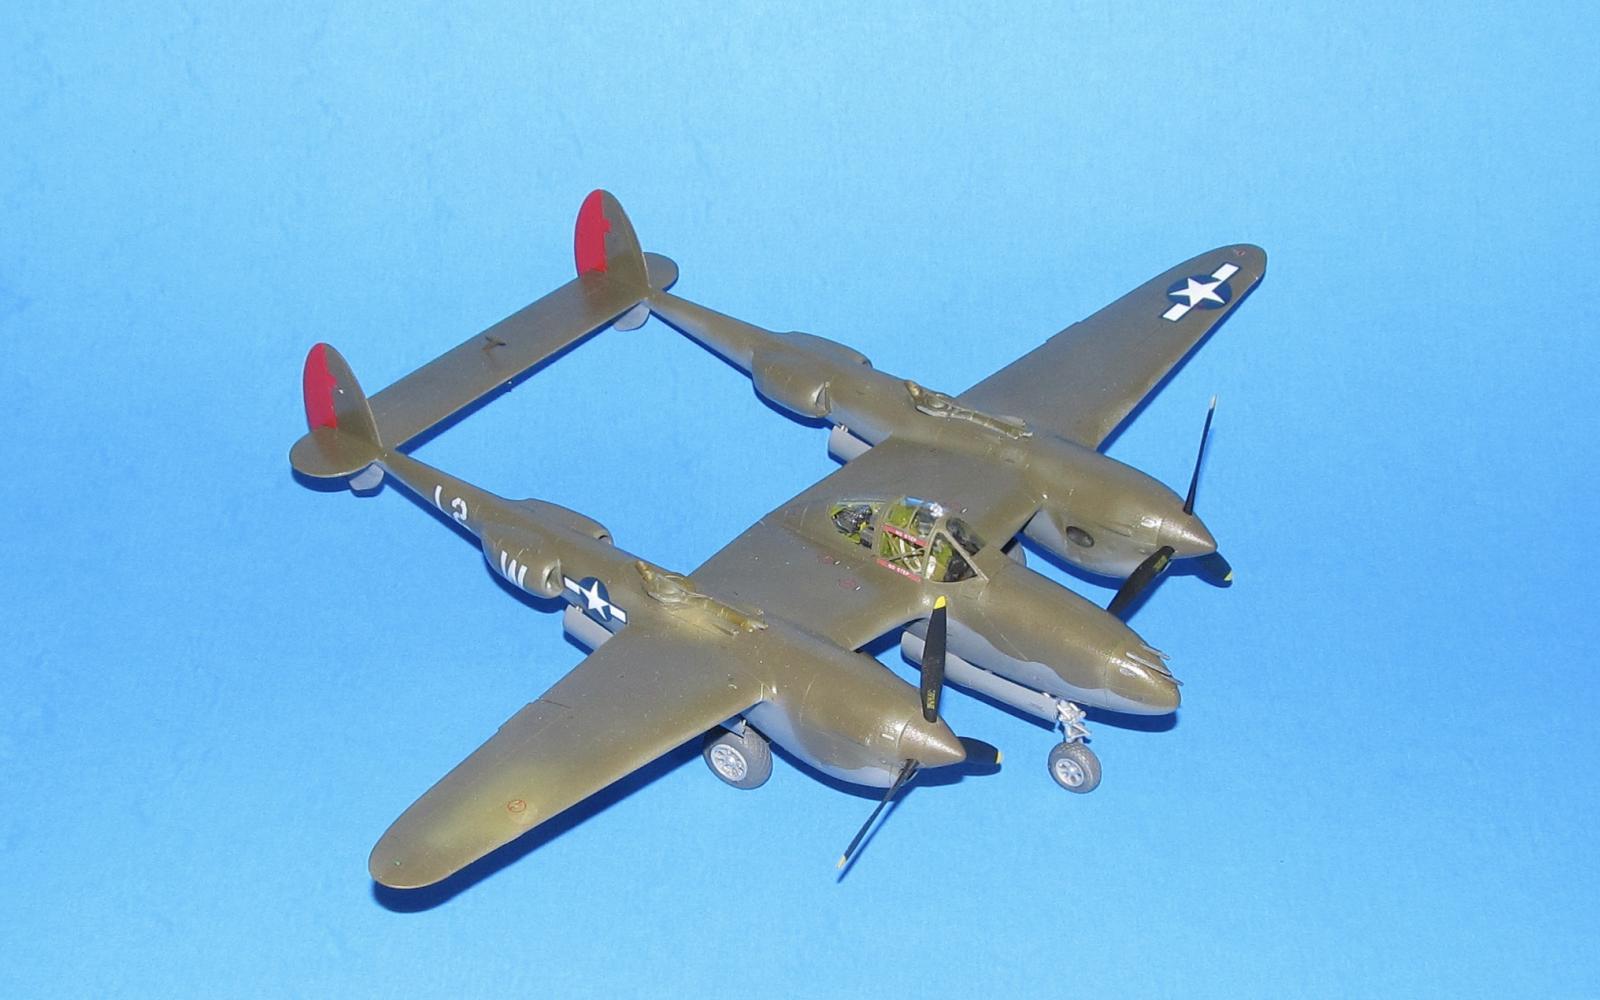
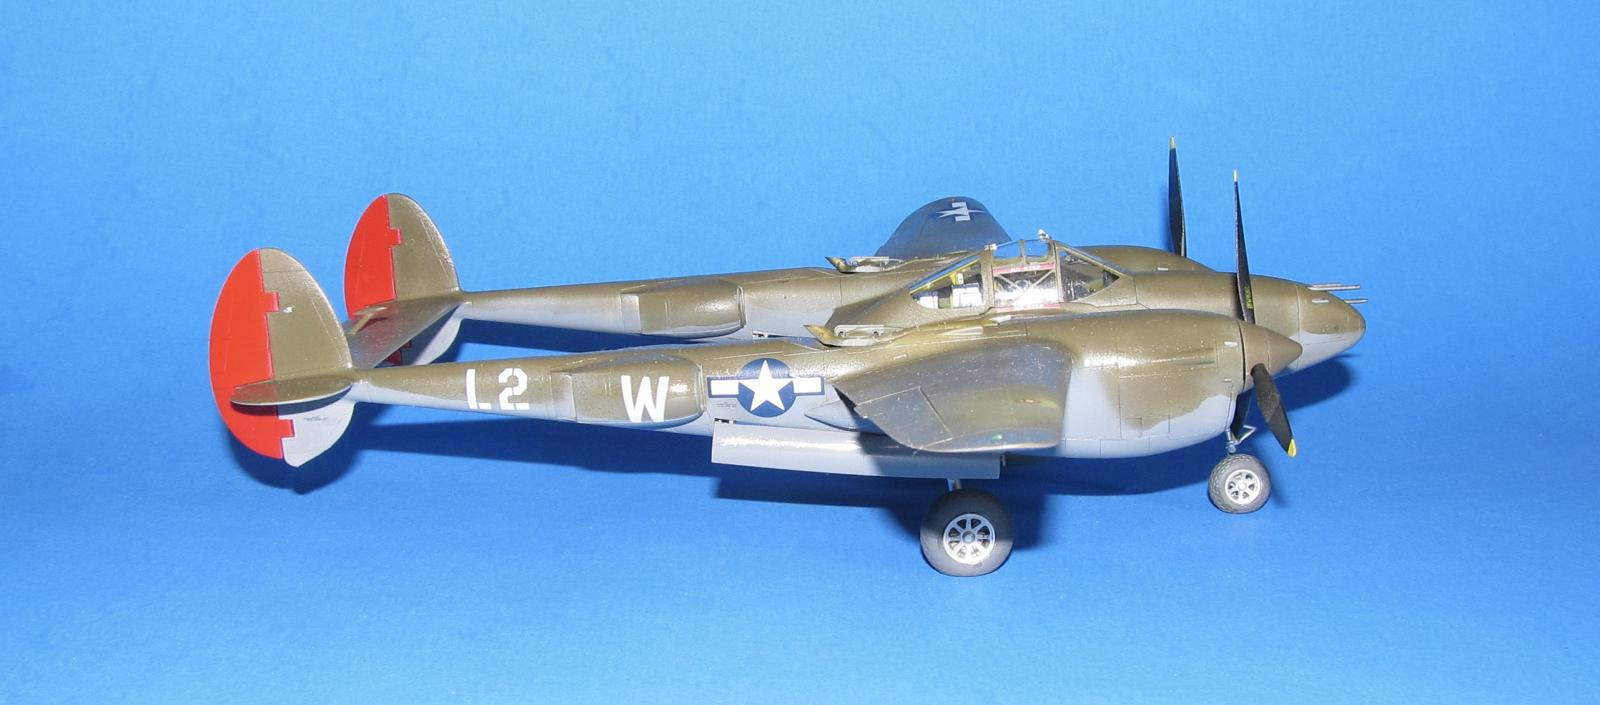
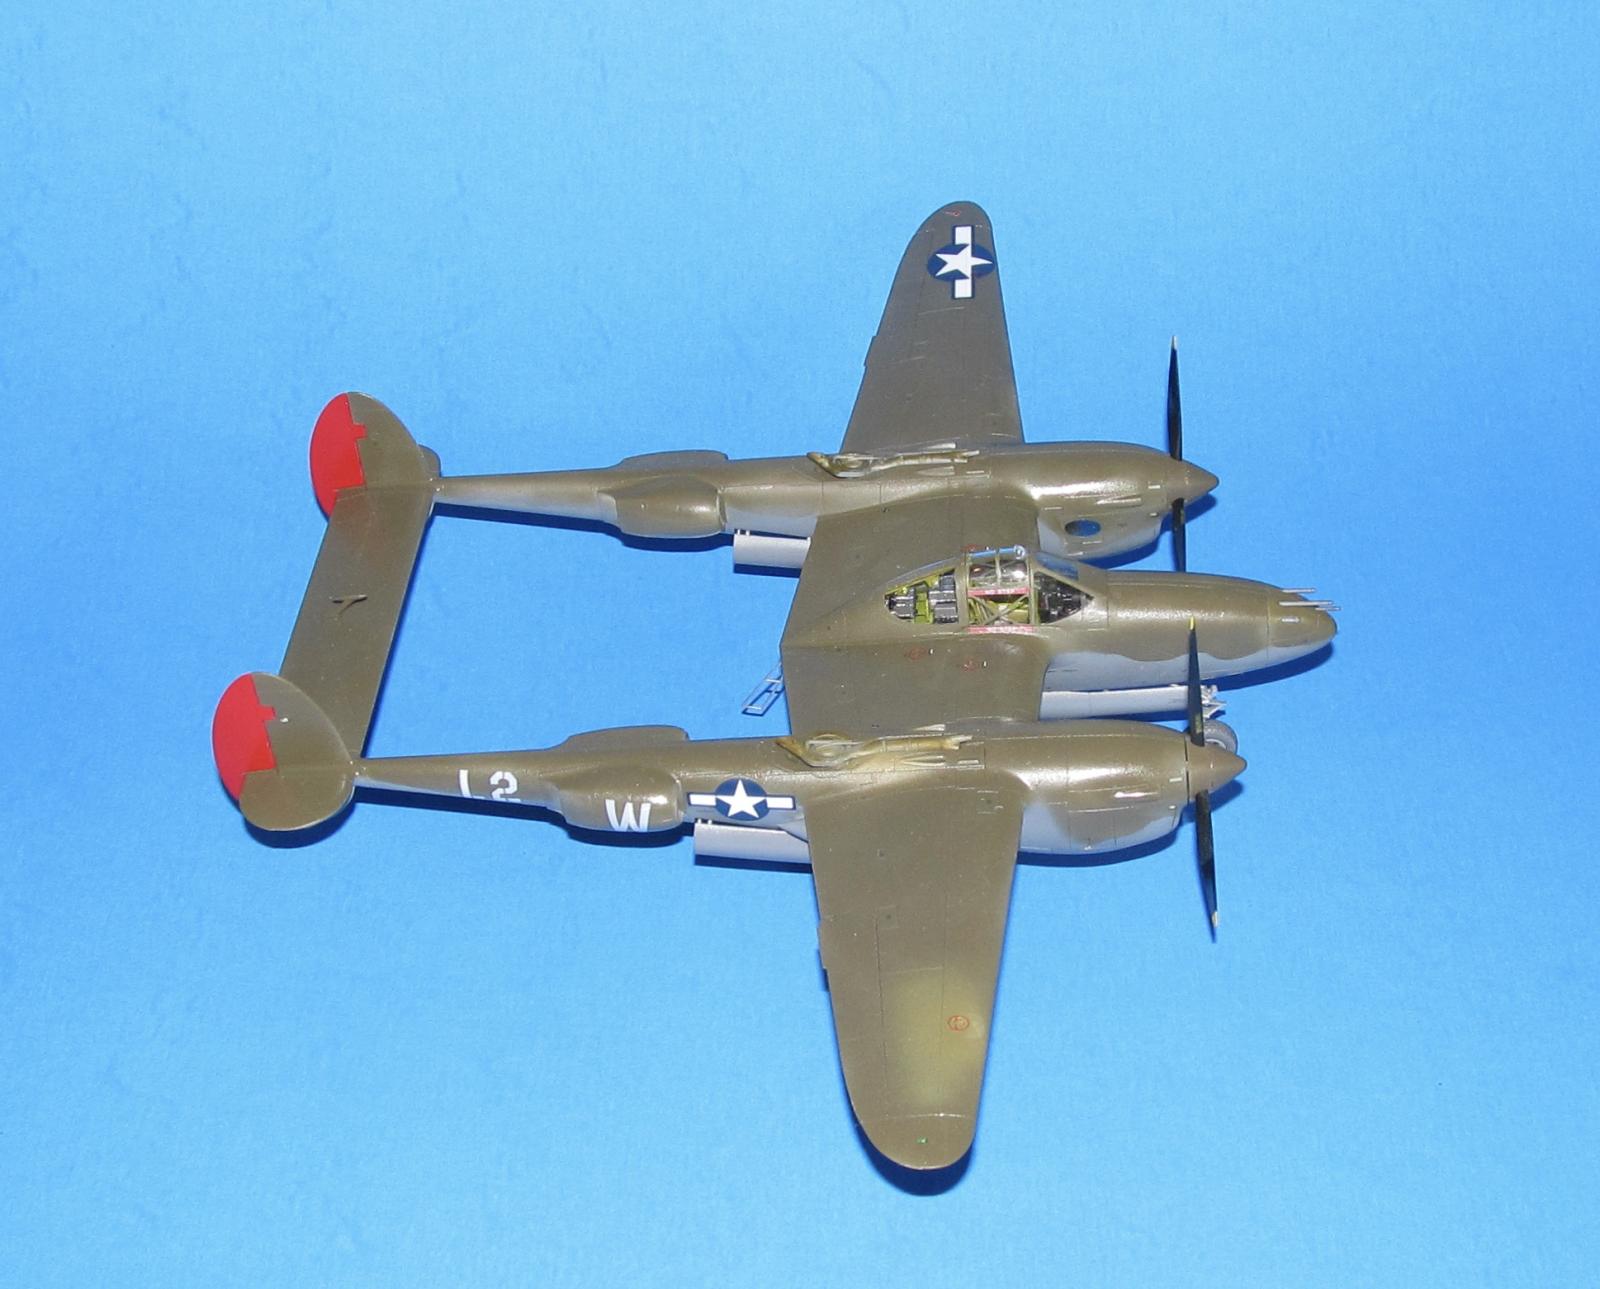
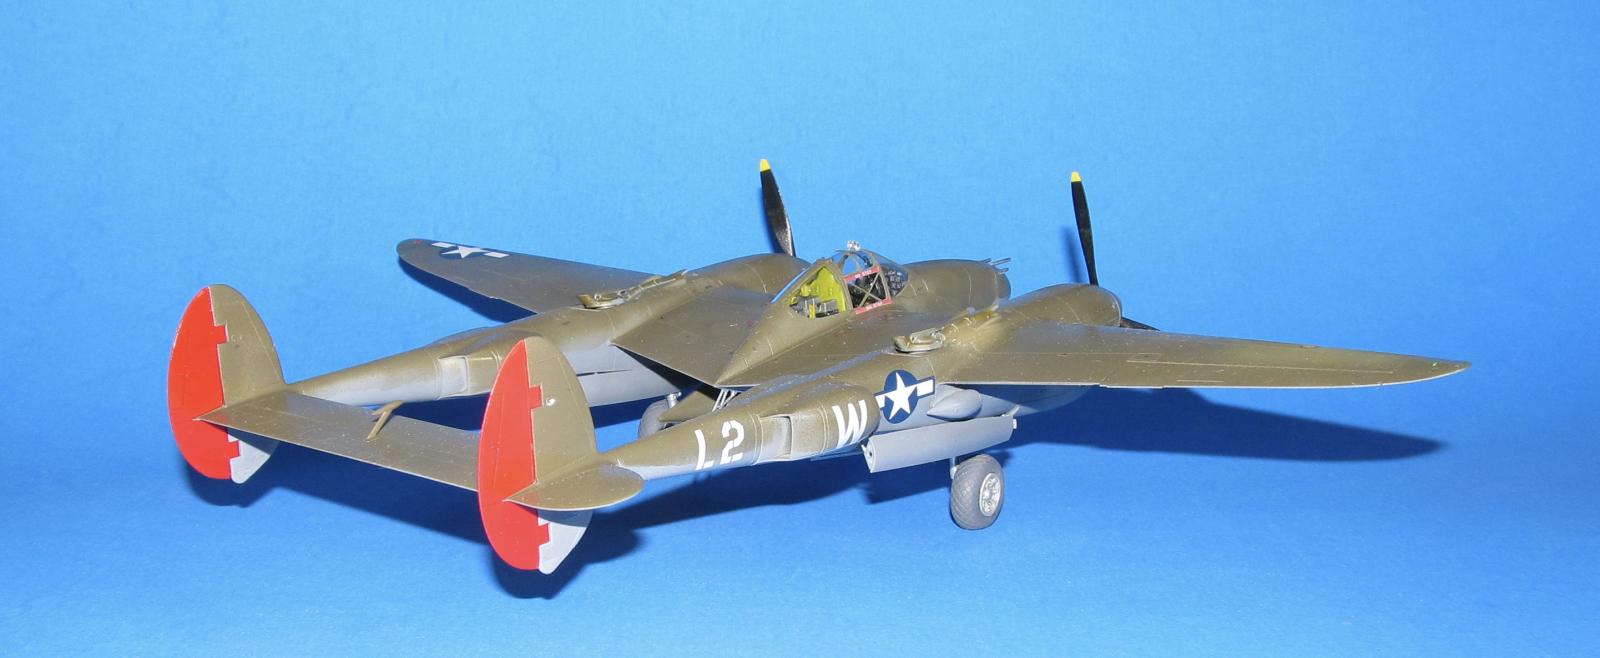
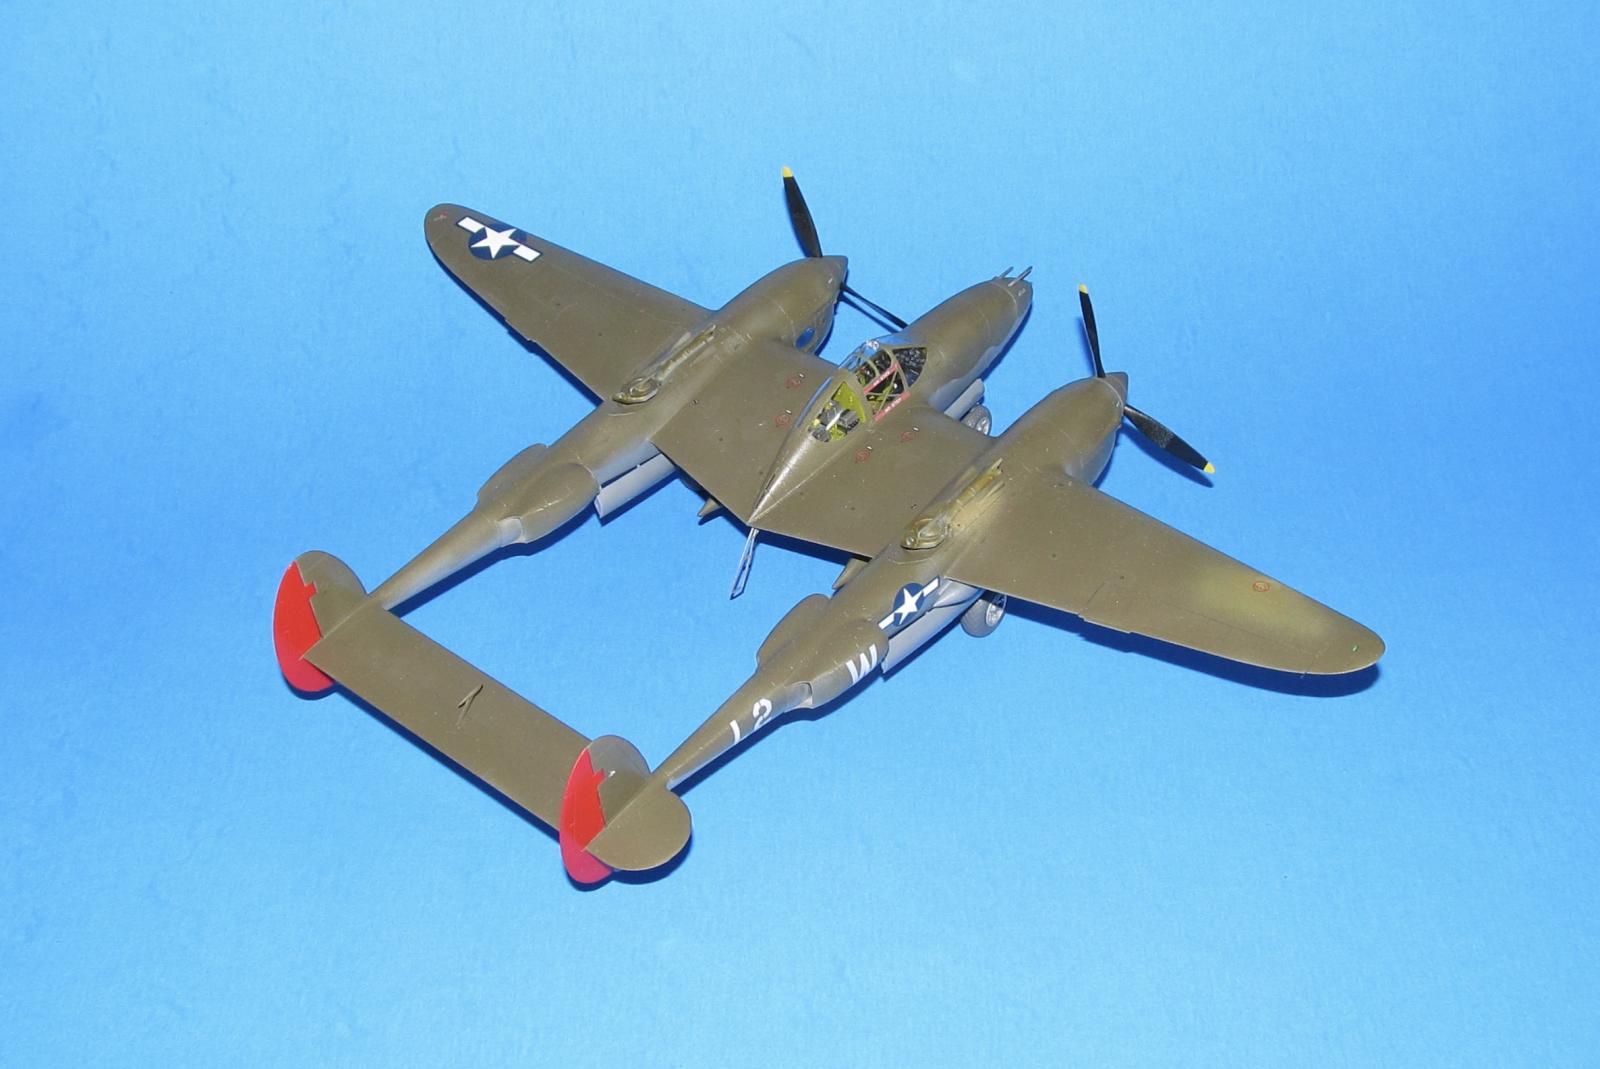
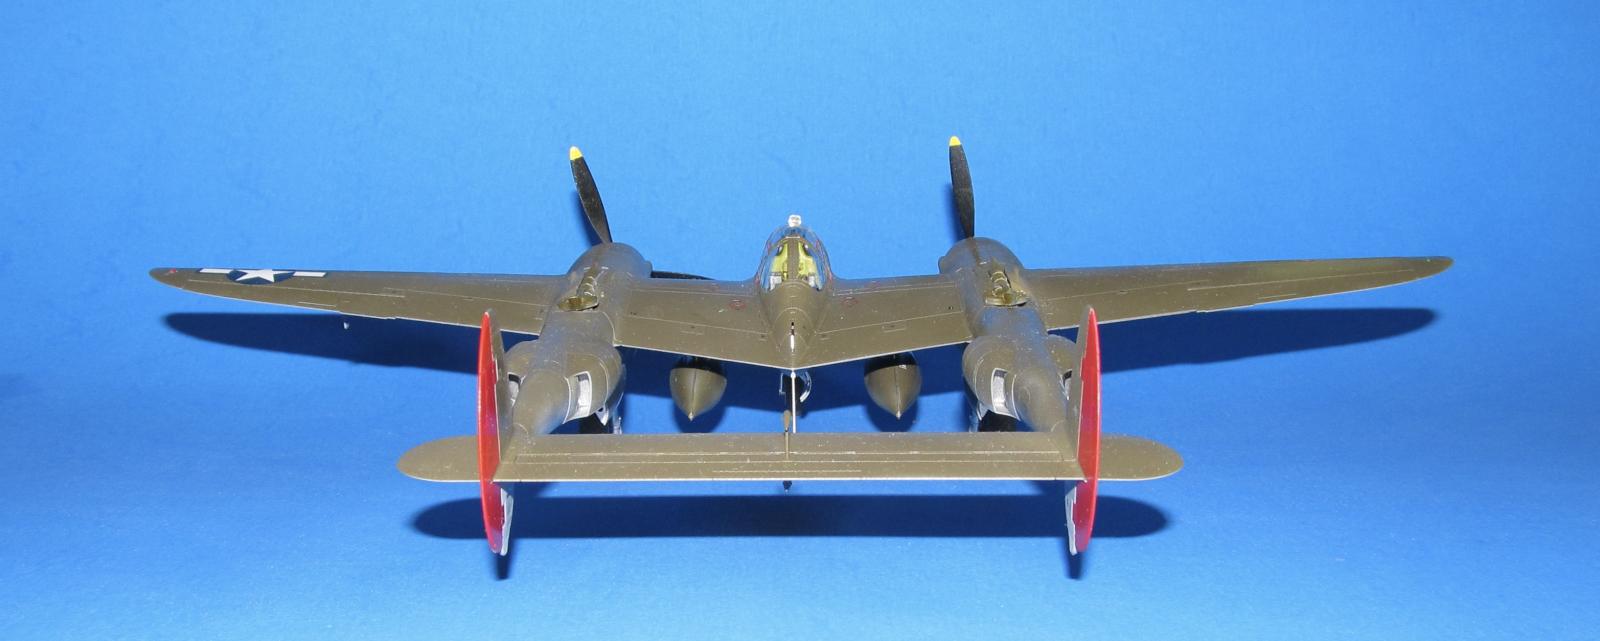
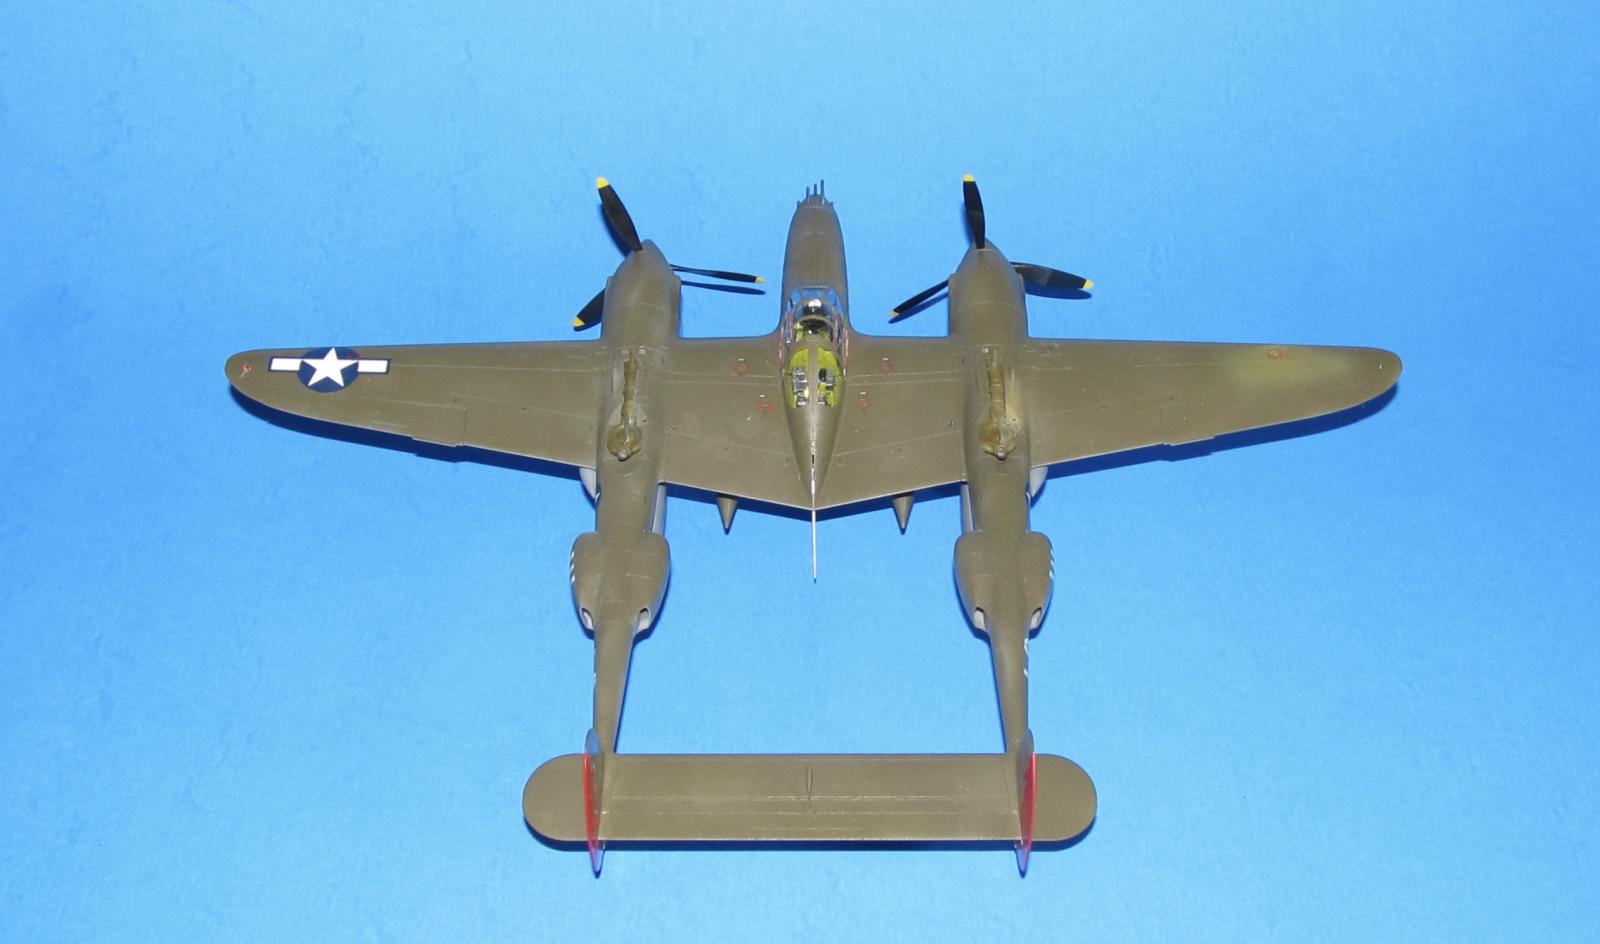
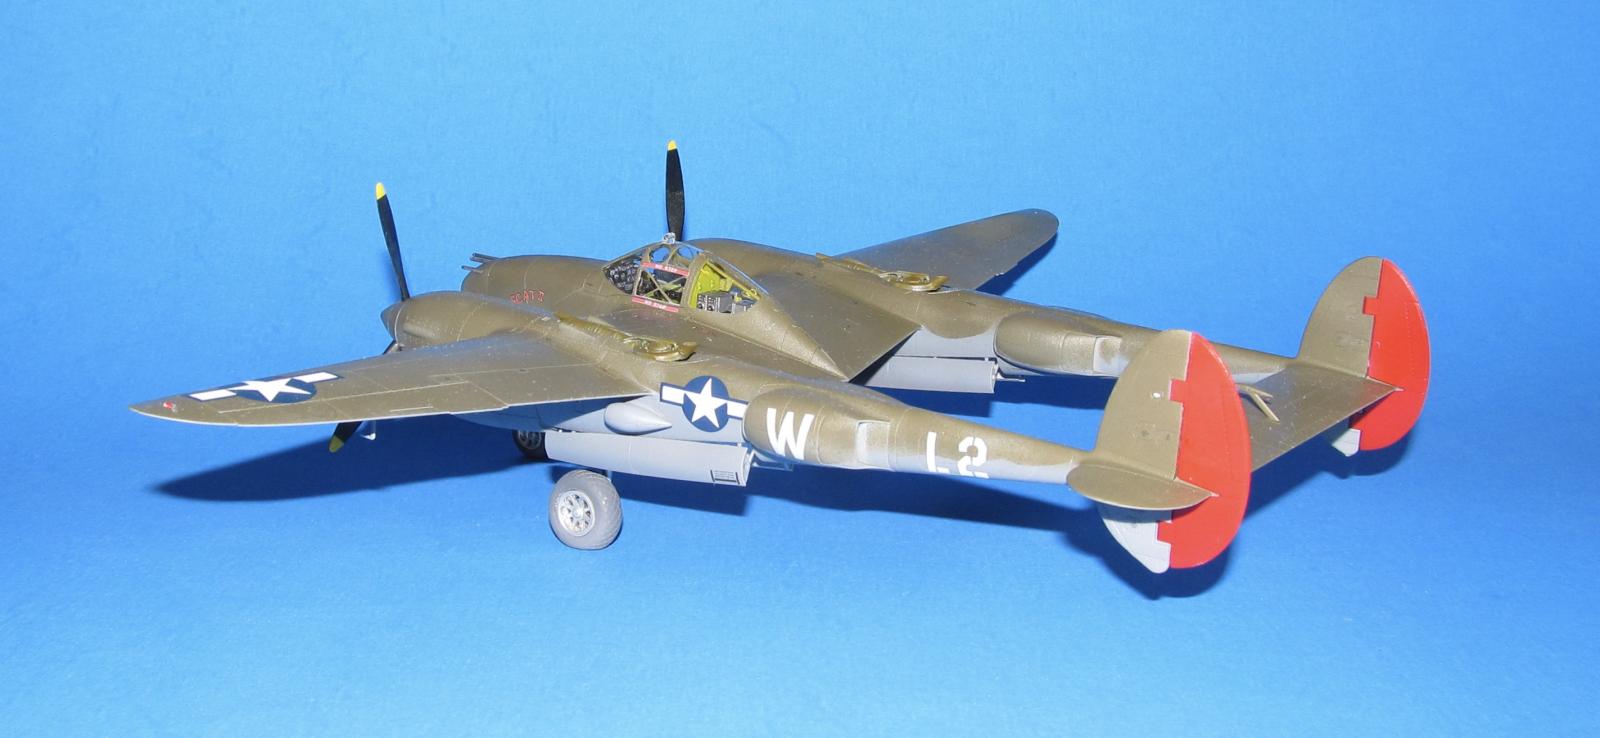
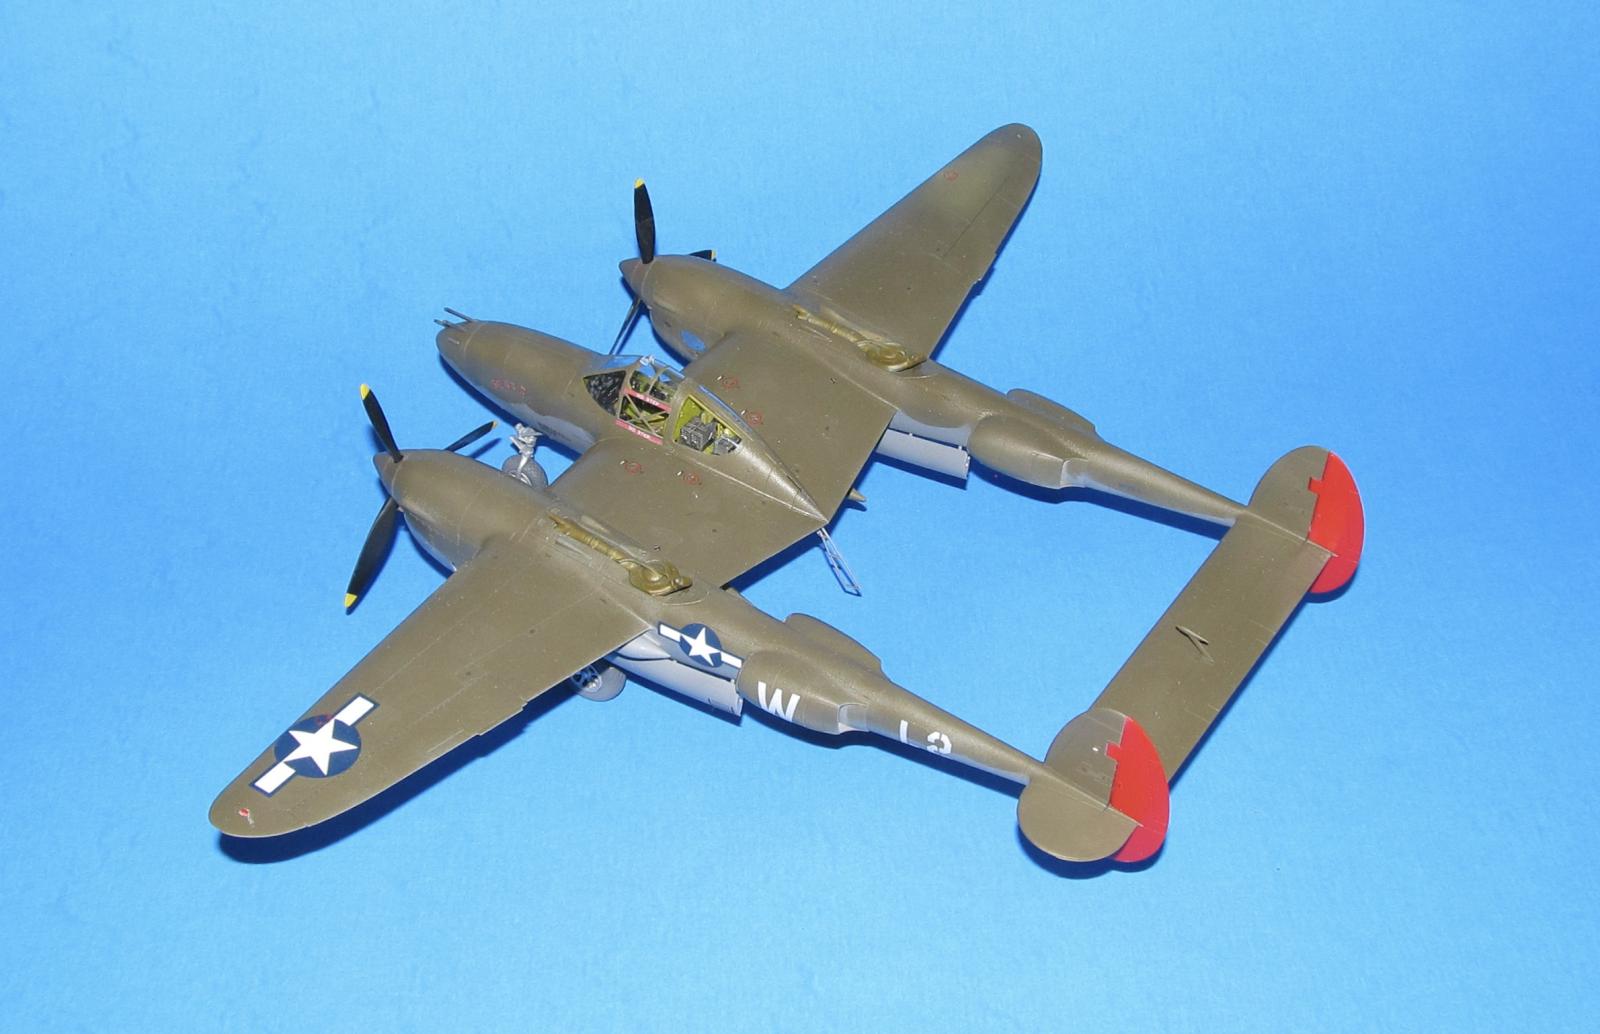
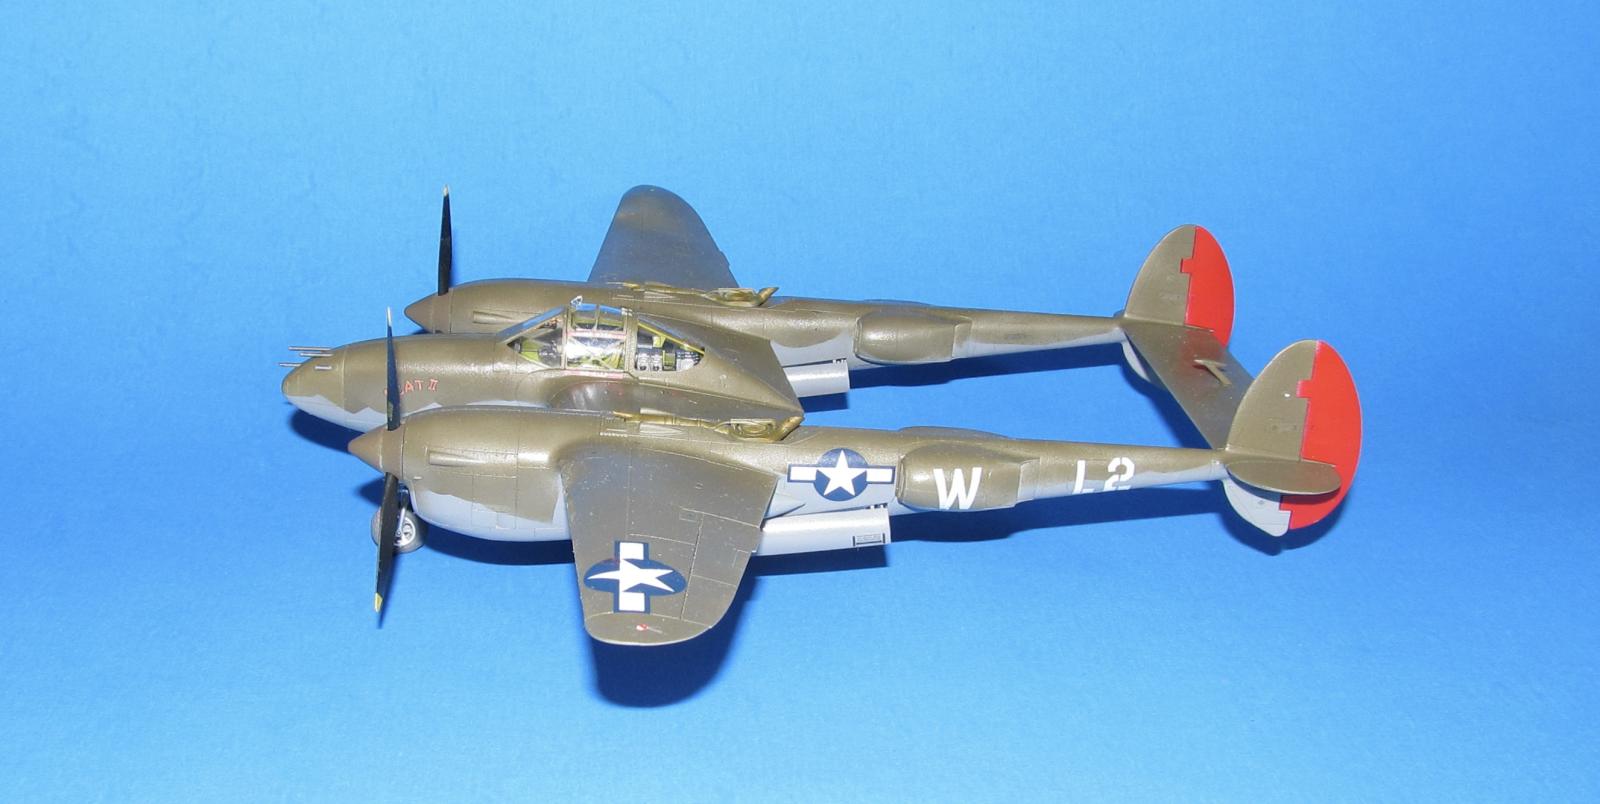
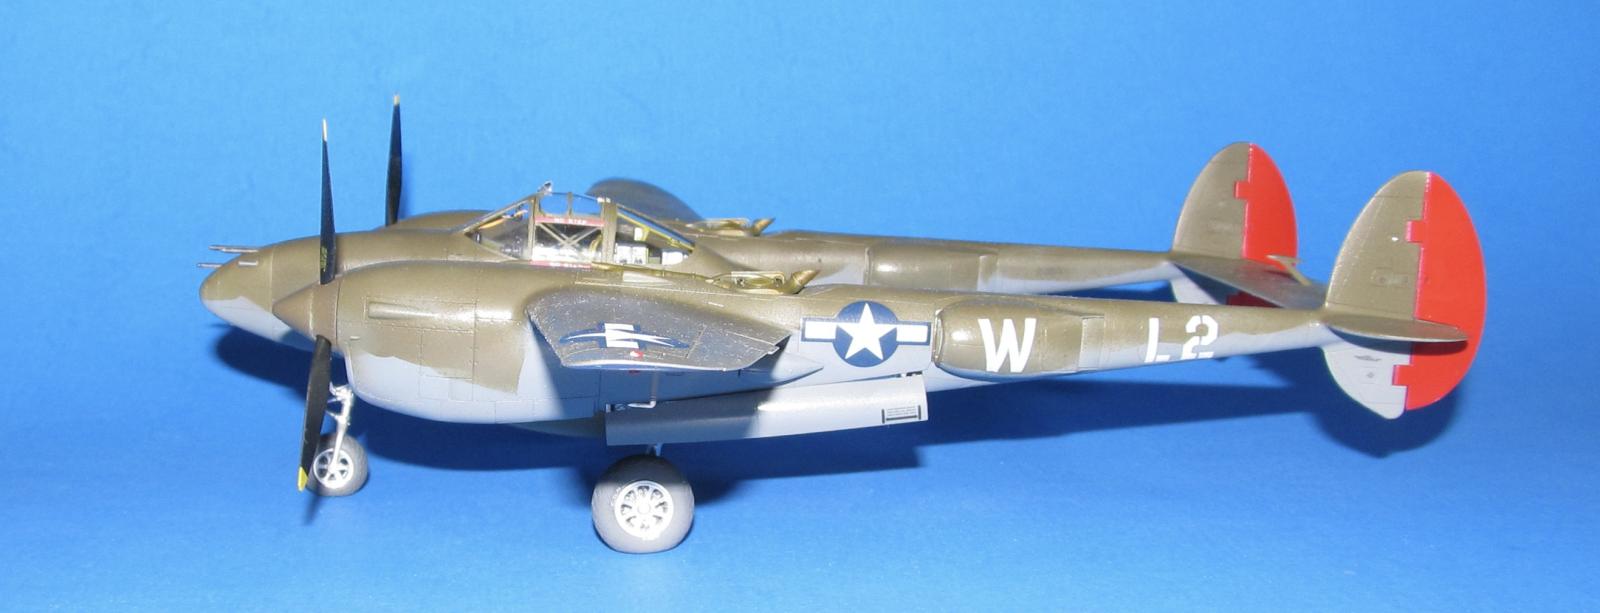
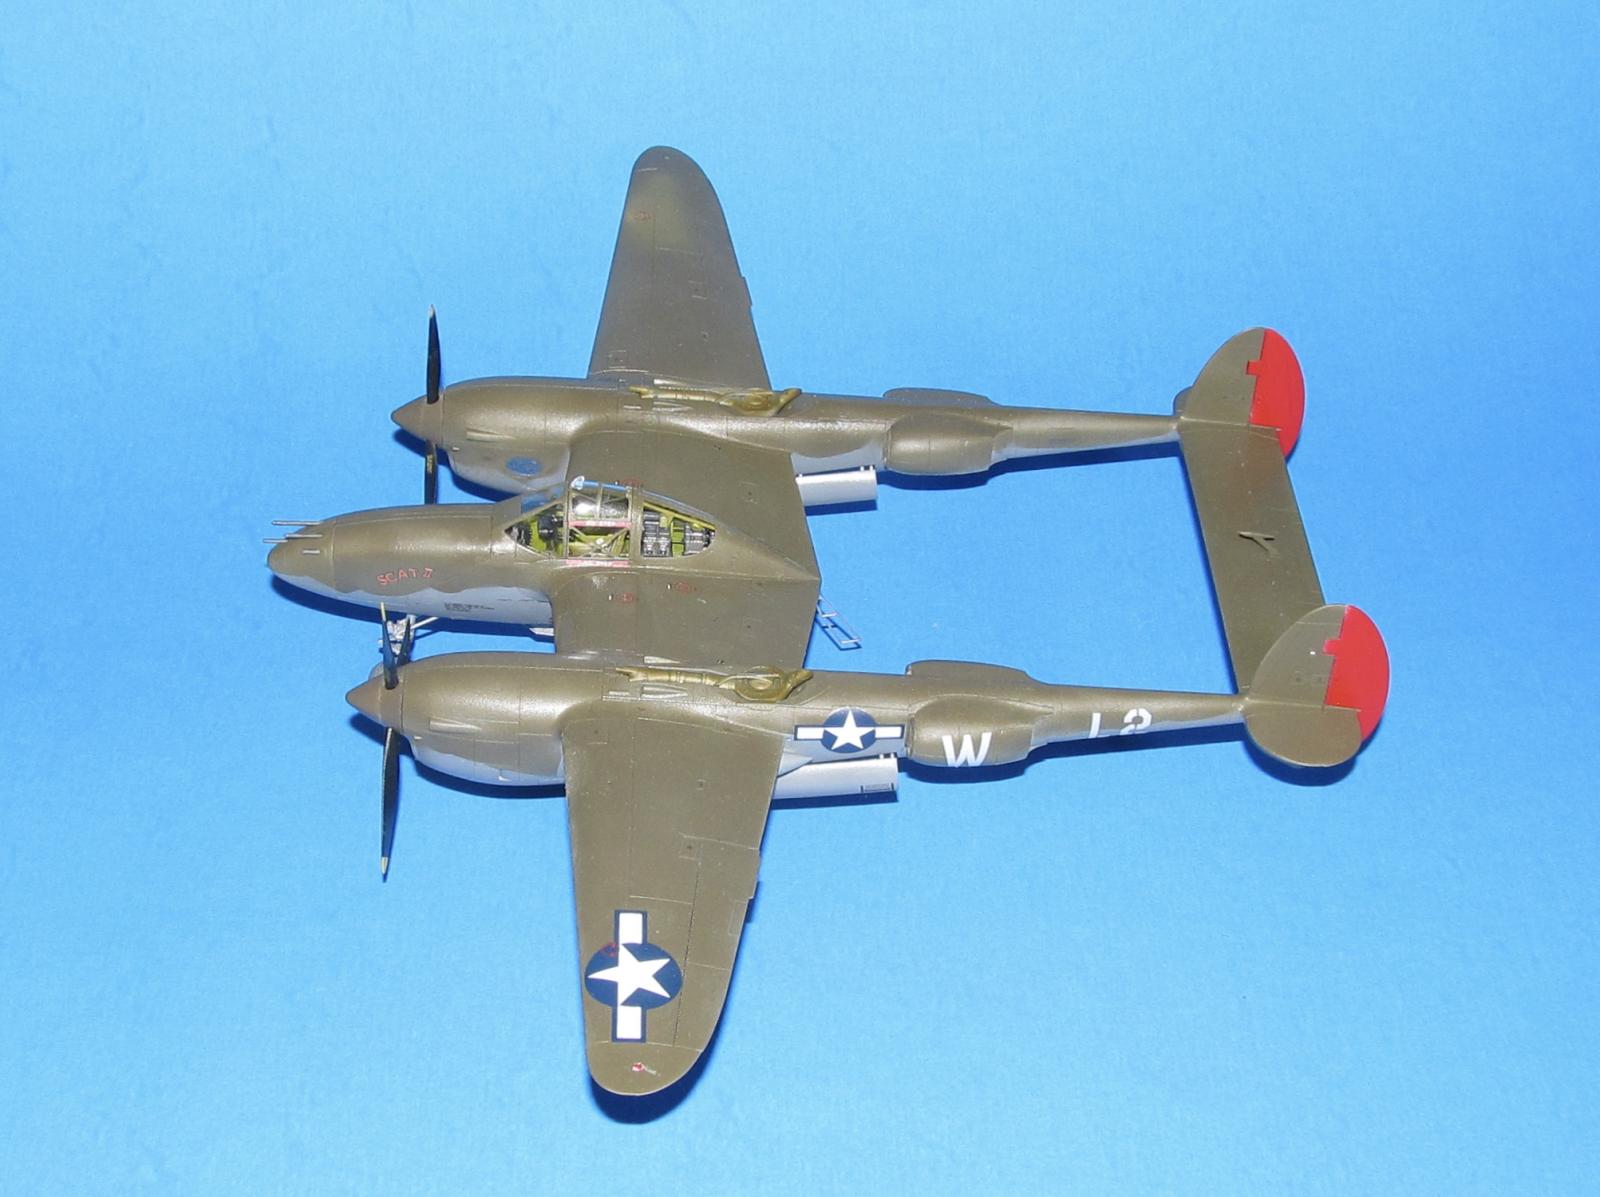
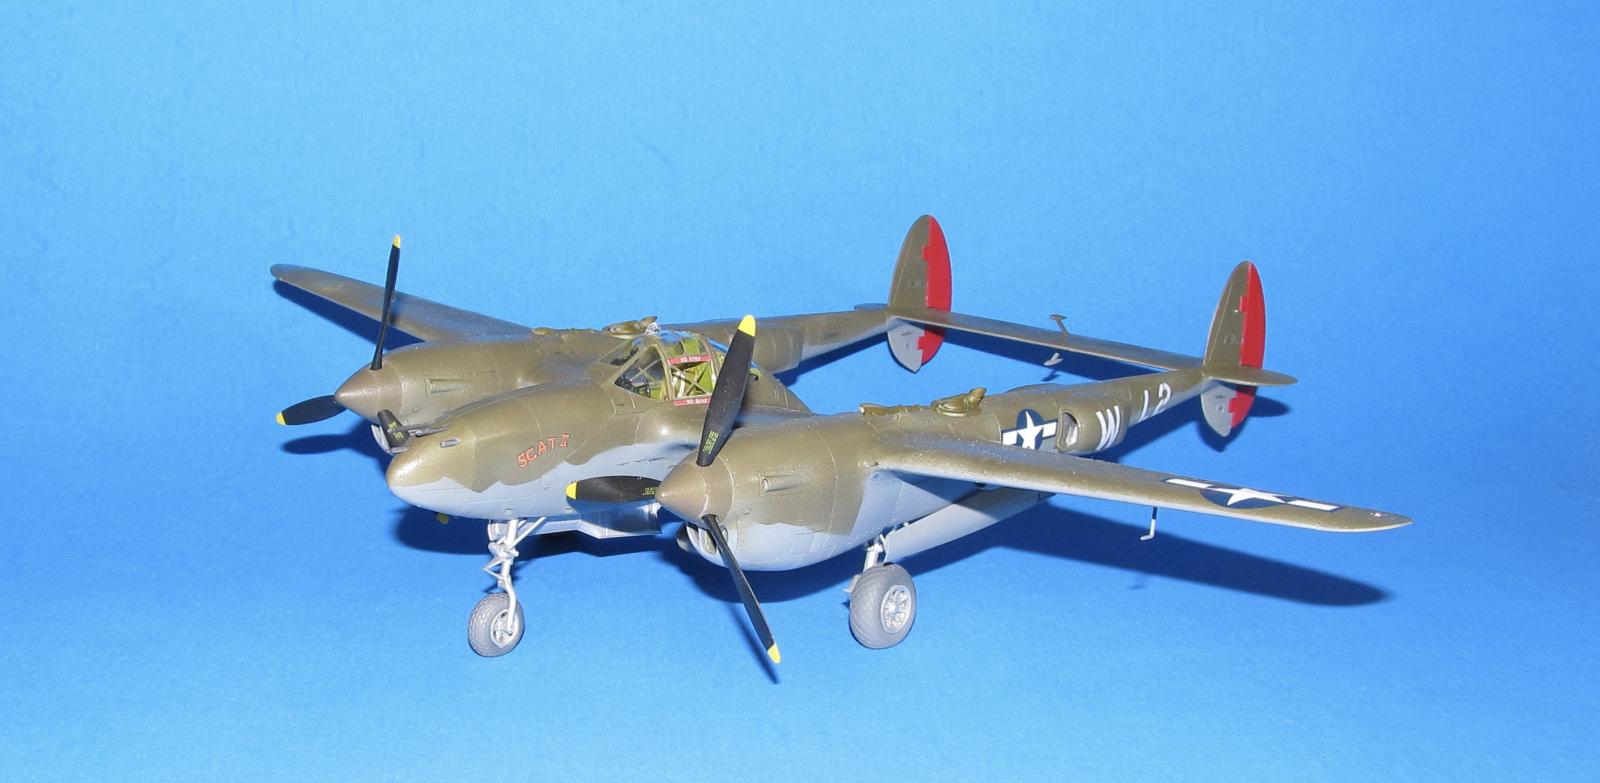
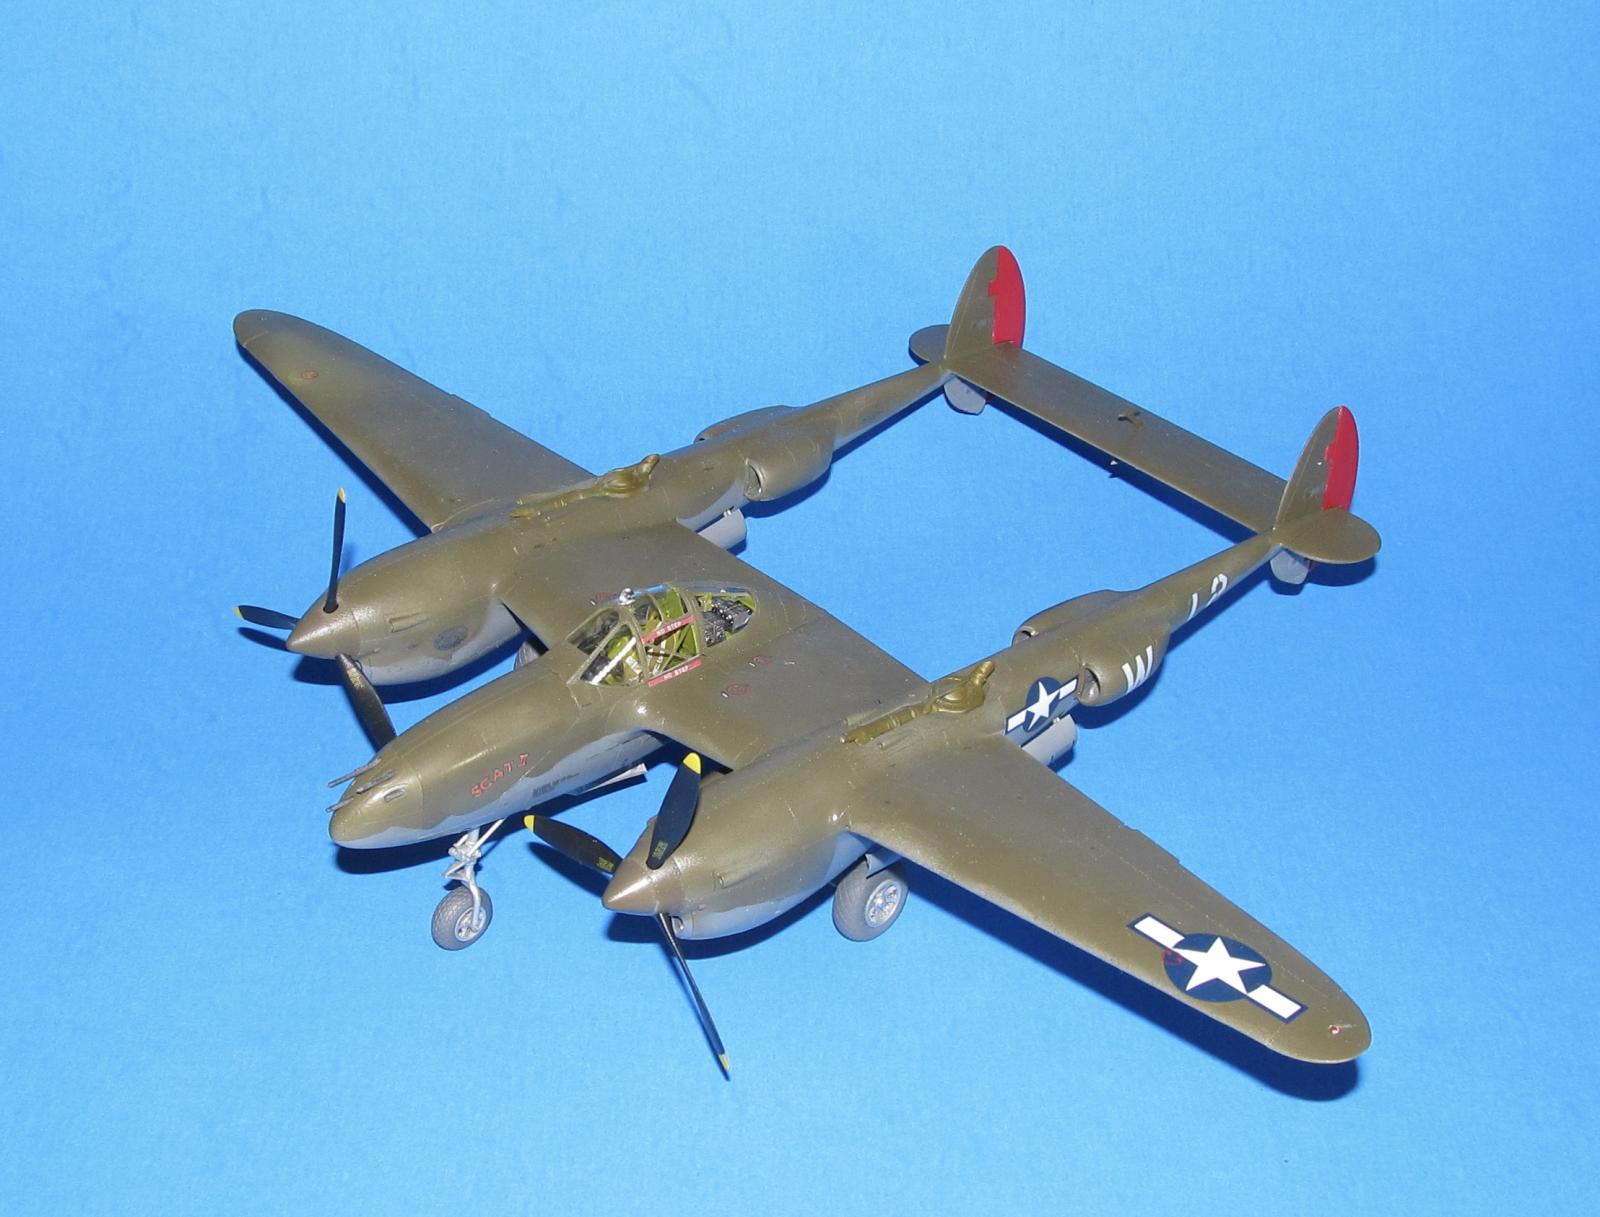
1/48 Tamiya P-38J (Robin Old's Scat II)
The P-38 Lightning was originally planned to be a high altitude twin engined bomber interceptor. It was designed by Clarence Kelly Johnson's team with its now famous and unique twin boom configuration around the turbo-supercharged engines and weapons. Unlike the P-39 Aircobra, the original turbo-superchargers were not deleted by the Army Air Corps and it kept its high altitude performance.
During the prototype testing phase, it suffered from what was claimed to be tail flutter during a high speed dive which wasn't actually the case. The design changes suggest by the US Army included the prominent tail masses on the central stabilizer which didn't do anything. It wasn't till Kelly Johnson with USAAC support demanded that the NCAA do tests in its high speed wind tunnel in 1943 which identified the actual problem. The problem was actually due to the changing center of pressure towards the tail at high speeds. This would be remedied by adding quick acting dive flaps to the outboard side of the engine nacelles added to the late J/L model P-38s.
It carried a concentrated firepower of four .50 caliber machine guns and one 20mm cannon. The US Army tried to replace the 20mm cannon with a 37mm one, but this proved impractical and useless in testing so the USAAF wisely kept the 20mm cannon.
It would fight in all operations theaters during WW2. Despite past aviation histories proclaiming the Germans called it the Forked Tailed Devil, the Luftwaffe had mixed opinions on the P-38. Some felt it was an easy kill while others viewed it as a dangerous opponent to be respected. It would prove to be more dangerous in the Pacific thanks to its long range and the adoption of energy dogfighting tactics (high speed diving attacks, etc) rather than committing to a turning fight which would have given a major advantage to the Japanese.
The J model included extended chin intakes, new boom/engine nacelles and different supercharger as well as cockpit updates.
The Unit
The 479th Fighter Group was activated in Oct 1943 and initially deployed to defend the US West Coast. However, the need for escort fighters by the 8th AF was deemed more important. In April 1944, the 479th FG was sent to England. Unlike most of the 8th AF fighter groups, it did not have any unique colorful markings which made their planes look quite drab that probably makes them the least favorite 8th AF fighter group among modellers. The 479th would fight in Europe for the rest of WW2 providing close support for D-Day and other land battles, bomber escort duty as well as fighter sweeps.
They were originally issued with hand-me down P-38 Lightnings discarded from other fighter groups which got the better P-51 Mustangs. By Sept/Oct of 1944, the 479th finally got their Mustangs which they flew till the end of the war.
The 479th Fighter Group was deactivated in Dec 1945. It was reactivated in 1952 as the 479th Tactical Fighter Wing during the Korean War at George AFB where it would serve until it was deactivated again in 1957. It would be briefly reactivated in 1991 and deactivated soon after due to budget cuts. Finally it became the 479th Flying Training Group which would be activated in 2001, deactivated in 2007 and currently activated since 2009 providing primary training for USAF pilots.
The Pilot
Lt Robin Olds was born of USAF royalty in 1922. His dad was a former aide to General Billy Mitchell and later became a Major General (who died in 1943) while Robin knew personally Carl Spaatz and other USAAC/USAAF notables. Robin became a football player of note in high school and was offered various football scholarships, but turned them down to go to a West Point prep school. In 1939, he tried to join up with the RCAF but was stopped by his dad. Instead he went to West Point as part of the Class of 1944 who graduated early in 1943 as the need for officers was dire. Robin joined as an “Air” Cadet.
Robin was assigned to the 434th Fighter Squadron of the 479th Fighter Group where he would become a double ace in both the P-38 (five kills) and P-51 (8 kills) during WW2 and rise to the rank of Major by the age of 22.
CONSTRUCTION
It actually began with the props. The parts were cut off the sprues and painted as per the instructions (the prop tips were painted yellow instead of using the decals.) Next the numerous interior parts of the port and starboard booms were removed, cleaned up and then sprayed with Badger Grey Stynylrez primer. Once the primer was dry then most of the parts were sprayed with Vallejo Metal Color Aluminum and various other non metallic colors were done with a paint brush.
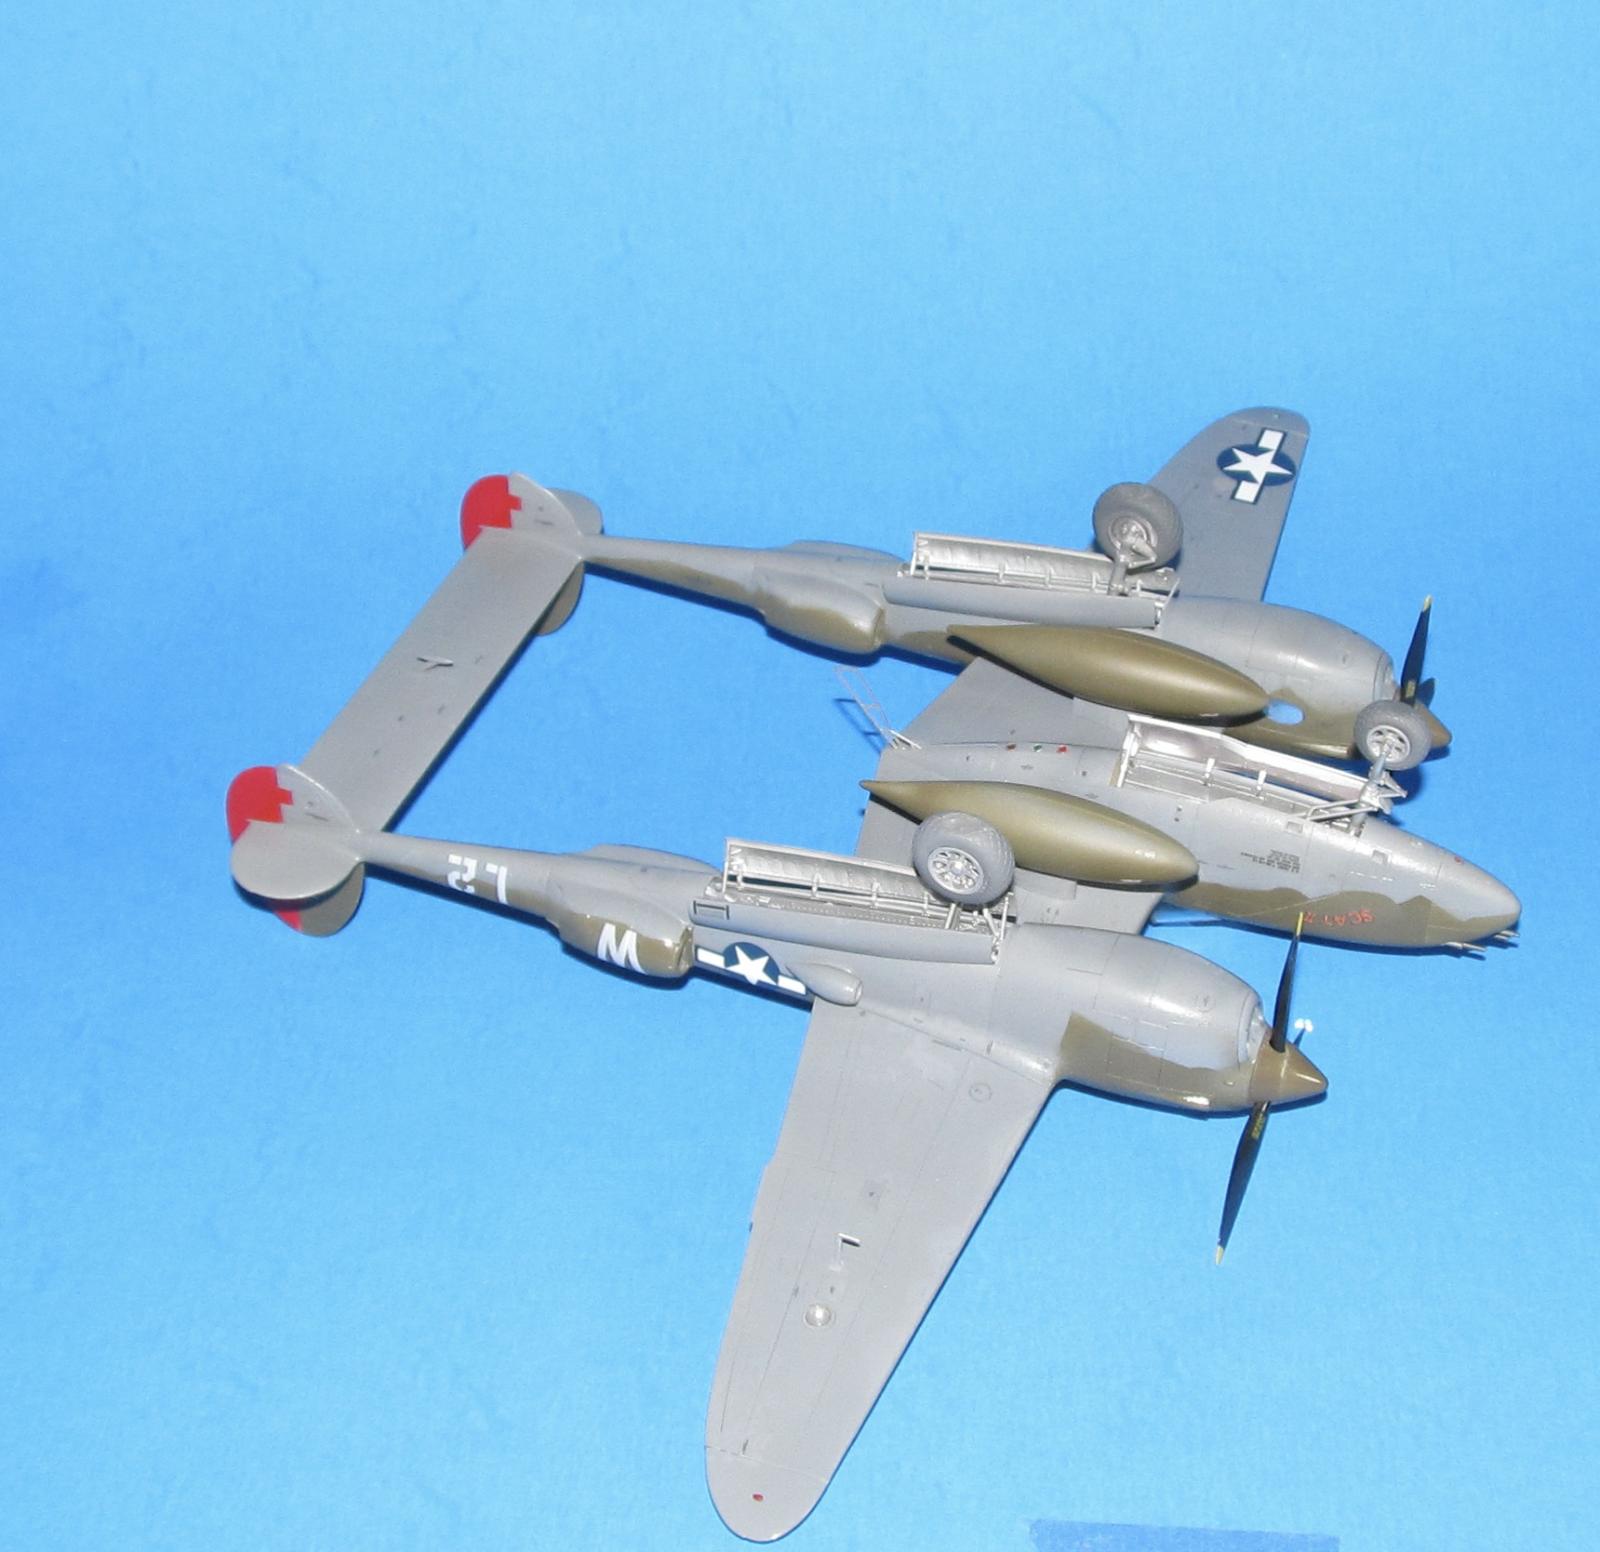
The landing gear parts (including the doors) as well as the Eduard resin wheels were cut from their various mounts, cleaned up and then primed. Once the primer coat was dry and sanded, the landing gear and door interiors were sprayed with Vallejo Metal Color Dull Aluminum while the tires were primed and painted with XF-69 NATO Black. When the tires were dry, the hubs were masked off using the Eduard masks and sprayed with VMC Aluminum.
Finally, I started the cockpit. Like Tamiya's F-4B and F-14s, the P-38 cockpit is not a simple spray and pray of interior green and black. It requires some masking, some careful brush painting and several different colors. First I hacked off the instrument panel and replaced it with Eduard's LOOK resin part. It's quite nice and with sharper lines than I could ever paint plus the dials are lined up with their details unlike my experience with IP decals.
Next I sprayed various consoles and panels with semi-gloss black and/or Vallejo Air Aluminum as per instructions (masking done as well.) I masked those off and sprayed the interior with a new bottle of Gunze H58 Interior Green... however, it seems that this version of H58 is too yellow (seems more like the sun faded yellowish version of IJN interior green) so I ended up using Mission Models Interior Green too.
After I painted the seat, I added Eduard pose-able steel seatbelts which are more flexible which means that it can hold folds/bends better than their previous photo-etch seat belts.
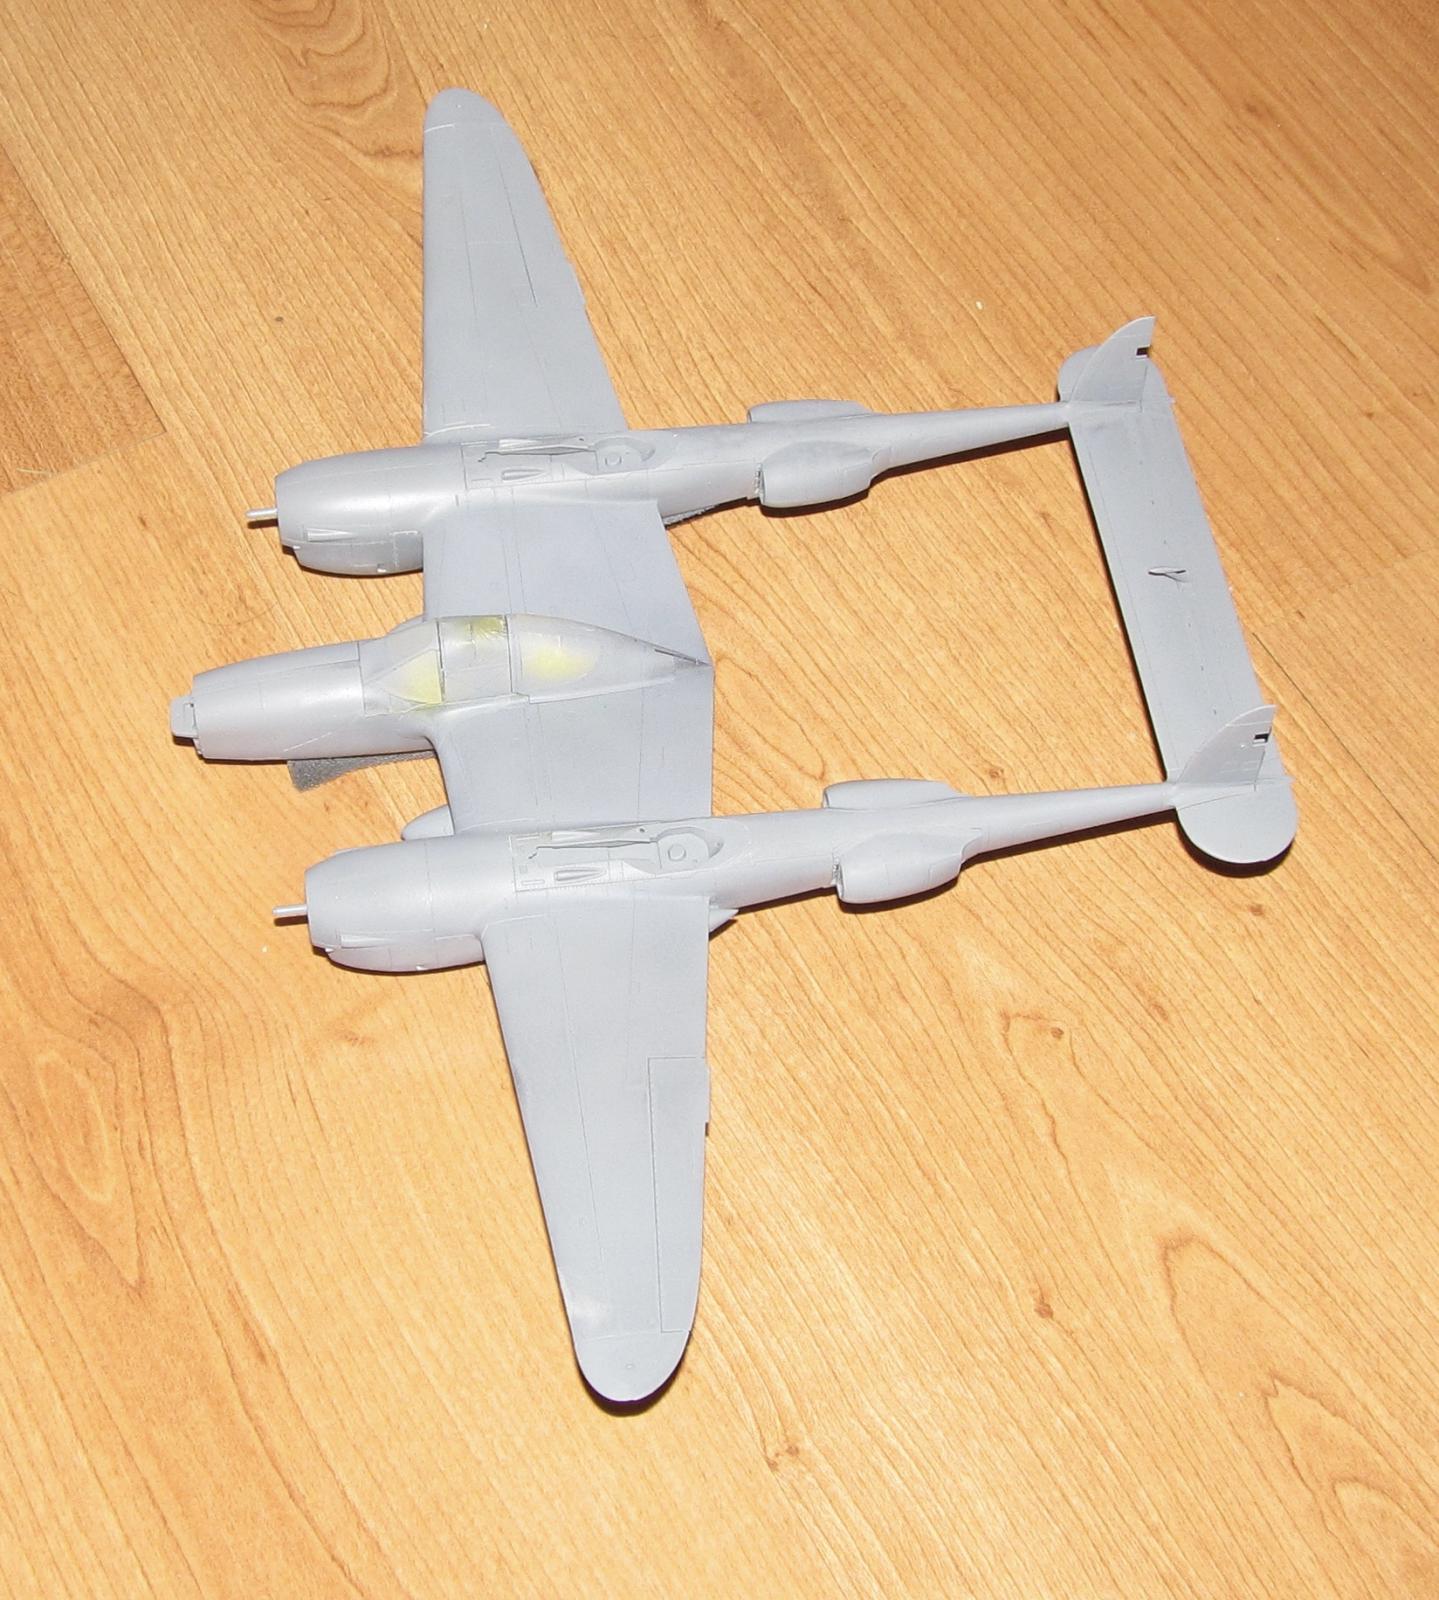
At this point I added all the internal parts, ball bearing weights and closed up the booms and cockpit and then attached them together with the underside of the wings. There were a few places where you needed to sand, but not as many as you would think. The booms had seams running down the middle from the supercharger to the tailplane (so who cares about phantom seams!) so most of the sanding was done on the underside and the middle of the topside. I glued those seams with CA glue and the rest with Tamiya Extra Thin Cement.
The leading edges of the wings were glued with CA glue while the rest of the internal structure was glued with Tamiya Extra Thin cement. I sanded those seams and the seams along the wing join to the cockpit pod.
I shoved in the center aileron between the two booms and left off the rudders as they were going to be painted a different color. The extended range fuel tanks were glued together at this time (no seam work required as Tamiya used the metal flange as the seam.)
Lastly, I removed most of the scratches with an 1800 grit sanding pad and was pretty much ready for painting.
COLORS AND MARKINGS
Painting
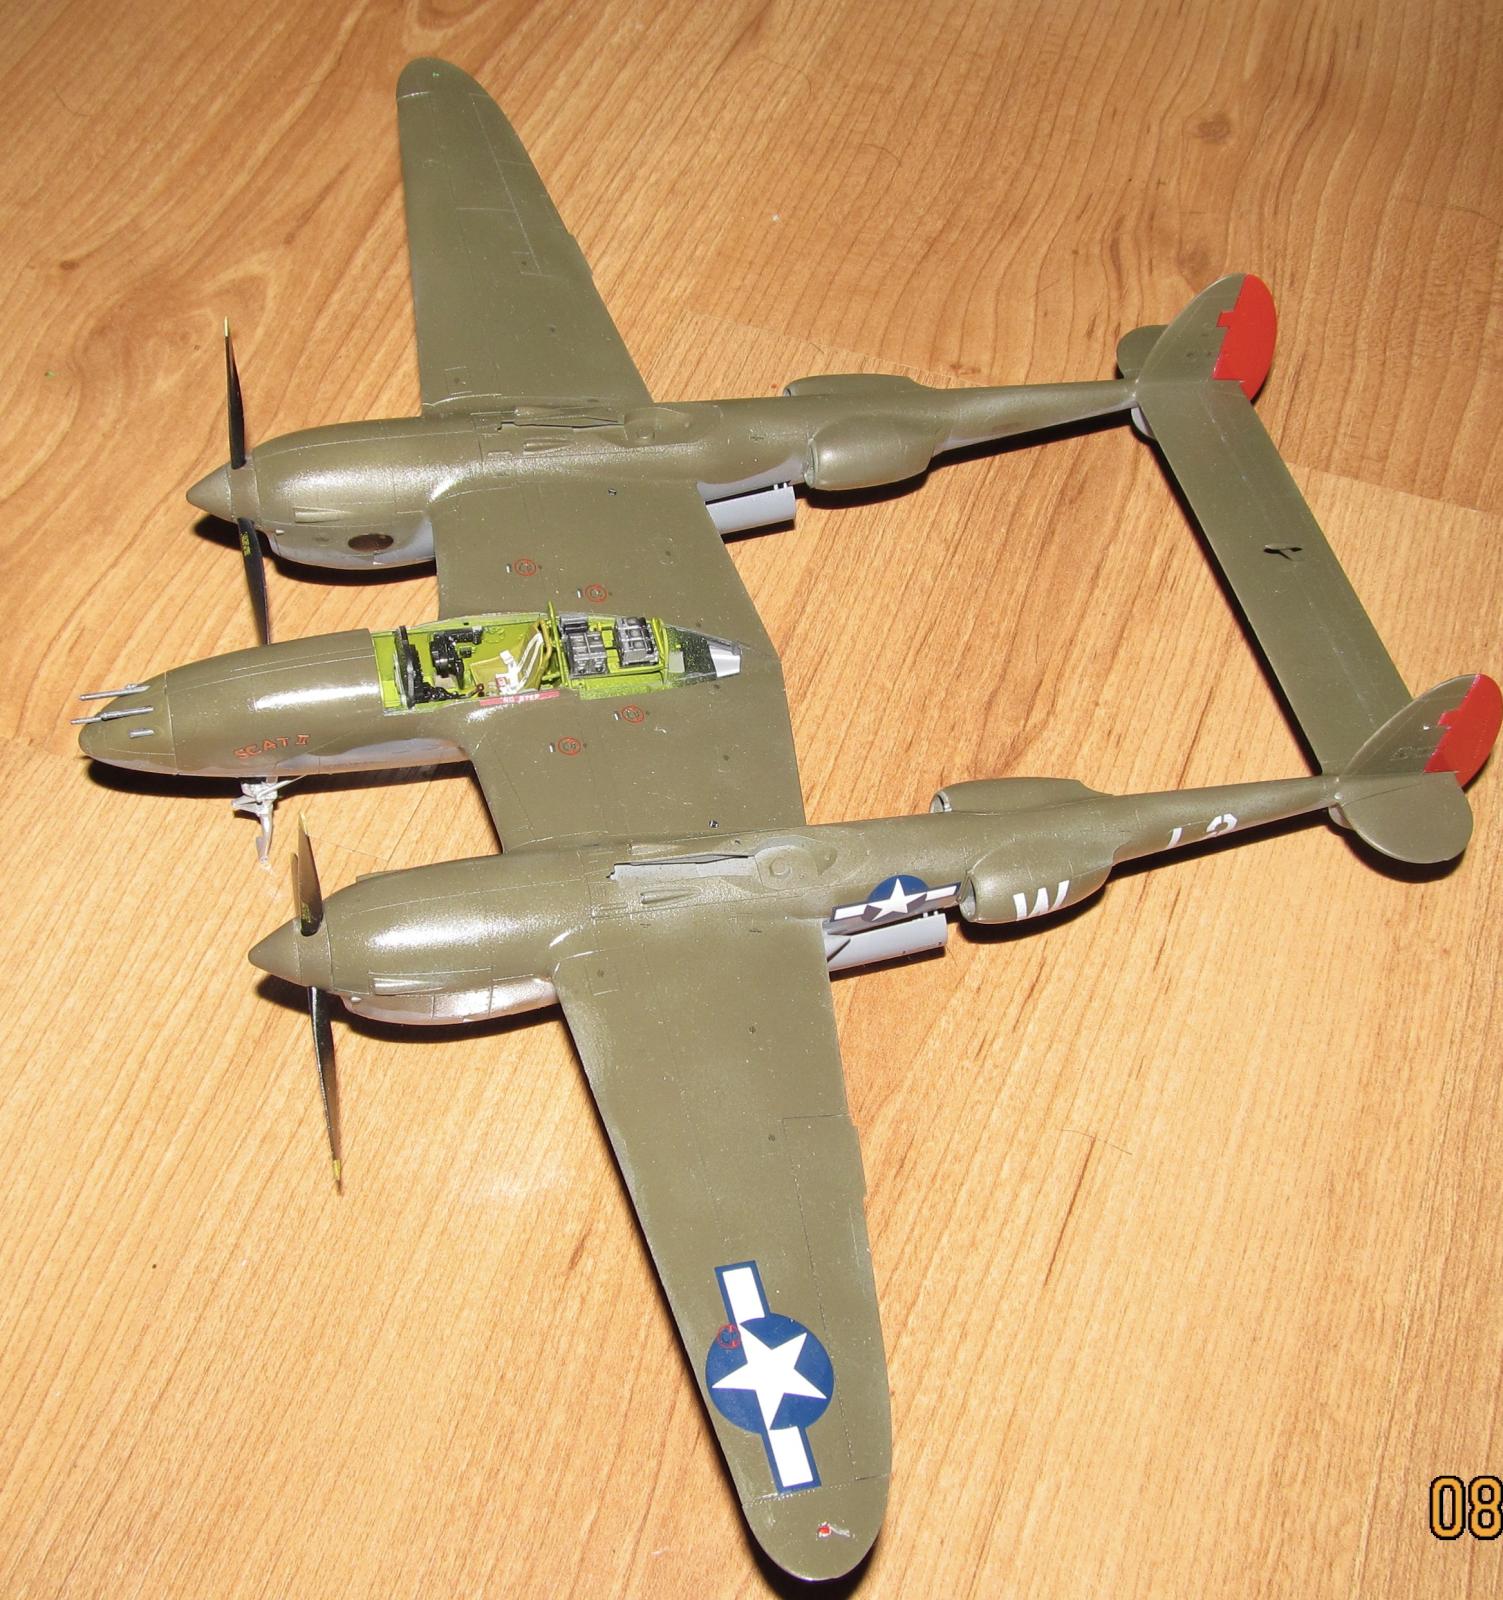
Robin Old's Scat II is almost unremarkable (especially compared to other 8AF fighters) as it is an olive drab over neutral grey plane with red rudders. I first masked off the interior parts with cut packing sponges from various Eduard and Aires aftermarket sets or used low tack tape. Next I primed the entire surface with Badger Grey Stynylrez in two very light coats.
The two rudders were sprayed flat white to provide a decent base for the red.
Once the primer coat was polished and various blemishes were removed I sprayed on Tamiya Neutral Grey XF-53. When the NG was dry, I masked off various areas with pre cut masks made of painter's tape and then I sprayed on OD in small bursts. I ended up having to repaint certain areas as I either missed them or didn't spray enough paint.
According to Tamiya's instructions, the fuel tanks were 100% OD so that was what I went with. Also I sprayed the various intake coamings OD and/or NG as per Scat II's painting instructions.
I used the Eduard masks (both exterior and interior) to mask off the canopy. Originally I wanted the canopy open, but due to some unforseen circumstances (cough losing the small open canopy parts cough) I ended up using the closed canopy instead. Interior green for the interior and a primer coat of Grey Stynylrez then OD for the exterior.
Decals, Weathering and Final Coat
I sprayed on several thin coats of Vallejo Acrylic gloss and got a fairly smooth coat for the decals. Once it was dry I began to add on the stencils. A bunch fewer compared to the P-38F so it only took three days instead of five/six to do. I used MicroSet and didn't have any issues with silvering.
I added the decals for Scat II. Never worked with Kits World decals before so I didn't realize they didn't have much decal film so the numbers broke up into their individual segments. I had to place each segment in place. Made things a touch more tedious and troublesome. One thing I did right was put down a fair amount of water so I could easily move the decal segments around.
The actual SCAT II marking broke up into their individual letters so I placed each one individually.
Lastly, I added the main US insignia decals and stencils from the Tamiya decal sheet.
I didn't opt to do much weathering and left the plane clean.
Once the decals were dried, I wiped down the model to remove as much of the decal solution as possible before spraying on the final flat coat.
FINAL CONSTRUCTION
The various landing gear parts and main landing gear doors were added. I glued the landing gear parts in place, but didn't glue the main gear doors as you don't need to. The nose doors have to be glued in.
I drilled out the holes in the resin tires and cut off part of the wheel shaft so they would fit without much issue. The weighted tires are held in place with a drop of CA glue. The various prepainted intake chin pieces were added and glued in place including the large ones in front of the propellers.
At this point I added the extended crew ladder, the various cockpit parts as per instructions, then the radios, the IP console and seat. Next, I added the gunsight (painted with a brush and some gloss black paint.) Finally after removing the masks I added the canopy pieces to the model using white glue.
I glued the nose gun barrels to the nose and added nose piece on the plane.
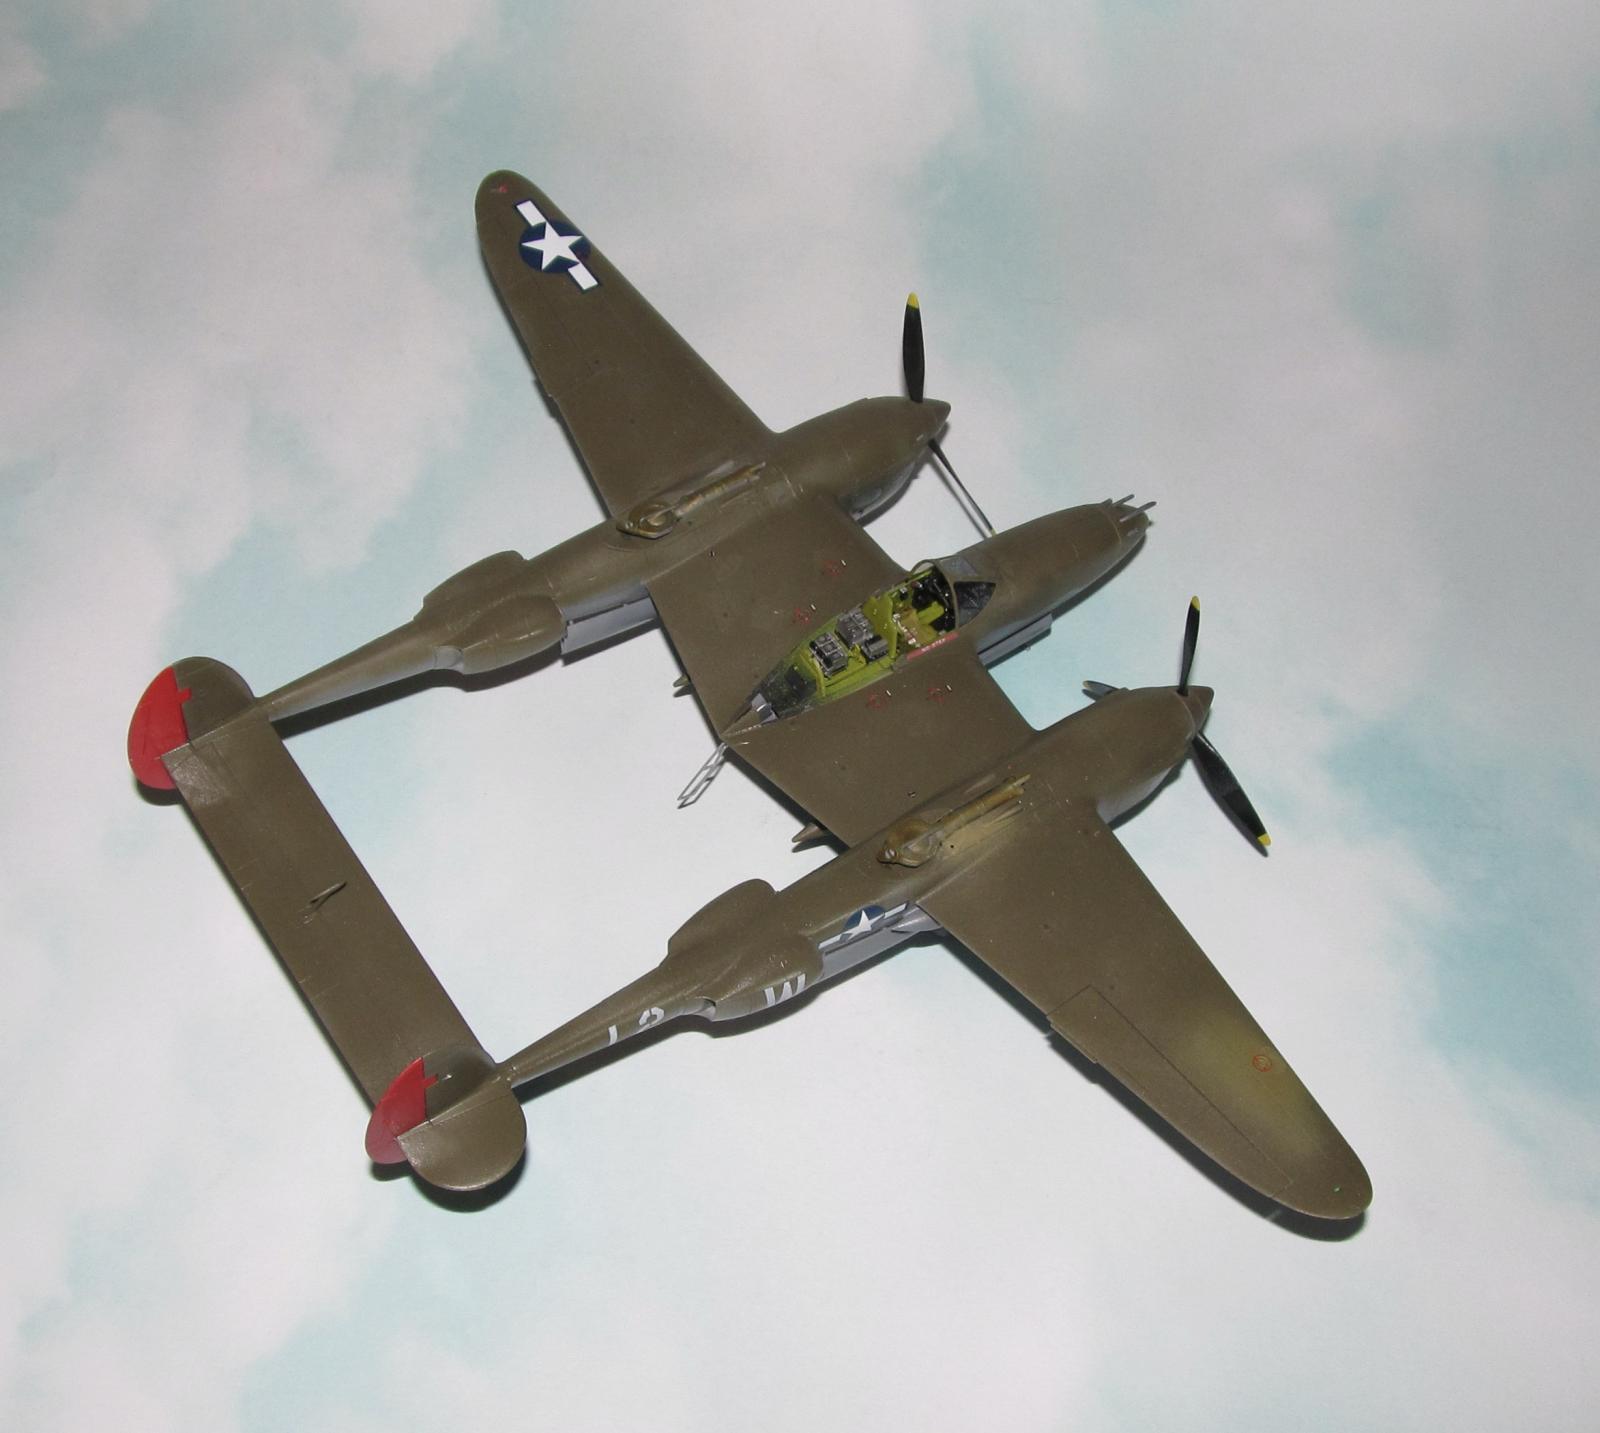
Finally, I added the prepainted Eduard resin exhausts (had a CA glue mishap and had to sand down/polish repaint that area where the glue splattered) and the various tubes/antenna/tail weights. Various landing lights were painted with a brush (white first then clear colors if necessary.)
Voila, I was finally done Scat II.
CONCLUSION
The Tamiya P-38J is a continuation of one of the best model kits I have ever built and deserving of all the praise and accolades. You really can't screw it up unless you really want to. It is superbly designed with amazing fit to facilitate easy painting and decaling. About the only thing I can complain about is the price, but that is just me being cheap and nitpicky—as the extra cost is worth it in the time you save. I'm just happy I finally got to build a J model without too much headaches.
Note: After this was published in MM, a reader pointed out I screwed up and had the props reversed so what you're seeing is the model with the props on the wrong nacelles. My bad.
Nice work, Dan.
Thanks John
Thanks for all the information concerning the history of this P-38 and the construction sequence. Good job!
Thanks John.
Excellent build and ditto article, Dan! Loved reading all these historical fscts.
Thanks Spiros
Very nice result, Dan @dbdlee
Supported by a nice to read and very informative article, thanks for sharing.
To be fair, this one's pretty damn easy to build.
Thanks John.
Regardless of the prop, a vice looking aircraft
Thanks George.
Nice write-up, Dan, and a good build of what is already a classic kit.
It certainly is a classic kit. Thanks George
Nice looking Lightning!
Thanks Greg.
Nice build and interesting article.
Thanks very much Chas