ICM's 1/48 scale Gotha Go242A
Hi, guys... this Go242A kit is a recent addition into my collection and is rather a good kit to build, although there are a few tricky areas as well. Firstly, though, I have to apologise because I only realised a few days back that I had very few photos of the build, but as ever, if you would like to see more of that process, the video of the construction is available on youTube via this link - https://www.youtube.com/watch?v=wP94--Bciyc
The Gotha 'family' are all now available via ICM, with the later Go242B variant with a differing undercarriage arrangement, and the powered version, Go244B. In this kit, however, I was a little surpsrised to find no call-outs for the internal areas, and there is one transfer that requires to be appended to the forward cockpit bulkhead in front of the pilot's seat that is also not mentioned; there are images online confirming its position and I would recommend you check them prior to sealing up the cockpit area. In addition, there are several images available that confirm additional machine-guns and their locations, should you wish to further detail the model. I would also suggest the kit would make a very good subject for a diorama, although I resisted building an ICM He111 as a towing aircraft - I seriously don't have room for that combination even in my biggest cabinet!
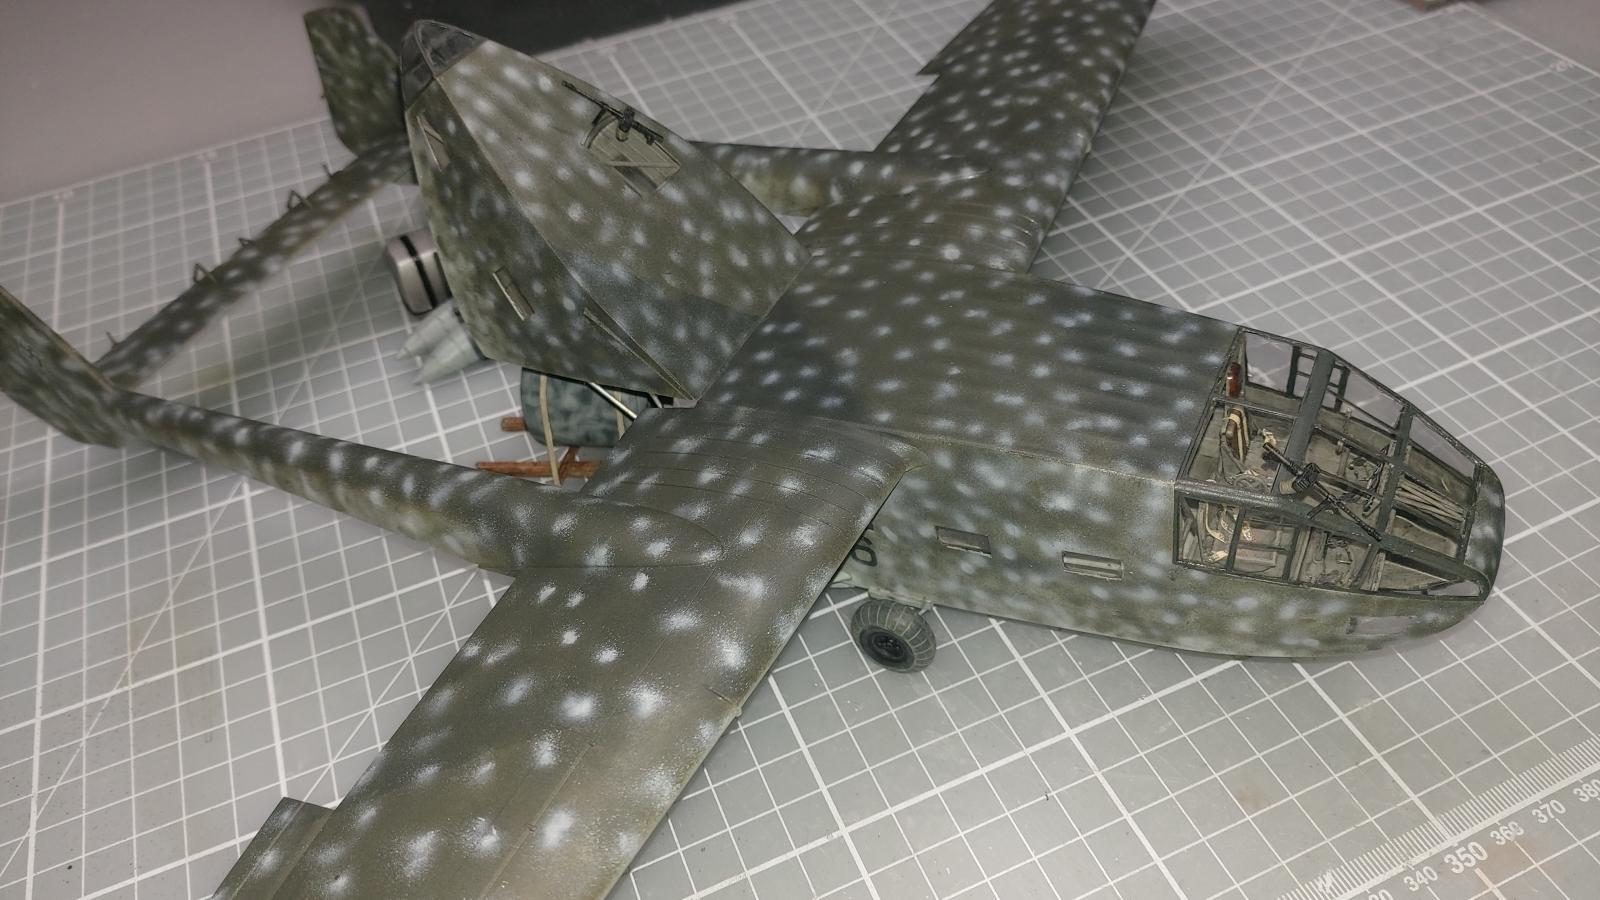
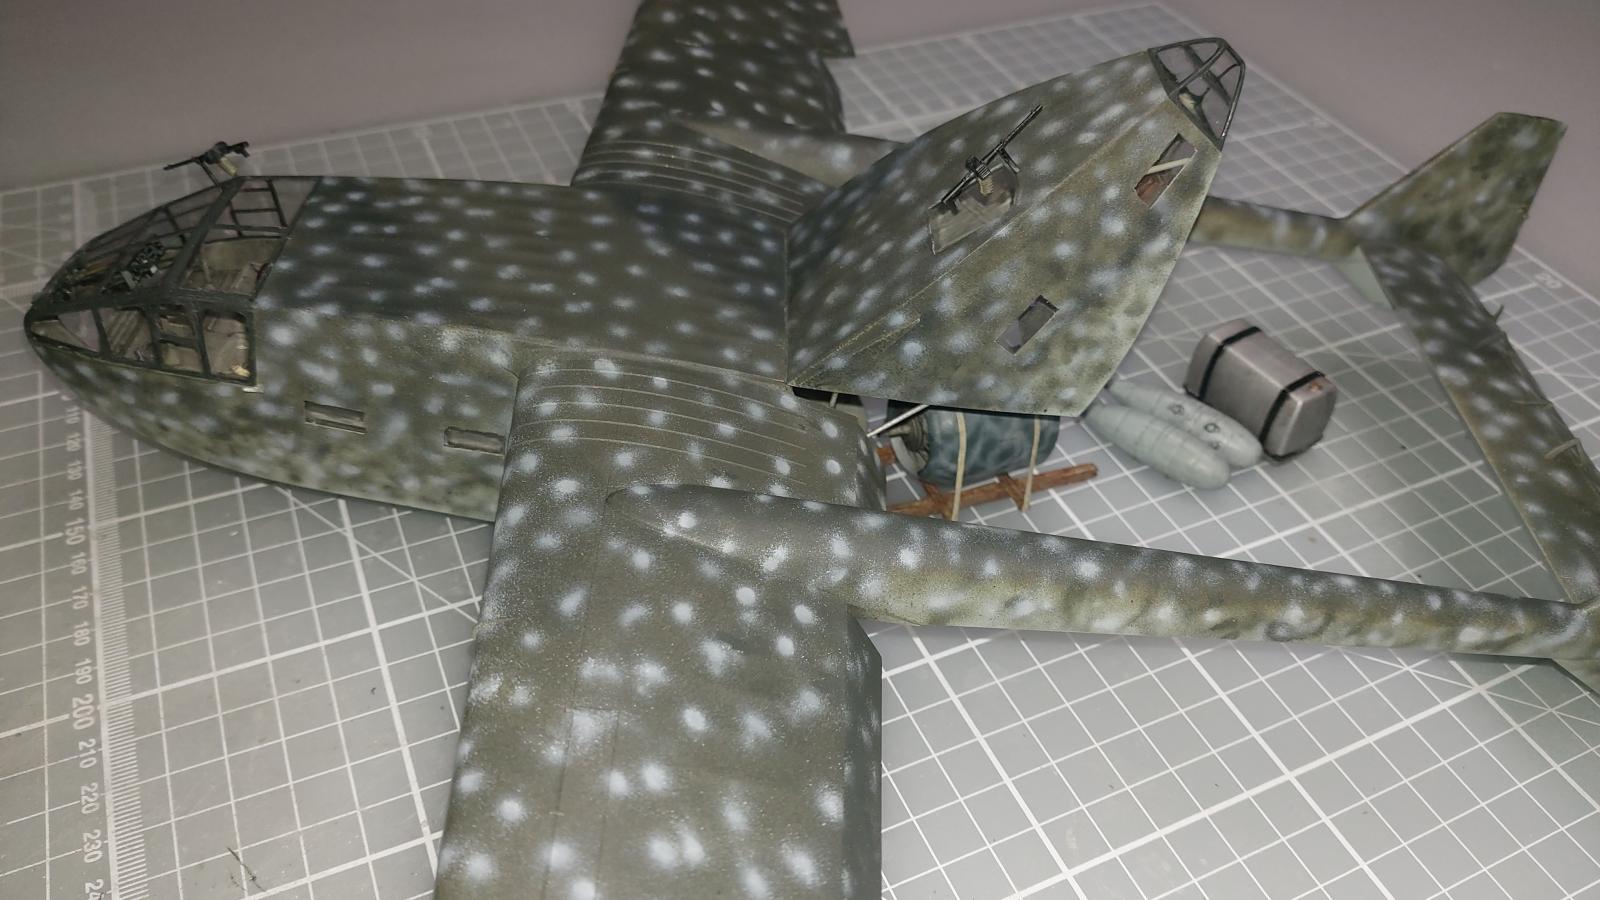
The surface detail on the model is very good, and replicates the wood, plywood and fabric external surfaces very well, and has good framework detail for the interior areas, as well as twenty seats in two banks of ten. I decided not to add the seats in, preferring instead to add some items of cargo.
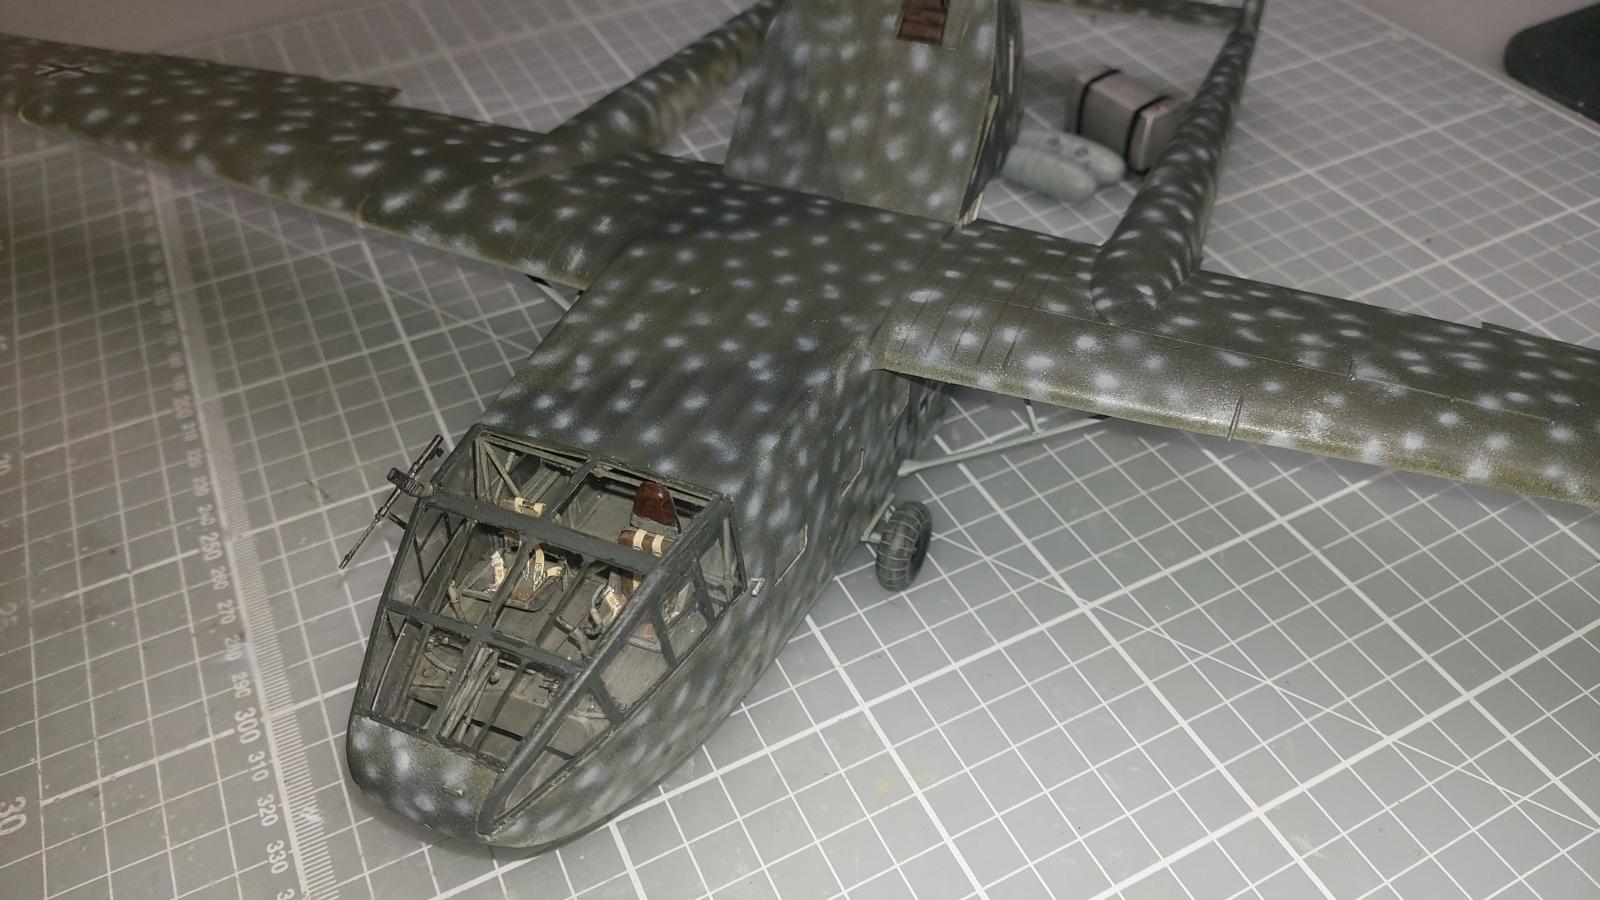
Transparencies are very clear and by the nature of the design being a glider, there is little in the way of cockpit detail but all will be seen through the main canopy pieces; the only additions/alterations I made were to add seatbelts and to replace the plastic support arms for the open tailgate with brass rod, in order to give some additional strength and stability to that assembly.
The colour scheme is taken from a contemporary wartime photograph; the full codes appeared partially overpainted on the photo so the unit is not known. Consequently, I chose - based on the few code characters I could see and my personal interpretation of them - to allocate a code indicitive of 1.(Go)/Verbindungskommando (S) 4, on the Eastern Front, and while lacking any suggestion of a yellow fuselage band, it does appear to have had yellow-painted underside wingtips.
I hope you like the final result, and while I appreciate it's not like me to be so remiss, I am nonetheless off now to write out my punishment of 100 lines - "I must remember to take more photos, I must remember..." 🙂
Regards,
Paul
Amazing result on a model rarely seen built, Paul!
Congratulations!
Thanks, Spiros... something a little different, indeed. Glad you like the result... ;-).
A beautiful result, Paul @paulh
Lots of detailed work, luckily this can still be seen through the windows.
Nice work on the camouflage as well, makes it look like a dotted eagle ray.
Thank you, John... I had to look up the Eagle Ray, but yes, you are absolutely correct, it does have a resemblance to it... :-).
Well done! I thought about getting one or two to go with my He-111 Zwilling, but I don't have enough real estate. Great paintwork, looks like something that came up from the ocean.
Thanks, Chas... I feel your pain with the lack of real estate! 😉
This is a big son-of-a-gun, Paul, but your few photos look like you've done it up proud. The different scheme is eye-catching. I wonder if also adding a brass axle for the wheels might not be a good idea, especially if the modeler wants to add more "luggage" to the cargo hold. Congratulations on being so quickly out of the gate with this great build!
Christopher, thanks for your comments. Yes, it is a large model, and I think your suggestion of a brass axle is feasible, but disconnecting all of the small attendant support struts may be a pain. The frame for the (sometimes) jettisonable undercarriage (wasn't always jettisoned) is all made as one piece. I found the undercarriage okay for what I wanted to do, although I played around with the thought of the 'dismantled Bf109 fuselage' scenario, again based on a wartime photo... maybe something to work on in future.
🙂 ... Greetings ... 🙂 :
Good eye candy Paul!
The paint scheme alone caught my attention, reminds me of a whale, and the talent
to apply this paint work is even more amazing.
Love this build.
Thanks, De4ever... the model does have a certain 'maritime' appearance... ;-).
Interesting aircraft. Great job on the build. @paulh
Thank you, John... I appreciate your comments and am pleased you like the end result... ;-).
@paulh
Been tempted to buy one of this, and now ICM just delivered the engined version of the Gotha I just might give in sooner or later.
How was the assembly overall? I’ve read elsewhere the issue you mention on the forward cockpit section.
It’s a great model with a very appealing camo Paul, well done and thanks for sharing it here
Hi, Pedro... thanks for your comments. Yes, I found the build to be good; the internal frames are strong enough as long as you are careful removing them from the sprue, and when attaching the panelling. The fuselage sides and main transparencies have angled edges to allow for a clean fit, but you may still require a little filler along the edges, which can be a bit awkward but nothing that should set your build back. As I mentioned above, there are no colour call-outs or indications where the internal transfer should be applied - this is the one with white text on the transfer sheet - to the forward cockpit bulkhead, but overall, these are relatively small issues. It's a big kit and can be challenging to manoeuvre after the tail booms go on, so just go carefully. I look forward to hopefully seeing your finished kit here in the future... ;-).
Very nice! Like the scheme, and not many Gothas seen built! I have one in 1/72 but still sitting in the stash...
Thanks, Greg... much appreciated.