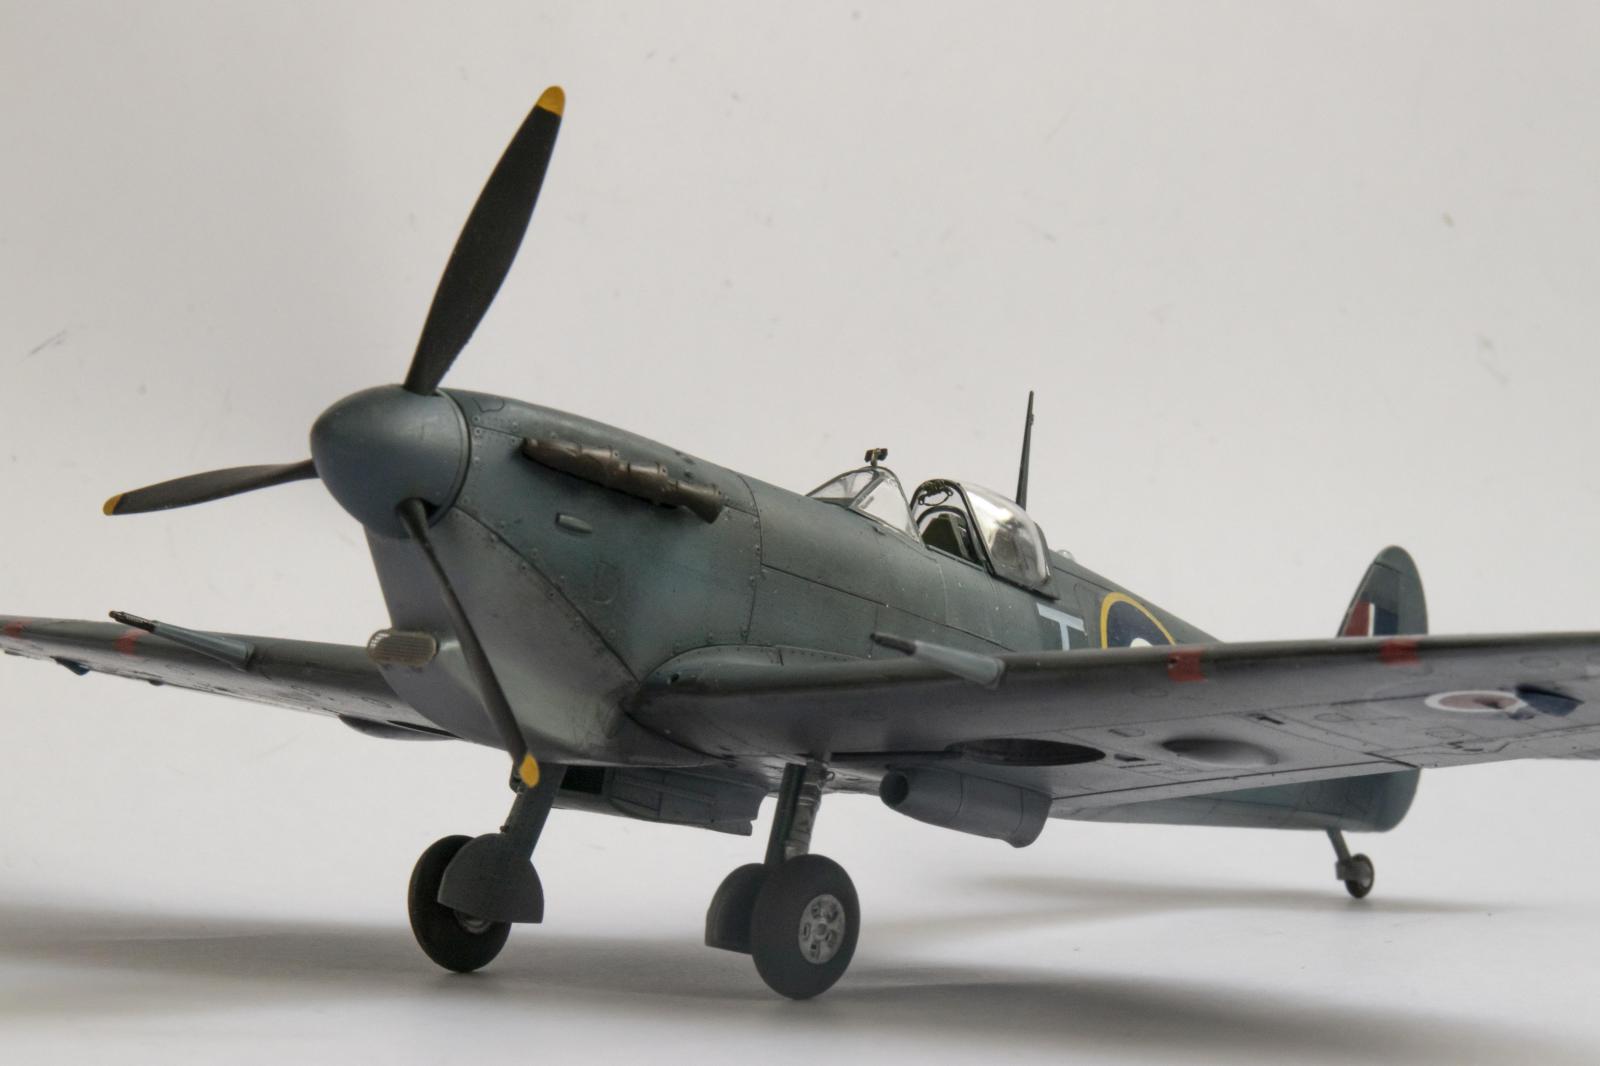
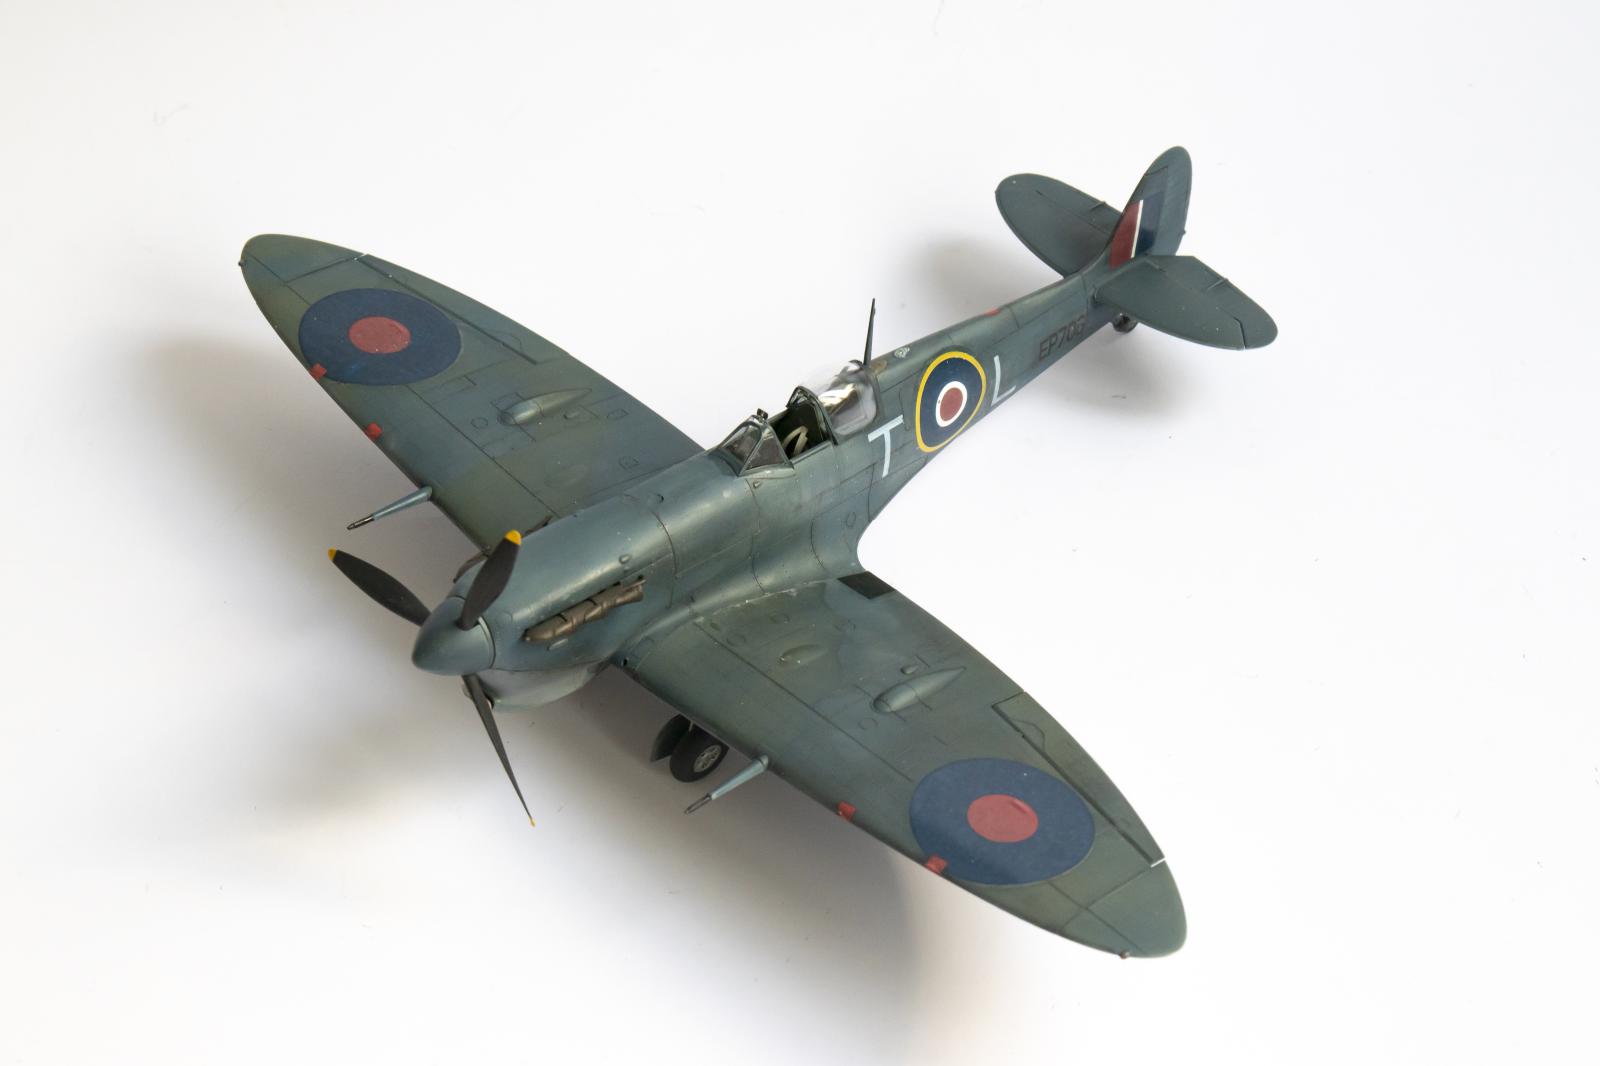
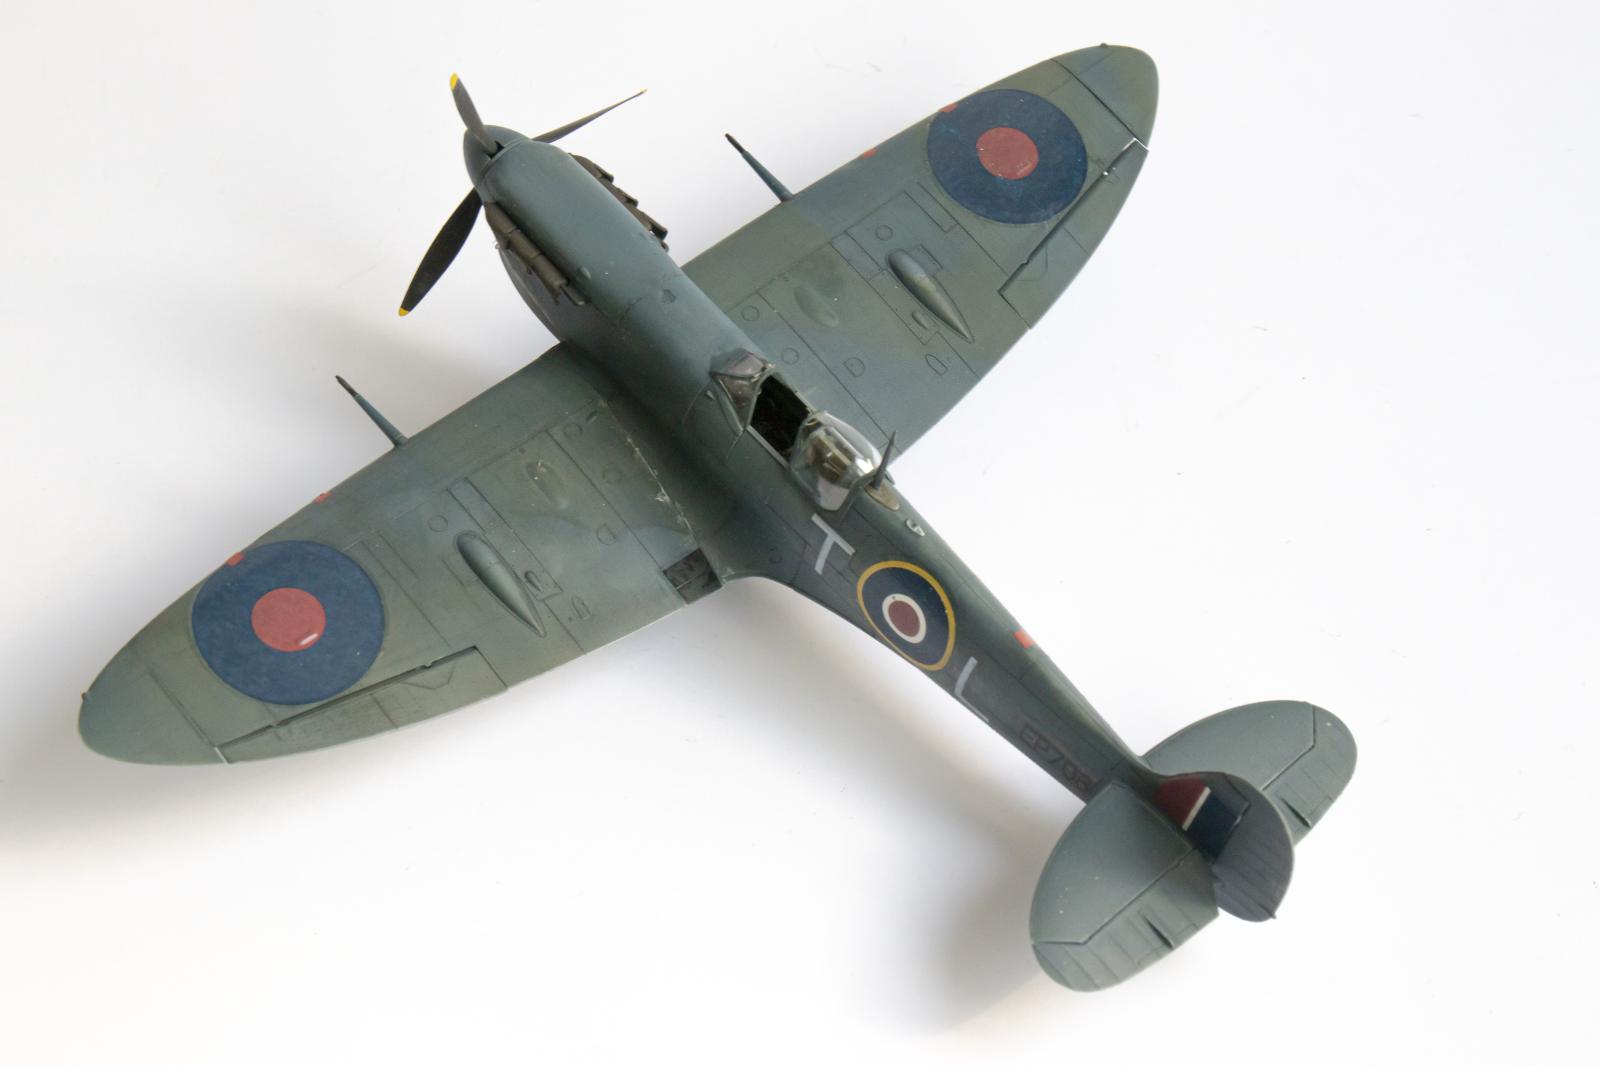
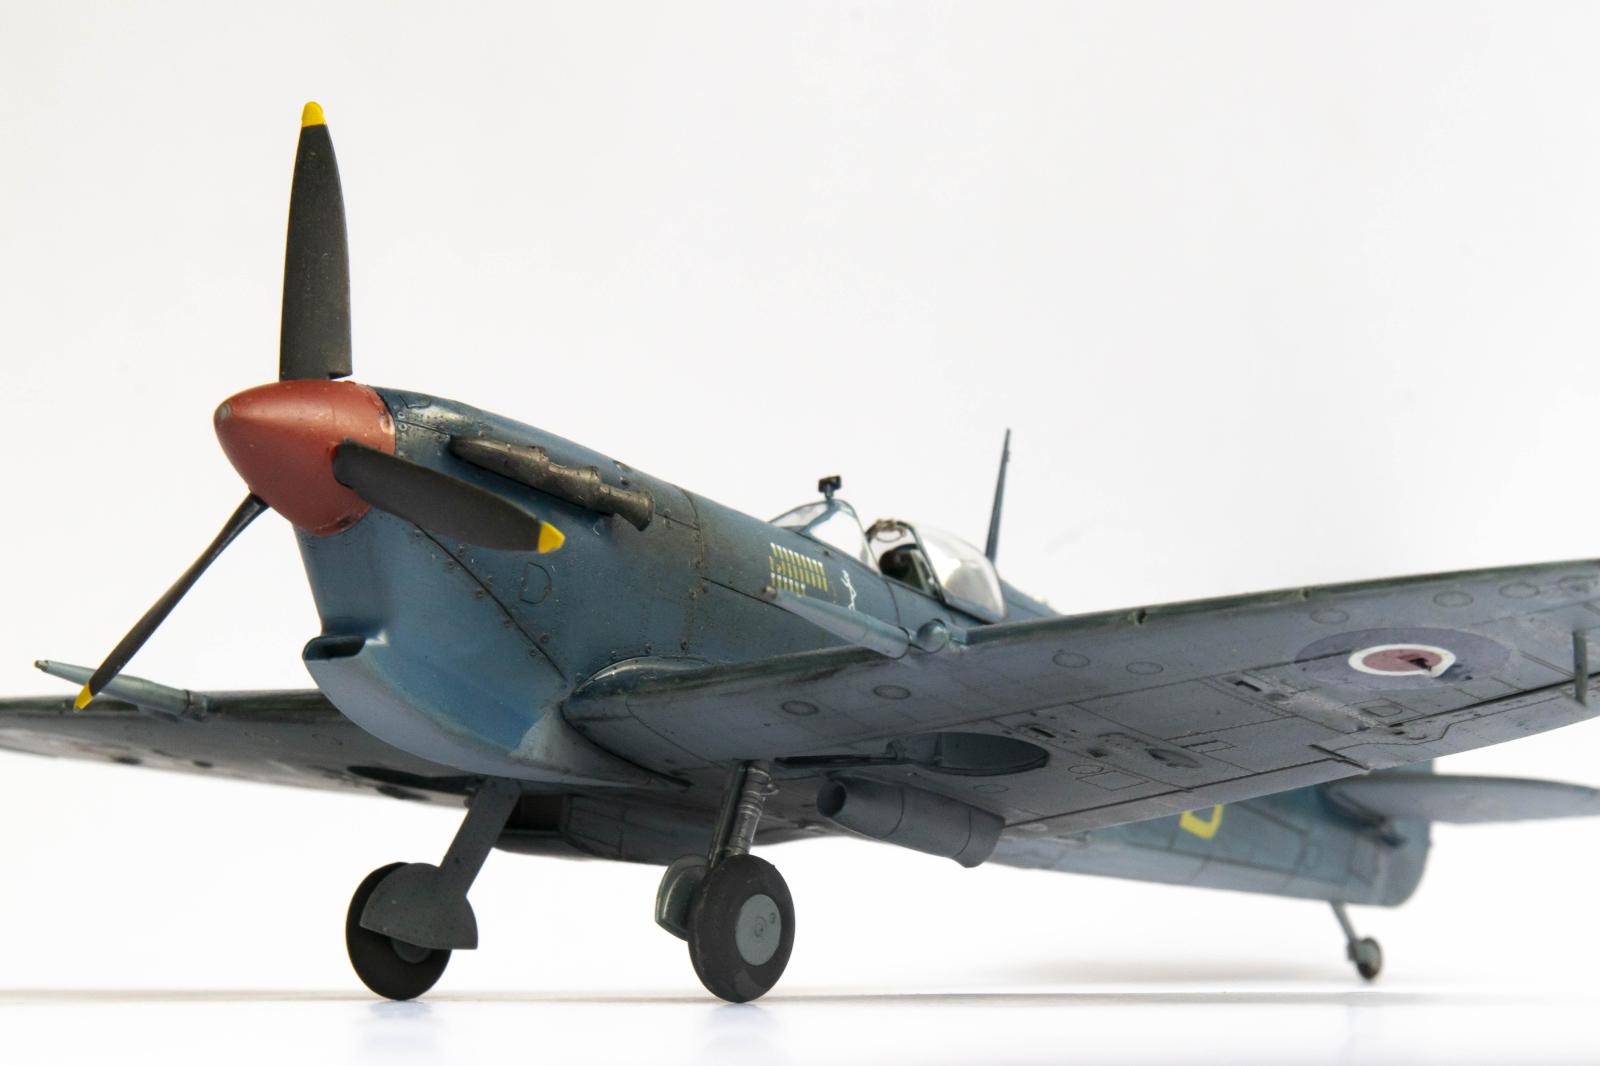
Malta blues: Suggestions to ease the assembly process of Eduard 1/48 Spitfire Vs.
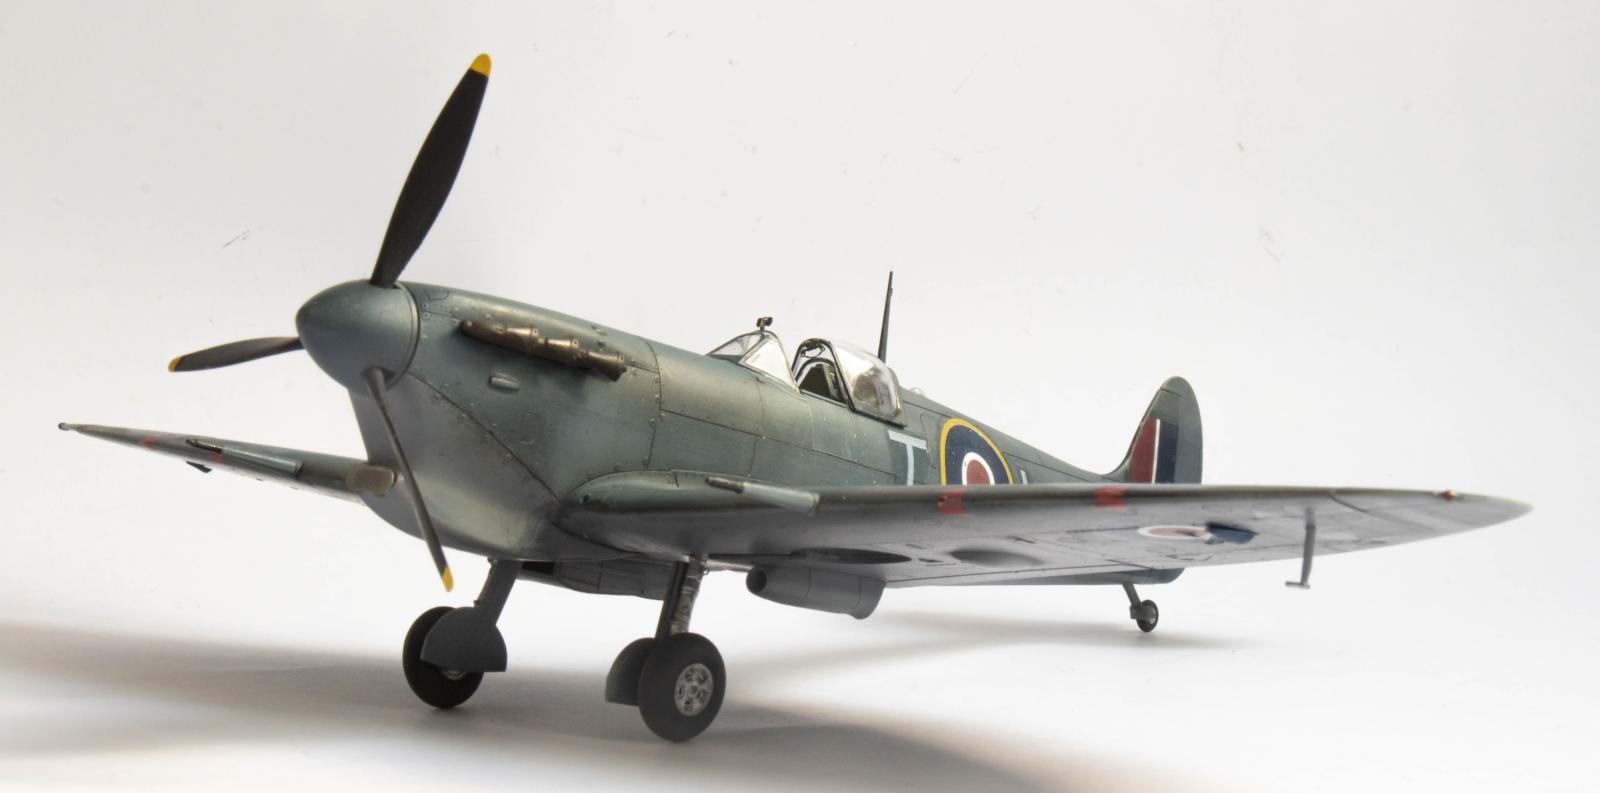
Eduard's 1/48th Spitfire variants are considered the best in the scale thanks to the high detailing standard of parts and the delicate surface texture. However, the building process is complex because many of the parts are fiddly and the seemly very tight fit of main components, such as fuselage halves and wings.
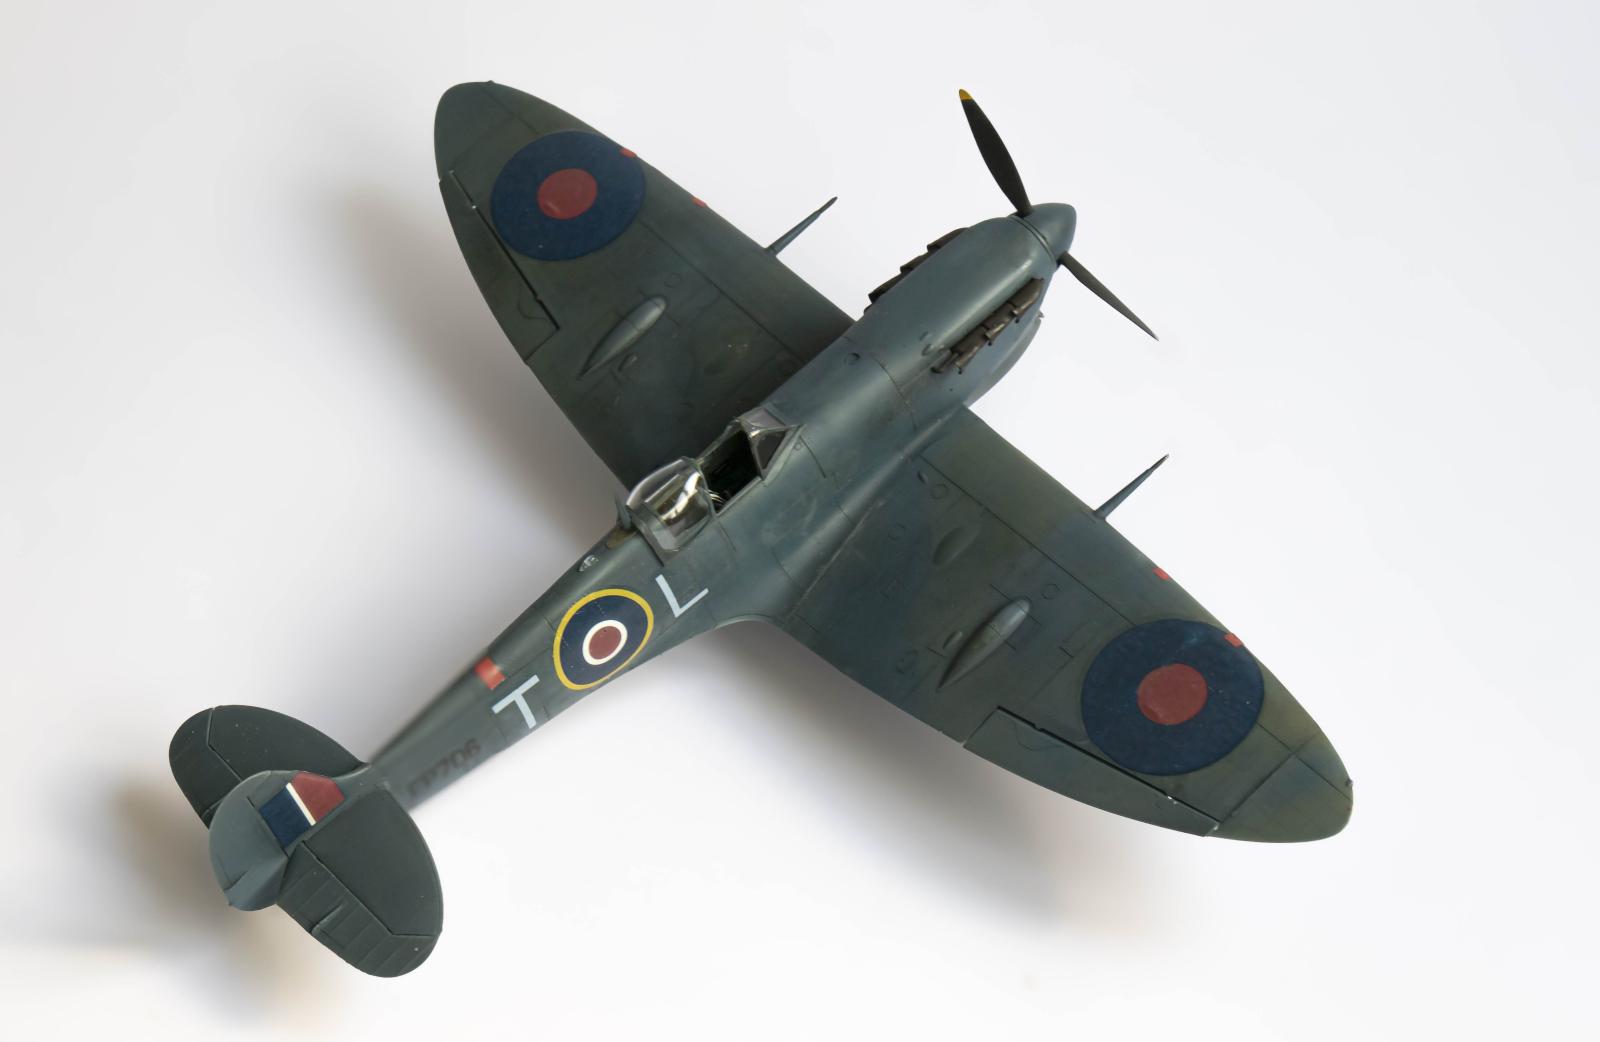
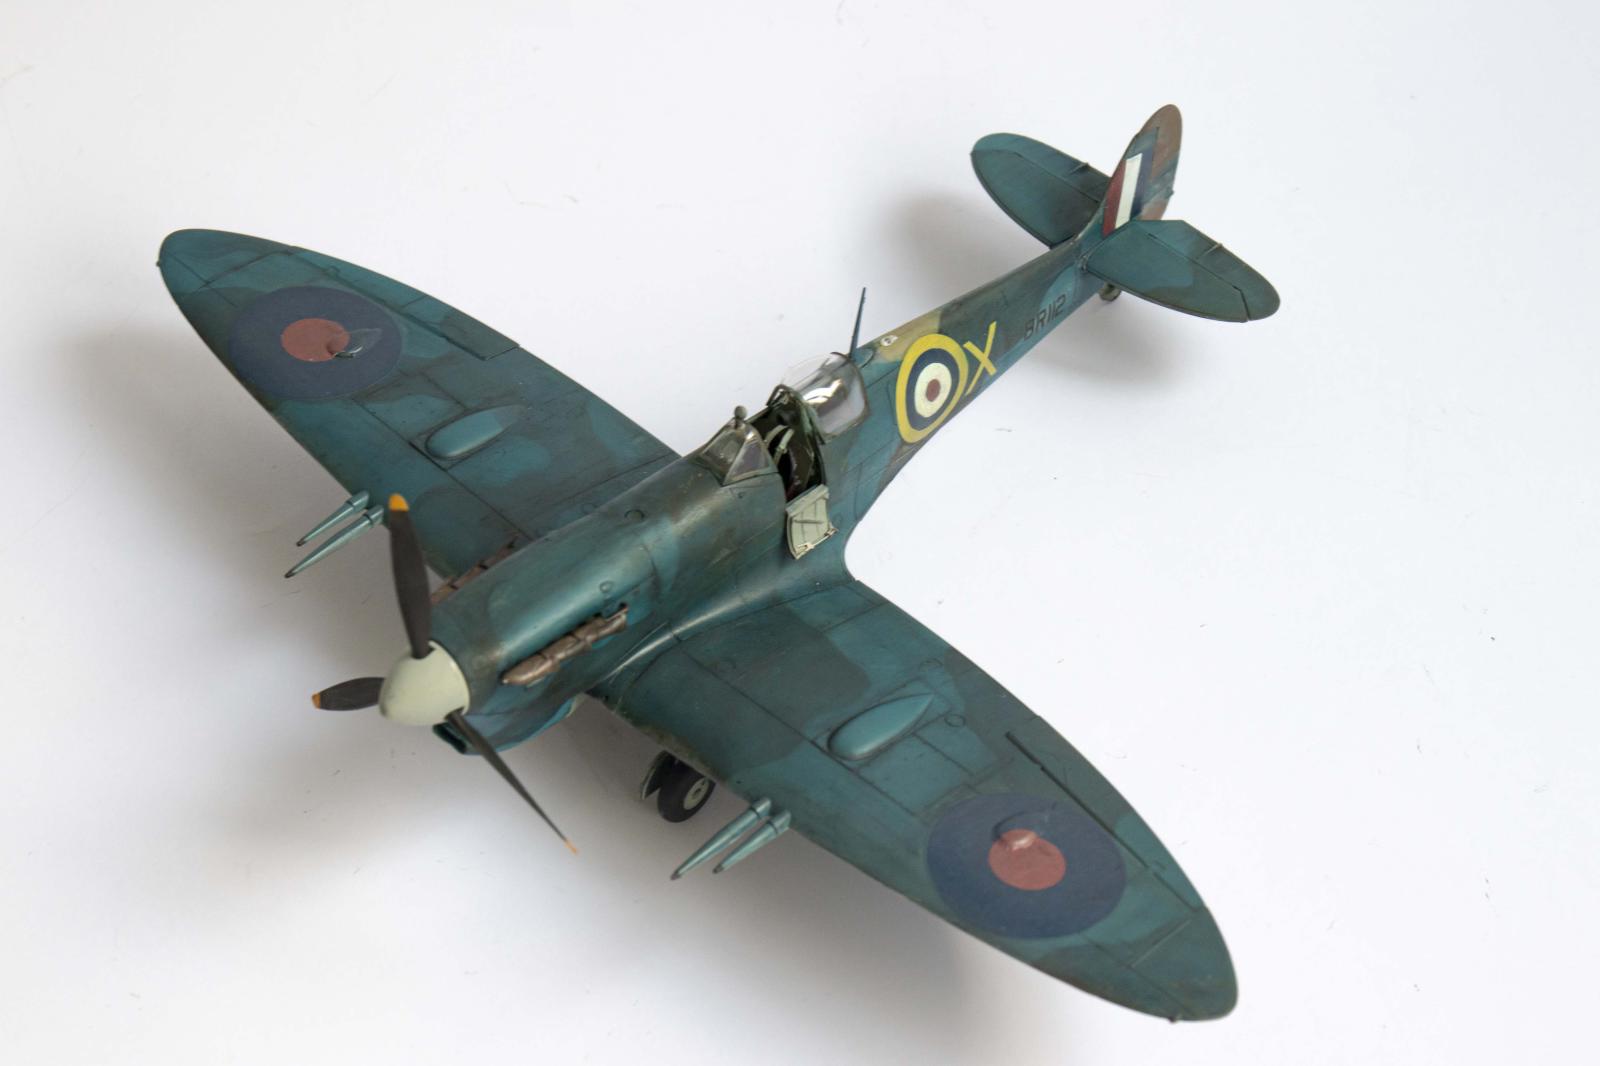
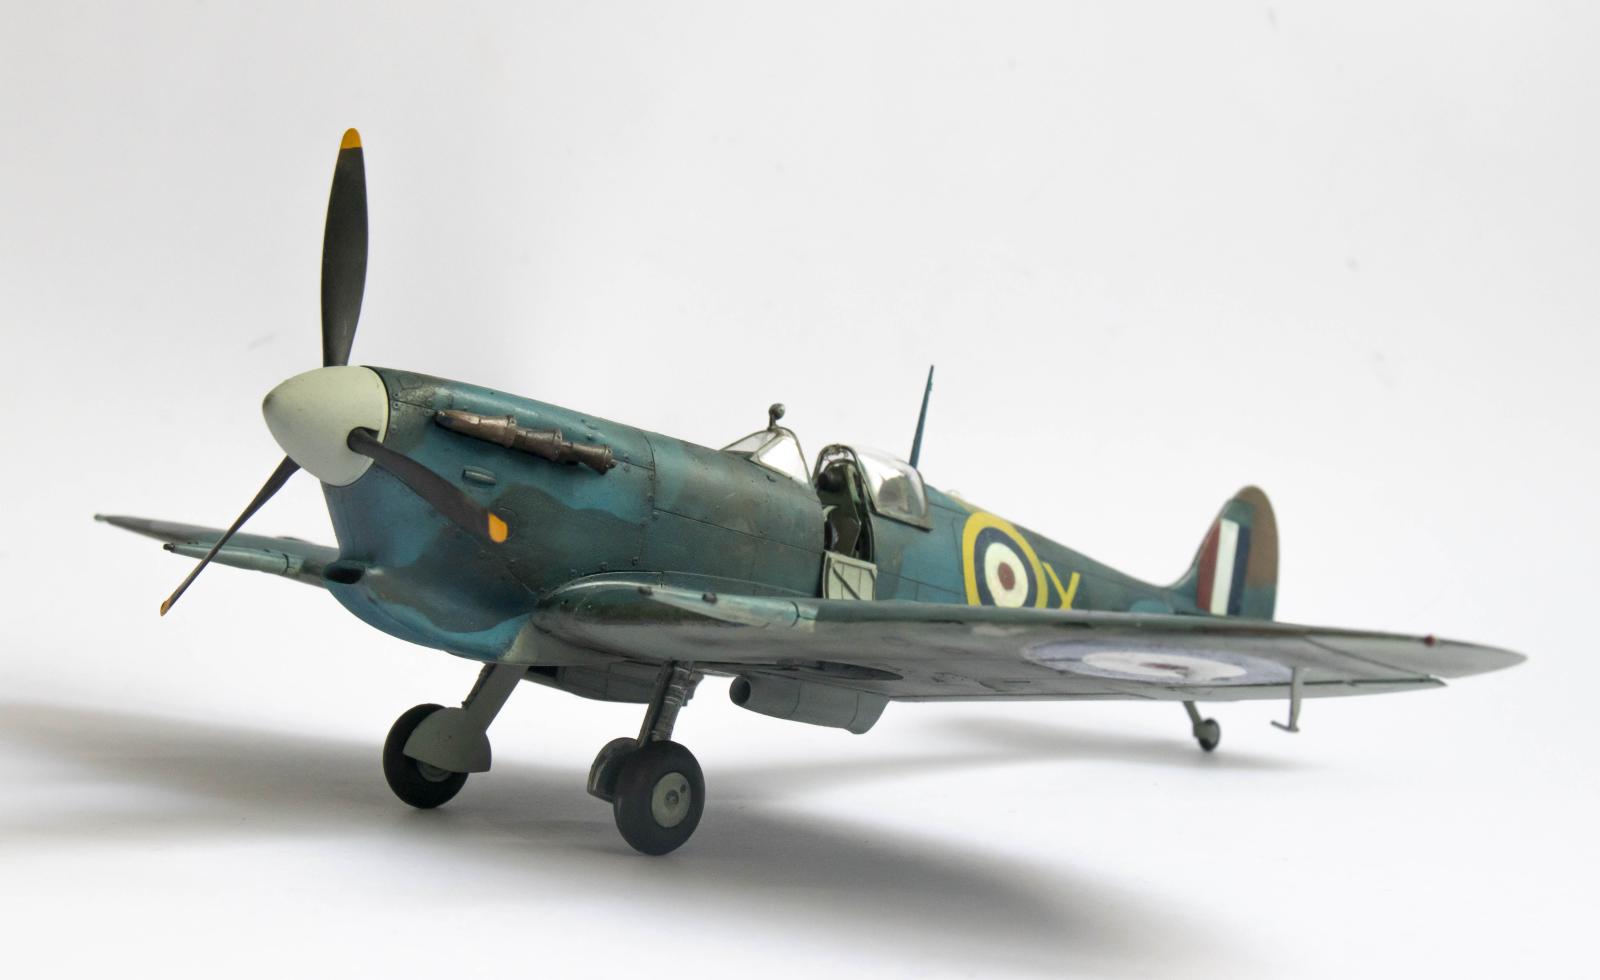
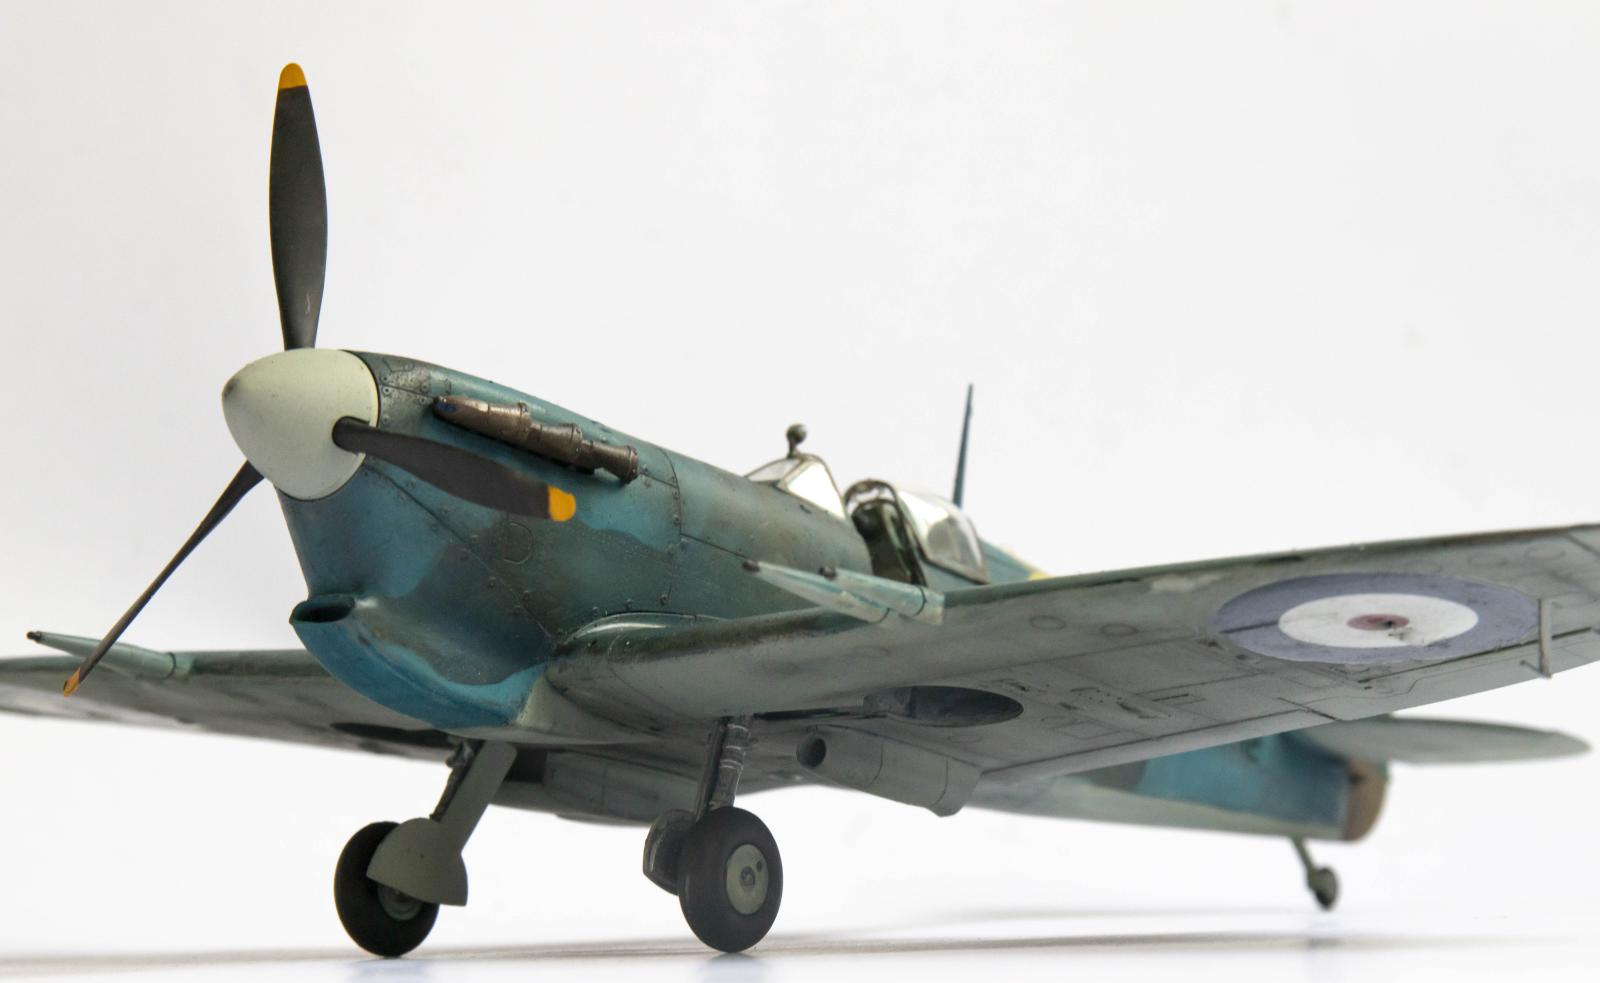
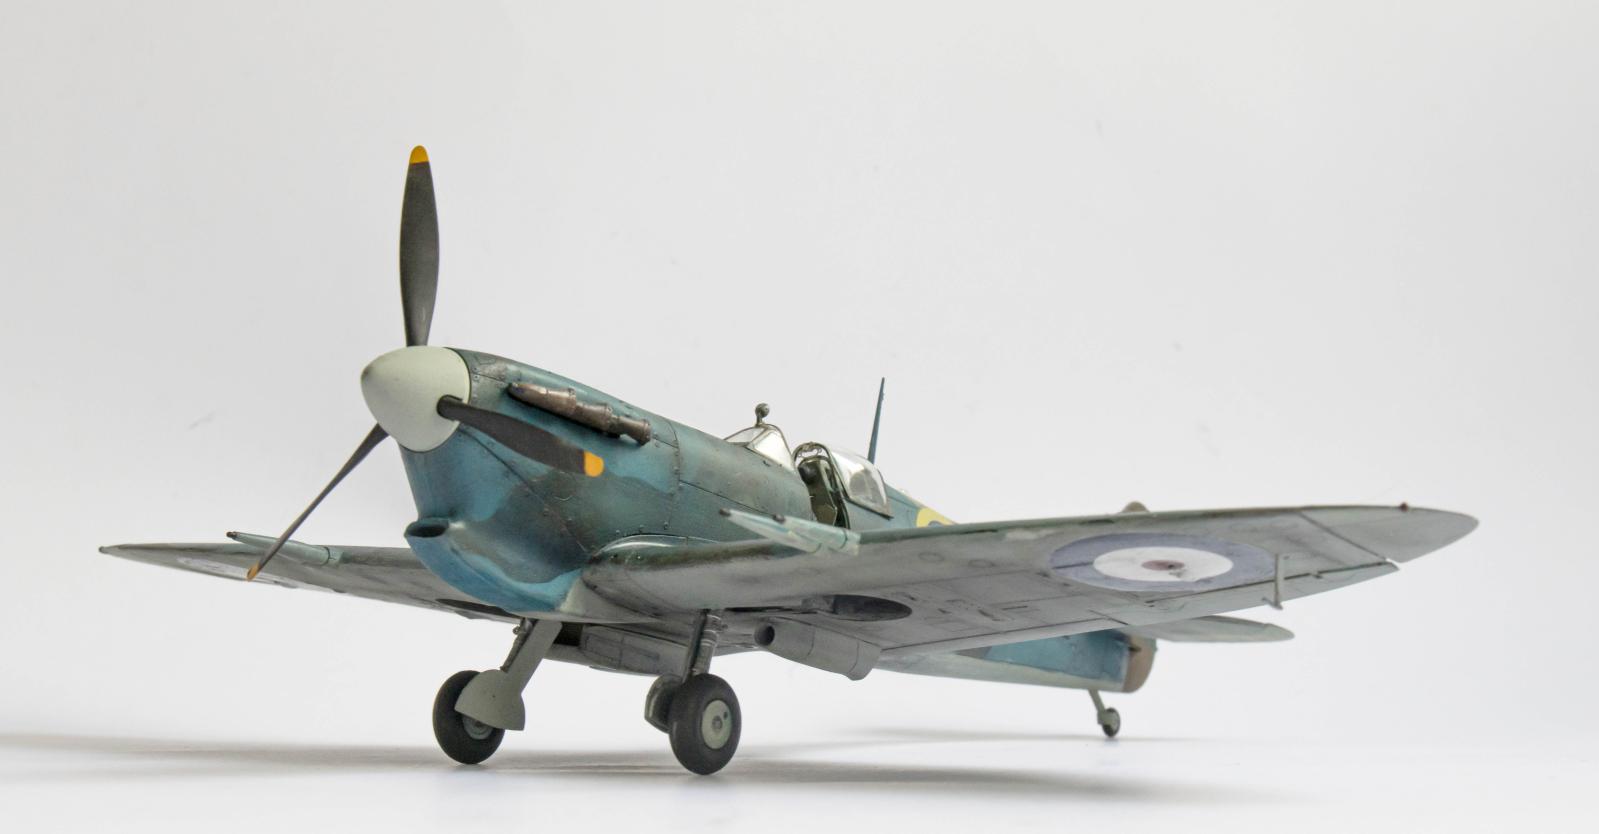
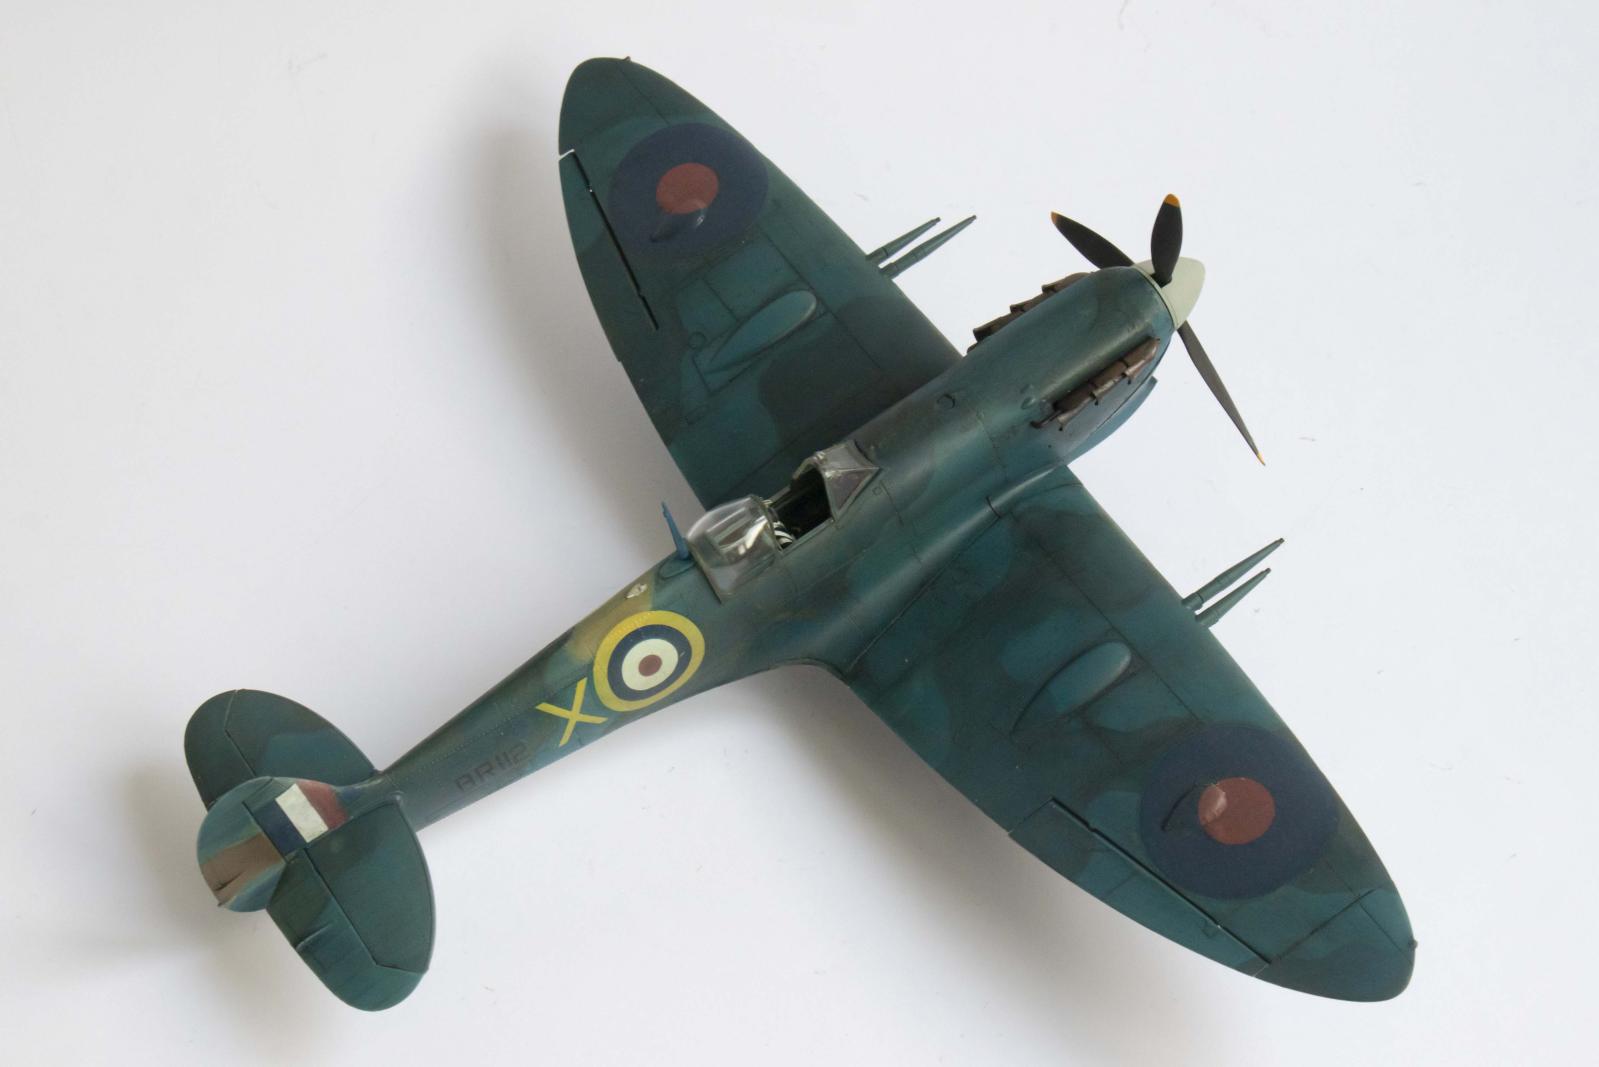
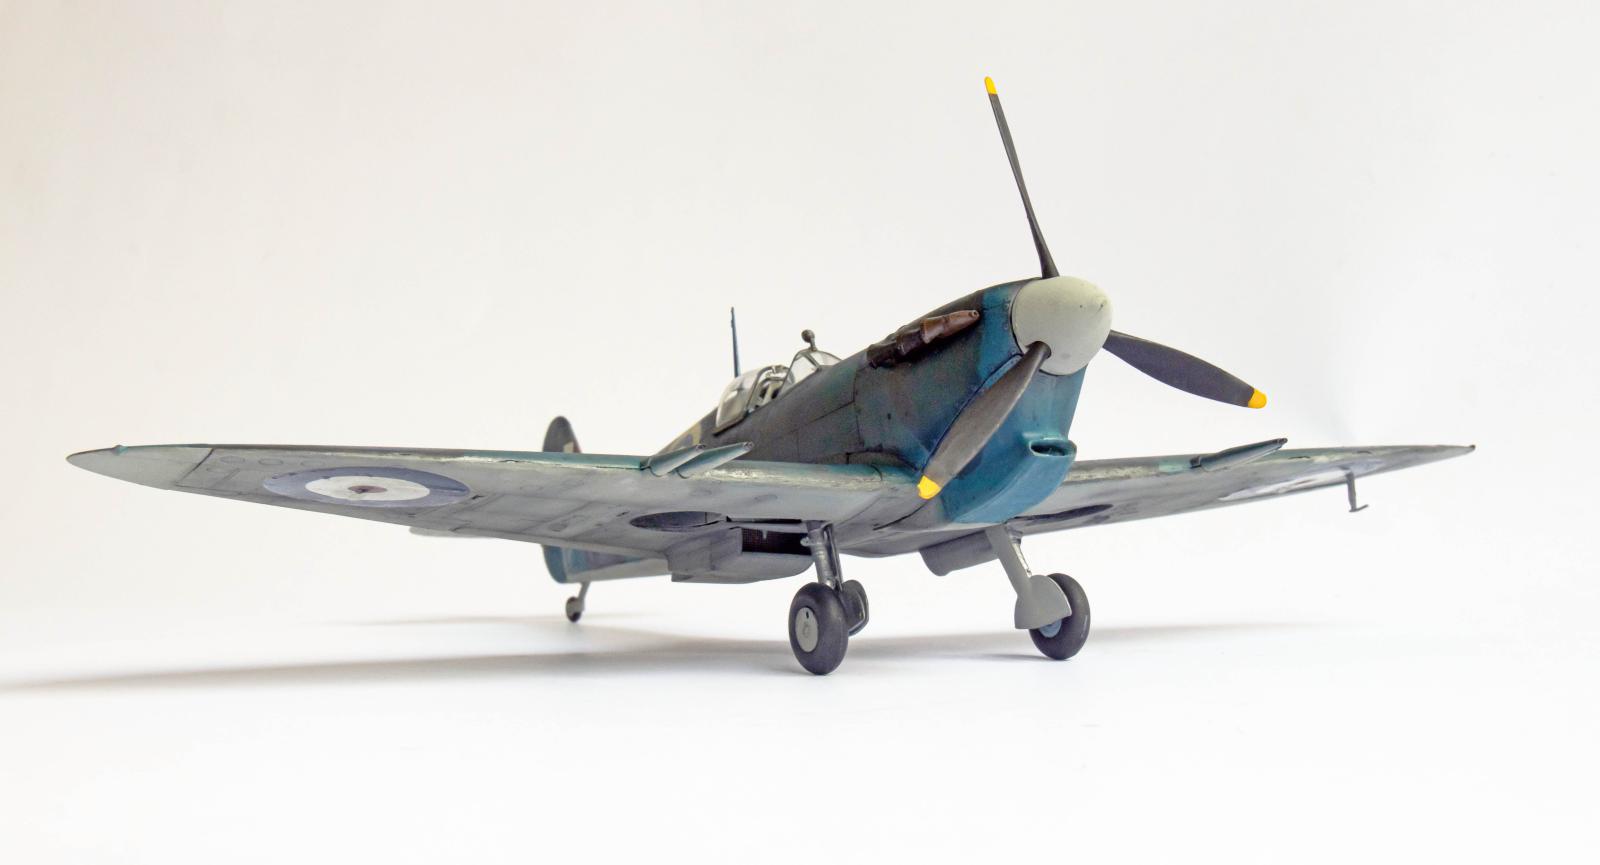
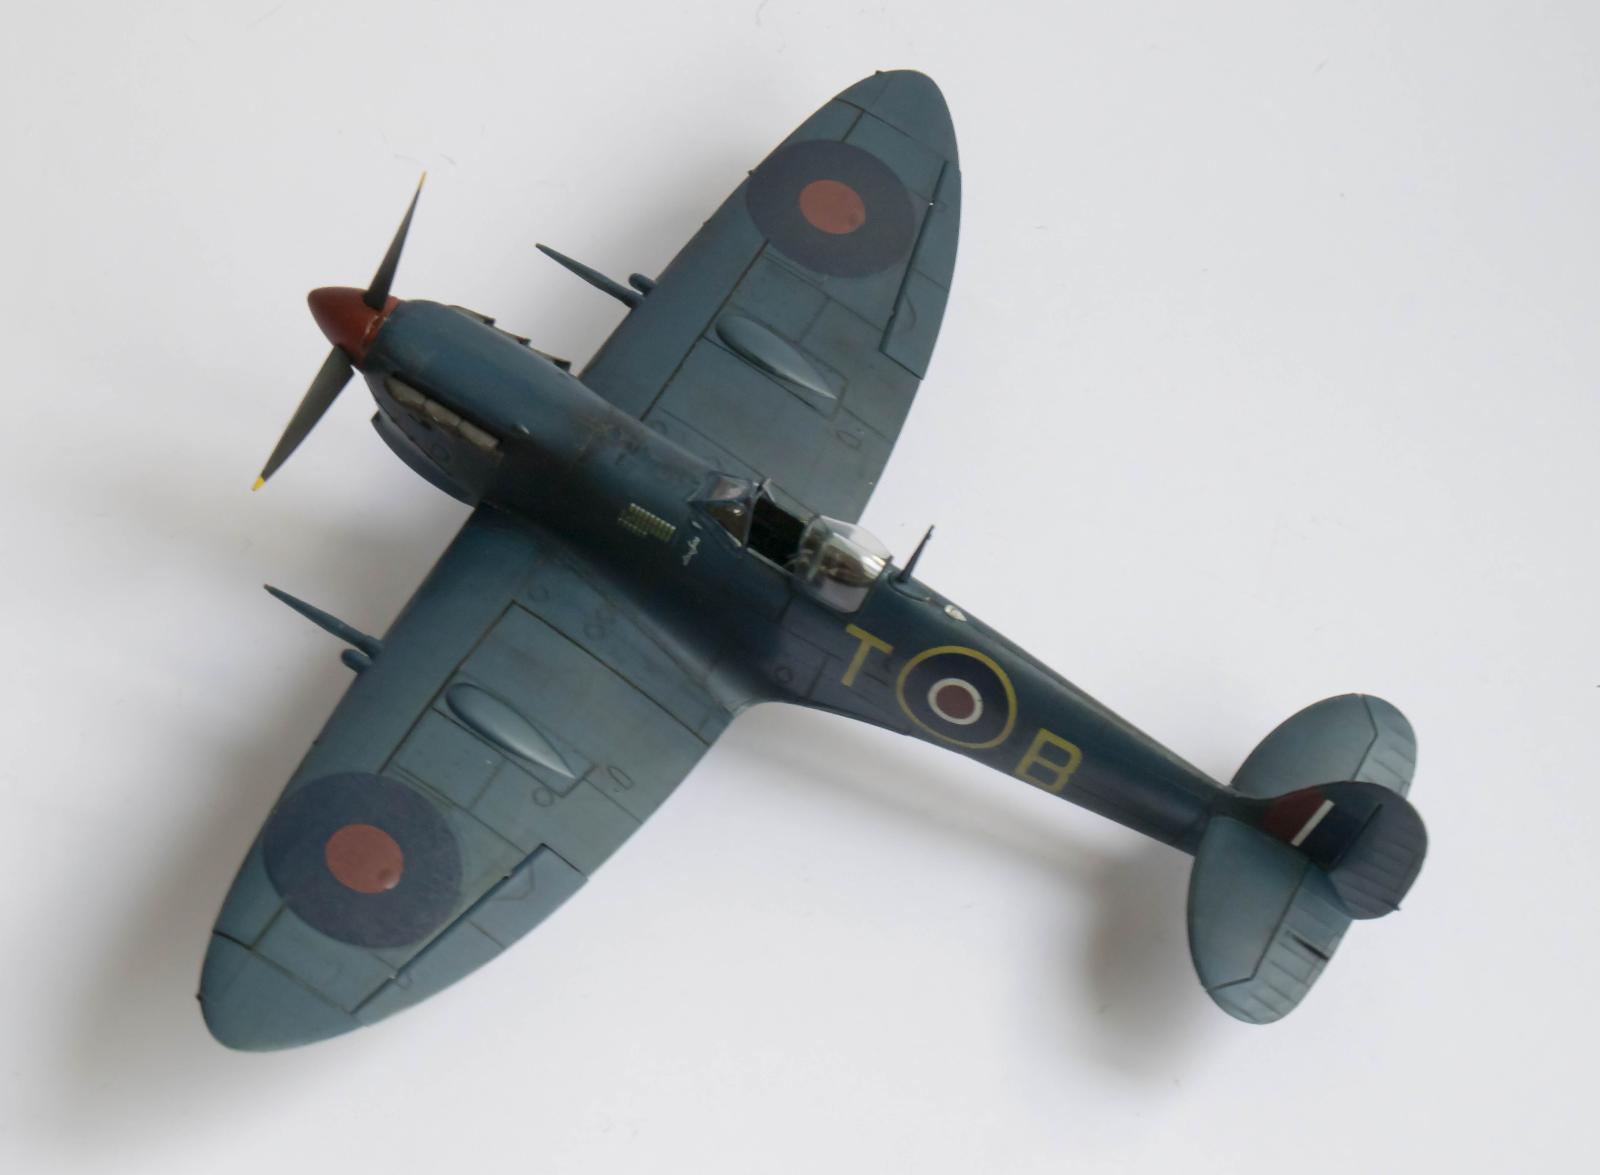
I present here three Spitfire Vs that have the Vokes filter adaptation representing kits where the building process is challenging if not problematic. Early and late Spitfire mark kits by Eduard with different wing and fuselage molds are less complicated to build. The development of early Spitfire marks until the Griffon engine variants involved the same airframe albeit longer fuselage to house the Merlin 66 engine in later Rolls Royce Spitfire marks. Eduard kits replicate the trend. Essentially, kits share similar molds with slightly different features. Spitfire kits notably mark V variants representing aircraft operating in the MTO have new parts for the enlarged covers of filters underneath the engines designed to cope with the dusty conditions in the deserts. Yet, the difficulty in assembly is not related to the filter parts.
Here are some points that may ease the assembly of Eduard's Spitfire Vs with the Vokes filter:
Fuselage halves have thin edges that do not support a solid joint. Thus, if subassembly like the cockpit is inserted, the joint between the halves is compromised. The instrument firewall (R22) with its related parts should be trimmed around the instrument panel to allow a smooth entry in position when the fuselage halves are joined. If photoetch instrument panel is used then, after trimming the plastic parts, the new lower position of the panel will likely to touch the cockpit wall ribs and should be modified accordingly. Also, the gun sight locator slot should be enlarged.
To ensure maximum flexibility during the attachment of wings to the fuselage, I do not glue the false front firewall in place (part R20.)
The joint line between the wings and fuselage is perfect. However, if instructions are followed it is unlikely to be achieved. Fine trimming of parts is required and is best done in the early stage of the build. This is to minimize the number of parts involved thus, maximizing the accuracy of corrections. The culprit here is the front wing fillet (P44,45.) These parts are not adjusted to the subtle adaptions of wings and fuselage of mark V variants. Careful trimming of the side of the upper fillet lip is required. With constant dry fitting of the upper wing half, fuselage and fillet a perfect fit can be achieved. Flush surfaces on all planes is the key to success. Make sure though that the wing half has the appropriate curvature to match with the fuselage wing root line before starting the adjustment process.
The Vokes filter, parts (T23, 25 and 27) are not accurate. When glued together, large seamlines appear in every joint. Several steps can be taken to minimize putty application. First, do not glue together the lower fuselage halves areas above the filter. The open gap left will help you to achieve a better fit between the filter cover and the wings to the fuselage. Second, do not glue the rear filter part (T23) to the main filter parts like instructed. This part is not in the same plane of the wing and requires thinning. In addition, if glued to the lower wing part it can assist in the join of wings and fuselage stage.
With the fillets trimmed and aligned with the wings and the Vokes filter parts glued separately to the fuselage and lower wing, you are ready to proceed and follow the instructions. The entire wings unit should click to a perfect joint with the assembled fuselage. However, some twisting is required because of the angular wing root shape and the protrusion of the filter that do not allow the wing unit to slide in smoothly.


Good suggstions, Rafi, and great models. I love the Eduard Spitfires.
Here's another construction "secrety" for Eduard Spitfires of all marks - how to get the wing'fuselage sub assemblies together:
Assemble the wheel wells into the lower wing.
Attach the lower wing to the assembled fuselage, get it nice and snug fore and aft.
Attach the upper wing part, getting it perfectly aligned at the wing-fuselage joint. Glue from the wing-fuselage joint out.
Voila! A perfect wing-fuselage joining.
Thank you Tom.
The aim justifies the means!
Amazing jobs as always, Rafi and REALLY awesome hints!
Thanks for sharing!
Thank you Spiros!
A beautiful set of Spitfires, Rafi @blackmopane
Thanks a lot for sharing those hints and tips.
Thank you John.
Looks great, Rafi!
Thank you Gary.
Amazing looking Maltese Spits, Rafi and an excellent useful writeup.
I’ll be dropping by to see my parents this week and I’ll be showing my 90 yr old Dad your great photos.
He remembers sitting on the stone barrier of the runways of Malta as a kid and waving to the pilots as they taxied for takeoff.
Thank you George.
Wow!
Beautiful looking Spitfires, Rafi.
Thank you John!
A beautiful Spit - your paint and finish work is always spectacular! Well done.
Thank you Greg.
Great builds and helpful hints. I like to dry fit several steps ahead to see what surprises are lurking down the line, sometimes not following the sequence in the instructions. Whatever works!
Thank you Chas!
🙂 ... Greetings ... 🙂 :
Nice clean and sharp build Rafi.
Thank you!
Thanks, Rafi! I have a couple of those in my to-do pile.
I would be interested to hear your insights.
Great tips.
Thank you David.