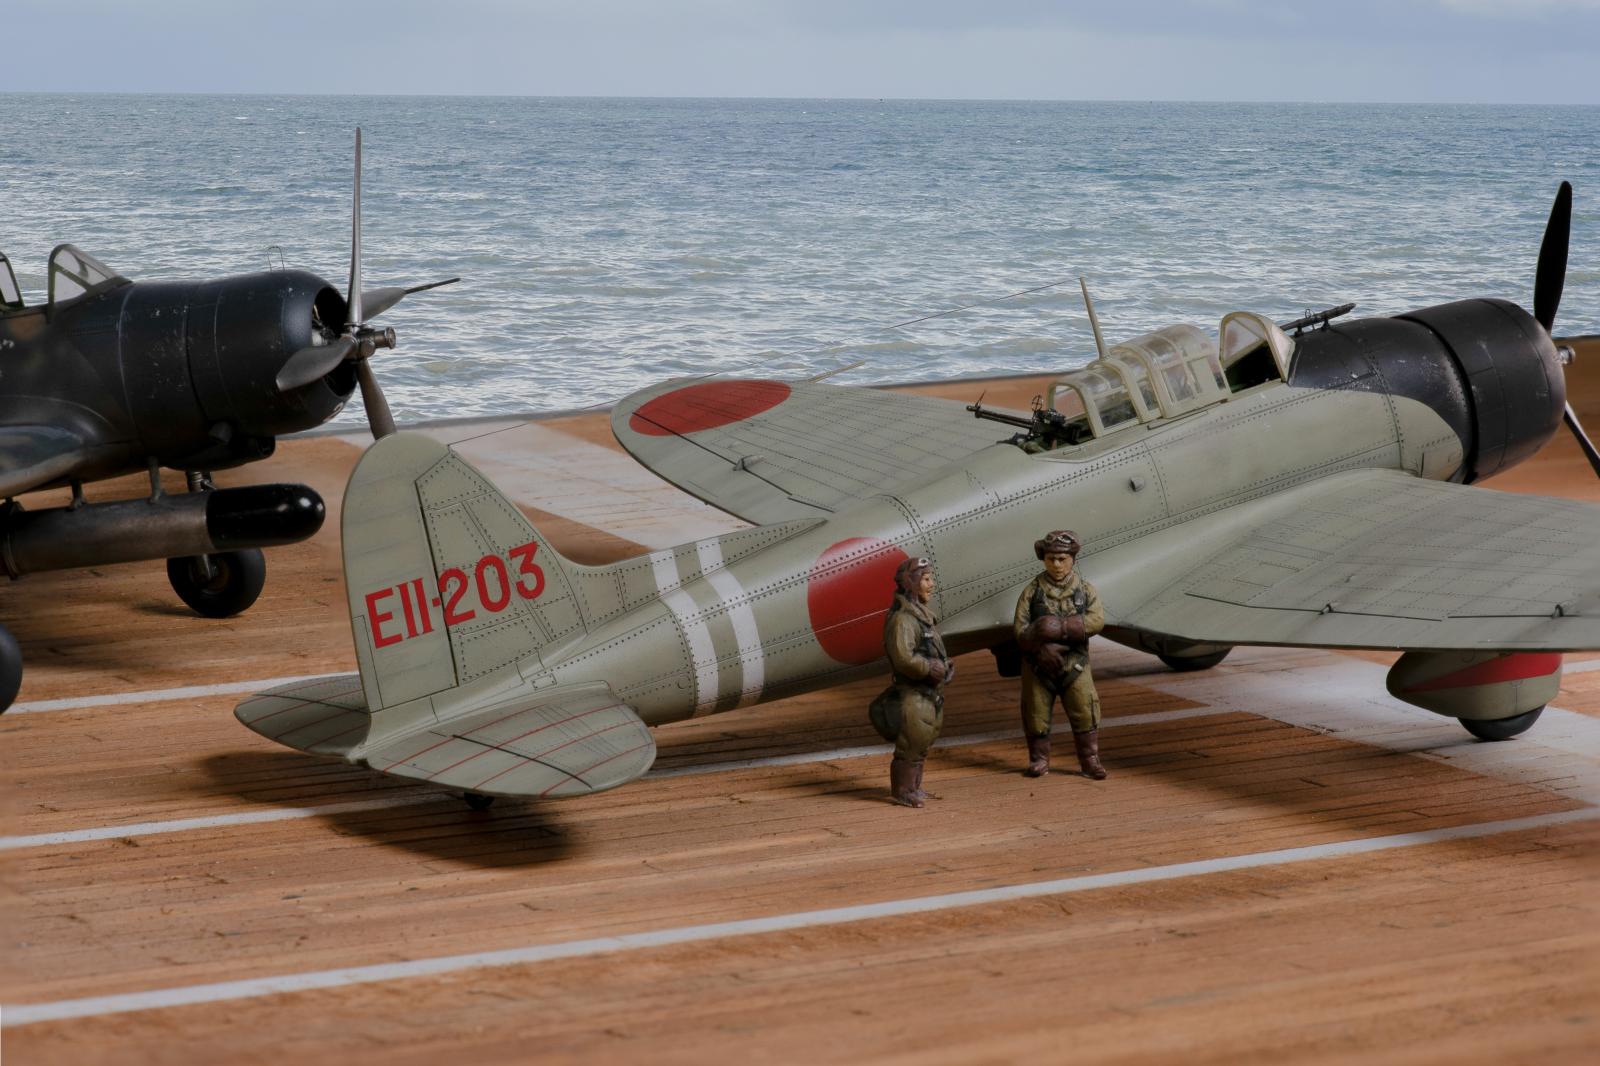
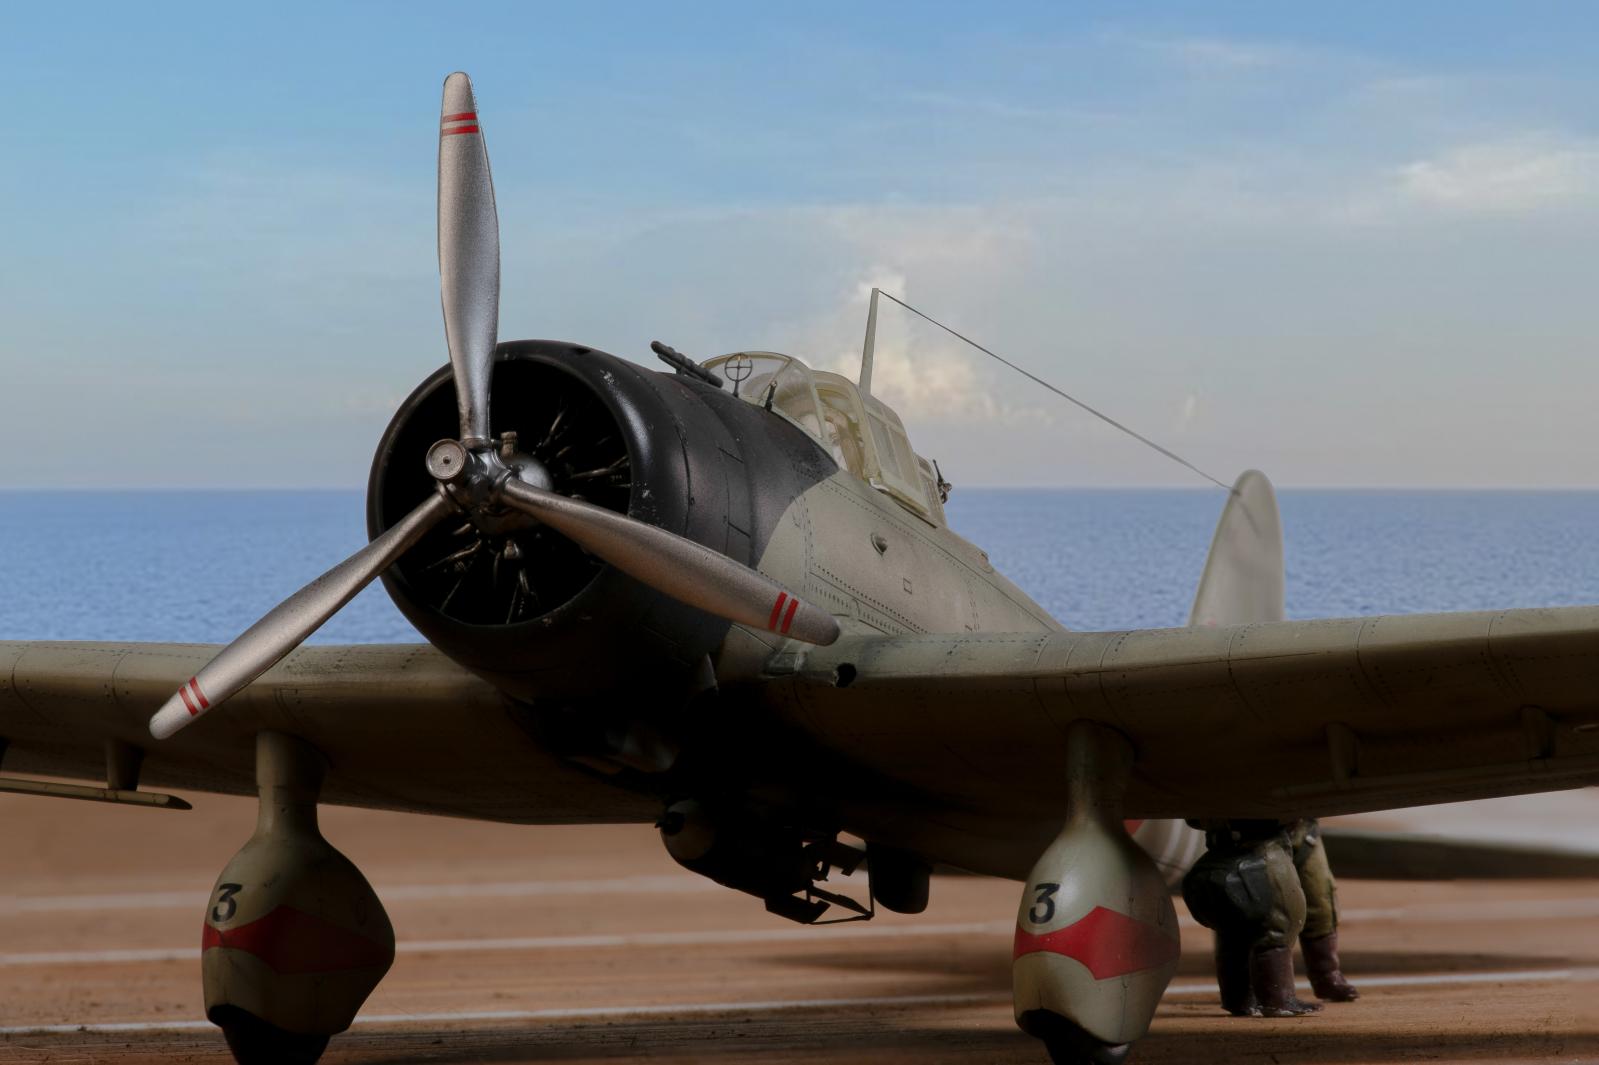
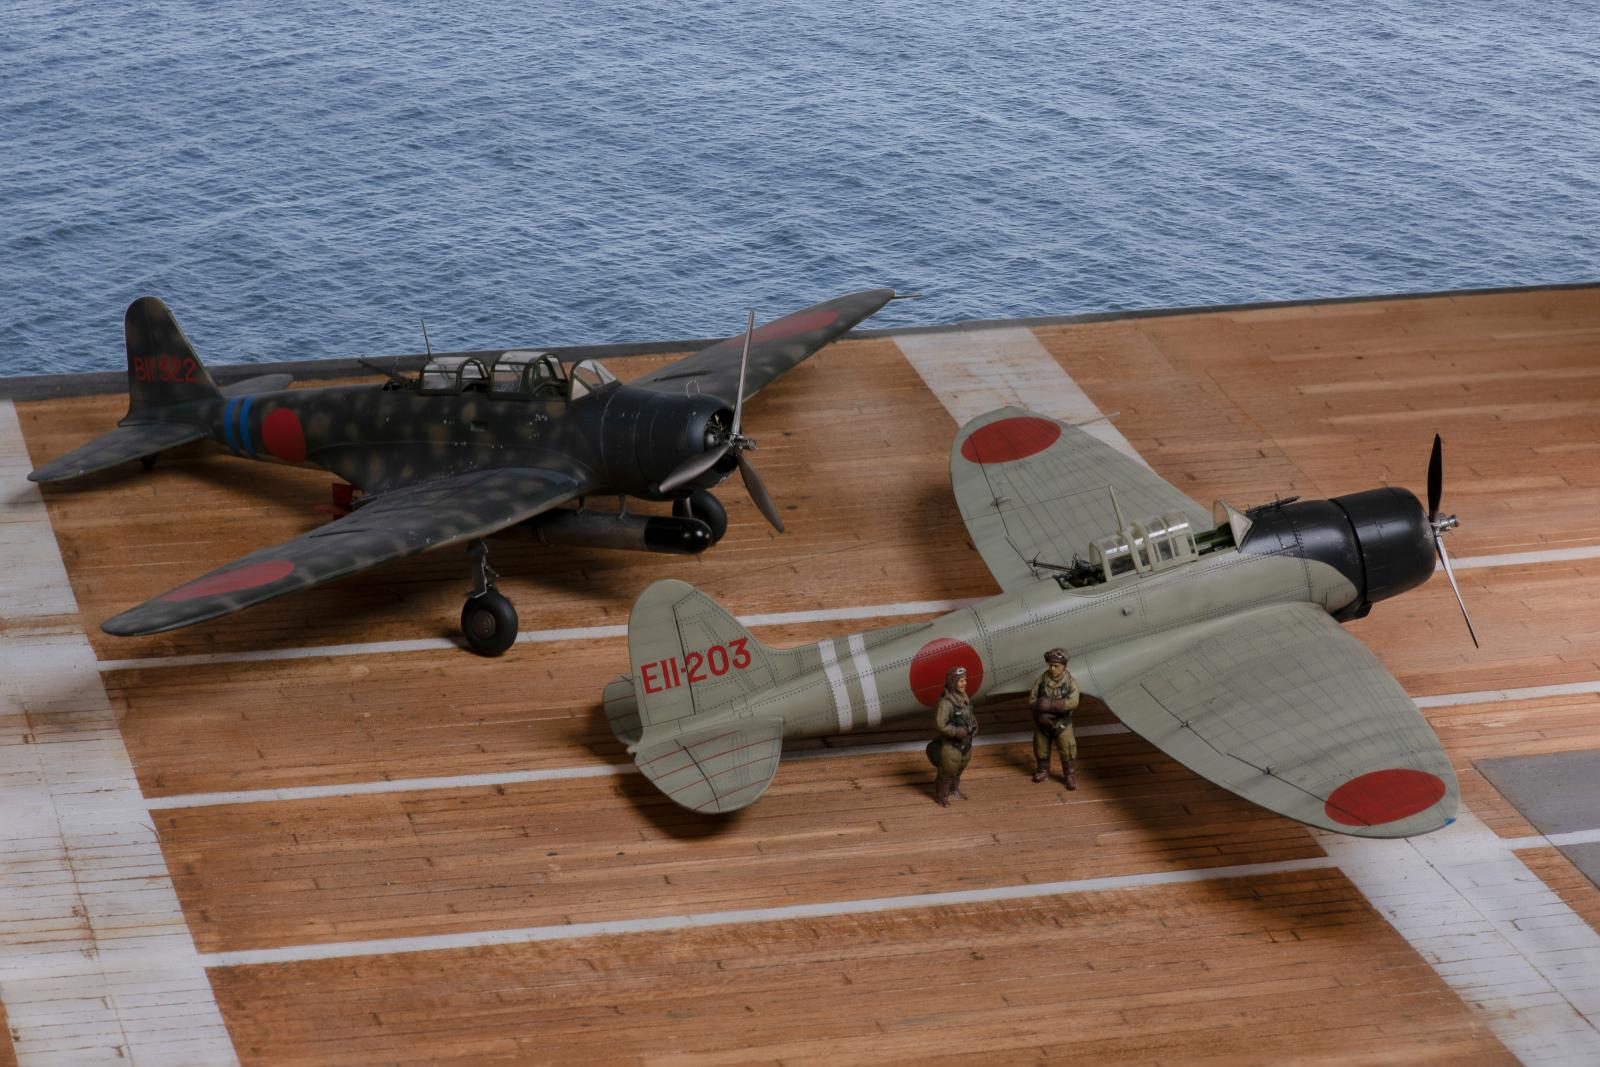
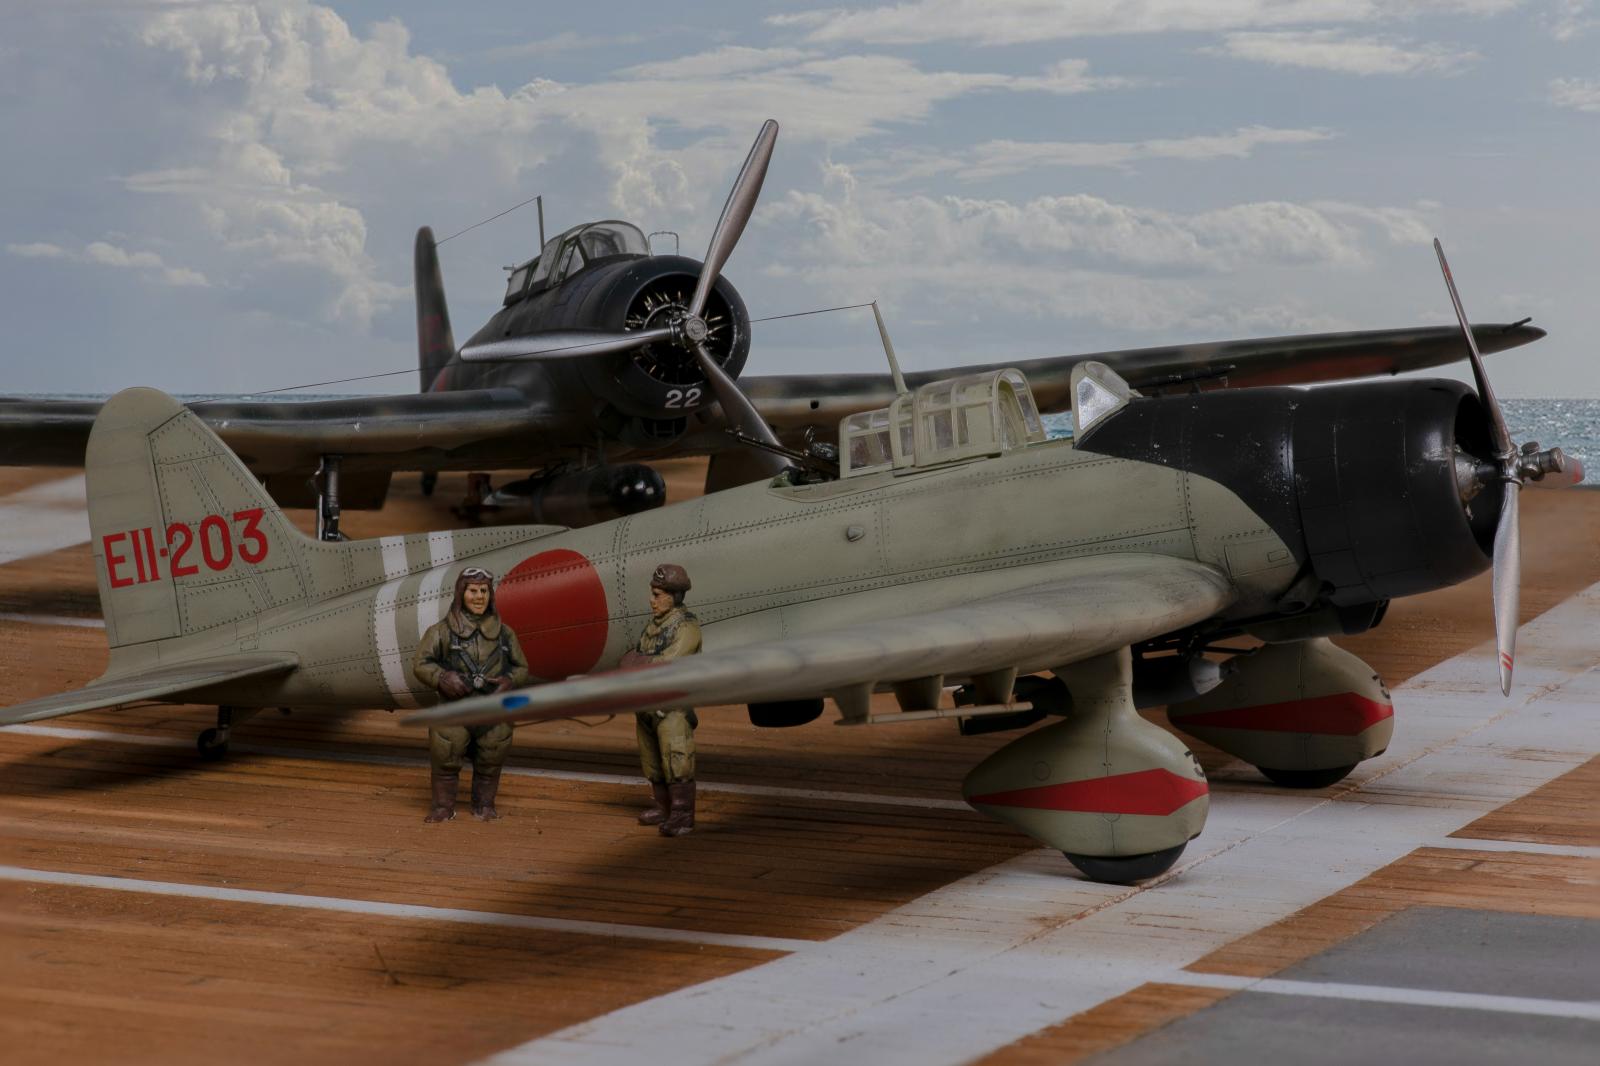
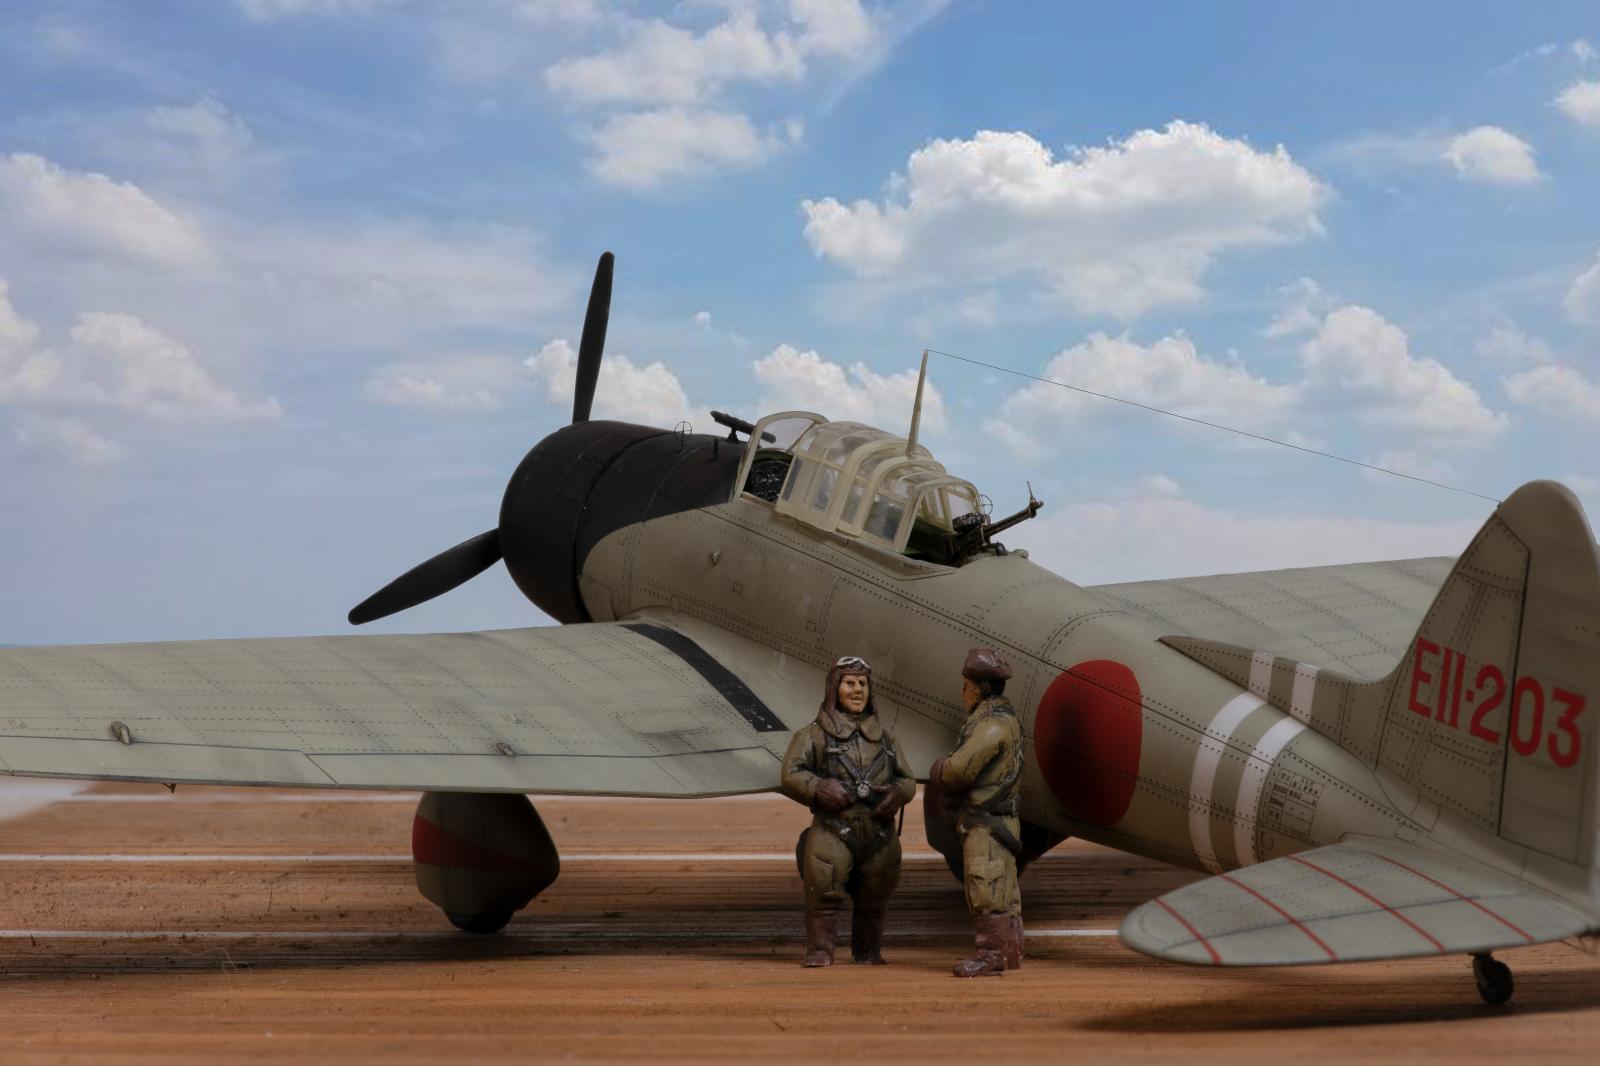
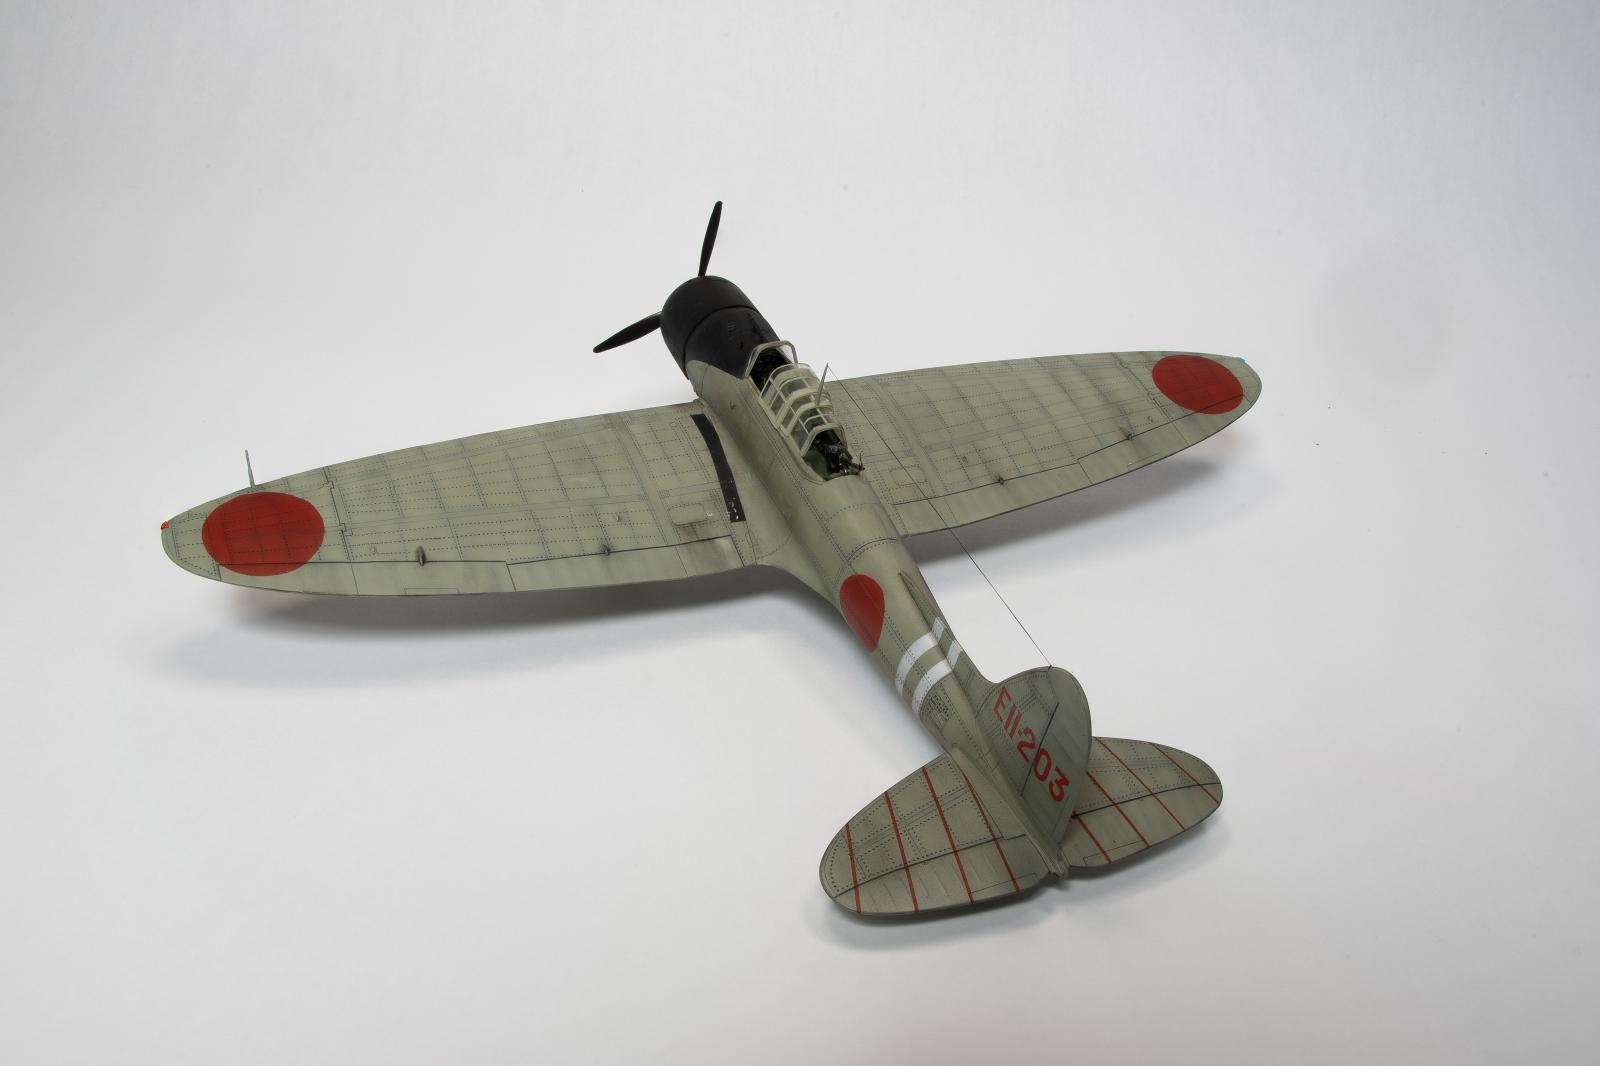
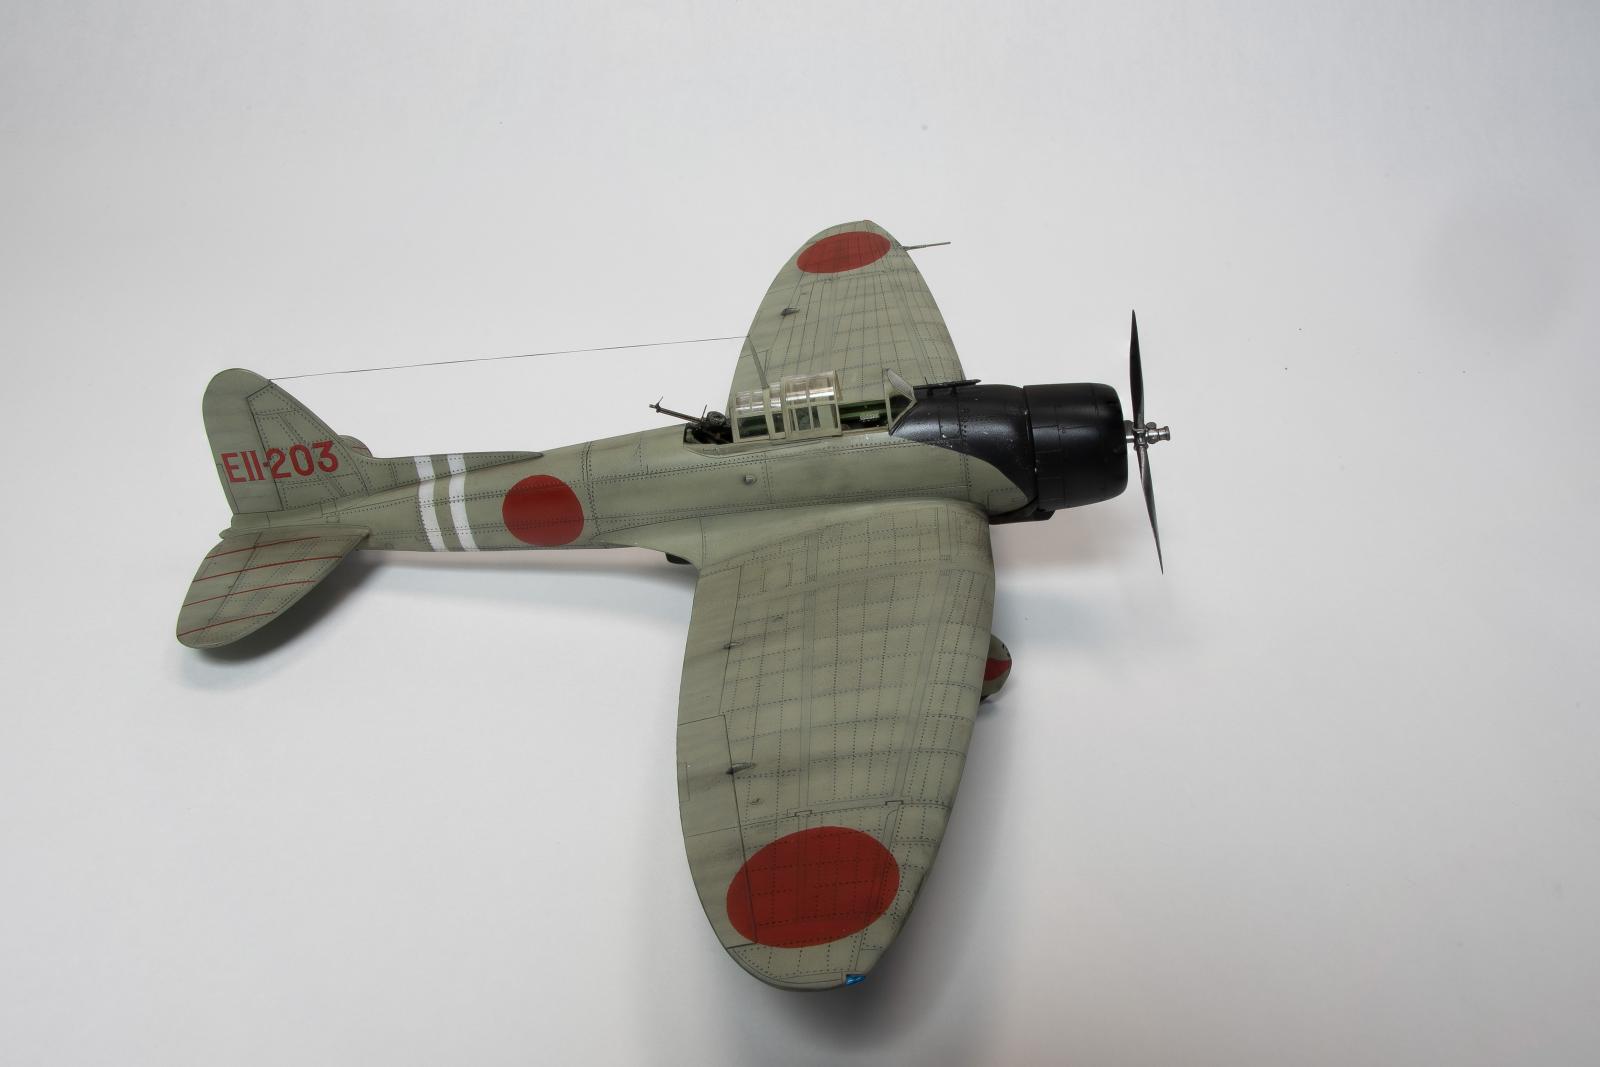
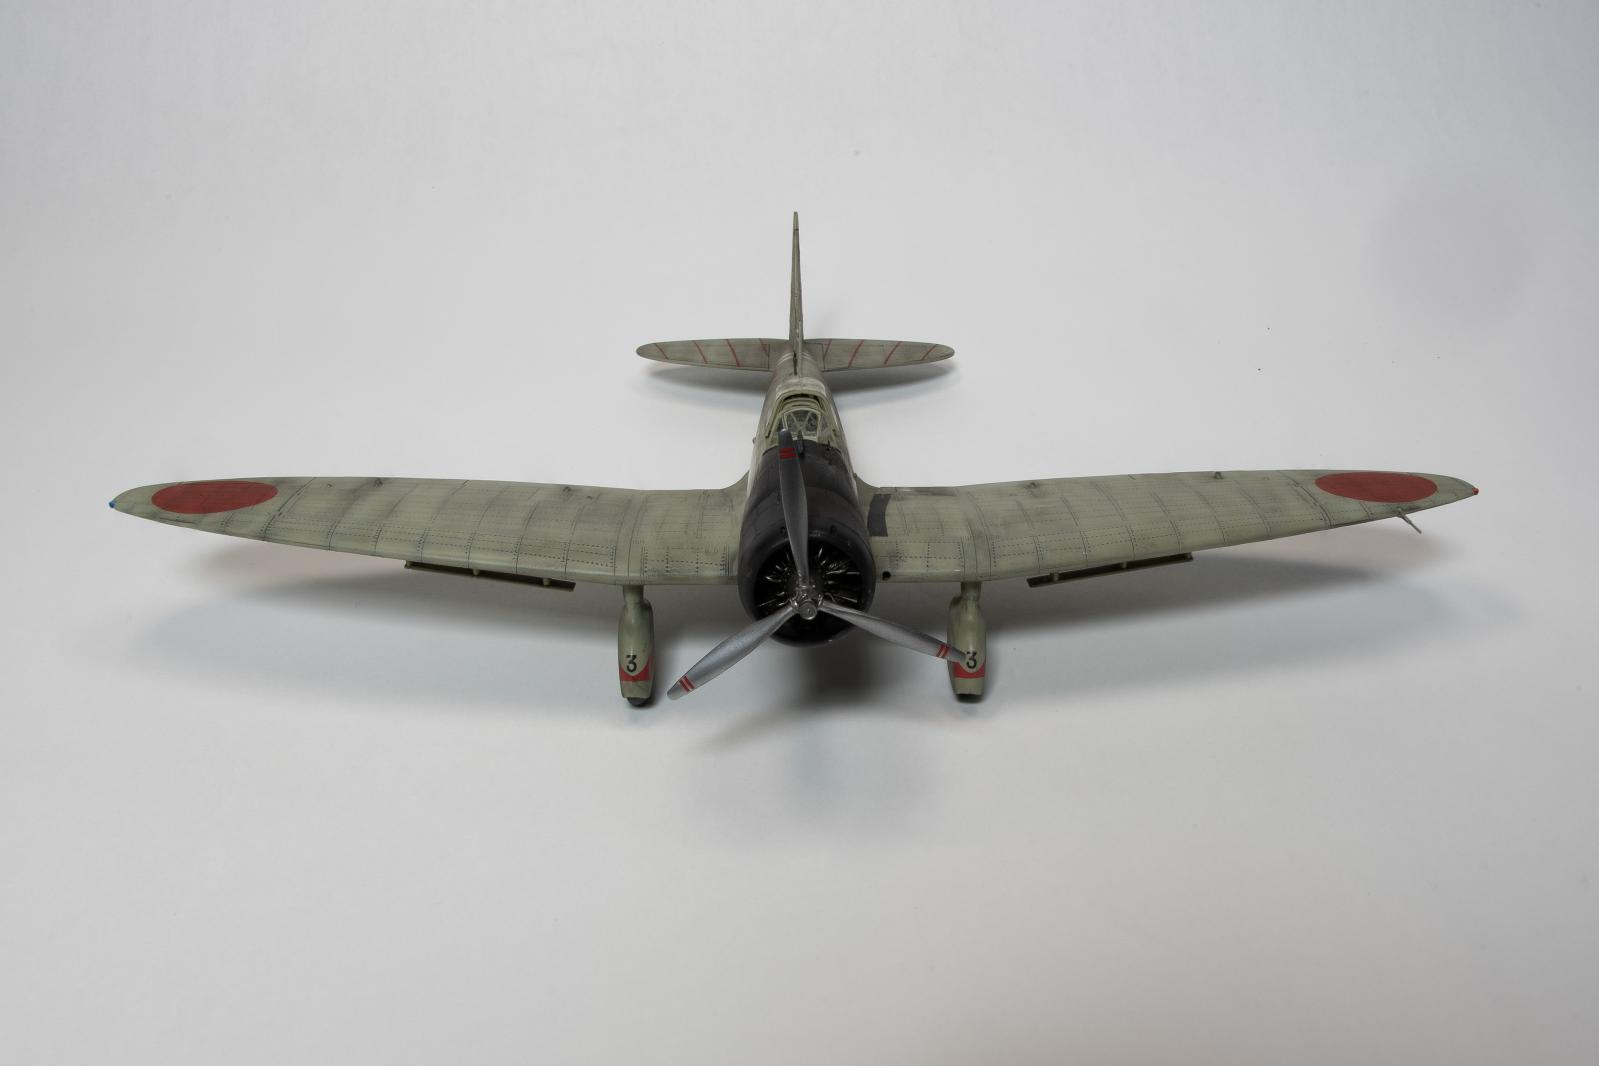
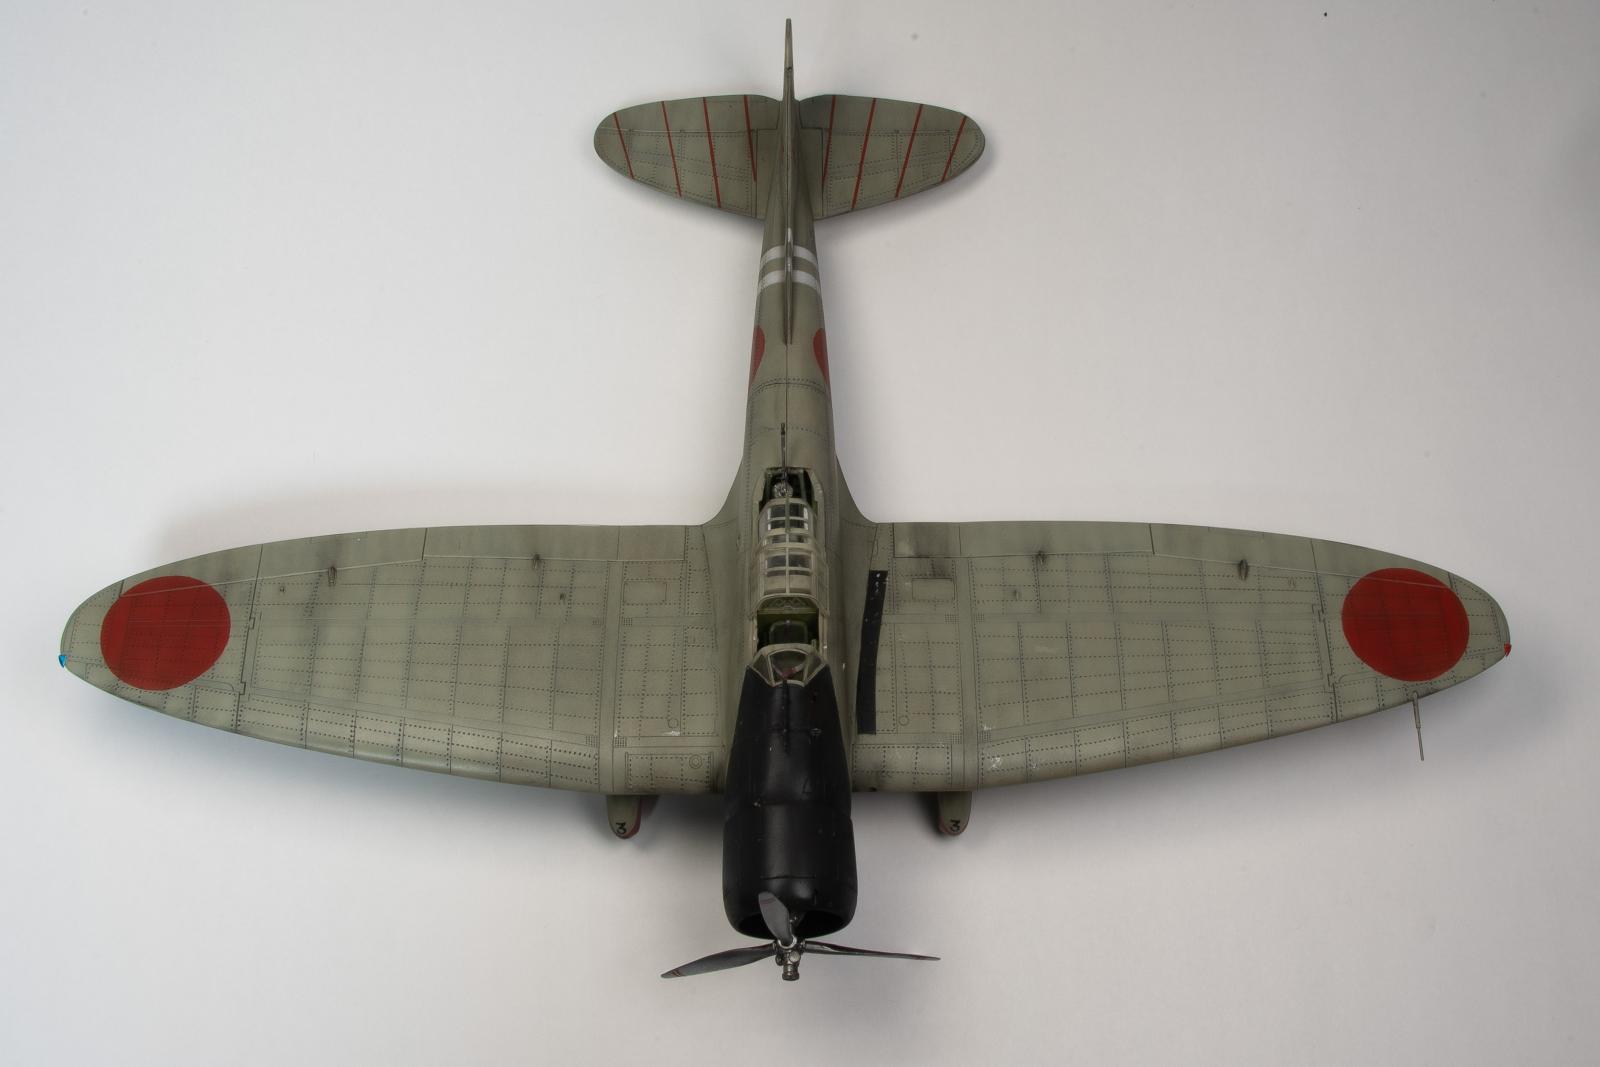
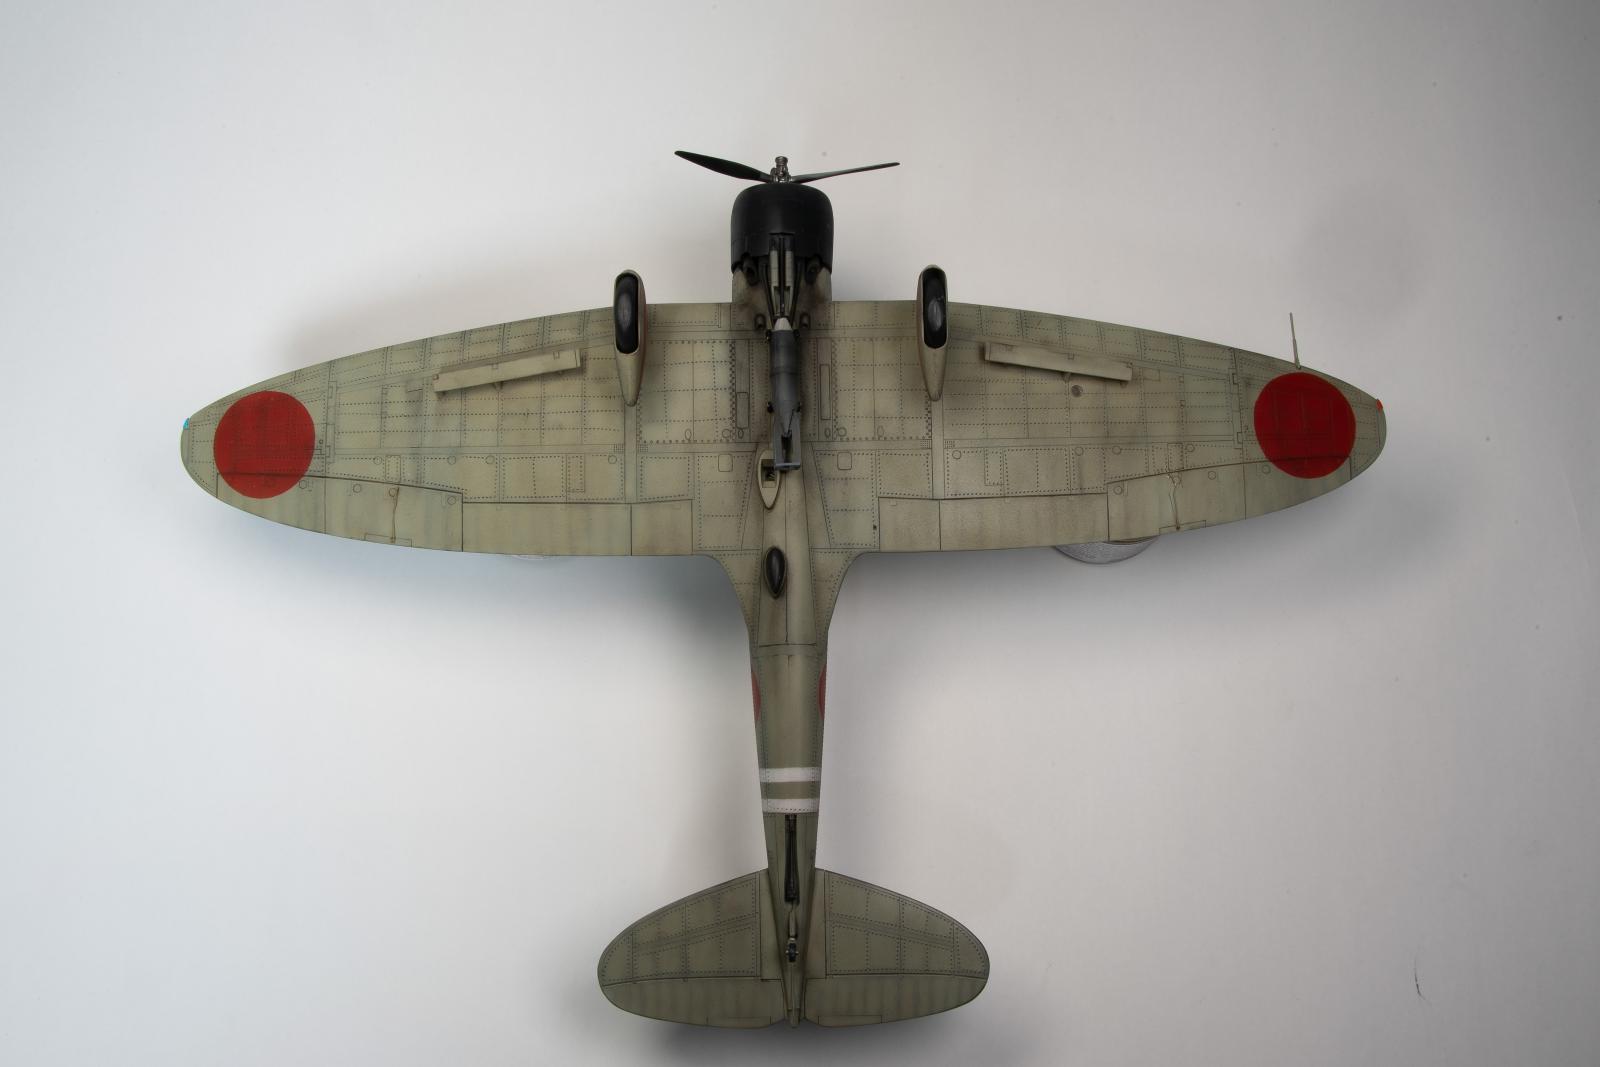
D3A1 VAL Pearl Harbor Attack
This D3A1 VAL is part of a 3 model kit that Hasegawa released a few years ago. The other two planes are an A6M2 Zero and an B5N2 Kate. All 3 planes presented in this kit took part in the initial attack on Pearl Harbor, and were launched off Imperial Japanese Carriers. I have already completed the B5N2 Kate which is featured in some of the forced perspective photos which were taken on a 1:48 replica of the IJN carrier Hiryu (24”x36”). Next up is the A6M2 Zero!
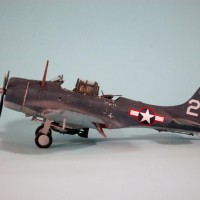
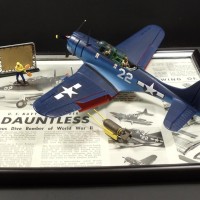
Carrier deck photos:
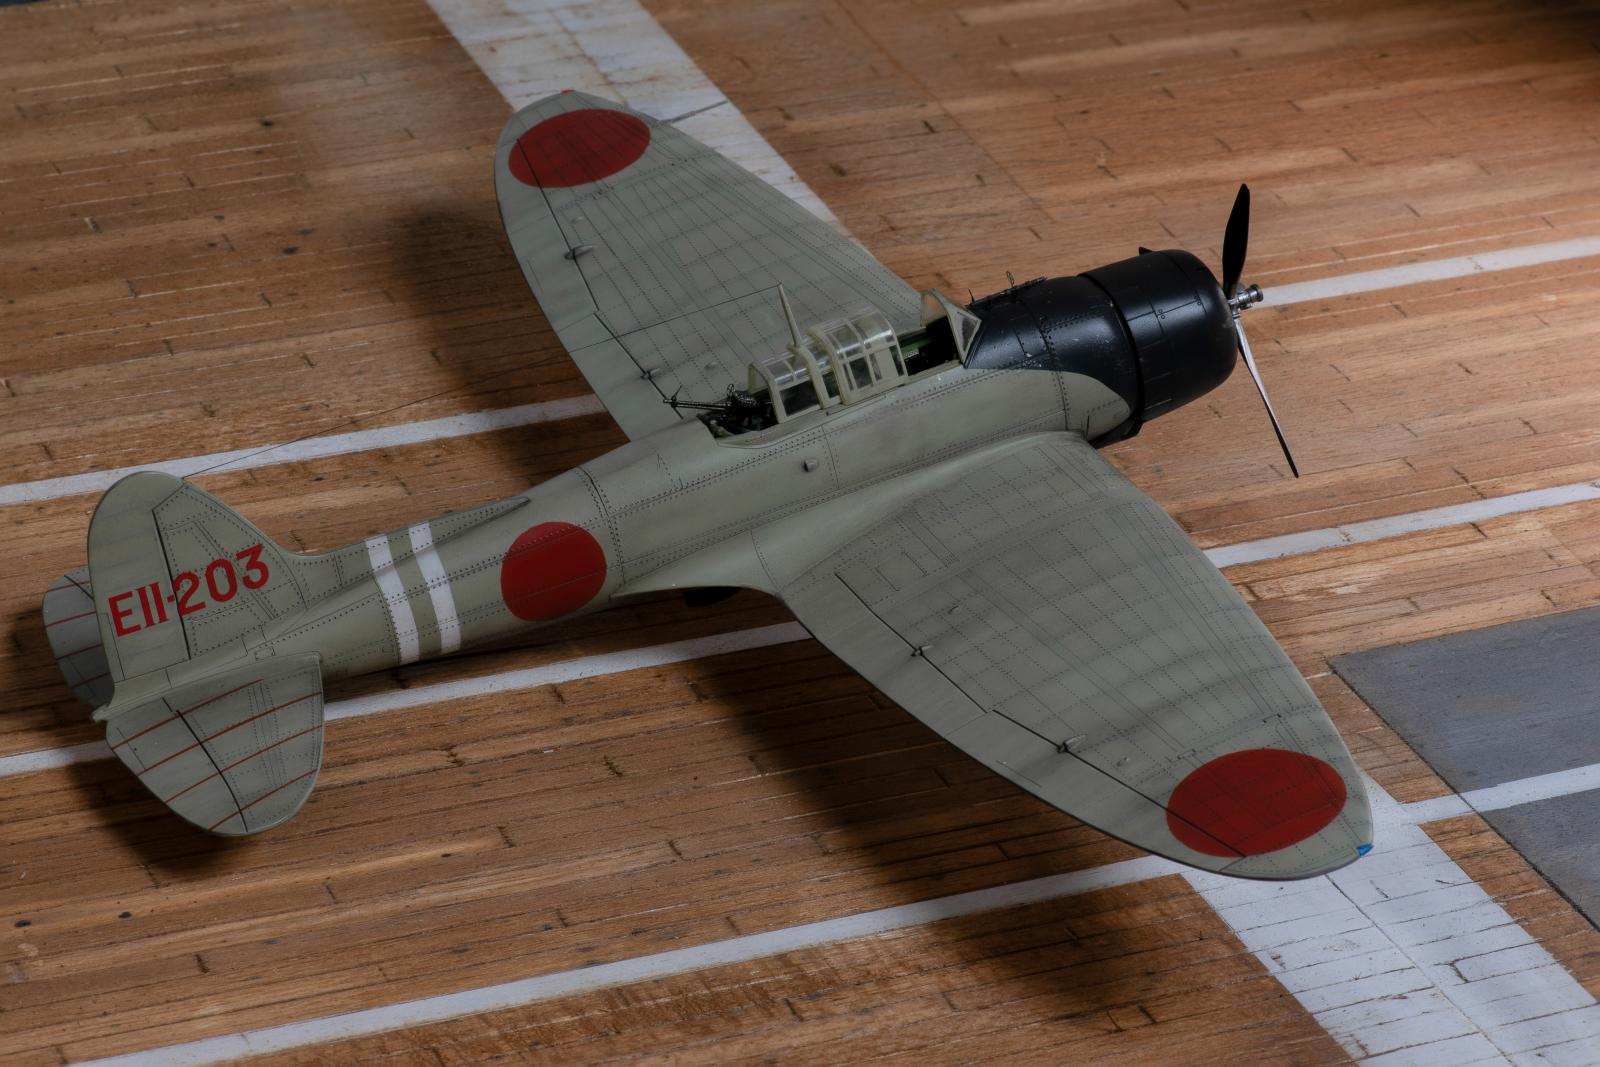
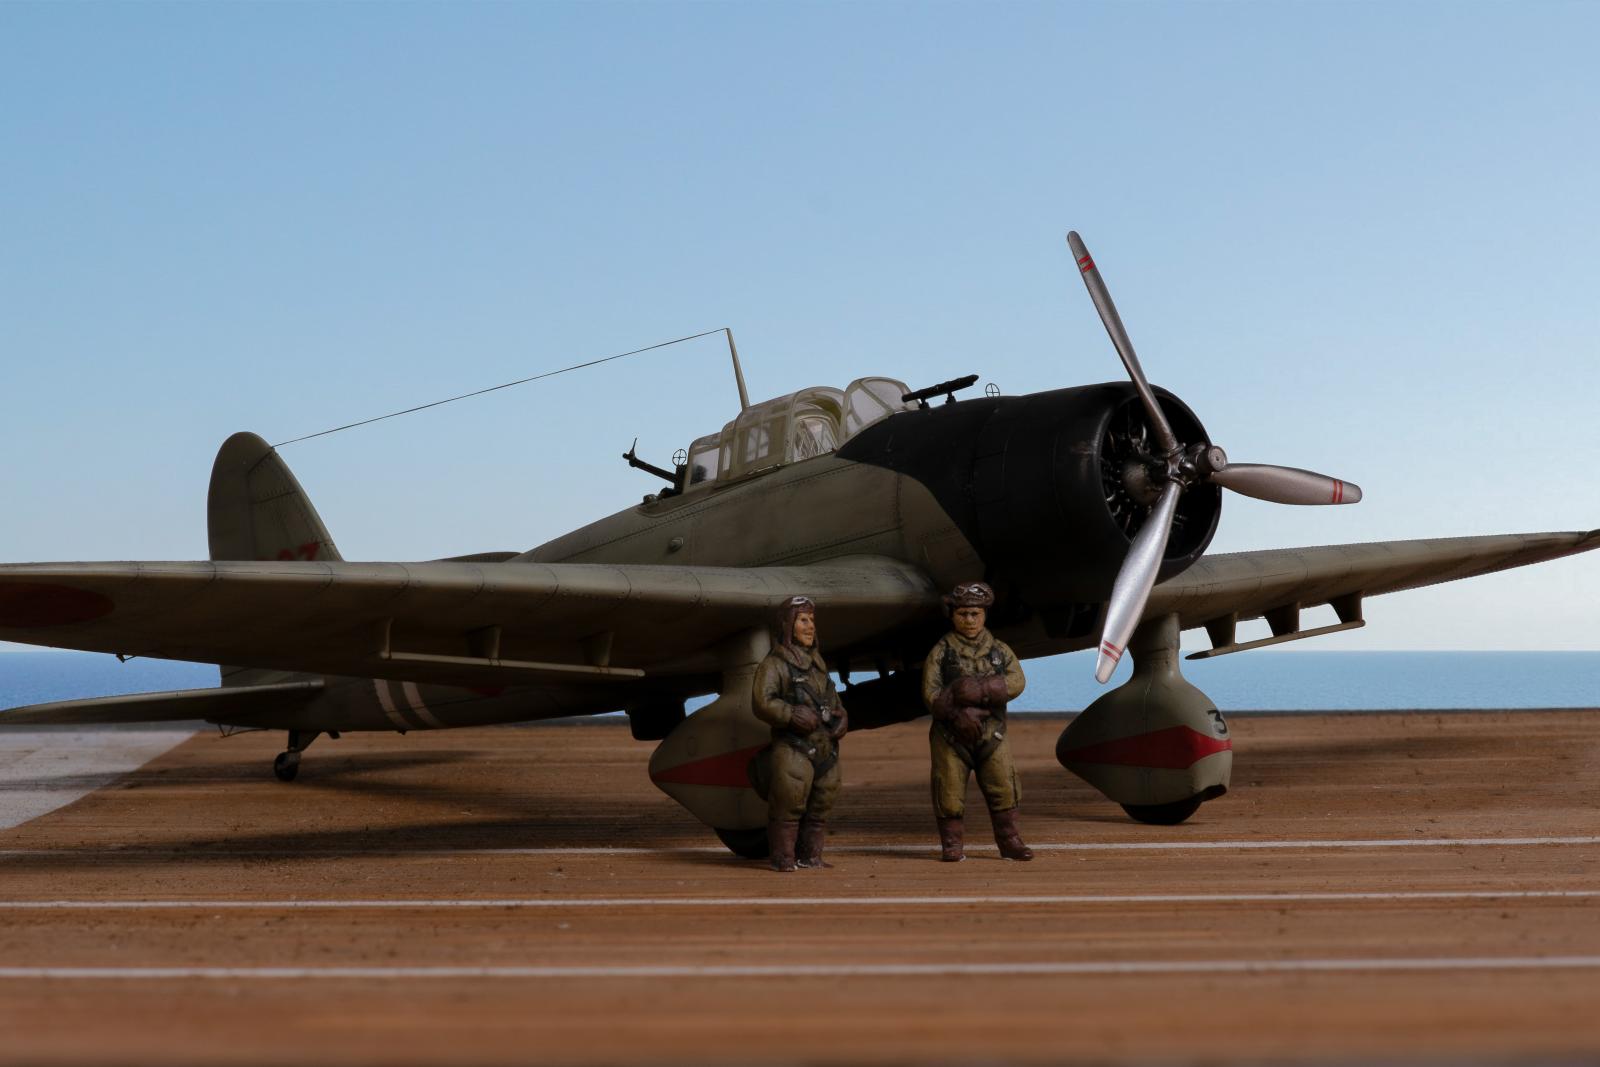

White background photos:

Great Val, Keith. Your weathering is spot on and it looks great on that carrier deck with your Kate. I've always liked how the Vals looked with there wheel pants. Beautiful job.
Thank you Clint @curtisshawk
Fantastic job, Keith!
Looks awesome!
Thanks Spiros! @fiveten
Very nice result, especially the weathering, Keith @greenterrorz
Pictures on the carrier deck do look very realistic.
Merry Christmas.
I appreciate that John @johnb. Merry Christmas to you and your family as well!
Well done Keith, I especially like the photography. Is the deck home made or an aftermarket item.
Thanks Tom @tom-bebout.
I made the deck. It is balsa wood sheets on top of styrofoam. I carved the planks in and painted it all with acrylic and oil paints. After it was all dry I weathered it with more oil paints and a metal brush. The carrier deck being build is on page 2 and 3 of my WIP - https://imodeler.com/groups/work-in-progress-aircraft/forum/topic/hasegawa-pearl-harbor-attack-part-2-1-48-a6m2-b5n2-d3a1/?topic_page=1&num=15
Great looking plane, Keith (@greenterrorz), especially on the diorama with the other plane. It was a pleasure following along on your build.
Thanks for following along George @gblair and thanks for the compliment. I’ll be starting the last plane in this series A6M2 Zero after the first of the year which will be on the same WIP thread.
Sign me up for the next one, Keith (@greenterrorz). Are you doing another Hasegawa, or will it be someone else next time?
@gblair it is the Hasegawa A6M2 which will be done in the markings of the 1st assault wave on Pearl Harbor. It too will be done in IJN Grey-Green I believe.
G’day Keith (@greenterrorz),
I’m enjoying your WIP thread and looking forward to the Zero.
These two look great together on the base.
Wishing you and yours a happy, safe and productive Christmas and New Year.
Thank you! Merry Christmas and a happy new year to you as well @michaelt
Some extremely nice work presented here. I especially like the carrier deck photos. Quite realistic. @greenterrorz
Thank you @jdtruby
🙂 ... Greetings ... 🙂 :
A very decent and much respectable overall job, Keith.
Nice work on that deck.
I appreciate the kind words @de4ever
Well done - the Val and the carrier deck are superb!
Thanks @chasbunch
Keith (@greenterrorz)
These look outstanding, and boy do I REALLY like your carrier deck. 1/48 scale too !
How wide did you make the planks ? Do you have the dimensions of them by chance ? (Length and width of the individual planks.)
Thank you @lgardner. I’ll get some pics of the deck with a ruler on it tonight for you. It was pretty cheap and simple to make. I’ll provide a more detailed build explanation with the photos later.
Keith (@greenterrorz)
I sincerely appreciate this. I have been thinking about building an American carrier deck and a Japanese one, specifically to take photos of my completed models on. Yours looks very nice !
The deck sits on two 48”x12” sheets of styrofoam. The styrofoam would be fine if thinner - I just had this size lying around. Here is an image of the back to show the styrofoam sheets:
The wood used for the deck is 12”x12” sheets of balsa.
wood. Here is a piece overlayed onto the deck:
I applied the deck planks by using a mechanical pencil, and a yard stick. The graphite in the pencil leaves behind a dark grey line in the groove which adds to the “plank” effect. The planks themselves are roughly 0.25” x 4” inch or 0.63cm x 10.16cm
After the planks were scribed in; I masked off the deck and applied medium grey via my airbrush. The grey is intended to depict the metal decking sections which I found on reference photos. Unfortunately I do not have a photo of this step. Here is right after the grey but before the deck stain and weathering:
Once the medium grey was fully cured, I went in and stained the deck with a burnt umber/black/white oil wash. I mixed and alternated the three colors to create a more realistic appearance. Once all the washes had mainly dried, I went back with thinner and some Q-tips to lighten some planks. The last step before applying the white lines to the deck was to add more dirt and grime. To do this I dipped a paint brush in various oil paint washes (burnt umber, black, white) and flicked it from about 4’ above the deck. This step created randomized light and dark spots. I had intended to only have horizontal white lines as depicted in the reference photos I saw… but as you can see, there were large sections that didn’t properly absorb the stain (from excessive glue)
The last steps were to airbrush on the white lines and weather the deck. I just used Tamiya XF-2 and masking tape to do this. The weather was done with a hard plastic brush.
Finished deck sitting on my work table
The biggest obstacle on the whole build was getting the balsa wood to stay adhered to the styrofoam. I used Elmer glue to attach the wood to the foam which cause the wood to warp upwards. I ended up having to use all the books at my disposal to weight it down. As you might know, many glues including CA glue have a chemical reaction with many foams and cause them to melt. Elmers glue is one of the few types that does not have the same issue.
Hope this helps! @lgardner
Keith (@greenterrorz)
Thank you VERY much for the step by step tutorial. It's extremely helpful, and I sincerely appreciate it. This seems to be easy enough to do. I will try to do something similar to what you have done here, but I will likely use a sheet of thin plywood as the base in place of Styrofoam.
This should allow me to glue the balsa wood down in place without fear of the foam disintegrating. I also build flying balsa wood planes, and I have found out if you stain the wood first, before using CA or any type of glue then the stain looks more even. This might help eliminate the problem you had. I do especially like how you came back later with a Q tip and a plastic brush to change the appearance of some of the planks. Brilliant ! 🙂
I will definitely be trying this method out now.
I might even attempt to scratch build a small generic looking island to use in the background, similar to this one found on the Akagi.
Again I sincerely appreciate this.
Thank you !
Your models look great, especially the ones pictured on the deck, and thank you for explaining how you made the deck.
Thank you @chinesegeorge
Well done. While I generally have zero interest (Pun Intended) in building Japanese subjects, builds like yours and my interest in Pearl Harbor tempt me to dive in. Your builds are both very nice, and I like the way you displayed them on the carrier deck. Very nice work.
Haha. Well thank you for the compliment! I appreciate it! @luftwaffe-birdman.
I will be doing a very elaborate FW-190 build once my next build is complete (A6M2 Zero) which based on your name is more up your alley.
Well done, overall, Keith. I really like your photo displays. Thanks for the deck process.
Thank you @gwskat
A real beauty!
I appreciate it @gkittinger
Great Val! Also deck is impressive!