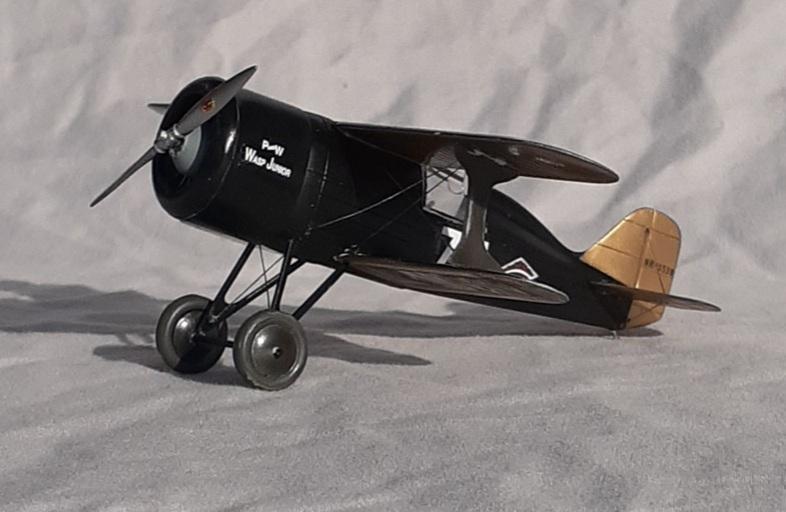
Laird's "Solution" Thompson Trophy Racer
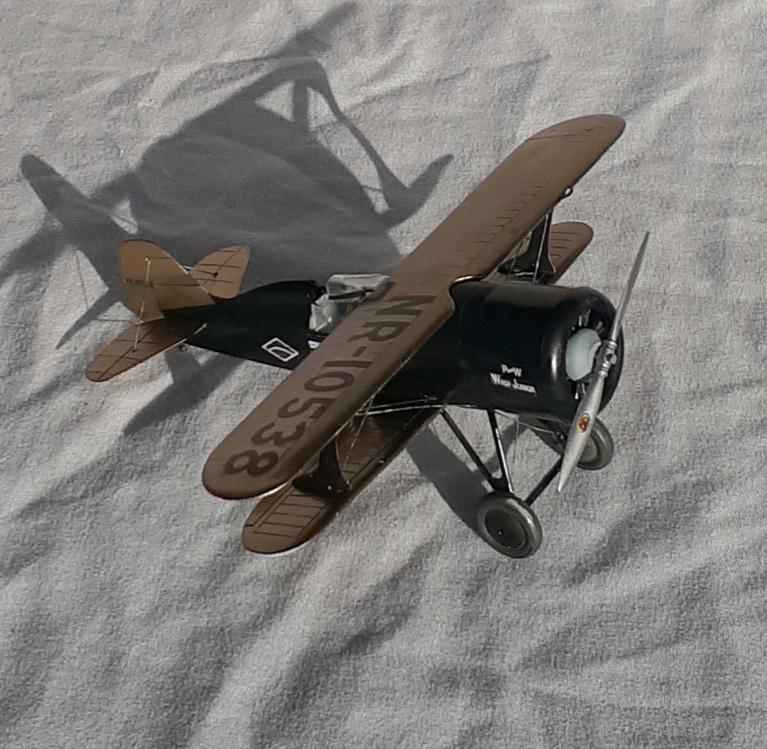
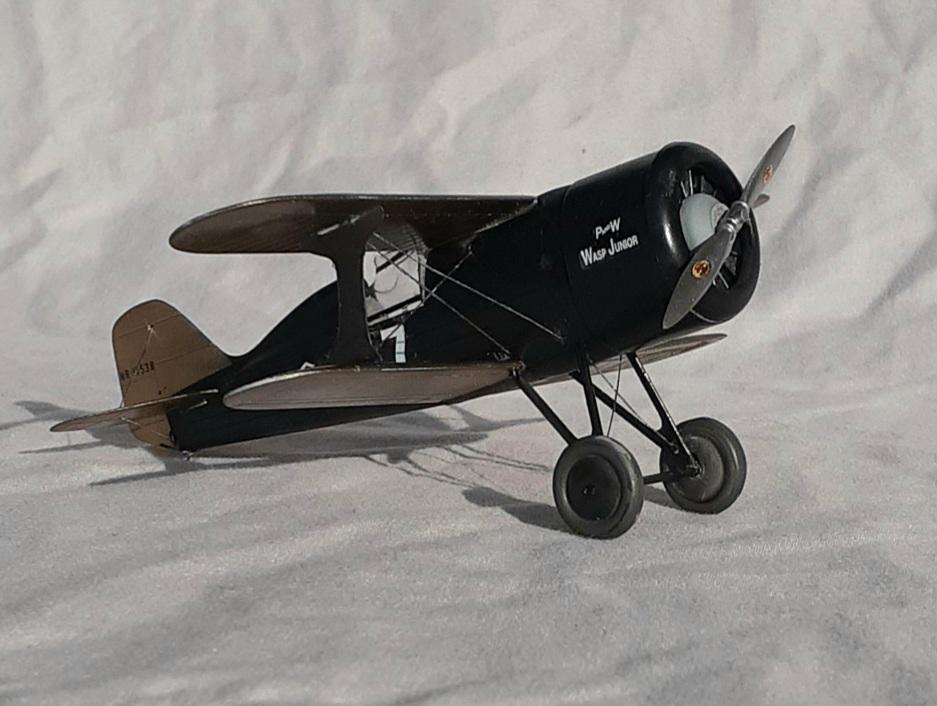
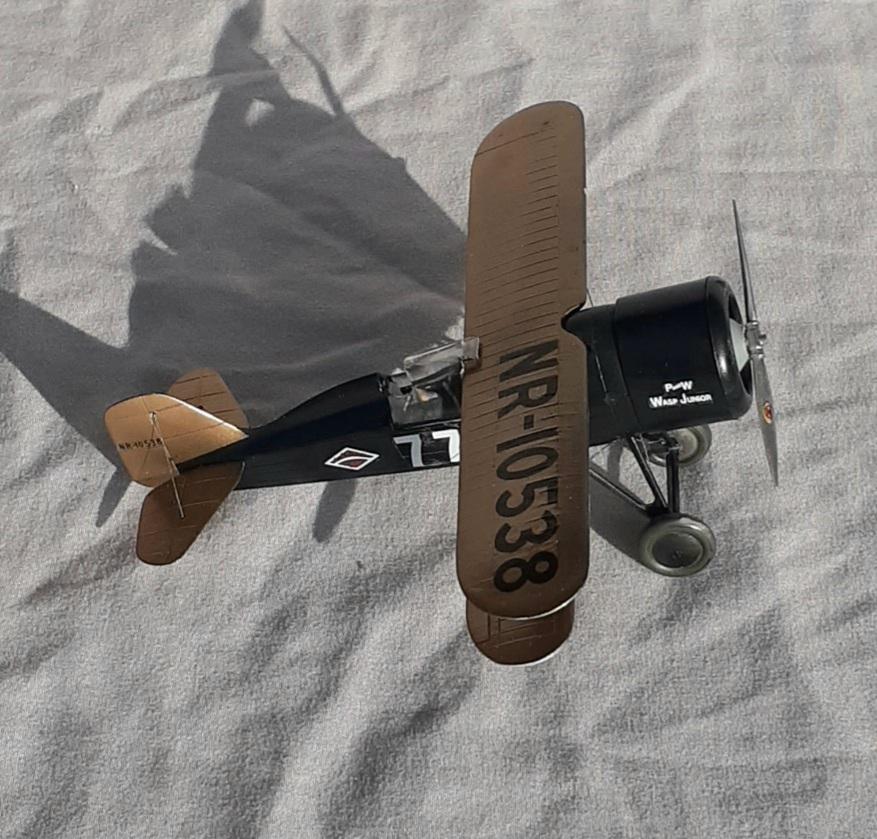
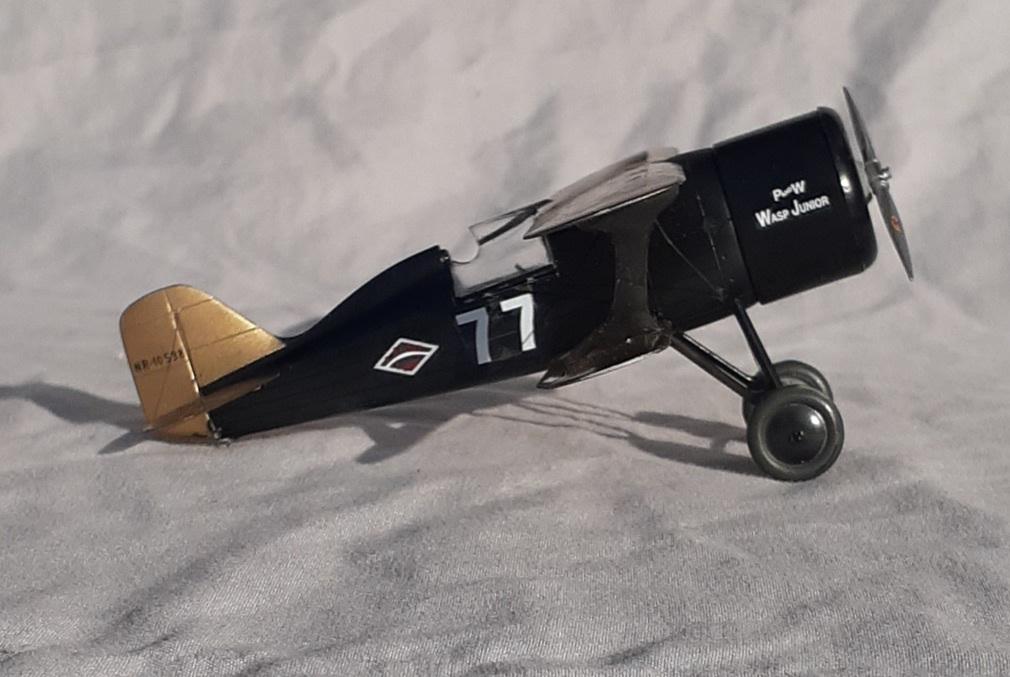
Three weeks before the 1930 Thompson Trophy race, held in Chicago, Lee Shoenhair of the Goodrich Co. placed an order with the E.M. Laird Airplane company for a racer based on their Speedwing designs of commercial aircraft and featuring the new Pratt & Whitney Wasp Jr. engine. (He later backed out of the deal.) Dubbed the "Solution" in reference to the dominance of the Travel Air Mystery Ship, it was a biplane with conventional landing gear, having a welded steel fuselage, wooden spars and ribs, and covered in fabric.
The factory was located across town from the racecourse and the only test flight was 10 minutes long to the track. Not only was work done around the clock by Laird personnel, a P & W rep was present to conduct a test run of the engine and make final adjustments prior to take off. Six foot 5 and ½ inch tall Charles “Speed” Holman was selected as the pilot.
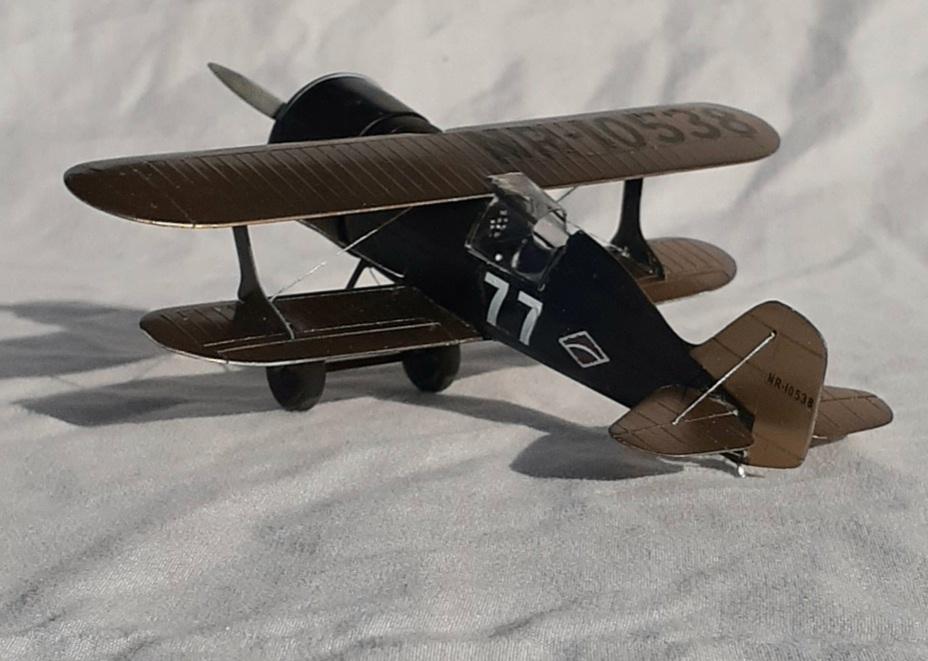
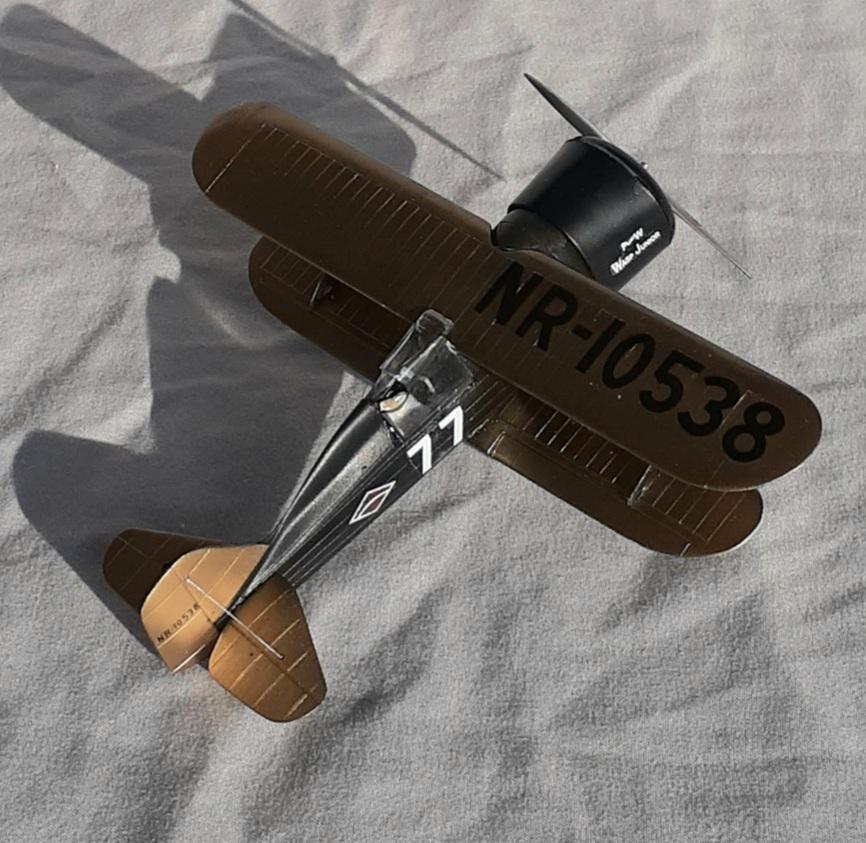
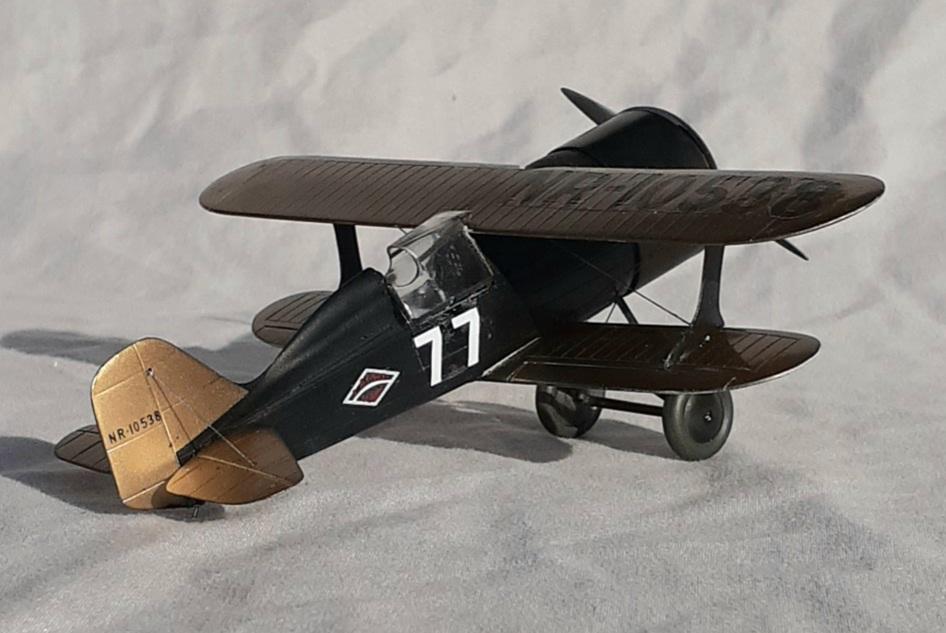
After landing at the race field, the engine was tweaked again and the rigging given a final adjustment. Race number 77 was hurriedly whitewashed on the fuselage and the fuel tank was topped off. The preparations were completed just minutes before the start of the race.
To nobody's surprise, Capt. Arthur Page quickly grabbed the lead in his heavily modified Curtiss Hawk. Frank Hawks followed but dropped out after the third of 20 five-mile laps. Jimmy Hazlip, in his Mystery Ship and Holman fought for second place. Tragedy struck on the 17th lap when Page was overcome by carbon monoxide fumes and crashed. That left it as a duel between Hawks and Holman. The Solution was faster, but Holman was also fighting fumes and had difficulty concentrating. At times, he wandered off course as he stuck his head out of the cockpit. He barely finished ahead of Hawks with an average speed of 201.9 mph versus Hawks' 199.8 mph. In addition to winning the first-place prize of $5,000, the Solution was the only biplane to win the Thompson Trophy.
The Kit
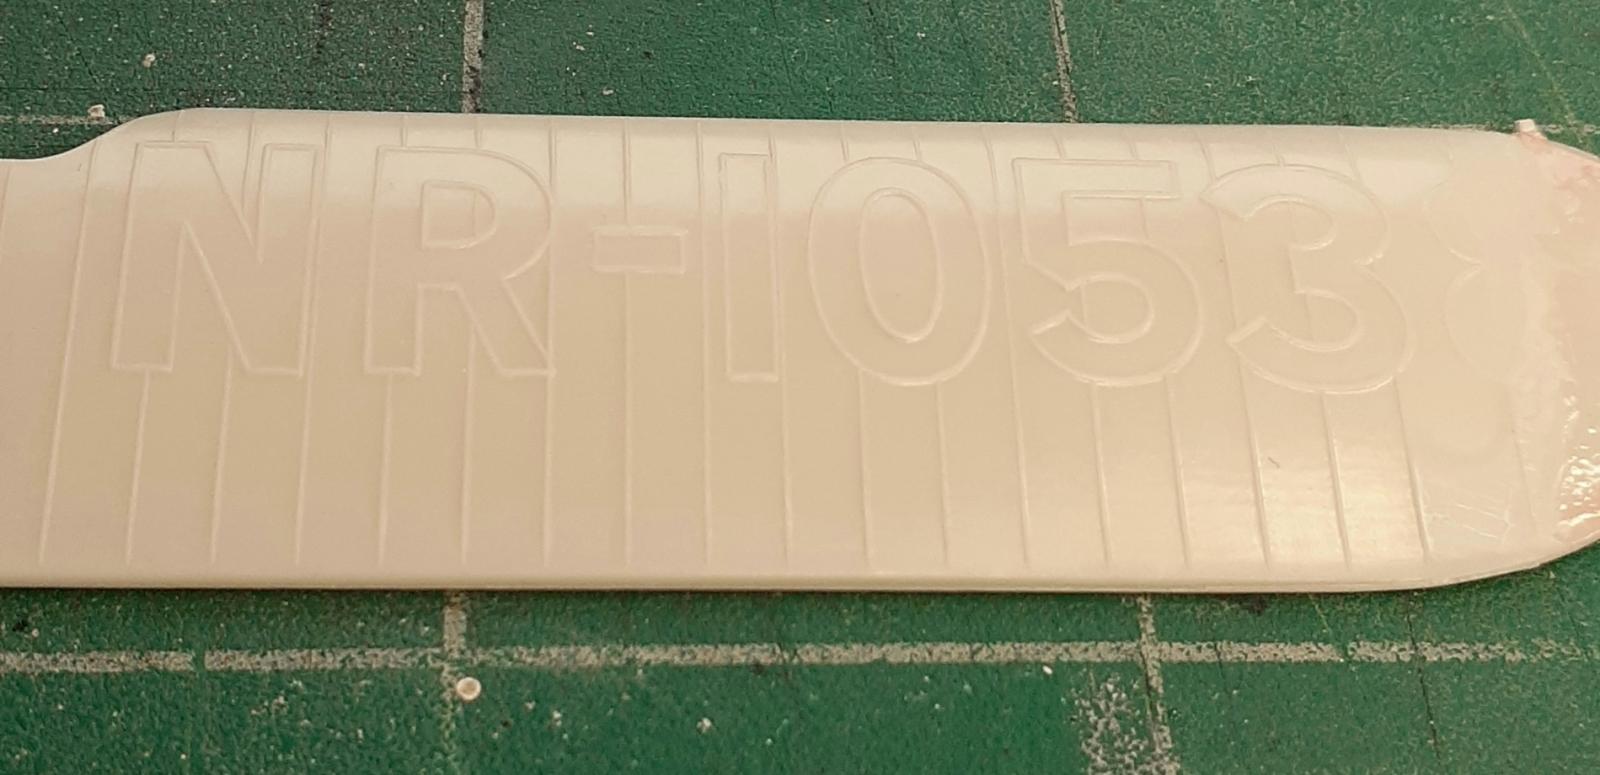
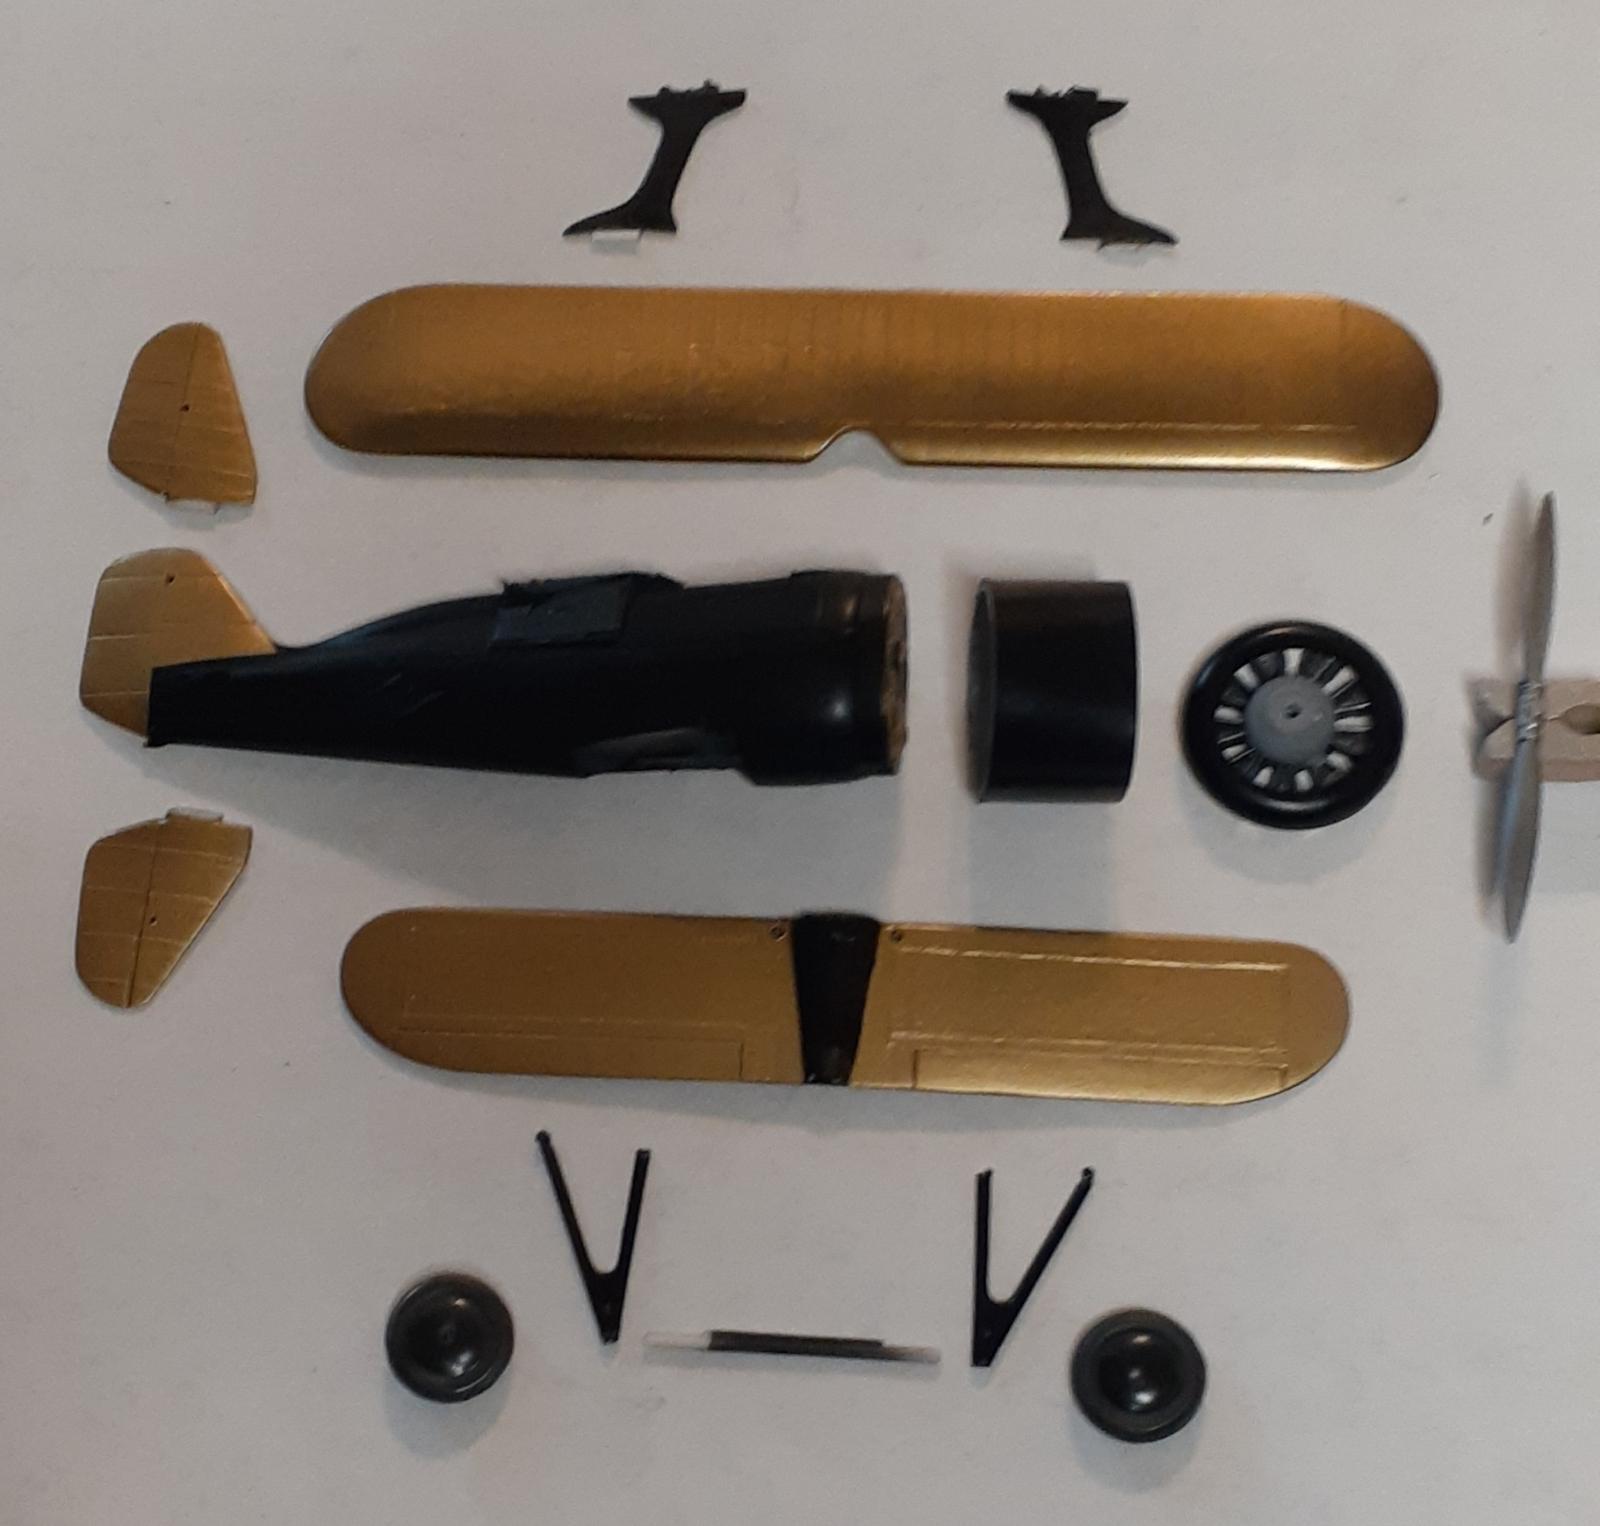
According to Scalemates, this kit was first released in 1949 under the Hawk label. The last boxing was in 1993. The molding is looking long in the tooth with some dense flash on numerous parts and mold ejection points. Most of the 22 (including a six-part racing pylon stand) white parts were still attached to the sprues with the lower wing detached. The one clear part was left loose in the bag. Of note is that the radial engine, without pushrod tubes, is molded into the cowl nose ring. Nor is there any interior detail. As was customary in the era of the kit's release, raised outlines for the race and registration numbers are molded on the surfaces. The decal sheet of the numbers is sandwiched into the folded size 11 X 17 instructions.
The Build
Several sessions were spent on scraping, sanding, scribing, drilling, scratch building, adding shims, plus figuring out the assembly, painting, and rigging sequence.
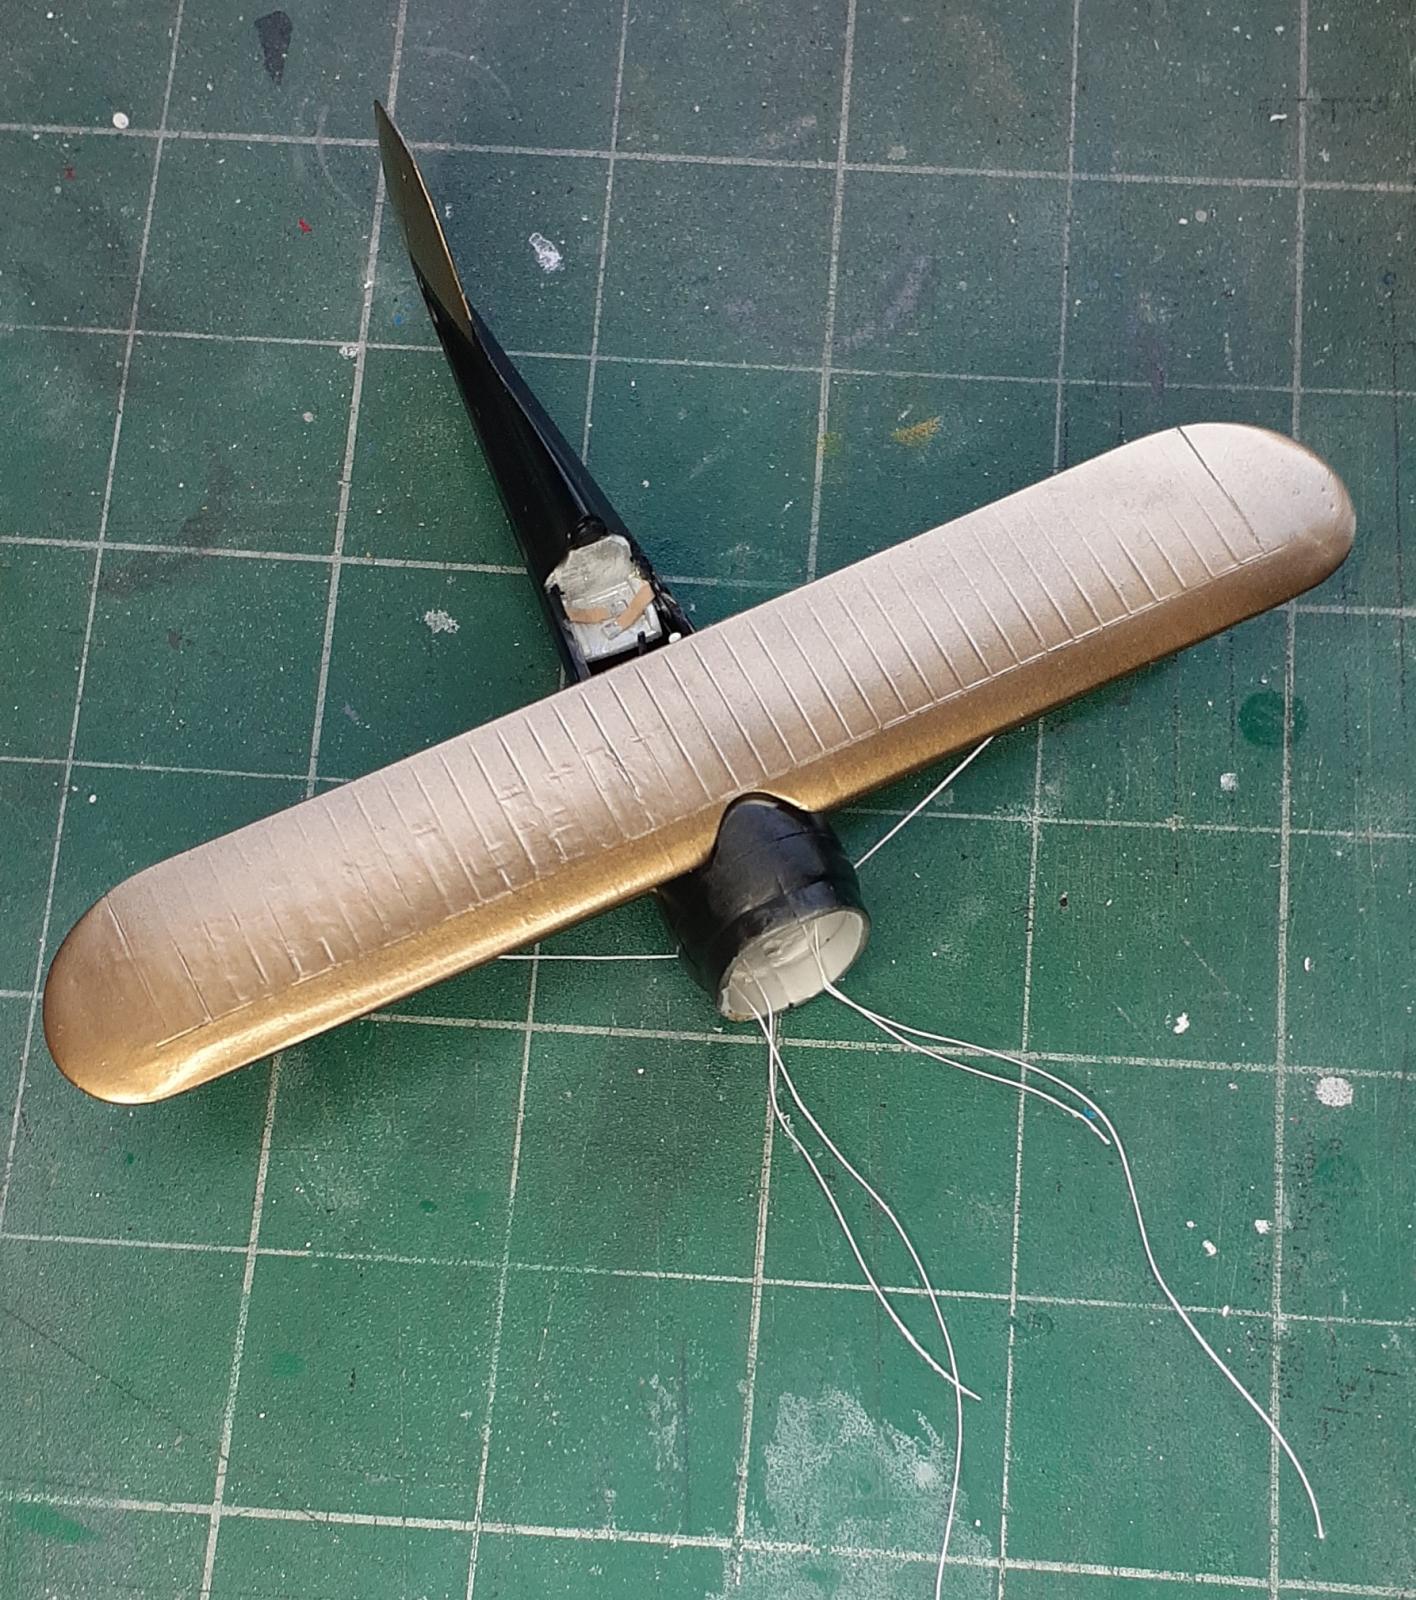
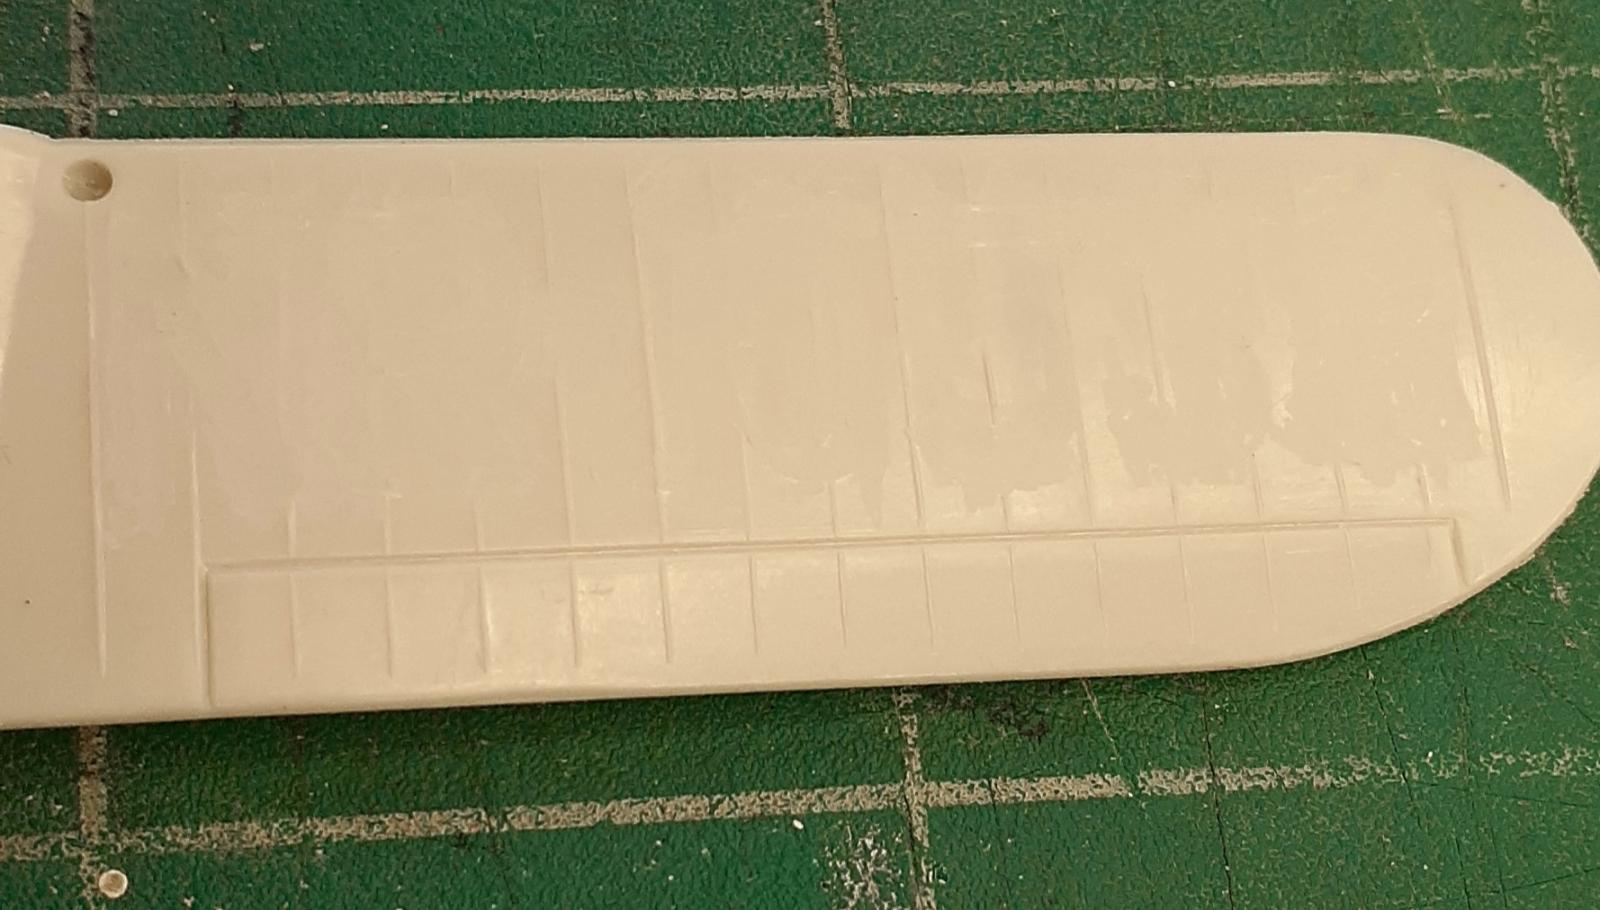
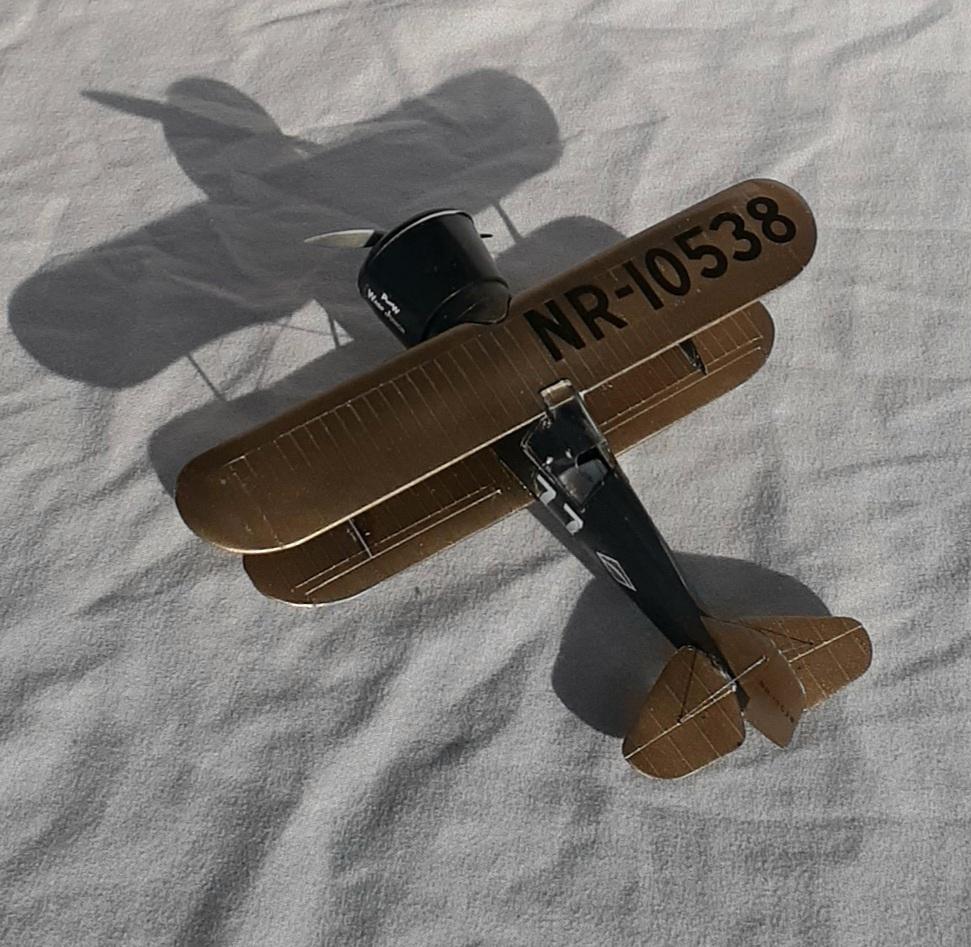
Starting with the single-piece wings, the registration numbers were highlighted with Smoke tint to make it easier to see where to scrape off the raised outlines.
The ailerons, which were only on the lower wings, and also plywood covered, along with the area from the rear spar to the aileron's hinges. These areas were also scribed and sanded.
After taping the fuselage halves together, the placement of the rigging holes was determined, and the test fitting the wings also identified where to drill those holes. Once the rigging strategy was settled upon, the holes were drilled out. The same followed for the tail surfaces. The stabilizers showed gaps along the fuselage during their test fit, so shims were added to them.
Still with the halves taped together, the shape of the rear bulkhead and instrument panel was determined, as well as the dimensions of the floor piece. Those pieces were cut from sheet styrene with the bulkhead left extra tall with the final size to be determine later.
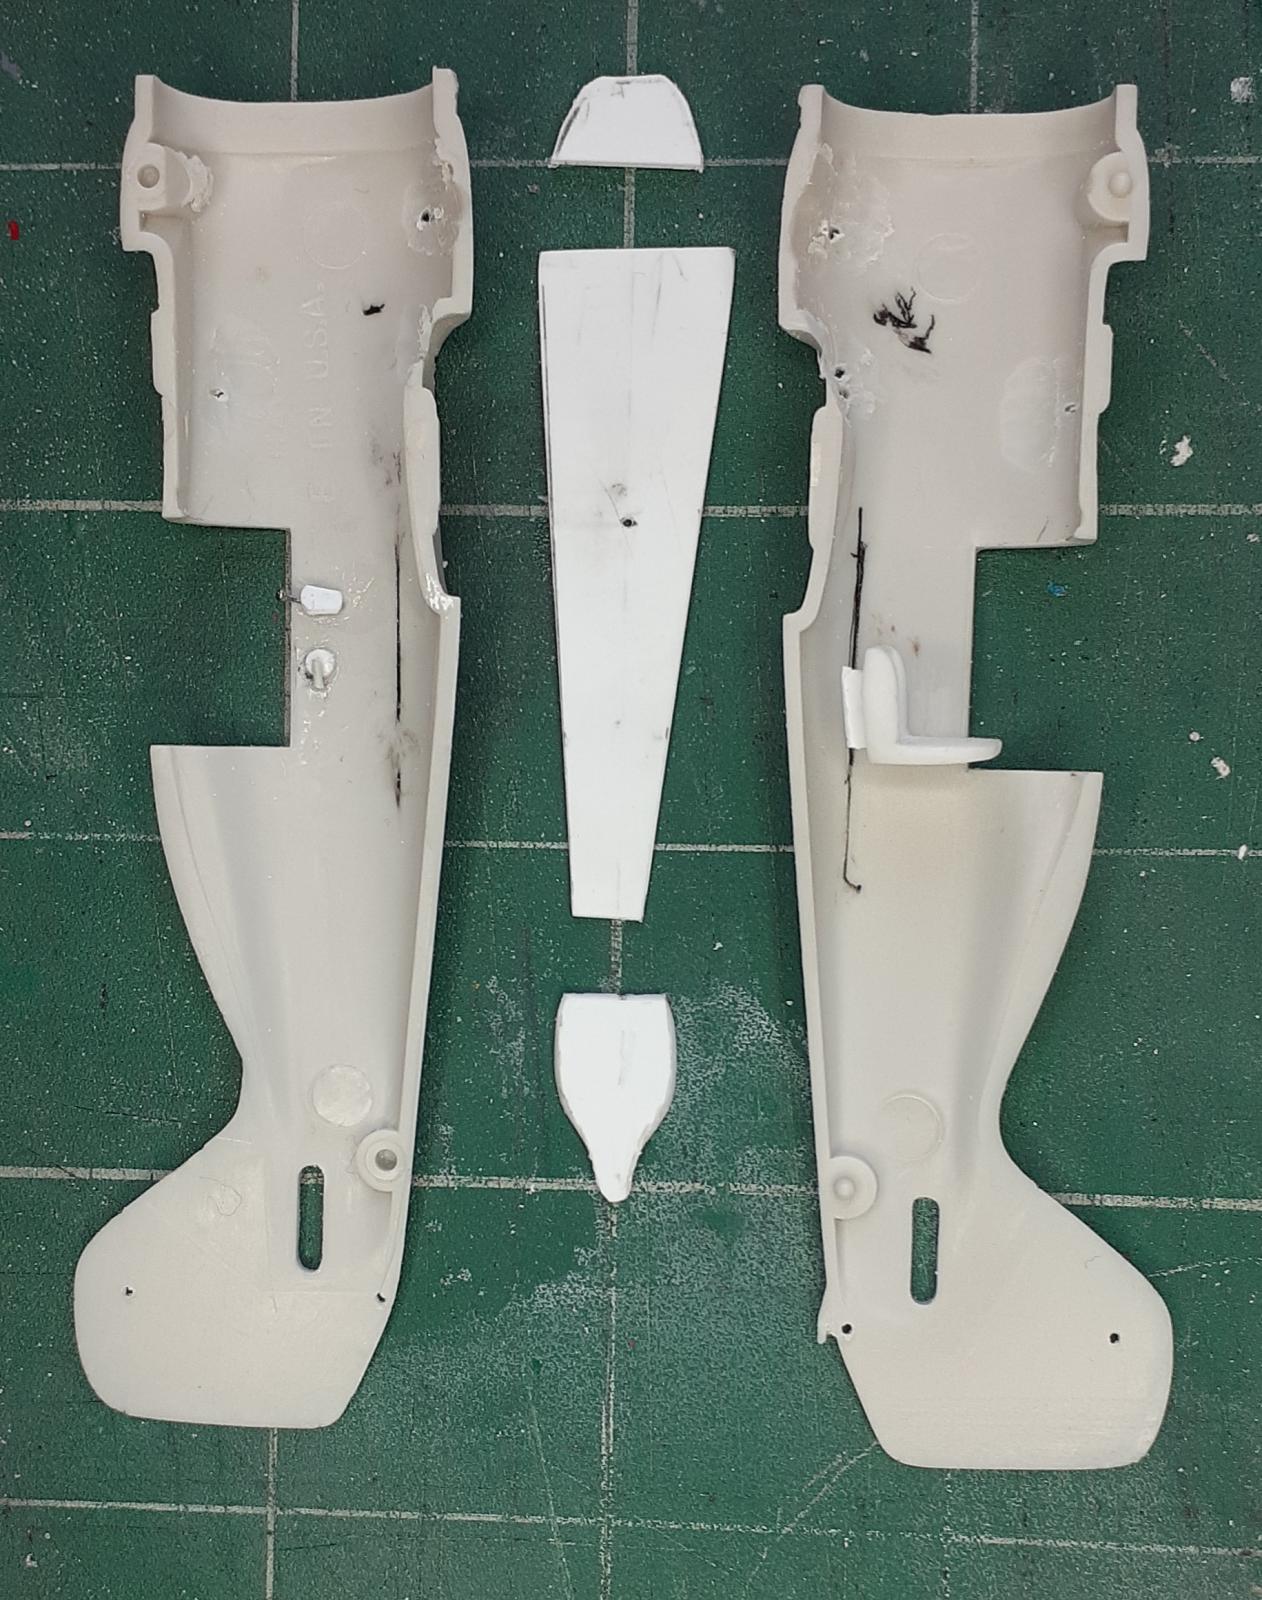
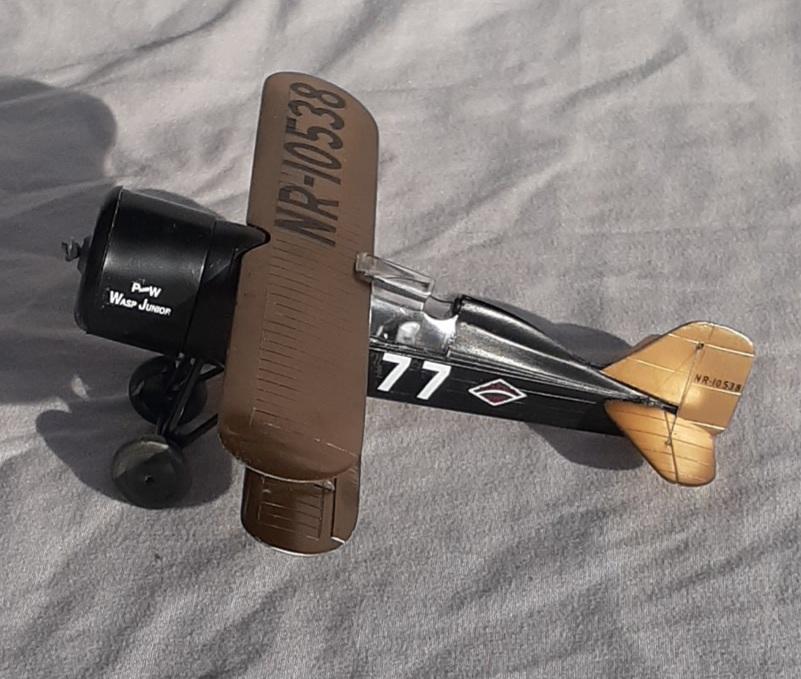
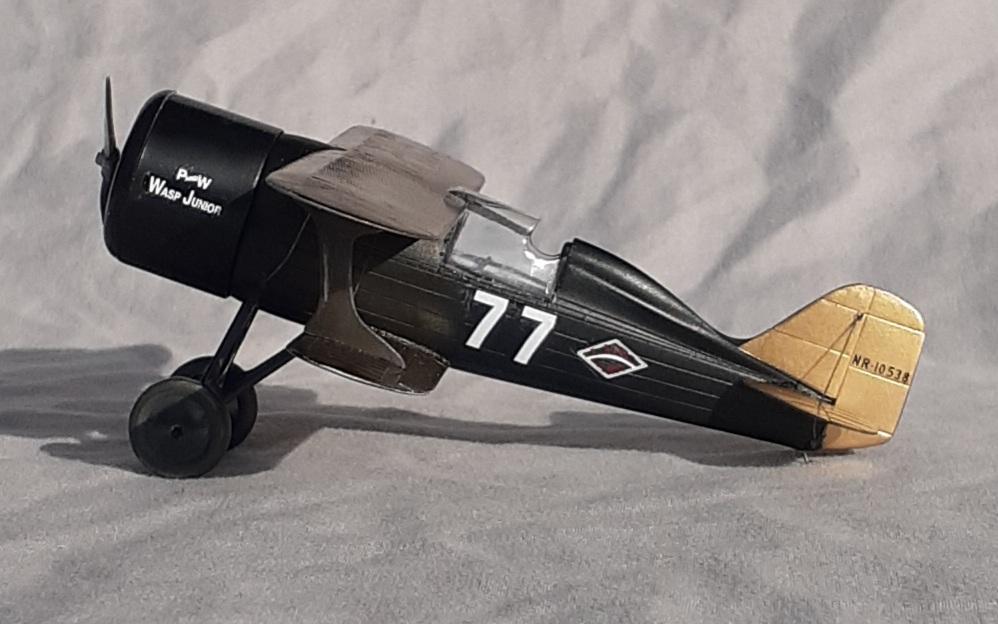
A throttle handle and a crank that operates some unknown apparatus (stabilizer trim?) on the left side plus a seat and control stick were the only cockpit details to scratch build. The Solution's cockpit was lined with black Pyrolin sheet, which was based on nitrocellulose, and covered the frame, so the interior surface of each half was painted black.
An unusual sequence was used to build the cockpit. The fuselage was glued together, leaving the cowl off so that the nose was open. The floor was inserted from the front, then the rear bulkhead trimmed to fit and installed, followed by the instrument panel. Then the scavenged seat was wedged into place and the stick glued in front of it. A headrest was shaped and glued in place, then painted black along with the instrument panel. When the paint dried, a scavenged instrument decal was slid into place.
A rotary tool was used to remove the engine face and a replacement was test fitted without a problem.
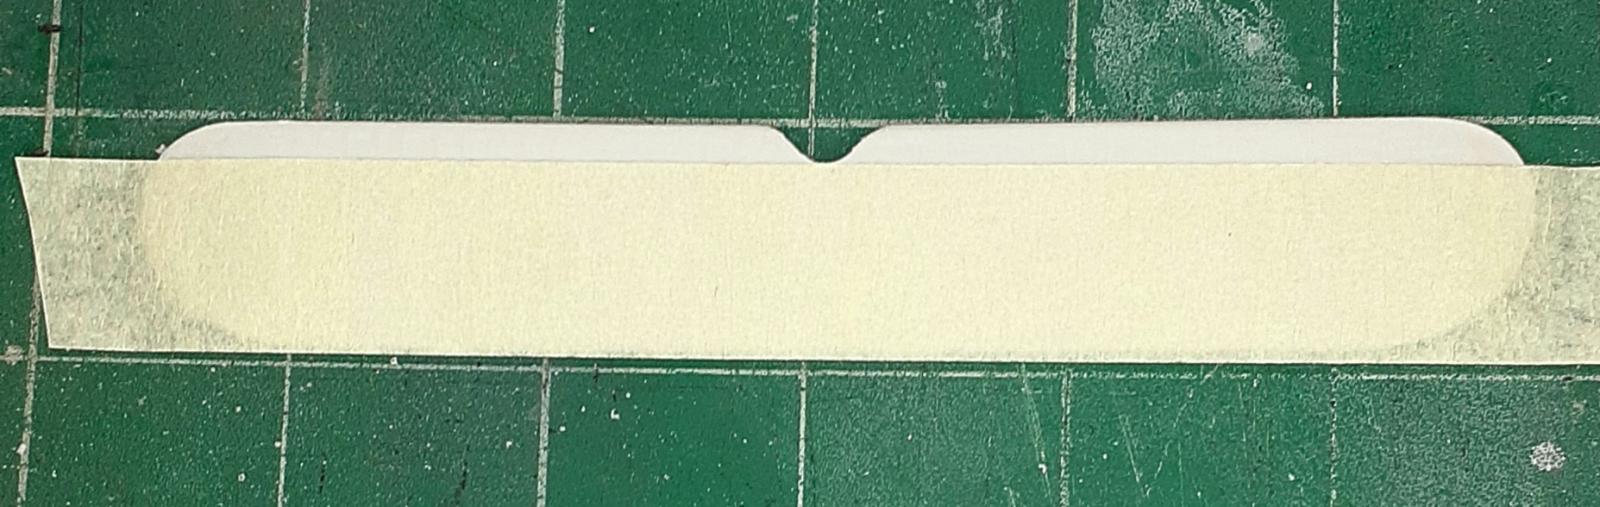
Both wings needed shims to close gaps with the fuselage, as did the wing struts. The clear piece was masked and tacked glued in place with water soluble glue. That left the wheels and their struts plus the prop to clean up and the parts were ready for paint.
Painting
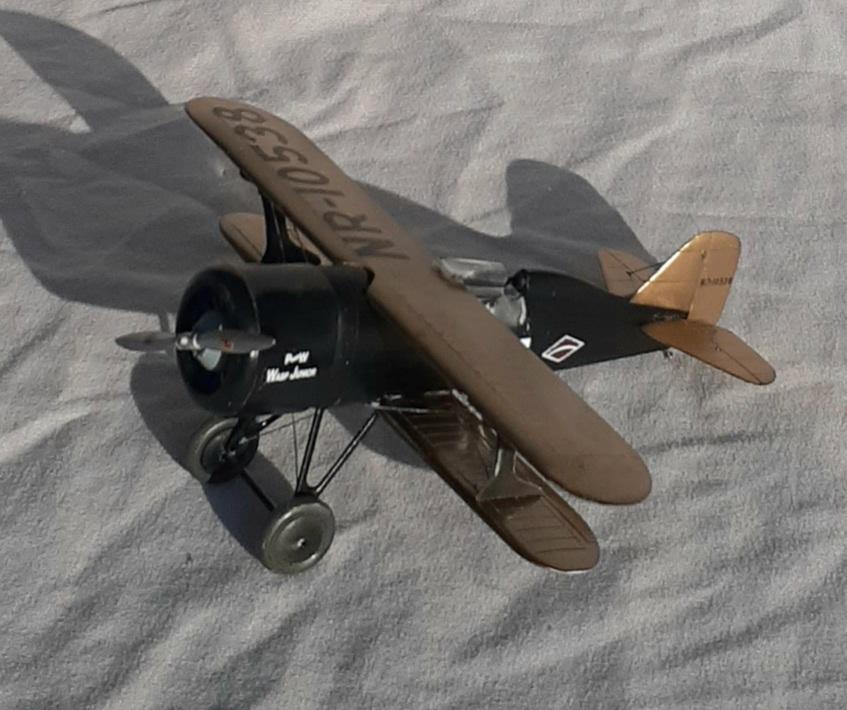
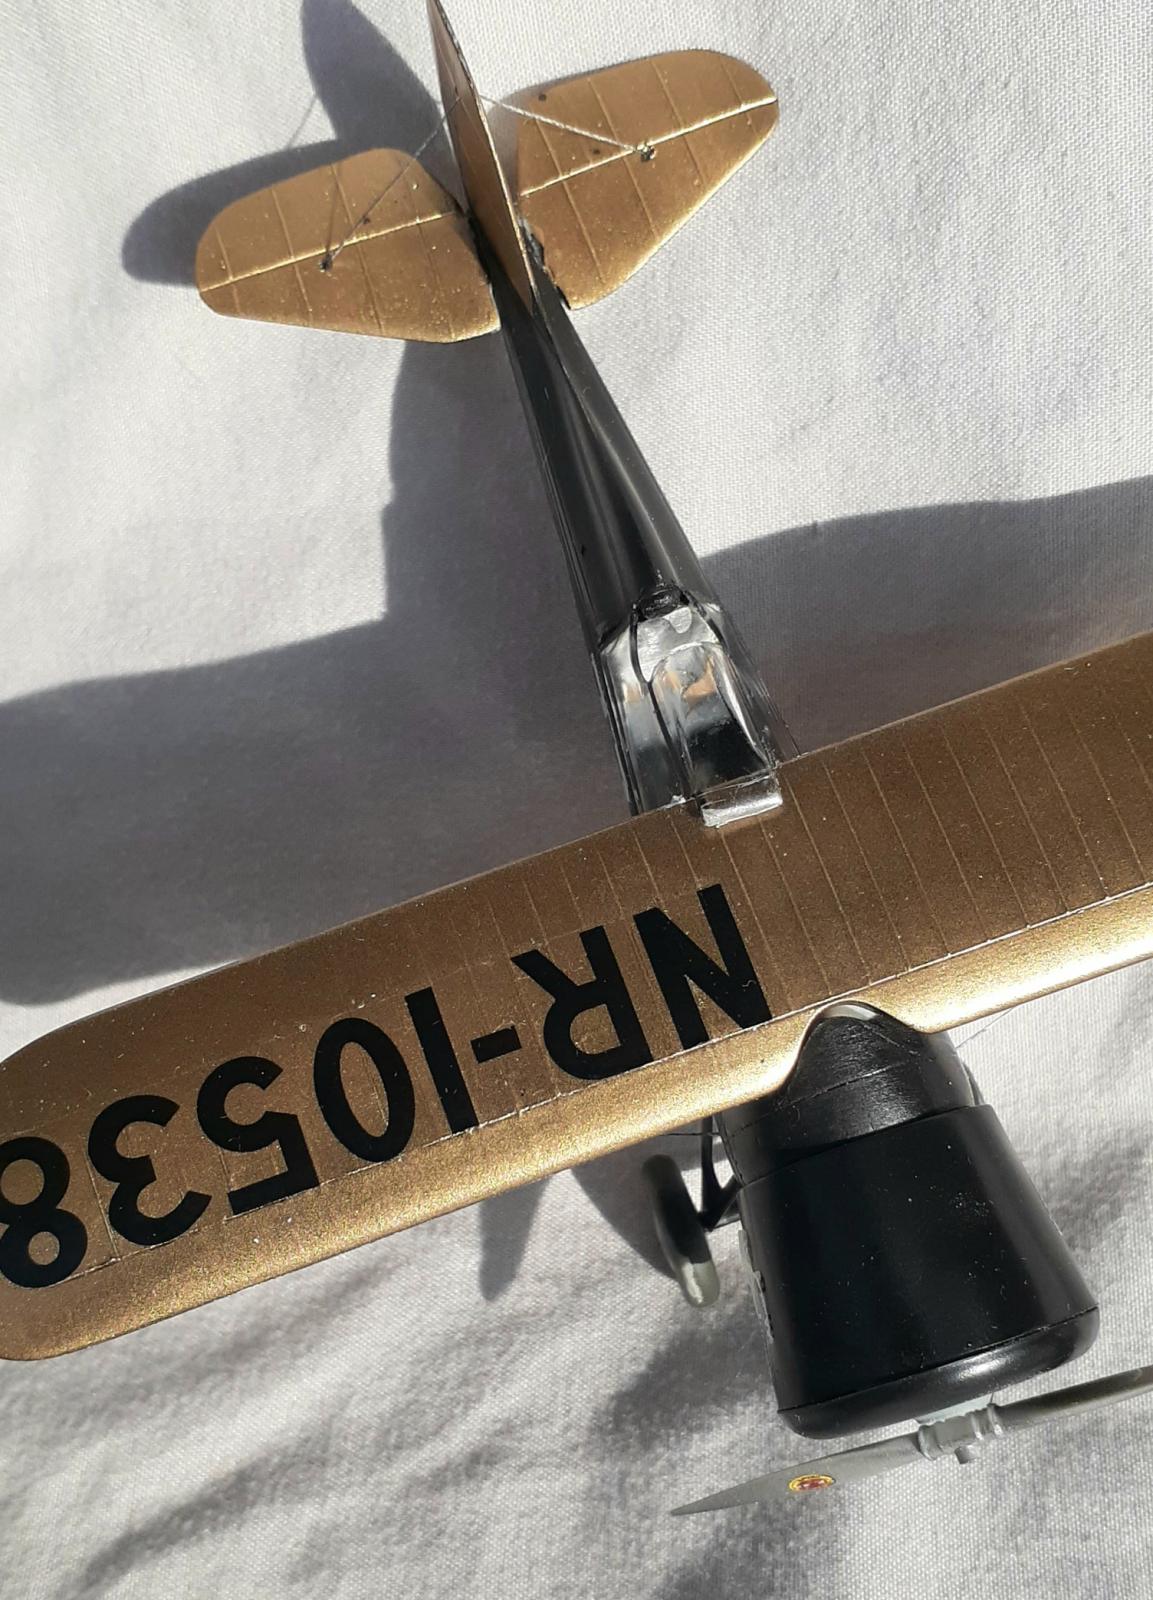
Complex masking was avoided by painting the wings and fuselage separately. Alclad gray primer with filler was sprayed over the parts and another session of filling and sanding followed. The next step was to apply Alclad's gloss black base. The fuselage parts were done at this point. The fuselage fairing on the underside of the lower wing was masked as was the fuselage except for the fin/rudder. The flying surfaces were misted with Alclad Gold.
Final assembly
Continuing with deviations from the norm, an atypical assembly sequence was utilized. Before adding the engine and cowl to the fuselage, the lower wings offered up first, then their struts. Quilting thread was glued to the bottom of the struts and pulled through the holes in the fuselage and secured from the inside. These, and the rigging that followed, was painted Vallejo Steel after installation. The upper wing was attached and its rigging completed.
The horizontal tail surfaces were attached. Their fit was not as tight as needed and more shims were used. After the glue set up, the tail rigging was added.
Two “V” struts, an aerodynamic shaped axel, and two wheels compose the landing gear. Except for the wheels, none of the attachment points are firm, so getting the parts aligned properly was tricky. When the glue for the struts and axel had set, they were rigged and the wheels added.
Getting the clear part to fit required some filing where it met the wing trailing edge. The molded in place tail skid was broken at some point, so a sewing pin was used as a replacement.
At this point, there was little handling left to do, so the decals were applied and left to dry overnight.
As per my custom, the prop was the final part added.


John, that is a very cool and inspiring build @jsummerford! Your improvements look great and the finished result really rocks! 👏 I've had this kit and most of the other ex-Hawk air racers in my stash for years and have managed to build only two thus far. Thanks for sharing your Solution with us here! 👍
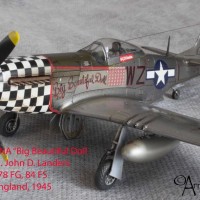
Here's a peak at my old Testors racers, the Howard "Ike" and the Supermarine S6B:
Thanks.
I think , over the years, I've built them all. I think the Ike is the easiest, but does need work. The Supermarine model I did 40 years ago and didn't survive my many moves. Perhaps again some day.
A wonderful result, John! Your amazing skills in tackling this elderly, basic kit are clearly evident.
Congratulations!
thanks
For such a simple kit, it takes a lot of time, skill, and effort to build it as nicely as you did! It looks fantastic!
Thanks, I spent over 20 hours to paint and assemble 17 parts.
The elbow grease you put into that build really paid off! Looks great.
Thanks. I keep thinking I want to do a simple build, bet doesn't seem to work out that way.
What an amazing result.
Definitely not a kit for the faint-hearted!
Admire your skills and dedication on this old kit.
Thanks. The phrase, "you get out of it what you put into it" applies to this kit. The parts fit isn't all that bad. The black paint can hide a lot of issues.
I really love all the 1020/30s racing planes. I have many, the old Testors, and the William's Brothers kits, and there all as you described, not a lot of detail and a lot of flash, but overall mm very neat kits. Your little Laird's Solution looks awesome, nice job.
Thanks. I have a soft spot for the William's Brothers kits, though they are difficult kits to pull off. I'd love it Dora Wings would more racer in addition to the Gee Bee.
The Laird looks awesome John (@jsummerford)! I've wanted to build this plane over the years but keep hoping that a better kit might come along. I have a special attachment to it because E.M. Laird ("Matty") is my great uncle and I remember distinctly my grandmother giving this kit as a young boy and telling me the story of Matty Laird. There is a book out there which I can longer remember the title of, but it was a biography of Jimmy Doolittle and included some information and photos of his use of Laird racers. There is a photo in that book with the Laird Solution, if I recall, it was on the ground after an incident, but anyway this photo has my grandfather as a young man standing in the photo. Thanks for sharing.
Carl,
The book that you re thinking of is "I Could Never Be So Lucky Again" co-written by C.V. Glines. It is one of my favorite reads. There two photos of a Super Solution that Doolittle belly landed at the Witchata airport. I'm guessing that your grandfather is the one standing behind the nose. Doolittle won the 1931 Bendix with a Super Solution and set a transcontinental record and a bonus by continuing from Cleveland to New York.
Thanks for the story
Thanks John, (@jsummerford), I will see if I can find the book. It was something like three decades ago that my father showed me that picture and my memory of it is not good, but I do remember that part.
Great effort on this oldie, John. Just goes to show what can be made from these ancient kits.
This is some excellent result, John @jsummerford
You have clearly shown your modelling skills on this challenging kit.
It was a pleasure to follow your article and see the approach on this build.
Nicely built and a very good rigging result. The backstory fills all the boxes for the 'Right Stuff'.
You obtained a beautifully finished result from this kit. Good job. @jsummerford
Fantastic work on bringing this kit up to scratch.
Beautiful build. Those old kits can be made into the proverbial silk purse as you have demonstrated. I find it interesting that the cockpit was lined with Pyrolin, a duPont product which was highly flammable!
Fine looking build, John
That looks like it was a tough build which turned out very well of an interwar racer.
Excellent build and all that extra work shows. But how did you ever figure out where the decals are supposed to go on the wing after you sanded off the raised numbers?