Review: MiniArt Republic 1/48 P-47D-30-RD Thunderbolt
The Airplane:
The Republic P-47D-30, which appeared in the ETO during the fall of 1944, and was produced at both the Farmingdale and Evansville factories, was the first Thunderbolt sub-type to have the underwing dive brakes that prevented the airplane hurtling on into uncontrollable compressibility applied to the airframe at the factory. With this change, the P-47 became an airplane pilots could throw around in air combat without fear.
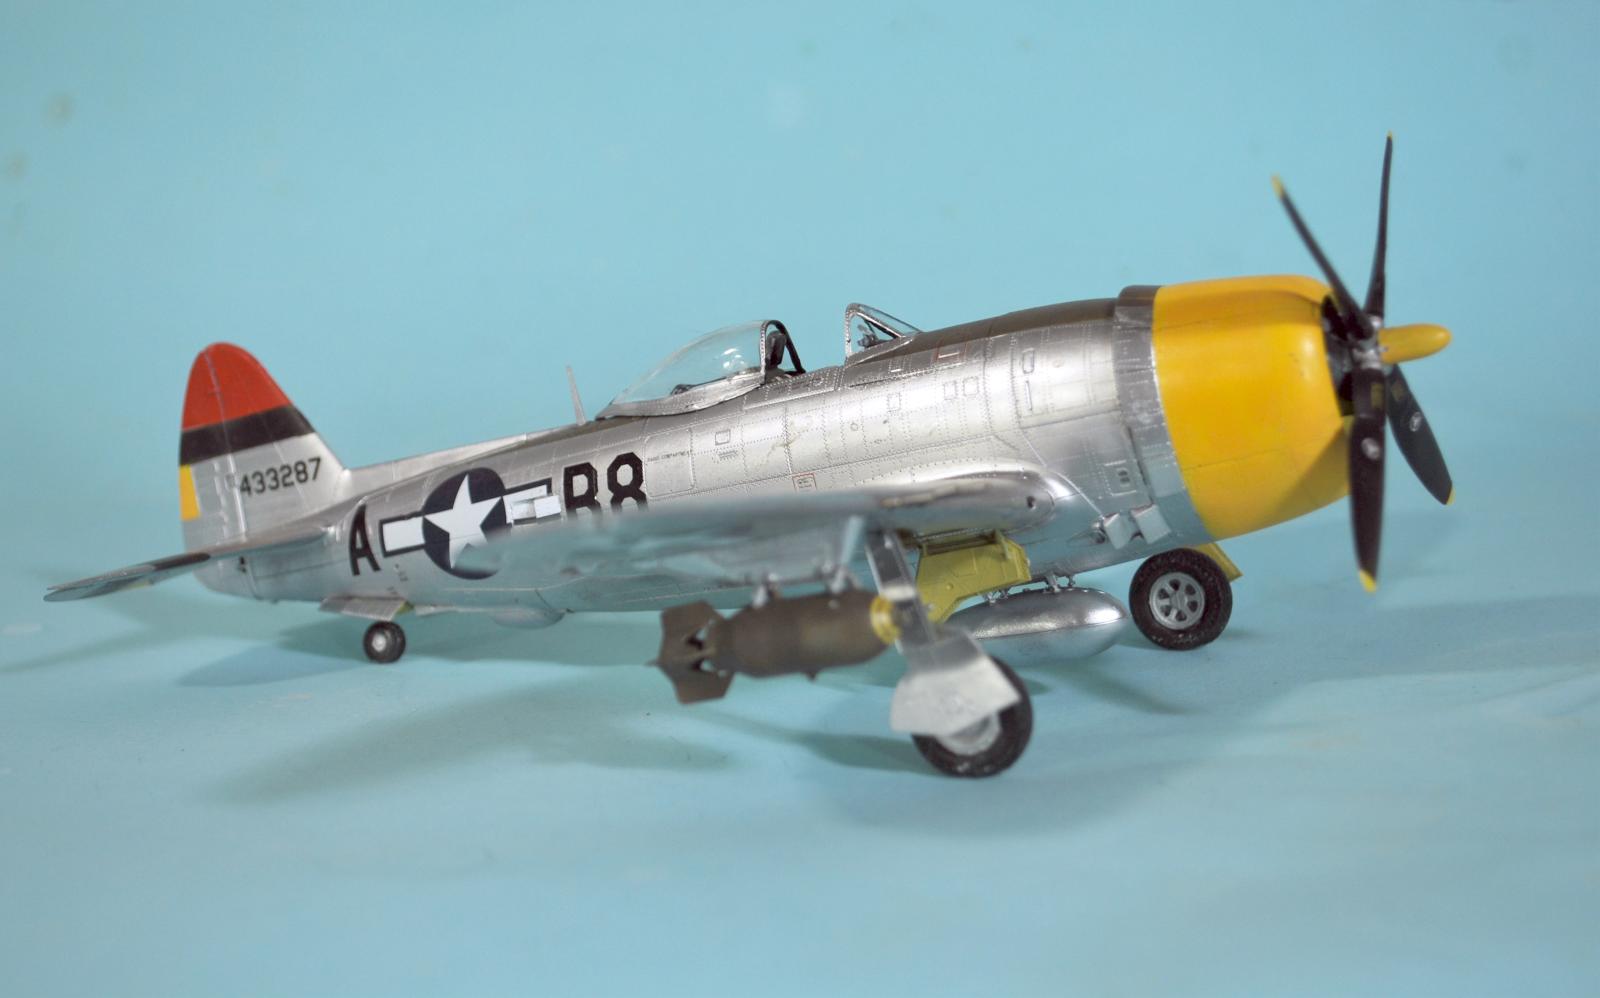
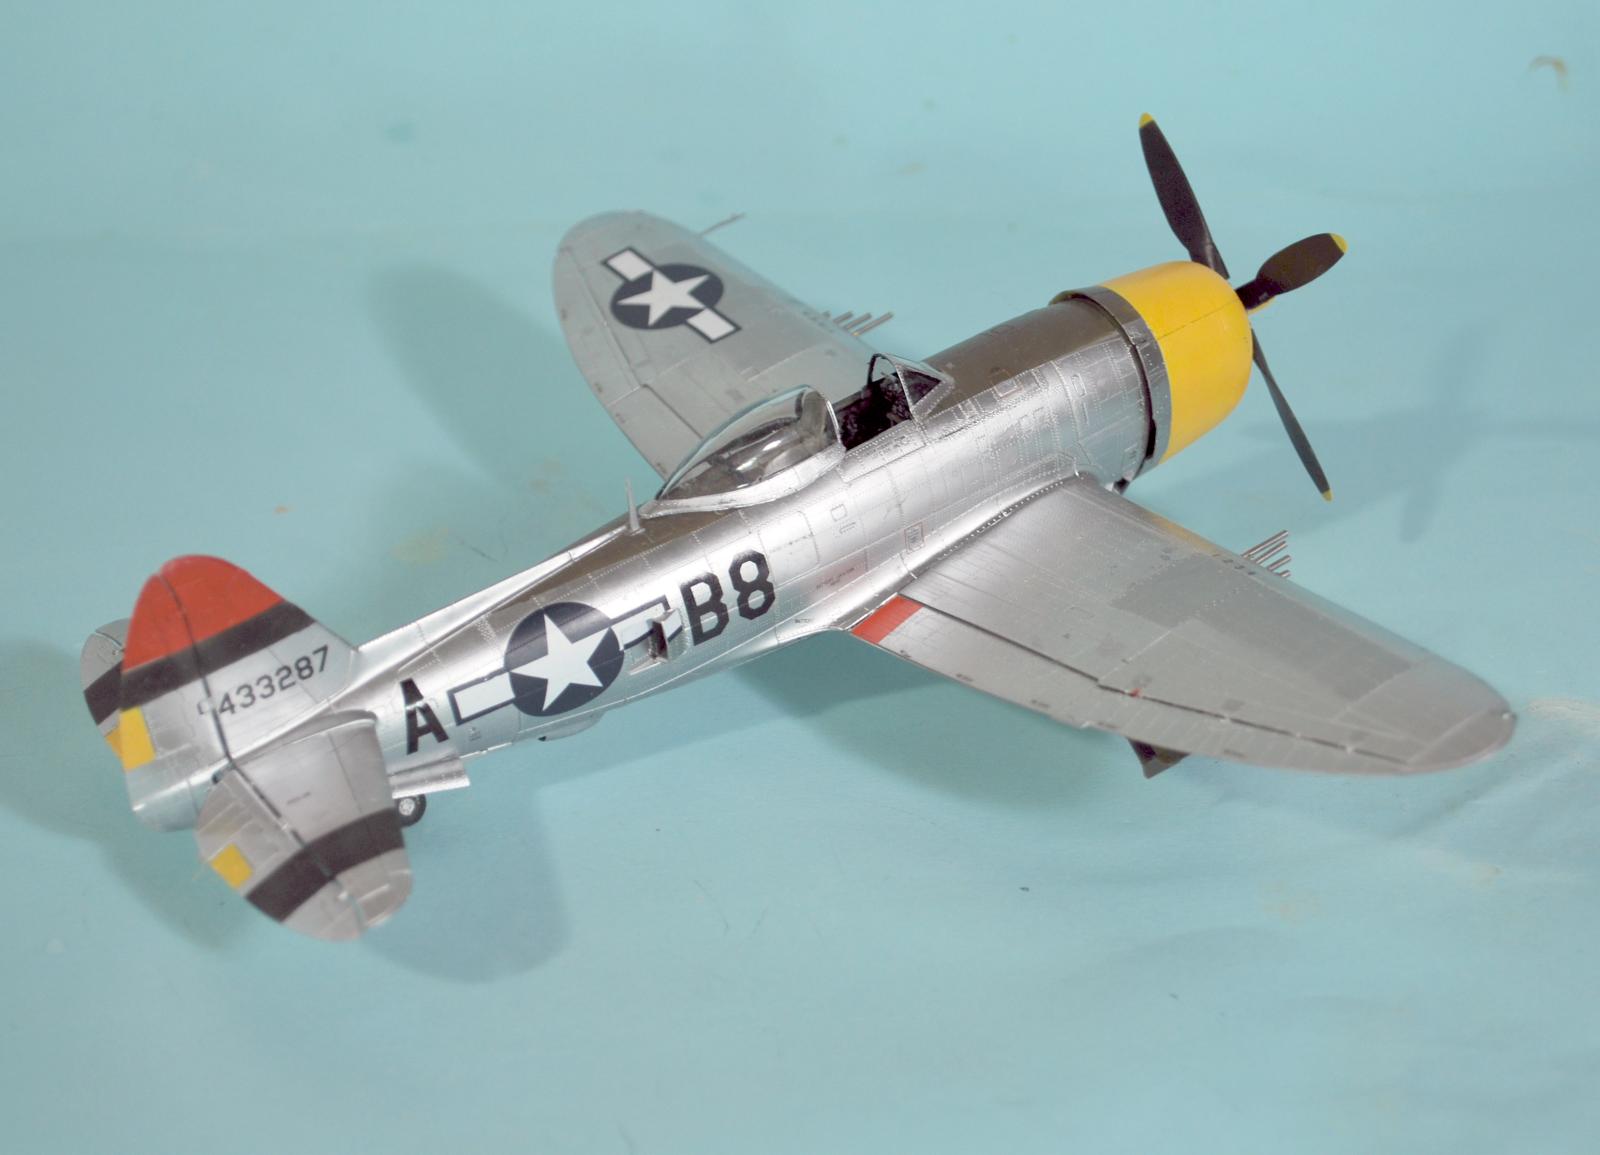
A visual clue for the P-47D-30 was that most were fitted with the extended dorsal fin that increased directional stability that had been adversely affected by cutting down the rear fuselage of the “razorback” Thunderbolt to cater for the clear plastic “bubble” canopy that vastly increased pilot visibility. The P-47D-30 was also frequently equipped with the Curtiss-Electric asymmetric paddle blade prop, which gave enhanced performance at all altitudes but most particularly the lower altitudes the Thunderbolt now operated at as it became the primary USAAF fighter-bomber in the ETO and MTO.
Colonel Joe Laughlin and the 362nd Fighter Group:
Joe Laughlin joined the Air Corps in 1939 - after getting his private pilot license in 1937 - following graduation from North Texas University. He received his wings and orders to Hawaii to join the 18th Pursuit Group at Wheeler Field in 1940. Assigned to the 19th Pursuit Squadron, he was given the job of teaching aircraft recognition; one of his students was 2nd Lieutenant Francis Gabreski.
Following the Pearl Harbor attack, Laughlin became squadron commander of the 45th Pursuit Squadron in the group. In April 1943, he received orders to join the newly-formed 362nd Fighter Group at Westover Field, Massachusetts. Group commander Colonel Morton Magoffin assigned him as commander of the 379th Fighter Squadron. The group finally was issued its own P-47 Thunderbolts in June.
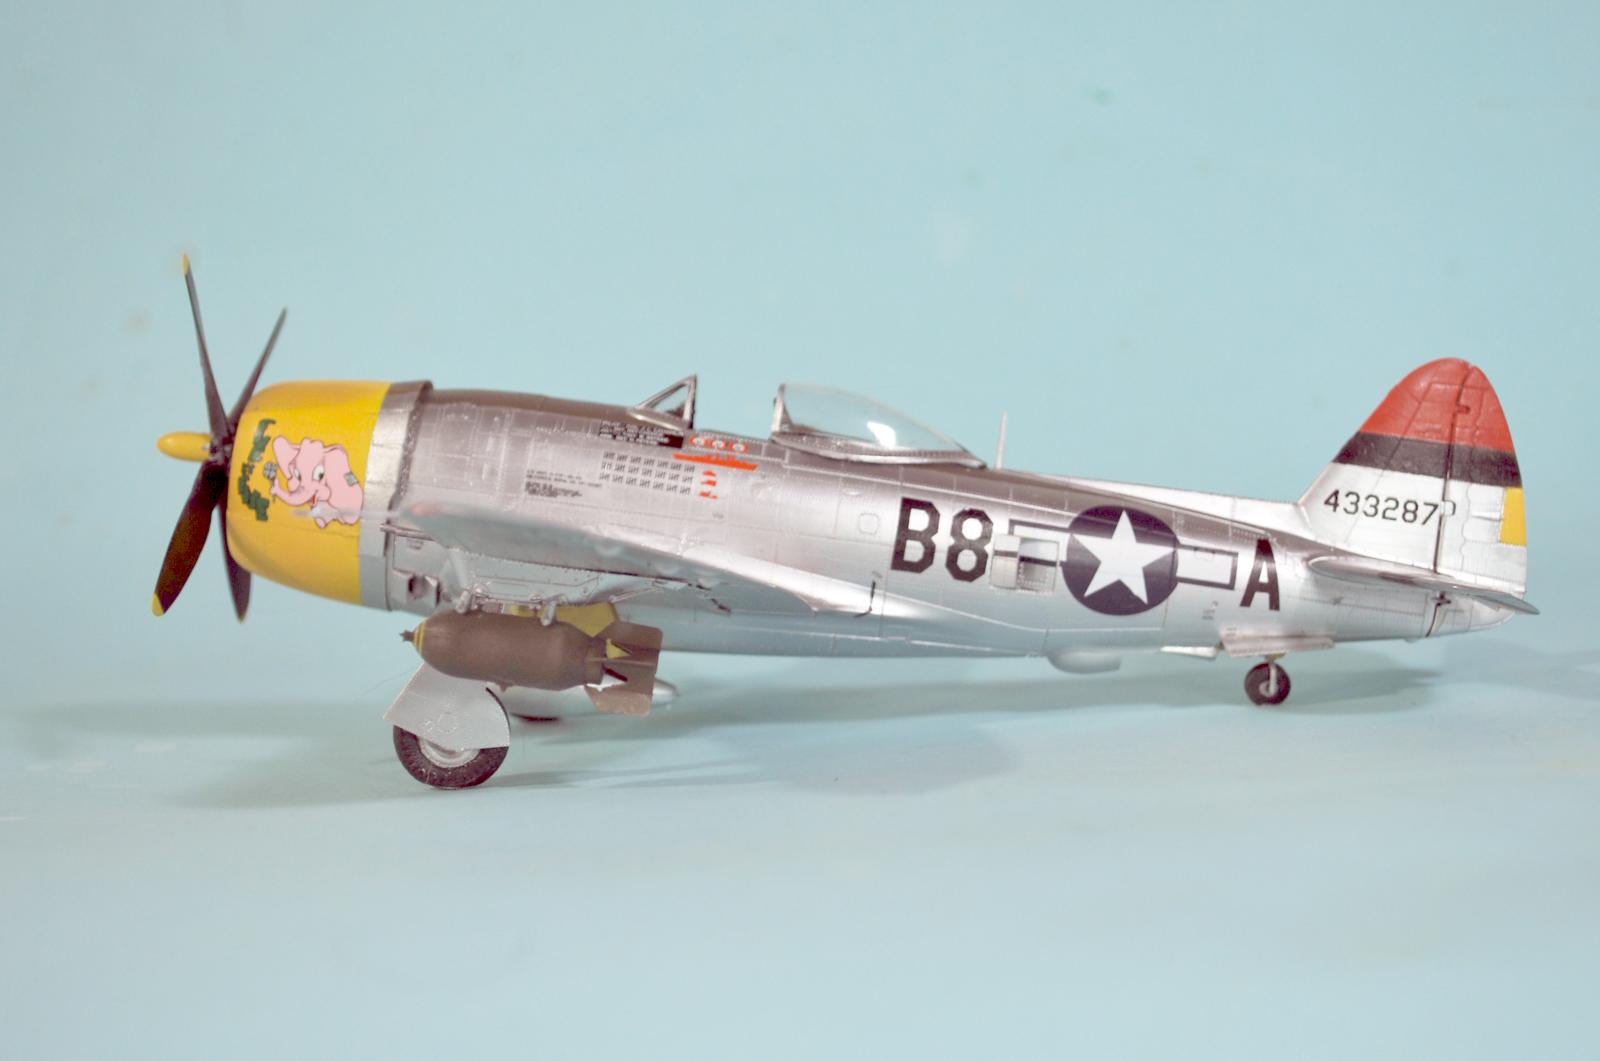
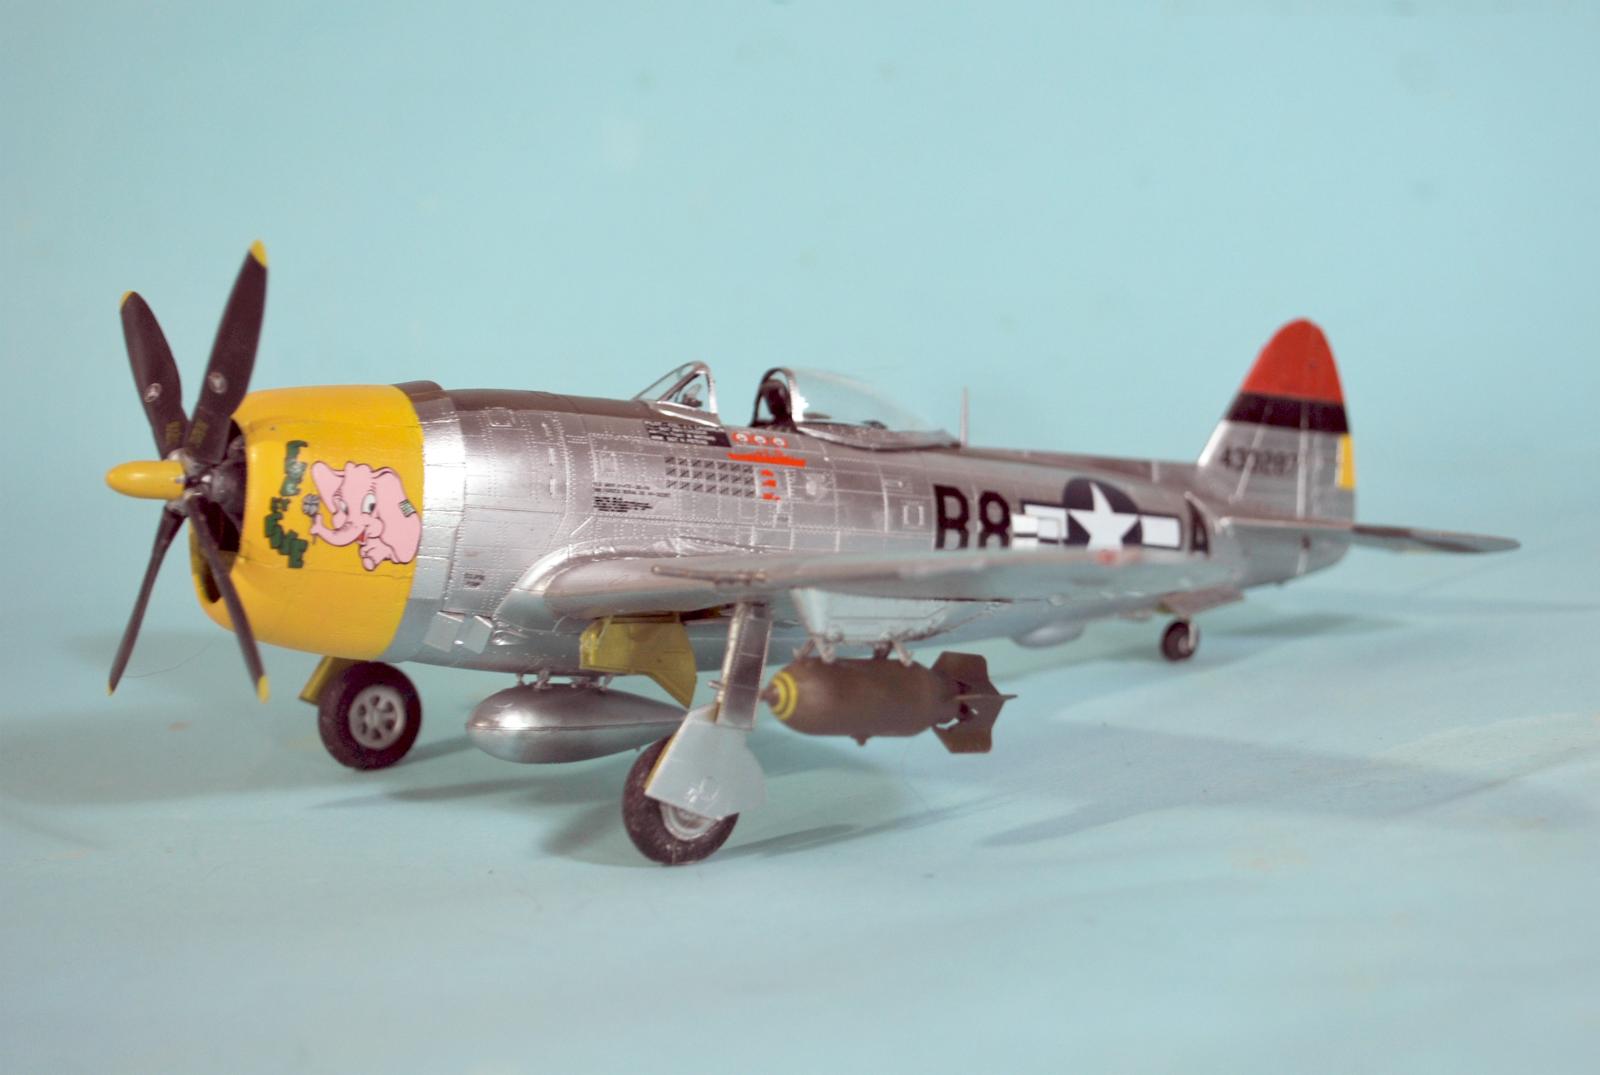
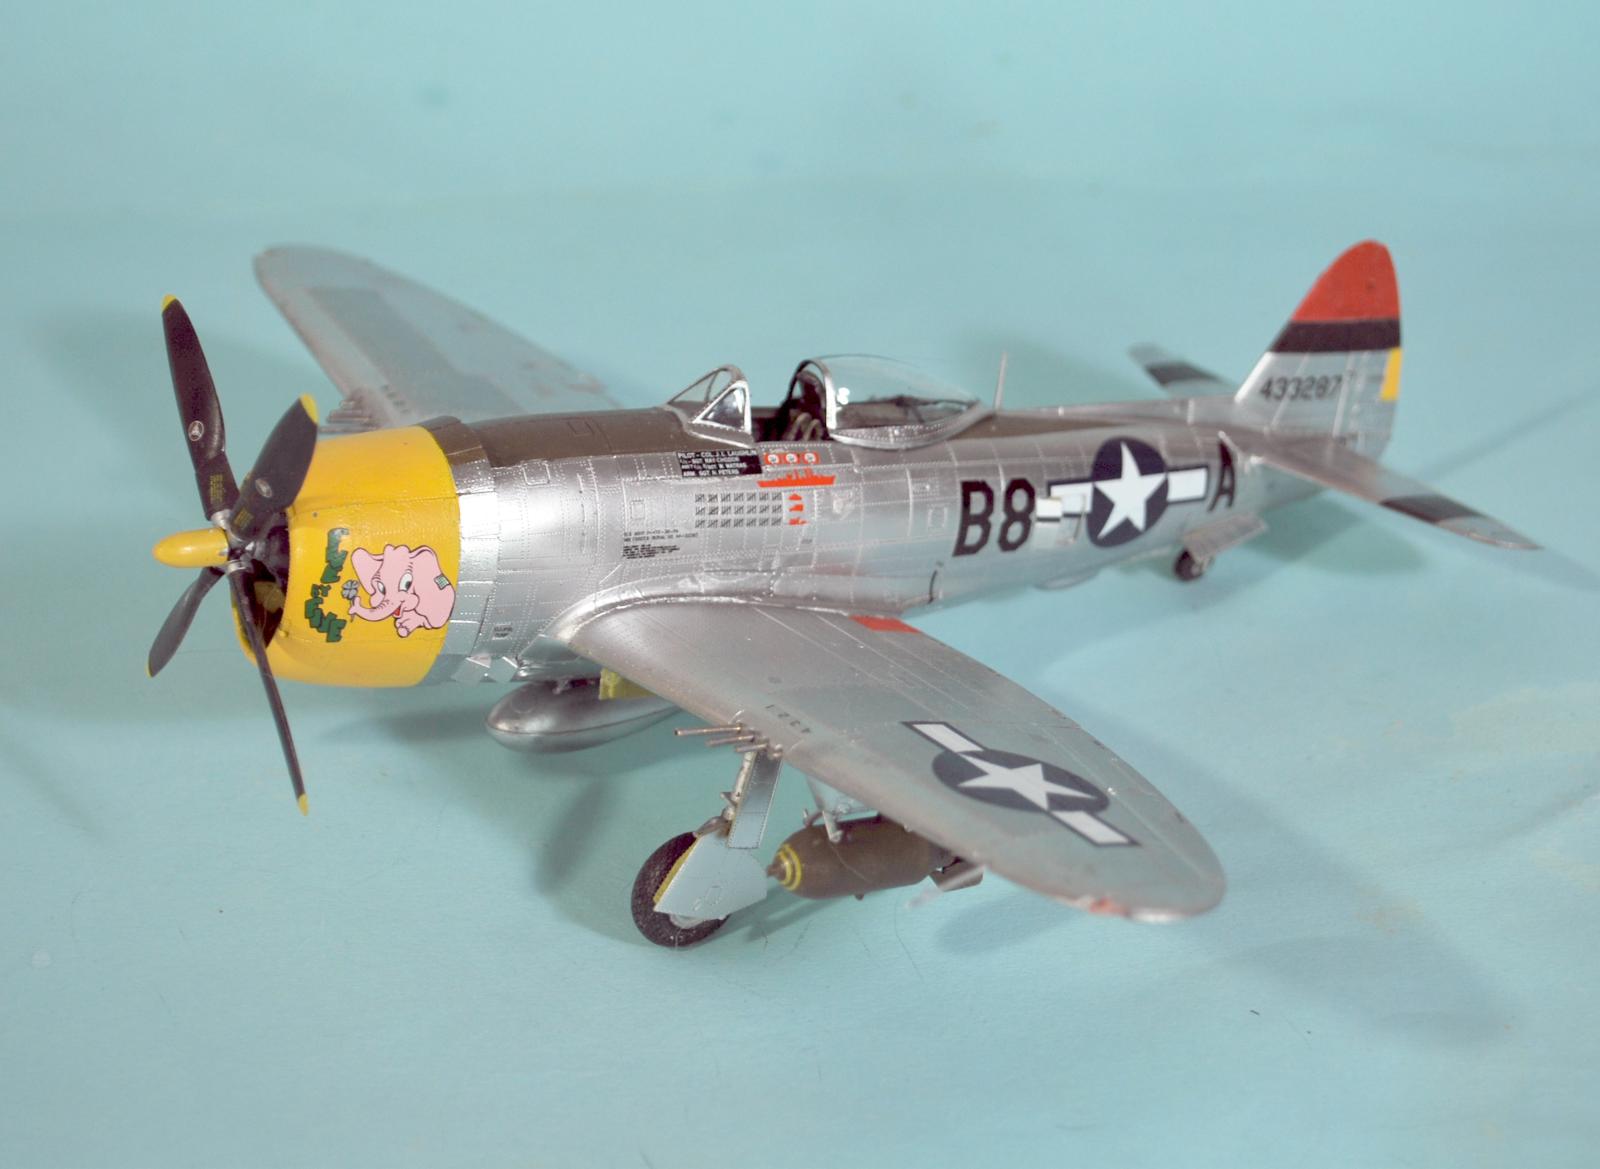
The 362nd went to England in November 1943, assigned to the Ninth Tactical Air Force. They began operations in February 1944, flying dive bombing missions over France and also flying escort missions for the Eighth Air Force. Laughlin had group artist Captain George Rarey, a commercial artist before the war, paint his noseart, a pink elephant done in “Dumbo” style, with the plane receiving the name “Five By Five” to commemorate Laughlin's stocky build. The artwork was painted on the left side panel of the engine cowling. Laughlin would go through no fewer than 11 P-47s, taking that cowling panel to the next airplane and having his ground crew paint “appropriate surrounding colors.”
The group went to France in June 1944, engaged in the Battle of Normandy. On August 10, Colonel Magoffin was shot down and became a POW. Laughlin, by then Deputy Group Commander, took his place as Group Commander. He led the 362nd for the rest of the war.
On August 25, 1944, the group flew missions against the port of Brest. What was identified as a German light cruiser was found in the harbor and attacked with near misses. In the last mission of the day, Laughlin led the 377th squadron in an attack on the cruiser. He later recalled that “the sky was black with ack-ack fired f rom the ships” in the harbor. His thousand-pound bomb hit the stern, causing a tremendous explosion. The ship began sinking from Laughlin's deathblow.
In reality, there was no German warship in the harbor. Laughlin and the 362nd had attacked the incomplete and badly-damaged French battleship Clemenceau, which the Germans were planning to move that night and sink in the channel entrance to block the harbor. The 362nd received the first of two Presidential Unit Citations for this action.
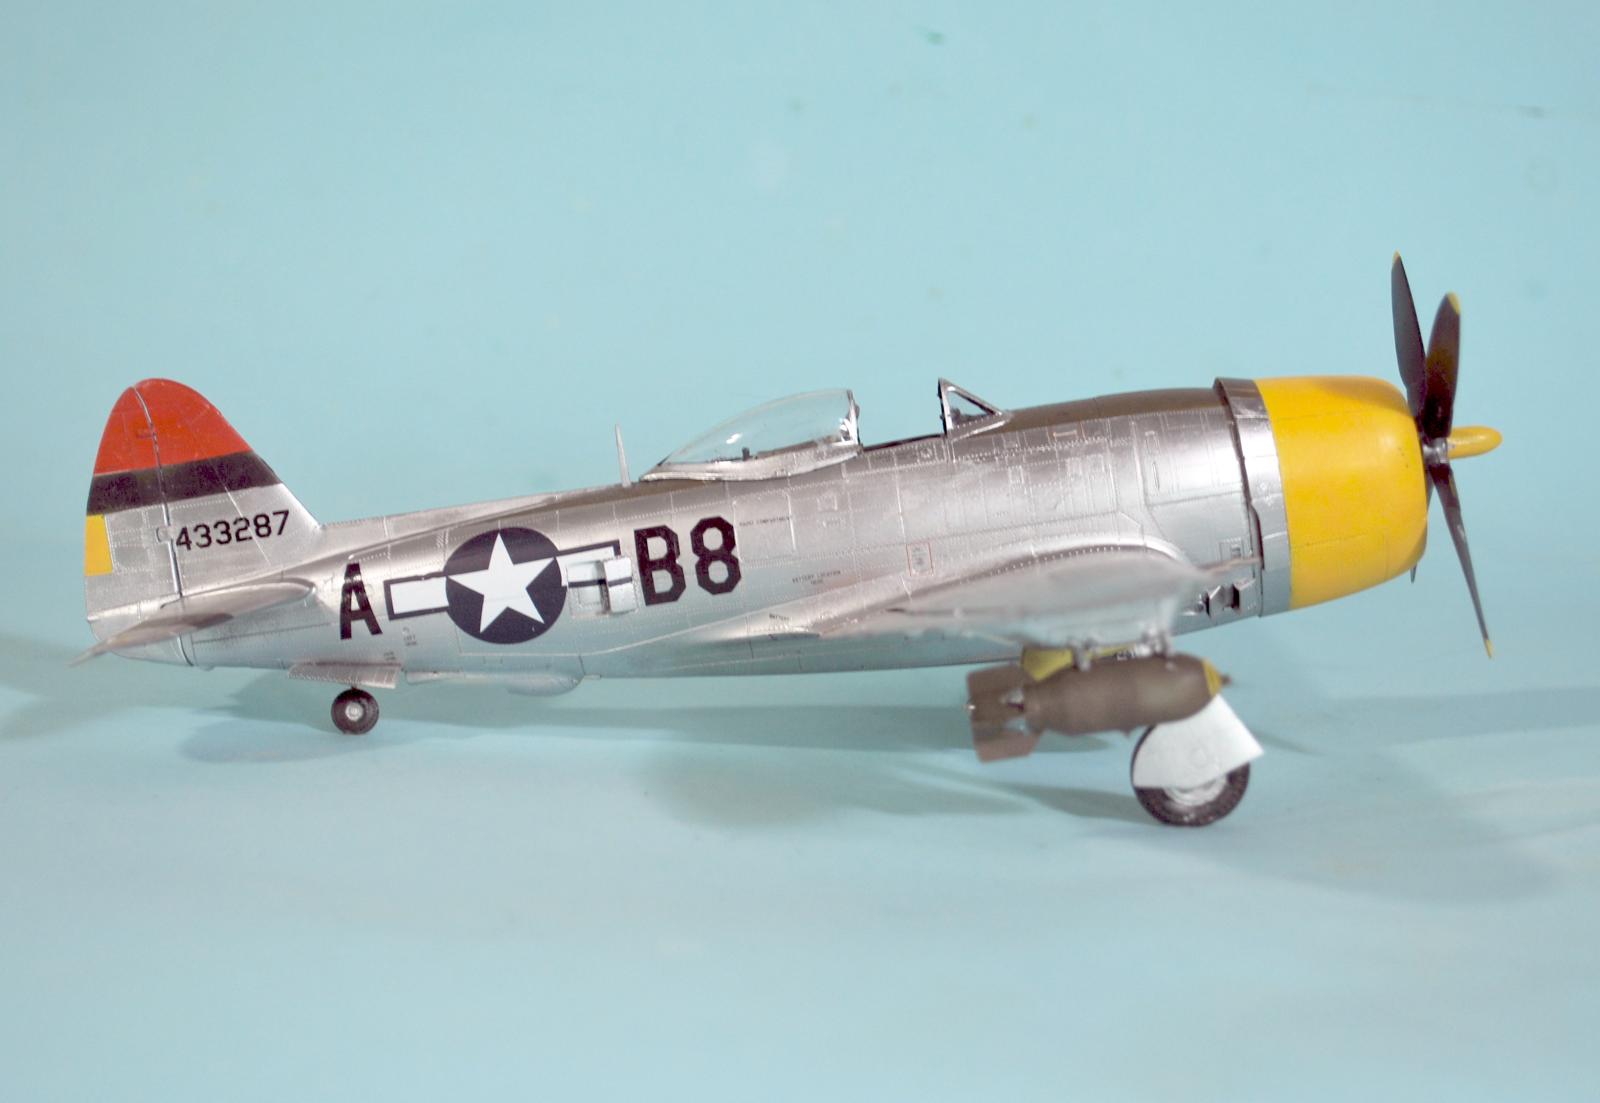
In December 1944, Laughlin got his 11th P-47, P-47D-30-RE, serial 44-33287. He had the plane's cowling painted yellow, the identification color for the 379th FS. He flew the plane through to the end of the war.
In 2007, the National Museum of the Air Force restored a P-47D-30-RE, which was painted as Laughlin's last wartime mount. It is now being restored by the Collings Foundation.
The Kit:
MiniArt released this P-47D-30-RE kit this past February. The primary difference between this kit and the earlier P-47D-25-RE is that the cockpit floor is not corrugated, the fuselage halves are molded with the extended dorsal fin, and the prop provided is the Curtiss-Electric Asymmetrical paddle blade.
Decals are provided for “Torrid Tessie” of the 350th Fighter Group's 346th Fighter Squadron in Italy in 1945, and Look, No Hands” of the 405th Figher Group's 509th Fighter Squadron, based in Germany in the Spring of1945.
Construction:
Several YouTube Muddling Gnus have recently concluded that the MiniArt P-47D is a “putty monster” with poor fit requiring lots of putty which results in loss of the beautiful surface detail, making it nearly “unbuildable.” Like most YouTube Gnus, the problem is actually that they are ten-thumbed ham-handed muddlers, as I noticed watching one of their videos.
The Gnus are wrong.
The MiniArt P-47D kits can easily be assembled with no putty or filler anywhere, by any modeler willing to take the time to clean up mating surfaces on parts, test fit, and then assemble carefully. In other words, “some modeling skill required.”
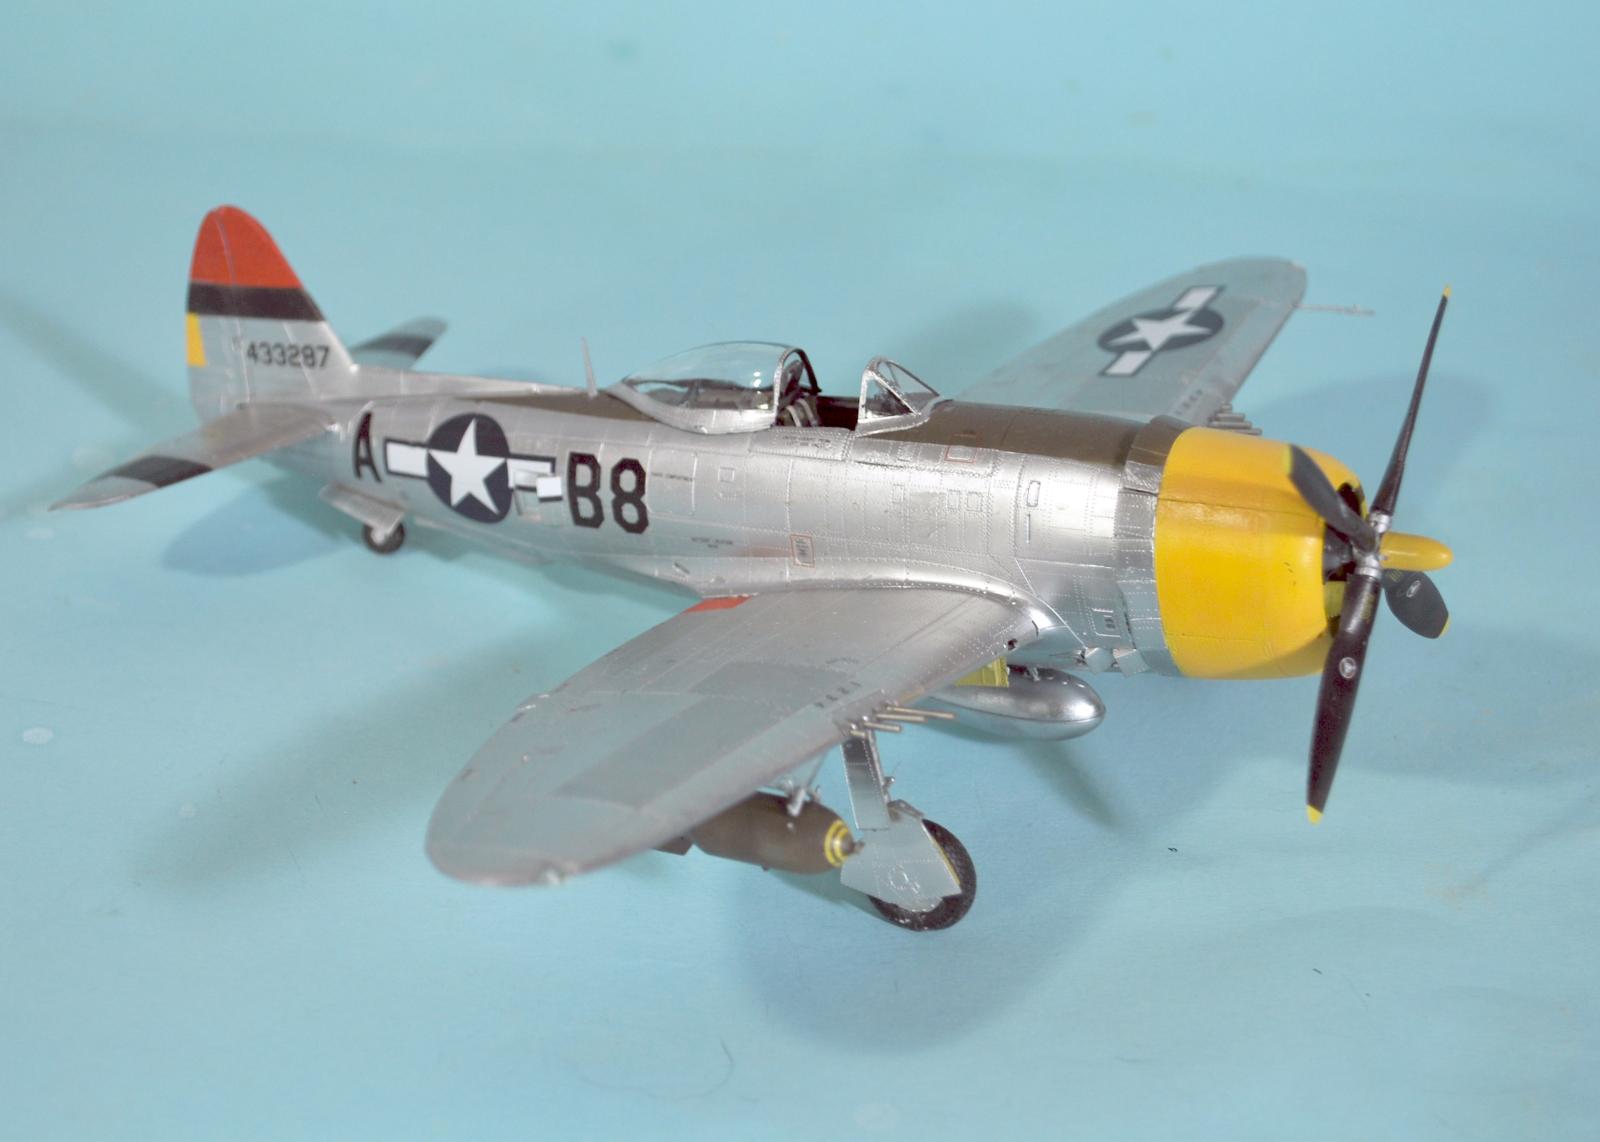
There is one area where a deviation from the assembly sequence in the instructions will make the job easier and always correct. That is in assembling and attaching the engine and the four-panel cowling.
What I have discovered works in building three of these kits so far is that if I glue the rear bulkhead of the engine compartment to the front of the fuselage, then assemble the engine, starting with the rear row of cylinders, moving forward to the crankcase and the magnetos, there is no chance of mis-assembling the engine. Then attach the front cowling frame.. Then attach the lower cowling panel, followed by the two side panels, and finally the top panel. I sand the mating edges of these parts to insure they are flat and there are no sprue nubs. Then wrap the cowling with a rubber band and after ensuring everything is properly aligned, let it set up for an hour. Then remove the rubber band and attach the cowling flaps.
There is a WIP with the construction photos in the Work In Progress Group.
Painting:
Recently, a friend recommended the new lacquer-base metal paints recently released by Mr Color, the “Super Metallic 2". I purchased some the last time I was over at Burbank House of Hobbies.
This paint is fantastic. I am totally sold on it.
You do not need a primer coat. The paint dries to the touch in about 20 minutes and cures hard enough to mask on in about two hours. I thinned the paints 40 parts paint/60 parts Mr Color Leveling Thinner. The paint went on smooth and thin, and I was able to tighten the airbrush nozzle down to putting out a “thick pencil line” that allowed me to freehand the other colors used on the base color.
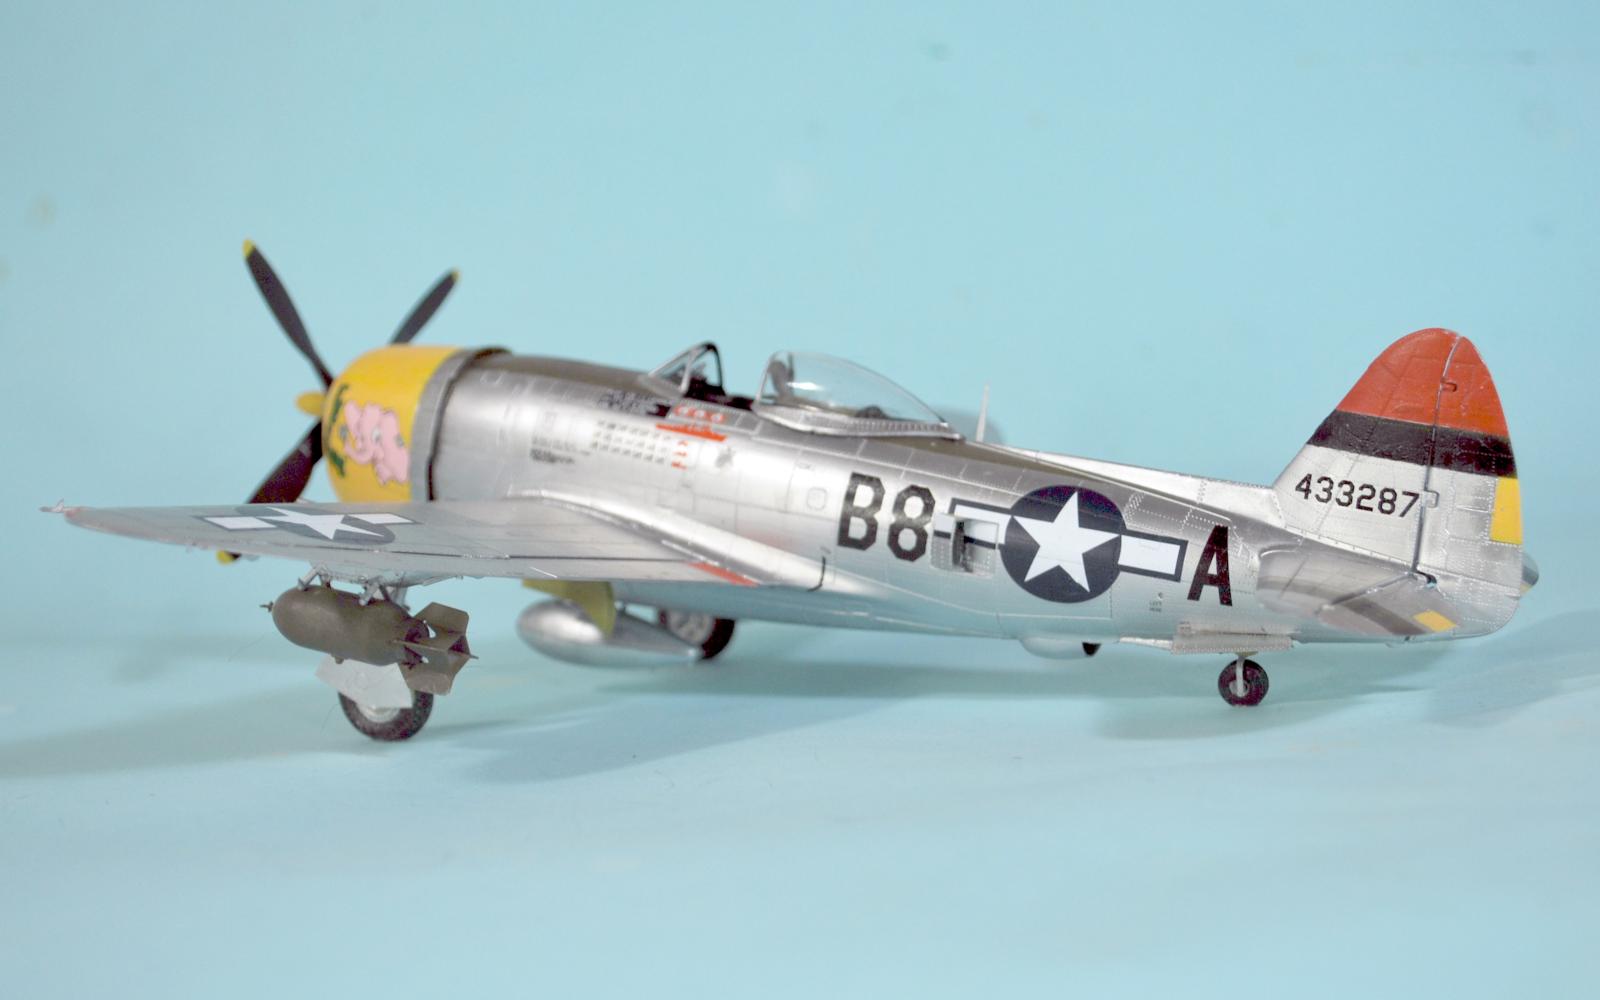
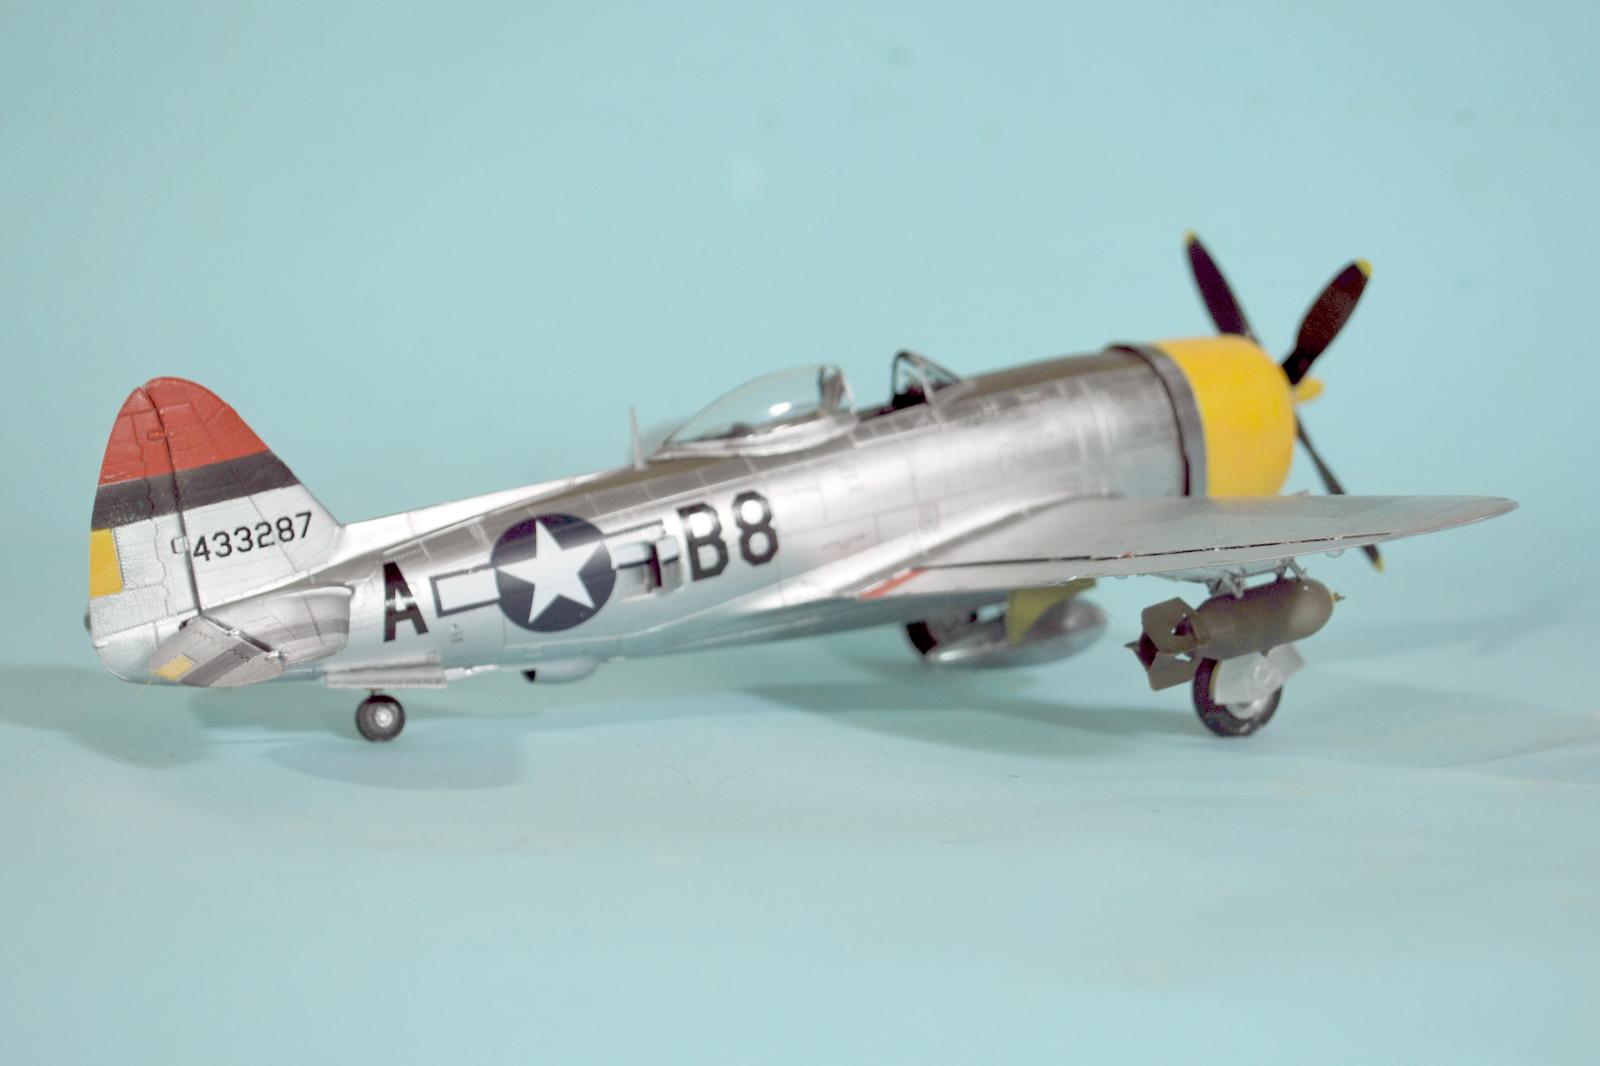
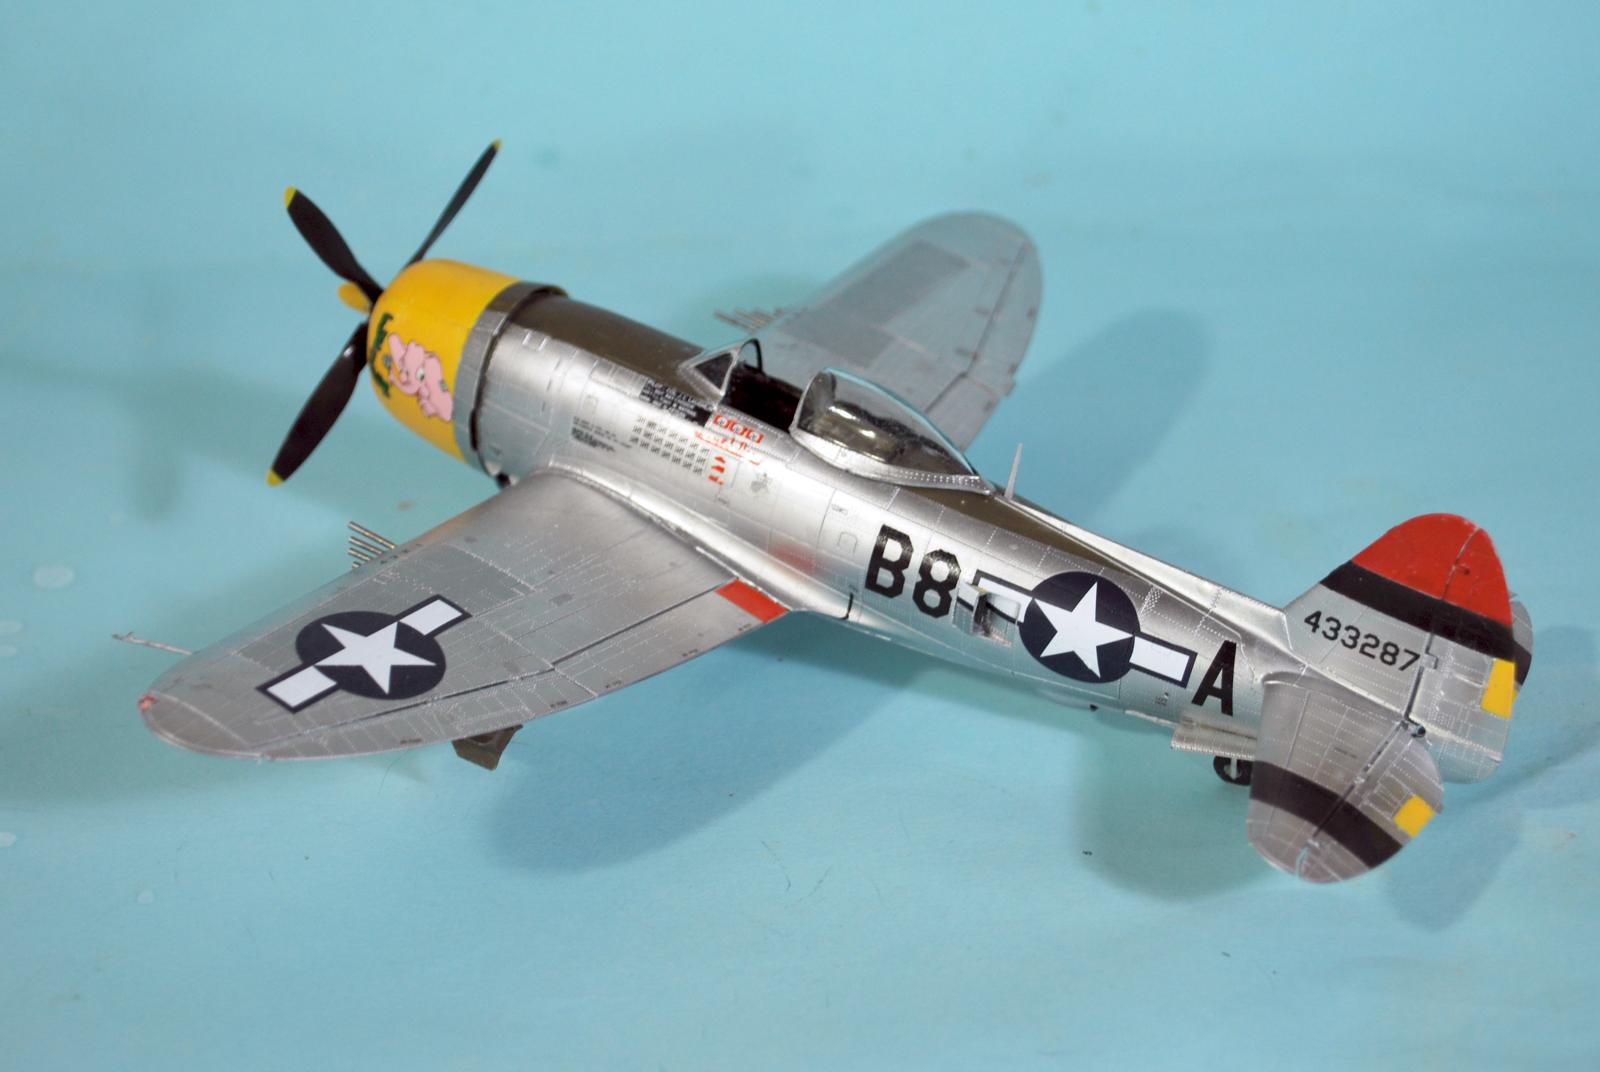
The base color on the model is “Super Duralumin.” What makes this paint really stand out from all other metalizers is that it dries “semi-shiny” and LOOKS LIKE METAL. A friend saw the model when I took it by the LHS, and said it looked like a really good application of Bare Metal Foil.
Markings:
I used the Aeromaster sheet for the 1998 IPMS Convention in Santa Clara, which provides decals for “Rarey birds” of the 362nd Fighter Group. I used the kit national insignia decals - which are finally done in the correct proportions - with the Aeromaster decals for the rest of the markings. Everything went down without trouble, despite the Aeromaster sheet being 26 years old.
Final Assembly:
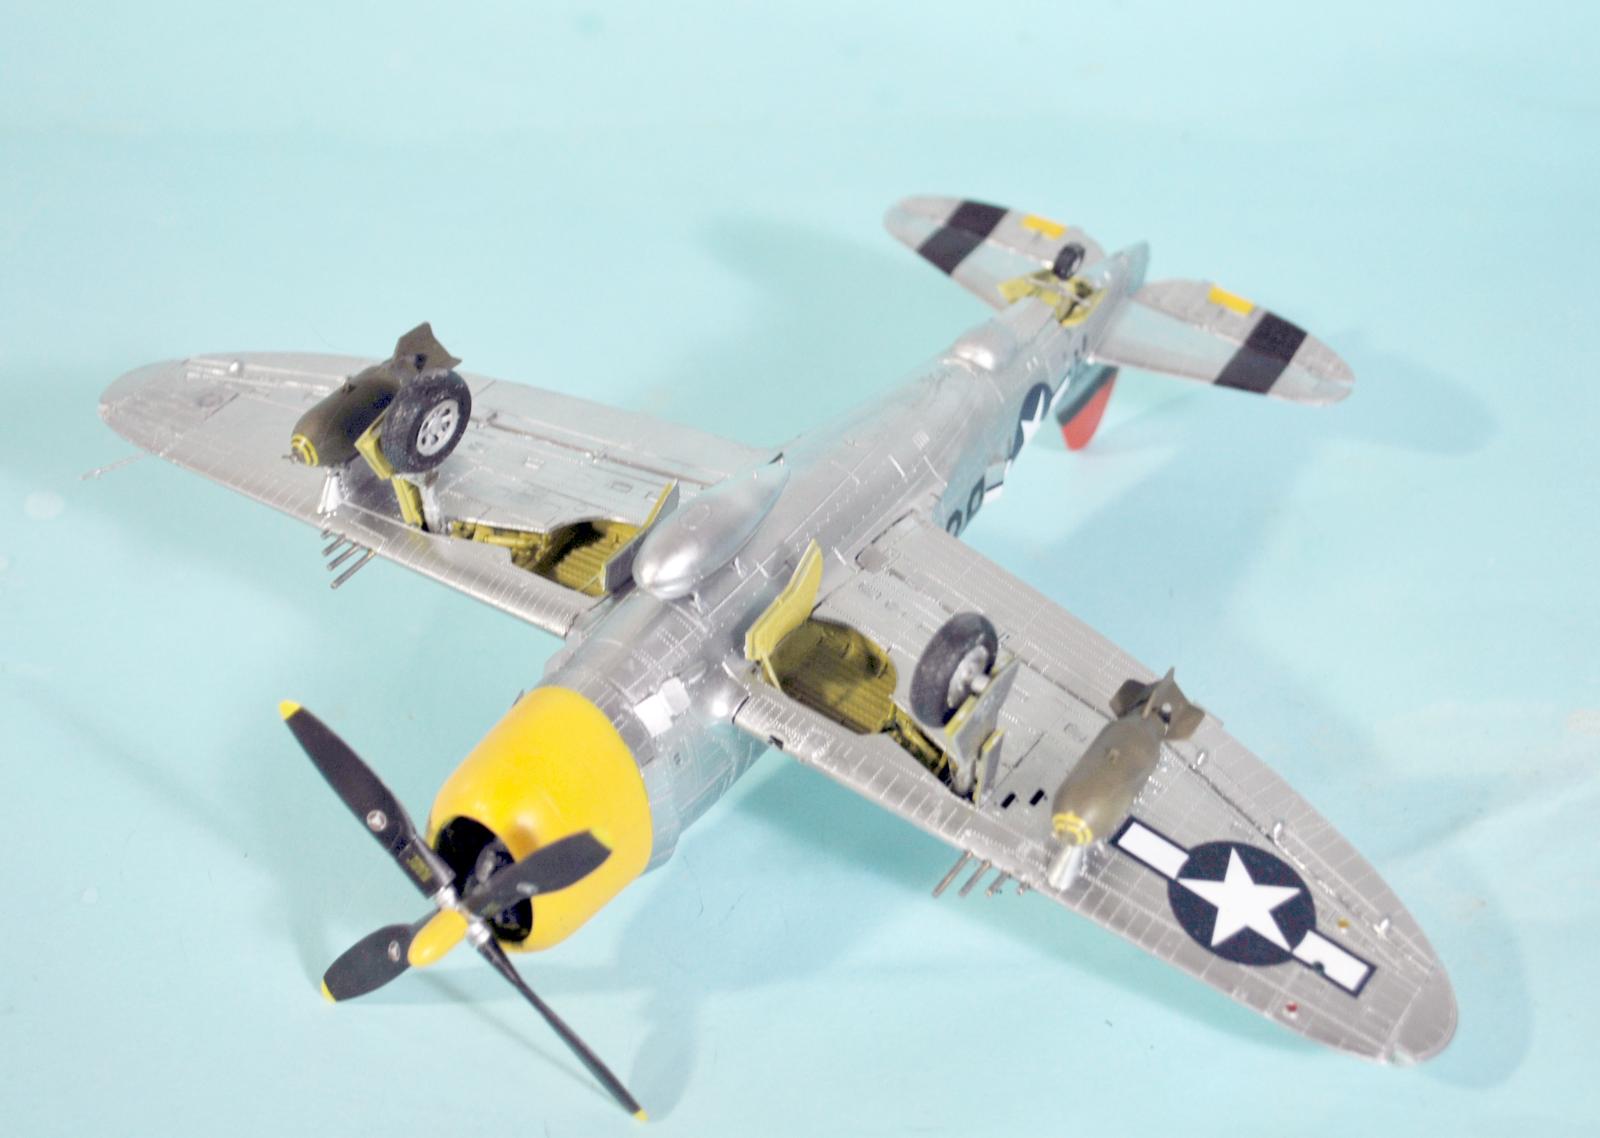
I assembled and attached the landing gear; I used Eduard 3D printed wheels, because I had them. They do improve the look in detail. I attached the canopy open, attached the bombs, and the prop. I later learned from research that the 362nd had P-47s equipped with zero-length rocket launching rails. I think I will add these, using Eduard rockets from the P-51D kit.
Overall:
I think the MiniArt P-47D is the best kit of this airplane in any scale, if the modeler takes time and brings that “modeling skill required” to the project.
And I am completely convinced that Mr Color “Super Metallic 2" paint is the best thing to happen for NMF finishes since the first metalizer paint first appeared.

Great review Tom. Bookmarked for the future
Solid work right here Tom. Excellent metal finish and good execution on the decals. Looks like you put your time in and it paid off. Thanks for sharing. I have my first p51 I'm prepping to do and never done a metallic finish before, so I will refer back to this. Thank you. G
@graemestreet - use the "super Duralumin for the fuselage, gas tank, ailerons flaps, and the Tamiya lacquwer metallic "gloss aluminum" for the wings that are puttied. You'll have it covered. Paint the wings
first, mask them, paint the rest.
Thanks Tom, @tcinla. Very nice build, and what looks like a really great kit. The P-47 is by far my favorite American fighter of WWII. I am so happy to see the P-47 starting to get some love that it deserves, like its stable mate the P-51. You did a nice job on this kit, I have avoided purchasing one but think I may have to bite the bullet.
You'll love it, Walt.
Awesome job and ditto article, Tom!
The NMF rocks!
Hi Tom
You're certainly churning them out! That's an excellent Thunderbolt. The lacquer based paints do sound really interesting (they're easy for me to get as well) as normally Mr Color are disappointing for metallics.
Beautiful work Tom. This is my favorite WWII aircraft type. Hopefully I'll get around to building it one day. Very interesting information about the plane and the pilot.
Another great review, thanks, Tom.
Thanks for the informative review.
What a beautiful P-47 in NMF!
Great job, once again Tom. I especially appreciate the "heads up" on building the engine mount, engine, and cowling. I had that type pf problem awhile back building the old school Eduard Fw 190 where the whole front was "wonky" when I was done. Your tips will save me a lot of frustration when I build my P-47.
Excellent work on the Thunderbolt and ditto great article, Tom @tcinla
The NMF is really beautiful.
P-47 1
Battleship 0
Amazing story and a beautiful build Tom @tcinla.
Another great MiniArt build! I agree, Mr. Color metallics are pretty good, your finish is very convincing.
The biggest problem with doing these kits . . . is having to choose a good set of decals. Looking on Evil-bay and seeing all the choices available is mind numbing or another excuse for making a kit. Another Cleaver classic on Giving a person a kit, and you feed them for a day; teach a person to build a kit and you've taught them a hobby for a life time.
Bravo, bought a copy of "Clean Sweep" to support your building addiction.
Thank you sir. When you finish it, tell the world how good it is up at Amazon, please. 🙂
Well, that is cool! 😎 Good history and a great looking T-Bolt, Tom @tcinla! 👍 The only P-47 I've ever built was the old Testors/ex-Hawk kit. 😊 And I did it as a razorback; maybe I should add this one for a bubbletop 'Bolt!
Very nice build, Tom and I had also fun when reading your review. Really appreciated! I know the kit is awesome and never heard about Gnus - I will probably skip that channel when pops out. 🙂
Currently, I am full of NMF airplanes, although Thunderbolt is wonderful beast.
In case I build some in the future, it will be "The Bug". I absolutely love the shark/bug mouth on that machine. It is so bizzare and crazy!
That's a good one. Unfortunately, YouTube Gnus are all over the place and not just in models. All the folks who are legends in their own minds.
Great looking build, Tom. I'm looking forward to trying those metallic paints in the near future.
Great finish on this one, Tom. That paint looks great.
Quite a nice build! The "basic" kit is more than enough for me.
Me too!
Beauty completion, Tom. Kit looks amazing.
The Mr Color “Super Metallic 2" look awesome.
I'm worried about it being a lacquer base paint - does it have a strong smell?
I'm trying to stick to acrylics.
It's got a "lacquer smell," but not as strong as some, like Alclad. I no longer have to worry about negotiating paint smells, so I'm able to use it without problem. Do open a window for ventilation.
Beautiful T-bolt, and a very nice review. And thanks for the review of the new NMF paint - I'll keep that in mind - so far still enjoying the Vallejo metallics.
They can be used together. Apply an overall coat of the "super Durlaumin" from the Super Metallics, then use the Vallejo for other colors to make a multi-hue finish, since it is easy to mask on the lacquer base metallic.