Interpretation Is Giving Me Fritz
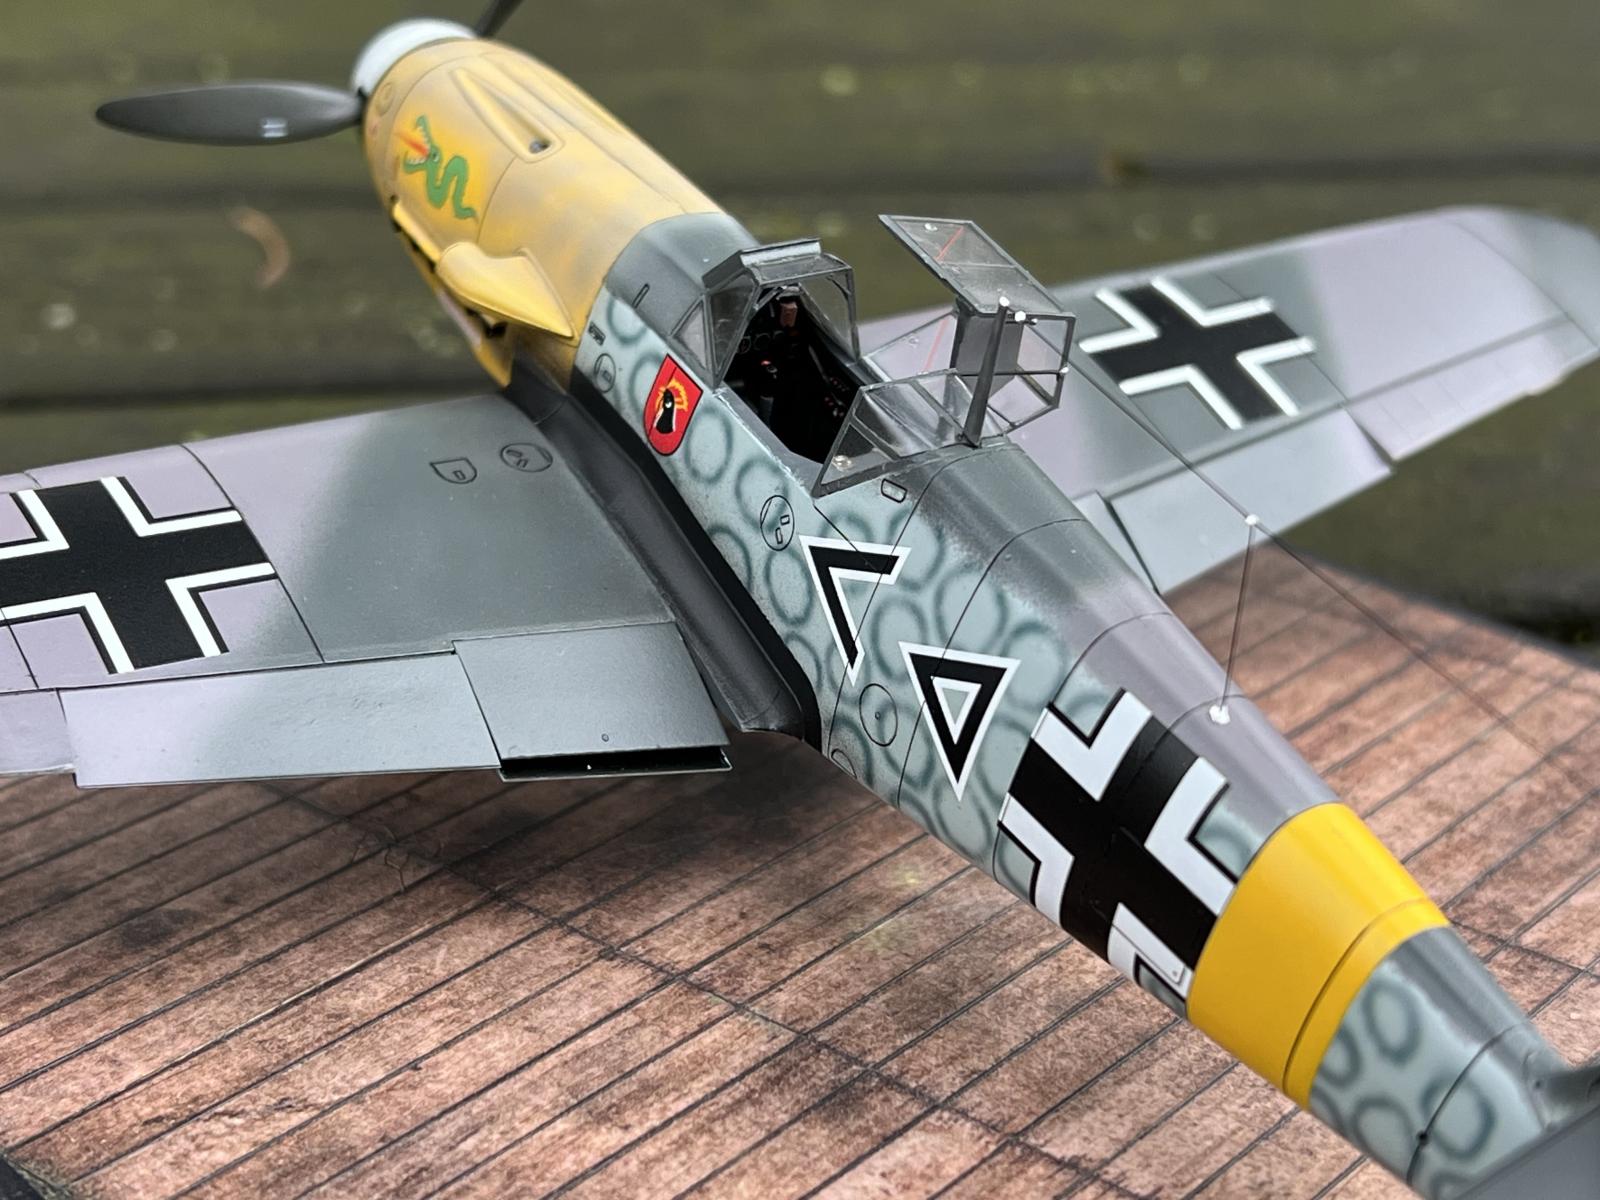
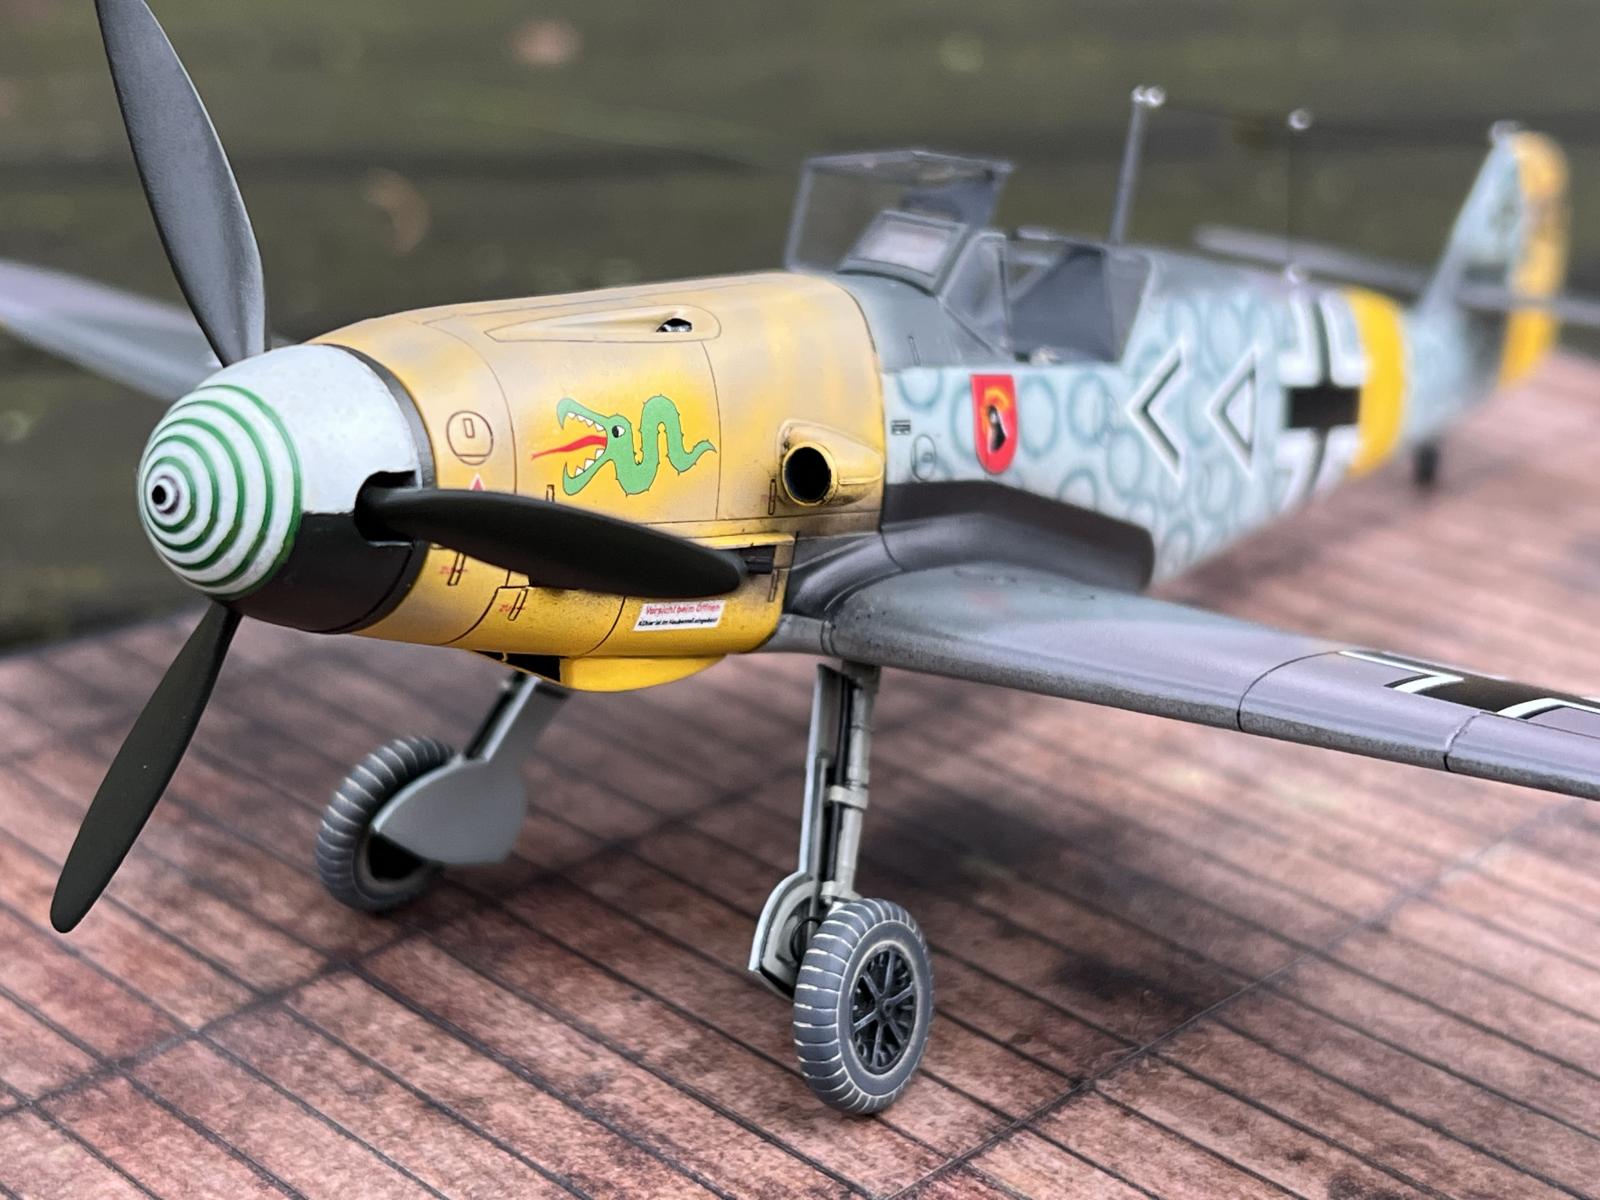
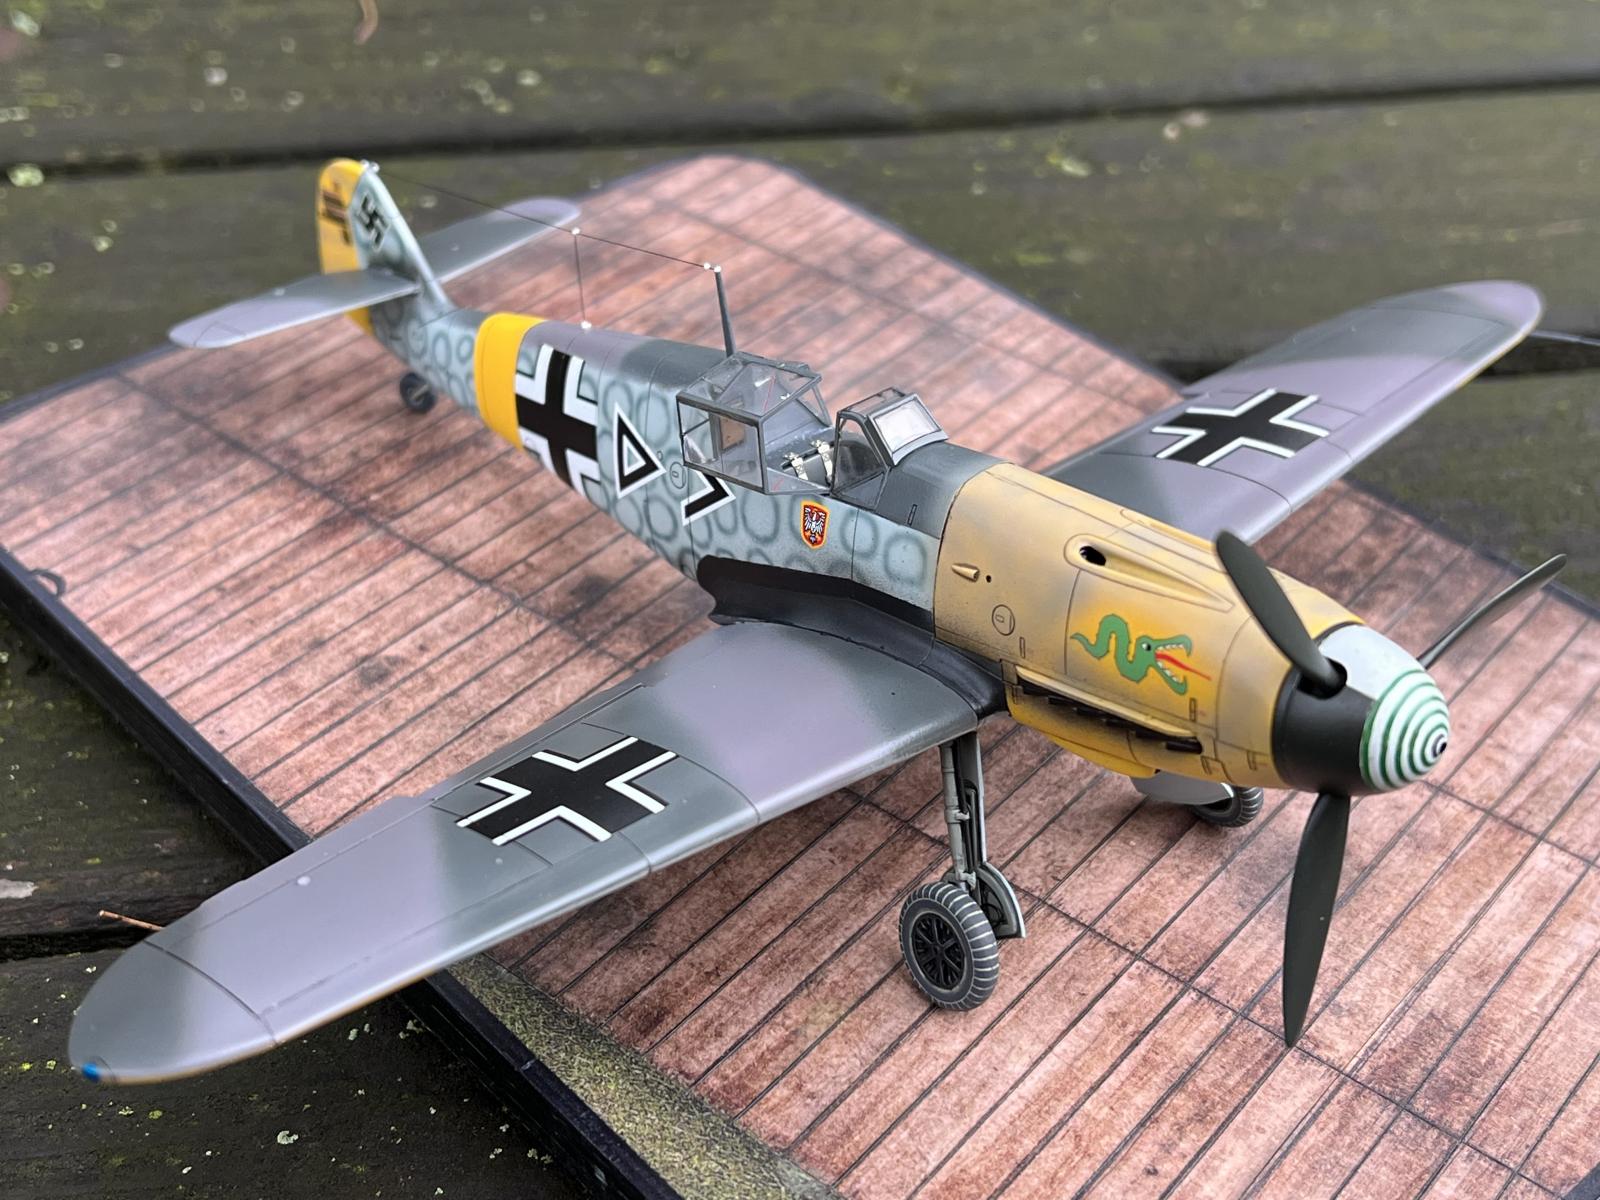
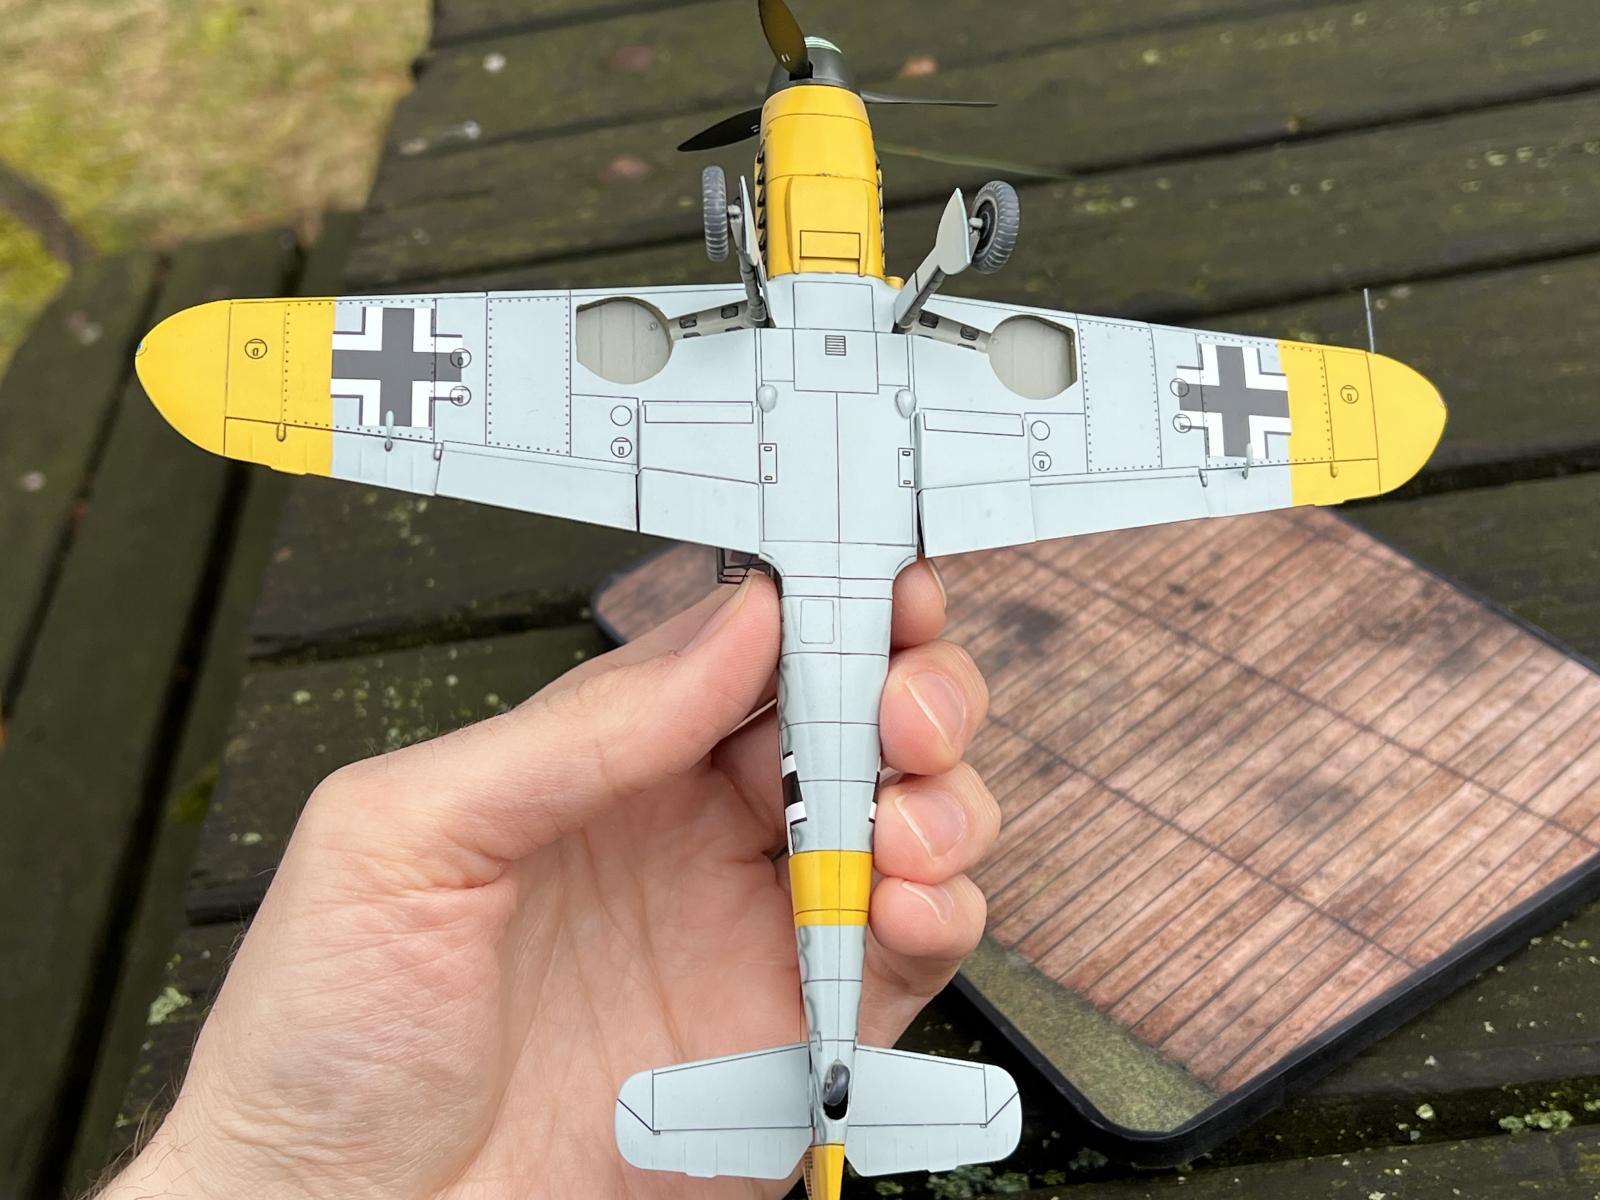
Is it noticeable those wings are repainted four times? Because they are.
Welcome to the insanity. This is the part where someone will point out my paint job is still wrong. It is inevitable at this point.
The kit started out as a blithely unaware hobby shop purchase back in 2006. It was started immediately, but interest wandered as the young man mind tends to do, and it was put on and off the Shelf Of Doom for the next decade or so. I at first followed the Hasegawa painting instructions, which i soon found out was inaccurate.
This proceeded a string of unfortunate events, of consulting misleading photos, conflicting opinions of debating hobbyists, attempts at hand painting little horrible circles, finding new photos that throw more wrenches into the machine, and further documentation that always manages to leak out of the woodwork.
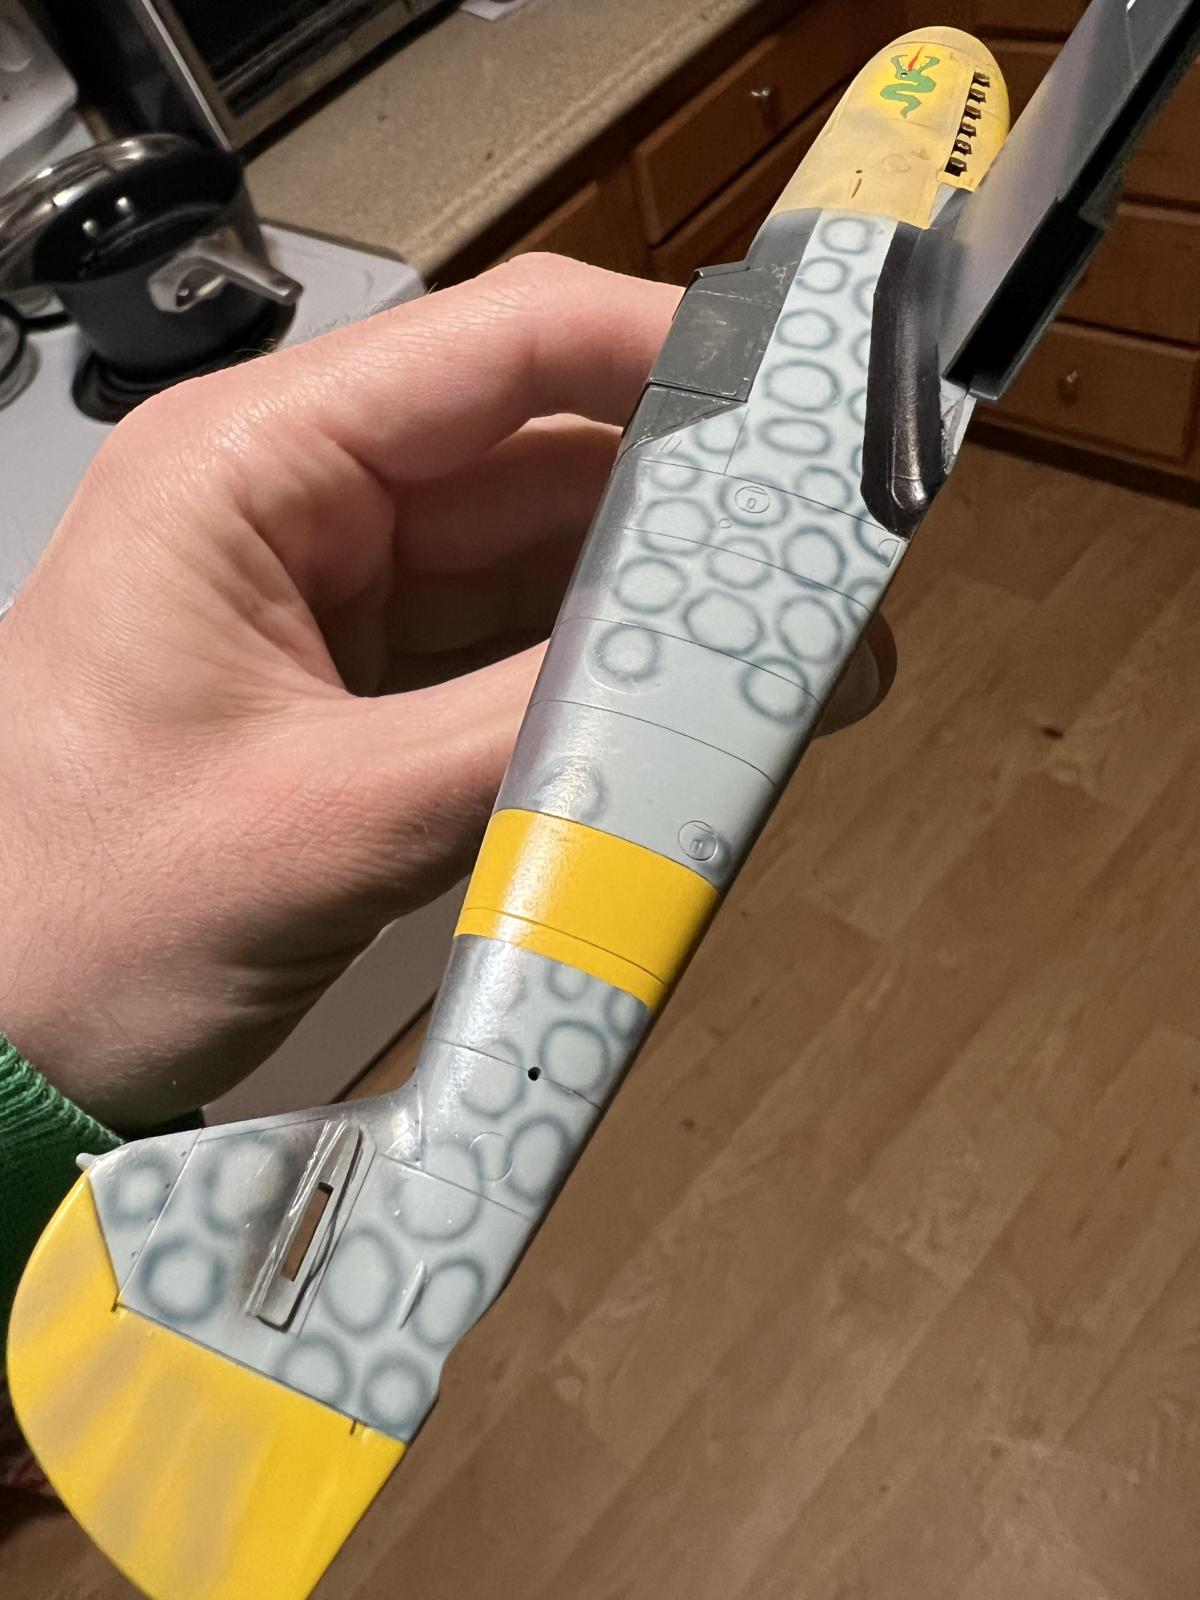
Long story short, nearly two decades later here we are at completion. The wings have seven or so layers of paint on them, and the fuselage had awful looking circles sanded off it.
I think, i am finally happy with it.
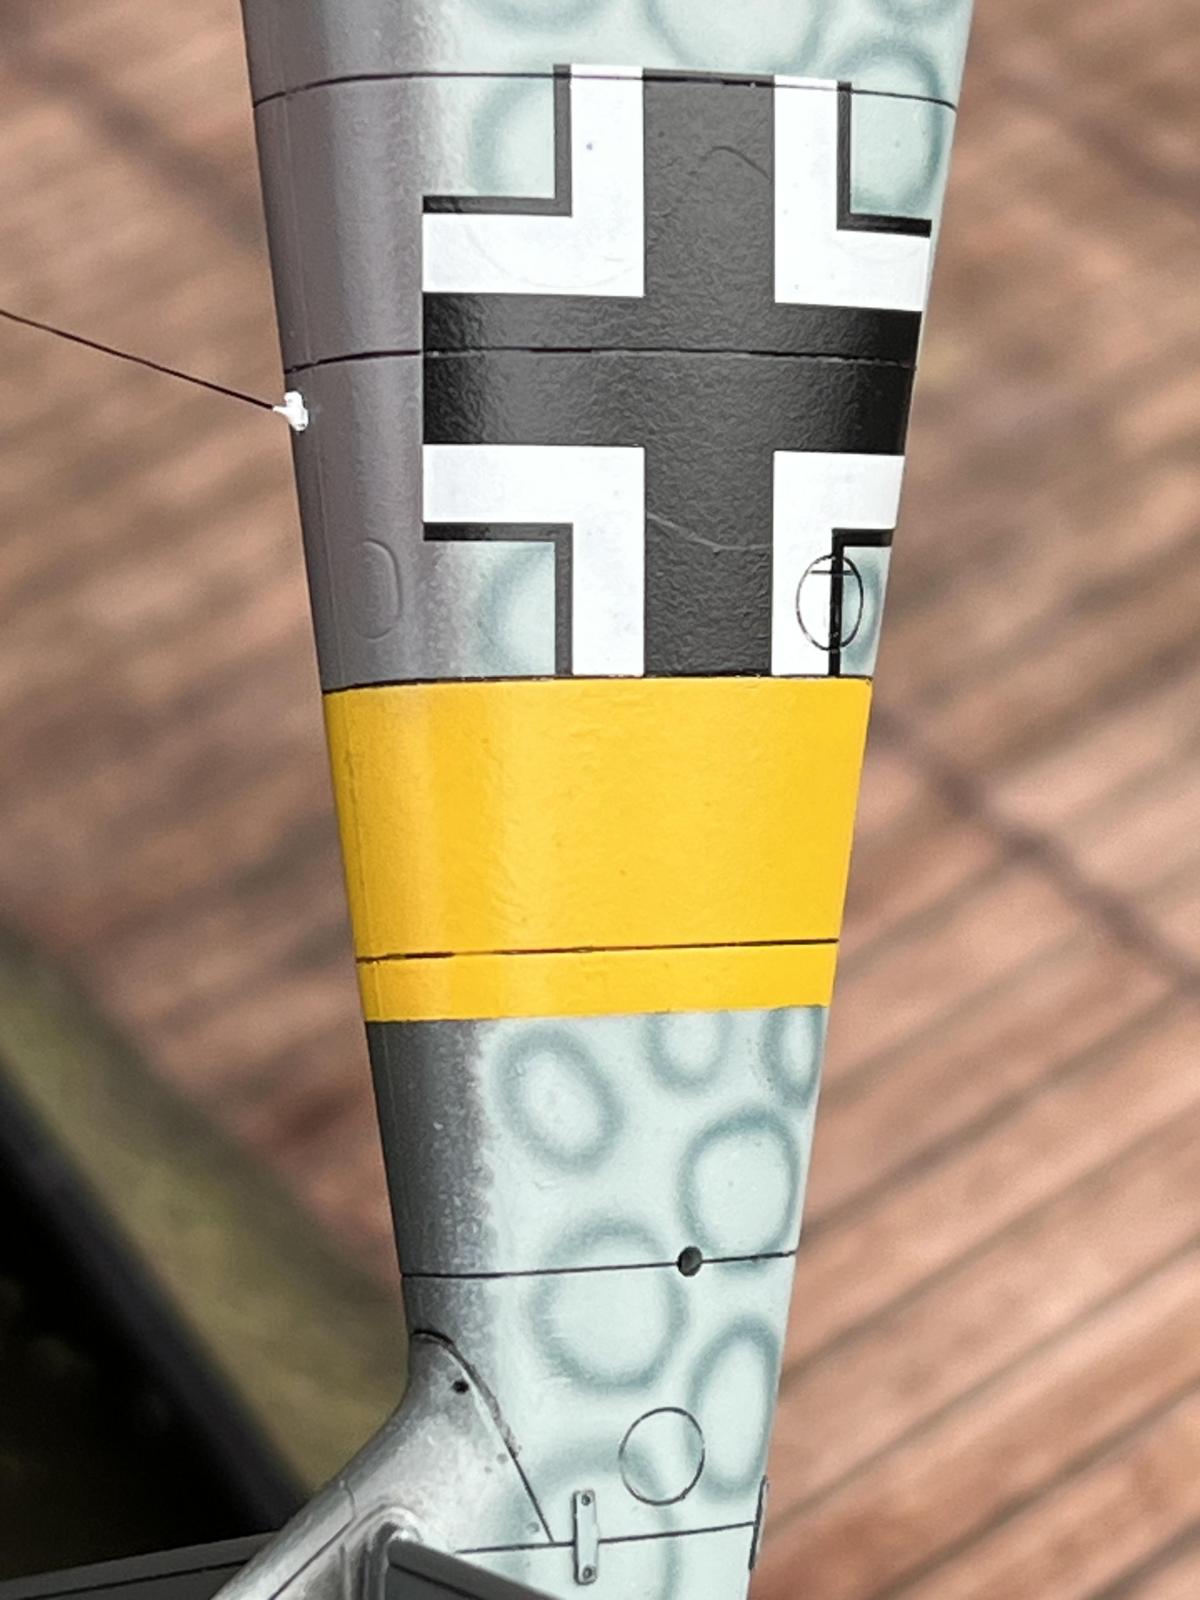
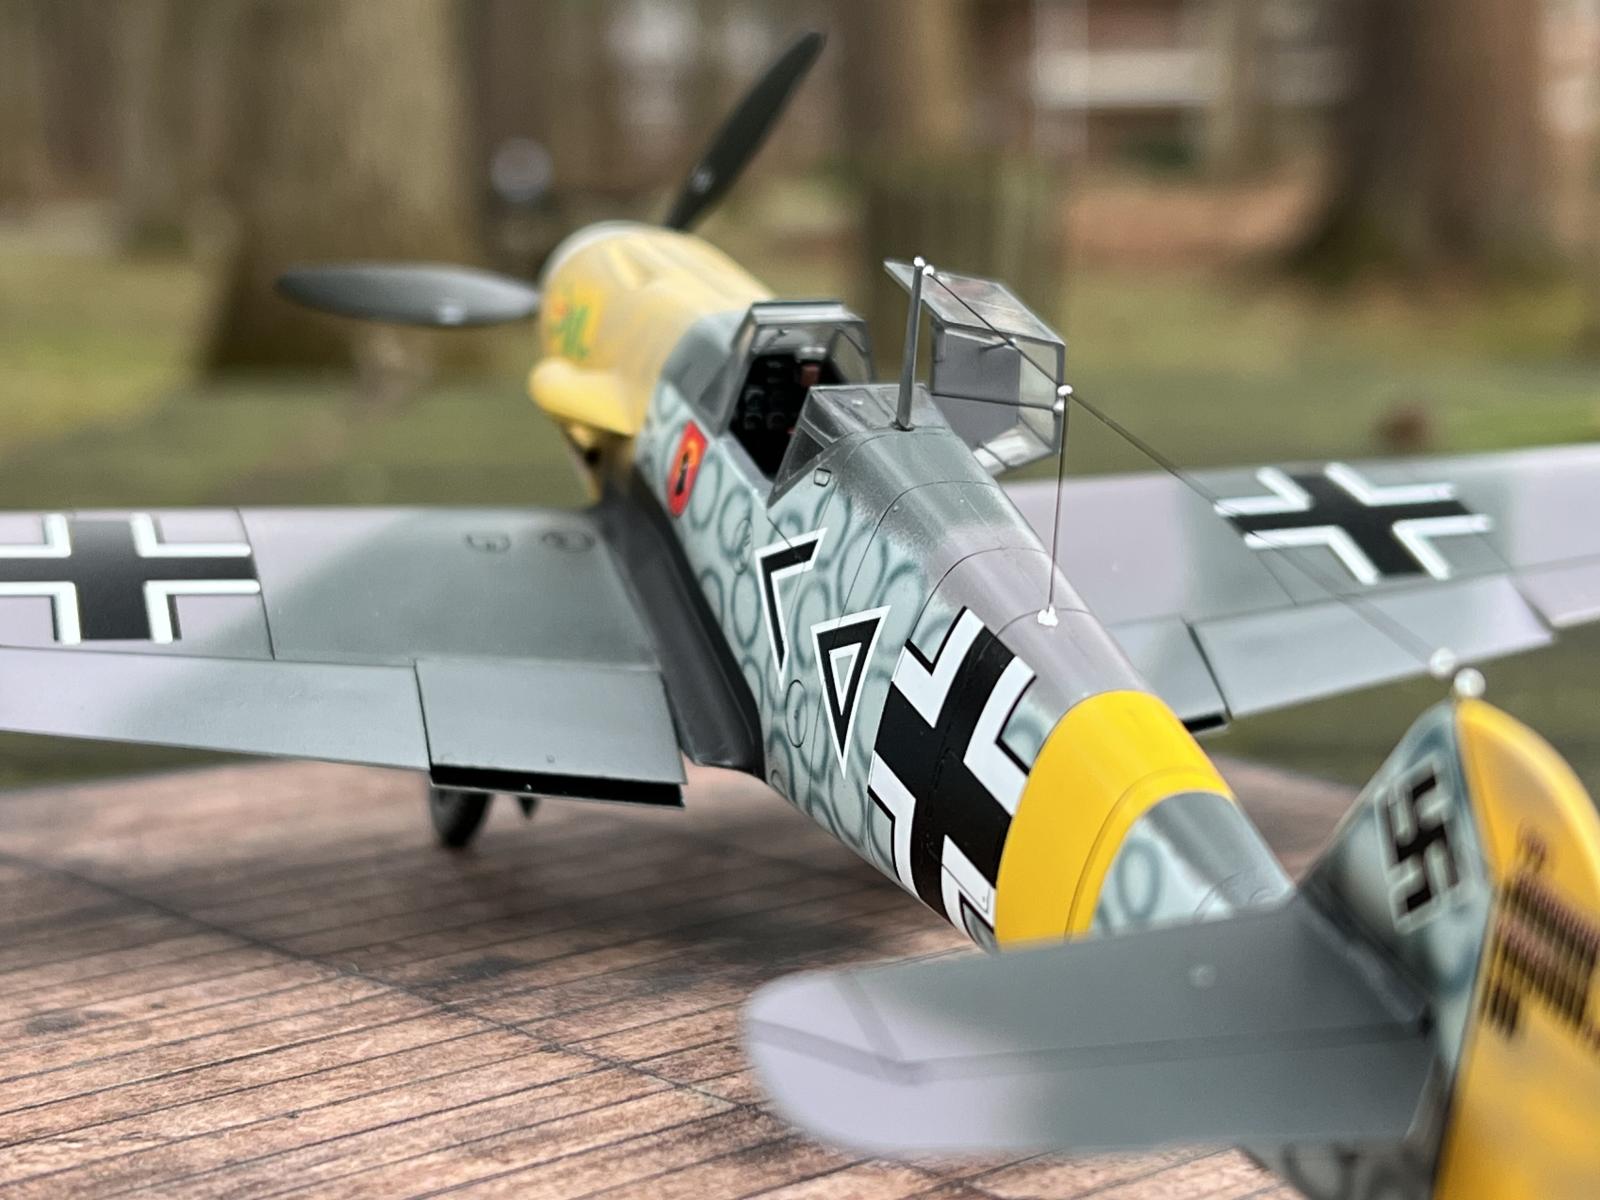
This was the first model i tried using camouflage decals on. I used to scoff at these, but I have since been sold. They are FANTASTIC. After my horrible attempt at painting them, the circle decals from EagleCal look exquisite. I highly recommend, though i will mostly try to rely on airbrush in the future (out of stubborn principal).
The rest of the kit is relatively straight forward, despite being 18 years in the making: wire brake lines, Eduard seat harness, and rubber antenna line. It feels good getting another box off the SoD.
Thanks for looking.


I think it looks pretty fantastic Kyle (@kopperhed).
I honestly thought that the circles were hand painted initially until you talked about them being decals. They look great and so does the overall paint job.
Are decals like these all one piece - one for port, one for starboard, or is each circle a decal?
The end result looks schmick!
Each side is four parts. Forward fuselage, small mid fuselage, rear fuselage, and small tail fin.
Do they come in 1/72 as well?
It just looks right. That’s all.
Great work. The circle-camouflage was unknown to me up to now. Unfortunately I couldn't find a photo of the original during a just short internet-search.
Wow! This 109 really looks great! Nice work, Kyle ! Very nice indeed .. Amazing you kept it in storage for so long. Good things come to those that wait.
Better late than never! Looks great.
There's no way anybody could do those @#$%$@! circles. The decals look perfect. And the rest of the project ain't too shabby either. Your airbrushing of the wings is so good you'd never know the painting history to look at them.
It definitely looks the part! Great job. As with most things like this, exact paint representation is difficult at best, and we just have to be happy with our best efforts. You should definitely be happy with yours, beautiful work! Unless someone who was there tells you your paint work is wrong, I wouldn't put much stock in there opinion. The colors and patterns verried so mush in operational areas, none of us will ever pin them down 100%. We can only hope to get close.
Another wild and crazy WWII Luftwaffe pattern do drive any modeler insane - the finished camo looks great and those circles definitely looked painted.
Kudos to you, Kyle for finishing the build. Looks amazing.
Wow, this is very impressive, Kyle @kopperhed
Everything looks right on this 109, no signs of repainting those wings multiple times.
The circles do really look like they have been painted on.
Fantastic job, Kyle!
Great results on a long build!
G'day Kyle (@kopperhed),
That is a great solution to a difficult scheme.
I've looked at that scheme in the past and wondered how it could be done.
A great build and a worthy SoD save.
Liked!
10/10 on this one. Never even knew such decals existed. They look great!
Exceptional finish. Well done.
Looks fantastic! The German ground crew who painted those circles got one last laugh on you. Nazi b@st@rds.
Well done, Kyle...incredible paint result and the decals look fantastic!
For thems that is interested...
2 attached images. Click to enlarge.
Regardless of the path to get there, the final result is a stunner! Excellent work.
I like it!
Did not know of this camouflage scheme or that decals like this even existed. I learn something on this site every day. Very well done. And again, Germany paint schemes seem to be as many as there were planes. Unlimited variation
Really nice work on this. I did one several years ago and agree the camo decals by Eaglecals are excellent
2 attached images. Click to enlarge.
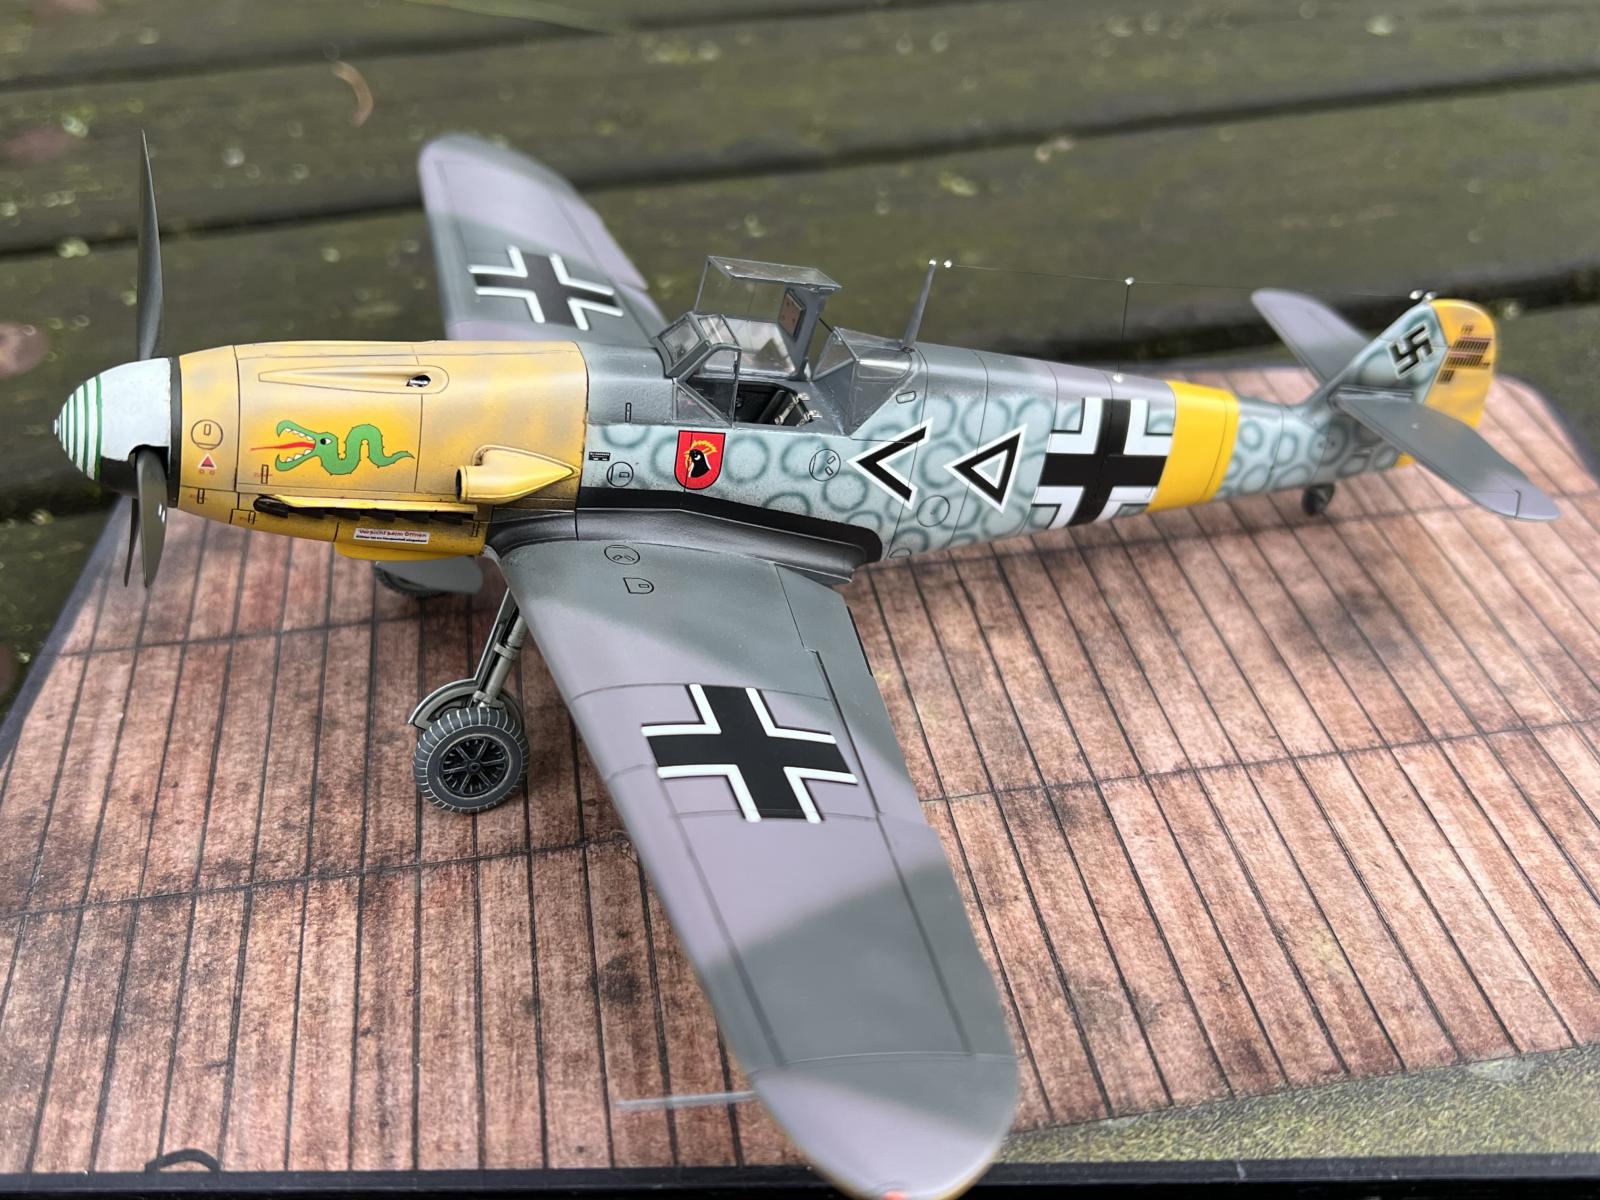
I believe it is impossible to mess up a yellow-nosed 109!
For me the most challenging part to paint are those green rings on the propeller spinner.
God knows I shelved an otherwise perfectly good Zvezda 109 F because no decal or paint trick got me to get those rings on another machine of that squadron.
You managed those and the remaining model to very high standards Kyle. Can you share how you made that spinner rings looking that good? Thanks
I am surprised (but pleased) someone is fond of them, since they gave me a lot of trouble.
I think I messed up the process, but Eaglecals supplies you with spinner decals for this, in the form of two halves. For me, these were ill-fitting and did not match up on either side, with a cm or so of gap. I had to slice them with a scalpel to fit, and then used a match of Vallejo paint to touch up the rings.
I will confide with you, there is evidence these are not rings but in fact a thin, shallow spiral.
1 attached image. Click to enlarge.