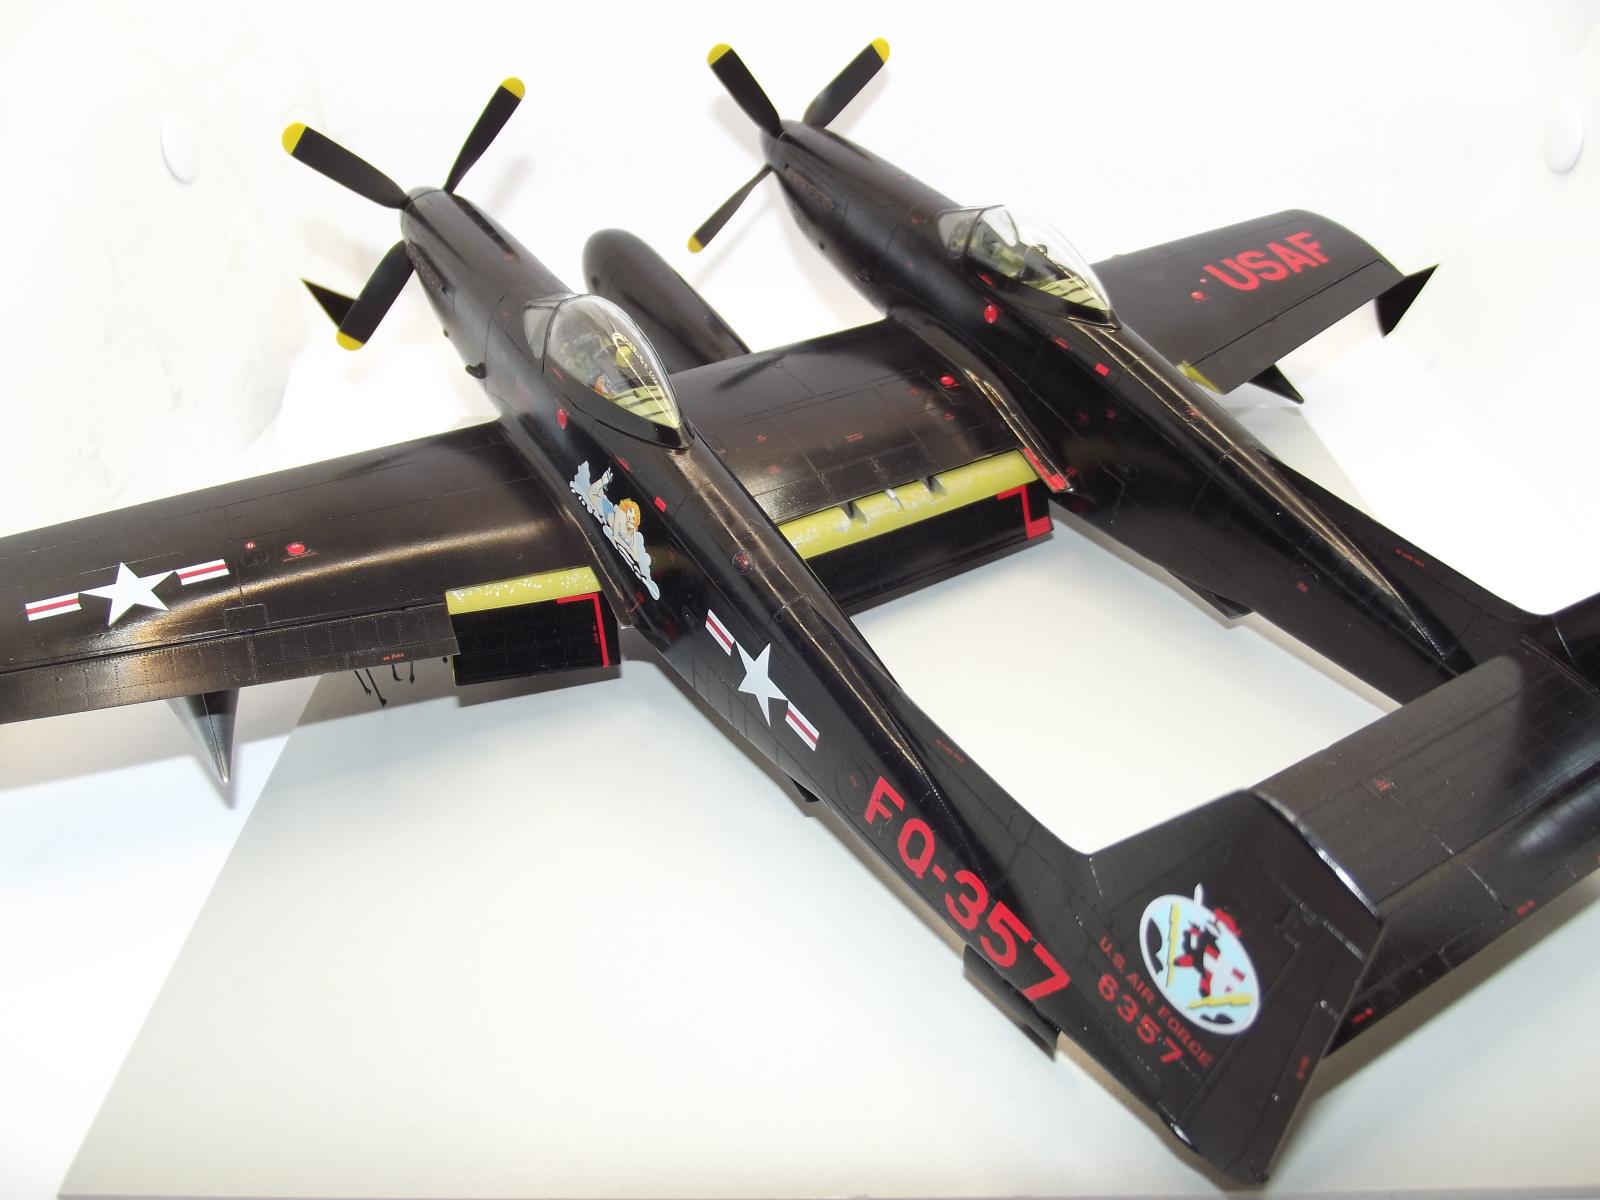
Dark Horse(s): The F-82F Twin Mustang in 1/48 by Modelsvit
The North American F-82 series was a development of the P/F-51H lightweight Mustang and was originally intended as a long-range fighter escort to the USAAF's heavy bombers. Although you can see the lineage of the P-51 in the F-82's clean lines, the similarities come to a Screeching halt, as this was an entirely know airframe, stretched 57", and with a completely different planform, with a center section joining 2 fuselages together. About the only thing in common with the P-51 was the use of the 6 Browning M3 .50cal machine guns as it's primary armament, although this beast could also carry a center pod with 8(!) more M3's, an assortment of bombs and rockets, and ultimately a large airborne radar pod.
Despite being a larger aircraft, the P-82 could run away from the P-51 with a measured top speed of 468mph, and a range with 4 110gal fuel tanks of over 3400 miles! The speed was reduced somewhat when the aircraft was refitted with Allison V-1710, as the US government got tired of having to pay royalties to RR for the Packard Merlin V-1650. The F-82F and G models provided vital air cover and interdiction services to the Nato forces scrambling to safety during the initial chaos of the NK invasion of S Korea in 1950, flying from bases in Japan and staging from forward fields, and were able to score 4 kills over the NKAF. By 1953 they were sent to Alaska for Interceptor duties until retired in 1953 from active service, having been supplanted by the F-94 Starfire jets in that role.
I remember when I first saw the F-82 at the USAFM back in the early 60's, the famous Betty Jo P-82B long-distance record breaker with it's Merlin engine and gleaming skin, and have wanted to build a model of one ever since. The only models that have ever been available is the now long in the tooth Monogram 1/72 version, that with a lot of care and some aftermarket parts can be built into a decent replica, and in 1/48 scale, the ModelCraft F-82, the only kit I ever threw out in disgust!
Enter Modelsvit from the Ukraine. This company has really upped its molding game since my first build or theirs, the Beriev Be-12 in 1/72. It was a difficult kit but very nicely detailed and a good challenge for a modeler who wants to up their game. This kit, although looking like a limited-run kit in the box, is very highly detailed, well molded and includes masks, pe and a lovely set of decals for 4 radar carrying F-82F/G's.
Rather than provide a blow-by-blow build of the kit, I will detail the most important issues the builder will encounter with this kit. Just remember this mantra:
THIS KIT REWARDS THE CAREFULL, PATIENT BUILDER!
As you check over the parts, you will notice that every rivet, panel line and access hatch is reproduced in very fine detail and can be easily lost during the sanding process. You will also notice that ALL mating surfaces have molding ridges across or on the sides of each part which must be removed to get a good fit. But once the parts are cleaned up, they fit very closely. Also note that the detail parts are so finely molded, there is barely any surface area for so parts to adhere to! Case in point are the pilot and RO seats, be very careful to detach the frames from the sprues, and again, be ready to clean up the sprue attachment points completely.
The main parts, such as the fuses, wings etc have very tiny alignment pins that are easily cut away. Like I said, inspect Every part for fit and finish before committing to glue. Also be aware that when assembling the cockpit tubes together there are no alignment pins or tabs at all, have some blu-tac handy as a third hand. Having read some of the printed and on-line build reviews, the overarching concern is centered on the wing fit and the fuse to wing join. here is where trail fitting really comes into play. I shaved each upper outer wing section, where each would meet the center section, to remove the very visible mold seam, then I shaved both edges of the center section as well. On dry fit, there should be no tension at all between the 3 parts. I also chamfered toe top and side pieces of the gear bay to assure that the center wing fully seats without gaps. Start by cementing an outer wing section to the lower wing and triple check the alignment, followed by the center wing (I assured the alignment by inserting short lengths of Albion tube into a couple of gun openings), then followed by the other outer wing. Alignment of all three pieces is absolutely crucial to final assembly, so take your time.
--- pic16 not found ---
The fuselages fit pretty well, but you will need to do a little seam work. I taped the seams as close as I could get to them with Kabuki tape, added putty, and after drying removed the tape to reveal a very thin line of putty. After sanding and cleanup I restored the lost rivets and panel lines with a fine razor saw blade, which worked especially well. I am really pleased with how well that worked, the effect is very subtle but also quite visible.
After all the careful mating surface cleanup, the fuselages just kinda snapped into place. I used Mr. Surfacer 500 on the fuse/wing fairing surfaces, and some judicious swipes with fine sandpaper and the seams cleaned up quite nicely.
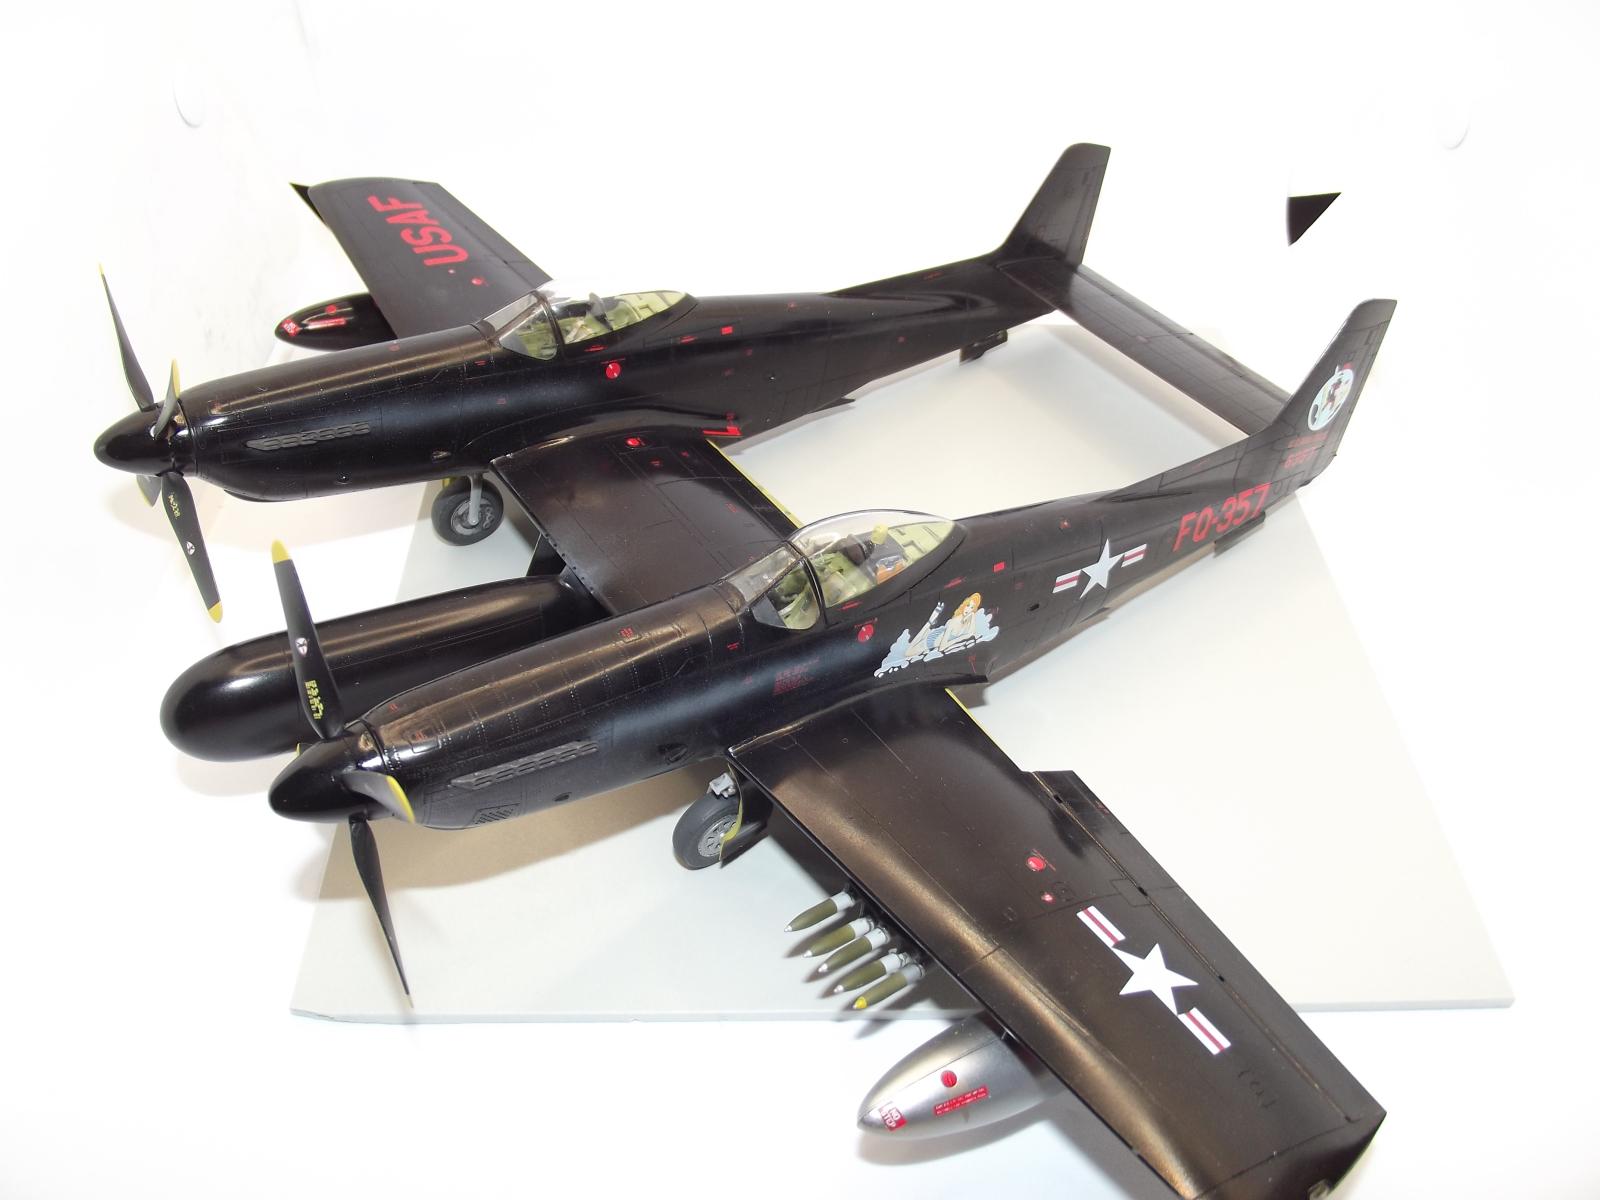
Alignment of this kit, as is true with most planes that have multiple fuse/boom assemblies, is tricky. I attached both fuses and made sure I liked the mating surfaces, allowed them to set, then attached the Horizontal Stab/elevator assy and secured it to assure good solid attachment. The last thing I needed was to have 2 tail wheels that were misaligned!
The rest of the build proceded normally. I followed the directions with very little deviation thoughout. Just remember to testfit and adjust as you go along and you will start to see the reward for paying attention to fit! Another example: the prop spinners. with the beautiful prop sandwiched between the hub and spinner cap the is a noticable gap between the spinner and cap. By slowly and carefully filing the prop openings I was able to get the gaps closed and now the props have an almost seamless look just like the real thing!
Just a couple more issues of note:
--- pic19 not found ---
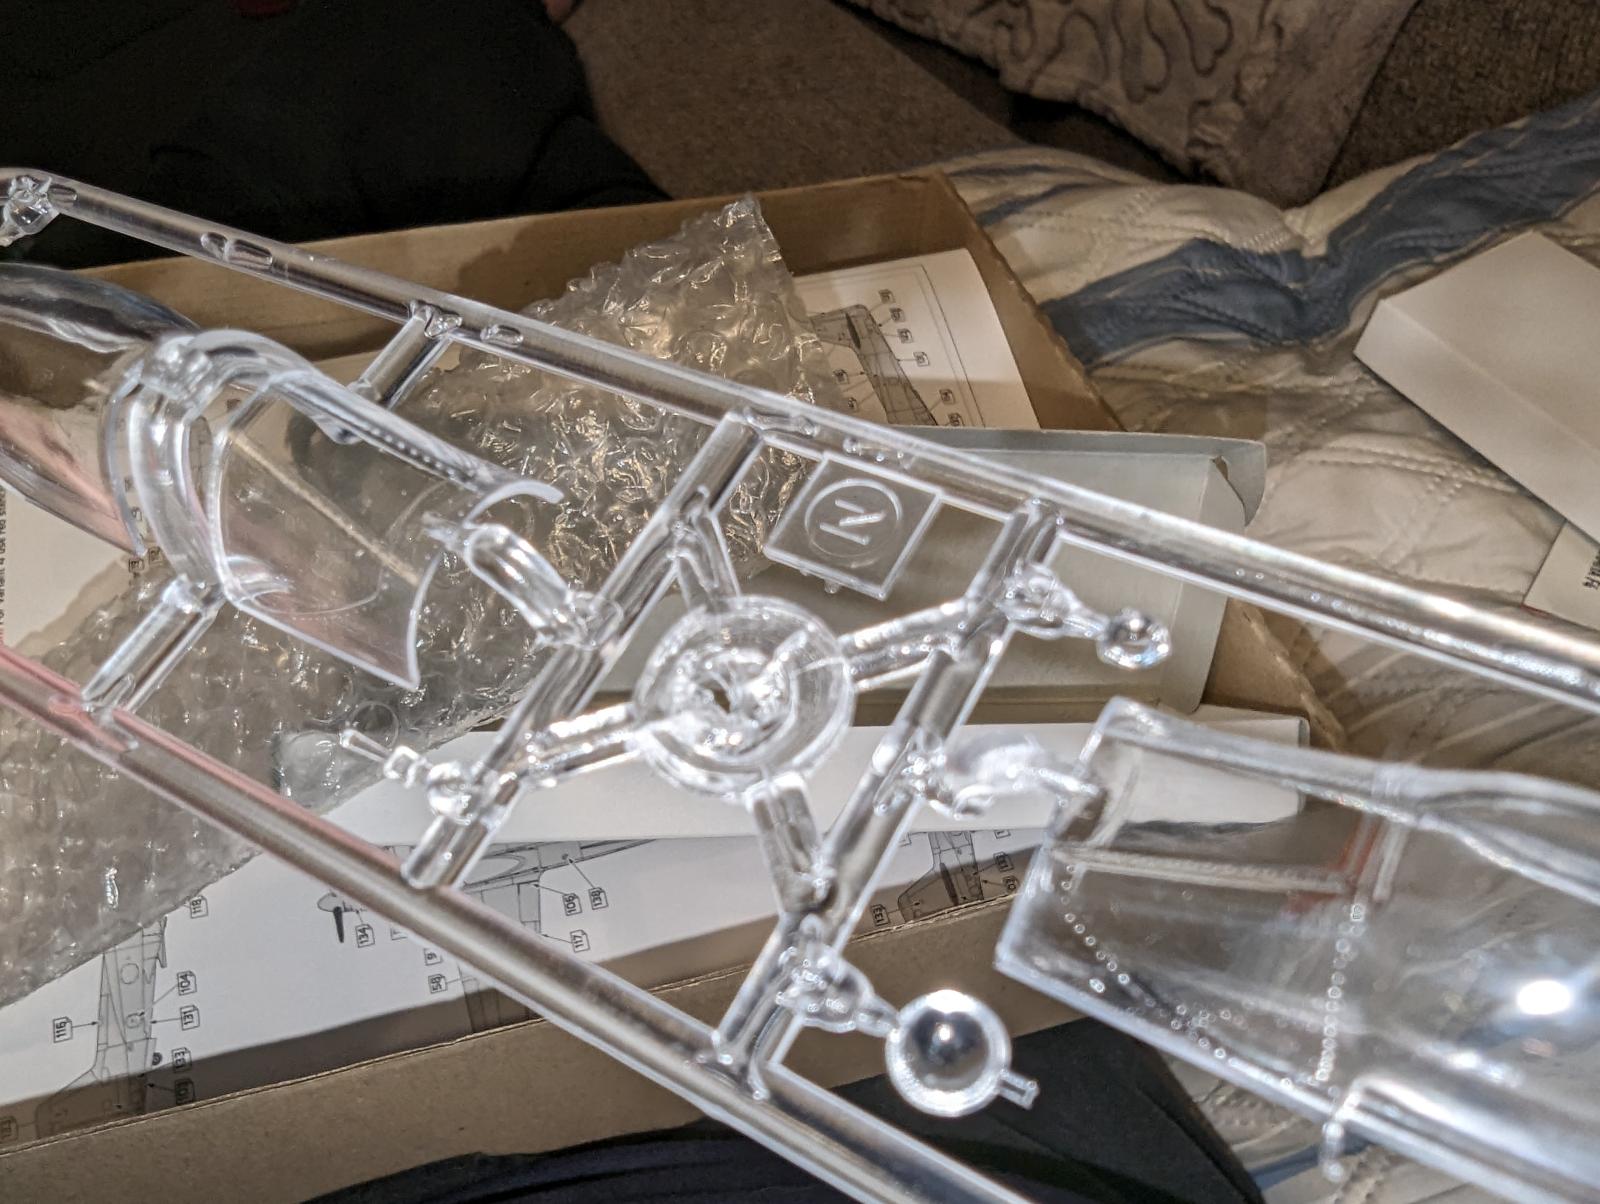
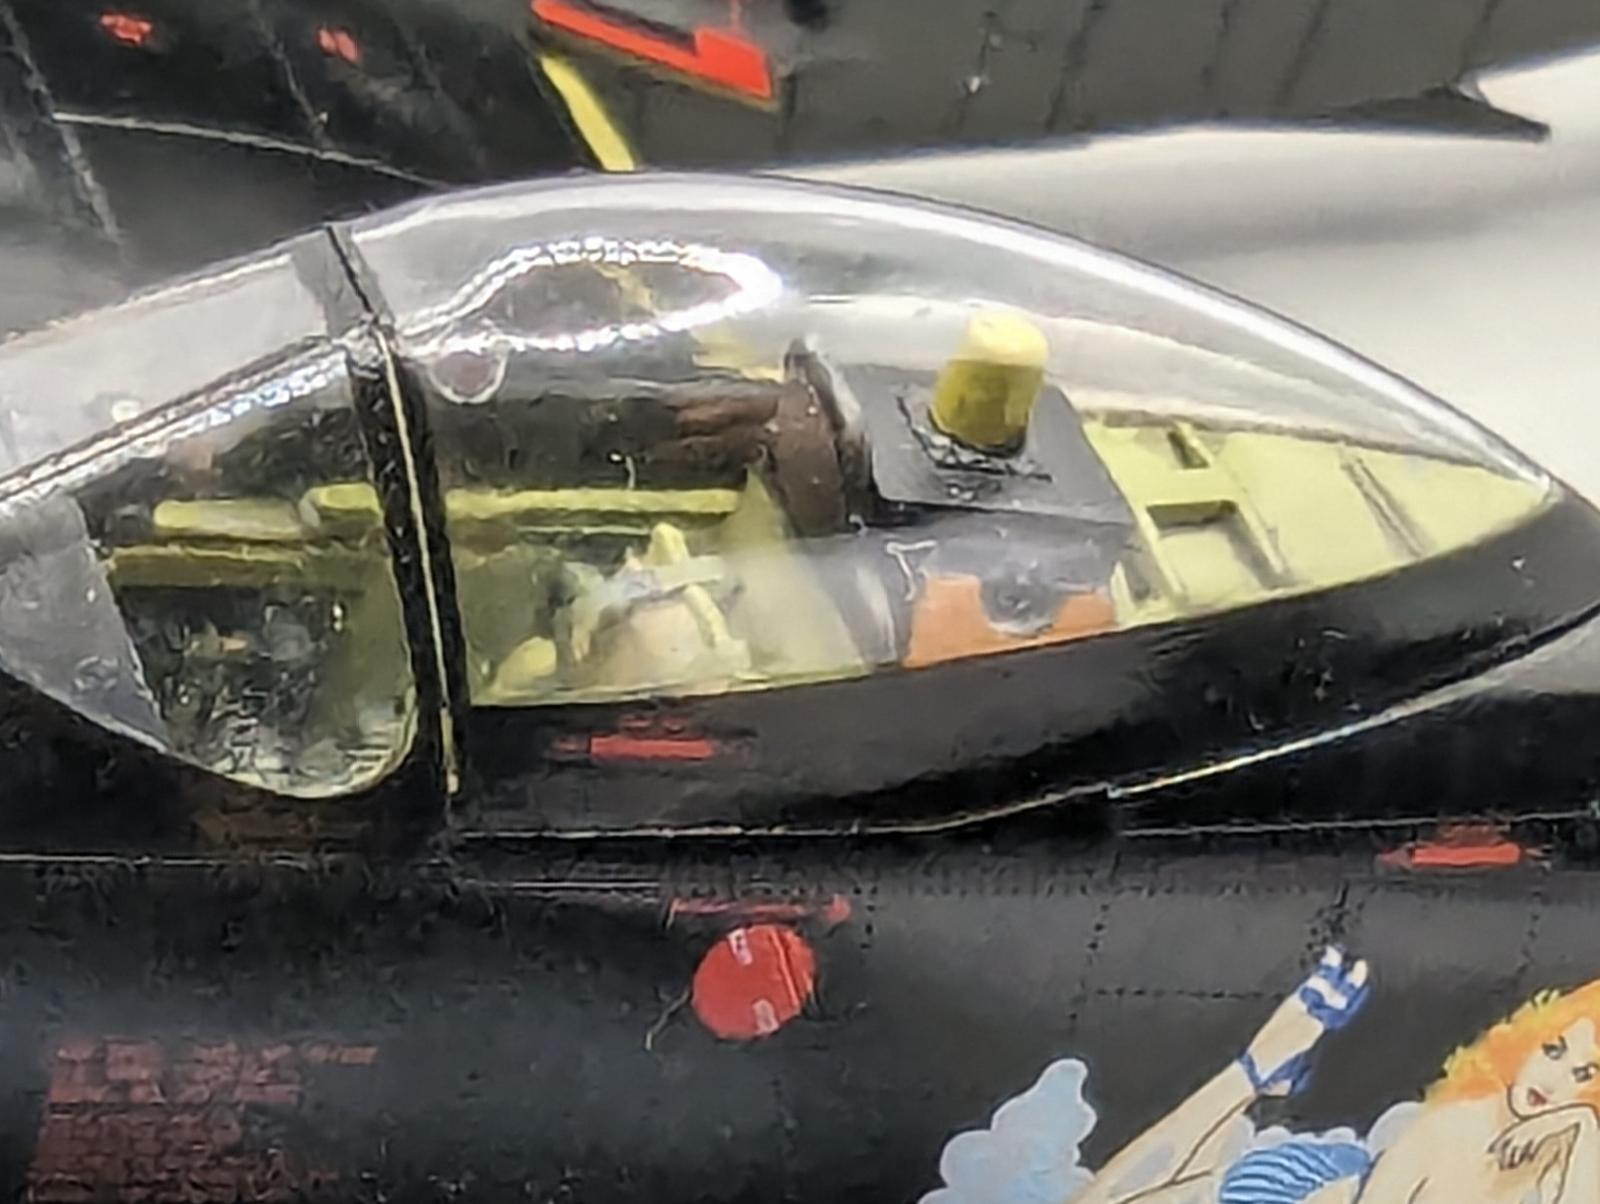
1- The windscreen-canopy assy for the first issue of this kit, which has 2 sets of canopies, 2 open and 2 closed, has a very ugly finish, pebbly and worst of all, part of the sprue attachment stub somehow is molded to the front of the windscreen! Also, several articles report that you must thin the insides of the lower part of the windscreen to fit over the cockpit coaming. The canopy itself also needs to have the railing section carefully thinned, and a portion of the fuse area behind the cockpit also, in order for the canopy to rest properly in the open position. I think this my have happened in the first few hundred kits, I havent read that anyone else had this issue.
Luckily, Modelsvit has been paying attention! The second release of this kit, the F-82E/H, includes only 2 canopies, both open and the molding is A) much clearer, and B) much better fit! I decided to leave mine closed, but I tacked them in with PVA so I could apply the paint job.
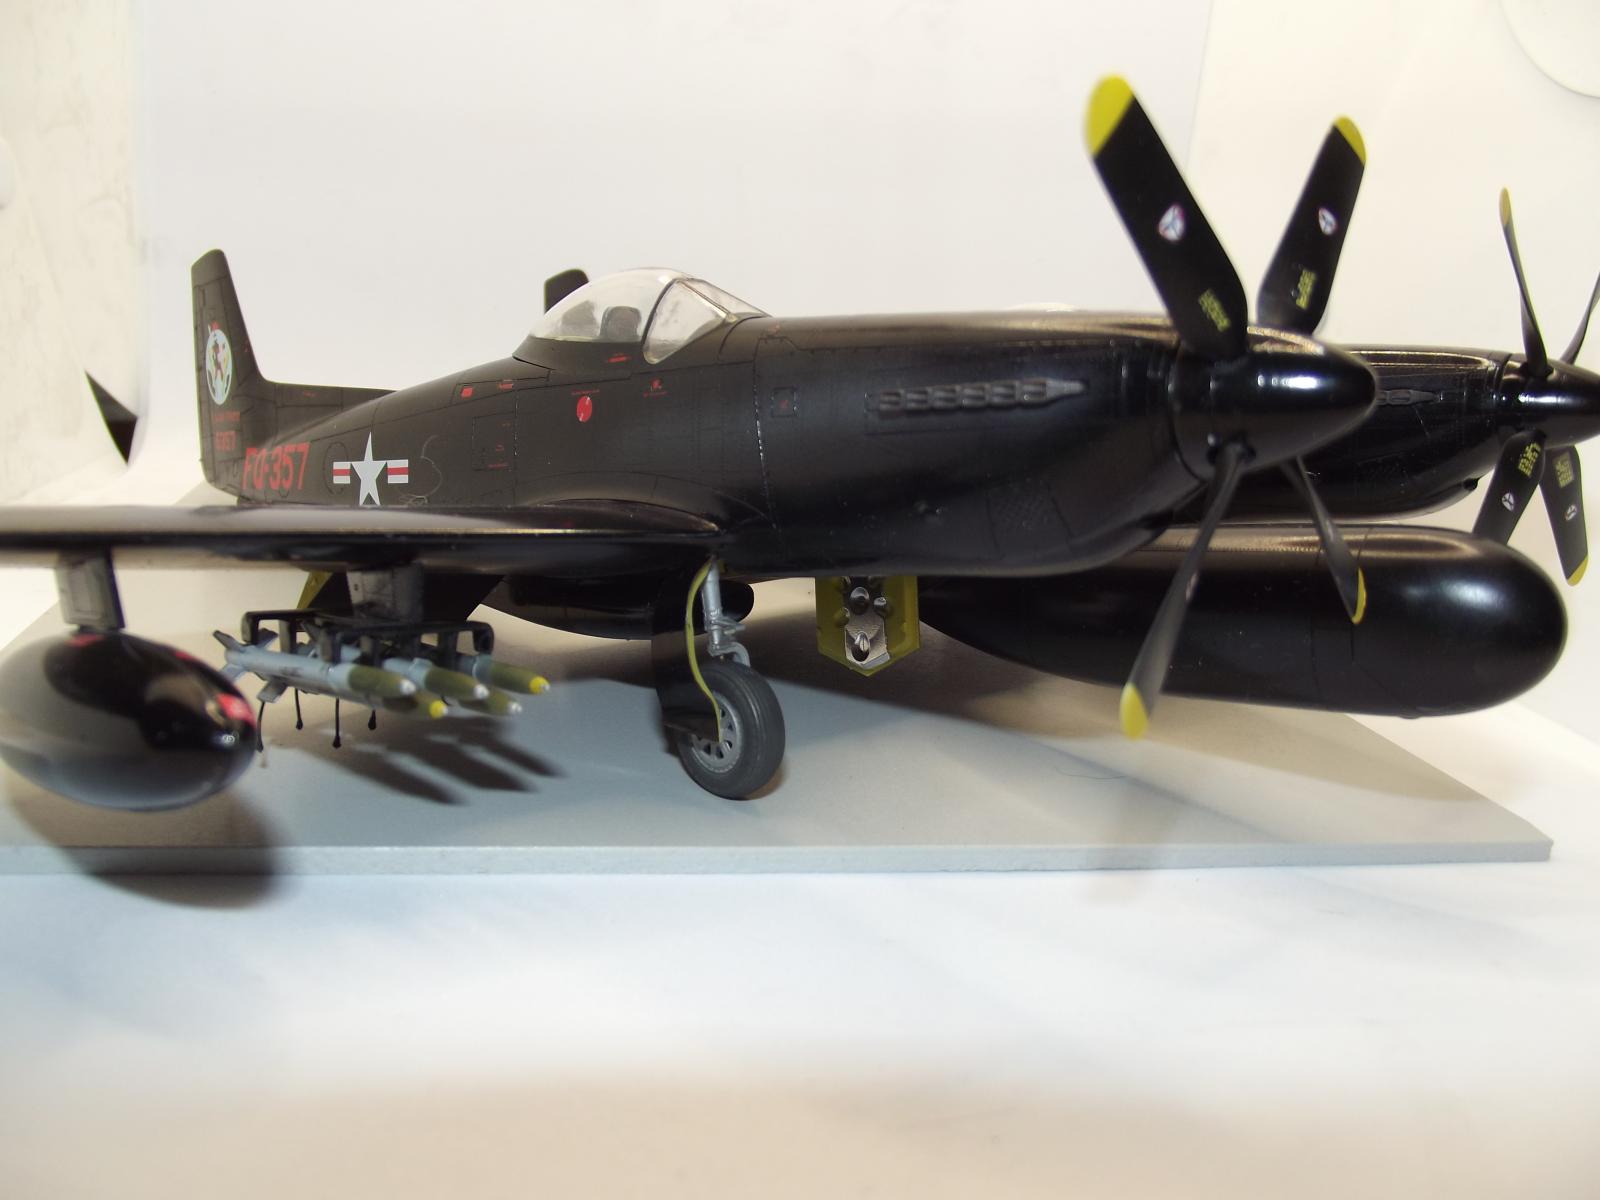
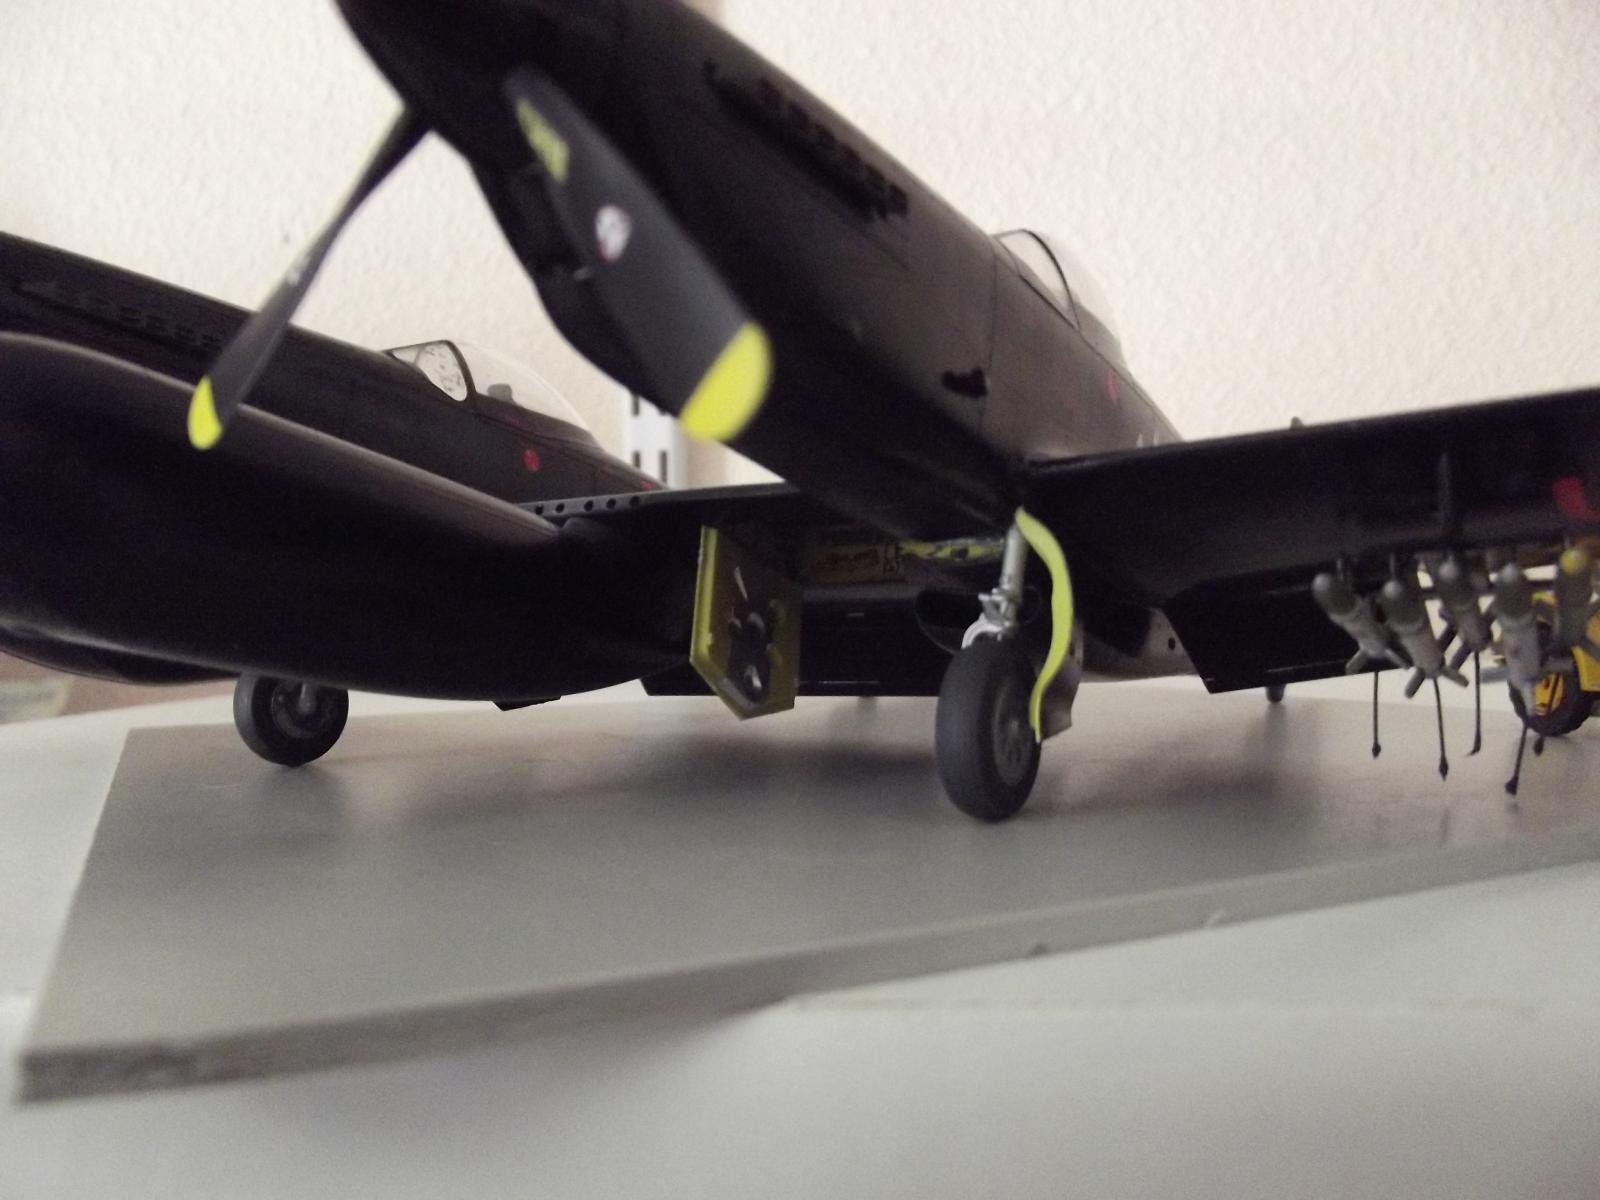
2- The external pylons have tiny attachment points, not nearly adequate to allow a decent alignment, and likely will get cut off during mold seam cleanup. I wound up drilling and using brass pins to align and support the tanks and HVARs. I replaced the HVARs themselves with a set from Eduard's 1/48 P-51, and just like everybody else, I had a heck of a time getting all 10 onto the underscale racks! I added pigtails for visual interest.
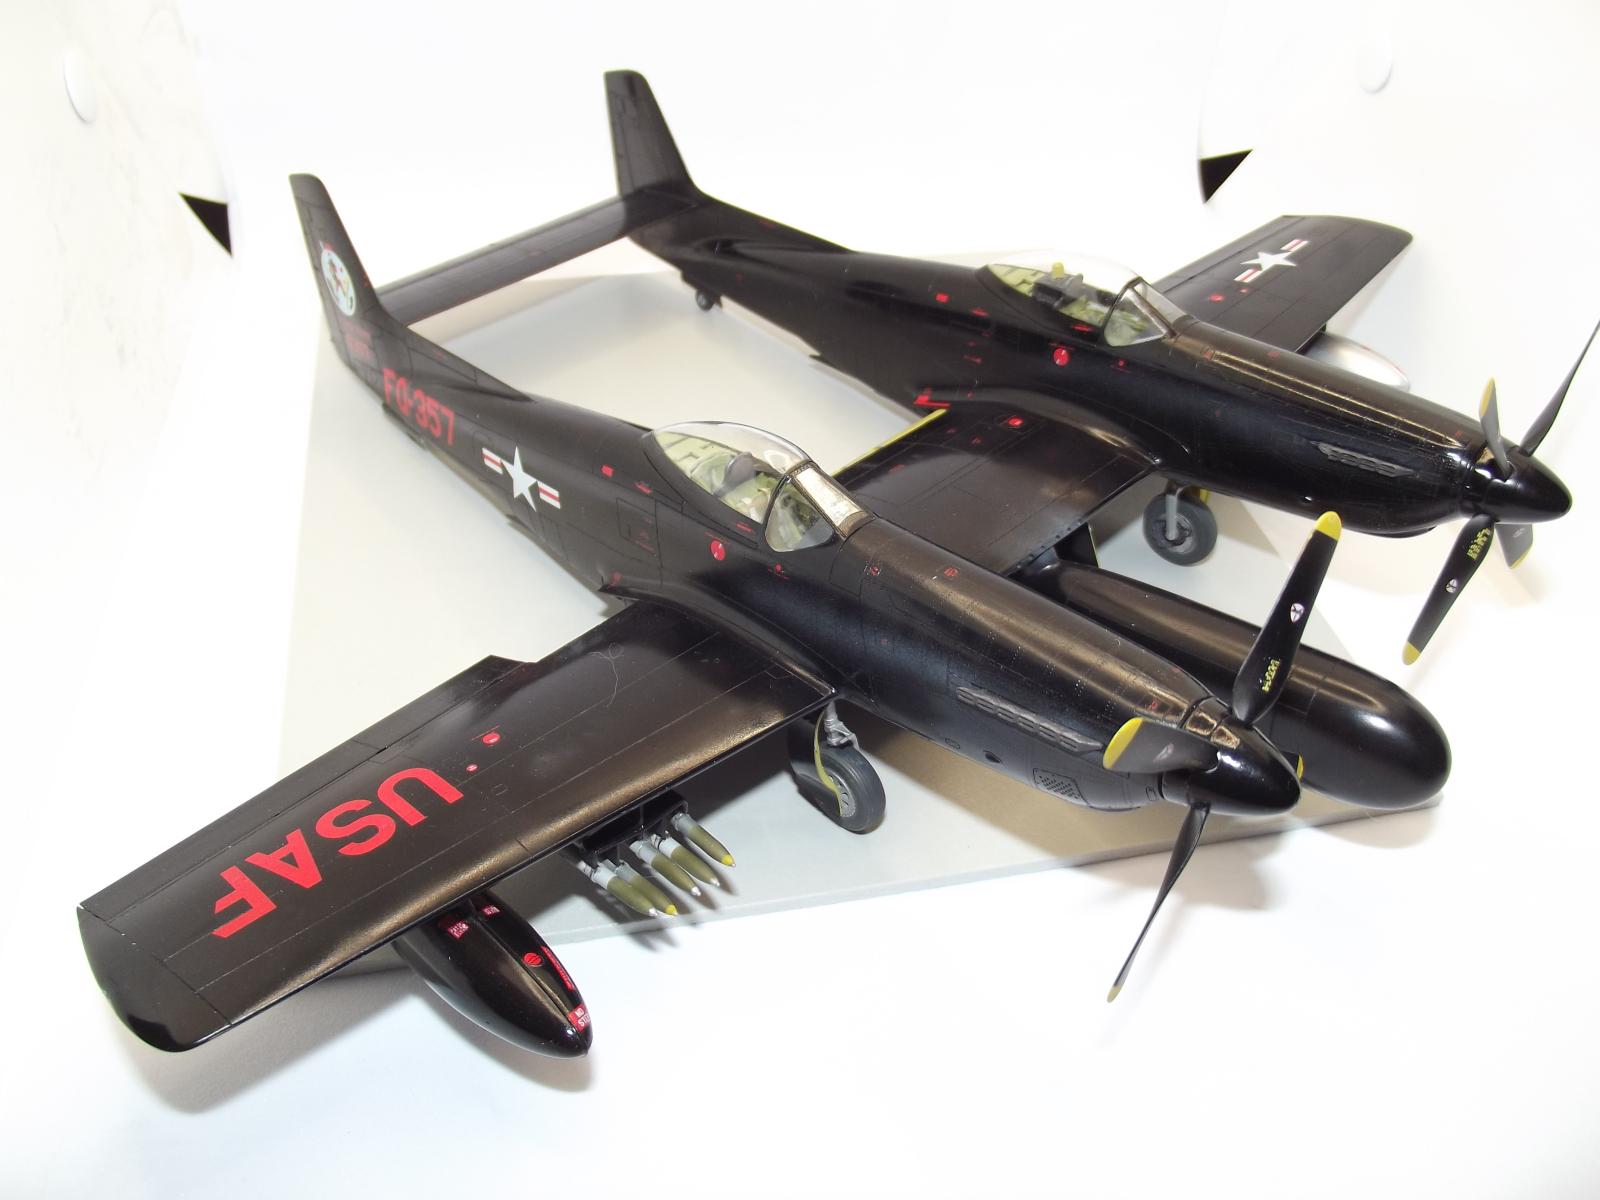
After carefully polishing the plane and checking for blemishes, I sprayed Tamiya Gloss Black. The decals, I have to say, are Superb! Great color density, extensive stenciling and very thin. I used Tamiya Markfit Strong for a decal setter.
I chose an F-82G from the 68th F(AW)S flying from Itazuke Japan during the desparate days of the summer of 1950.
3- After all my mold seam and alignment work, I was disheartened to notice that my almost-complete F-82 rocked ever so slightly, I had a slight misalignment of the fuses! I realized that the wing had a very slight warp I hadn't noticed during the fuselage joining! So...instead of fussing and trashing all my hard work, I added a tiny square of 1mm plastic to the high side tailwheel retraction arm, and problem solved! Note though, the tailwheel assemblies are very much to scale and look great, just be aware that like some of the other external assemblies, the contact points are very Very tiny. I used black CA glue for strength.
So there you have it! I have to say I am extremely pleased with this kit! It is very buildable, beautifully detailed and is a truly remarkable replica of a fabulous aircraft,
A Hole In The Dark!


Fantastic result on the Twin Mustang, Juan!
Congratulations!
A fine looking twin Mustang, Juan @jebenite1
Well done.
Very nicely done Juan (@jenenite1). Like the P-38, trying to get alignment correct on these twin fuselage aircraft can be tricky. It appears from the photos that you got that done correctly.
An excellent and very helpful review, and a great result for all your work. I really like this.
Excellent build on not a very easy kit. Thanks for all the heads up info. I will probably come back to the reviews of the F-82 when I get around to building mine.
As for the canopy, well, I had similar issues with Modelsvit's F-51H canopy. I ended up using the closed one instead.
Great result and helpful information - I'll come back to it when I get around to tackling mine!
A wonderful build!
Very good job! I built one recently and found the plastic to be very brittle so if any of you other folks have one in the stash be aware it you build it.