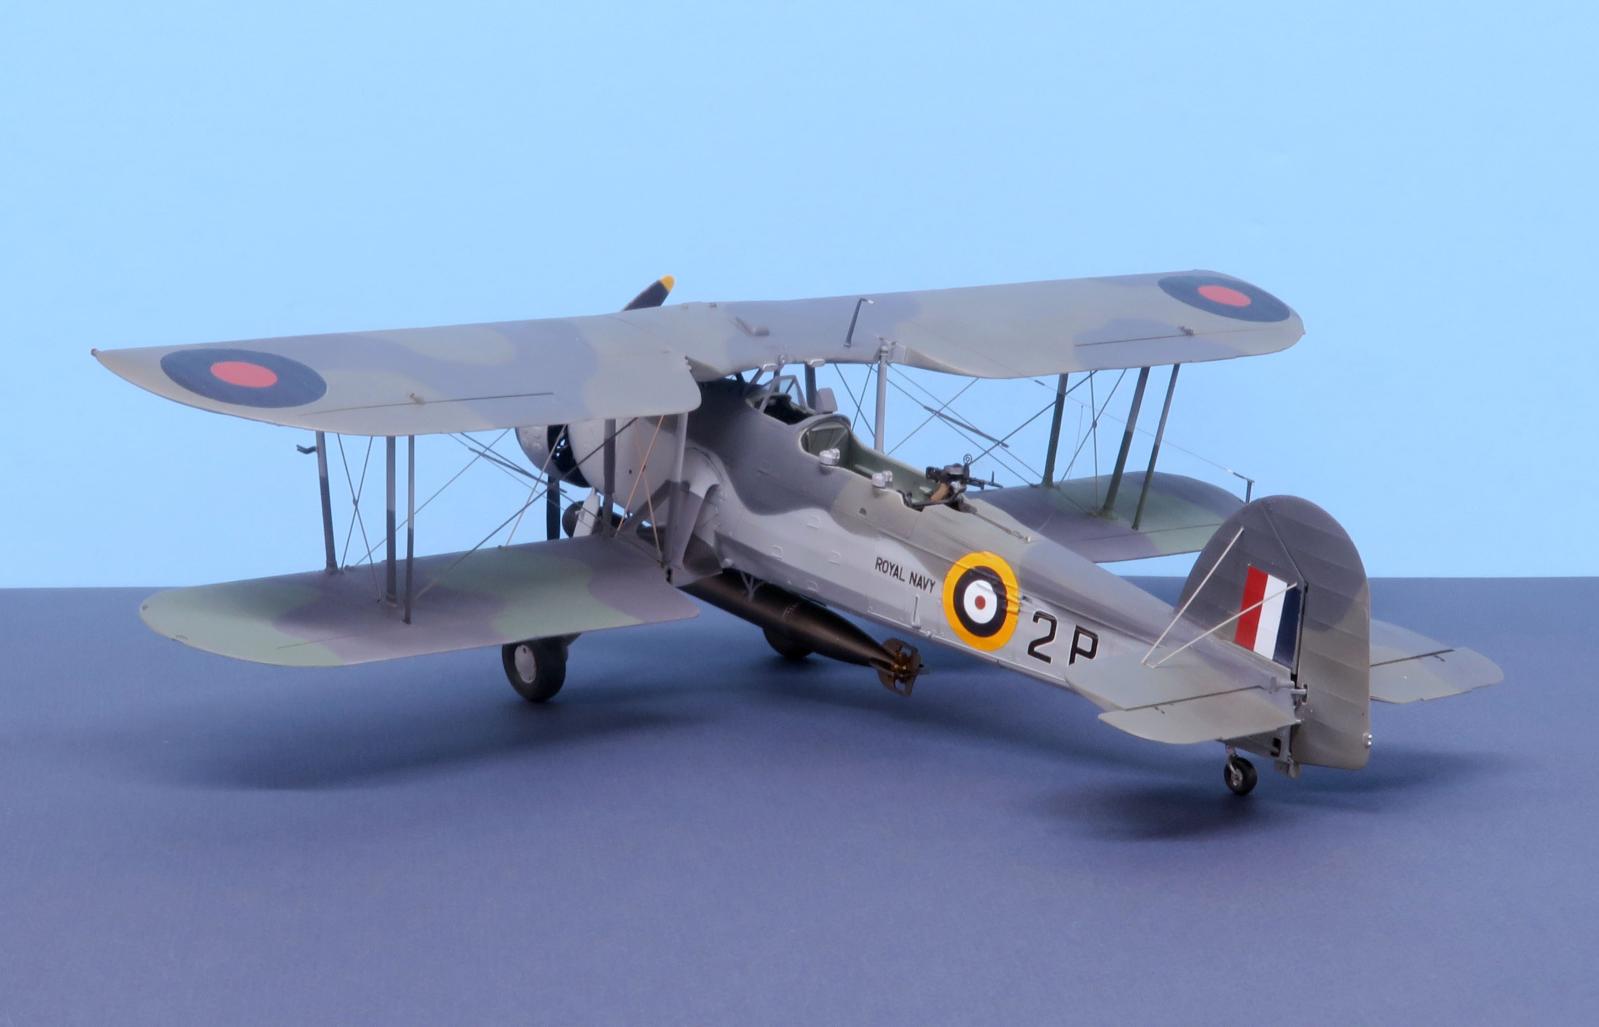
Tamiya 1/48 scale Fairey Swordfish Mk. I
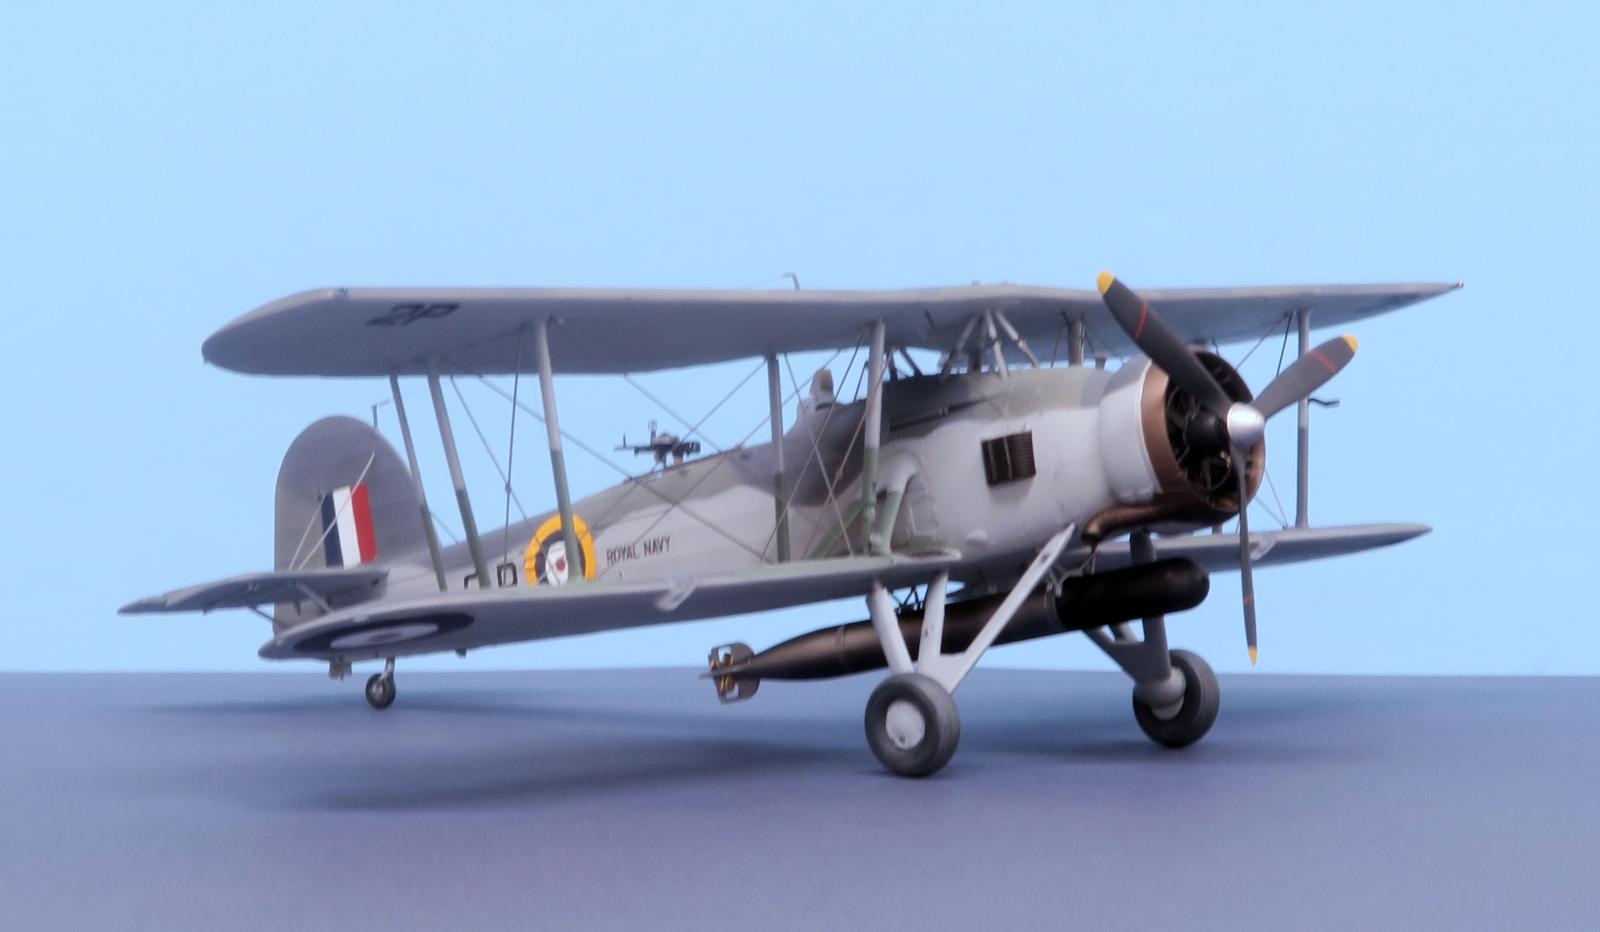
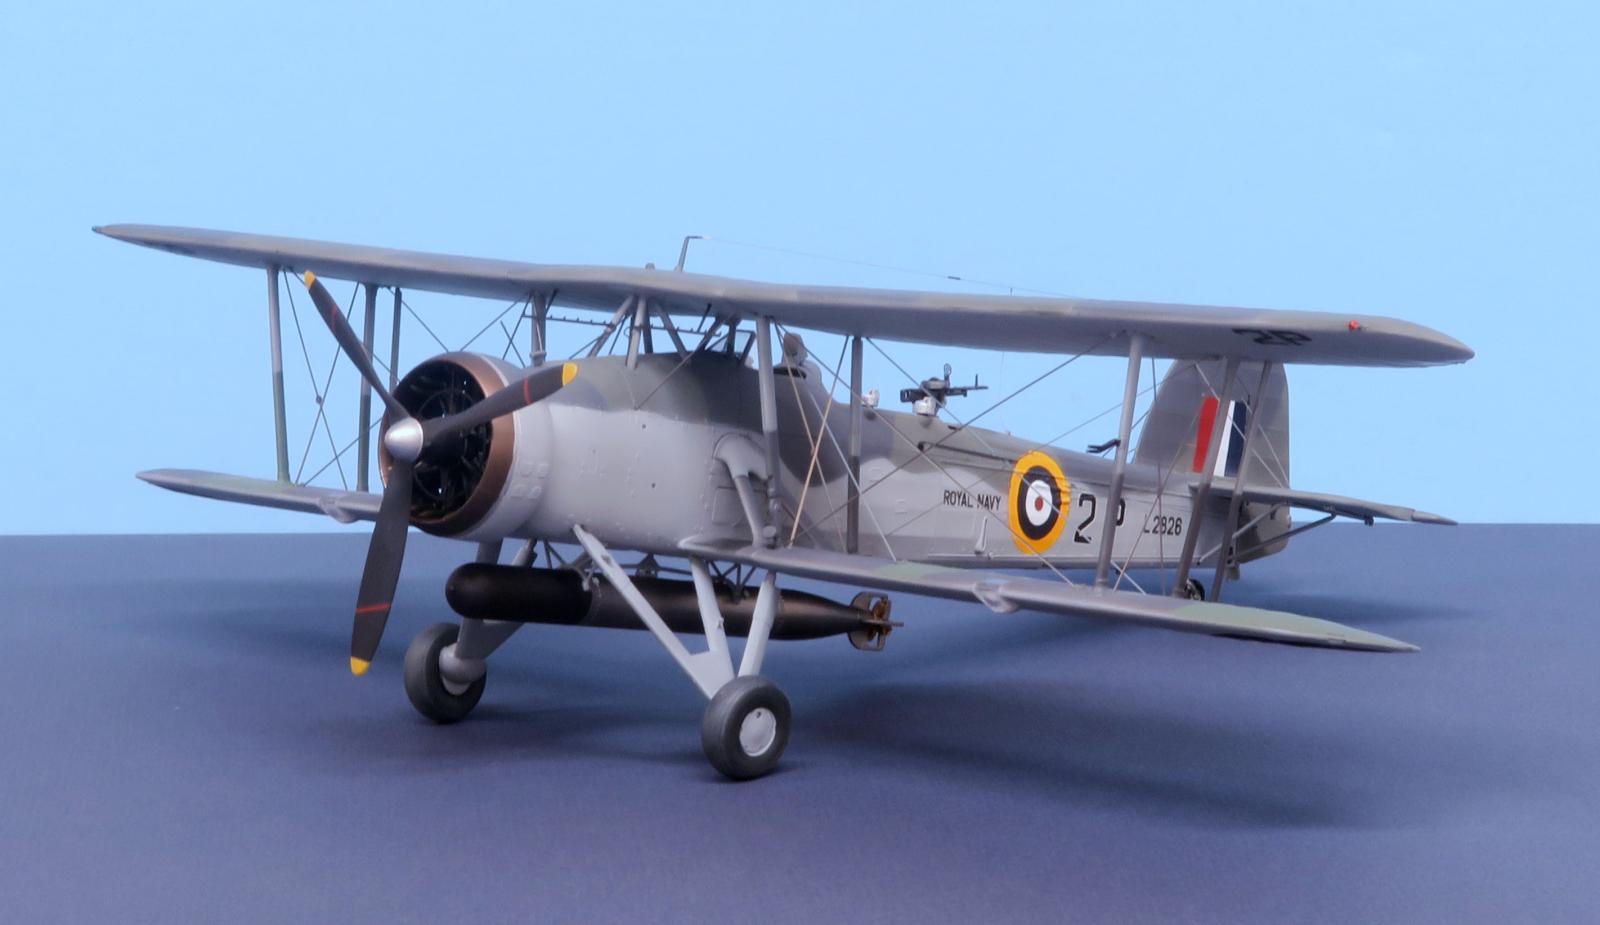
I won this kit with the extra photo-etch detail set in a club raffle a few years ago and finally got around to building it. Although it's well engineered, I found it a challenging project due partly to the complex paint job and partly to the photo-etch rigging, which was extremely fiddly to get in place and straight. The model depicts the plane flown in the Bismarck attack of May 21, 1941 by Sub-Lt. A.W.D. Beale of 810 Sqn., HMS Ark Royal. Beale scored a torpedo hit amidships on the port side, but did no significant damage.
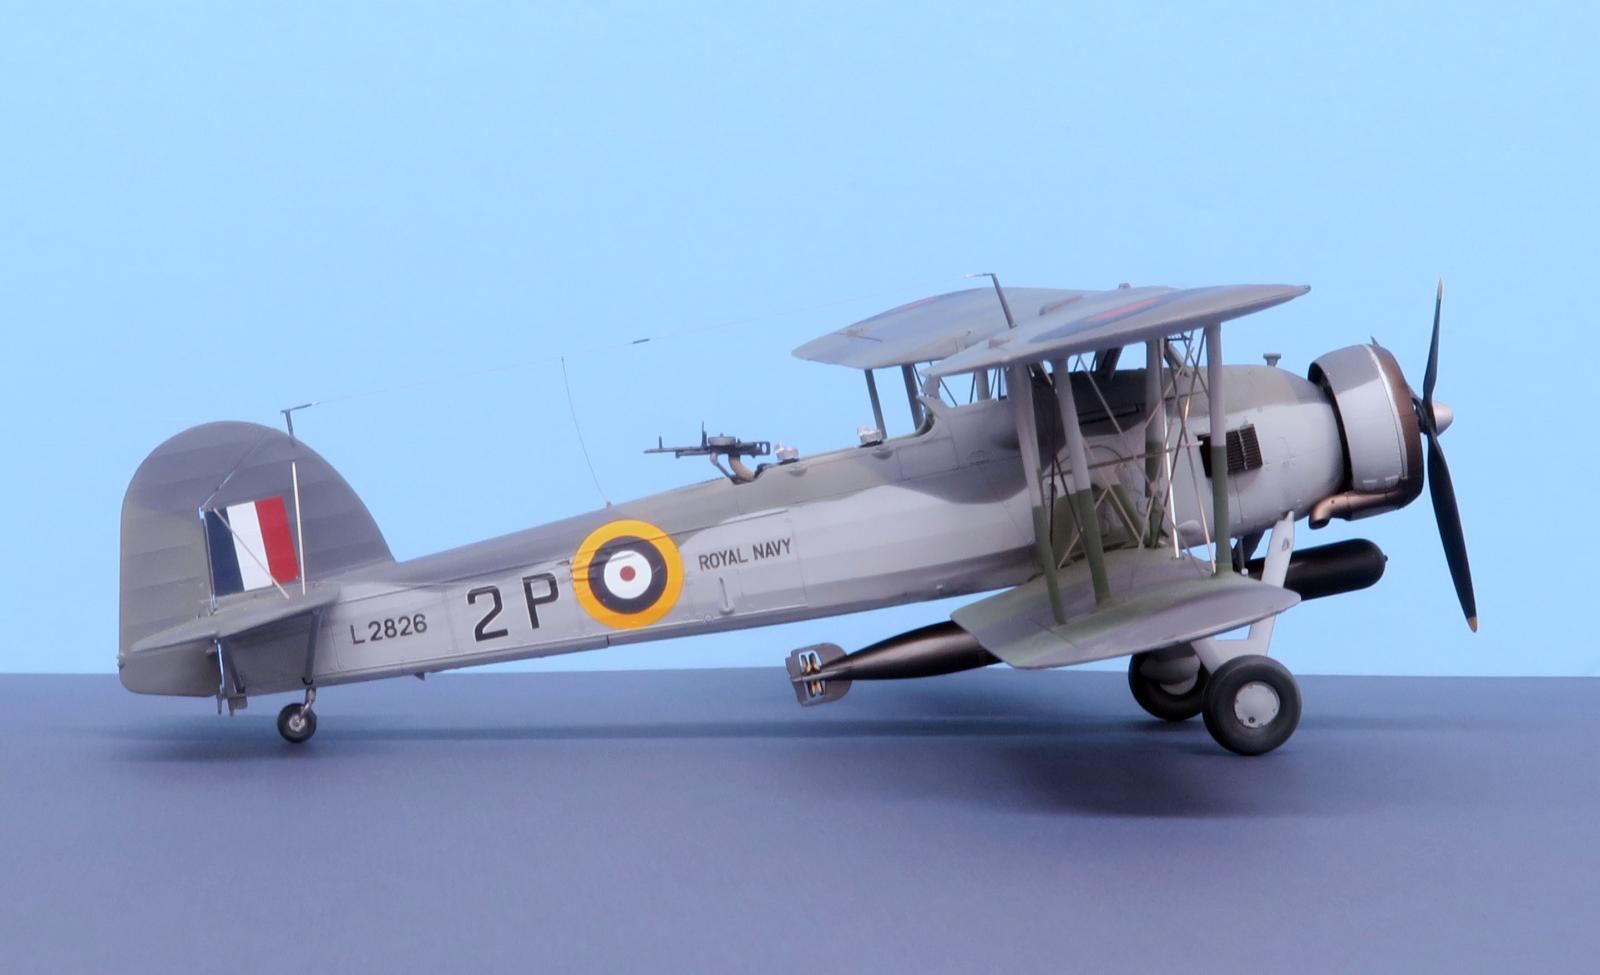
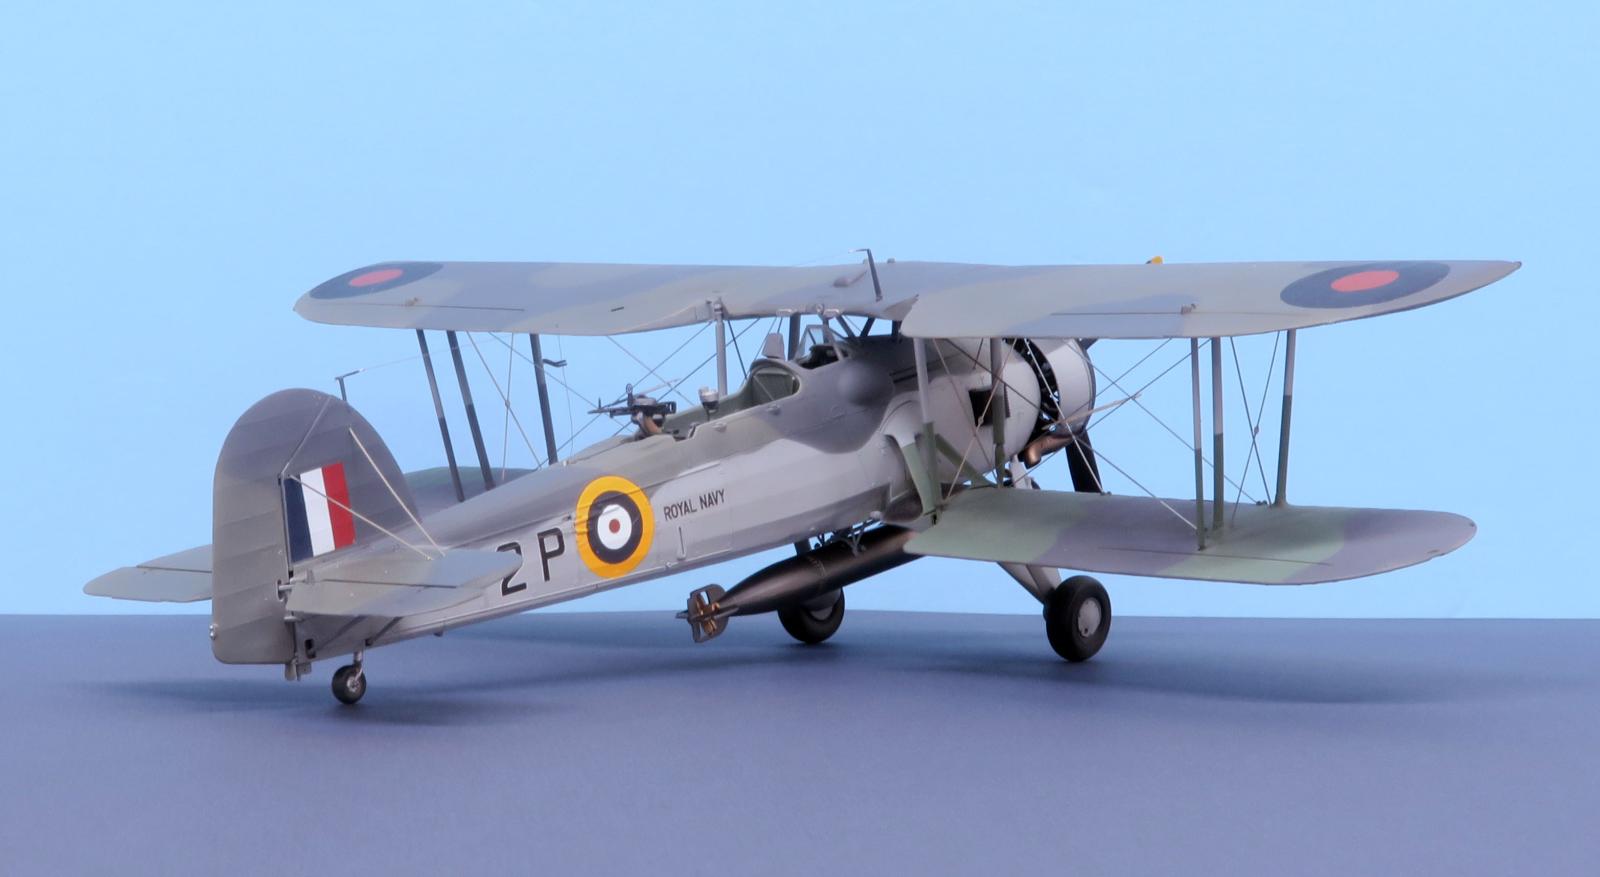
In researching the plane, I quickly discovered that Tamiya got the serial number wrong and that the camouflage scheme in the instructions was inaccurate. I was fortunate to get in communication with IanG at Britmodeller.com. He provided a lot of really useful information as well as a starboard-side wartime photograph of the plane. Based on the photo and Ian's data, I went with the 1939 camouflage scheme of Sky Grey under surfaces and Extra Dark Sea Grey/Dark Slate Grey upper surfaces with Dark Sea Grey/Light Slate Grey shadow shading. For paints I used MRP Dark Slate Grey, Mr. Color Extra Dark Sea Grey and Dark Sea Grey, Model Master enamel US Bomber Green as an approximation for Light Slate Grey, and a 50-50 mix of Mr Color Light Gull Gray and Neutral Gray 36270 for the Sky Grey. For the heat-stained exhaust collector ring and pipe, I started with Alclad Stainless Steel and then misted on a number of coats of Alclad Hot Metal Sepia. I finished with a very light coat of Alclad Jet Exhaust. I may have gotten it a bit darker than necessary, but I think it's still in the ballpark.
I laser printed decals for the proper serial numbers and extra "2P" codes to go under the upper wing. Ian was of the opinion that the fuselage codes may have gotten white outlines by May 1941, so I did artwork for them and had masks cut for me by my modeling buddy Bill Michaels. The Royal Navy markings, fuselage codes and fin flashes came from the Tamiya sheet and worked just fine with hot water. All the other roundels came from an Eagle Strike sheet.
The external control cables (three on each side, not very visible in the photos) are .004-inch diameter nylon tippet line. The radio antenna wire is invisible mending thread. Both the cables and antenna were colored with Testors Metalizer Anodonic Dark Gray. The antenna springs and insulators are pieces of polyimide micro tubing.
Cheers, Pip
Excellent job and wonderful result on the well engineered but challenging Tamiya Swordfish, Pip!
Excellent research on your specific camo!
Thank you Spiros!
Very nice work on the Swordfish, Pip @seawinder
You tackled the challenges beautifully.
May I ask which brand of paper you used for the decal printing?
Thanks John. I used Tango Papa clear laser decal paper.
Looks great, Pip!
Thank you John!
Great build Pip! The camouflage is inspiring as well. I have been intrigued by the Royal Navy schemes since the dark ages when I first came across the Frog F6F box art. Thanks for including the detailed callouts on the paints you used.
Thank you Russell!
Excellent build of a great kit. It's nice to have accurate wartime photos and information prior to painting. Manufacturers are known to get it wrong! Well done.
Thank you Chas!
Great work, @seawinder. That kit stands the test of time, now being 26 years since its release.
Thank you Tom! I wish I had found your Modeling Madness article before I did the rigging. I can see how your tip about removing the lower tabs from the "wires" would have really helped.
Well researched and equally well finished, Pip. Looks great.
Thank you Ben!
Nice work Pip. Will we see this at Patcon?
I have the same kit & etched brass set...I plan to do mine in the Taranto raid scheme.
Steve
Thanks Steve. I've got two biplanes that could be entered at Patcon -- this one and an Avia B534. I have to decide which one to enter in the contest; the other might go on the display-only table.
BTW, the etched metal is stainless steel, not brass. It was a pain to cut off the fret, and the bendable tabs were very brittle and would break off if re-bent more than once or twice.
A beautiful Stringbag! Great work!
That's amazing Pip. Fantastic work on getting the details right 😀
Thanks very much, Scott.