1/72 HELLER DC-6B
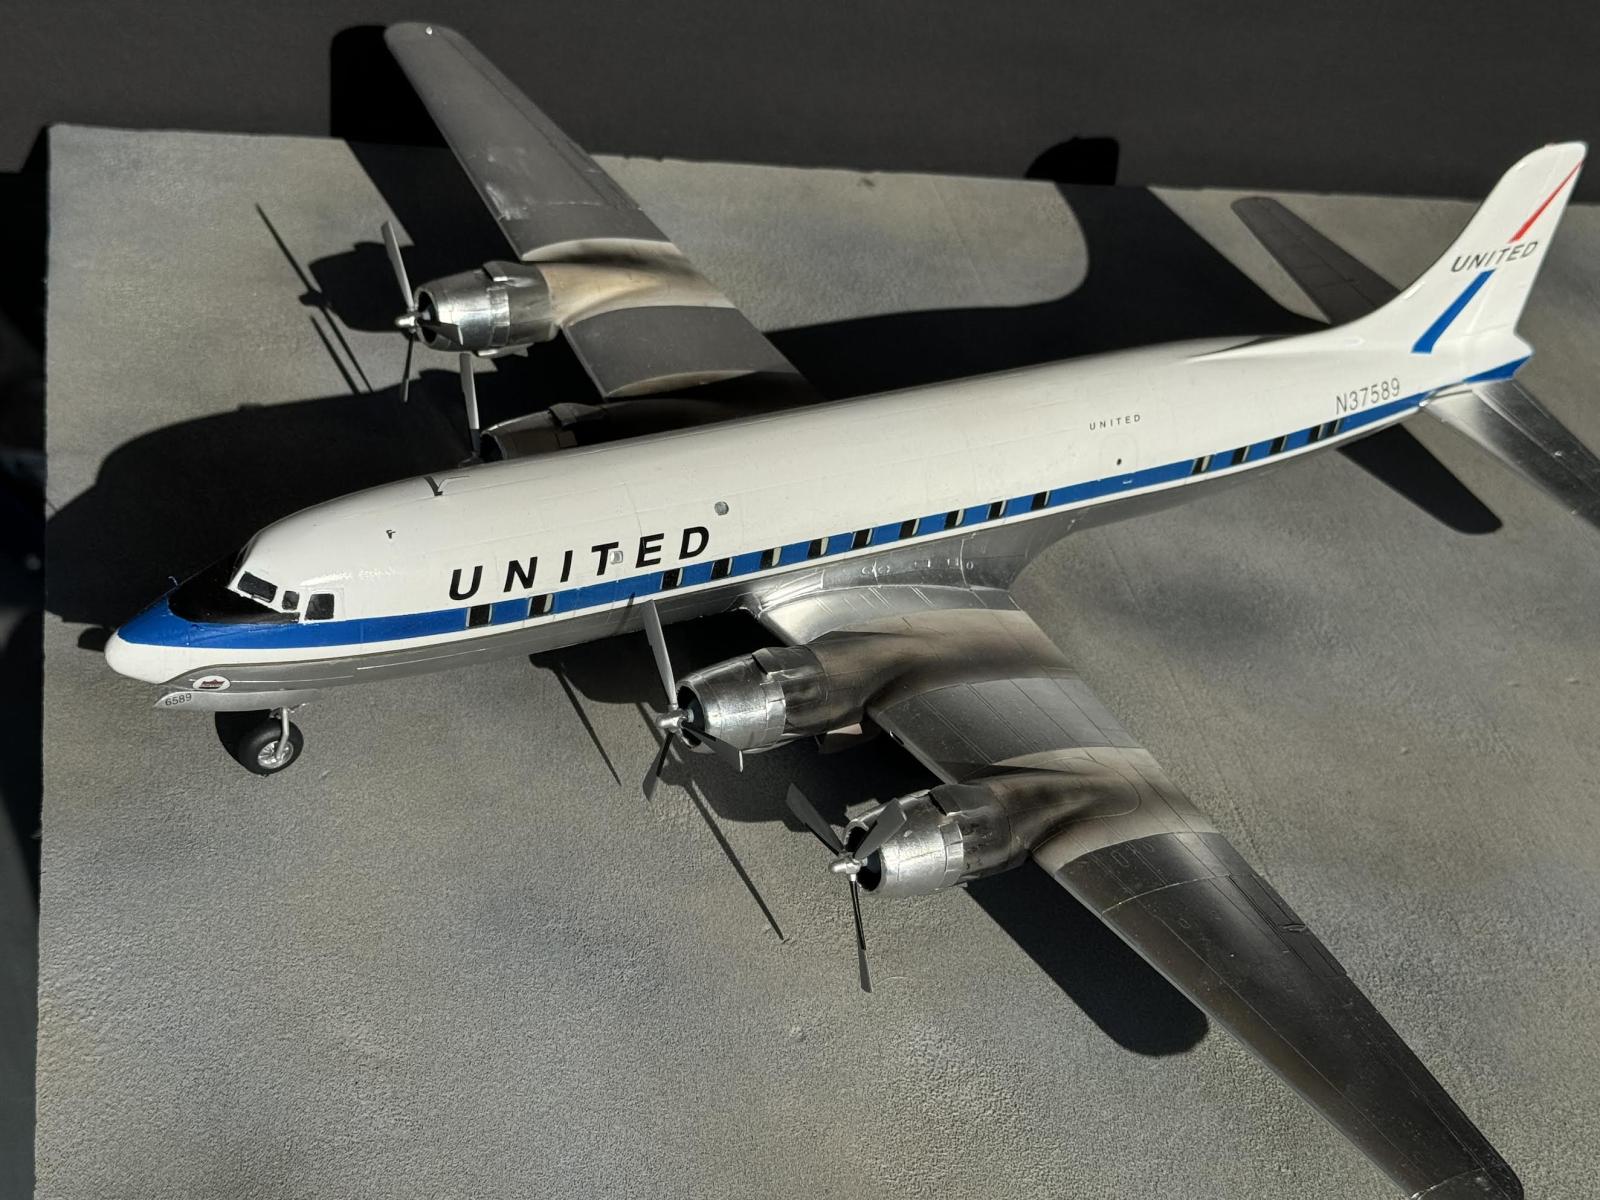
I wanted to build a United DC-6 since it was the first prop airliner I flew on way back in 1963. Fond memories. I thought the HELLER was a good choice. Well, let's be frank, it the only choice in a larger scale. One reviewer referred to the 1/72 Heller DC-6 as a real jewel. I think he meant a diamond in the rough. First thing I noticed was all the outer surfaces had a troubling texture. I had to sand all the surfaces with 1000 grit just to get it close to acceptable. After all, half the plane was going to be aluminum. Having an orange peel under aluminum foil would look awful. Many more challenges awaited me but that's why we build. Though it would be nice to have a little help from the manufacturer.
Here are a few of the modifications I did:
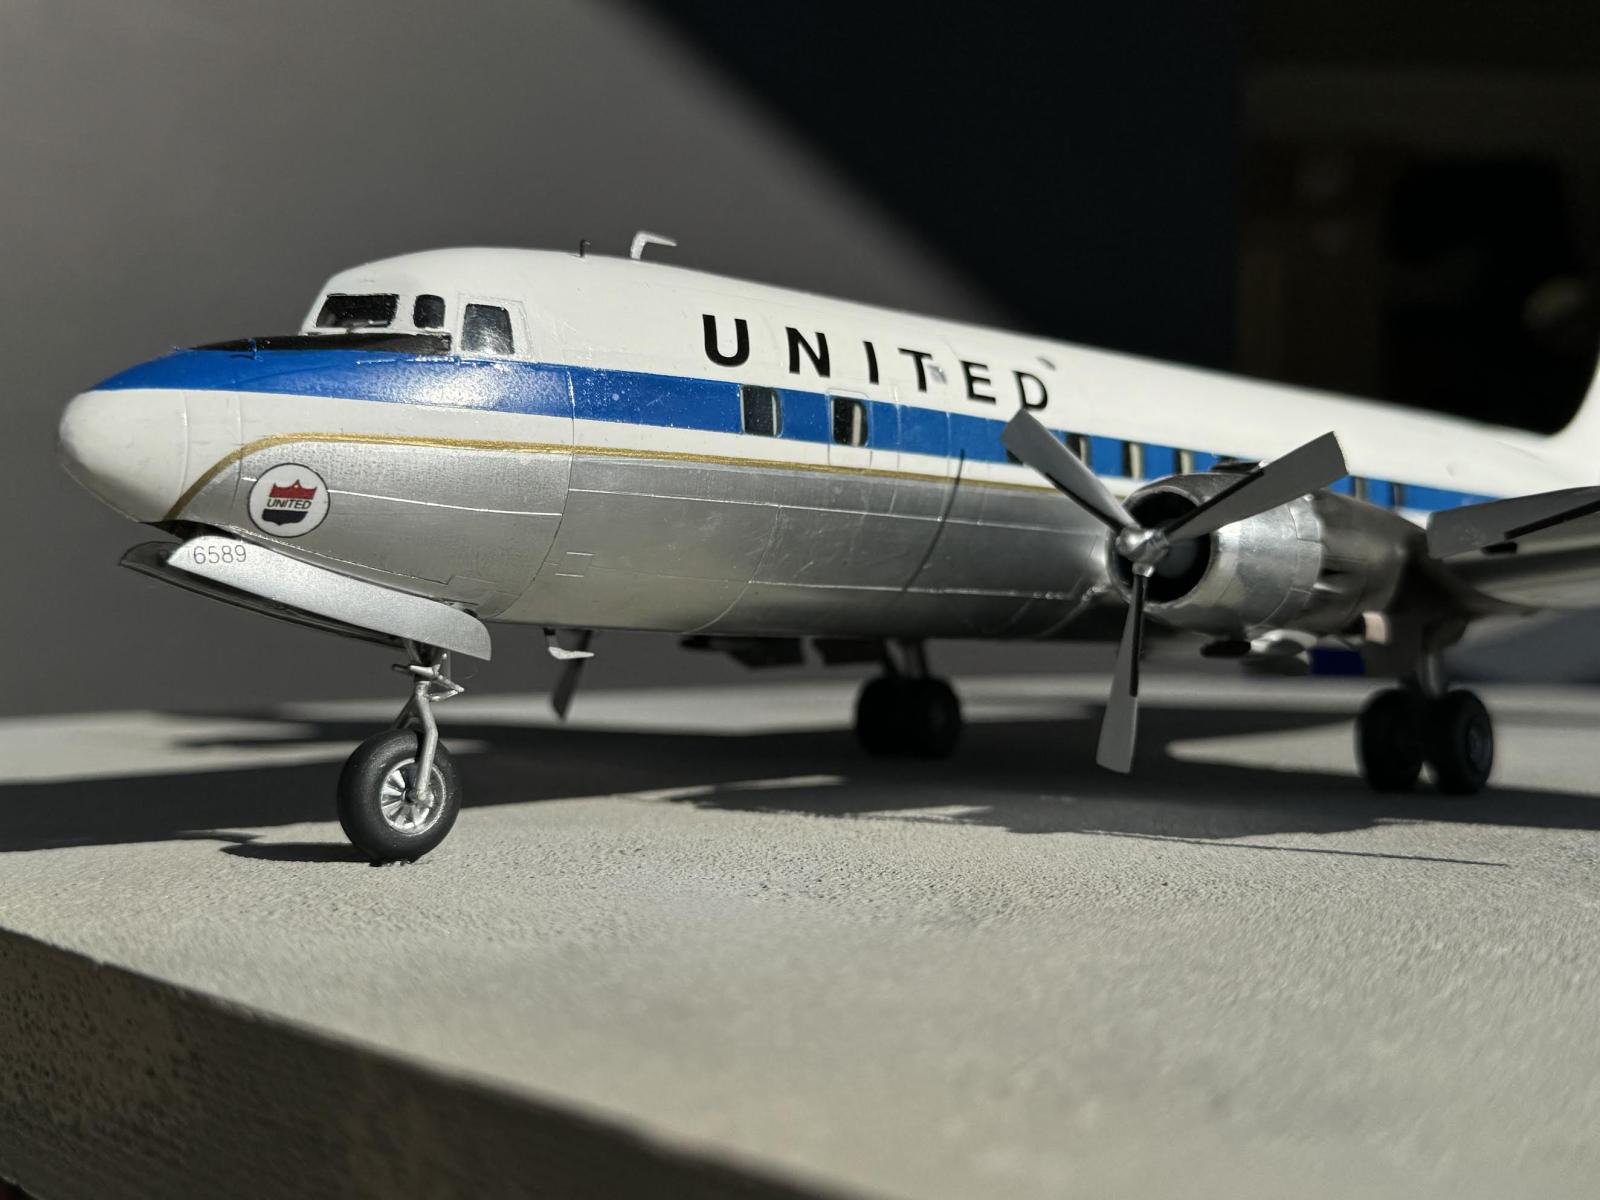
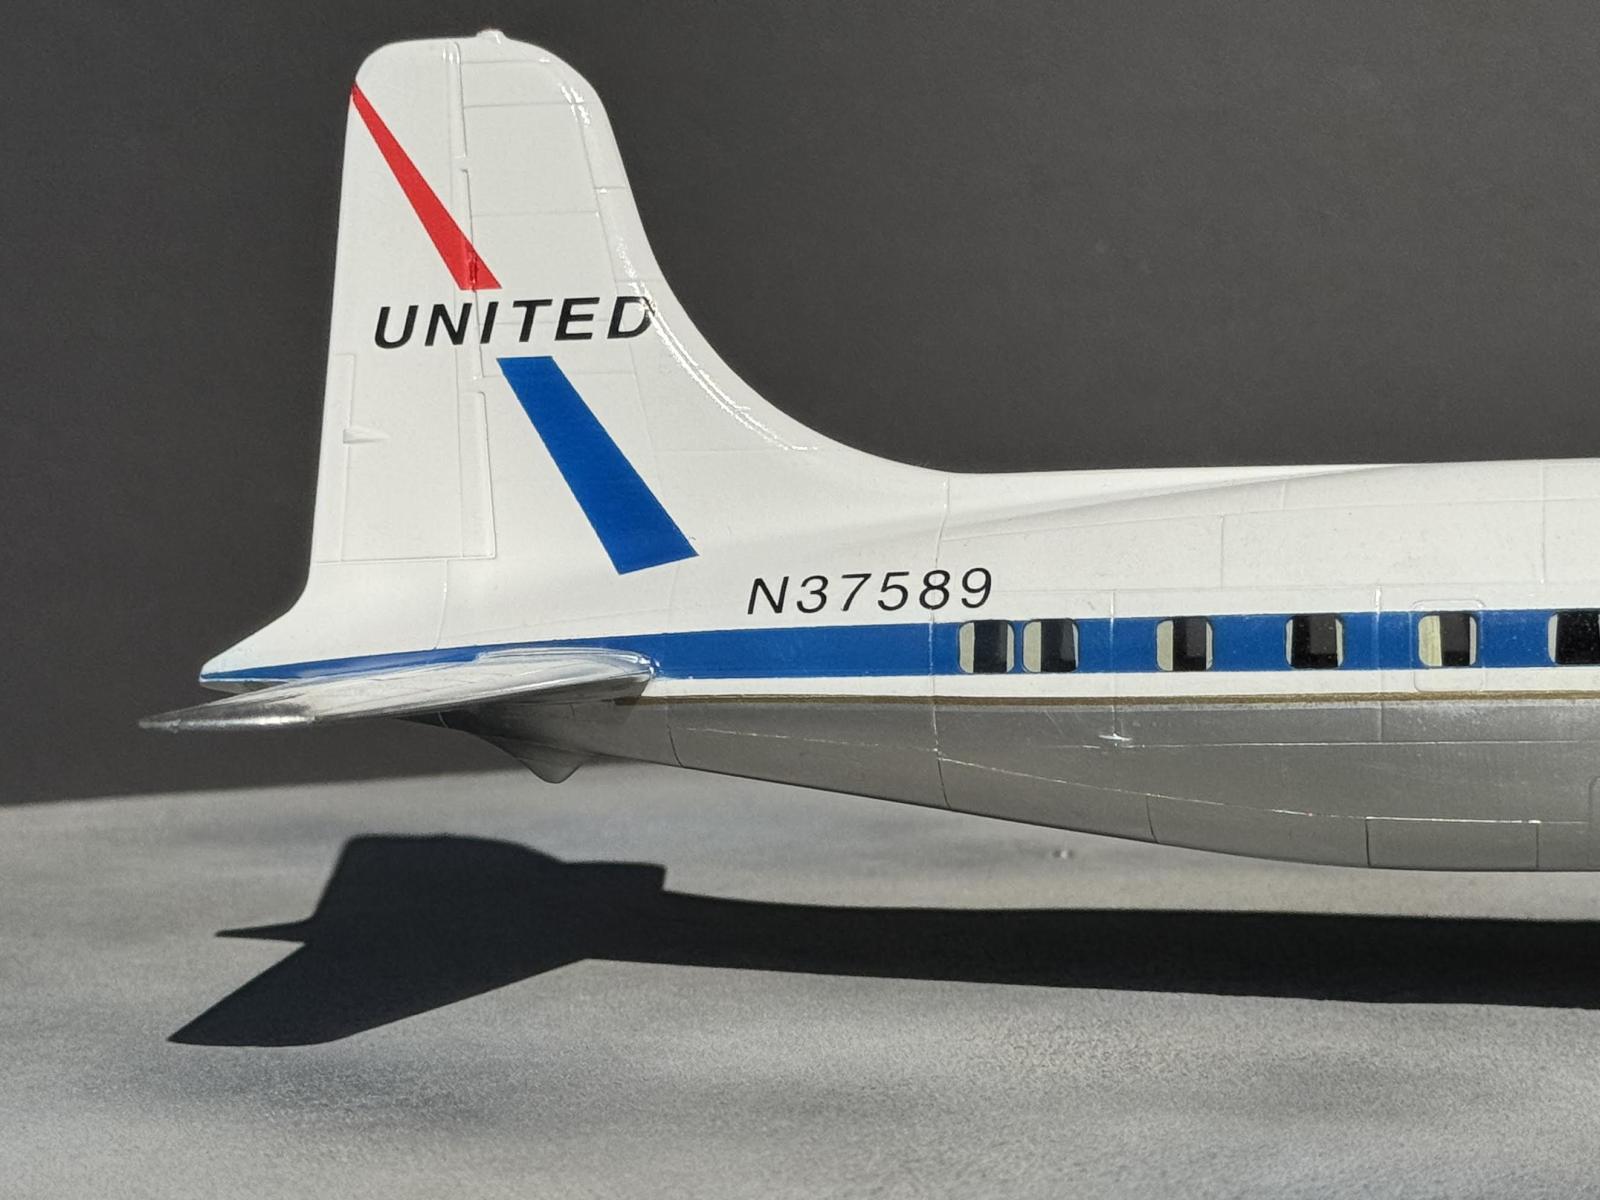
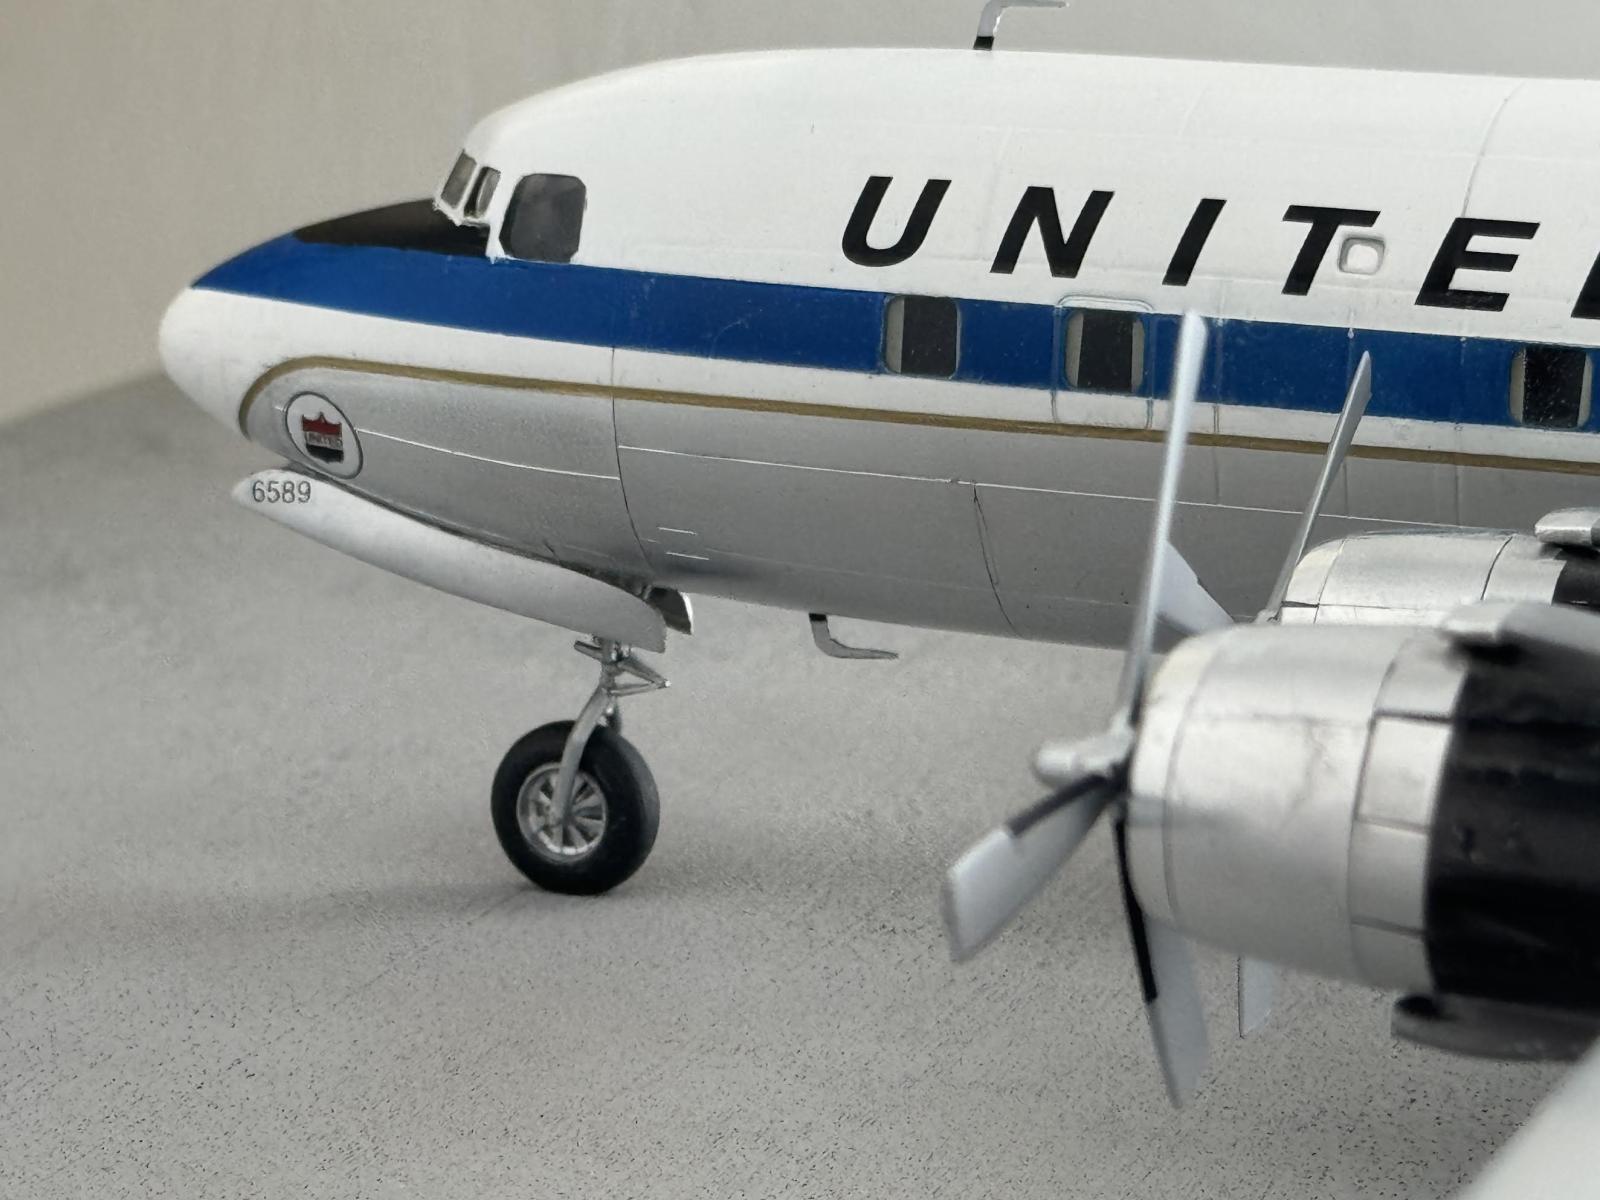
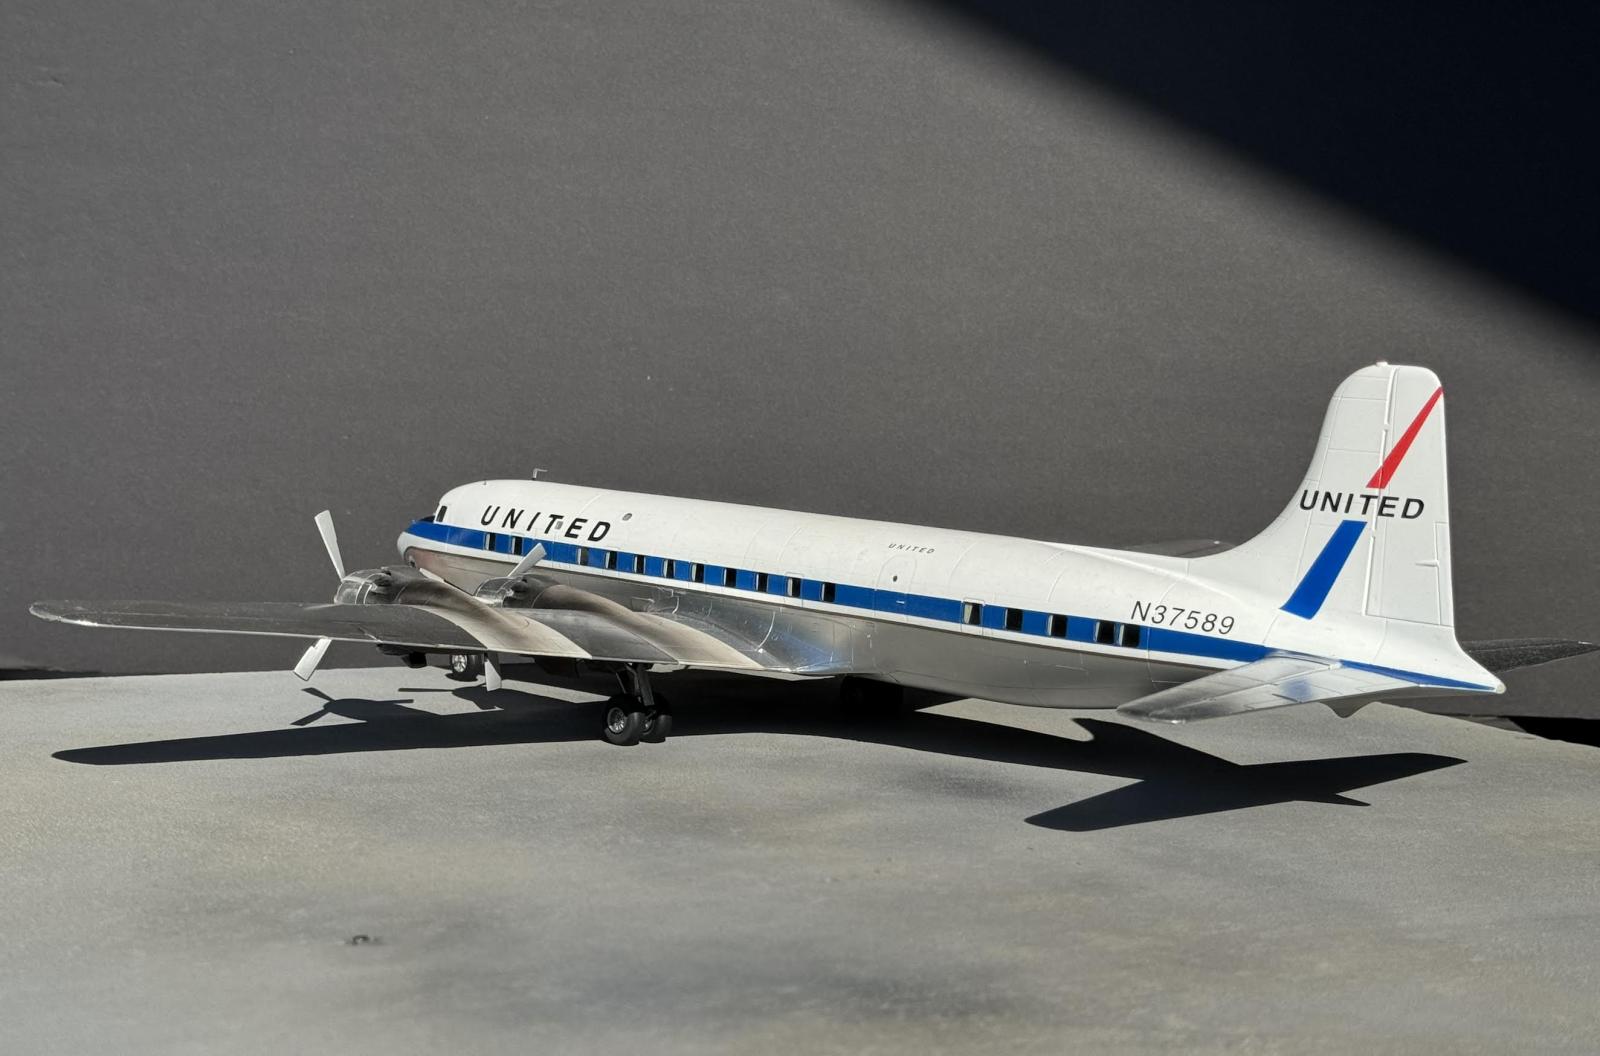
1.Used Flying Colors United decals. For some reason they decided to use a baby blue for all the stripes. Not the dark blue United is known for. And the nose shield is 30% too big. I made my own using theirs as a guide. Add to that, the font for UNITED should be bolder as well as the civil number code. And the gold stripe is too thick(Note to self, Trim the clear where it covers the aluminum). I'm not actually trashing FLYING COLORS, just doing a bit of constructive criticism. Without them I wouldn't have been able to build my UNITED DC-6.
- The fuselage halves don't have enough surface area so I added styrene strips(4 top, 4 bottom) to prevent separation while sanding.
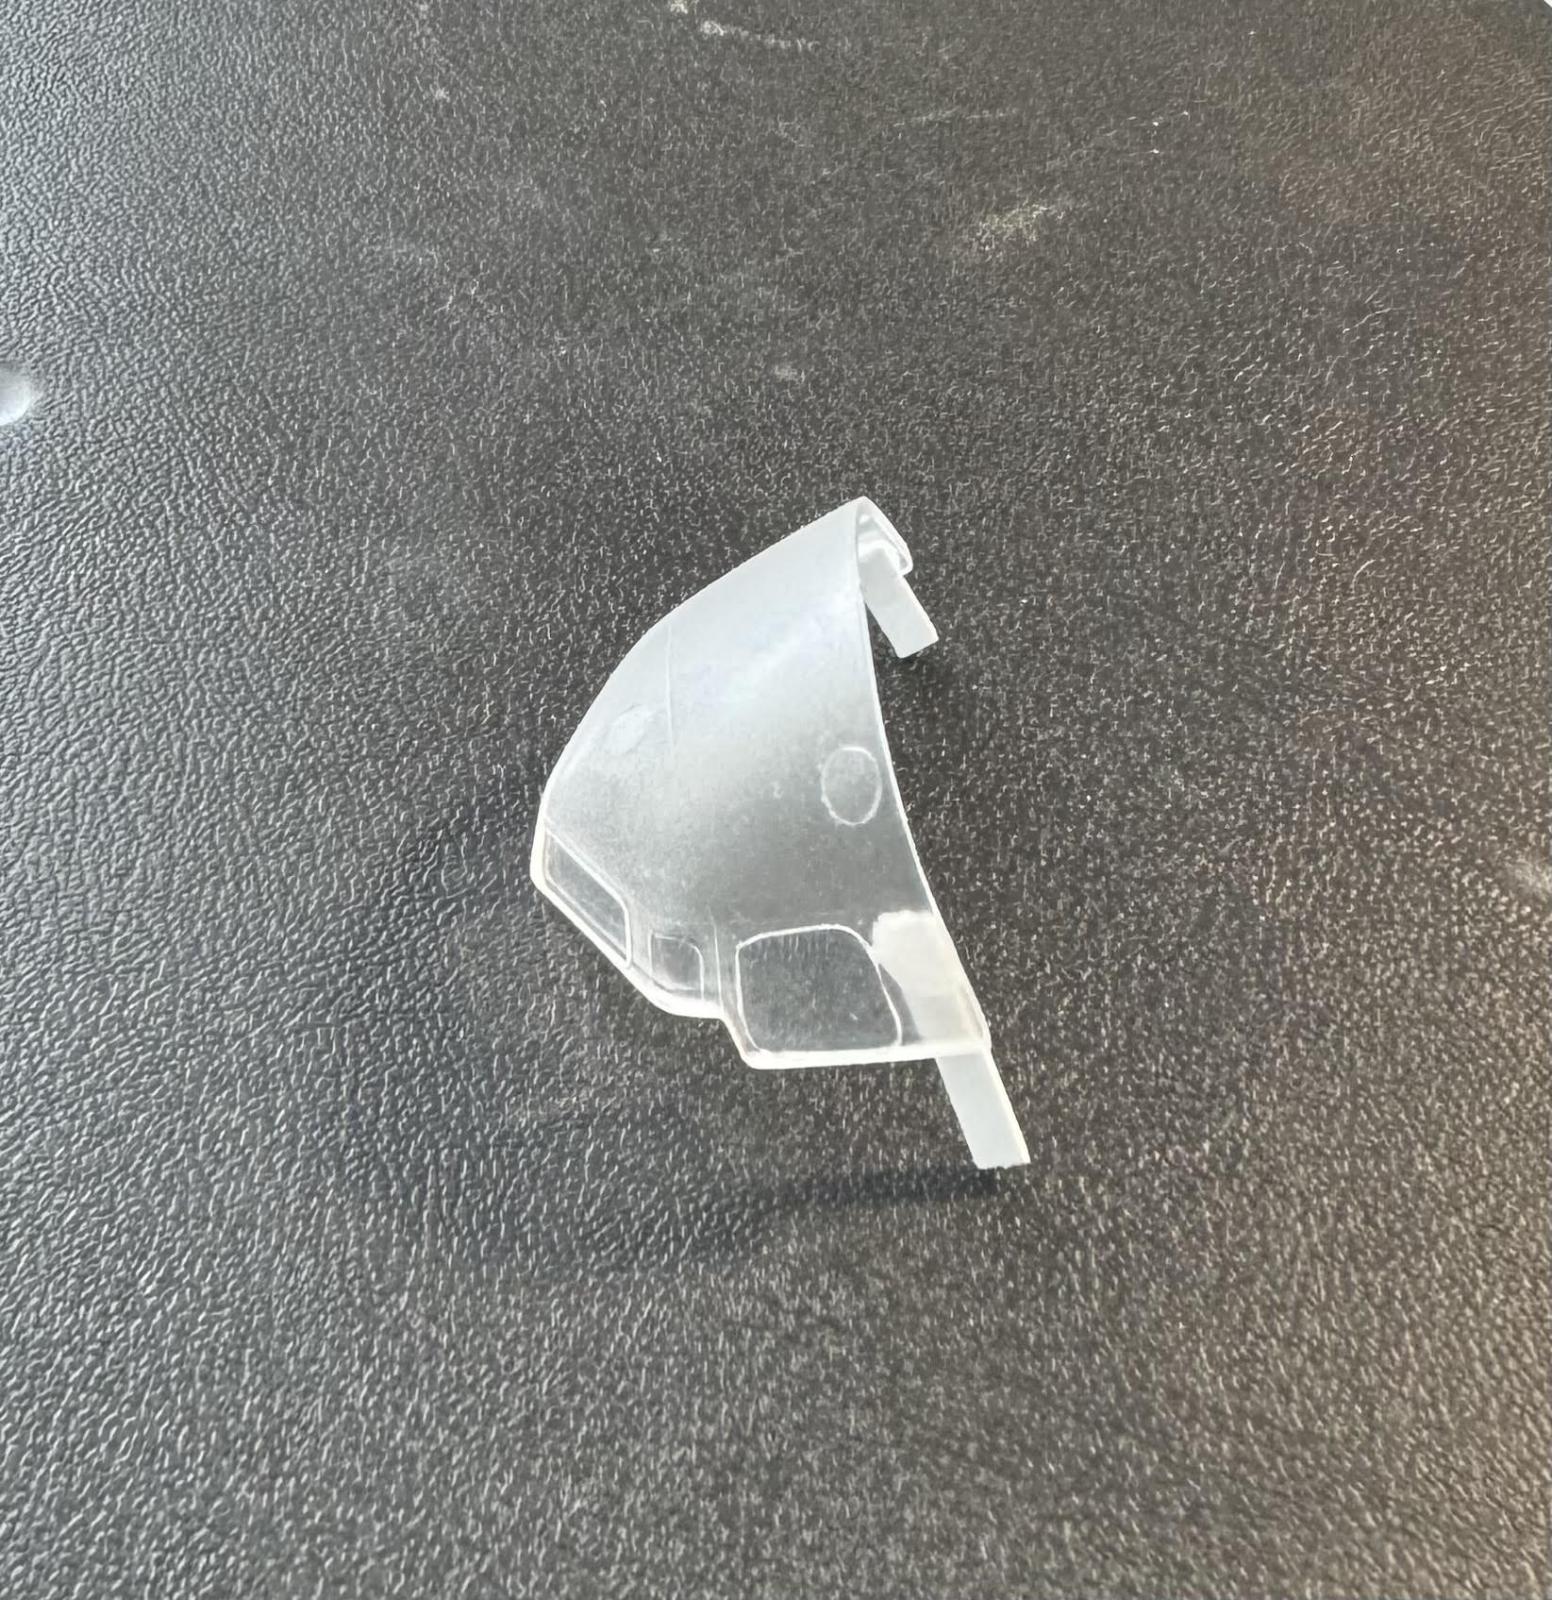
- Oh that canopy! Some windows too big, some too small. Goldilocks would not be happy:) And the fit is horrible. What helped was to add styrene strips at the rear to draw the sides in and strengthen the attachment. Worked like a charm. Still had to putty/sand/putty/sand etc until I got something close to acceptable. No show winner here. When I thought I was done with the model I realized I couldn't live with those large out-of-scale pilot windows. They looked like empty eye sockets. I was able to downsize them to a shape that wasn't haunting me. It would have been so much easier to fix this before I was finished with the model. Oh well.
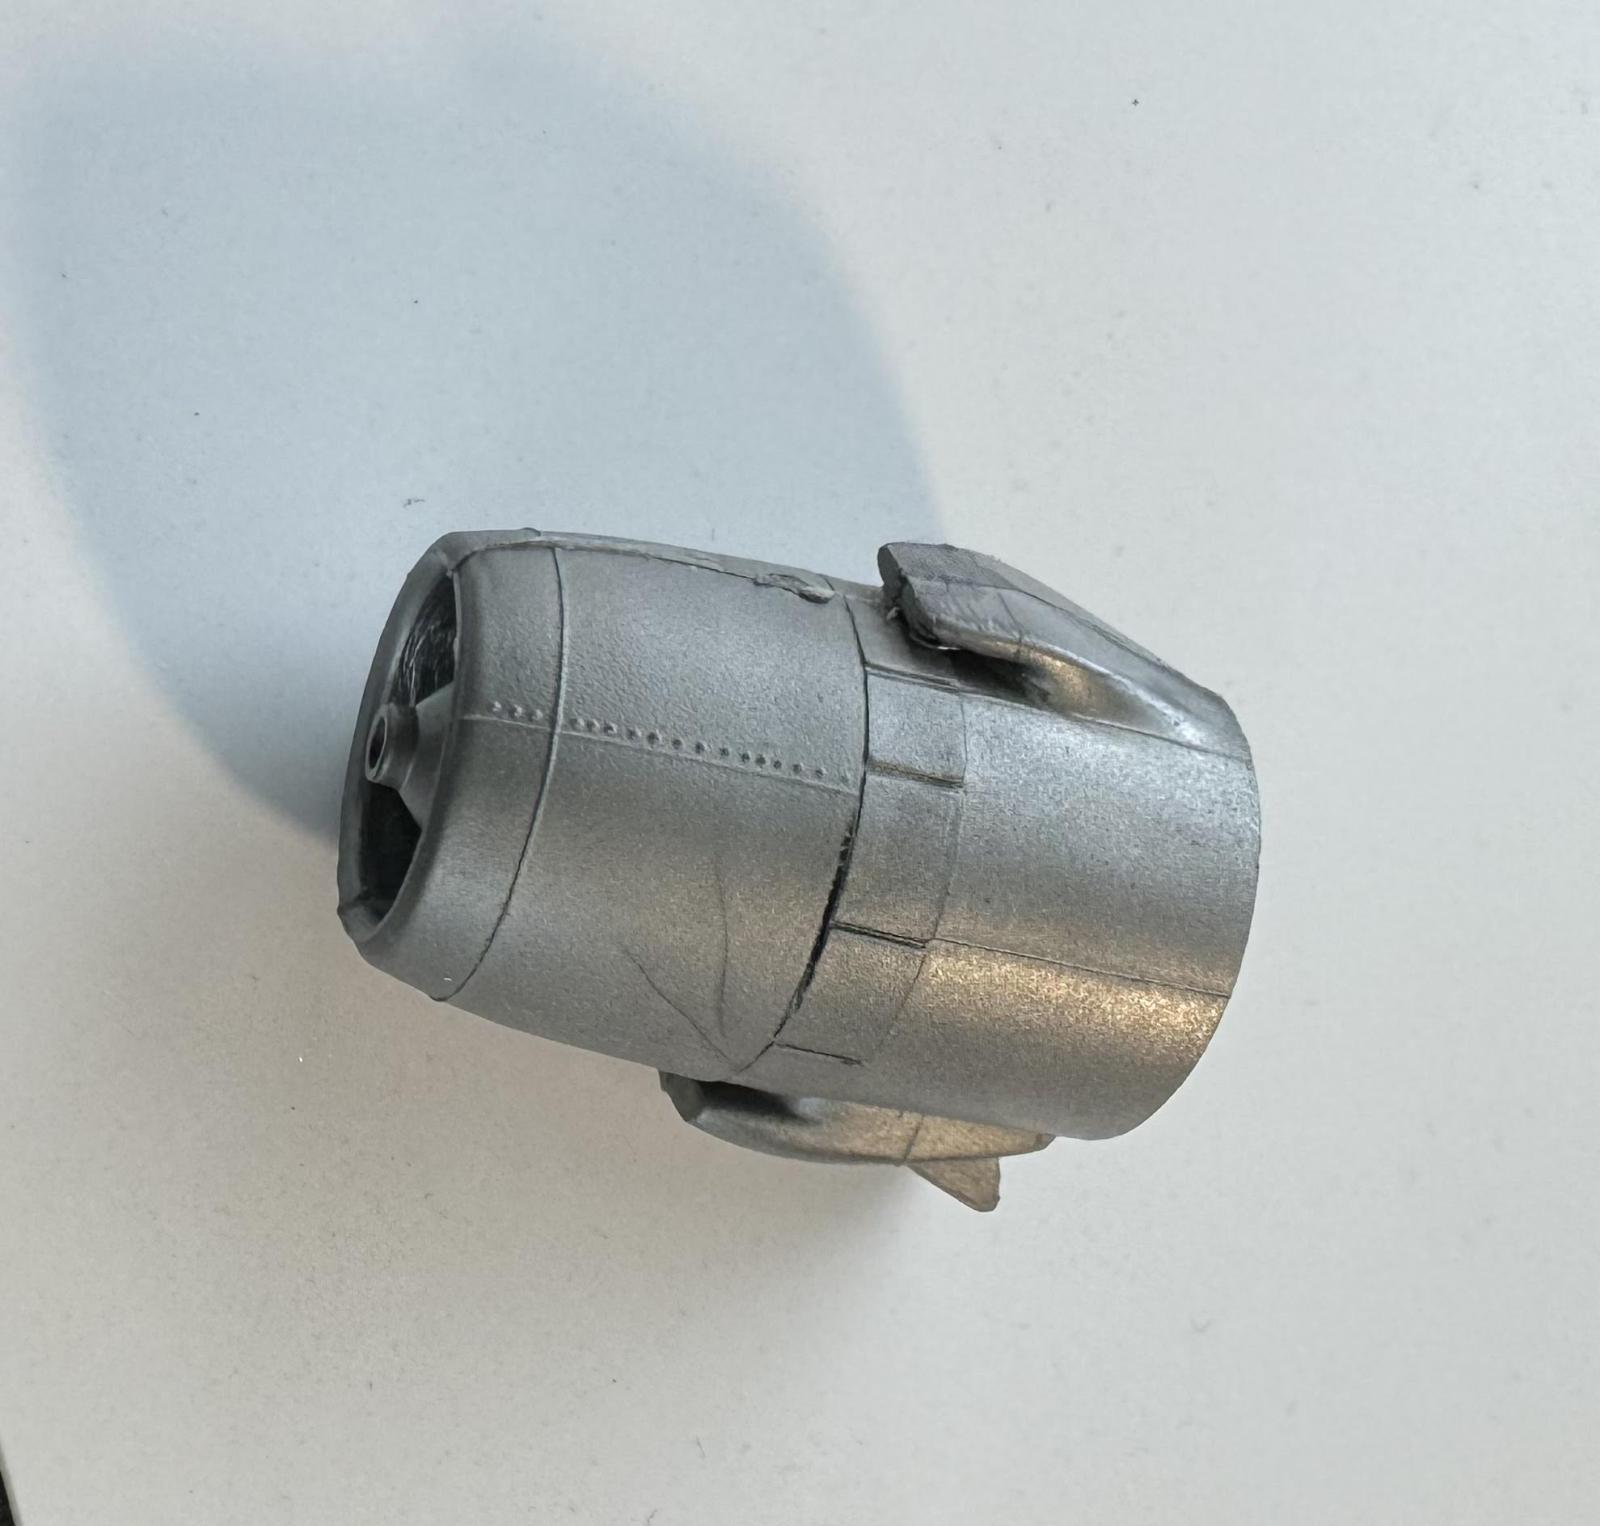
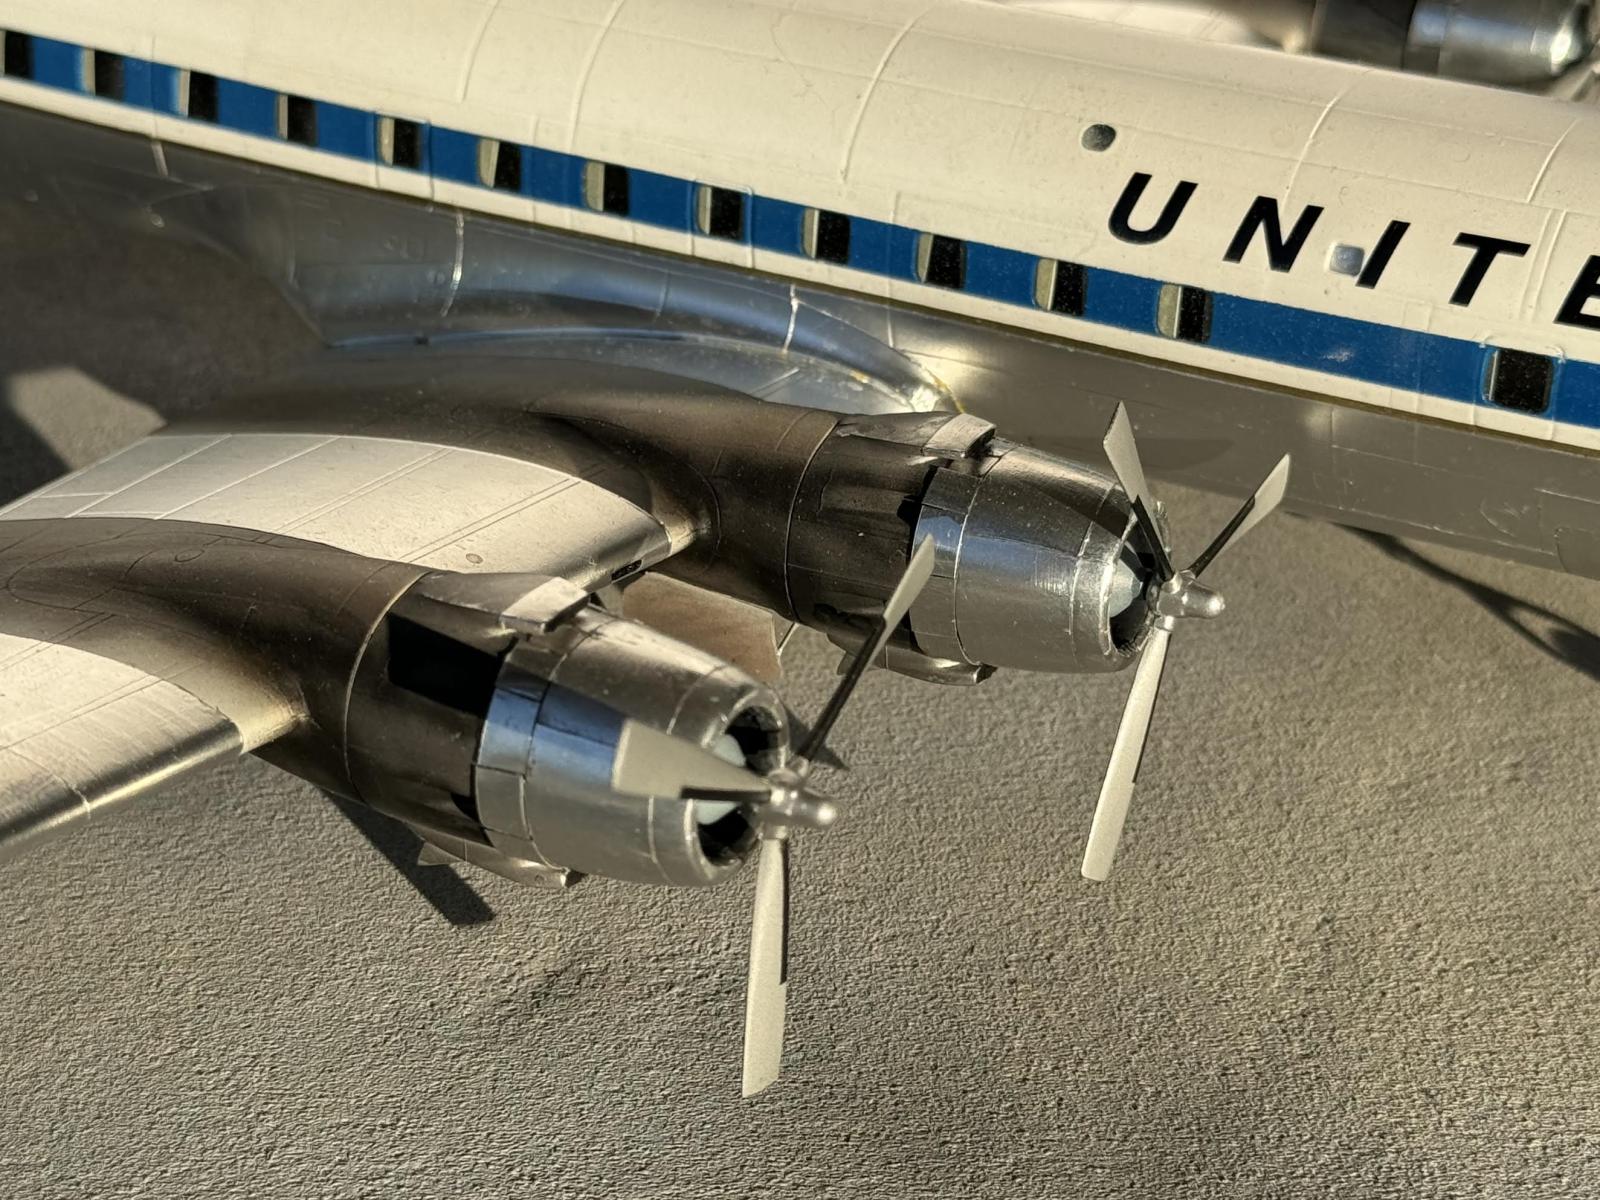
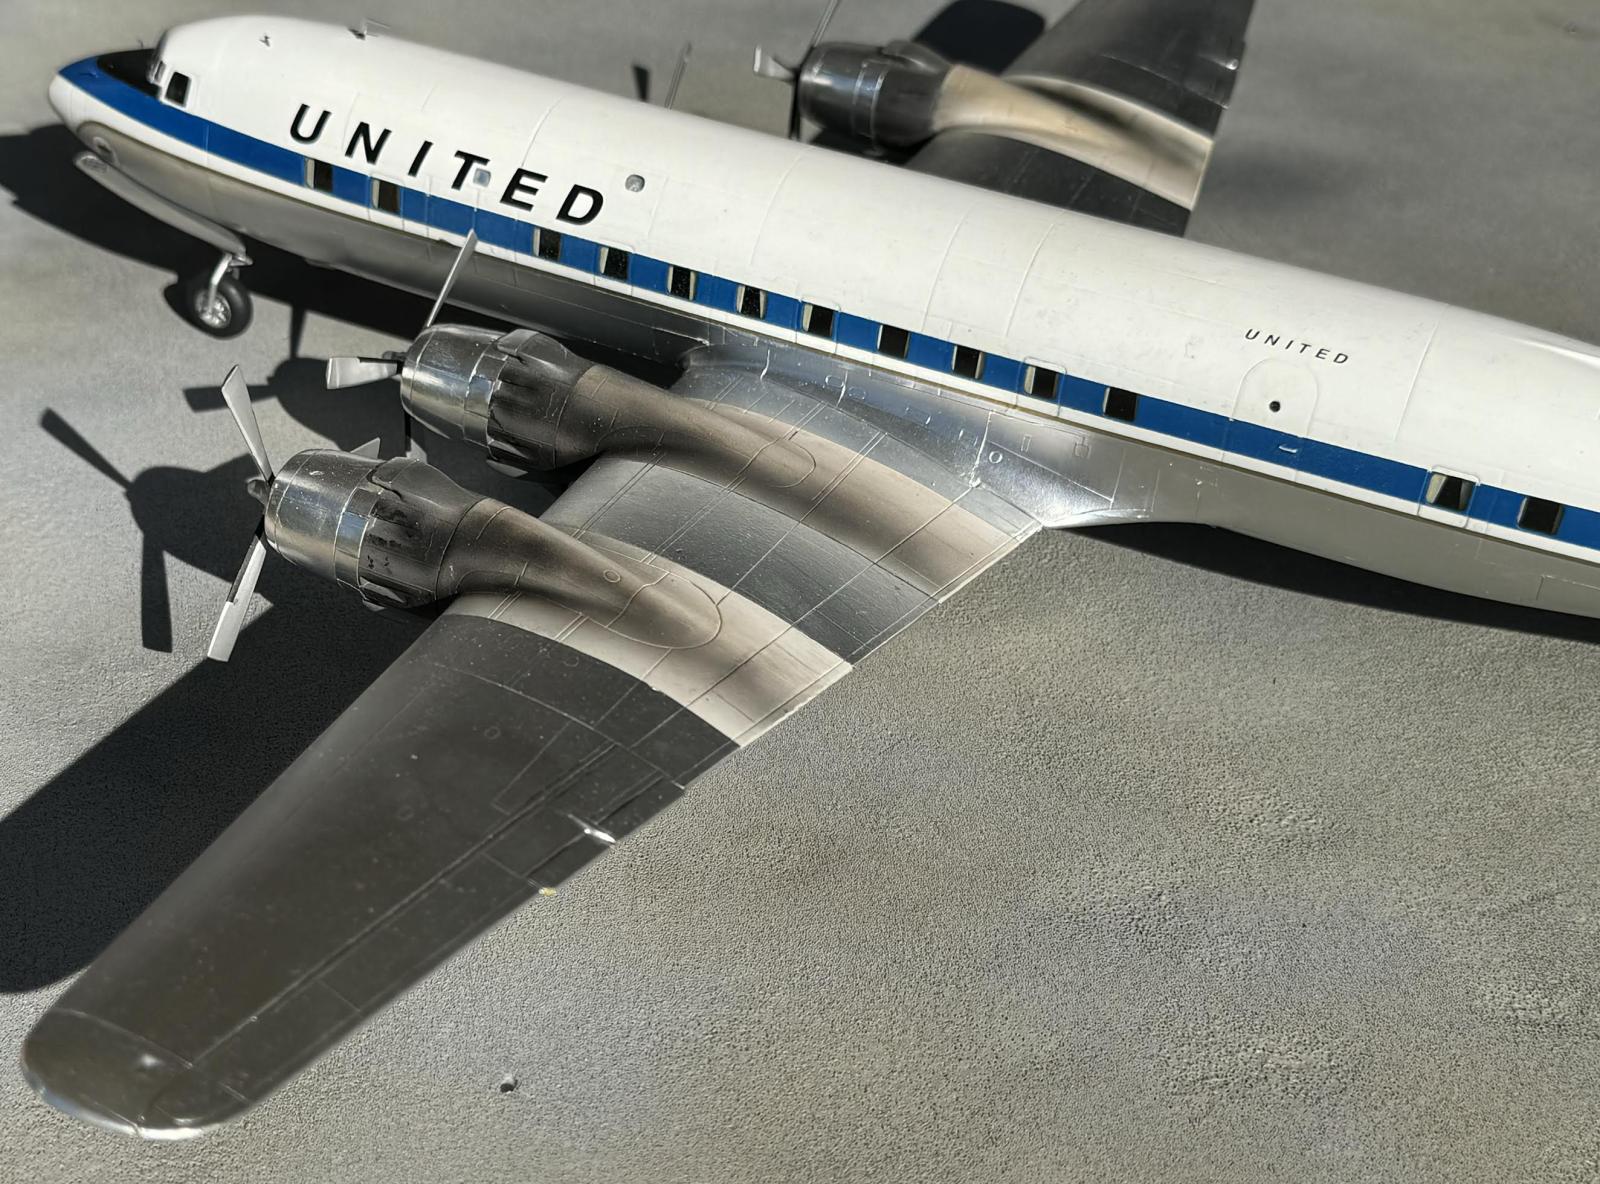
- The cowlings are another headache. Exaggerated rivets, raised panel lines and cowl flaps that look like building blocks. Sanded the areas and added cowl flaps made from tin cooking pans. Tedious but satisfying.
- Major tail sitter. I read a few reviews and it was clear. If you had enough weight to counterbalance the tail, the gear could collapse. So my solution was to add a 3mm magnet in the nose wheel. And a 1.5mm magnet in the model base. Worked like a charm. Just a heads up. If you use a 3mm in the base as well there's a chance of breaking off the nose gear when lifting off. 1.5mm is plenty.
- Wing root: I hate redoing puttied panel lines so I used a spreader inside the fuselage. Worked well.
- Gear doors: Added styrene strips to give them something to attach to. I guess Heller wanted you to draw a line of glue and smash them together. I also bent an arch into the nose gear door so it followed the contour of the fuselage.
- Passenger's windows: I've seen different approaches to this. Many just putty all the windows and use decals to represent them. Terrible idea in this scale. Looks toy like. And I wasn't gonna use the thick, distorting passenger windows the kit. I wanted to use clear plastic strips but couldn't engineer it. So I used clear decal paper from MicroMark. Far from perfect but much better than the other options.
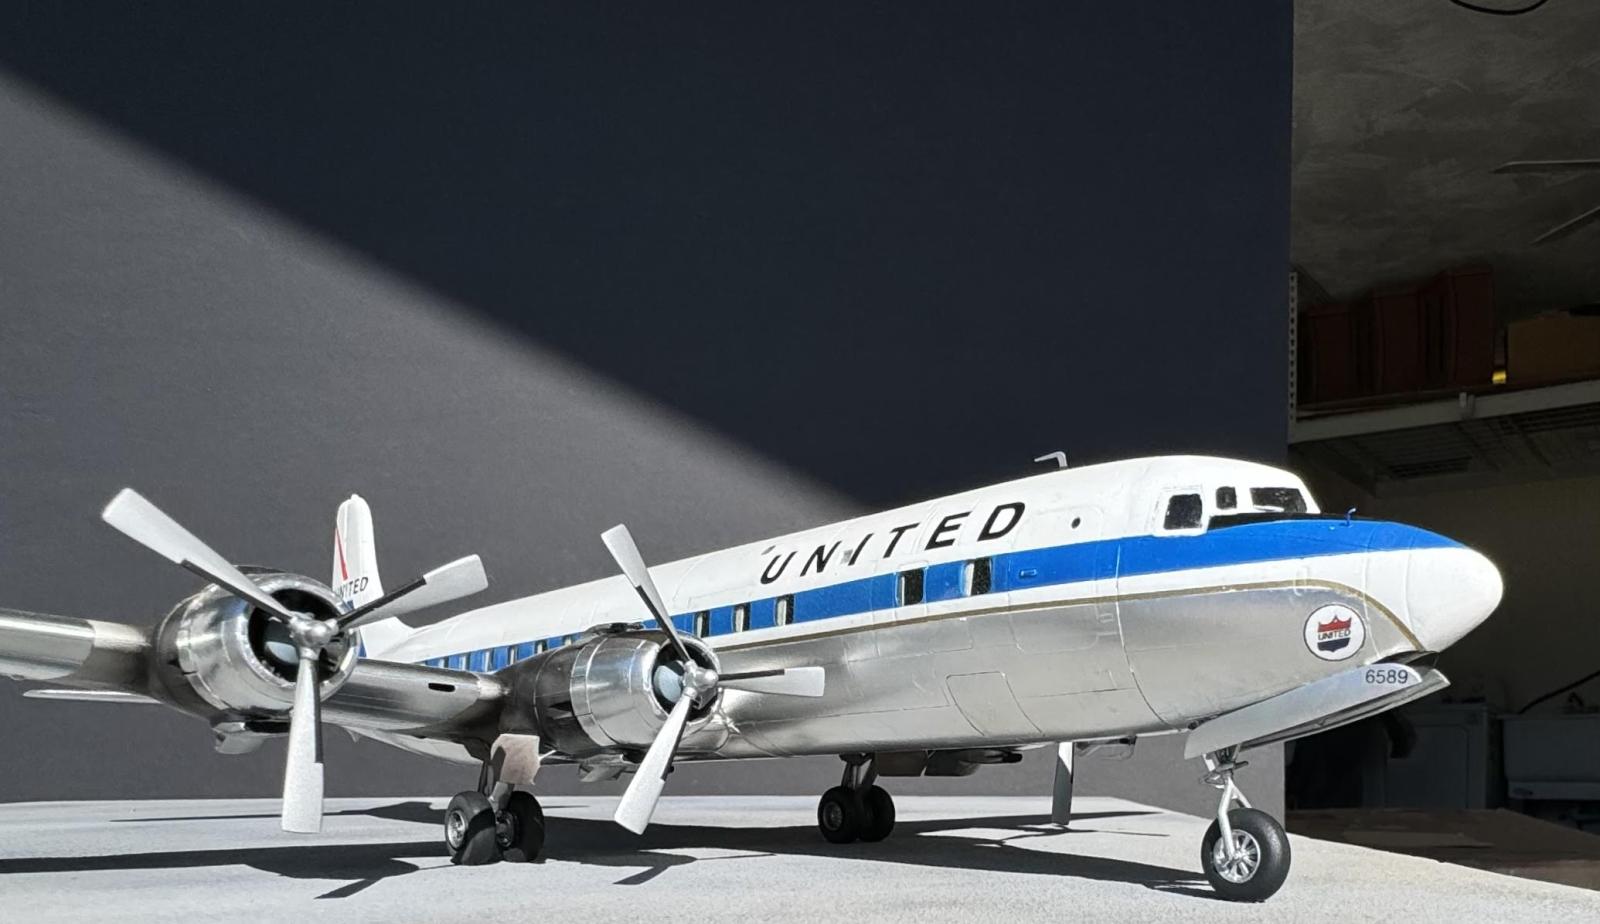
Not a perfect kit but from four feet away it looks
quite nice. What's next? What's good for a Heller hangover? Hmmm...Where's that Tamiya P-47?
Brilliant result on a legendary aircraft! Love the DC4 & DC6
Excellent work! I know the kit well, and you really made it look great.
Your post is the sort of thing I need to get motivated by to get my RCAF C-5 North Star finally finished off. I used the Heller DC-6. The C-5 was a one off hybrid assembly of some DC-4 wing bits, DC-6 engines with DC-4 props and a DC-6 fuselage- to describe it as simply as I can. Hopefully I can get the decals all done and post over my Christmas break.
Ha-Hen in Germany makes resin cowlings for anyone inspired to go down this route. Also, the DC-6 itself was a notorious tailsitter, so you frequently (always?) find them photographed with a tail brace.
This brings up an interesting story from my childhood. The father of one of the kids in my Cub Scout Den back in Denver was a pilot for United. One Saturday, he took us all out to Stapleton Field - United's main base - to see the airplanes. The mechanics had just finished an engine change on one of the DC-6s and so he announced he would take it for its test flight, and would take the 8 of us along (we were 8-9 years old). So he did. We flew down to Colorado Springs and around Pike's Peak, then up along the Front Range to Long's Peak, and then back to Denver. And during the flight, the co-pilot let each of us sit in his seat and hold the controls. So the first airplane I ever "flew" was a DC-6. And nobody said a thing about taking 8 kids on a test flight! And no parents complained when we all went home and told everybody about our big adventure. Yes, you can file this story under Things You Cannot Do Anymore. (Given those mechanics had kept B-17s,. B-24s and B-29s in the air, and our pilot had flown B-29s on 30 missions over Japan, we were in safe hands, but try telling that to a modern "helicopter parent" or a company lawyer)
One of these days, I am going to take the kit that has sat around for 26 years, for which I have Jennings Heilig's Liveries Unlimited sheet(which has the right colors and sizes), and the Ha-Hen resin cowlings, and turn it into a memorial to this memory. Thanks for the "map to the minefield" on getting from Here to There.
And very nice work on this model. It's definitely a triumph of skill and talent and persistence over plastic.
Regardless of any problems encountered, you did a great job on this Steve (@pb4yhawley). I especially like the cowlings and wings, excellent.
Fantastic job on a most challenging kit, Steve!
Excellent result on this DC6B, Steve @pb4yhawley
You did some wonderful modifications making it look really nice.
I have to admit that yours looks way better than mine.
To be honest, it is possible to prevent it from becoming a tail sitter with extra weight in the nose, just be sure to strengthen the landing gear with a metal pin inside prior to adding the weight. Mine is already standing like this for almost two years.
Nice looking build, Steve!
Heller hangover, haha good one! Anyway, your build is beautiful Steve @pb4yhawley. I like the metal finish a lot, the scheme is classic 50ies/60ies. Very elegant and smooth. What was it like flying in it, do you remember?
Nice work, Steve. Great job on the metal finish prep.
Beautiful finish and impressive attention to detail is on display here. My wife even said the same seeing my iPad open to your article as I made the coffee. I am also in charge of pie tins in our kitchen so no one will be the wiser if I borrow your idea.
Amazing work on a tough kit, it came out looking great.
Looks great!
Nicely done Steve.