F-100D…Triple Zilch
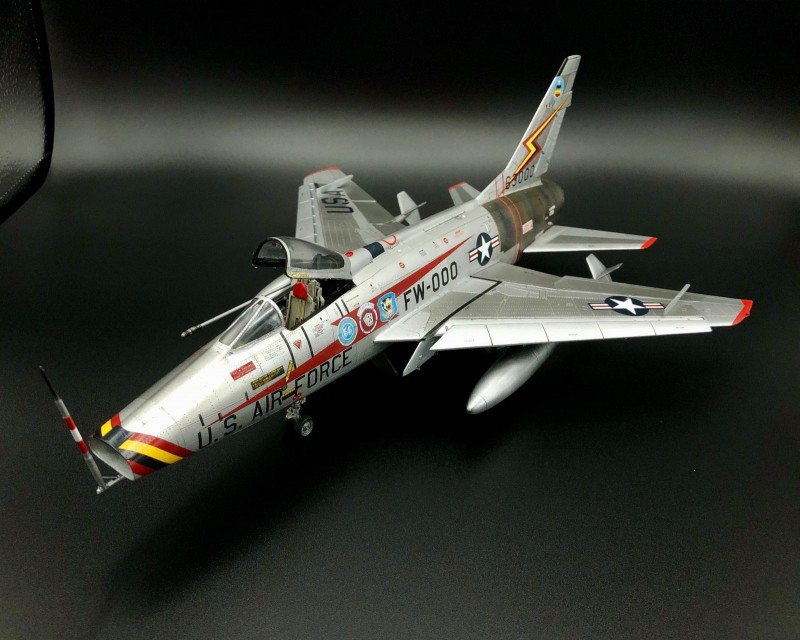
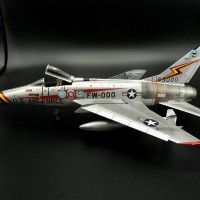
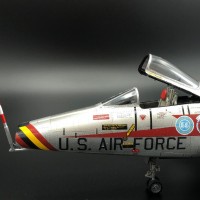
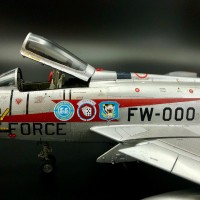
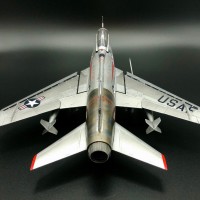
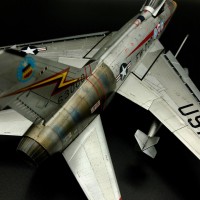
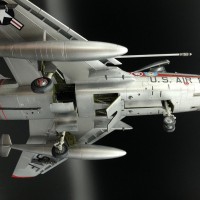
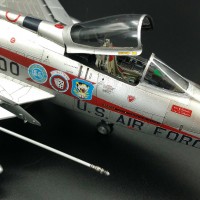
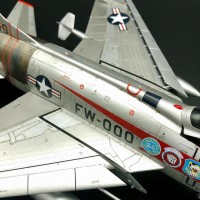
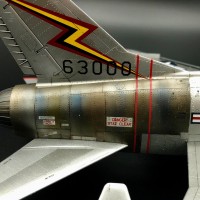
Trumpeter 1/48 F-100D, S/N 63-000, Triple Zilch. This is one of the most iconic color schemes for the Super Sabre, and I know I won't be the last to attempt it. This jet was the personal mount of USAF Col. Raymond F. Toliver, Commander of the 20TFW Wing at RAF Lakenheath in 1959. For more detailed info on the F-100 and Col Toliver, I highly recommend Tom Cleaver's write up here on iModeler for his 1/32 scale build of this same jet.
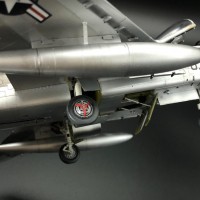
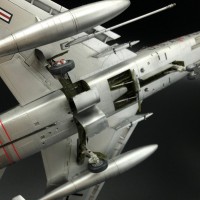
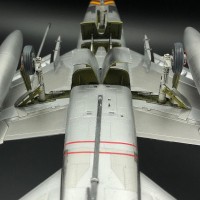
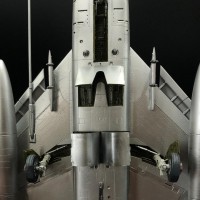
I usually build 1/48 WWII fighters so I chose the same scale so I would have a good size comparison for my other aircraft. I knew from the start that the kit had some known accuracy issues… flat shape on the bottom of the intake, shallow wheel wells in the wings, narrow main gear tires, among others. That said, I still liked its overall accuracy and detail.
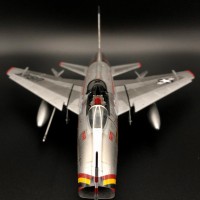
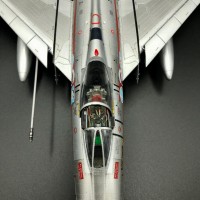
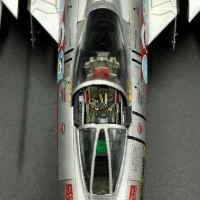
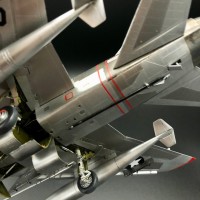
The build was fairly straightforward and I only made minor changes to the build sequence to help me with painting and detail work. The cockpit is comprised of kit, Eduard, Aires, and scratch-built pieces/parts. Since the kit had no option for the canopy to be posed open, I fixed that with scratch building and P/E parts from the Aires cockpit set. I got a very nice resin weighted wheel set from Royale Resin that looked much better than the kit wheels.
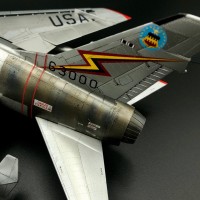
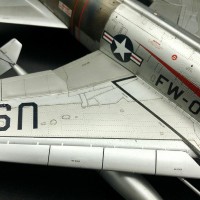
This was my first attempt at a NMF. I used the Vallejo Metallic Acrylics series from black gloss primer to colors to final gloss varnish. I REALLY liked the way they performed and the water cleanup was a snap. The basic color was aluminum with various panels picked out with duraluminum and dark aluminum. The engine hot section was painted with burnt iron, steel, dark aluminum, and titanium. This was then highlighted with rust, yellow, and blue from the Tamiya weathering sets. Decals were a mixture of kit decals, Xtradecal, and MicroScale that went down well with Micro Sol and Micro Set. Lastly, I used a light gray panel line wash to highlight details. At this point, still I didn't like the way the leading-edge slats looked because each segment was delineated by a molded panel line and didn't look real. I chose to use a razor saw and cut the gap between each slat segment. This was easy to do because the slats were already glued in place which insured, they were aligned properly. This, however, ruined the paint on the slats, and I had to sand down that area and repaint the leading edges. A bit of a pain but I think it looks much more realistic.
Like I said, this was my first venture into the world of NMF paint jobs and my hat is off to those modelers who do this on a frequent basis. The mistakes I made are numerous and they are pretty much impossible to hide or correct unlike being able to use weathering on a “regular” paint job to mask glitches. That said, think the jet still came our fairly well but I don't know if I'll go down that rabbit hole again for a while. Cheers.

Tom, that's one sharp looking F-100. Nice job!
STUNNING ! It looks great from every angle. The NMF looks very authentic.
Simply superb Tom, a real beauty!
Awesome work, sir...I love it !
Museum quality model here...a solid build, finished in a pristine NMF
Thanks, Pedro. The NMF was a first attempt and the mistakes don't show up in the photos, thank God, hahaha.
Pretty. Very, very pretty.
I like this a lot. the NMF looks good and the work on the hot section is truly great. Overall very nice looking Hun.
Thanks, Tom. It was touch and go there several times and almost ended up on the Shelf of Doom. I really like the Vallejo Metallic paints. They made doing the hot section a lot easier. I hope folks go read your write up here on your build. There is so much history wrapped up with Toliver, the Hun, and this jet in particular. I could never match your write up and didn’t try. Thanks again for the nice comment. It means a lot coming from “the Master”.
Tom, Nice work on this, You've got to love these colorful paint schemes from this era !, Your paint work looks great / very realistic. Well done !
Very nice build.
Nice! Right off the cover of L. Drendel's Century Series book.
Professional.
beautiful build
Nice, beautiful build
A real beauty! The Hun is my favorite century series jet, and you've done this one well! NMF isn't easy (I rarely attempt it) but yours came out fantastic - especially the "burned" section.
Thanks, Greg. Like I said before, the Vallejo Metallics really helped with the tonal variation of the hot section.
Fantastic Super Sabre, Tom!