Victory!
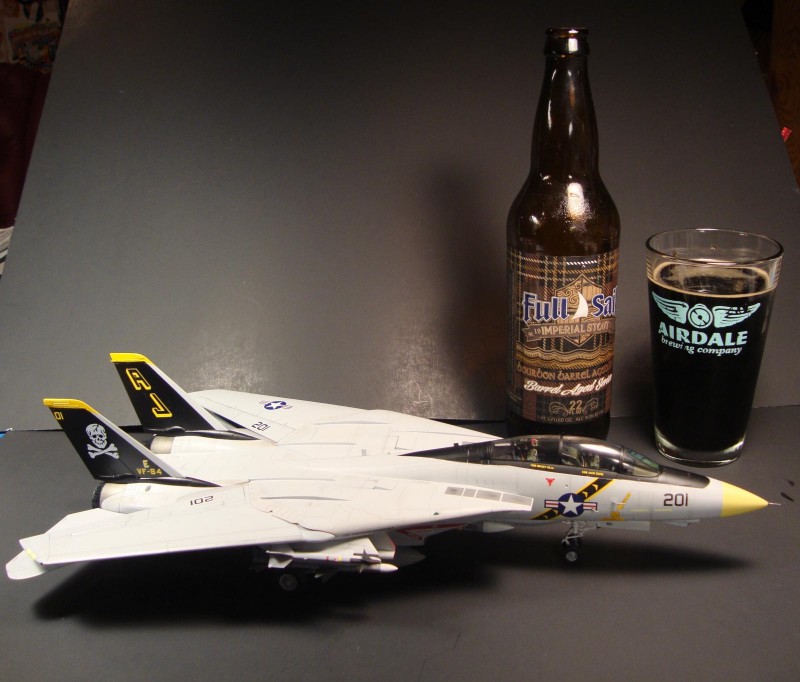
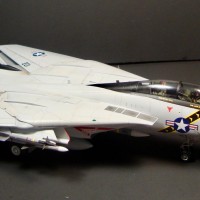
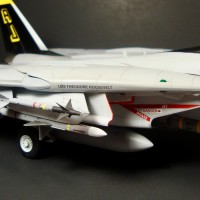
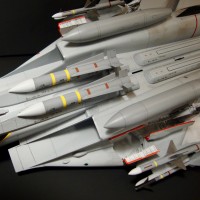
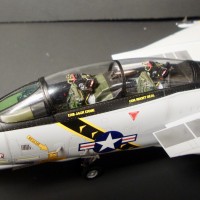
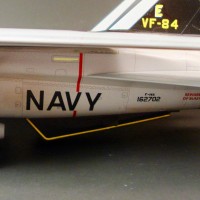
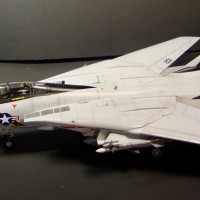
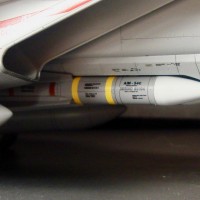
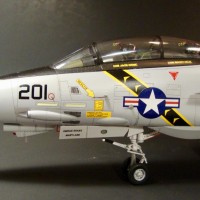
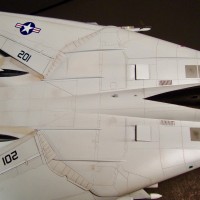
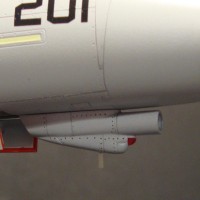
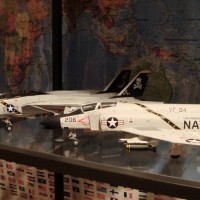
Well here she is, Victory 201 COs bird, VF-84, USS Theodore Roosevelt 1989 Maiden Voyage cruise. This is a wonderful kit, but I would say it is not one of Tamiya's shake-n-bake kits. Like their 1/32 P-51, you really need to pay attention to clean up and fit. I had one or two problems along the way, mostly I am sure to me not getting something perfectly off the sprue or cleaned up well enough. Still I used very little putty, and it went together great. As for markings, I went through various stages. I wanted to model a Tomcat I had shared the deck with when I was in one of my VAW squadrons. For those not familiar VAW squadrons with their E-2 Hawkeyes worked closely with the F-14s. In fact they shared data link so the RIO and the Hawkeye backenders could look at the same data real time, and have the E-2 vector them to targets outside of the Tomcats radar range. Anyway, first it was going to be the VF-84 modified TPS from my first cruise on NImitz, that didn't pan out as the HAD decals I bought were from about a year earlier and I needed some numbers. Ok, then I was going to do a VF-21 or VF-154 bird off Indy, I actually was quite a ways along on VF-154, even joined the VF-154 FB page, when I noticed...I had the wrong gun vents. By that time the F-14A had gone to the NACA gun vents...Ok, well lets go with VF-84 from CAG 8s first cruise on TR. Got the HAD decals everything looked great, model built...Theeennnn havoc! HAD misspelled Theodore Roosevelt on the decal sheet. They had RooseWelt . AHHHHHHHH! I tried various ways to fix it to no avail. I finally found a font that was close and printed the ships name on clear decal, looks pretty good! There are quite a few other problems with the HAD sheet, the various markings are not very clear, rescue arrows not quite right, and even though I used them the BuNo is in the wrong font. The hardest thing other than Roosewelt to fix was the stars and bars, totally the wrong color of blue, but they were an integral part of the nose stripes. I ended up cutting them out carefully and using a set from Microscale that was the same size. The decals I did use worked beautifully though. I used a combination of Quickboost and Steel Beach Accessories aftermarket for the Block 125 upgrades. The TCS pod under the nose is Quickboost, but their tail stiffeners were WAY too thick, so I used Steel Beach vinyl ones. the ECM bumps under the wings near the intakes were Steel Beach as well and came in the same Block 125 set. Eduard seats and weapons, and Wolfpack drop tanks rounded out the aftermarket. The Tamiya drop tanks are fine, but this was an area I didn't get perfect and sanded off too much detail.
Rather than re-scribing those darned ovals I just got a set from Wolfpack. Weathering was left to a minimum, as the CAG and Skippers birds in Gloss Gull Grey were kept pretty clean. Pictures do show some corrosion work with panel touch ups, and birds just get dirty on deck in general. A note on the GGG finish, it dulls down almost immediately at sea. After an aircraft wash it will be all bright and shiny, but the salt air and filth of the flight deck environment makes it look matte fairly soon after a wash job. The radome is not as yellow as the photos show, I tried toning it down in apple "photos" but it shifted the other colors too far, so I left it. So here it is, with an Oregon Brewed Imperial Stout my daughter brought me back from Portland recently 9.5 abv should be drank AFTER you are done building! Cheers!
Whew - a real beauty! That's hilarious (though frustrating) about the RooseWelt spelling! Guess we're all human after all...
Well done!
LOL its on the artwork for decal placement that way also, had I looked closely enough I might have noticed it before I bought the sheet!
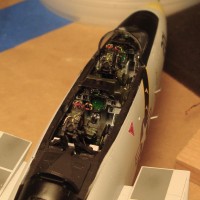
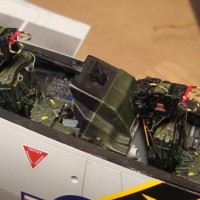
This office space in the cockpit is extremely well done, a very nice build, Rob!
Good lookin' build, Rob...and that cockpit IS very well done - great job.
Thanks guys!
Fantastic build, Rob! Nicely done, looks great next to the VF-84 Phantom.
Nice work rob. Looks great. Liked button pushed. I bet that bottle of stout hit the spot. Well deserved mate.
Great work, Rob!
One could say you have been HAD.
Really nice looking model. Almost feel tempted to trade in my stash to buy a few of Tamiya´s and Eduard´s latest models. Life is too short to mess around with c**p models.
Well, I don't know about that. I love my old Monogram kits more than these wonder kits. I mean they are great, but the simplicity of a classic kit is much more relaxing to me. I have a great deal of stress about not screwing up a $100 kit!
Rob, about a week ago,I commented on a Tomcat that was the best I’d ever seen. Yours is a masterpiece and in that realm. The cockpit alone is a work of art. Better is the fact that you have real experience around these birds. Excellent job my friend.
Rob … this one is a very well deserved model of a VF-84 TOMCAT. Your building is sharp and clean, one for the exhibition show. Your work and dedication on the cockpit is just awesome … nice work, thanks for sharing the images.
Beautiful work, I love that cockpit.
Thanks again folks!
Fantastic build Rob, love the finish, and the cockpit of course.
Stunning Rob - that's a well earned stout! Great inside - very clean outside - beautiful painting!
Of course I just realized...I missed something...can you see it? Easy fix! I have to go "back" and fix it. In pirate speak..dead men tell no "tails" . Didn't paint the red and green tail lights