1/48th Hawker Tempest Mk. V, by Eduard
Hi all.
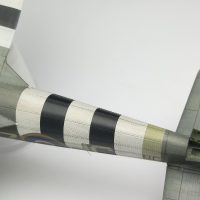
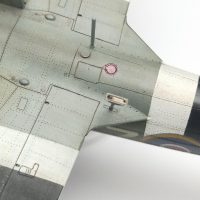
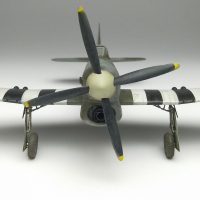
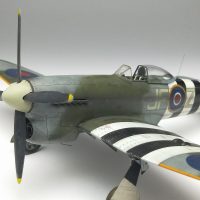
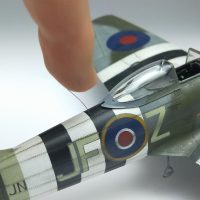
I've just finished up the very nice 1/48th Eduard Tempest. This there series two boxing that corrected the short comings of the main gear. I've added some extra resin into it by way of the spinner, exhausts, controls surfaces (sans rudder) and wheels; all from Barracuda. The main gear legs and doors are from the Eduard Brassin set and the kit etch was used in the cockpit. I opted for the raised plastic IP and decals as the etch item was a far 2D; perhaps okay in 72nd scale kit but not in a 48th scale kit. The radiator flap has been cut out and fabricated from a thinner material and posed open. The rear aerial is from stainless steel wire.
Only two things slightly annoyed me. Firstly was the raised rivets down the seam line. It's near impossible to retain when cleaning the top and bottom seam without annihilating them. I reinstated mine with a rivet wheel, it ended up looking not half bad. And secondly is the seam through the middle of the flap on the underside of the wing. I've no idea why it was place in this location as it goes right through the beautiful rivet details that festoons the kit. No doubt a reason for going the AM route of the flap and flap well courtesy of Eduard! Nice marketing.
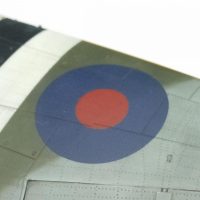
The main paints are Mr Color with LOTS of oils and water colours sitting on top of them. It's also a first for my new Cameo cutter. I've used it create the paint mask for the upper and lower wing roundels, the fuselage roundels and codes and the fin flash. The benefits of making the paint masks is you can brew up your own colours for the paints. I'll be using it a lot more for future projects.
Cheers,
Mick
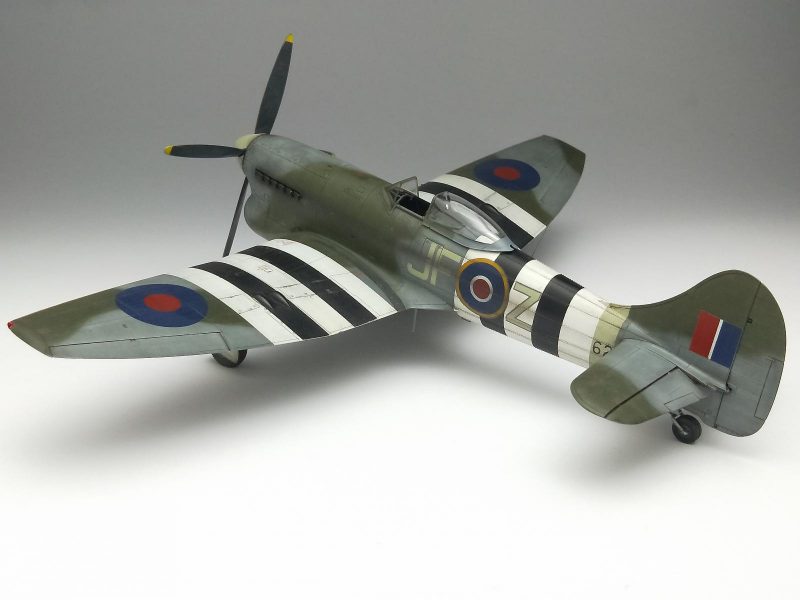
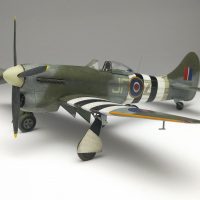
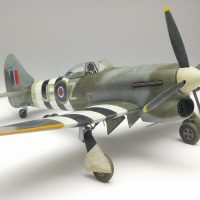
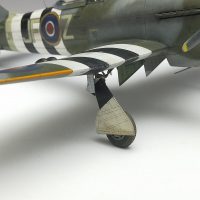
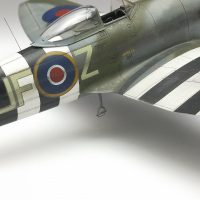
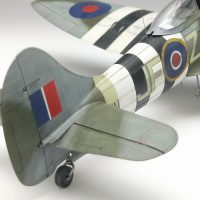
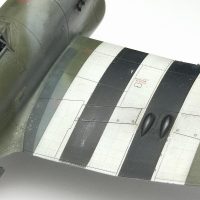
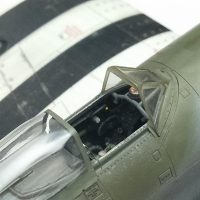
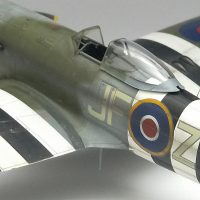
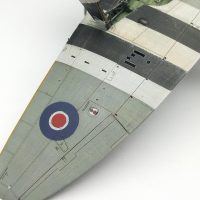
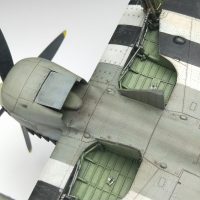
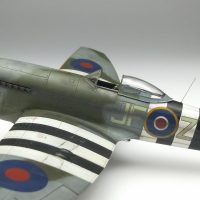
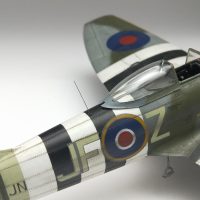
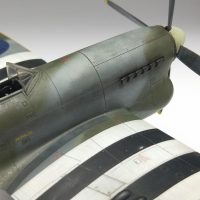
This is a wonderful Tempest, Michael @mickdrover , not only in terms of building, but also painting and weathering.
I love all those "extras" you used, the add up a lot to the final result!
I agree about the 2D posture of many PE parts, that's why I many times use their plastic equivalents, if they are passable. Only problem is that in some cases (Fonderie Miniature Griffon, for example), crucial "3D" parts were provided only as PEs.
Your weathering is dramatic and looks absolutely stunning: a real workhorse of a Tempest it looks!
Well done!
Thanks Spiros. There was a lot of extra effort that went into the finish of it. I look at it again and see where I can add even more detail. I'll let it sit for a month and perhaps revisit it!
The Quinta 3D decals are showing a lot of promise when it comes to raised detail. Some mates have bought a few of their sets and have commented favourably about them.
Nicely done!
Thanks Martin.
A great looking Tempest, Michael.
With this painting and weathering makes it look like this Tempest has flown several missions.
Very nicely done.
Thanks John. Sadly the photos don't do it justice. I'm really happy with the way it turned out though
Skillful level of build and paint leading to super-high level of realism. Awesome, Michael.
Thanks Bob!
Very nice work on this.
Thanks Dale.
Very impressive finish Mick @mickdrover. Liked!
Thanks James.
Nice work and a great result. "Liked."
As to the seam through the flaps, which puzzled me when I did my model(s), I think it might have to do with the thinness of the wing and the desire for a "knife edge" trailing edge, and molding technology - not possible to get the plastic that thin and still controllable with current technology. This was a fairly common thing with Hasegawa kits in the 70s/80s.
G'day Tom. Glad to hear you like it!
I understand your point regarding the trailing edge. I think Eduard could have moved the seam line to the hinge of the flap rather than placing smack bang through the middle of that lovely rivet detail. By doing that it would have preserved the thin trailing edge and the rivet detail.
If I built the kit again I'd certainly get the etch flap set for it.
The Tempest really is a good looking plane, and yours looks fantastic, definitely liked.
Nice work, Michael.
The paint and weathering work on this are simply fantastic. Very realistic - one of the most realistic I've seen in a while.