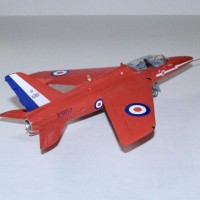
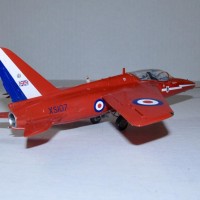
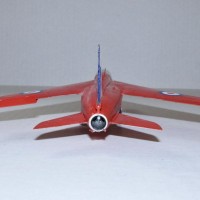
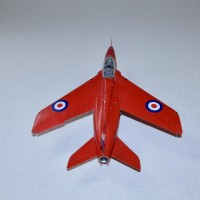
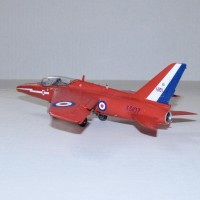
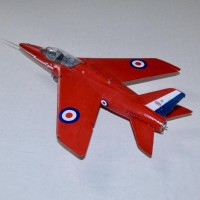
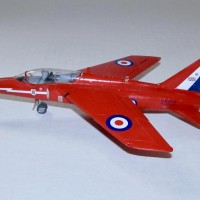
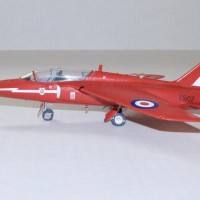
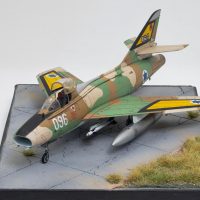
1/48 Red Arrows Airfix Gnat
INTRODUCTION
The Plane
The Folland Gnat was a reactionary byproduct of the sophisticated, bigger, faster, heavier and powerful mantra that dominated the aircraft industry in the beginning of the jet age. W.E.W. "Teddy" Petter, the designer of the Lightning, rebelled against that trend and designed a cheap lighter fighter jet that could defend UK airspace.
Originally, the Gnat was to be similar to the Me-163 Komet, a little rocket point defense fighter. That idea didn't work out as rocket powered fighters proved to be an aviation dead end so Teddy opted for conventional jet engines instead which were becoming more compact at the time.
Work progressed on the lightweight fighter till 1957.when most UK aviation projects died a quick death after the infamously naive Defense White Paper proclaimed manned aircraft obsolete and missiles the wave of the future. Luckily for Folland, both the RAF and the Indian AF found what they were looking for in the Gnat. The RAF wanted a simple jet trainer that could train their “obsolete” pilots a lot cheaper than trainer versions of the complex and expensive jets they were flying in service. The Indian government wanted to build up their aviation industry on the cheap by acquiring the license to build the Gnat for their AF.
The two seat T1 Gnat became famous as the mount of various RAF acrobatic teams, but more famously with the Red Arrows who flew them till 1979 when they were replaced by the BAE Hawk. It also gained post retirement fame as the Oscar EW-5894 Fallus Tactical Fighter Bomber in the 1991 Top Gun parody Hot Shots.
The Red Arrows
Originally the RAF had no separate permanent acrobatic team. Over the first 44 years of the RAF there were several teams formed from official squadrons using the latest and greatest in the RAF's inventory. By 1964, RAF officialdom decreed that there would be only ONE team and it would be organized by the Central Flying School not Fighter Command so that Fighter Command could keep its focus on actual operations rather than impressing civilians formation flying.
In 1965, the Red Arrows were formed. The name originates from the color of the CFS (red naturally) and the Arrows (named after the first official demonstration team from 1956, the Black Arrows.) The aircraft they flew was the Folland Gnat T.1 all the way up till 1979 when they were replaced by the BAE Hawk trainer which they have flown ever since.
THE KIT
Airfix and Matchbox both produced Folland Gnat T.1 kits in 1/72 scale. The Airfix kit was first released in 1964 while the Matchbox kit was released in 1972. Both kits were reasonably accurate for the time and have limited cockpit details but were pretty much the only mainstream kits of the type for more than 40 years. In 1/48 scale, Aeroclub and other limited run manufacturers produced kits of varying success.
When Hornby bought Airfix in 2006, they opted to do something unthinkable by Airfix's previous management which was to revamp existing kits and produce new kits with a British focus instead of doing basically nothing. It was no surprise that the new Airfix released a new tool 1/72 kit of the Gnat T.1 in 2012. They followed that up in 2014 with a Gnat T.1 kit in 1/48 scale in training colors. Later, they released the Red Arrows special edition complete with markings for two different Red Arrows (one from the 1977 season and the other from 1979 which was the last time the Red Arrows flew the Gnat.)
CONSTRUCTION
I started the construction not using the instructions because that would be silly as real modellers don't need instructions. The actual reason I opted to build things my way was due make painting easier not because I have to be different or have issues with authority (okay I do, but that's not the point.)
The cockpit was painted using Tamiya Sky Grey and assembled as per instructions. The intakes were painted and added next. There are some places with obvious ejection marks, but I didn't deal with them as they are deep in the intake parts and only noticeable unless you jam a fibre optic scope down the intake.
The exhaust tube was painted using Vallejo Metal Color Burnt Exhaust and then glued it in place. Had some issues removing it from the sprue as I damaged part of the exhaust tube that sticks out. I ended up using a big file to smooth down the exhaust tube, but it also meant that the tube sticks out a little bit less than it is supposed to.
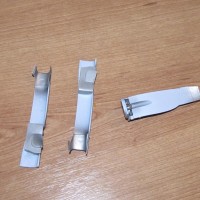
I wanted to use CMK's resin gear wells. They were washed and dried before test fitting. I had to trim part of the second cockpit's instrument panel and part of the cockpit floor to ensure that the nose wheel well would fit without problems. The plastic areas where the main wheel wells would be located were sanded down and then the resin parts were glued in with CA glue. They were painted using Badger Stynylrez black primer and then sprayed Vallejo Metal Color Silver.
The fuselage was glued together using CA glue on the visible seams and Tamiya extra thin elsewhere. The seams were carefully sanded smooth using multiple grades of sandpaper and then polished using various grades of polishing cloths (1800-3200). I painted the intakes (silver) and the area around the intakes first before installing them. There were seams at the join between the intake and fuselage that needed to be filled. Those seams were filled with Vallejo plastic putty and the excess removed with damp Q-tips.
Lastly the wing sub assembly was glued together, seams filled and sanded and the whole assembly was glued to the fuselage. I had some issues with things getting to fit in the area near the intakes as I found I had a step and a gap. It took some patient filling/sanding to deal with both those issues. Afterwards, I had to rescribe some of the lost detail and polish it reasonably smooth before painting. The last thing I added were the flaps which I positioned in neutral position. Airfix gives you the option of neutral or down flaps and it wasn't hard to do unlike say a Trumpeter/Hobby Boss kit among others.
COLORS AND MARKINGS
Painting
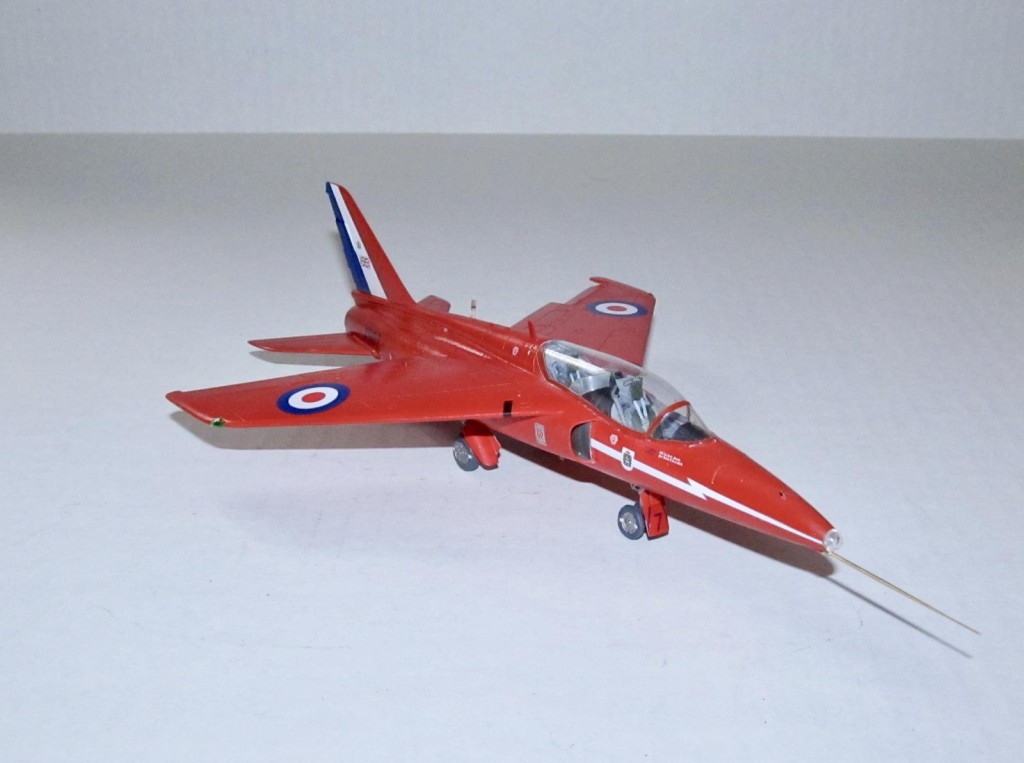
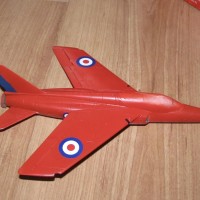
To improve ease of masking around the intakes, I had to prepaint the fuselage areas around the intakes Tamiya flat white then sprayed on Xtracrylix Signal Red after the flat white dried. However, I found that that Xtracrylix Signal Red is not red enough for my liking (too orange) so I ended up having to buy some Model Master Acrylic Italian Red. Kind of like the Goldilocks porridge choice as Italian Red seemed just right to me. Italian Red is in between a deep red like Tamiya Red, but not a orangey red like Xtracrylix Signal Red.
I continued painting after I glued the intake pieces onto the fuselage and worked on the seams.
I masked off the cockpit, landing gear wells, engine and intakes with kabuki and painters tape before I started to spray the remaining portion of the model. I misted on a couple of light coats of Tamiya Flat white as a primer/base. Had some issues with the paint as the coat came out grainy. Needed a session polishing off the grains of paint and smooth out the coat.
The canopy was also masked off but painted Sky Grey first before spraying on the flat white. I started to do this especially for less opaque colors like Red/Yellow/White/Blue when I noticed a slight color difference between the canopy color and fuselage on previous model builds.
Sprayed on Model Master Acrylic Italian Red in thin coats. It works well with Tamiya as a primer/base with minimal drying/curing time and no reaction unlike Gunze. I needed to touch up the red in a few places after I polished the paint coat as smooth as I could thanks to misting on too little paint in those areas.
Once it was dry, I sprayed on a thin coat of Tamiya gloss as prep for the decals.
Decals and Final Coat
I selected the decals of a plane from the 1977 season. Most of the decals went on quickly as there weren't a lot of stencils for the Gnat. However, when I put on the portside tail flash it was then I saw there was a problem as the flash decal didn't settle down well with repeated applications of Solvaset. The blue portion of the decal cracked over the surface of the rudder. The cracks remained there even when the decal settled on the surface exposing the red paint. I used Post It Notes to mask off the decal without ripping it and sprayed on Tamiya Royal Blue. It went well except for some overspray to remove when the airbrush stream lifted up the Post It Note. I did the same for the starboard side before I added the decal (hey even I learn a lesson quickly once in a while) and that dealt with the problem of the decal cracking and exposing the red paint.
A damp J-cloth was used to wipe off the excess decal solution before the final gloss coat was added. To be true to form on this model, I had issues with the gloss coat too as the Tamiya gloss fogged after it dried. I was none to pleased about it and was starting to get frustrated with it, but then I remembered a solution I read on the Model Madness forums. I sprayed on a light coat of Future instead and it removed the foggy areas.
Red Arrow aircraft were kept in pristine condition so I left off any weathering.
The last bit of painting was brush painting the outside rim of the exhaust nozzle with Valljeo Metal Color pale metal exhaust.
FINAL CONSTRUCTION
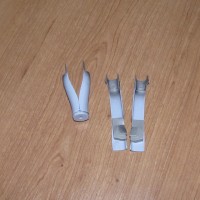
The landing gear and wheels were assembled and painted as per instructions. Each landing gear was glued into their respective resin wheel wells with CA glue. I aligned the landing gear and then let the CA glue harden before putting the weight of the model on the somewhat spindly landing gear. The previously painted resin landing gear doors were added to each well/gear as per instructions.
Next I cut off the plastic pitot tube at the mount and drilled out a hole for the the brass pitot tube. The hole was not perfect so I had to use some plastic putty to fill out the gouges caused by the drill bit and then used a dab of CA glue to secure it in place. The damage was painted over using a brush and some Model Masters Acrylic Italian Red.
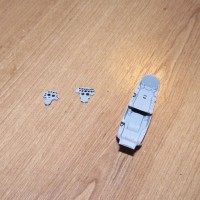
The Pavla ejection seats were removed from their casting blocks. Washed, dried, painted and weathered according to pics from the internet (and the instructions.) I had a hard time with the ejection loops for some reason (my clumsiness) and replaced them with the kit ones. After they painted and dry, these were secured in place with a dab of CA glue.
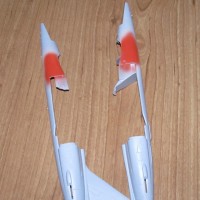
Lastly, I had some issues with the open canopy as it wouldn't stay up and at the proper angle so I opted for the closed canopy instead. The wing tip lights were added (bonus: they even fit well) and brush painted with red and blue clear paint.
CONCLUSION
I have a personal fondness for this aircraft in large part because of nostalgia. The Matchbox Gnat and the Airfix Mig-15 were the first ever model kits I remember getting. Mom was so happy that her annoying son didn't bother her at the drug store for candy that she said I could pick two things in the toy section. I didn't see anything I liked except jets so I picked those two and the beginning of the hobby that would stick with me for four plus decades.
The Gnat kit is another decent one from Airfix. It requires some careful preparation for the painting and with a couple of fiddly areas (wing roots and intakes) otherwise the Airfix Gnat makes for a very nice model of a very British jet. Definitely recommended for anyone with an interest in British aviation or the Gnat and all but the most inexperienced skill levels.
A real eye pleaser, Dan! A very informative narrative too.
Thanks I'm glad you enjoyed it!
Nice work,Dan! Good to see another Gnat built.
Thanks. It is a fun kit to build. Airfix should be commended on it. I've built the Aeroclub version and... it isn't the Airfix kit.
Very nice work, Dan @dbdlee
The Gnat is a very nice aircraft, especially in the Red Arrows scheme.
Nice supporting article as well.
As I said, I am real fond of the Red Arrows livery. Thanks for you compliments.
Superb job, Dan!
Excellent supporting article, as well!
Thank you Spiros.
Excellent post, Dan, just the right amount of historical info written in a language I could understand, good building description with some tips included, and great pictures of an excellent model. I’ve made a conscious decision not to comment on military models this year, but I couldn’t resist this Gnat.
Thanks George. I'll take that as a compliment.
Really nice work Dan on this iconic British aircraft.
Thank you very much!
Looks great, Dan (@dbdlee). A Gnat is one of those planes that looks fast just sitting on the ramp. Very nice work on the paint.
Thank you. It is one of my better gloss coats. I find those to be one of the hardest things to do (especially with acrylics.)
‘Gnat’ bad — ‘Gnat’ bad at all.
The more is see this kit displayed, the more I wanna get one, nice work Dan. Glad the clear coat worked out.
Heh. Thanks. I'm hoping to build one from Hot Shots! sometime in the future.
Very nice work here, Dan and a superb result. I finally got to see the Red Arrows during their North American tour in 2019, but sure do wish I had seen them flying these.
Thanks very much. I wish I hadn't missed their North American tour. The show from what I've seen is spectacular.
Nice Gnat dan. great work and scheme. these small trainers tend to be very elegant.
Thank you. I usually don't build trainers, but I felt I had to with the Gnat.
First jet I ever sat in - around 1969 at the 'Liverpool Show' (very like the County Faires you have in the US).
Great build Dan, I really ought to get that kit for m'self.
1 attached image. Click to enlarge.
Amazing photo! Thanks.