Nightmares Harrier II
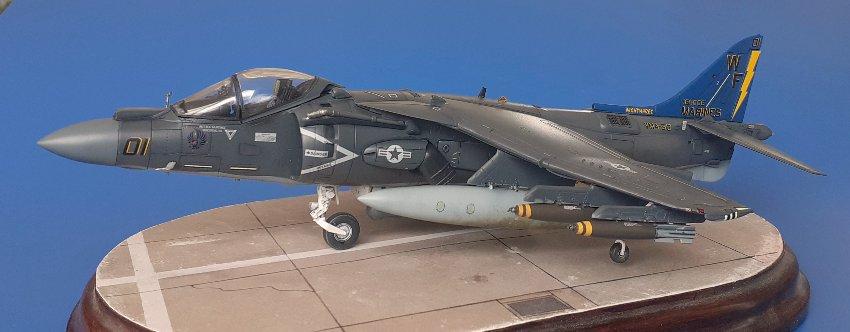
No it wasn't an easy build - the work required to get the underside of the LERX's to meet the fuselage was extensive and needed cutting, plastic card, lots of PSR and a fair helping of harsh language. Strangely I found it all to be challenging in a good way and actually enjoyed the whole process.
Had the kit and the decals for years and years and was never any doubt which of the three options on the sheet that I was going to build. Paint is Mr Color lacquers (Extra Dark Sea Grey, Dark Compass Grey and Light Compass Grey for the drop-tanks.). The typical Harrier soot and staining is all done with W&N Oils. The loadout may be a little anachronistic, it's not too far beyond the realms of possibility for a shore-based aircraft on a live-training hop.
Please feel free to ask any questions, make any comments or hurl any insults.
All the best from NZ.
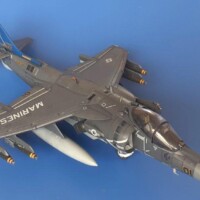
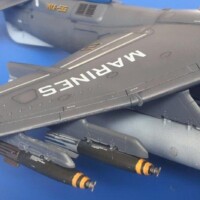
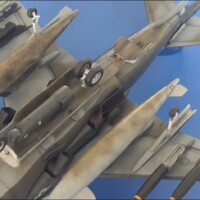
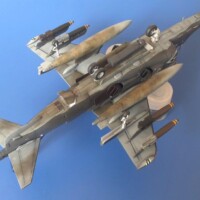
Your technique for solving the problems you experienced obviously worked, Ian, resulting in a great looking Harrier, love the base as well.
A wonderful result of this not easy build, Ian!
Well done!
Great finish, Ian @ij001
Enjoying the challenges is what really counts.
Very nice work on this
Well done, Ian.
You were victorious in the end Ian, well done!
Turned out great, Ian. I heard that kit was developed by the first Accurate Miniatures and the tooling was sold to Hasegawa. I’m sure someone here knows the story. That said, well done!
Great looking Harrier! I enjoyed the photos.
Very nice - I agree with your selection of theme - it is really cool. Well done!
Cheers everyone, much appreciated. Next will be a couple of Airfix builds, both early jets and both British.
Ian.
Nice! Great looking scheme.
Very nice results Ian. I'm a fan of that weathering, and as previously mentioned the scheme looks great! I've heard mixed reviews of this kit, but for such a unique airframe, it's not too surprising... your results prove what a fantastic showing this can be made into.