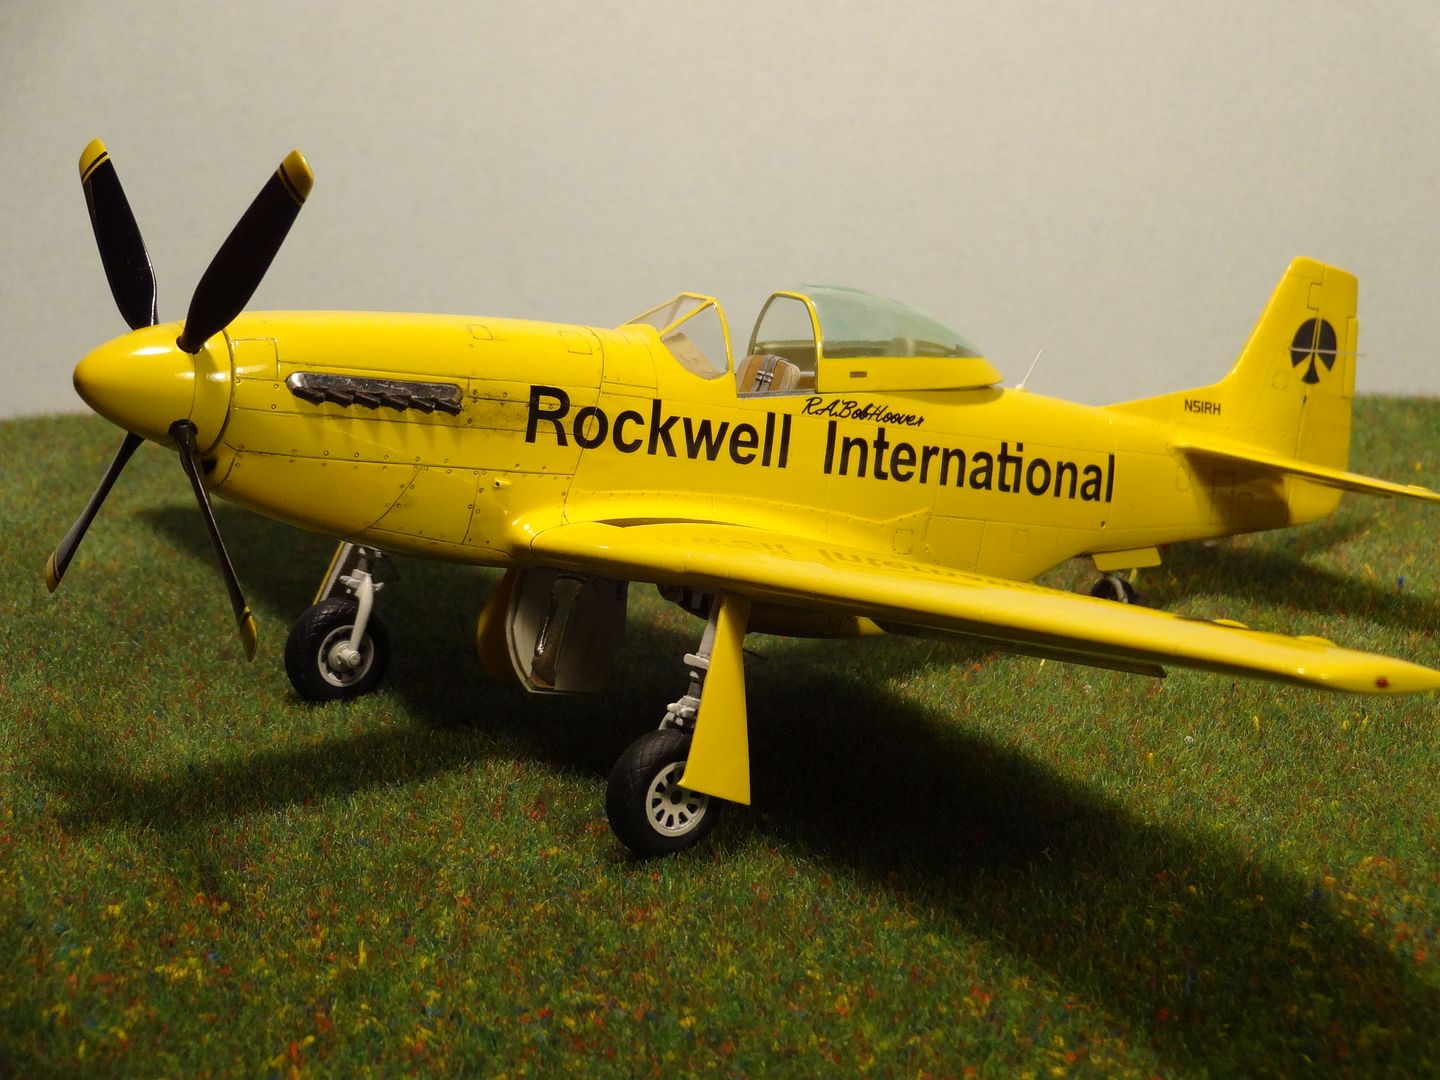
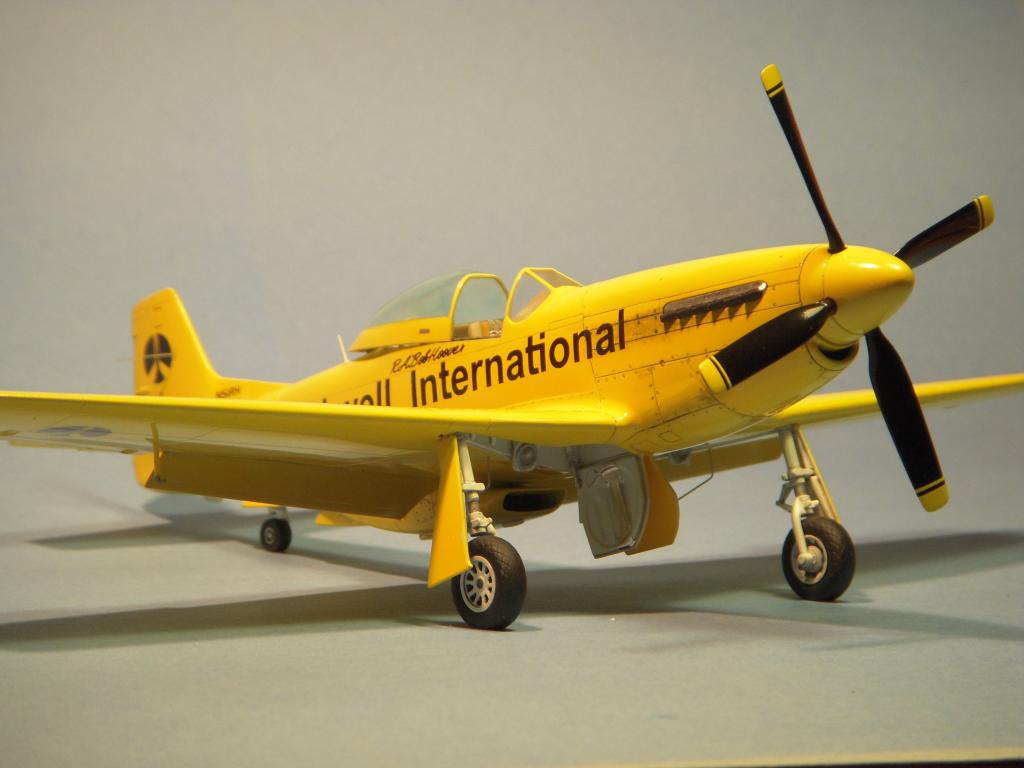
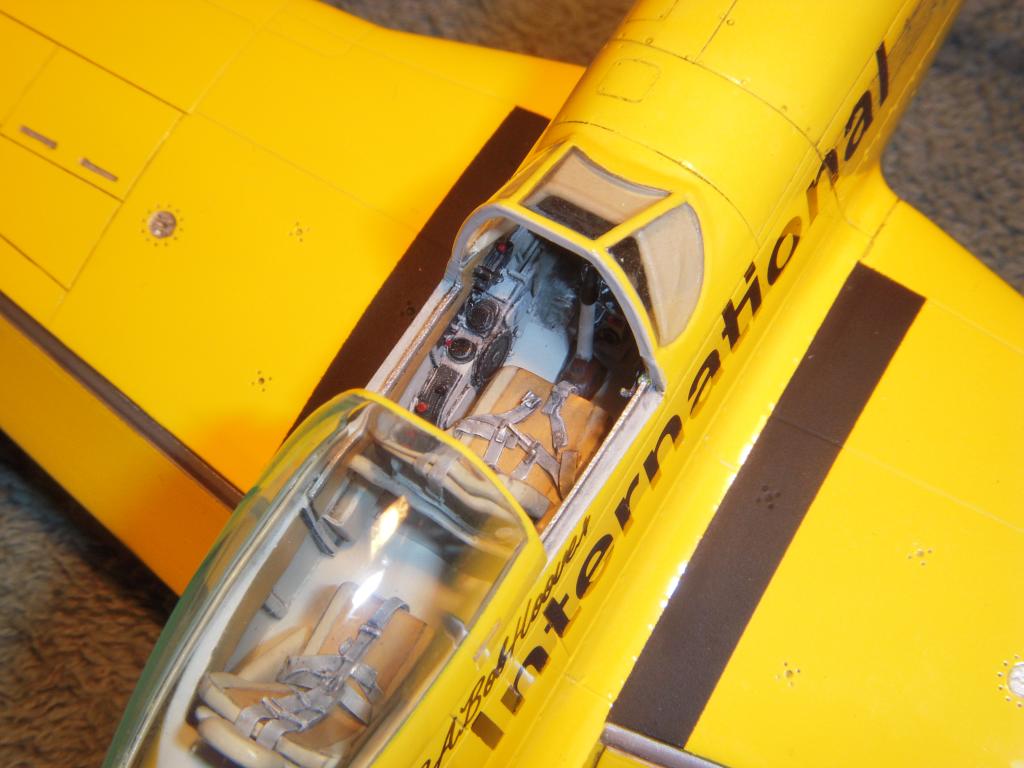
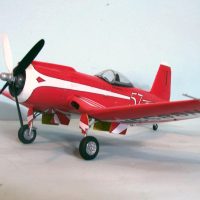
Horse of a different color Cavalier Mustang 1/48 Tamiya conversion

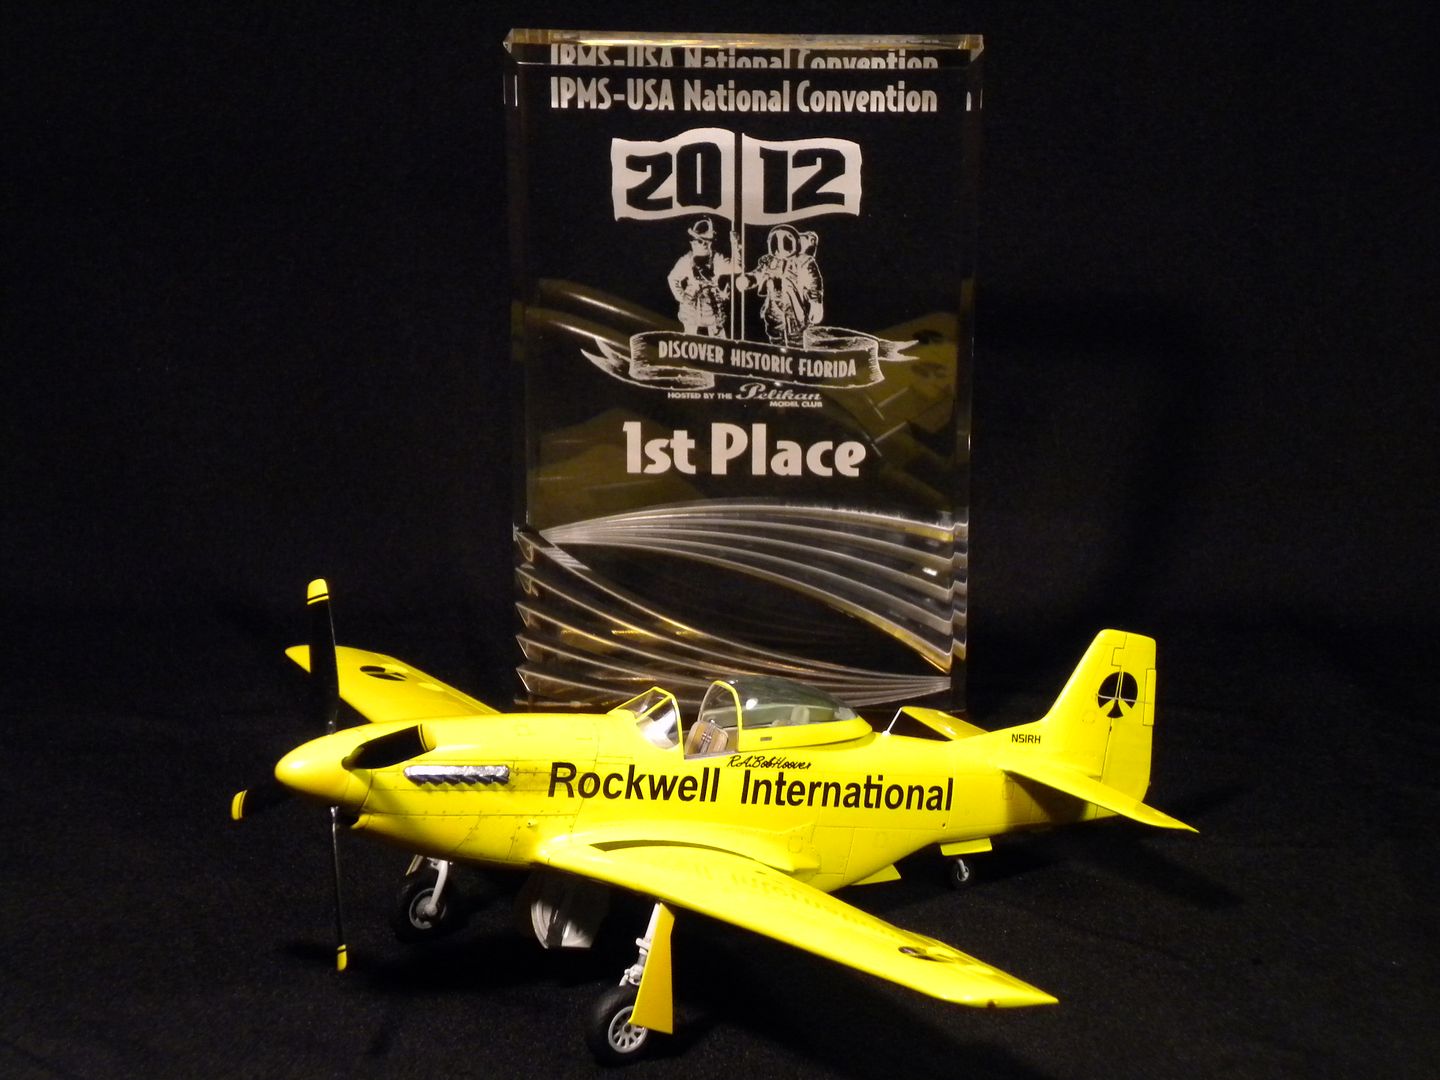
Build a couple years ago, I was unpacking this from the trip back from the IPMS Nats in Orlando, and thought I'd get a couple pics before putting it back in the display case. I have many happy memories of attending airshows with my father and the dancing yellow Mustang of Bob Hoover was always a highly anticipated.
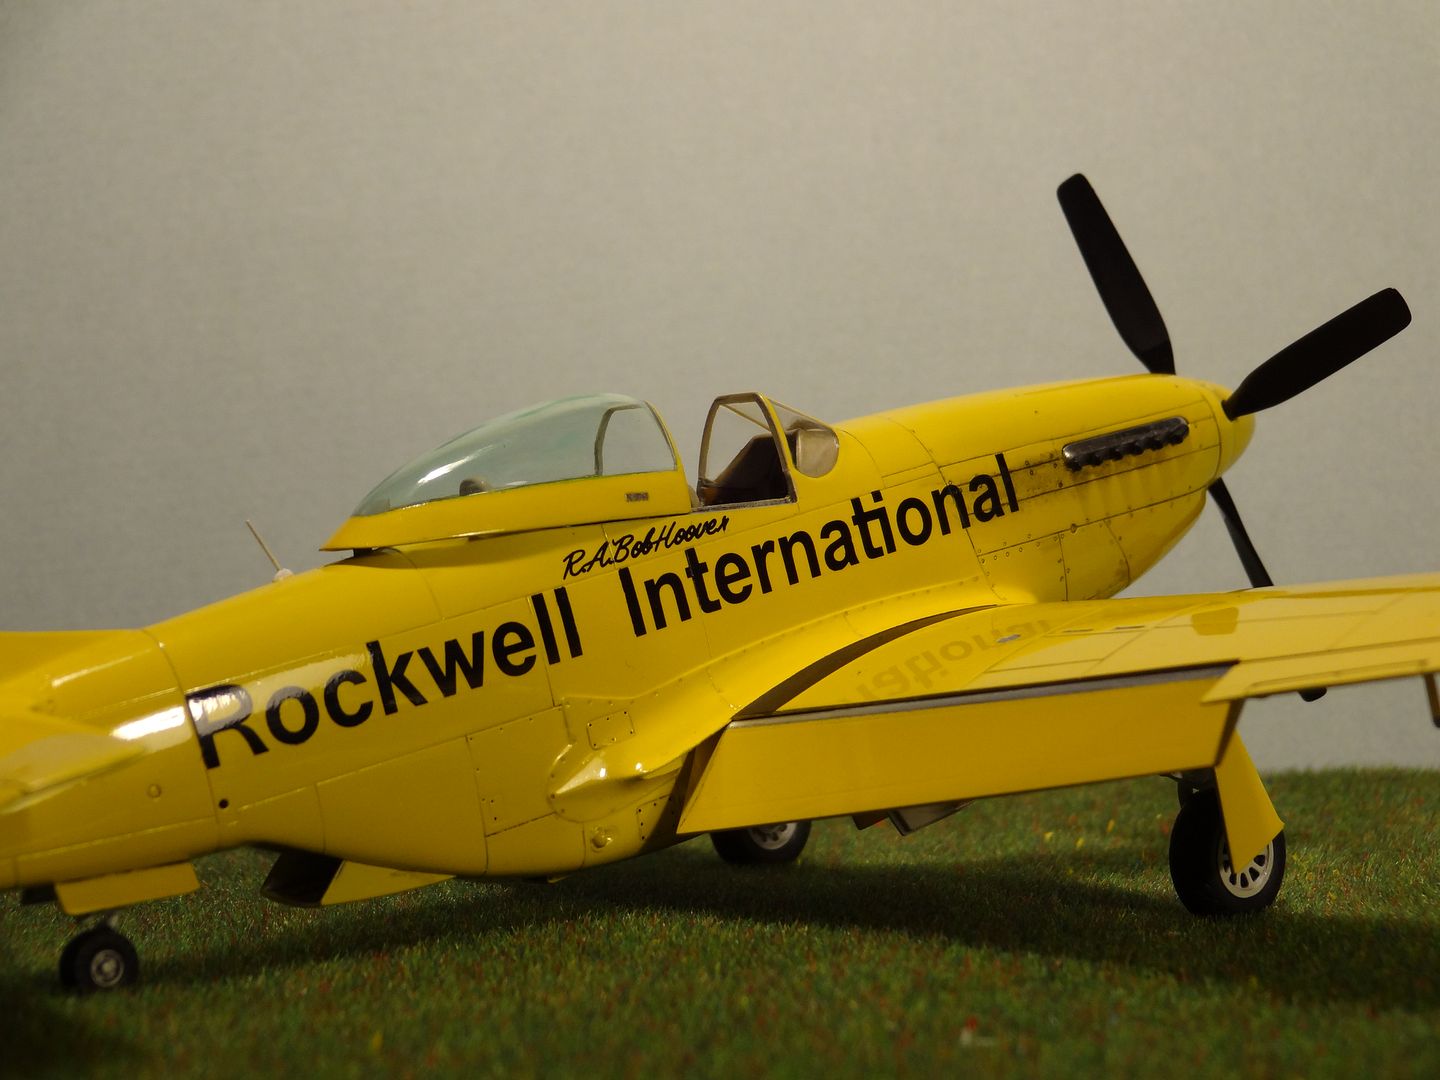
The Cavalier Mustang is a civilian-ized version of the North American P-51 Mustang. In 1957, Trans-Florida Aviation in Sarasota, Florida, (which was renamed Cavalier Aircraft Corporation in 1967) was formed with the objective of transforming the P-51 into a fast and powerful executive business aircraft. Cavalier Mustangs were rebuilt from the ground up, removing all unneeded military equipment and adding features like a second seat, cockpit soundproofing, improved cockpit ventilation, modern avionics, and a luggage storage bay. One of the most recognized is surely the Mustang flown by Robert 'Bob' Hoover. N51RH was purchased in 1971 to replace an earlier Mustang damaged by an exploding oxygen bottle.. Hoover and the yellow Mustang became famous for precision aerobatic displays though out the world. As a working aircraft, N51RH went through many changes and modifications throughout over twenty years of service. This model represents N51RH as it appeared in the mid 1970s.
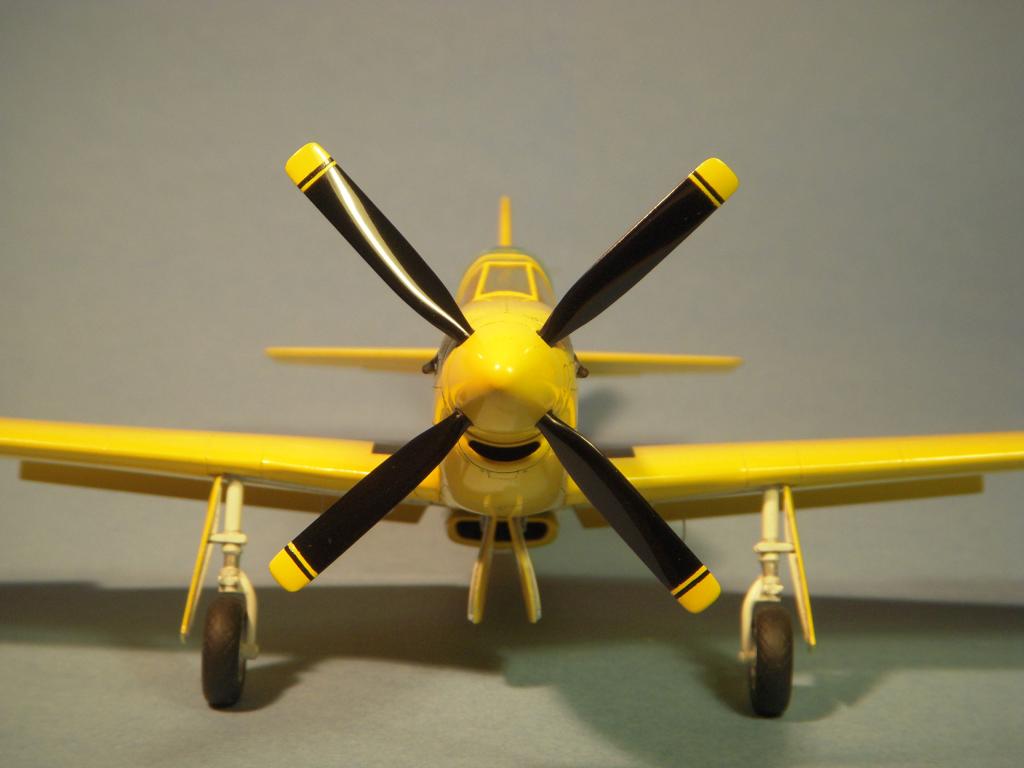
It all started with a gift from a friend (thereafter known as my project instigator friend) of a very nicely done decal sheet for the 70's era Hoover Mustang. Hoover had become one of my boyhood heroes with his precise and smooth demonstrations of aerobatics and many hours of my youth were spent at dozens of air shows watching Hoover and the famous yellow Mustang perform. I must admit to hording the decals for a number of years until my benefactor convinced me to get off my duff and get started. Oh yes, as long as I was building one kit I could build a copy just as easy since he had obtained a second set of Hoover's markings! What are friends for? The Korean War version of the venerable 1/48 Tamiya P-51D kit was modified into a Cavalier Mustang as it contained the uncuffed Hamilton Standard propeller and longer pointed spinner needed for the conversion.

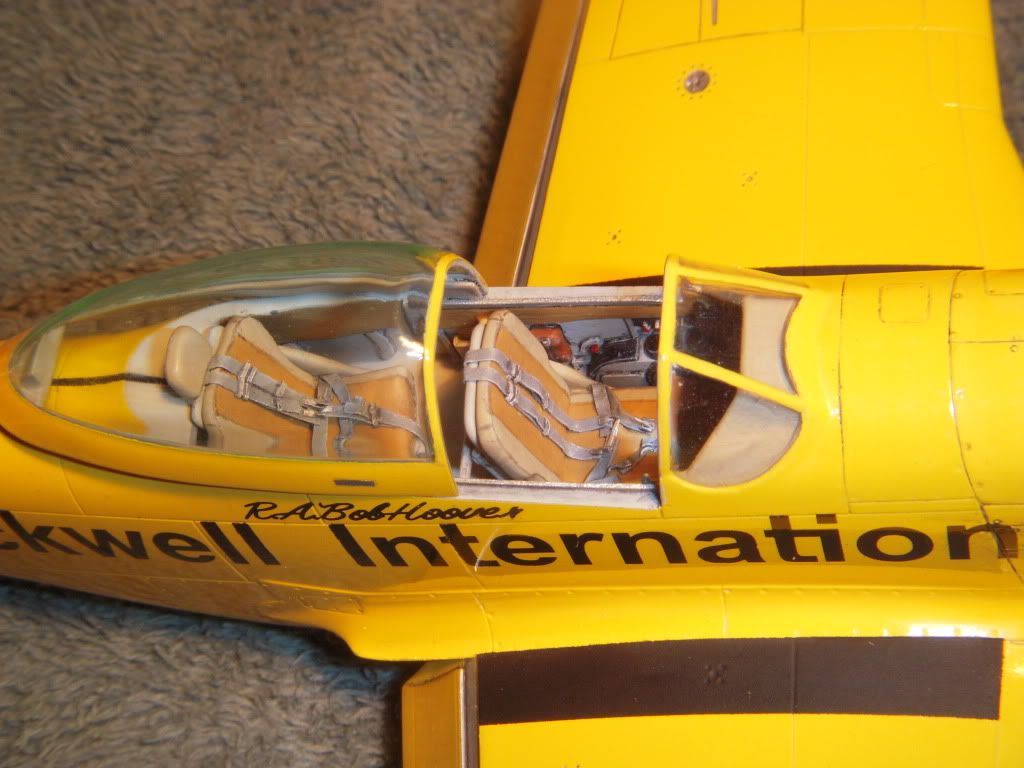
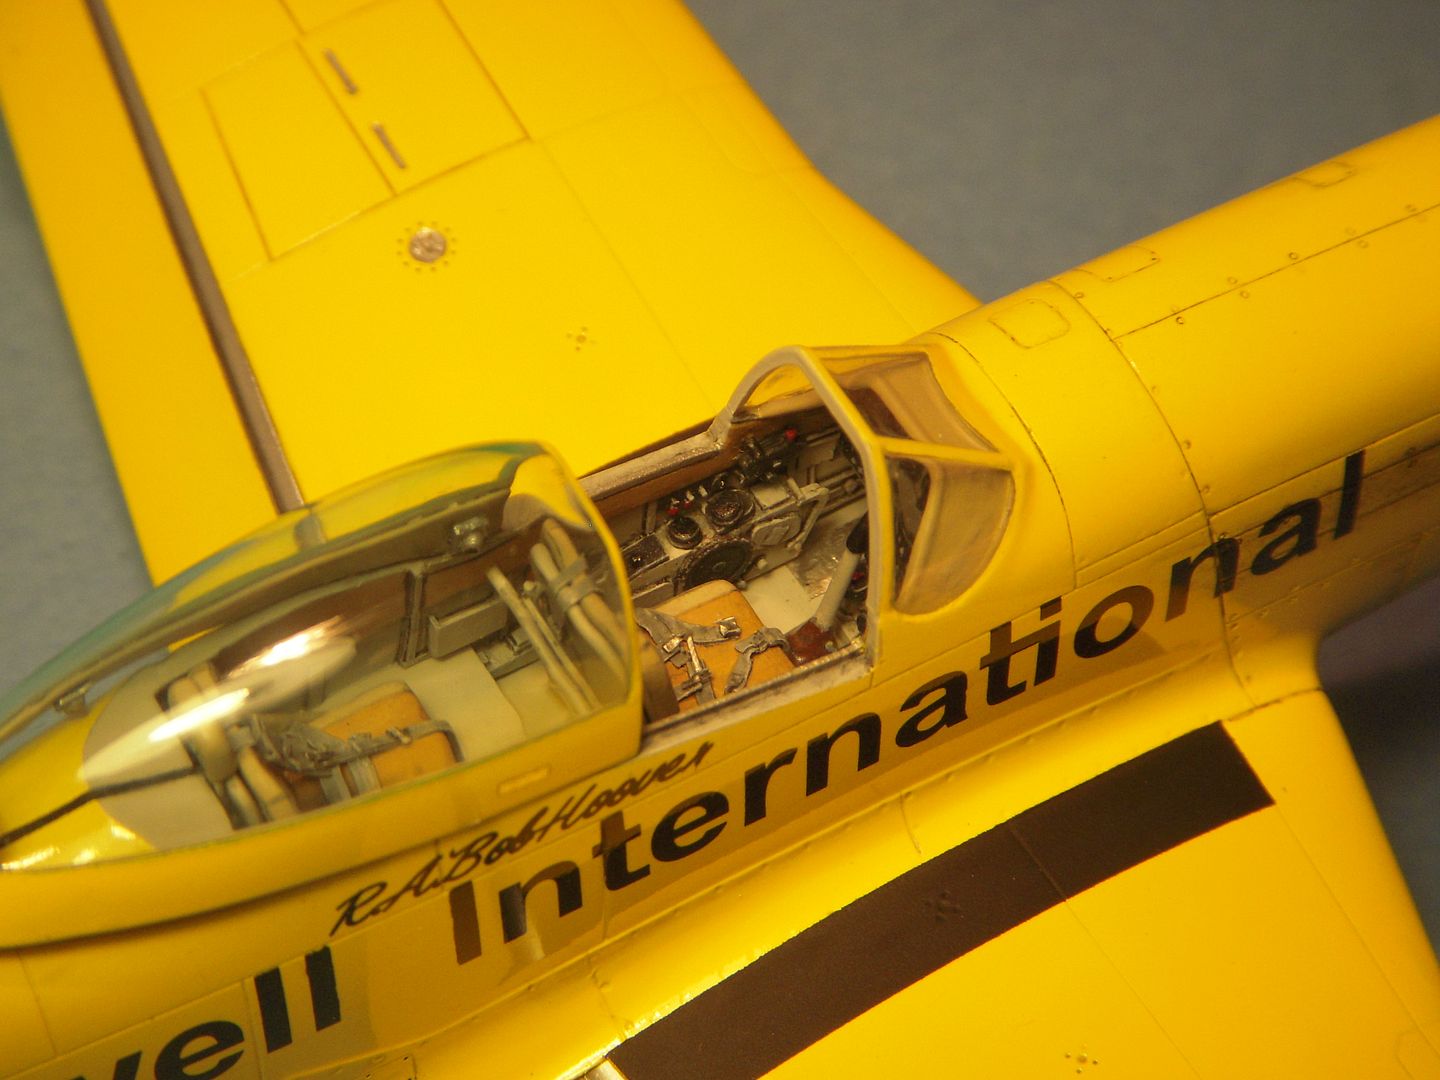
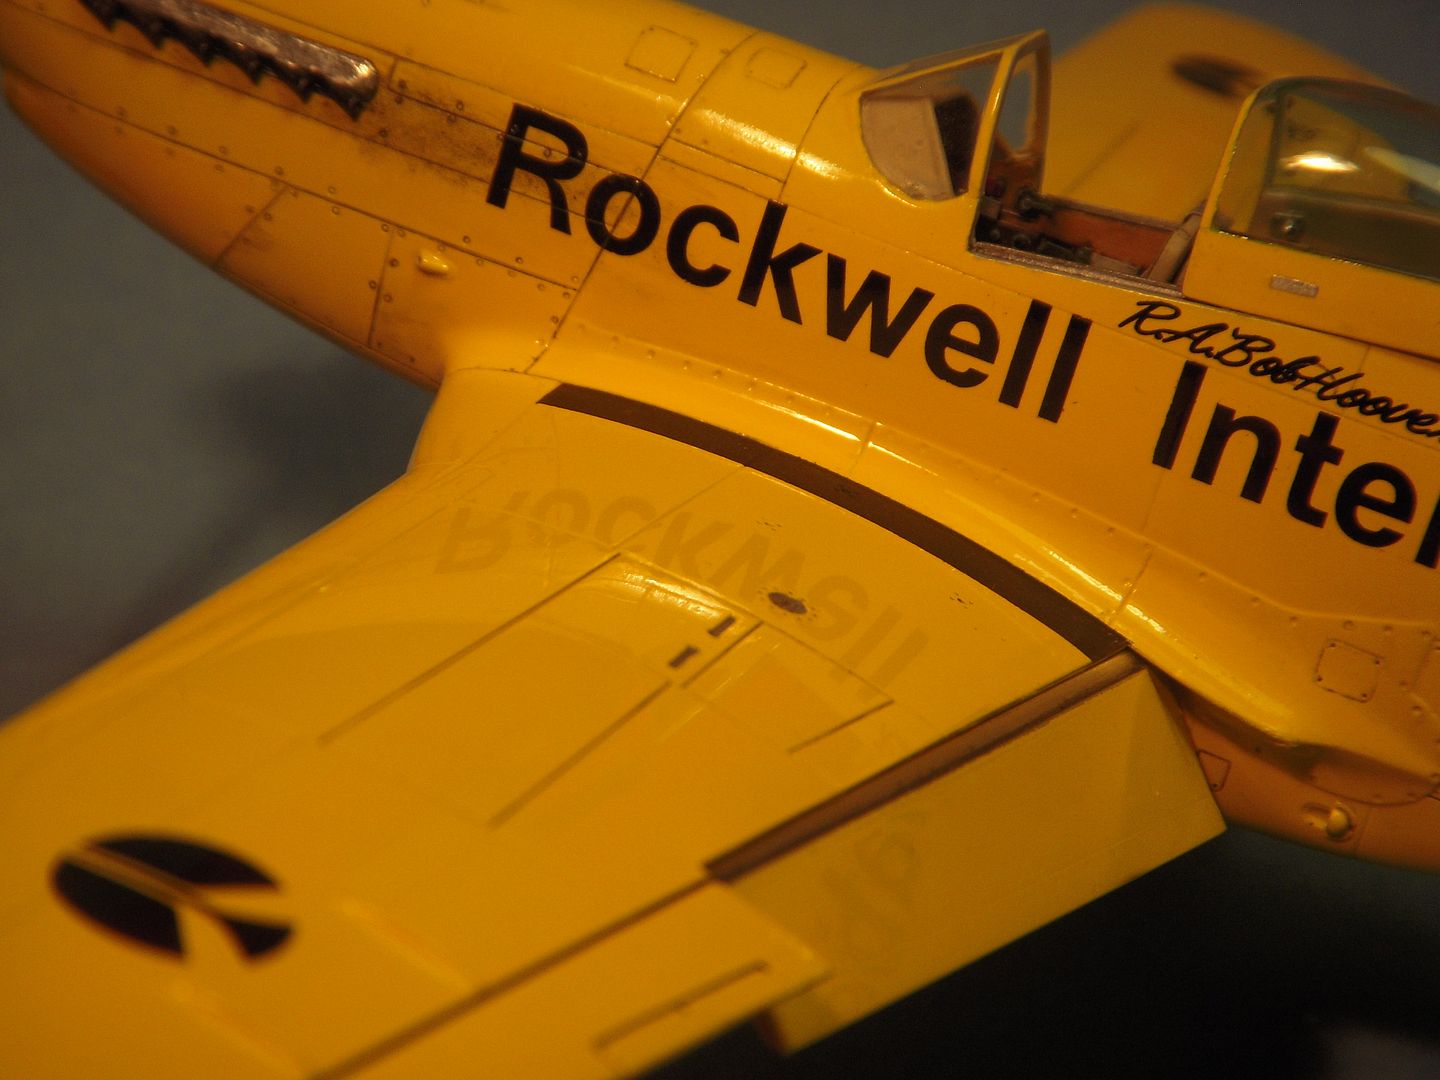
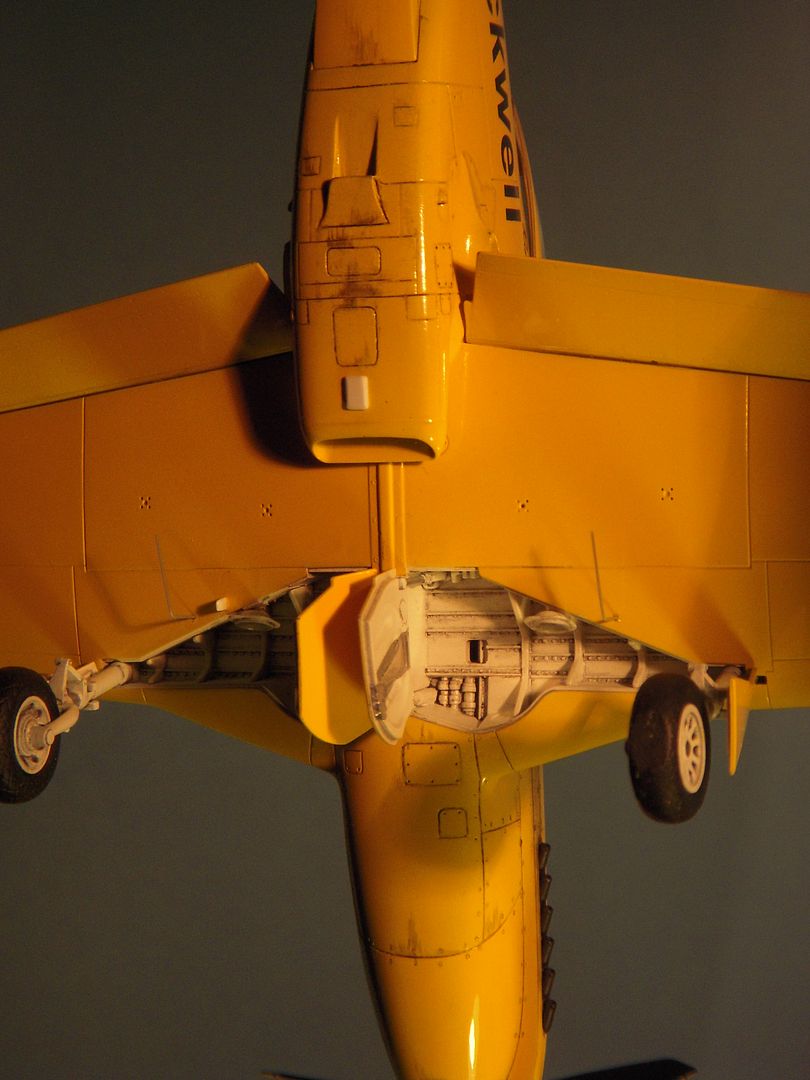
Changes to the cockpit started by replacing the kit parts with a Blackbox resin cockpit modified to civilian configuration by removing military armament panels and adding civilian instrumentation and radio panels. The fuselage fuel tank and radio were removed and the rear cockpit floor replaced. Pilot and passenger seats and cushions scratch built and seat belts/harnesses fabricated using foil from top of wine bottle. (A Zinfandel I believe). The canopy was replaced by spare part having a more bulged rear profile and green tinting added by airbrushing a mixture of Future with a drop of Tamiya clear green acrylic.
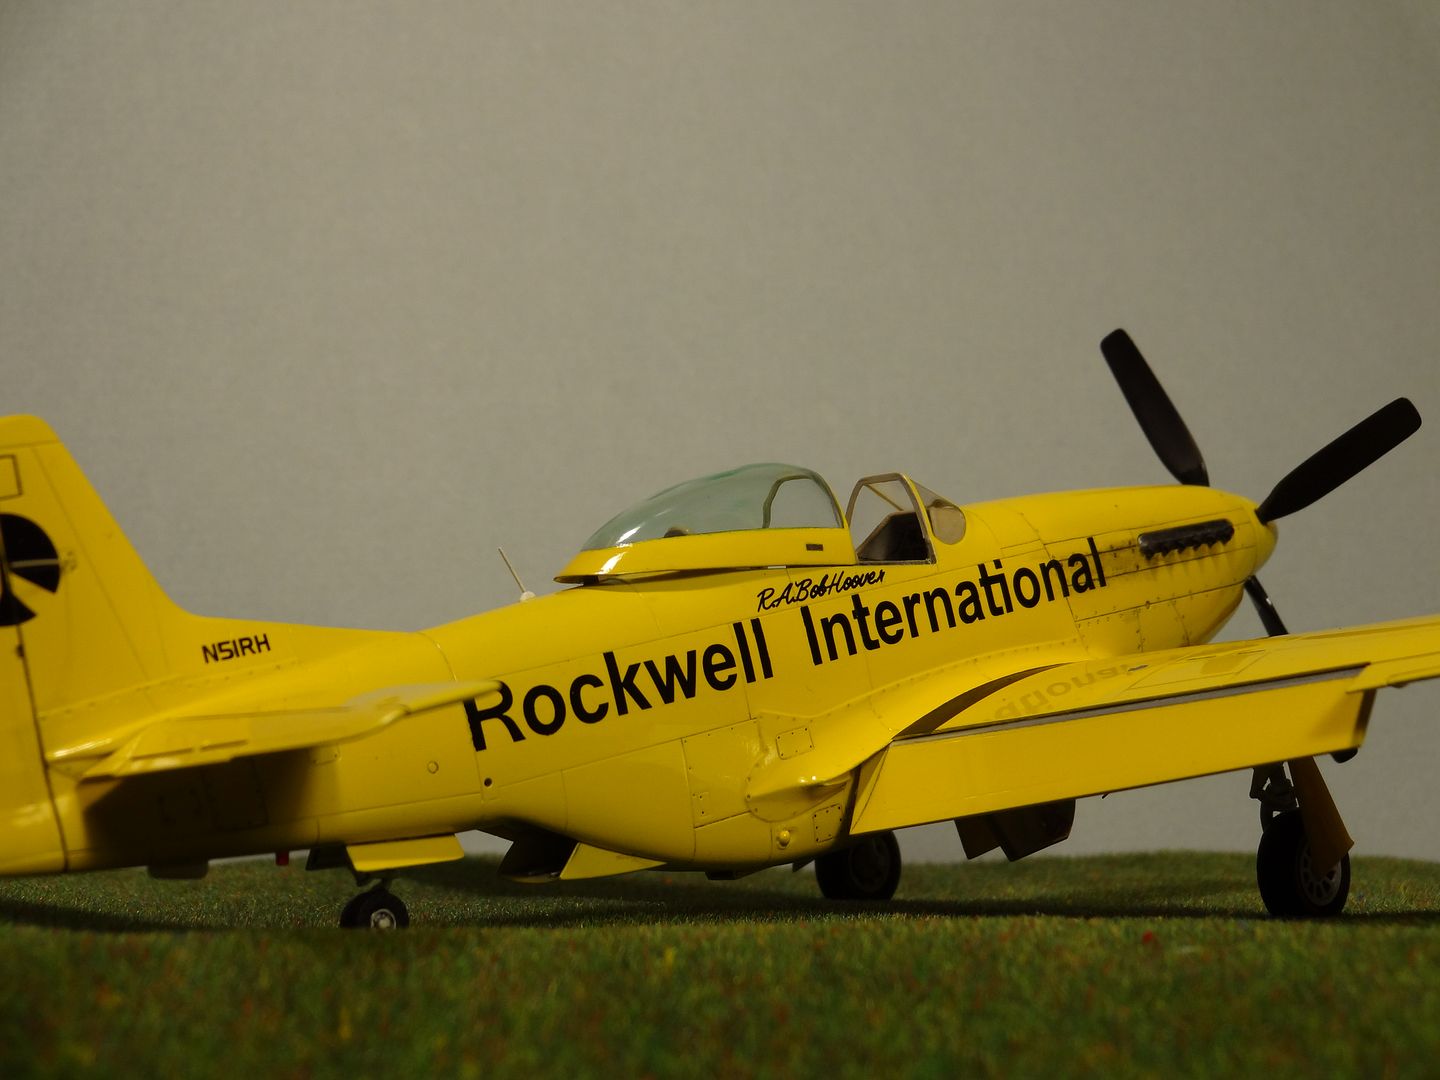
Finish is a custom mix yellow Testers enamel built up in thin coats allowed to thoroughly dry between applications. A light wet sanding with 1200 paper removed small imperfections and the surface polished with fine automotive swirl remover. The decals were applied and after drying two coats of Future airbrushed at about 15 psi. After the future had dried another VERY light wet sanding with 1800 paper to smooth the surface was followed by polishing with the swirl remover.
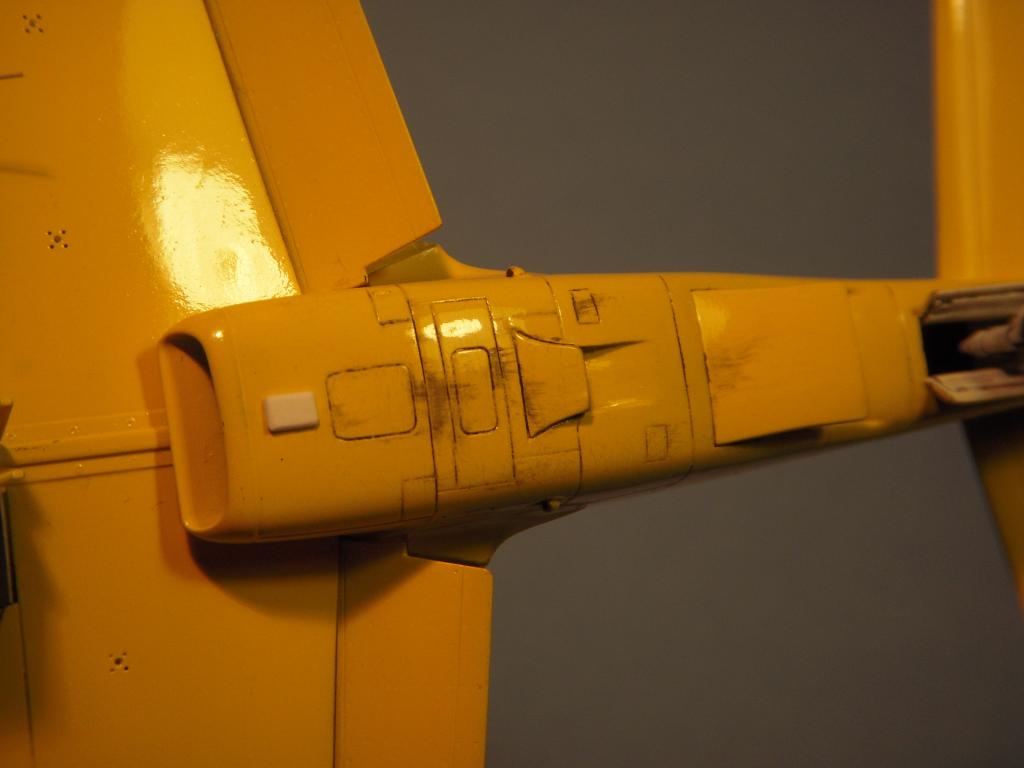
I remember N51RH having shiny polished paint, but as an aircraft that was flown regularly in aerobatic demonstrations, I also recall exhaust stains and oil on the Mustang's flanks until it was wiped down after the show. Air show aircraft worked for a living and I wanted to depict this so light weathering was applied.
It just so happens my friend has two sets of markings for the Mustang racer 'Miss America' and an extra Mustang kit...Oh yeah, we did pretty good at the IPMS Nationals!


Outstanding rendition...love it, Erik - stellar achievement. Congrats!
Eric... Yeah, another modeler who builds non-military. Great looking interior really makes this outstanding. FANTASTIC!
Beautiful work! The Bob Hoover Mustang is a masterpiece.
I think even Bob Hoover himself would be inspired by your version of Ol' Yeller, Eric. The finish is immaculate and that is one sharp looking tandem cockpit. I also fondly remember the amazingly precise maneuvers that Mr. Hoover used to put her through- I think the dead stick stuff and 8-point rolls were my favorite. Bravo!
Yep...I've some old photos I took when I saw Mr. Hoover at an airshow that has long since been forgotten.
That model brings back many memories of watching Bob in that airplane up at Reno back in the 1970s. I remember being out on the pylons taking pictures and I heard another photographer say that after the third day of watching him do the exact same thing each time, it was boring. I let him know that being that good that you can do it the exact same way every time is DAMN HARD!
I remember a Very Good Lookin' Blonde came up to him once and asked him what it would cost to get a ride in the airplane. Unfortunately, if I told you what his reply was, the Webmaster would be hitting the Big Red Delete Button with a sledge hammer. I'm certain all you Sophisticated Adults can make an educated guess. 🙂
Really nice model.
Go over to the Aircraft Props group - I've posted a picture of Old Yeller at Reno you'll find interesting.
This is fantastic.
Cockpit beyond belief. Thanks for showing up in Orlando-got up close and personal-still wows me-thoroughly.
Wow. Just wow! What a beautiful model! I love the paint job most of all I think...no, wait, it's the fabulous interior work, or...well, just everything about this Mustang. It's easy to see why the judges thought so as well.
Gary
Thank you to all for your kind comments! This was (and still is ) one of my more satisfying builds.
I'll agree with the others, what a fabulous model. And that glossy finish! Would you please enlighten me how did you achieve this shine?
The paint is actually a mix from many years ago I used on a Boeing 367-80 conversion. I used Testers enamels and mixed gloss yellow (sorry I can't remember what the color was named) with gloss white. The technique I use now is to prime with a light gray to provide a consistent base as colors such as white, yellow and red are somewhat transparent. The trick is to have patience and build up 3 or 4 thin coats that have been allowed to thoroughly dry between applications. After the final coat has dried (again thoroughly) I remove any imperfections by lightly wet sanding with 1200 paper. Automotive fine polishing compound restores the gloss. On this model I used two coats of Future after decal applications. After the final coat dried I actually sanded the future very lightly with 1500 grit to remove any small dust nibs. A final very light polish with a very fine automotive swirl remover completed the finish. The trick is to work with the surface of the acrylic coating without breaking through!
Thank you for explaining this. I suspected you used some kind of automotive lacquer, it's nice to learn I'll be able to try it with acrylics 🙂
Eric,
I add my compliments for a stunning build. I really enjoyed your write up on this build. You builds are outstanding.
Frank
Thank you very much Frank!
I had forgotten about that posting, thanks very much for taking the time to write. I did enjoy that build, one of my favorite aircraft that brings back wonderful memories. If you're interested in civilian Mustangs particularly Cavaliers, I have a build going on now to produce 2 early Trans Florida Cavaliers with the executive cockpits, tall tails and tip tanks.
Thanks again, Eric aka The Yankymodeler