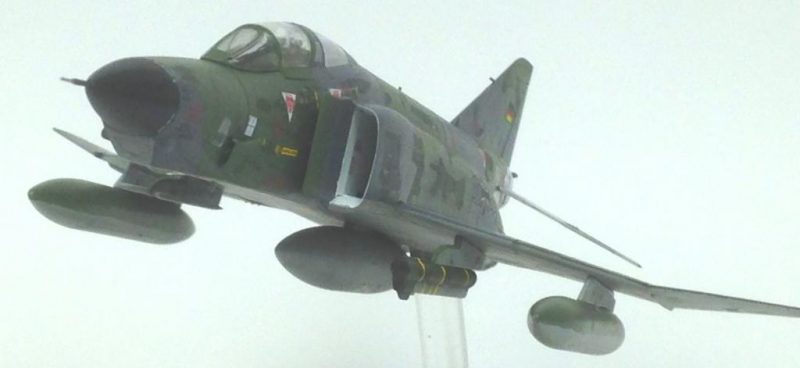
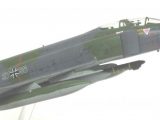
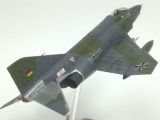
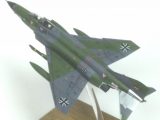
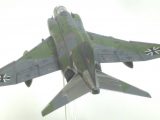
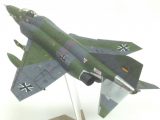
1/72 Testors/Italeri RF-4E Luftwaffe in Norm 72 scheme
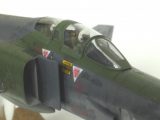
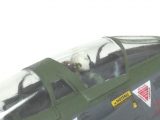
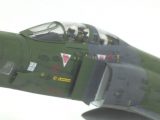
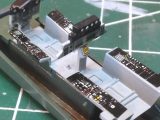
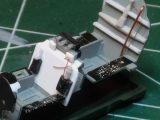
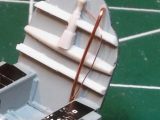
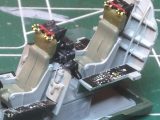
This Recce Phantom is my group build contribution. Relatively fun kit to put together. There were no details in the cockpit, so I did a bit of scratch building to add a center bulkhead, beef up the instrument panels to give them some dimension, and same with the rear bulkhead. Gave you a few pics of those before I closed it up, as you can just see the result live, but in pictures the work doesn't really show.
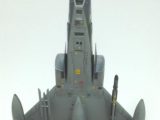
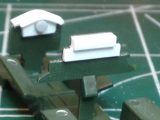
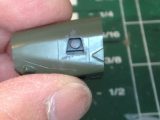
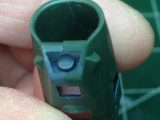
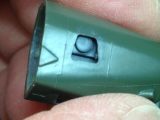
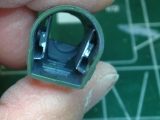
Looking at reference pics, it was evident that the camera lenses could be seen through the ports, so I decided to scratch build some semblance of lenses. I had intended to use Krystal Kleer to finish off the camera ports (except for the double v-shaped lens on the bottom), but that didn't work, so after the fact I had to sand down the kit parts and use them. Had the Krystal Kleer worked, the camera lenses would have been more evident.
I tried a new technique on the burner cans (described in the group build thread), which included some dry brushing of gray, and really liked the result.
I also added an ECM pod and missile rails from my spares box to the pylons, from reference photos.
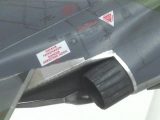
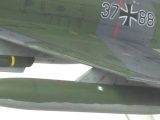
Biggest nemesis was the Air Doc decals stencil set. Not that there is anything wrong with them - Bernt had used them to great effect on his Norm 72 build - but I had issues with silvering. I tried all the techniques - using extra solvent and makeup sponge, cutting with knife and reapplying solvent, etc. - all to no avail. So - looks good until you get real close. Oh well! Only thing I can figure is that I need more work on surface prep (usually just use a couple of gloss coats), so purchased a set of micro polishing clothes for the next go.
I was rushing to complete the build in time for a contest in OKC last month, and didn't realize until I went to photograph it that the windscreen didn't lay down and fare in. I usually take care of this with white glue and paint it in, but had already dispensed with the paint I had mixed up for this build, so had to leave as is. Rats! I should have learned my lesson by now of letting a contest deadline push me to finish a build.
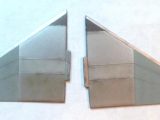
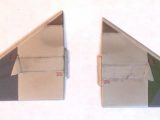
Metal tail sections painted with various shades of Testor Metalizers from rattle cans. Bottom with MM enamel paint and top with Vallejo acrylics (by brush). The references I found led me to these particular Vallejo paints, and even though I lightened them both up for scale effect, then still seemed a bit too dark in the end.
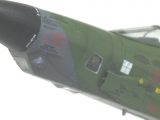
Weathered with my usual combination of Tamiya weathering kits, pastel powders, panel washes and some Tensocrom fluids.
In the end, she's a pretty aircraft. If the metal sections weren't so much effort to get done (not to mention most 1/72 Phantoms require scratch building to get any detail in the cockpit), I'd already be building my next Phantom II (an IAF E-model), but I need a break - so have 4 other builds in various stages of completion on my bench!
Nice job, Greg. That's a lot of stencils! I built that kit as an Alabama ANG RF-4C way back when. Still a nice kit.
Great job, well done!
Lovely job Greg, all the hard work paid off.
stunning Luftwaffe bird
Excellent build, the camera bay came out fine. great detail in the cockpit.
I have to say, Greg, you guys have outdone yourselves with this group build. So much coming through at once I'm having a job keeping up!
NICE work, Greg...applying all those stencils in THAT scale must have been somewhat of a bleary-eyed chore, huh..?
Without my magnifying glass I'd be sunk!
You really set it off, congrats for such a great build!
Looks really nice Greg. I always hold my breath when it comes to decals. The best advice I can give people is to give it about 5 days to dry after you apply a gloss coat (it doesn't matter if its Future or lacquer), just don't touch it for 5 days. Then its pretty much rock hard and you can bomb it with decal solv or sand it down with micro mesh. I have even polished down the decals with 8000 grit to polish them up.
Getting back to this RF-4E, you've done a wonderful build here. Looks great !
Thanks for the tip. I'll try that next time!
Nice model.
There's a trick you can use to get better fit of conopy clear parts that don't want to fit. Take white glue and using a pin, run it around the clear parts to fill in the gaps. It dries clear and "invisible" and gets rid of the gaps without a problem.
That's my normal process, but because I had already cleaned out my paint jars, I didn't want to have to remix paint and not get a good match. As much glue as I'd need to use to fare in the windscreen, it would have needed to be painted.
Well done, the Germans are well represented in the F4 GB so far. Another fine example of the F-4 in action with them. Your upgrades to the cockpit really enhanced it well done. Thanks for sharing.
Yes lovely model Greg, all those extra bits make a difference.
Excellent, well done,
Eric
Great work Greg - the Luftwaffe scheme is a good one - so nice to see on a Phantom - and many thanks for organising the GB Dave
Awesome build Greg, and a cool camo scheme. That could be a real one looking at the first photo!
Great plane, and stuning job !