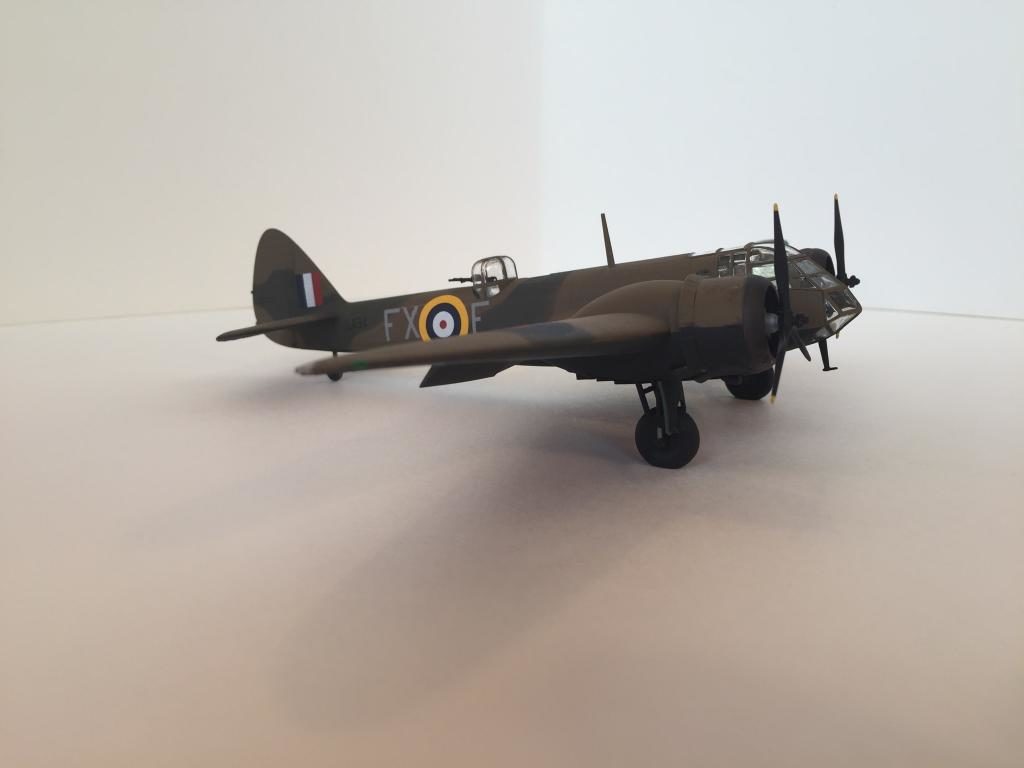
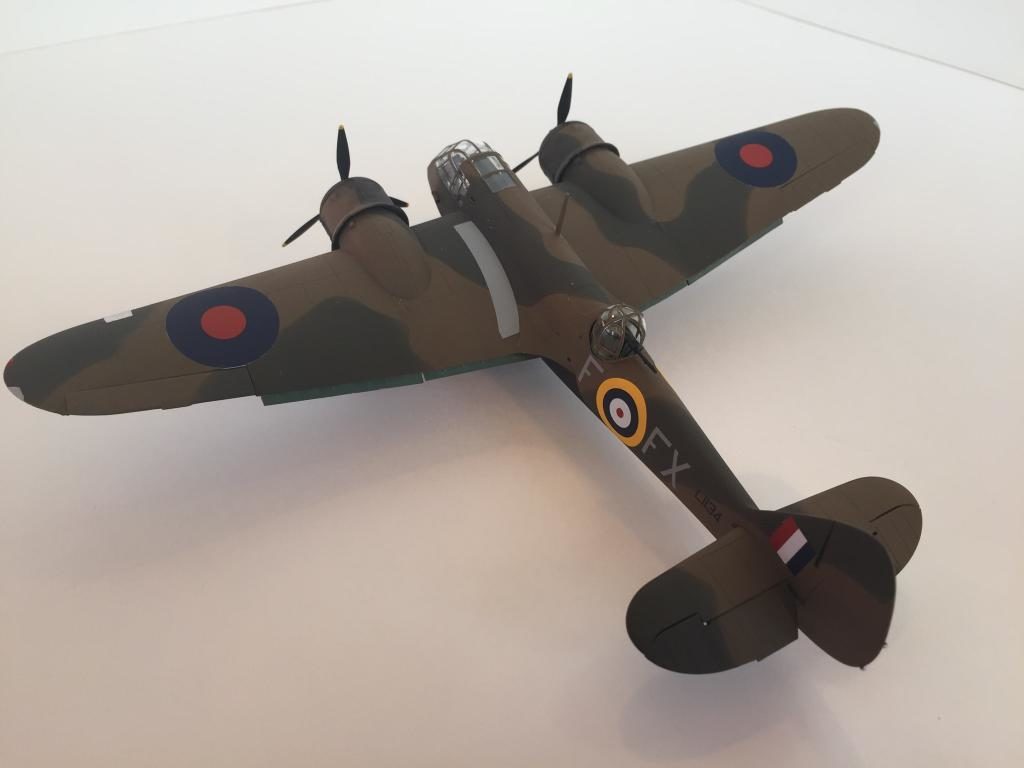
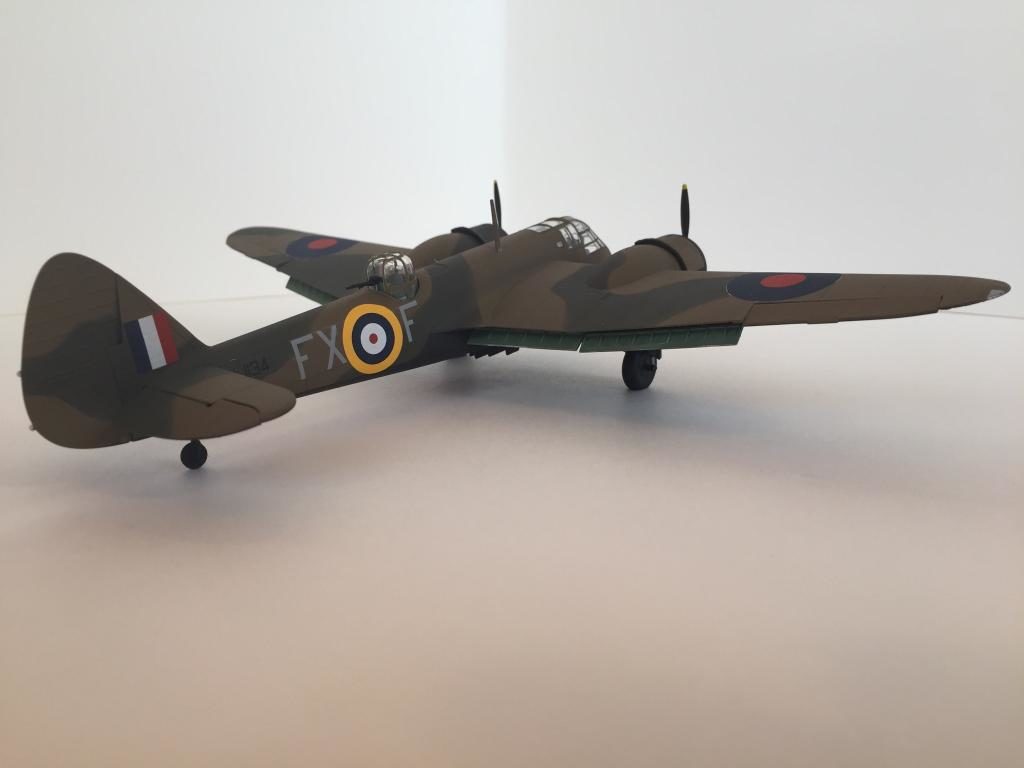
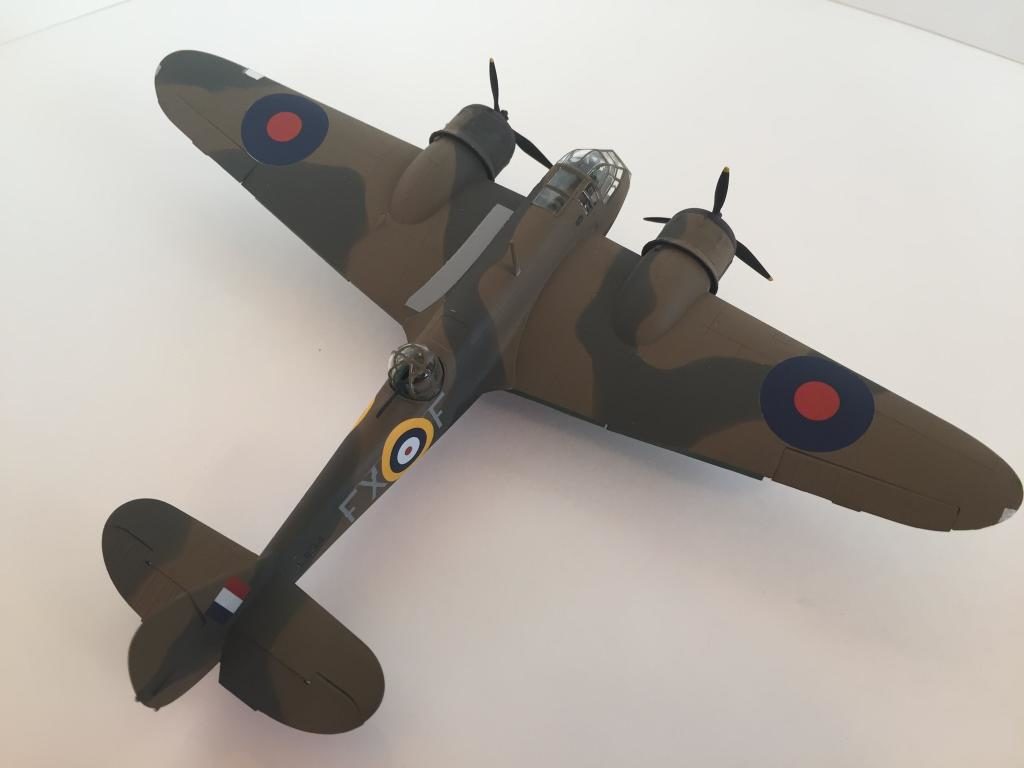
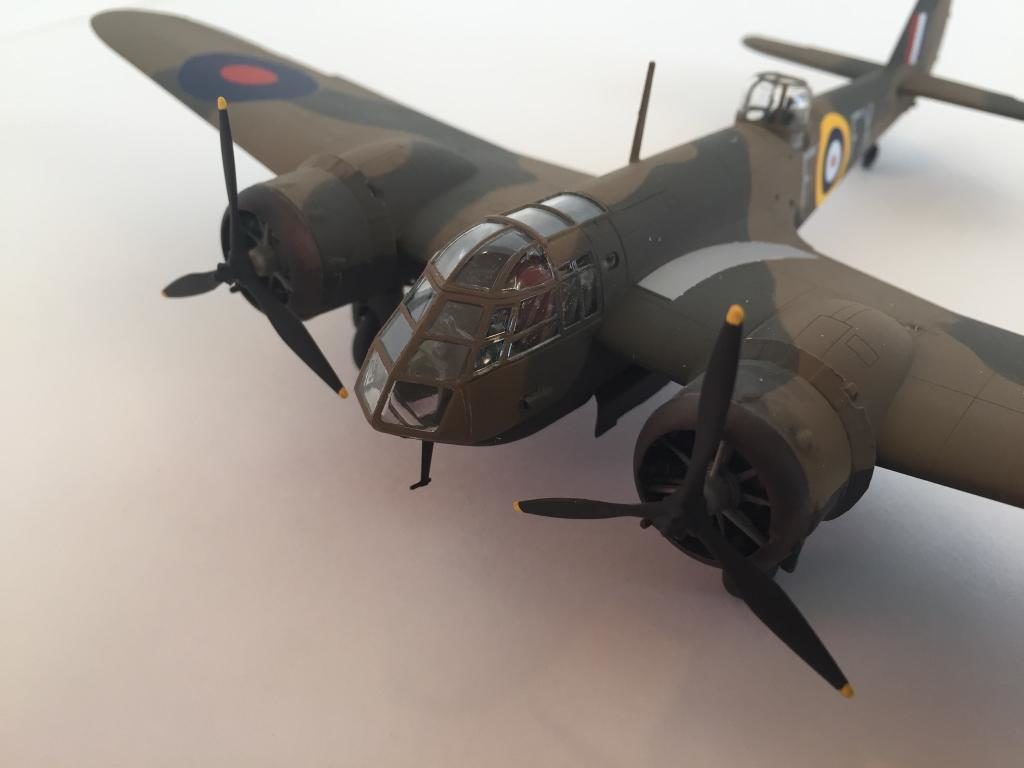
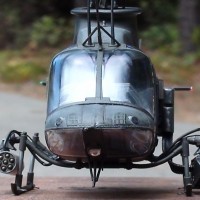
1/72 Bristol Blenheim Mk.I
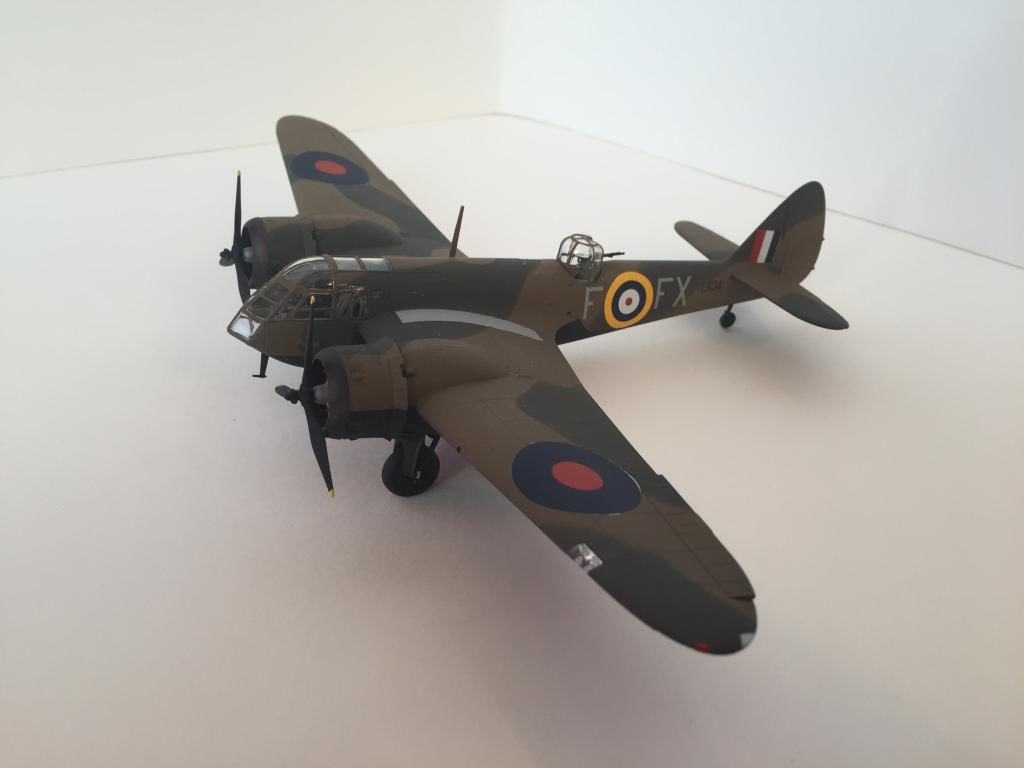
This is the recent Airfix kit. I built it straight from the box and finished it with Humbrol enamels. I did use an Eduard masking set to help deal withe many small canopy panes. They really are tiny in 1/72! This kit is very well engineered and is built up around the wing spar. Pretty unique. Fit was outstanding and the decals worked well using my usual Future sandwich method. Great kit.


Thank goodness for canopy masking sets, huh...? I wish they were included in ALL kits (I abhor masking canopies - always manage to mess it up somewhere, somehow). 🙁
Thanks Craig. The masks can be a real time saver on kits like this.
Looks great, have yet to do the newer Airfix kits, I've got to try one.
Thanks, Robert. This is a good one to start with! If you like British bombers, the Whitley is a very nice model too.
Very nice job. Love the camo. Have one in 1/48 . Better get on with it. 🙂
Thanks Paul. Is it the Classic Airframes kit you have? If so, how does it look?
Looks great ! I'm on the same kit, about 1/3 the way thru.
Thanks Phil! Good luck.
This and the new Airfix Mk IV are quantum improvements on their model predecessors. the Frog I in this case. No cockpit to speak of, certainly no bomb bay detailing.
Long time to get these, might we hope for a Battle?
I love the Battle. Let's hope we get it in both scales!
Beautiful Blenheim, John. A very neat build, a masking set will be my choice too, when it comes to the Blenheim.
The kits squadron codes look good on the painted kit, i had the feeling that they are too dark to have the right contrast to the dark green and dark earth.
Well done 🙂
Thanks Bernd. I think the codes are just about right.Medium Sea Grey codes are often printed too light on decal sheets.
Guess thats only me 🙁
Beautiful Blenheim. I recall how much work I had to do with Special Hobby 1:72 Blenheim years ago - and I still have one in my stash (I really ought to sell after this Airfix releasew 🙂 ). Well done Sir!
Thanks Gabor! This was a relaxing project.
Very nice! I built a 1/72 Blenheim in Romanian markings years ago - can't even remember what the kit was but suspect it was older Airfix kit. I love the fact that the new Airfix kit enables dropped flaps, and seems to have much more detail in the cockpit (from what I can see through the glass in this one, it looks like you did it justice!).
I am going to HAVE to get me one of these new Airfix kits soon!
Thanks Greg! You probably built the Frog kit. They did the Mk.I and Airfix did the Mk.IV years ago. Now Airfix has both covered with new tools! This Mk.I kit included Romanian markings in addition to the RAF scheme I chose
🙂 ... Greetings ... 🙂 :
Very nice work on that Blenheim John, very well and cleanly done.
Thank you sir!
Great Blenheim ! You don't see these built up too often. You did a fantastic job...
nice
Outstanding! Very nice Blenheim build.
If you don't mind, would you explain your comment "my usual Future sandwich method." I've been away from modeling so long. I've seen many comments regarding the use of Future floor wax - If you have time, would you PM me and explain, please? Thanks!
Hi Jeffry! Thanks for the compliment. I paint with enamels and lacquers and finish my models using the following sequence:
1.) Mask clear parts. Paint, let dry.
2.) Give the model a brush coat of Future, let dry.
3.) Apply each decal into a small puddle of fresh Future, pat down lightly, let dry.
4.) Seal decals with another light brushed coat of Future. This draws decals into detail and protects them. Let dry.
5.) Finish with airbrushed coat of Testors lacquer clear coats.
You should have no decal silvering.
Looks good John, well done. I wonder if your Future method is similar to mine !
Thanks, Allan. I paint with enamels and lacquers, brush coat the model with Future, apply decals into small puddles of Future, pat and let dry, brush coat more Future to seal decals, finish with airbrushed Testors lacquer clears.