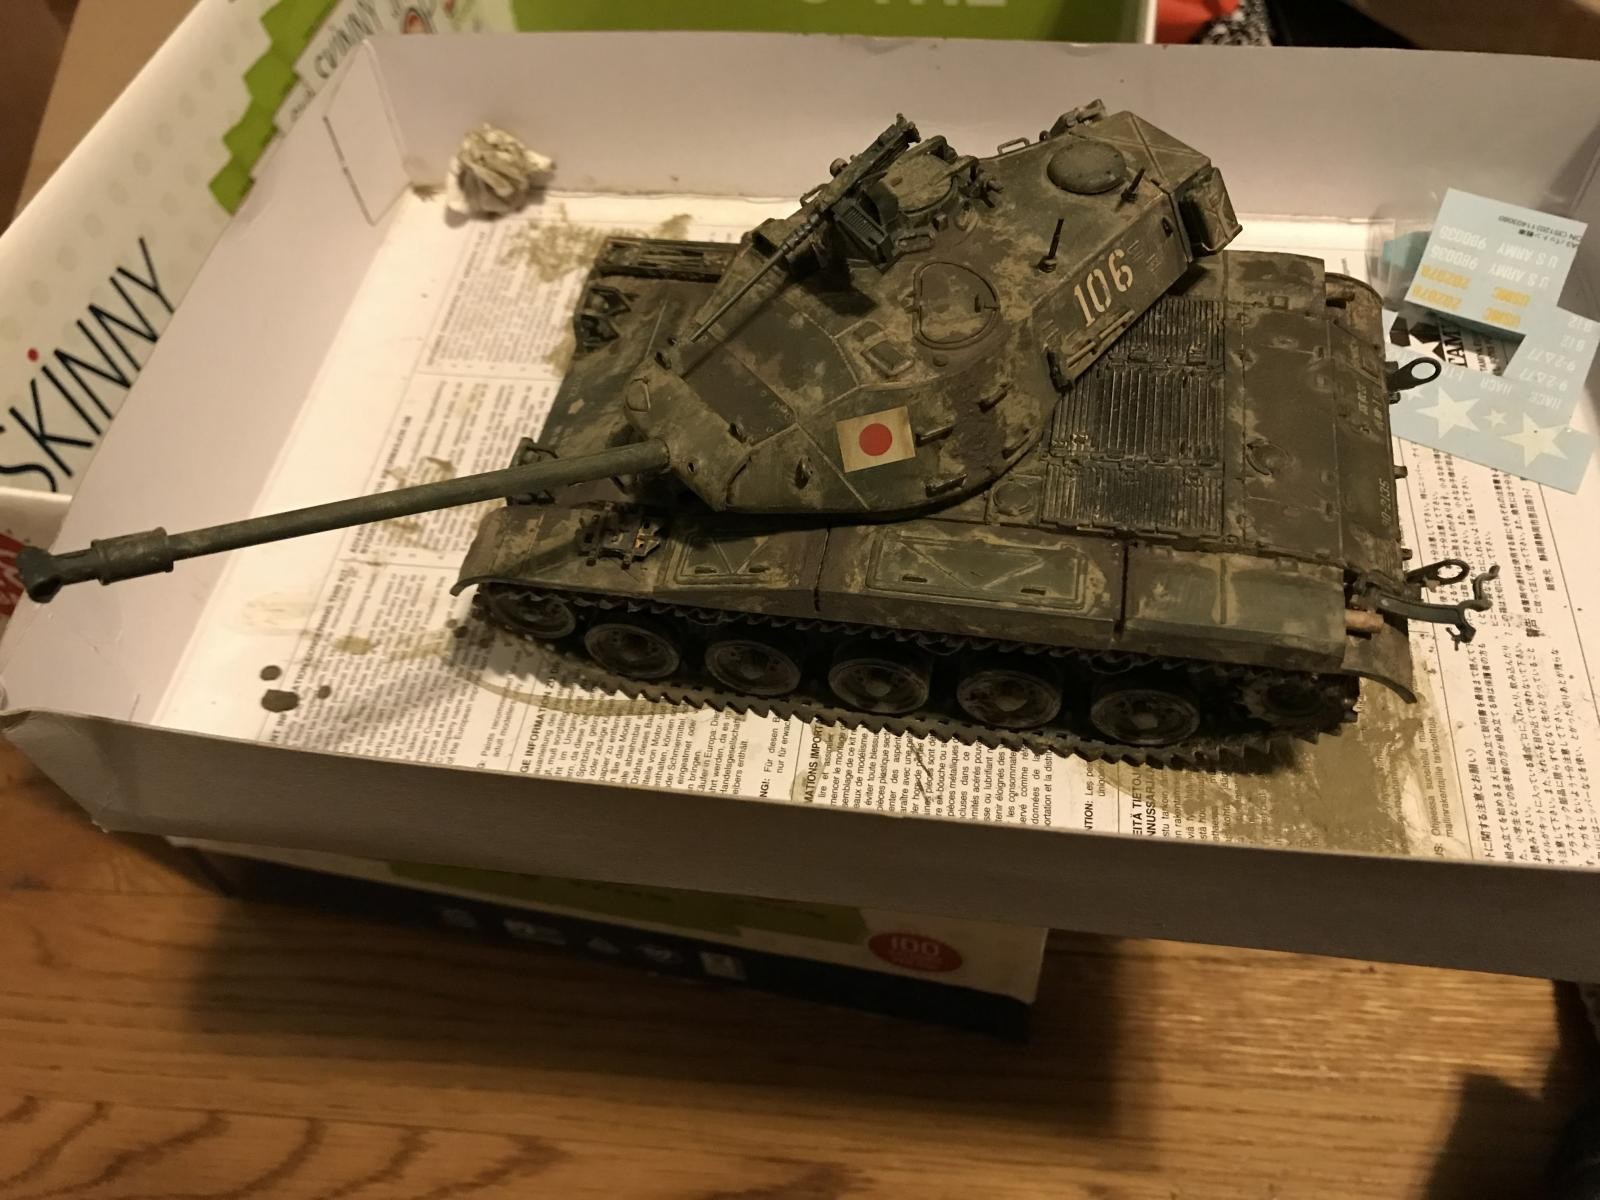
Tamiya M41 Walker Bulldog 1/35

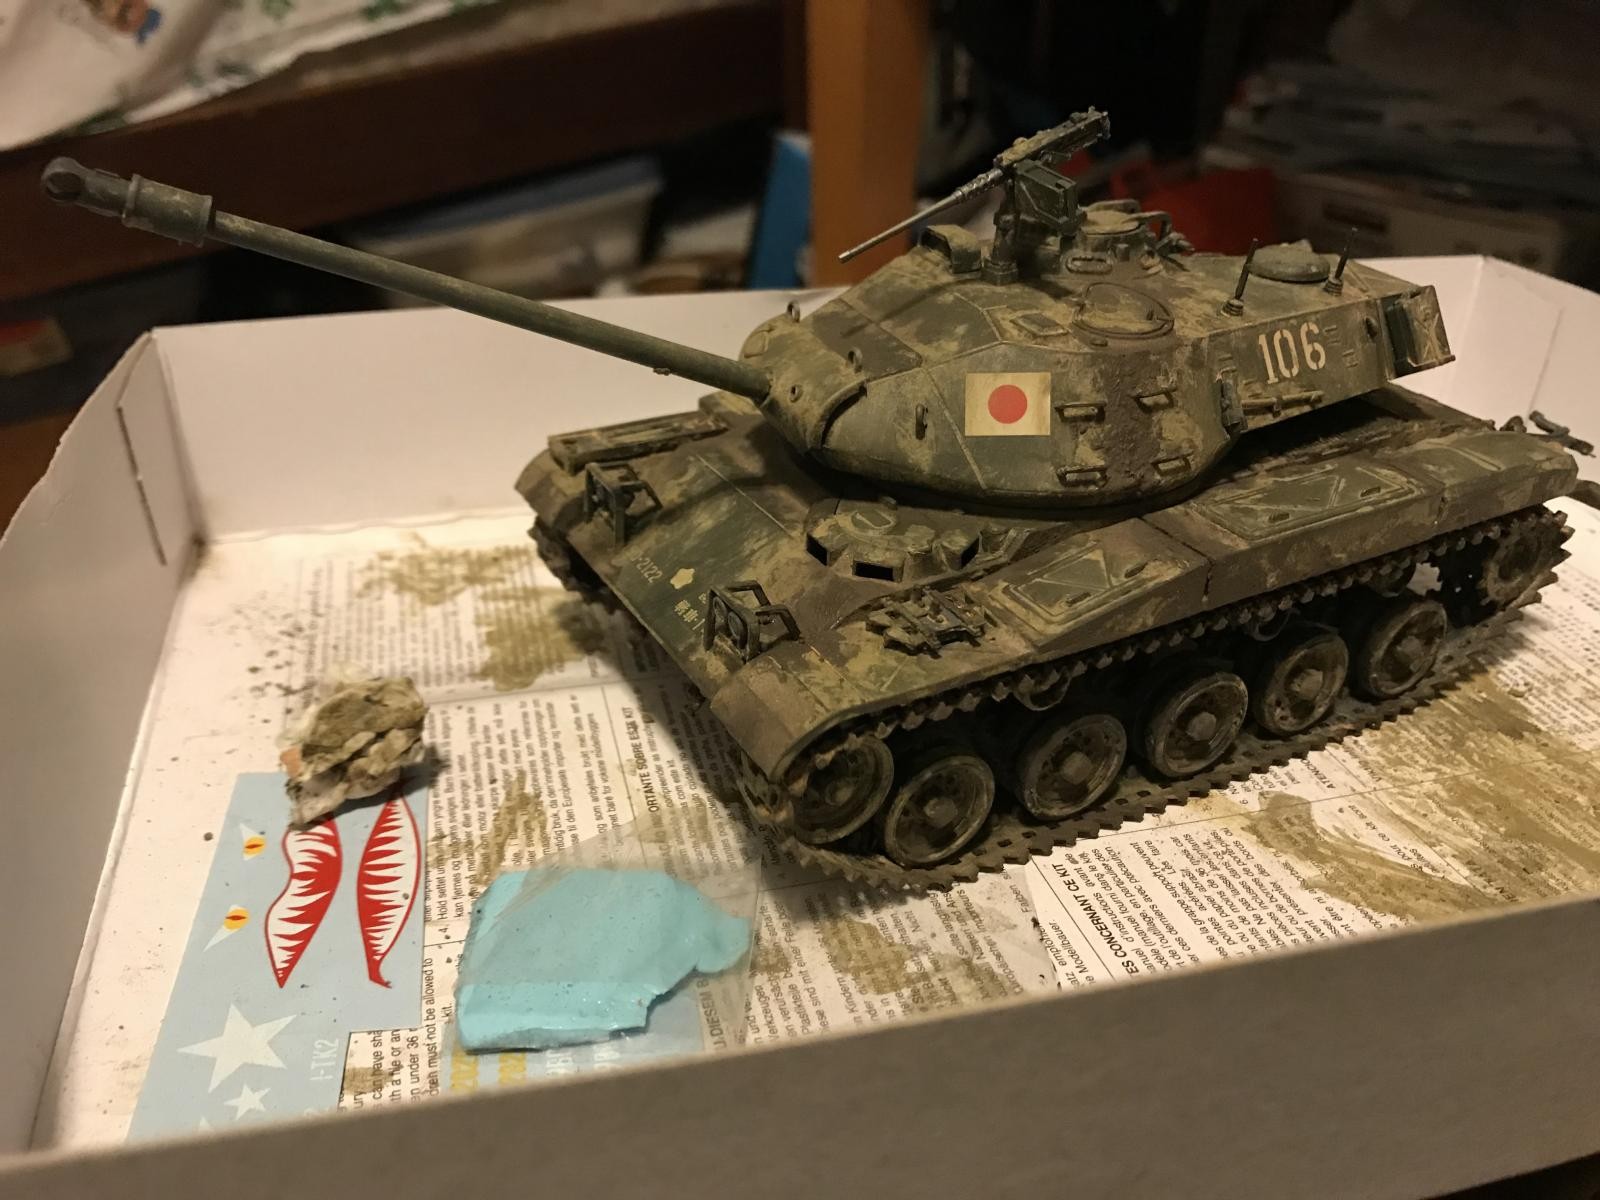
I originally wanted to make this kit after my first armor kit the shop I go to couldn't get it until February. I got itchy to build something and I built the Chieftain. This kit came in and I started work. The kit had very few parts and took less than an afternoon to throw together. There are some errors with the kit that are apparent without even having intimate knowledge of the tank, namely the missing lifting hooks at the front of the hull and the bush guard on the turret. The tracks are also less than stellar as they completely lack detail on one side. I also replaced the machine gun with one with an extra from the M48A3, my first kit.
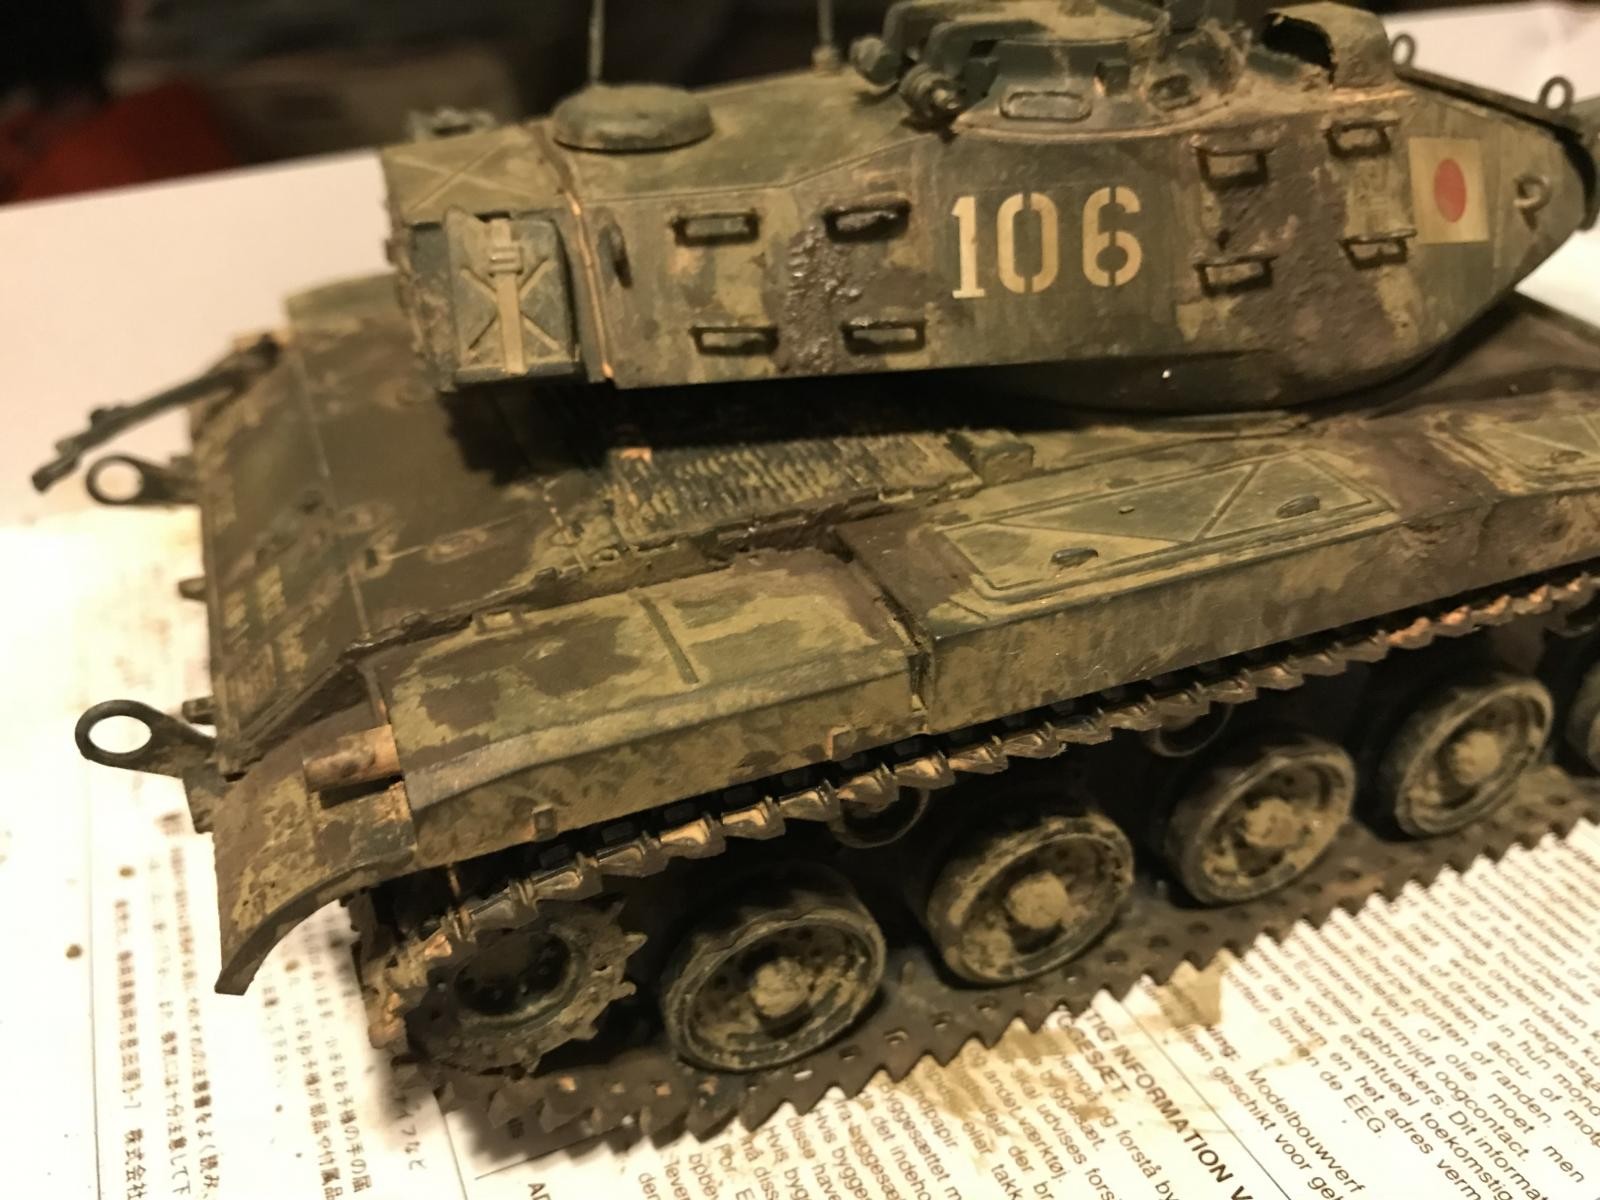
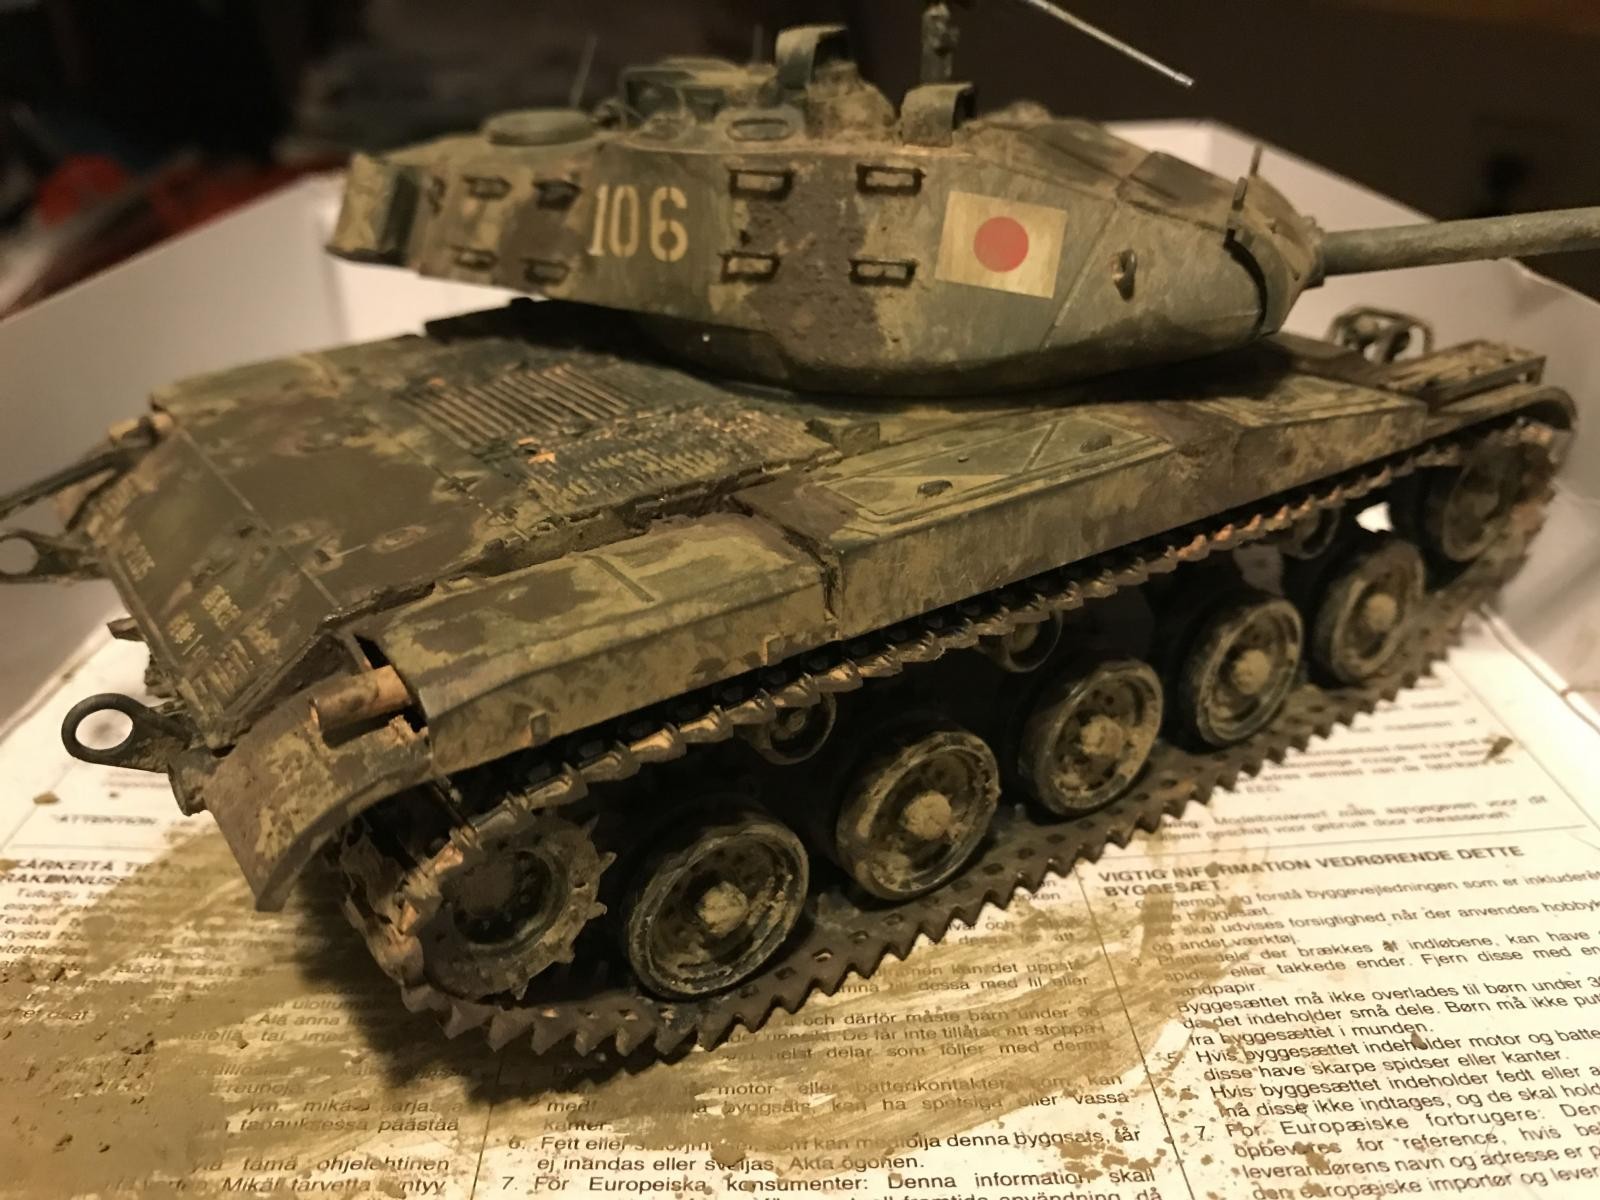
Painting was quick and easy so the model should have been scheduled to be finished at least a week ago. The only issue was that the weathering was a fiasco. After I painted the model, I made simulated chips on corners and edges by dry brushing Vallejo's gunmetal grey and then went over it with highly diluted Tamiya's Sasebo Arsenal Gray. This worked well. Everything was sealed with a clear coat, decals were put on, then sealed again. Everything was fine until about here. I first ran diluted Vallejo brown wash to take down the whiteness of the decals. Even though this was 50/50 water to wash, it was still much darker than I expected. I had used the wash before and it never seemed that dark, possibly because I was never going over bright white surfaces. I wiped most of it off, but there were dark parts that I couldn't wipe off and I was afraid of putting a little more muscle into thinking that I might dig into the clear coat.
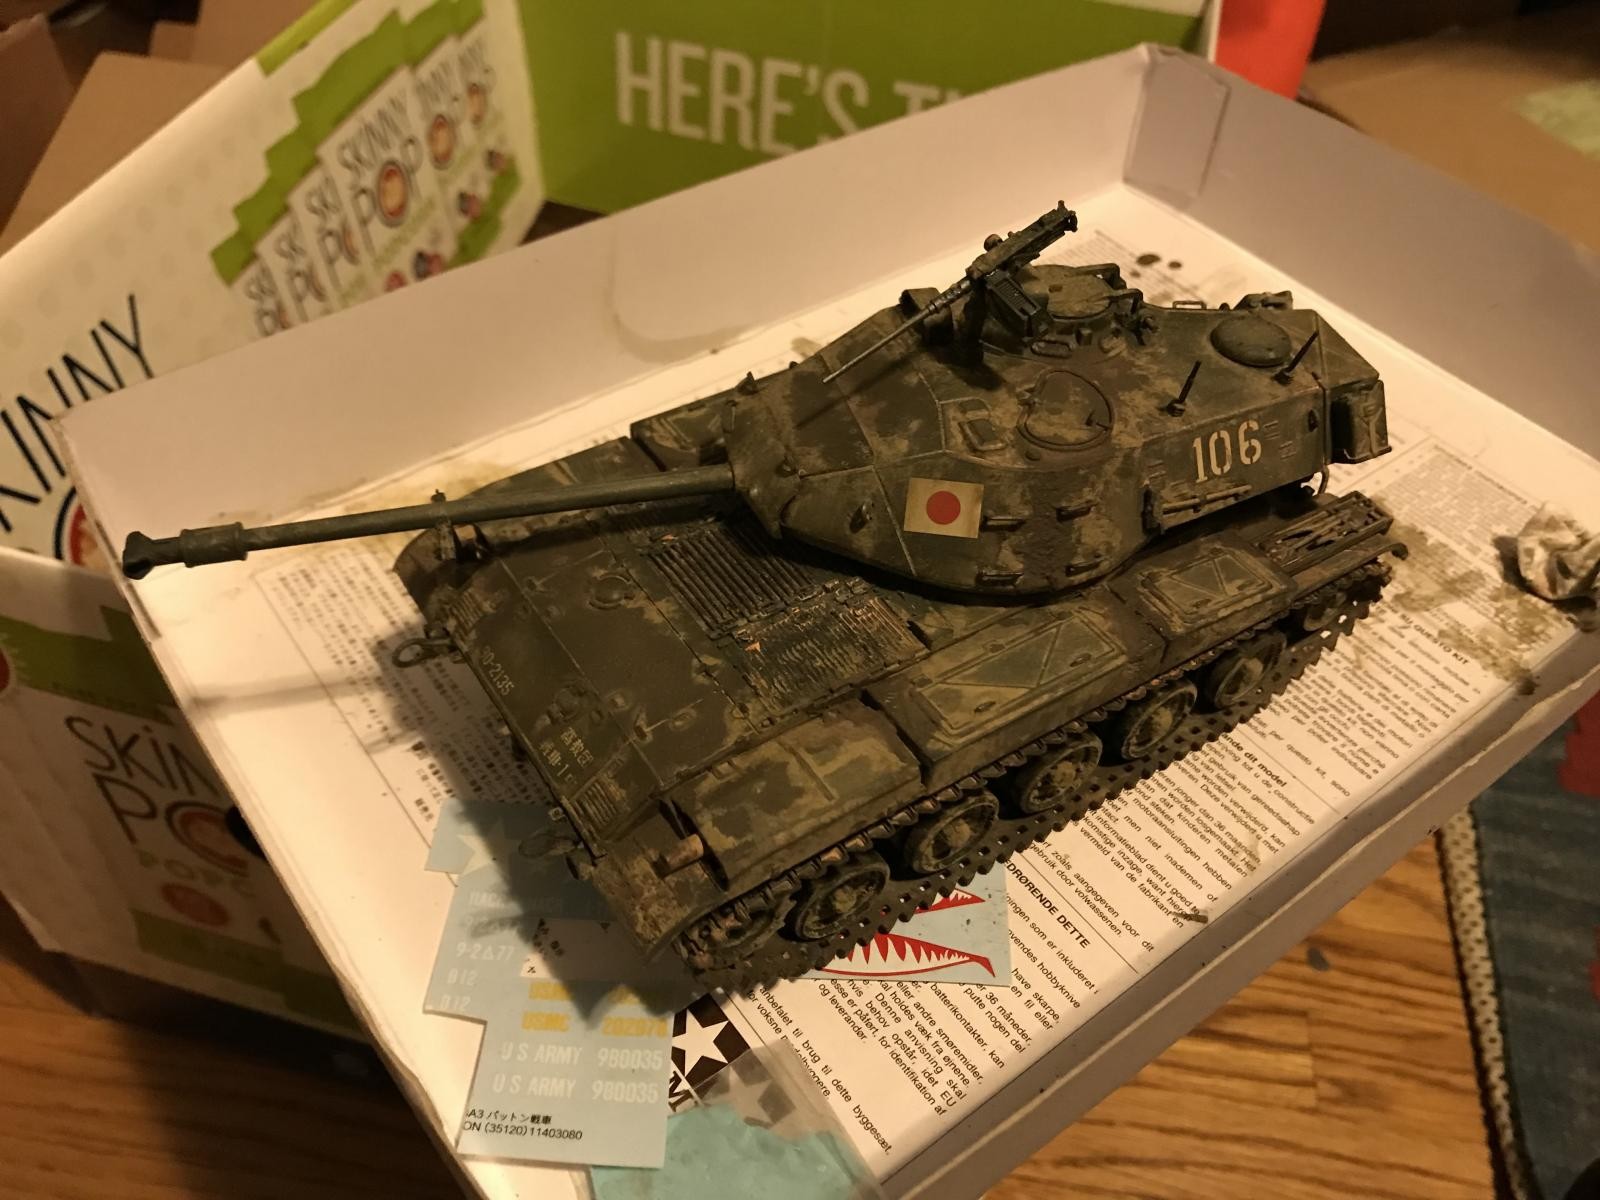
After this I saw that my "chips" were larger than I wanted so I decided to put a little pigmented rust on the edge. The specific pigment was new rust which was definitely a little too bright. I mixed it the pigment with a little of the brown wash to darken it. This worked well, or at least the first batch did. Seeing that the first little corner came out with a nice dark brown rust color I made more. I made more and threw it on with the intention of wiping it off and then letting it dry so that there would be some rust in the crevices. This time the rust dried bright orange which was very disturbing.
Instead of a getting a brush and trying to brush out the rust with water, I figured I would just throw a lot of dirt on which will cover the rust. As the only dirt pigments I had were European Earth and Light Sienna, I threw on Light Sienna. I again mixed it with the brown wash and everything looked fine except that it dried light again. It looked as if someone had dumped a bunch of sand on it. I tried wetting paper towels and using them to either blot or pull away the pigment. I got it to a point where there was reasonable amount dirt, but all of the dirt was one color and it didn't match the colors of the decals.
Eventually I make it out to my hobby shop and but the AK Wet Mud. I blot that on, pull some more of the Light Sienna off and everything is somewhat remedied. It looks like there was a heavy rain storm, the tank crew went out in the mud and did some maneuvers or just a walk around and maintenance check. All in all, it's definitely a lot dirtier than the last tank I built.


William that's one dirty tank. But hey if they're not dirty they're being washed and repainted for an inspection by some officer. Looks good to me, I say well done.
Now THAT'S an appropriately "weathered" piece of armor IMO. 'Clean' tanks are either on the assembly line or in the maintenance shop (and even that's questionable). I think it looks the part to a "T" [for tank]. I like it. Nice job. 🙂
Sounds like you managed to learn a few things through all the frustrations. Tank turned out good in the end. Nice job.
Great build and weathering! Isn't the tank you see used against Godzilla?
Hey, it's a Tank. It looks great to me!
William, Its a tank (the ultimate in off road vehicles), of course its going to get dirty ! and your application of the dirt looks very realistic. A nice recovery during the build, made for a nice looking model. Well done !
William, your M-41 is great. Like Louis G., I'm an old tanker. (Well, I am anyway - Louis isn't as old as I - LoL!) The weathering is fine - perhaps more than you're used to, but not at ALL too much for a tank out on maneuvers. It's actually MUCH cleaner than most tanks after a time spent "in the field" after a rainy week. Or day.
I do have a couple questions. 1) The "lifting hooks" - do you mean the small hooked pieces that attach to the welded-on eyes at the front and rear of the tank? If so, they don't need to be there, unless desired. Since the clevis (or towing clevis or tow hooks) can be lost going over rough terrain, many times they would stay in the hull sponson boxes (where the tools are kept) until needed for a tow. On the other hand, many of us kept them on until we were back in the Motor Pool. We NEVER left ours attached to the tank while parked "in garrison." Why? Because invariably, some crewman from another tank would come steal them to replace one or more they lost in the field!
2) What "brush guard" on the turret do you mean?
Anyway, your tank is excellent, my friend! Well done.
I'm don't know all of the correct terminology so it's probably more correctly called a lifting loop or just the welded-on eyes. Whatever the term it's supposed to go on the front glacis in front of the headlights. The brush guard I'm referring to is supposed be on the opposite of side of the commander. There should be a periscope there with either a wire brush guard or a solid covering similar to the commander's side. It definitely is too thin to make it in plastic, so I can see why it is not there. The only issue is that what's left on the model is just a raised rectangle above the loader.
Thanks for the comment and information
Thanks for the clarification, William. All vocabulary aside, yours is a fine Bulldog and I salute you.
Looks good!
Hello William,
Welcome to Imodeler ! I noticed you have built up a Chieftain too ...
I'm the other, "not quite as old as Jeff B. tanker" 🙂
I spent most of my time in M-60 A-1's and a few month in the M-1A1. My Dad was also a Tanker / Infantry Grunt, and he served in the Korean War and finished his Army career in 1962. Dad was a crewman in the M-4 A-3 and later series of Sherman's, M-26's, M-46, M-47, and M-48 A2's.
So between the two of us, we pretty much covered the recent tanks fielded by the US Army.
I built the same kit, but so far I haven't put any "dirt" on it. I did replace the tracks using a set from AFV club. That was a definite improvement.
Your kit captured the look rather well. Your M-41 looks good.
There is one little thing that most don't know about this tank, and several others from this era, like the M-46 and M-47 series.
It's in regards to the muffler shields. They are there to protect the crew from burns, and acts as a layer of very light armor to protect the muffler from small arms fire. These shields are about a 1/4 inch thick on the real tank.
They also help to conceal the tank at night time, since the mufflers can actually glow cherry red when the tank has been run hard for any length of time. If it's dark out, this red glow can give away the tanks position, which isn't a good thing when someone will be shooting at you if they see you type thing.
Since these mufflers get so hot, they often burn the paint off the heat shields. The paint on the shield above the muffler turns a different pinkish color and sometimes flakes off. When this happens the heat shield will start rusting. But it doesn't affect the whole heat shield, only the areas directly above the muffler. The effect is worse closer to the engine side of the muffler, and less prevalent towards the exhaust side. Sometimes the crews would cook the "C" or "K" Rations on these shields too. It's called improvising a hot meal. We tankers are an ingenious lot...
I hope this little bit of information helps you should you decide to build another tank that had these shields.
Well done, I like the dirt on your tank... Believe me, they can get much worse than what you have depicted, so there's no such thing as having too much on an armor model. You can put as much or as little. Anything goes...
Thanks for sharing this beauty with us.
I agree with our resident tankers above, your weathering has turned out well despite the setbacks you experienced.