A hard fought battle
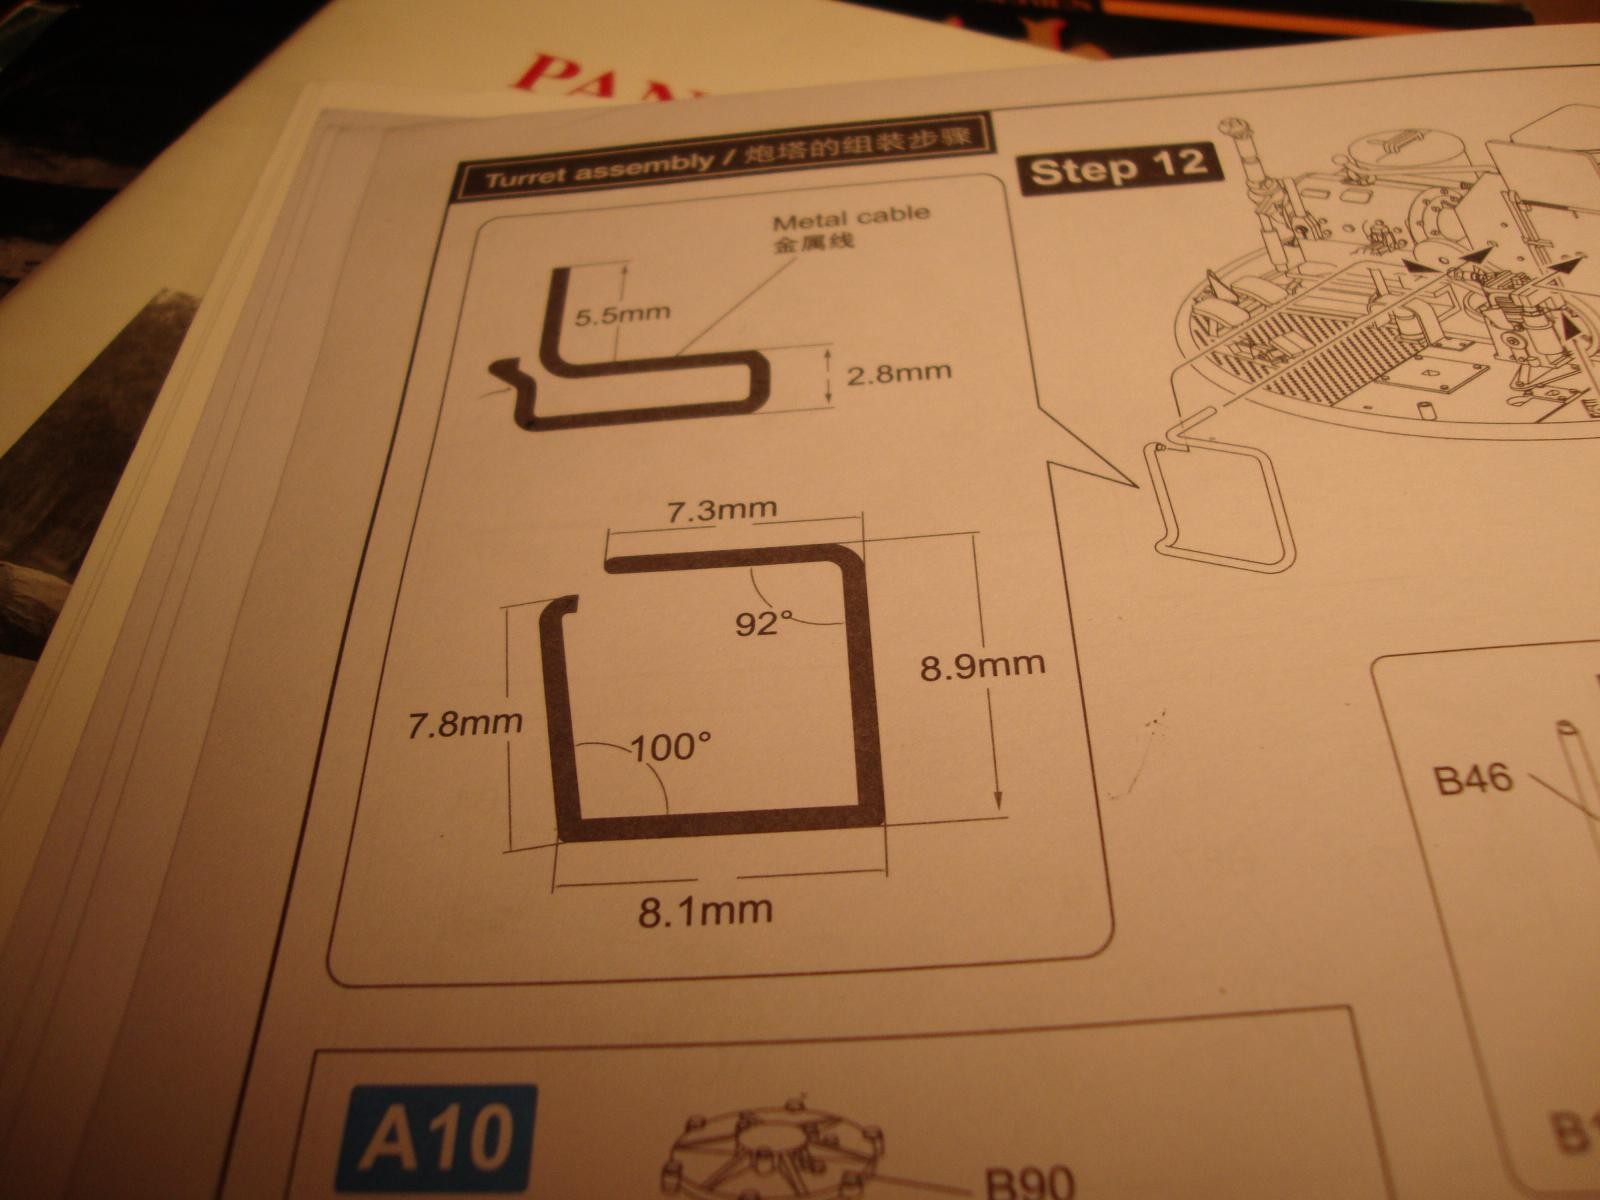
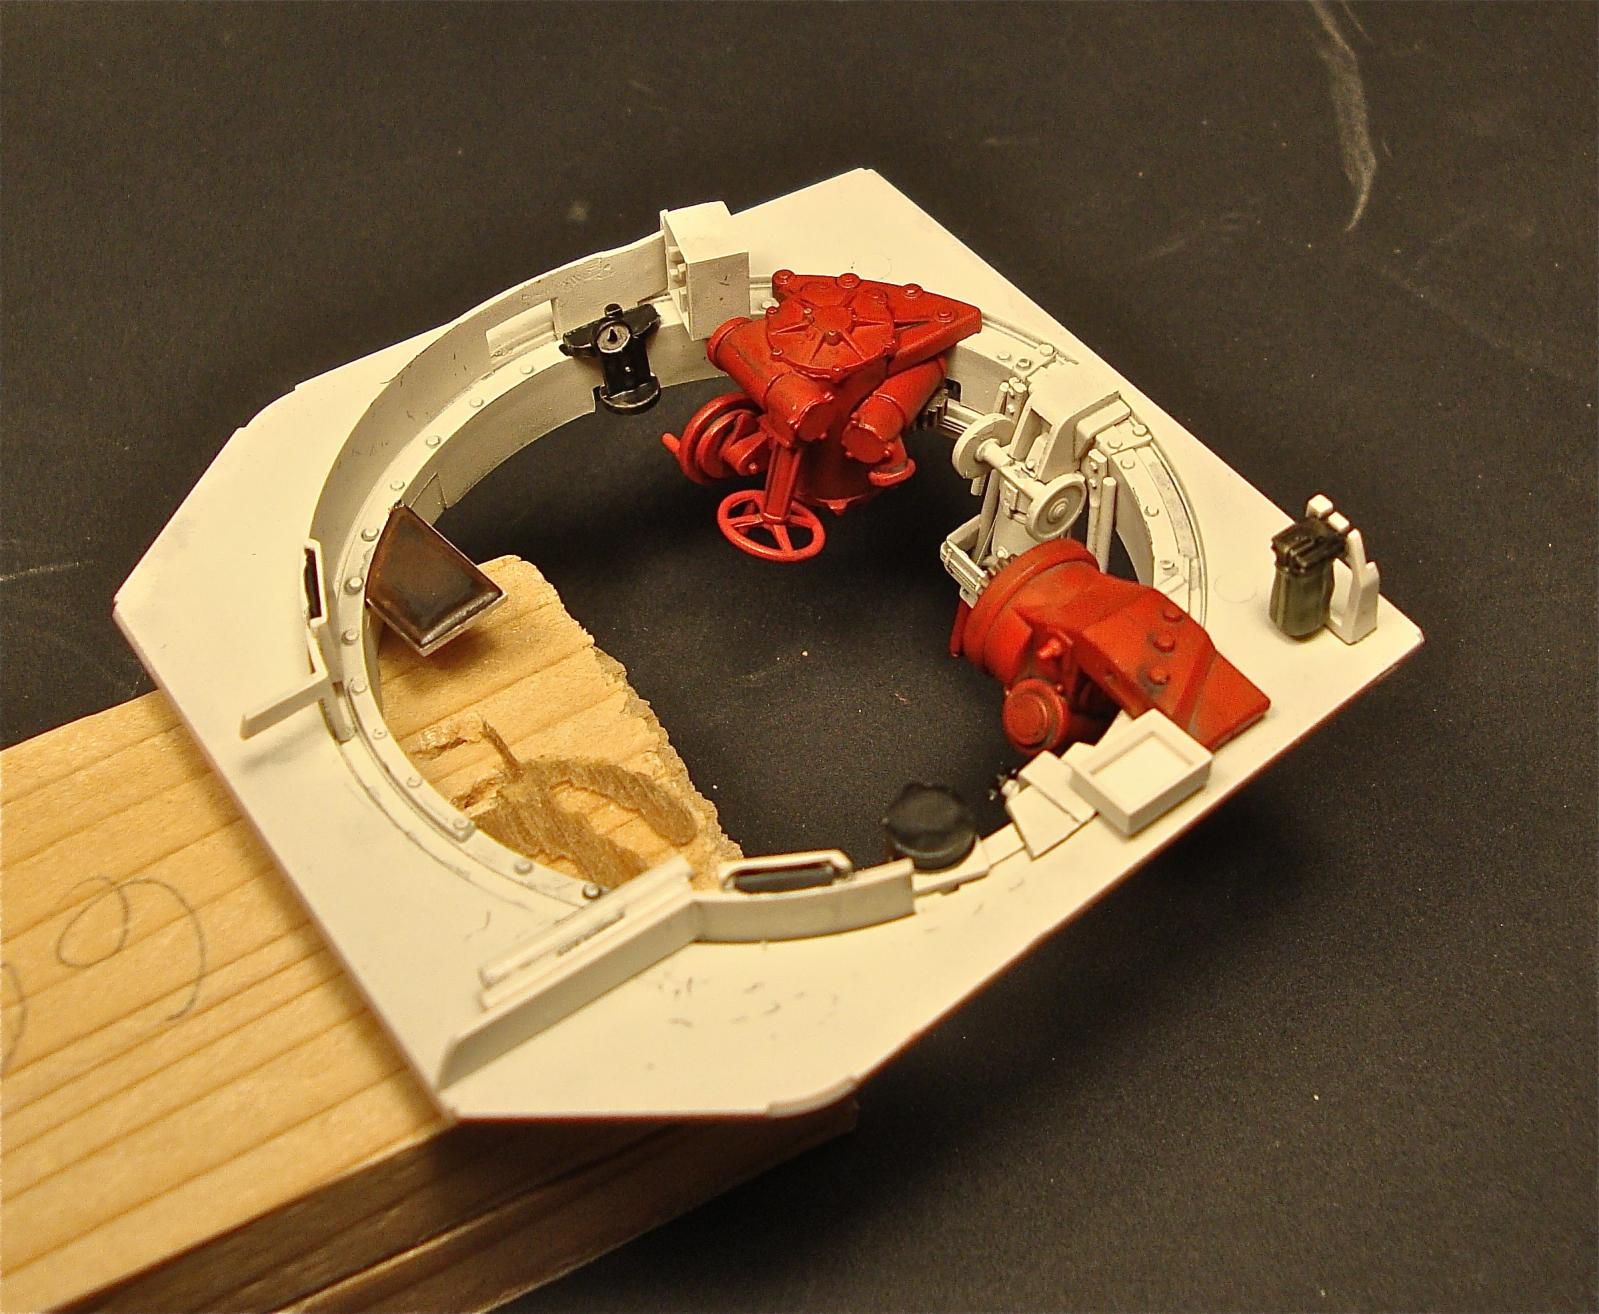
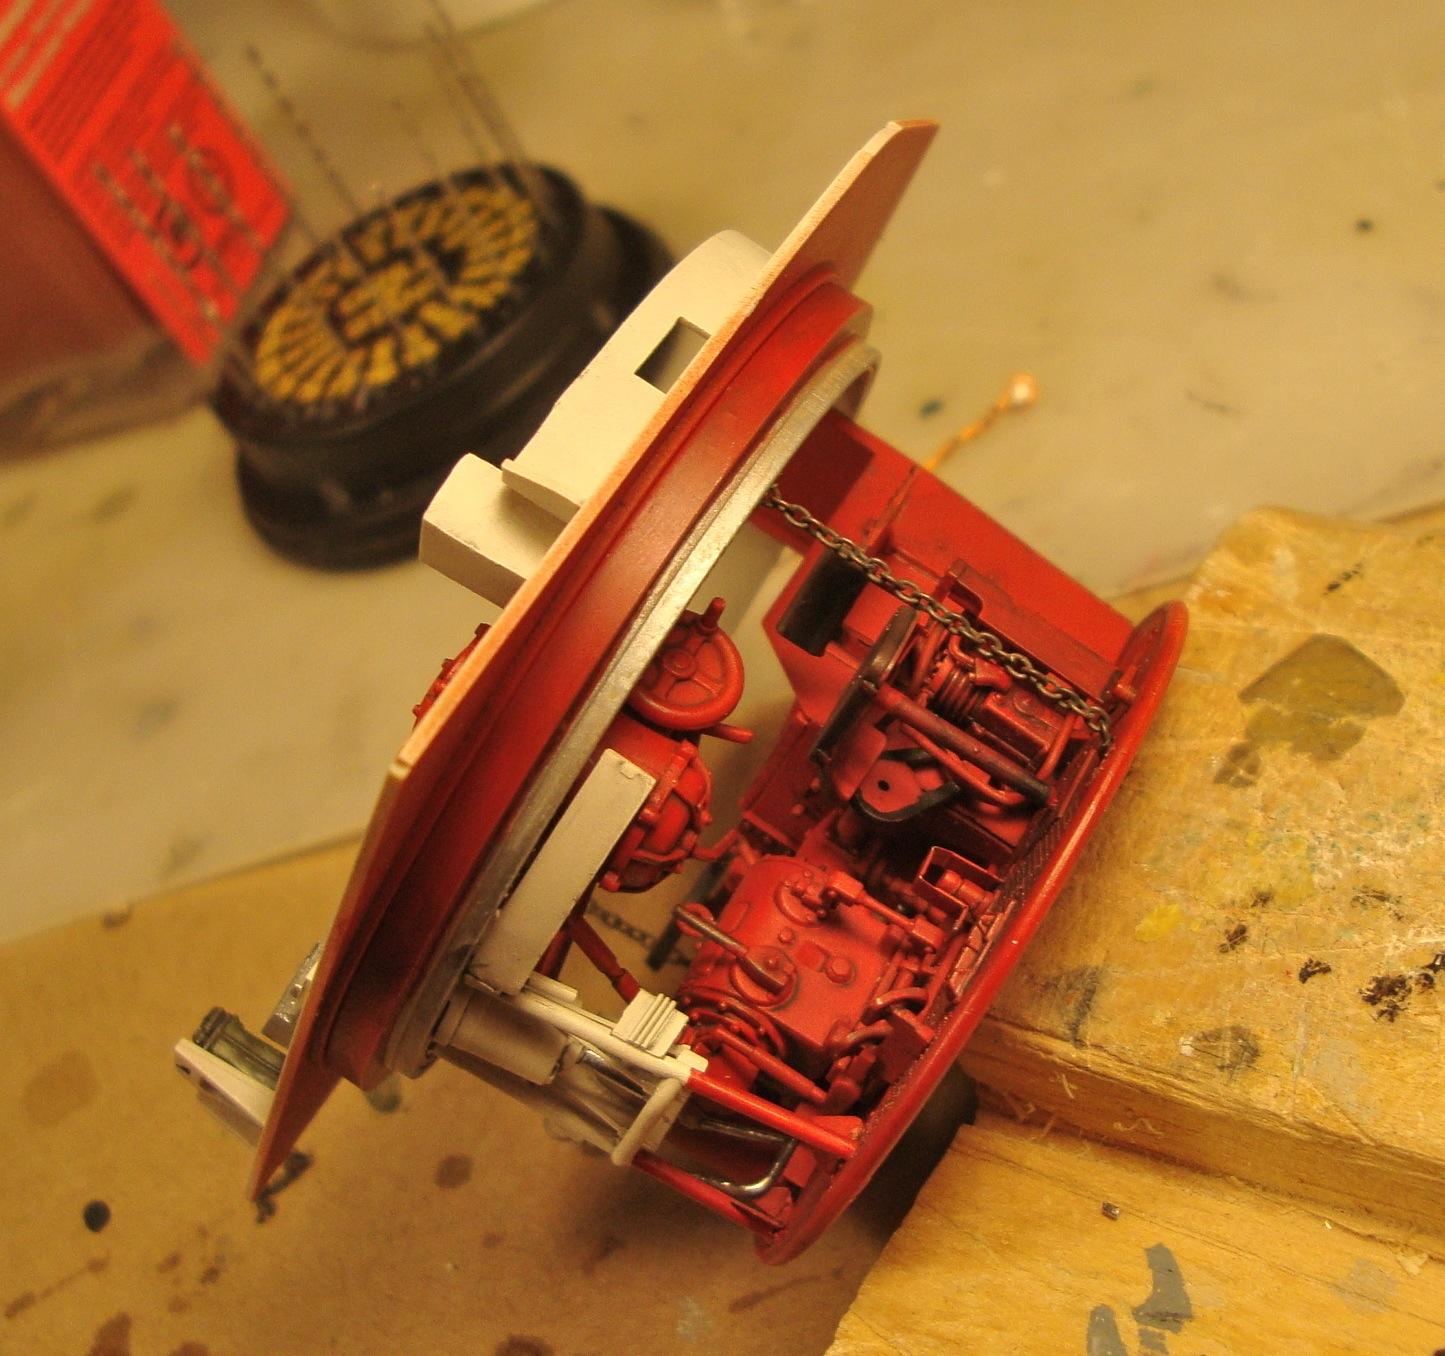
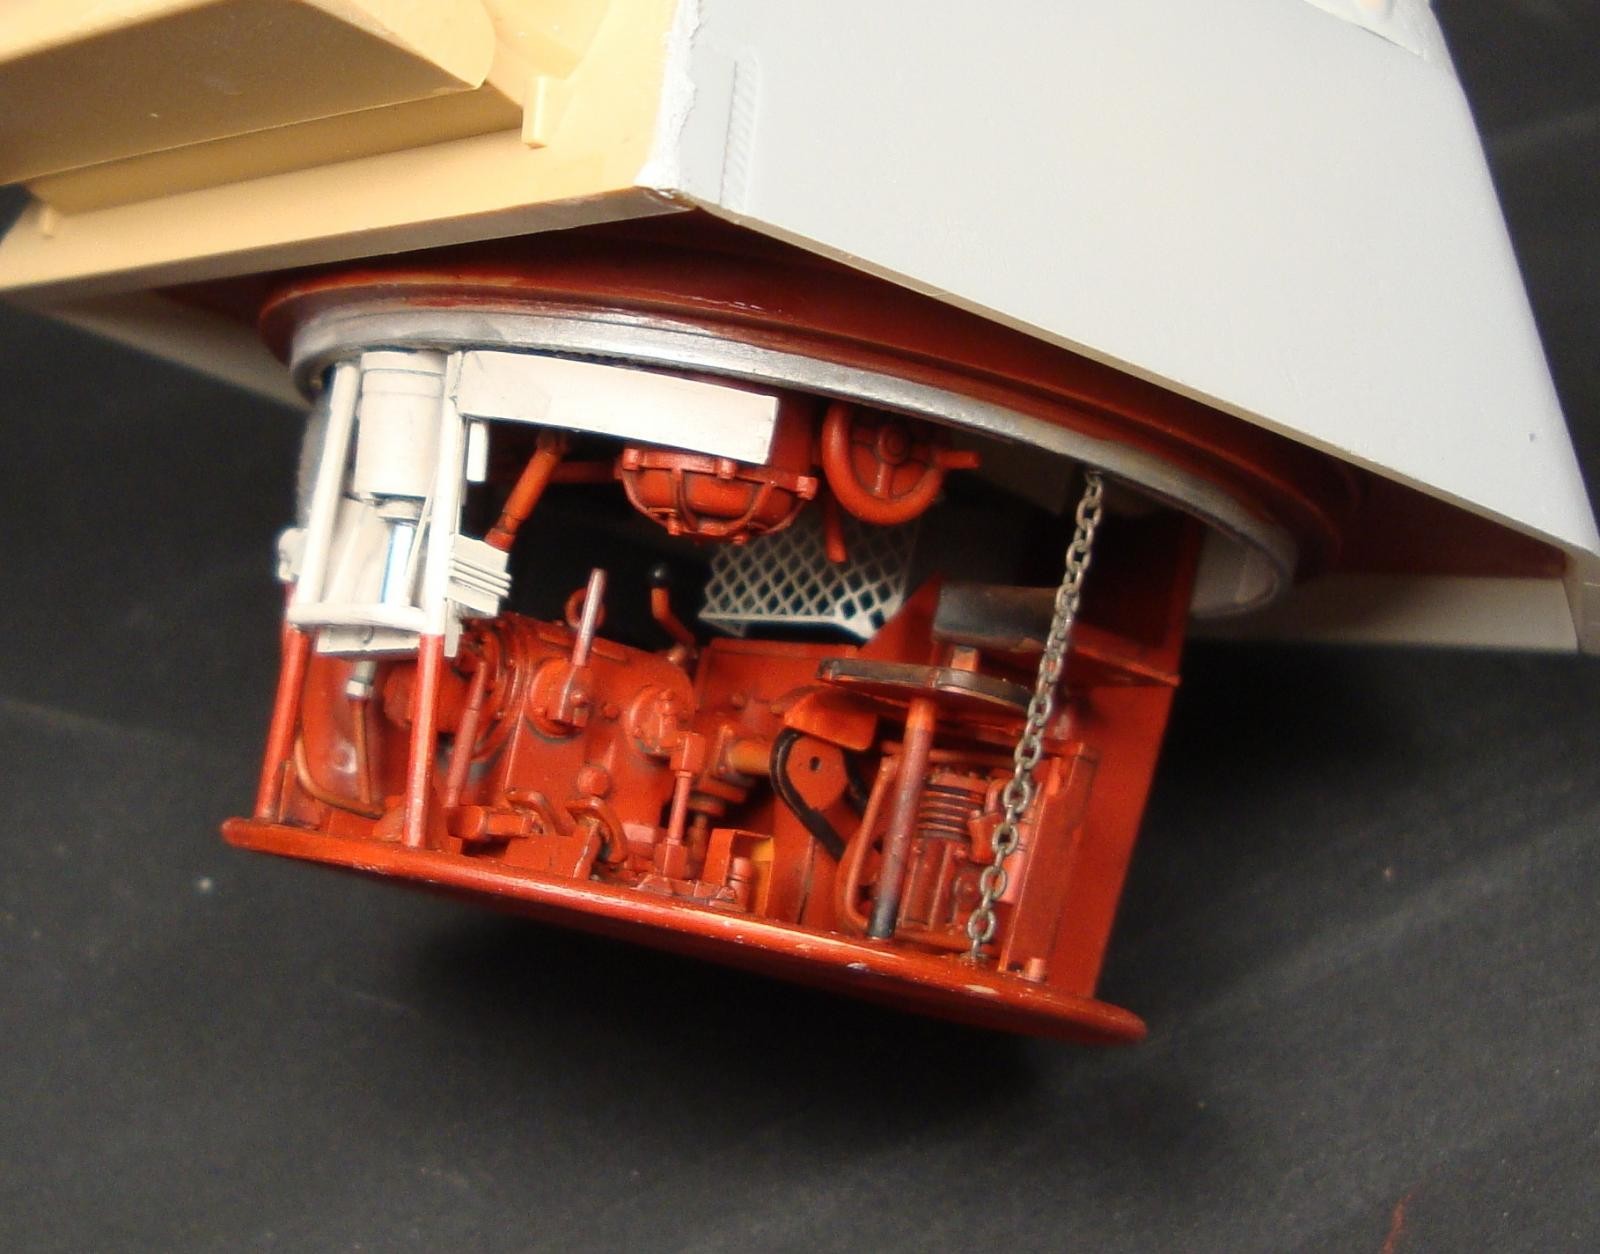
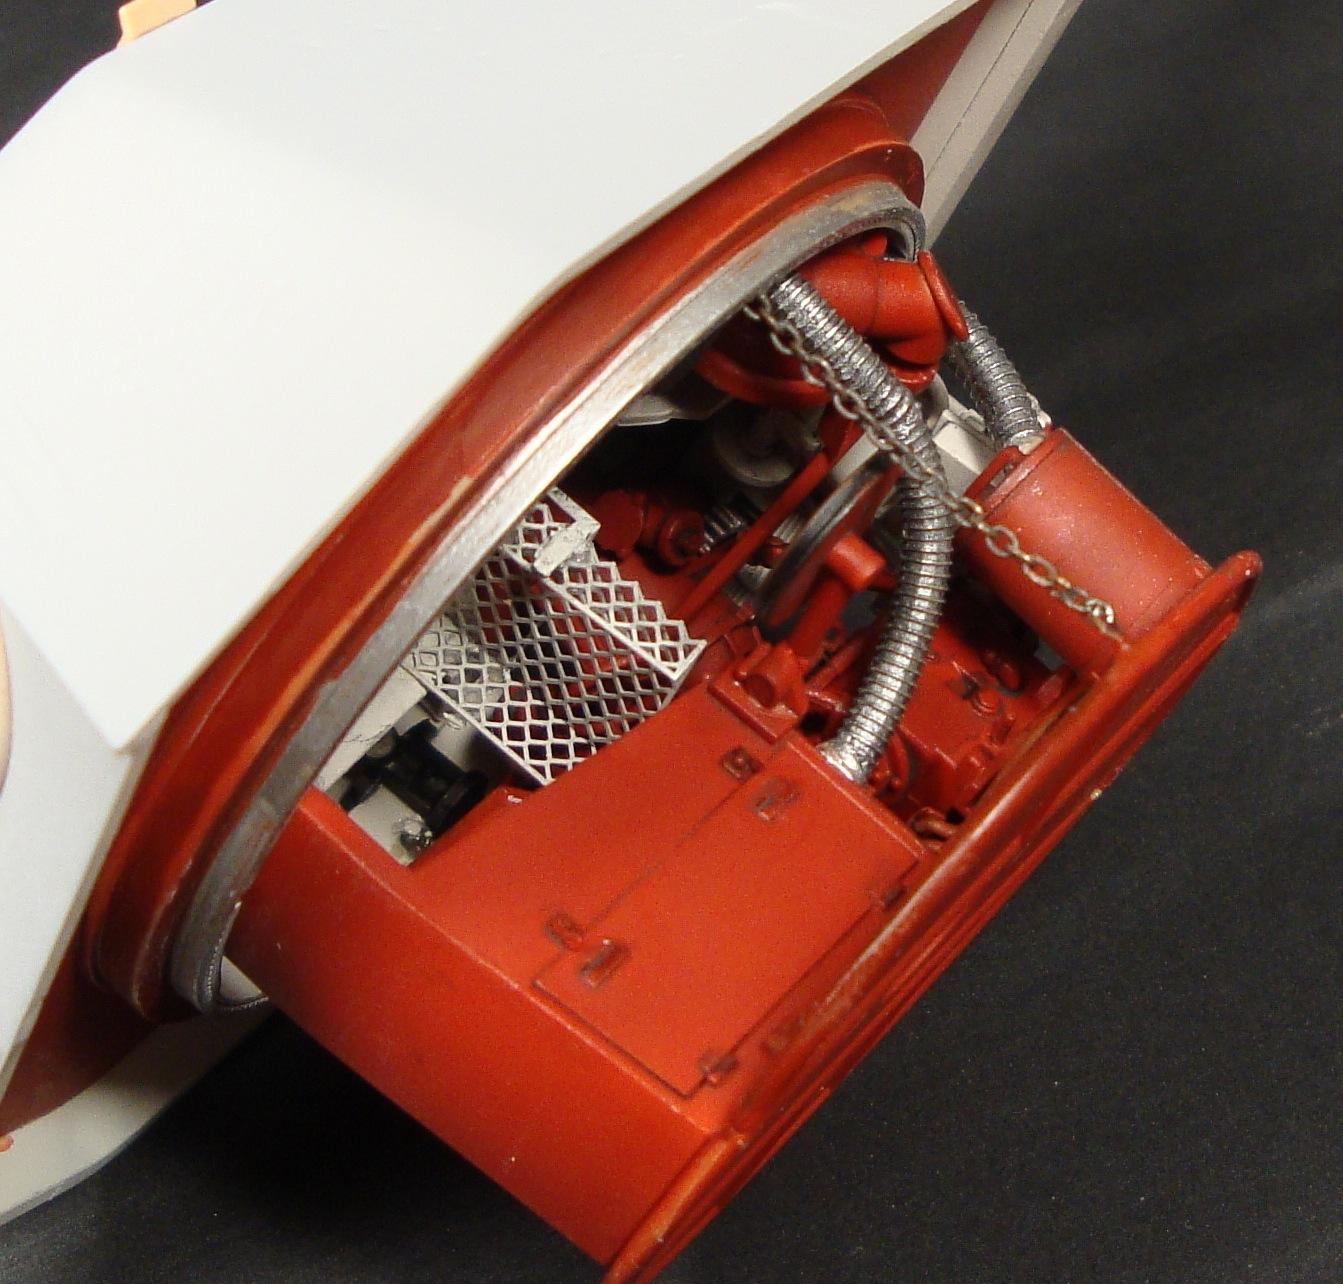
Ok, the story so far, the RFM Panther G, is in a word Amazing, in three words hard to build. Now that is with a caveat, you just really need to pay attention to the flow of the directions and read several steps ahead so you don't screw yourself up. This kit will NOT fall together like a Tamiya kit, nor is it engineered as well as Dragon kits. One thing is bending the wire included in the kit. The diagrams are not to scale, they just show the bends and the lengths. So what I did was attache and bend to try and match things as they looked on the diagram! That being said, it is a fun build with some patience and a little back tracking here and there. I finally got the turret innerds assembled, and then once I tried to fit them all together...well there was a few adjustments. The biggest hurdles were the flexible tubing from the roof ventalator to the turret interior, and then the gun "basket" kept hitting the interior so I could not get the gun in an elevated position. I wonder if RFM engineers actually assembled this kit or I was just inept at assembly. You can only dry fit so much ahead of time. Anyway, I replaced the PE chain on the turret sides with model railroad chain, and after adjusting fit here and there it all fit together! On to the hull!


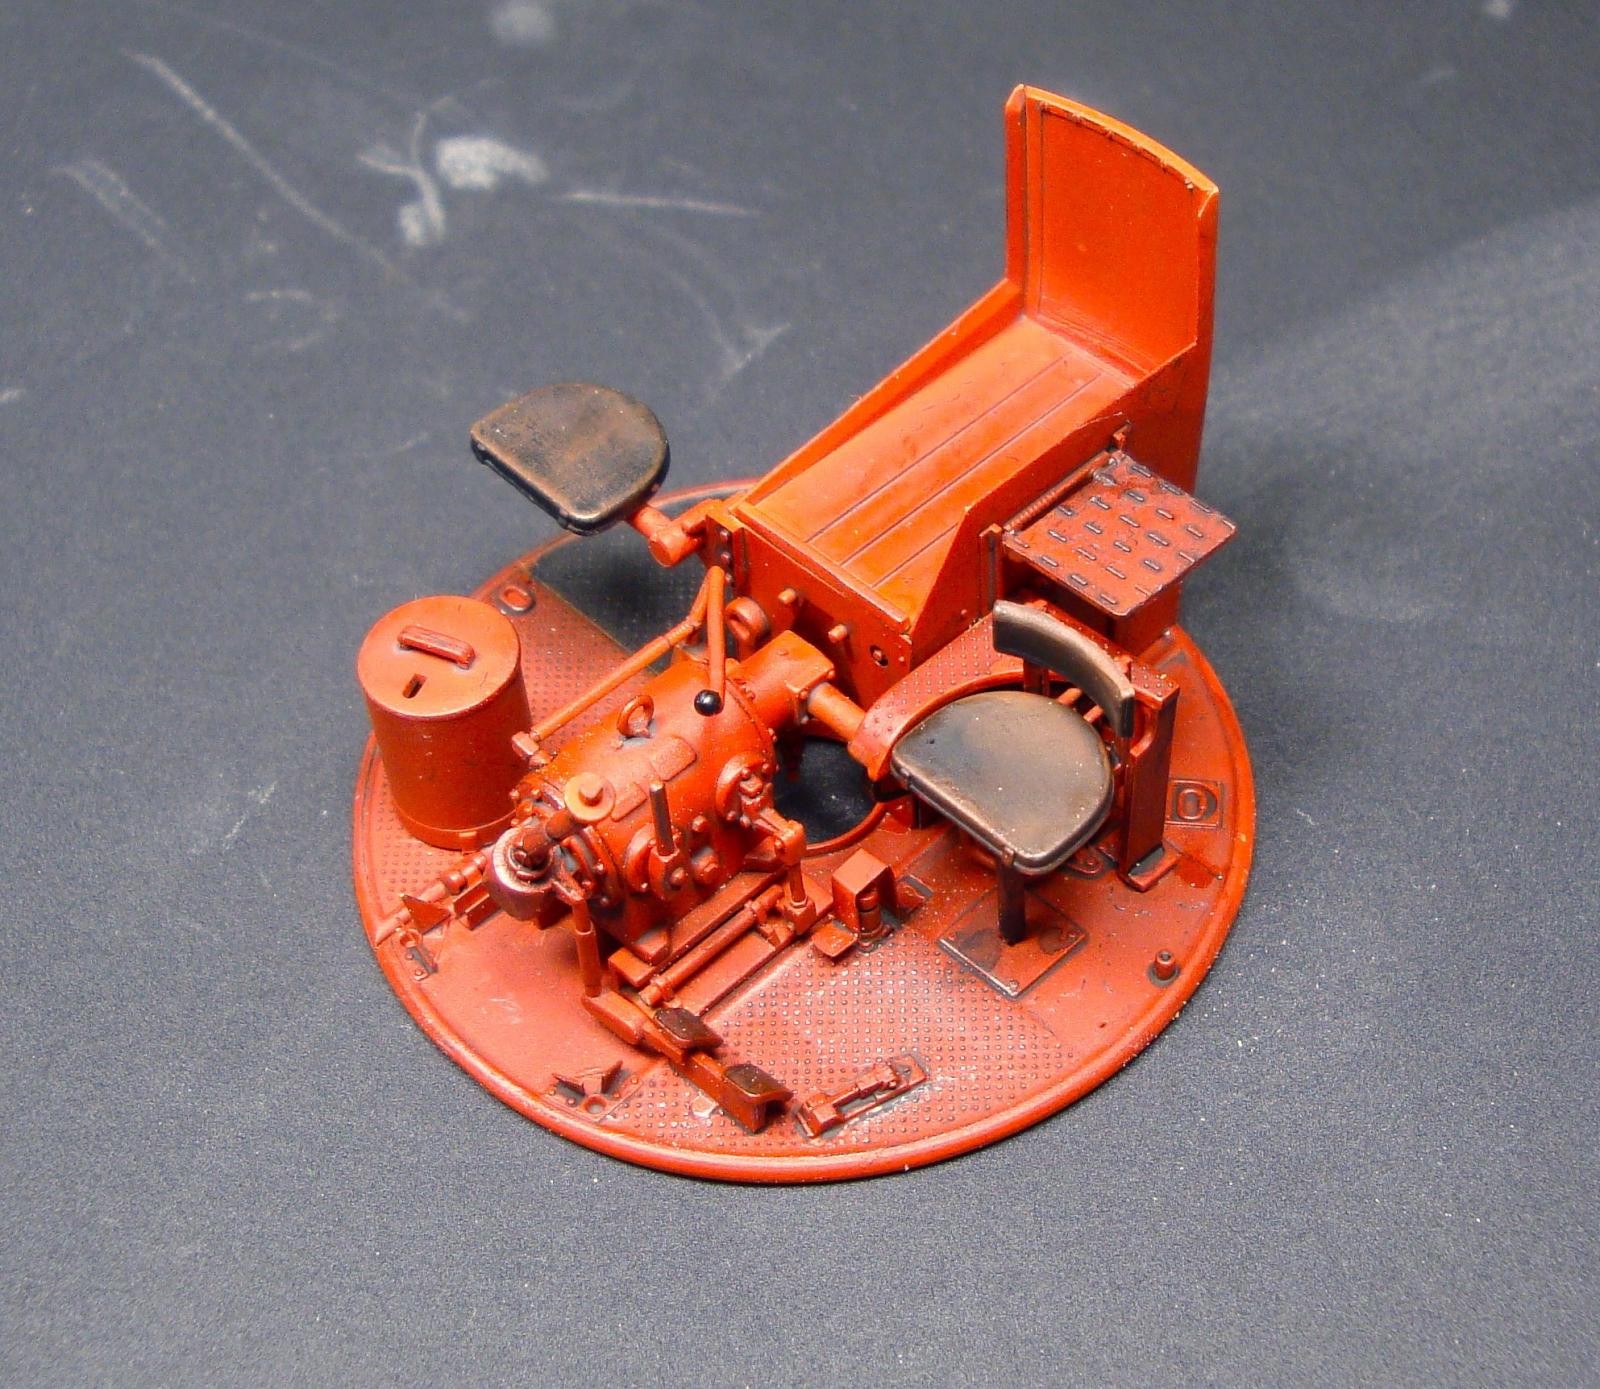

WOW, so far it looks amazing. The Turret detail is awesome and motivates me to give it a go also. What is the color (red) you used for that interior primer color? I love the look of it and how the details really pop with a little weathering. When you say "RFM" is that short for something else or is that the actual brand name? Not familiar with the brand?
Paul, RFM = Rye Field Models - their logo on my kit boxes looks like RMF, though. No idea why!
BTW where can I get one of those "airdale" mugs? Love it and the beer in it...LOL!
My daughter gave it to me when she moved out after getting married. I believe it is a San Diego based brewery.
Vague and ambiguous instructions aside, looks like you got a handle on it. NICE!
Rob, your Panther is coming along great! I really look forward to more from you on theis kit.
Also, I decided to buy my own kit like yours. I wanted (and got) the Limited Edition kit with clear hull & turret parts. I HOPE mine comes out as well as yours!
Just read ahead and then be ready to adjust the fit of things on occasion. I have the way they do directions pretty well down now, but fitting all the sub-assemblies together was a challenge!
Thanks guys, the primer red is my own mix of Tamiya flat red and flat brown. One of the hardest things has been finding interior pictures of later Panthers, then trying to guess colors. There are some black and white pictures that show where the primer starts and such, but detail colors are a little vague! Museum Panthers are universally repaints based on Panther A colors so they have been of little use for painting. The lower hull should be easier color wise, after late 44 everything but the engine and transmission is primer red!
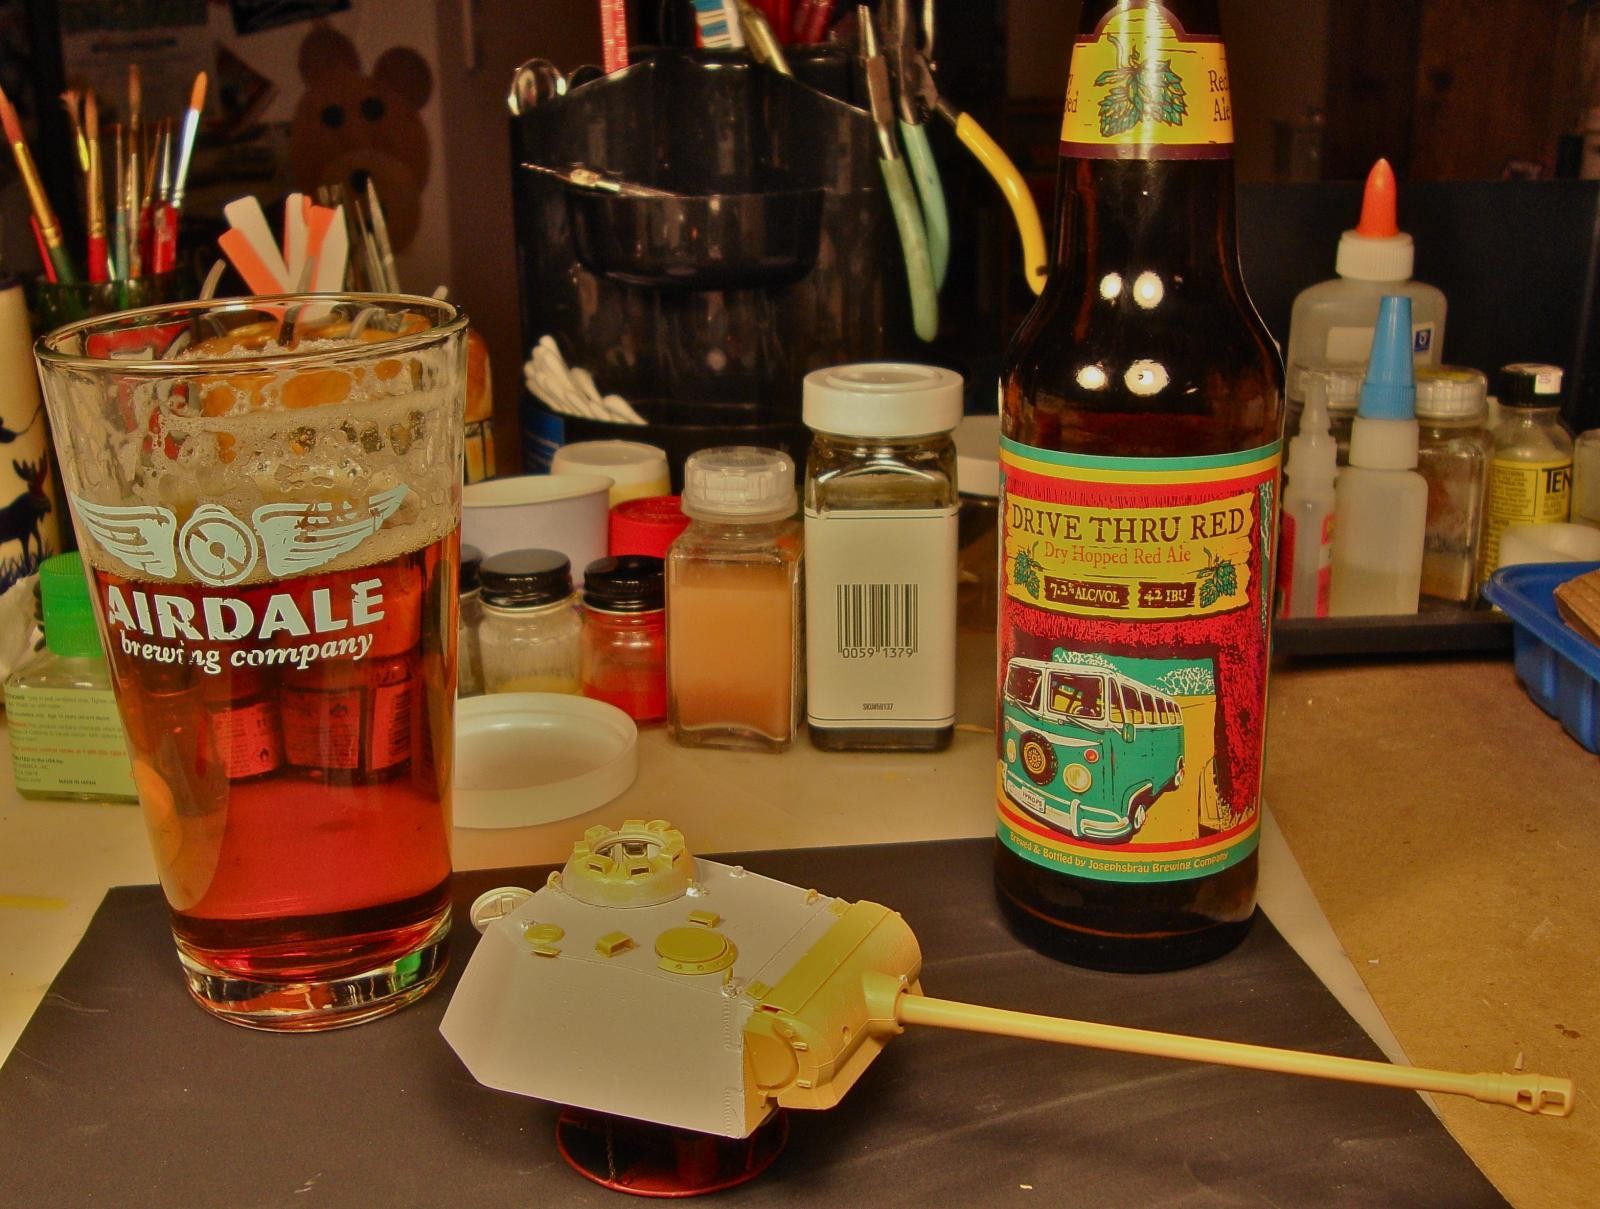
Of course, the most impressive thing about this build, Rob, is the fact you can model to this high standard drinking 7.2 % vol beer!
Yes, indeed!
Well done for not only putting up a good fight, but clearly winning the battle. Lovely work.
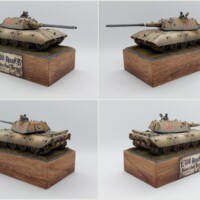
Jeff, I found this the other day and thought you might be interested if you are still thinking of making a T-62?
http://www.primeportal.net/tanks/till_sunderman/t-62/
nice work so far!
Looks great!