Work in Progress: Update 4—1/48 Vintage Tamiya F-15A Eagle
Ok this is my 4th and final update for this build until a final reveal. Here is a link to Update 3:
https://imodeler.com/2018/10/new-project-update-3-1-48-tamiya-f-15a-eagle/
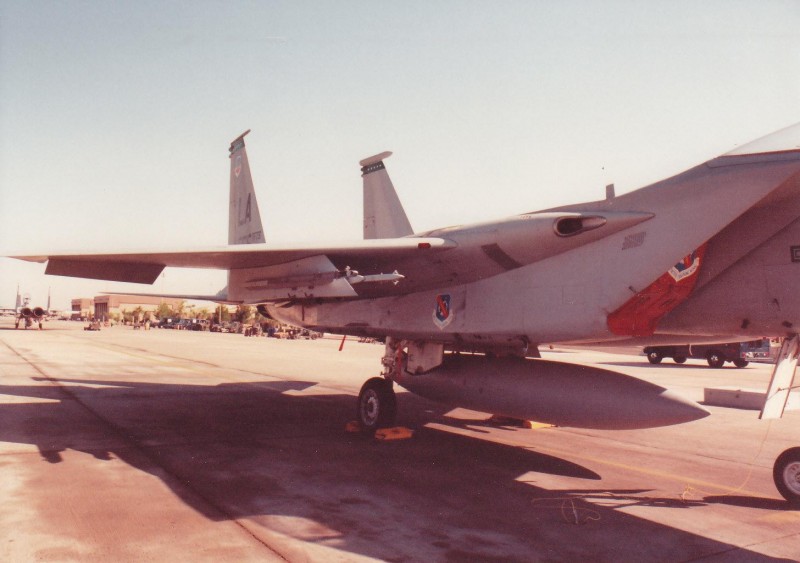
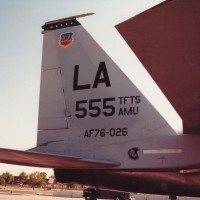
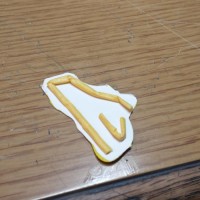
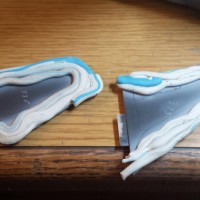
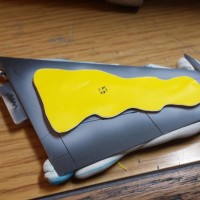
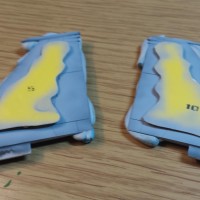
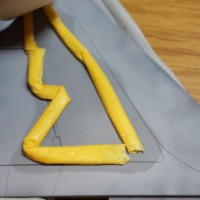
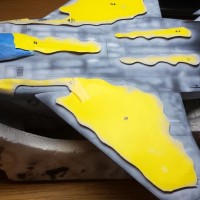
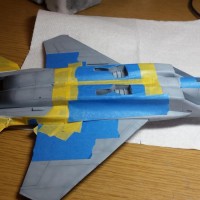
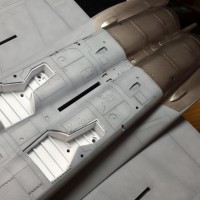
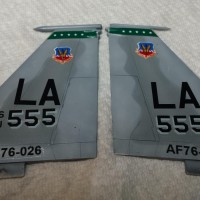
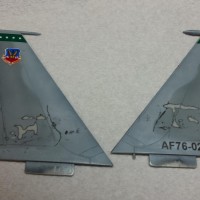
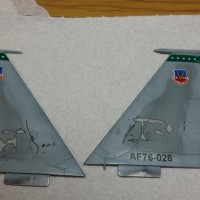
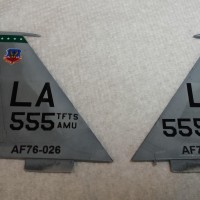
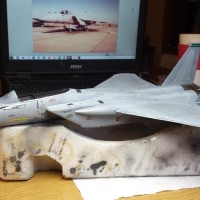
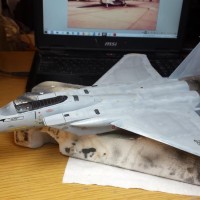
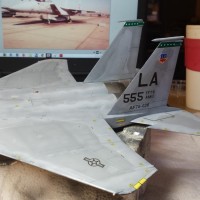
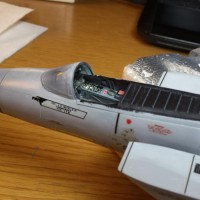
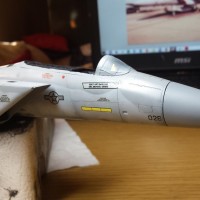
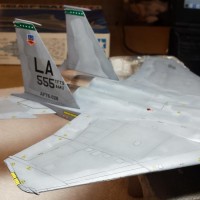
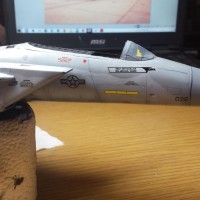
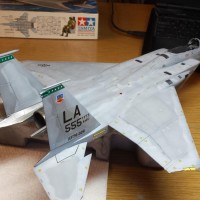
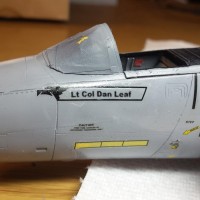
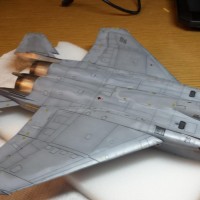
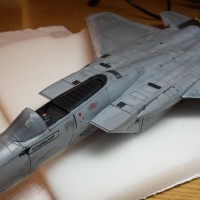
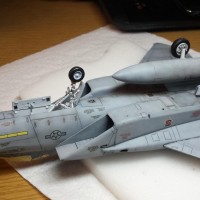
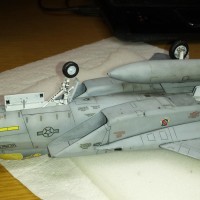
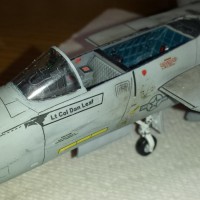
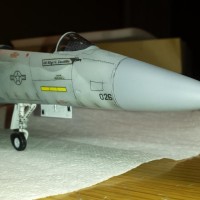
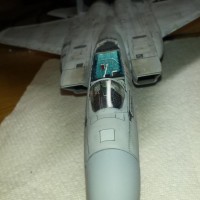
Still plugging along slowly but surely. Most of the work still continues on the final finish paintwork with application of decals. It was very important that this model replicate the exact F-15 "026" of the 555th from LUKE AFB. Unfortunately there was no single decal sheet which completely covered this exact jet, or even a similar jet, from this squadron during this exact time frame. My customer was very motivated to make it happen so he did some extensive research purchasing several decal sheets which contained elements needed to replicate the markings of this exact jet. He also provided a sheet which just contained the proper block letters and numbers in various sizes. The challenge was taking the best and/or most appropriate from each sheet to create this one exact aircraft. I had to cut, splice, re-purpose, and re-make many decals to accomplish this feat. The pictures show some failures along with trials and errors. I finally arrived at something very close. I did not have any new F-15A stencils so was forced to use all the stencil decals provided on the original Tamiya decal sheet. Many of these older decals yellowed but I was able to bleach them using direct exposure to sunlight. This worked for some, but not all. What amazed me was despite the yellowing these decals still performed well, better then some of the newer ones provided to me. The last challenge related to decals was replicating the exact aircraft commander/pilot and it's Crew Chief (CC) name tags. I was barely able to accomplish this using a simple paint program and the text function. I needed to use the smallest font available and print out on decal paper, paint over the old names, and replace with the appropriate names supplied by model customer.
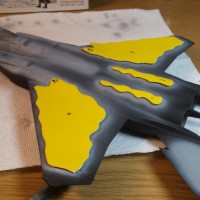
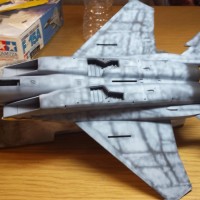
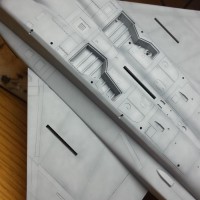
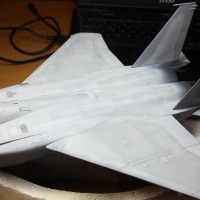
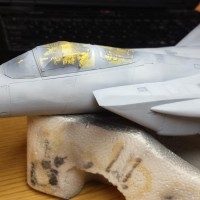
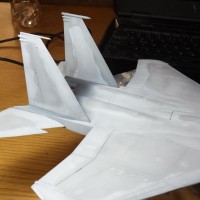
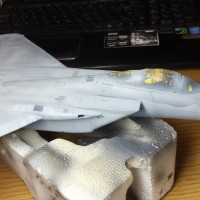
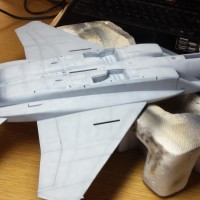
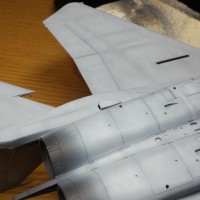
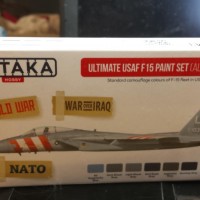
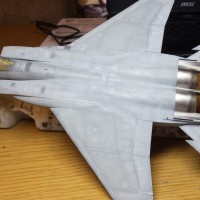
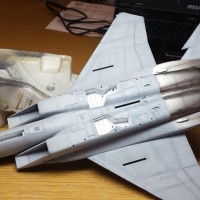
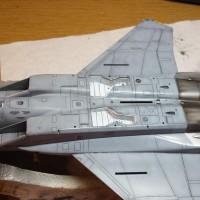
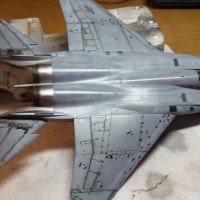
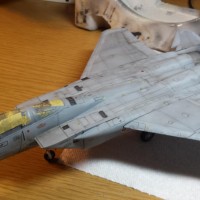
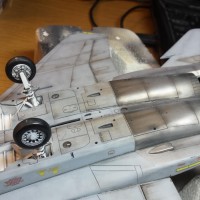
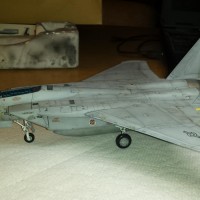
This was the squadron commanders aircraft so it needed to be somewhat clean, and free from excessive blemishes, but I was given permission to still make it look used, worked on, and old. After all it was the last of the older F-15A's with a lot of flight hours prior to being replaced by the newer "C" models. I tried to copy the used and dirty aspects exactly from the pictures provided. Most of this was accomplished with Model oil paints applied over gloss finish and manipulated with various sized paint brushes. I did apply an AK Interactive Panel Liner for blue/grey paint over the entire aircraft. This was applied as a pin-wash as oppose to a filter. The whole plane was then airbrushed with Vallejo Matte Varnish which worked wonderfully.
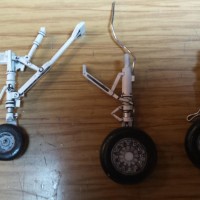
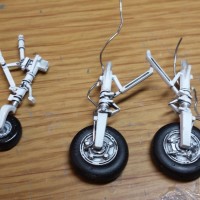
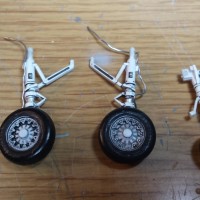
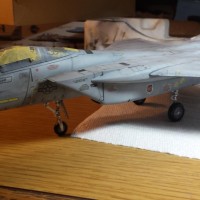
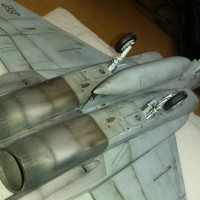
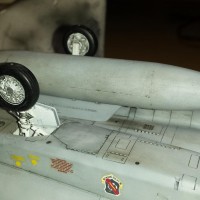
I then installed the landing gear. I needed to manufacture brake lines using lead solder wire. The landing gear needs to be sturdy b/c this model is big, and actually very heavy. Tamiya, as usual, was smart, and supplied metal rods to sandwich withing the landing gear legs. I also attached the center drop tank at this point. When completed the model will be armed with 4-Sparrows, and 4-Sidewinder missiles. No other drop tanks will be added. I have not even started work on the armament. The ejection seat, although primed, still needs all its detail work and painting.
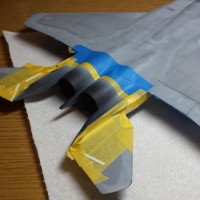
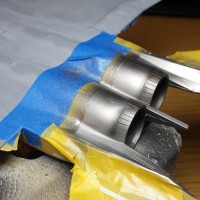
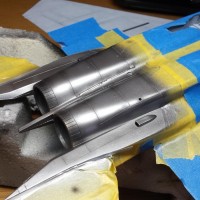
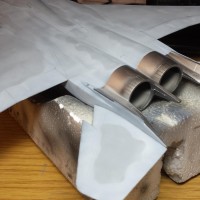
The factory exhaust for this model is horrible! So we ordered some AIRES resin replacements w/o Turkey Feathers. They just arrived so I will be working on those today and hopefully by end of day they will be painted, weathered and installed. Hopefully!
Stay tuned for final reveal.









Beautiful Eagle, Paul! I love the F-15 - it's my favorite aircraft since the F7F Tigercat.
The weathering & aging - great.
The delicate pattern - great.
This model - GREAT!
Your customer should be VERY happy!
Lookin' good, Paul...almost there! 🙂
Beautiful job on the paint and weathering! Looking forward to seeing the final reveal.
Your giving this Eagle proper claws!
It would be great if you gave a tutorial on your oil paint weathering method. Looking good!