Review: Build Review – Airfix 1/48 Bristol Blenheim Mk.IF
This article is part of a series:
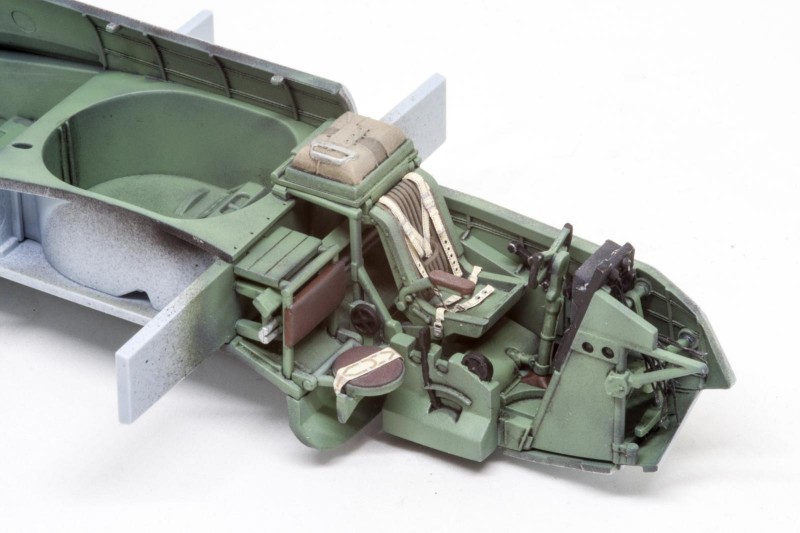
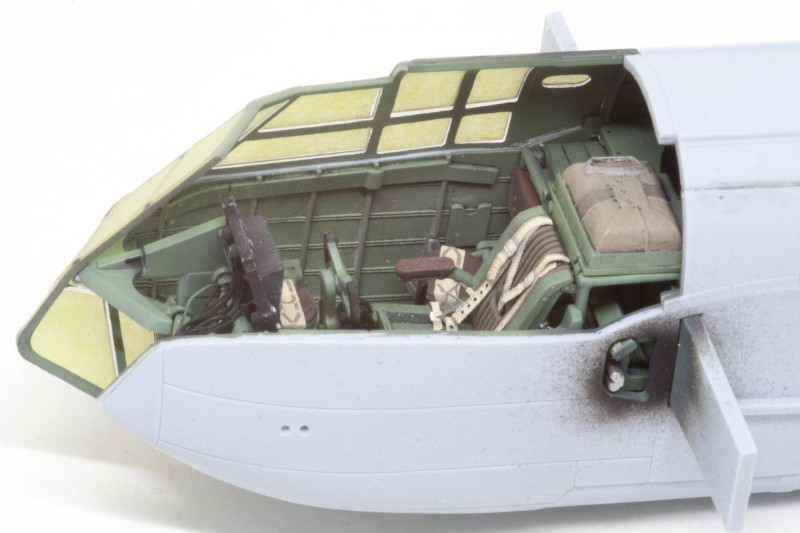
Building the Airfix Blenheim does not differ from any other aircraft – construction starts with the cockpit. So instead of walking through the whole routine I will focus on what my particular experience and thoughts are.
Parts fit
There are a couple of areas requiring extra care, so let's walk through them one by one:
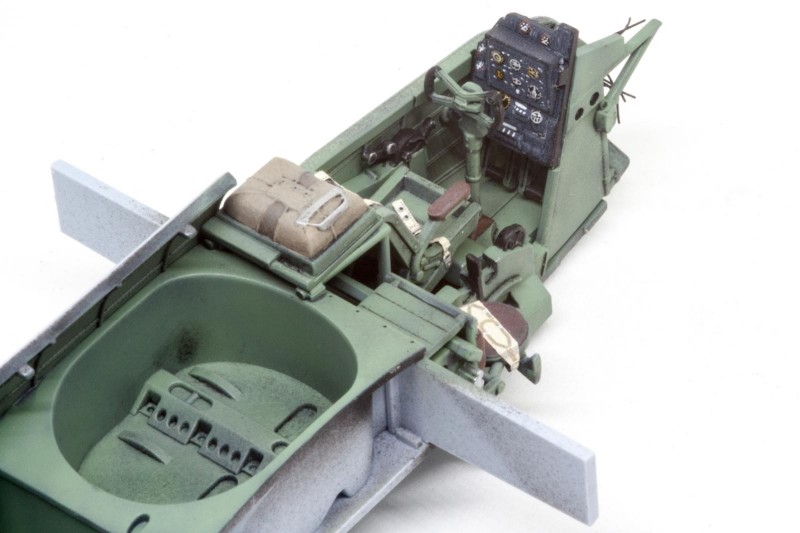
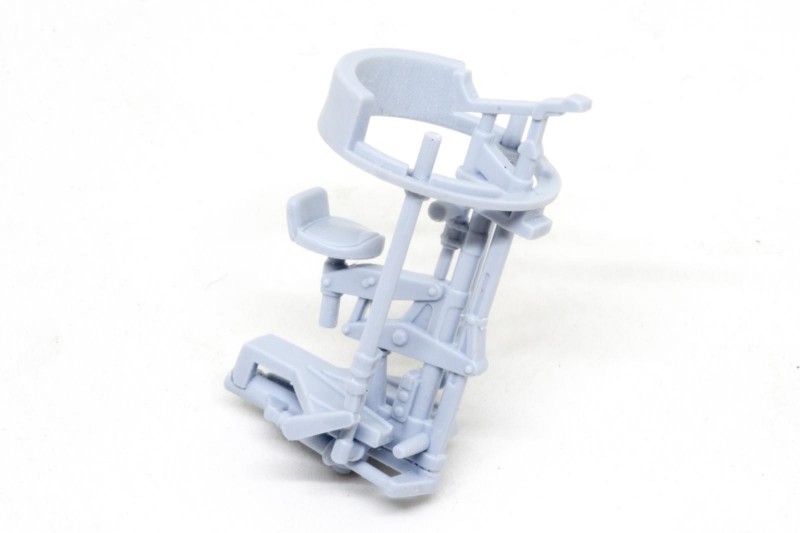
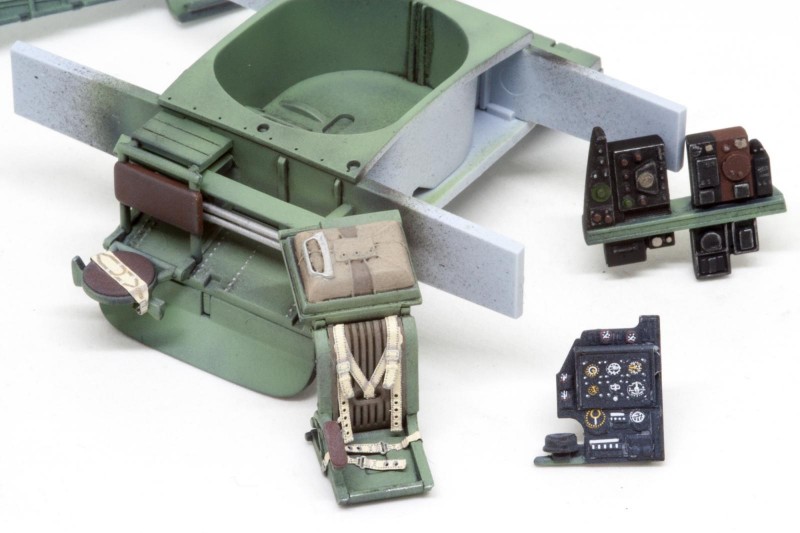
The cockpit is an intricate assembly, but goes together without difficulties.
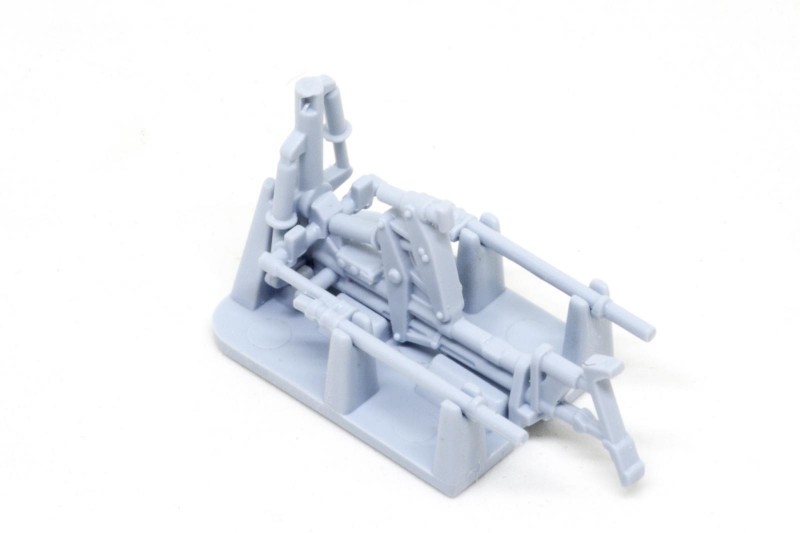
The same goes for the rear gun turret, just make sure to not glue the parts to the jig provided in the kit

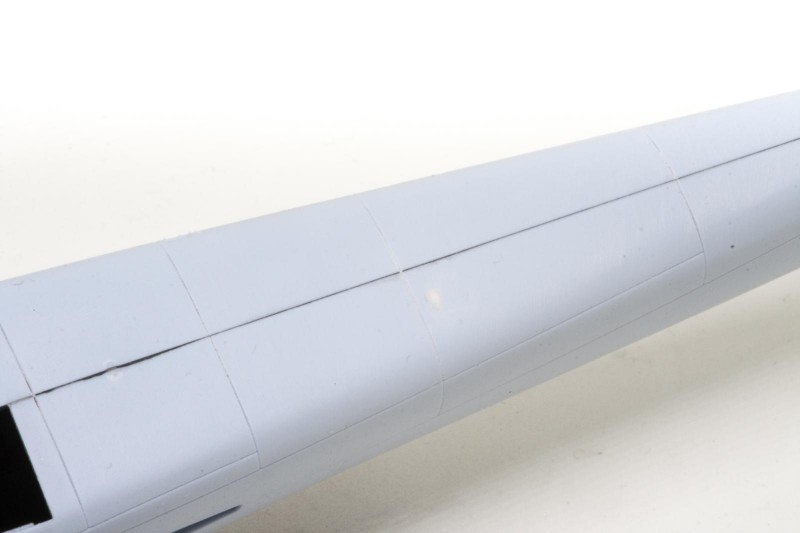
The fuselage joint is okay for the most part, although you might encounter a small step in the front section. There are also some shallow sink marks you might want to fill.
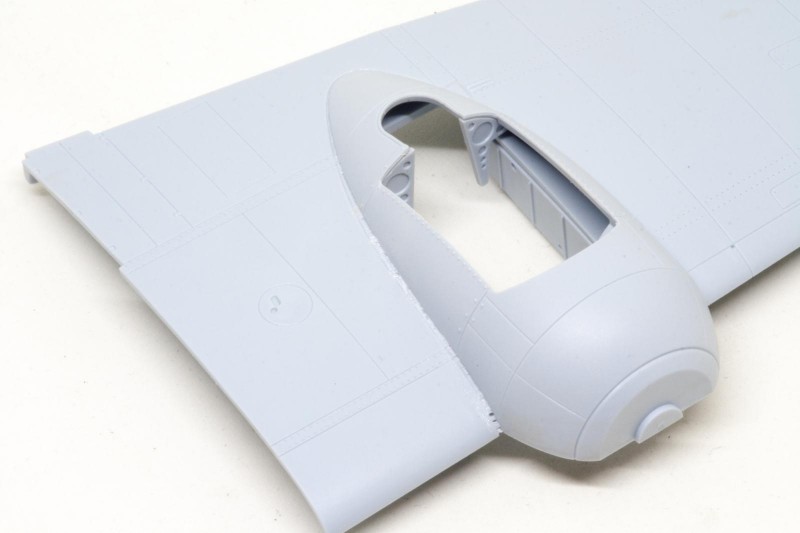
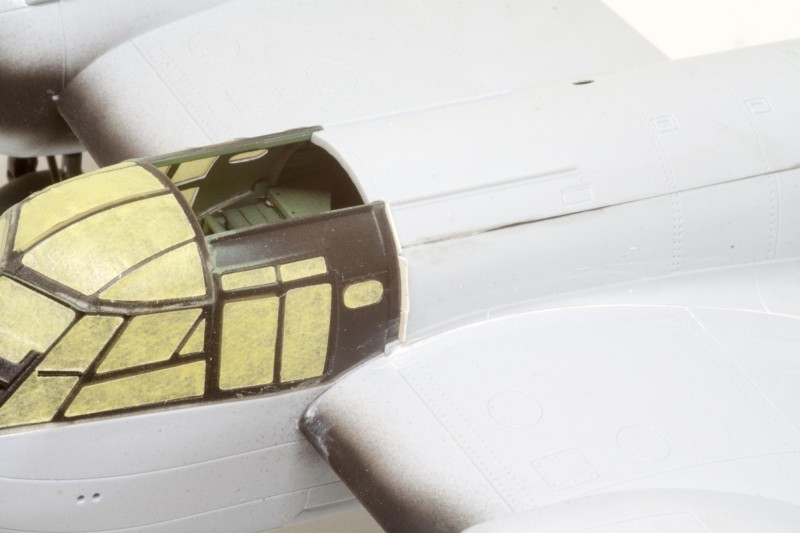
The engine nacelles on my sample were a mixed bag. The left one fit very well, and a quick pass with AK Interactive putty and a wet cotton bud produced a perfect joint.
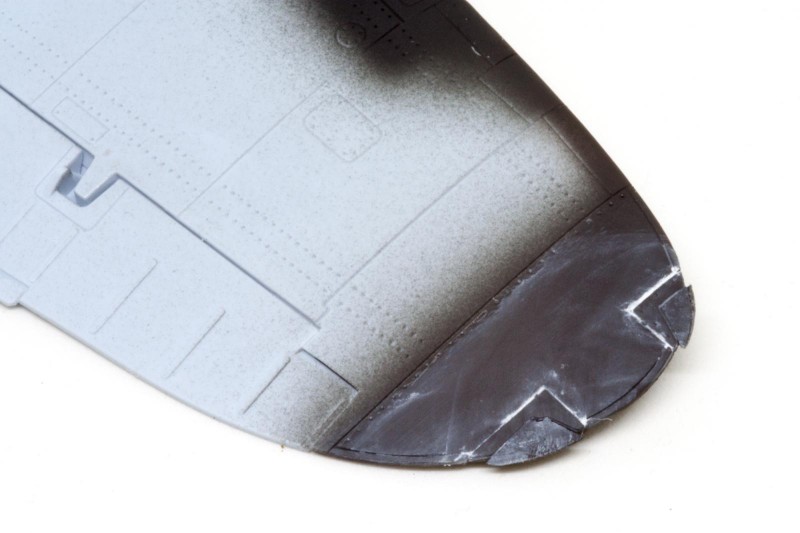
The right one on the other hand…
I can say for sure this was not user error; the whole thing was just a touch too narrow for its recess.
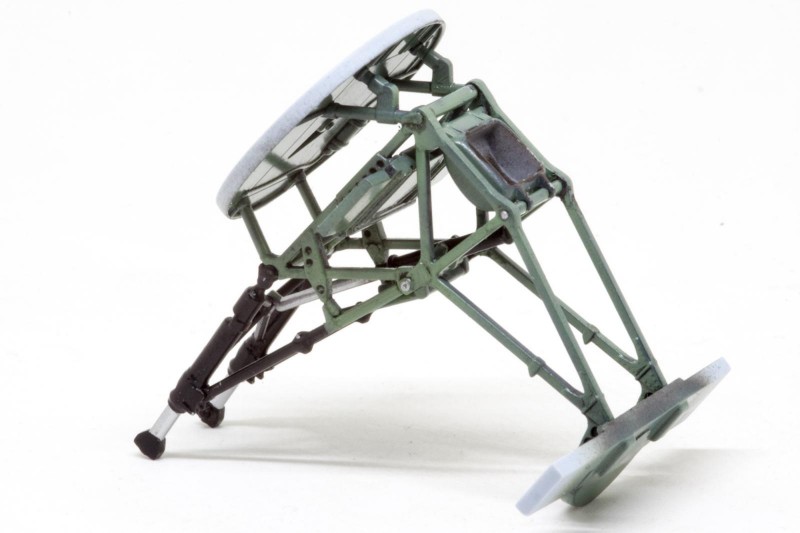
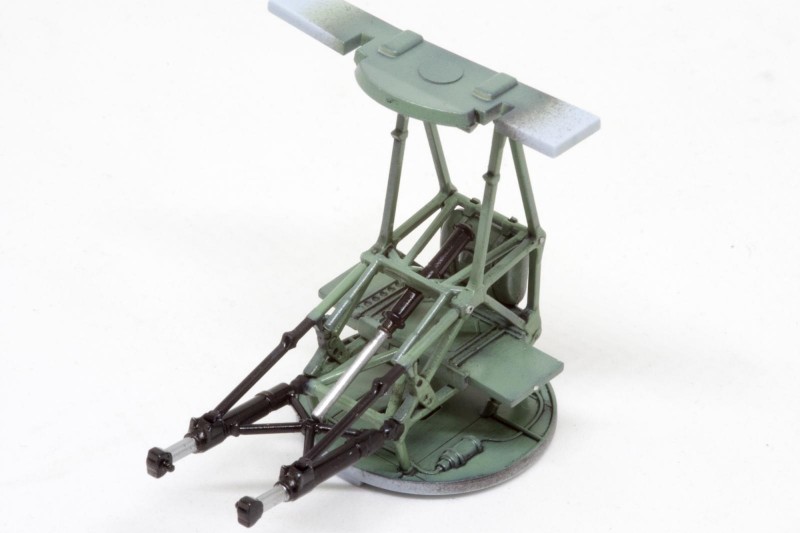
The main landing gear goes together flawlessly and is in my opinion the best part of the kit.
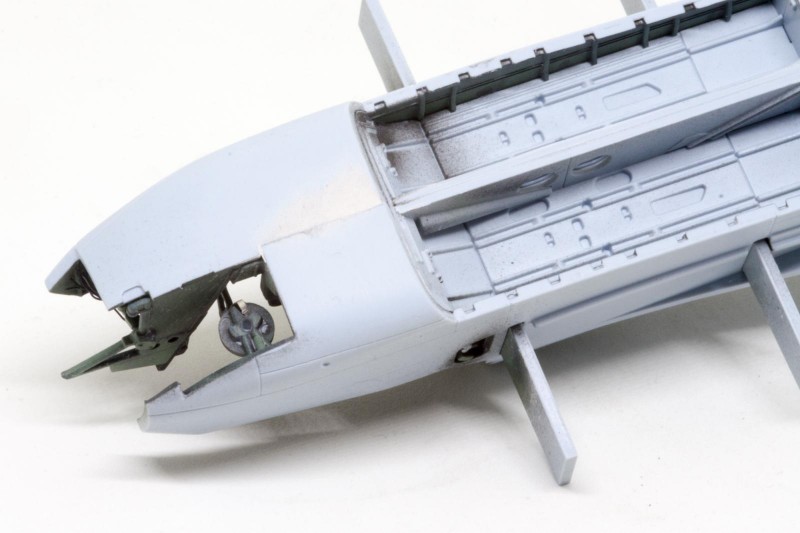
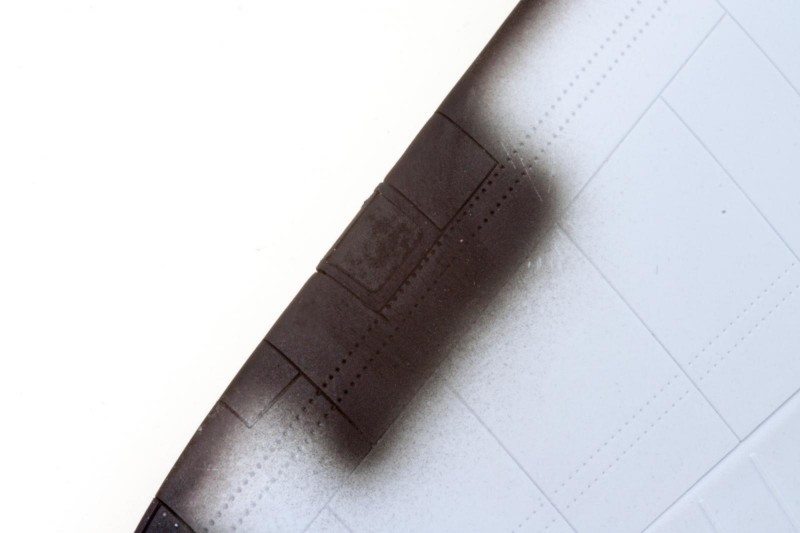
The bomb bay cover and the clear part immediately behind it don't look to pretty without sanding.
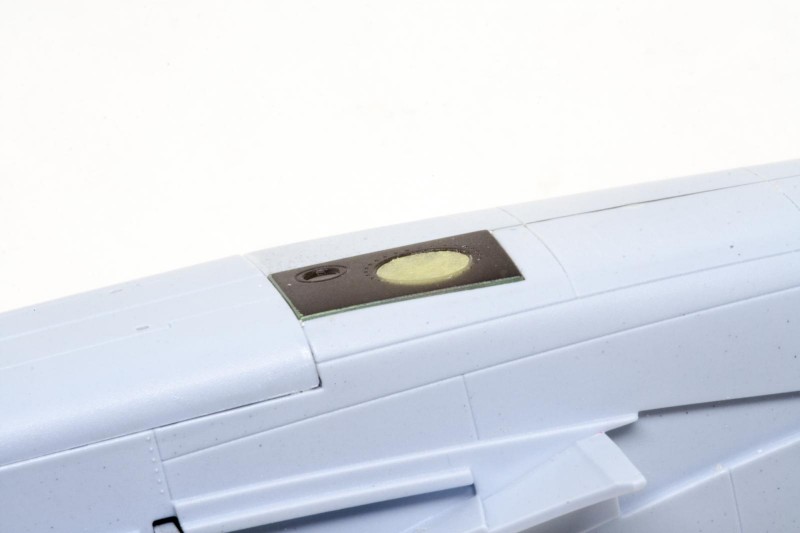
The clear parts for the position lights and the landing light need to be faired in a bit to conform to the wing's shape. I suggest masking them before you start sanding and filling to protect these parts.
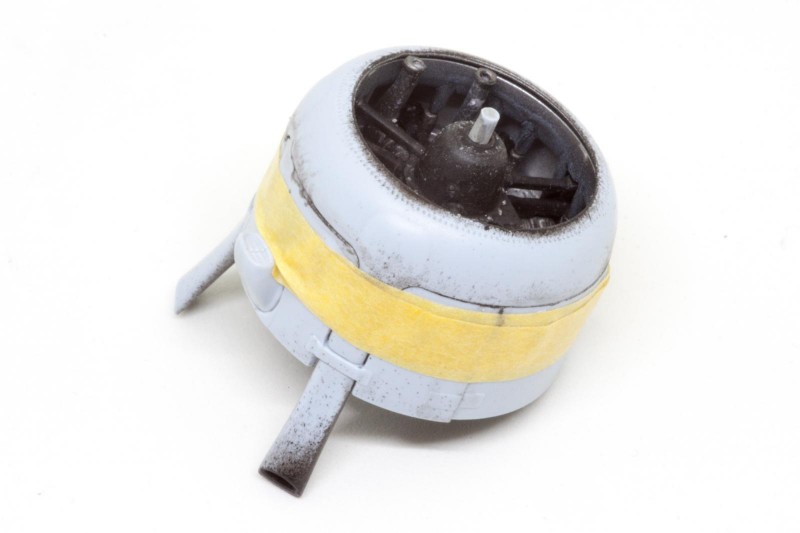
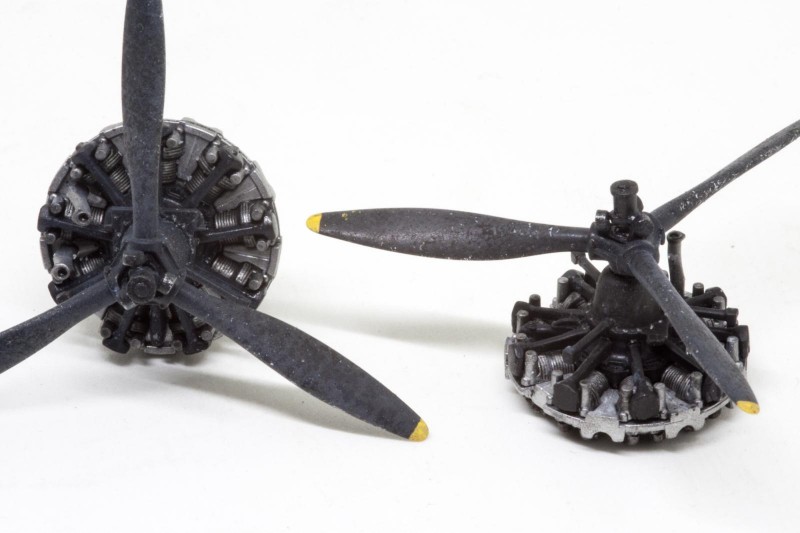
The engine cowlings consist of four parts each – the front ring, to which three curved parts are attached to make up the whole cowling. As the actual radial engine needs to be attached to the front ring first, it can interfere with the curved parts – I had to sand of a bit from the engine's cylinders here and there to get everything to fit.
The engines themselves are good enough for kit parts, but I am sure someone will release resin replacements sooner or later.
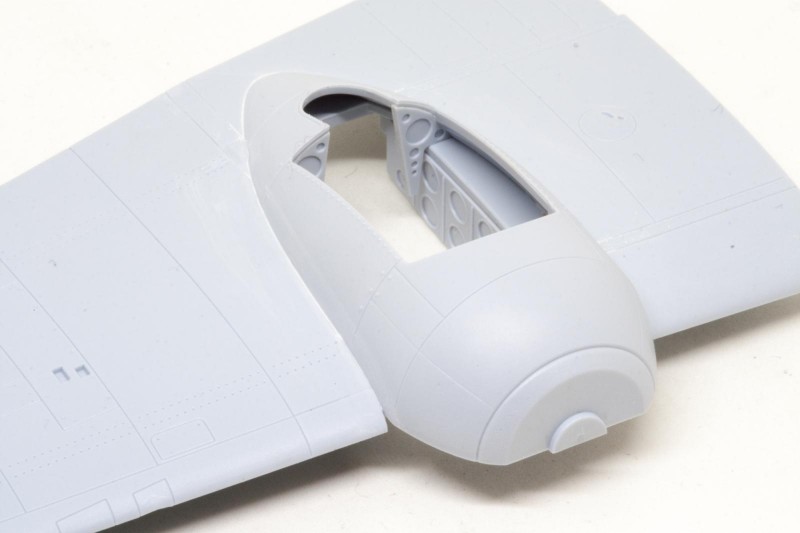
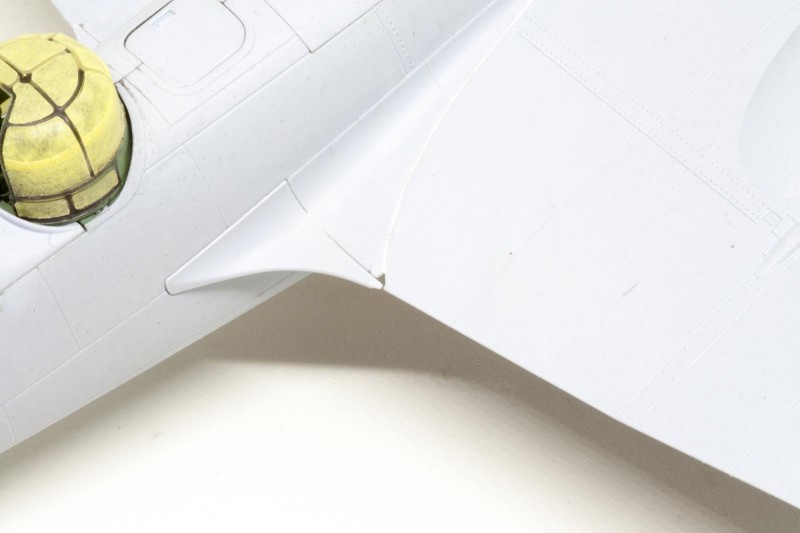
Finally, the wing roots. Fit here is surprisingly good, just take your time, test fit and shave off tiny amounts of plastic from the wings if necessary.
Also, the hole you see in the last picture, where the wing meets the wing root, should not be there. Which leads to the most annoying part of this kit…
Quality Control
My sample of this kit suffered from (in no particular order of WTF-ness):
- A major short shot on the right wing's trailing edge,
- short shots on both wing root fillets,
- a missing part which lead to me having to order a replacement,
- a broken antenna mast and clear parts broken off their sprue.
Combine that with short shot-issues I had with their Gloster Meteor and their Bf 109 E-3, and the fiesta that was their initial release of the Hawker Sea Fury, and it makes you scratch your head what is going on with Airfix' Quality Control. I really, really want them to succeed as they bring lots of interesting subjects to the market - but come on, get it together…
Aftermarket
The box gives you everything you need, with the exception of seat belts. With the Blenheim's cockpit area being a proper greenhouse, its interior is very visible, so I would definitely recommend using Eduard's PE seat belts.
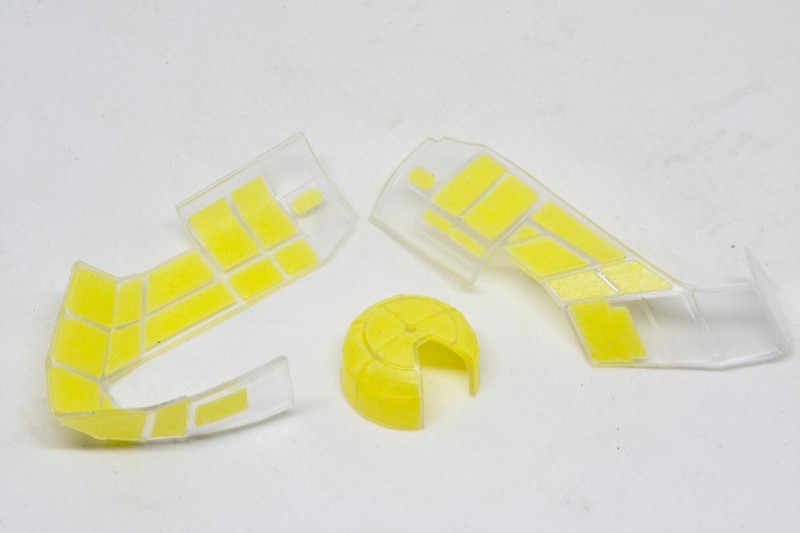
Another aftermarket set I would use again is Eduard's “T-Face” canopy mask set (No. EX627). This set includes masks for the insides of all the transparent parts, which I think makes a huge difference in the cockpit's appearance.
Decals
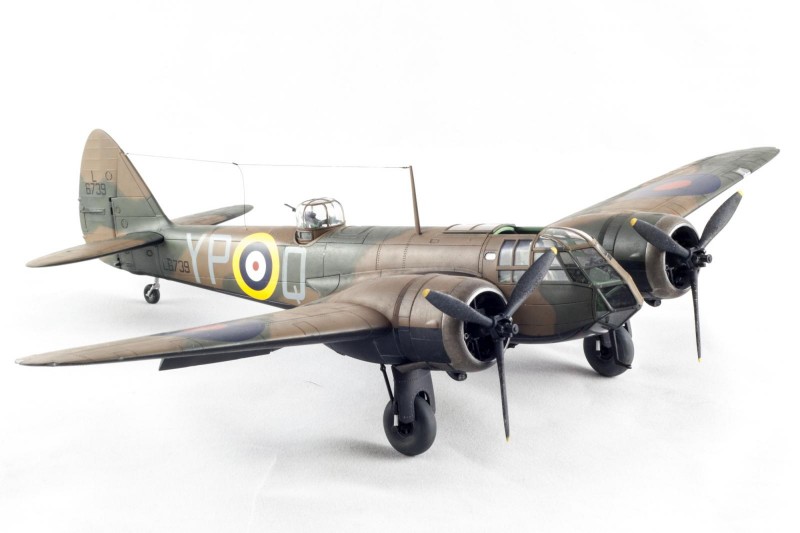
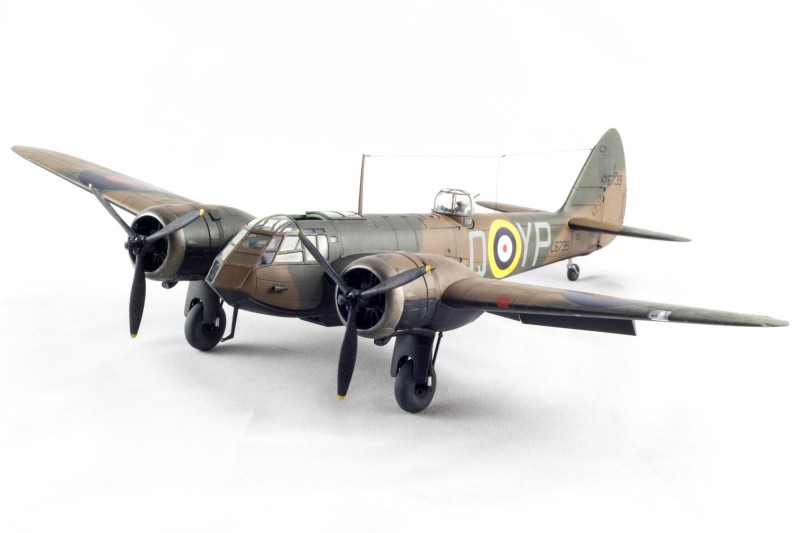
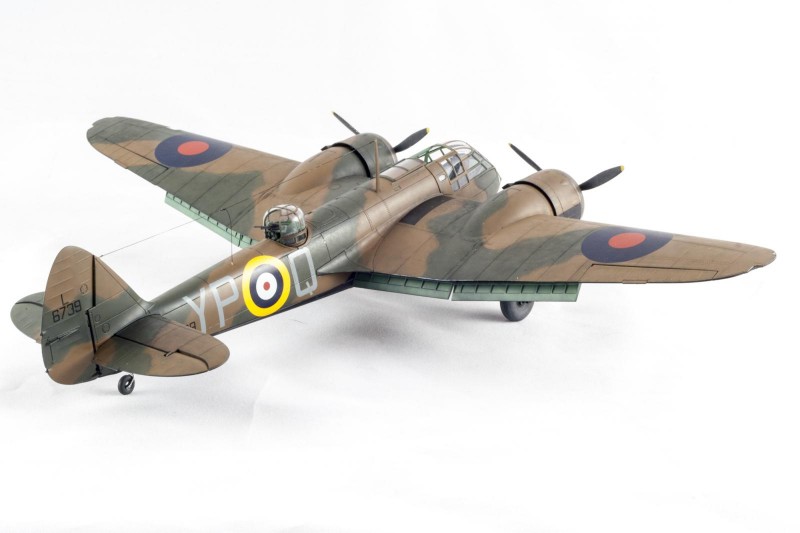
That's going to be a short one – they are great. I applied them directly onto the Gunze paint job without a gloss clear coat (what a pleb I am!) and used Revell Decalsoft as setting solution (which makes me a level 3000 pleb I guess).
Final Thoughts
A for subject choice, B- for effort. Surface detail can still be improved - but what I have seen from test shots of the upcoming Spitfire Mk.XIV, Airfix is already stepping it up. The quality issues are frankly annoying, but there's always hope, right?
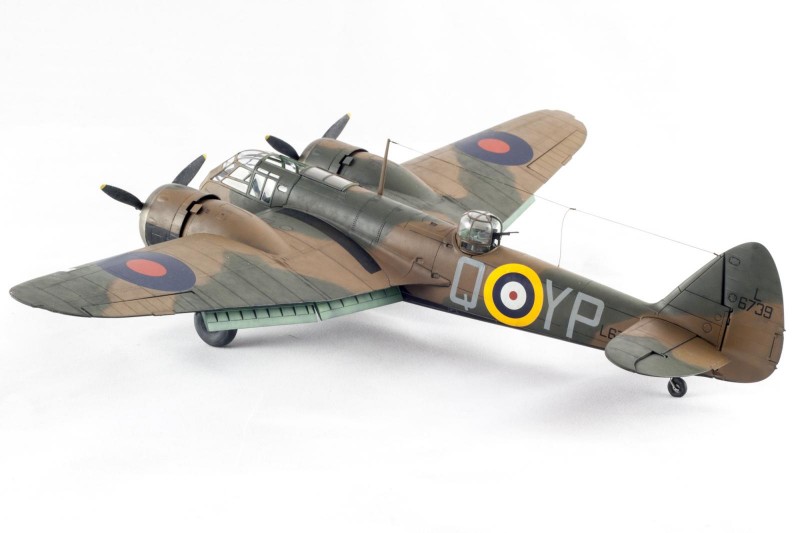
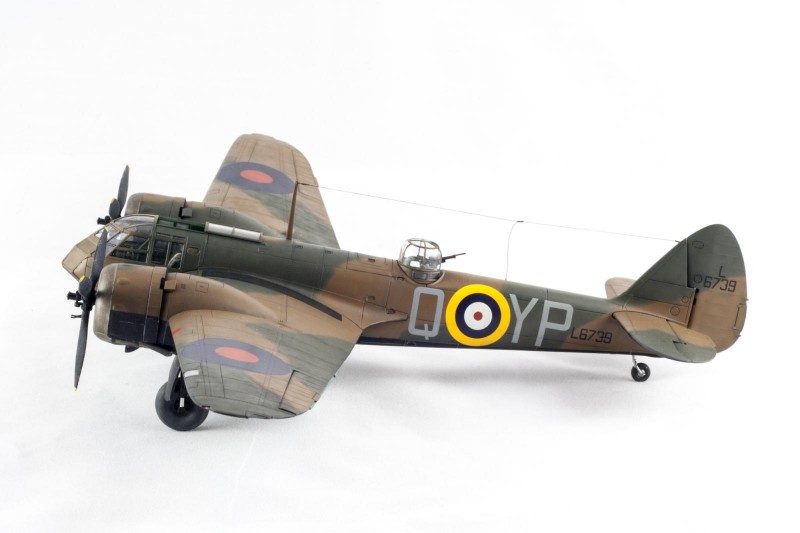
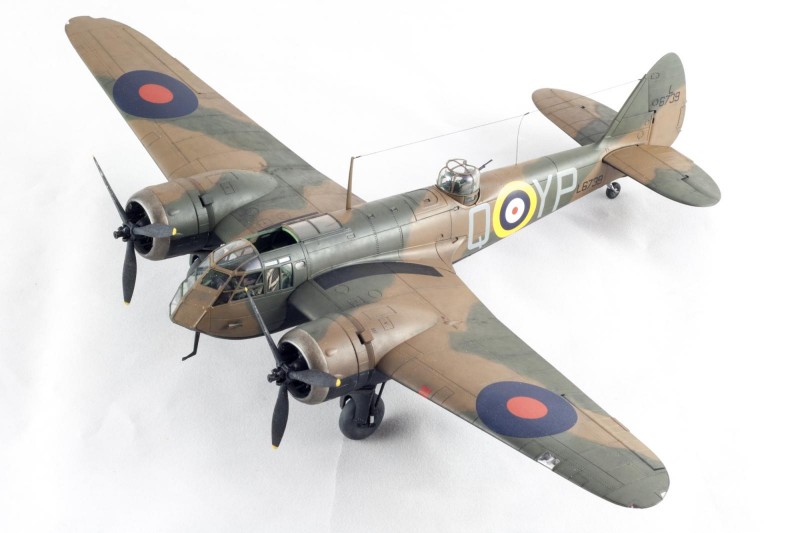
Beautifully reviewed, photographed, and built.
Thanks, Boris. Superb.
‘Liked’
Thanks David!
I concur with David... and I also pressed the "Like" button
Your work always looks so perfect and this one is no exception...
Thanks Louis!
What I don't understand...Boris how can you make a "B" kit ...(the second line on the hockey team) look like a "A" kit. Your model looks pretty sharp and the photos make the kit look pretty good.
This kit has finally hit the shores in the states and the few mail order shops can't keep them on the shelves for those anglophiles who who need these things.
Your article and build are really helpful . I picked one up recently and the photos really set the standard on how these kits can be finished. I do think that you get what you pay for in this kit given the pricing. It isn't engineered like the new Tamiya F-14B which costs twice as much, rather there are some compromises as you described in your build article. On the whole I am now chuffed on this one.
Two thumbs up
Happy to hear you found it helpful
Boris, Very nice review and I really like your overall build. Well done !
Thanks Terry!
Well detailed build review Boris, and nicely photographed too. May have to buy one.
Go for it!
real nice! Super detail!
Great review Boris.
Perhaps Airfix's QC problem is more than expected. Mine didn't have any of the problems you had, including that both engine nacelles fit without problem. They really need to stop producing in India - the kits they produce in the UK (like the second run of the Meteor) are problem-free.
I agree with you that QC is their big bugaboo, and the one thing that is most aggravating about these great new kits. Without the QC problem, Airfix is back to being the kit company.
Well done Boris. Despite the problems, I will still get one
Brilliantly done! I starte the kit myself last week-end and I muste say the landing gear is a kit unto itself. Everything fits and is engineered in such a way you can't go wrong! By the way, does anyone know what the tub-shaped compartment behind the cockpit was for?
Martkus
Dear Boris,
Thank you for the review which was cleverly displayed and focused on potential issues.
Very useful.
And your work is impressive.
Best regards.
Olivier