1/48th Boeing B-52H Stratofortress - update
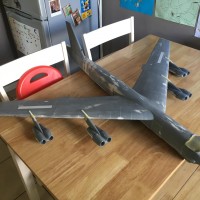
It's been a while since I updated you on my progress with Sanger's massive 1/48th scale vacuform B-52H project.
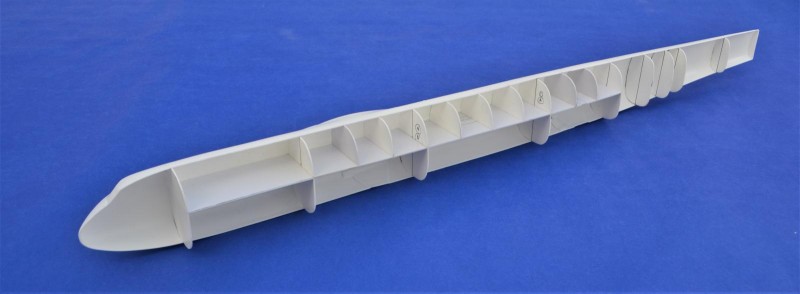
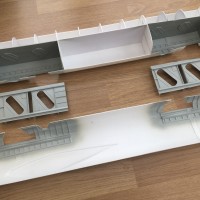
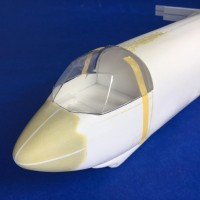
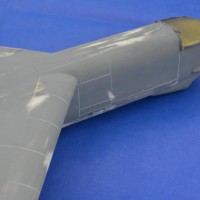
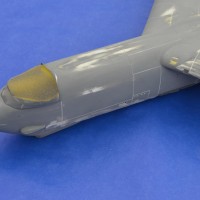
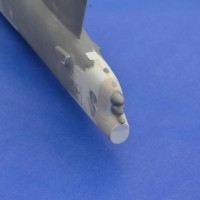
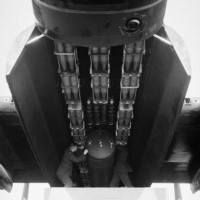
Since last time I've worked on the fuselage, scratch-building the main undercarriage bays, as well as adding numerous bulkheads and formers to keep the model rigid. I've made a new nose from Milliput as the kit's is typical of the early short nose versions and not correct for the later G/H model.
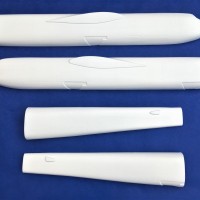
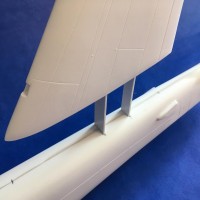
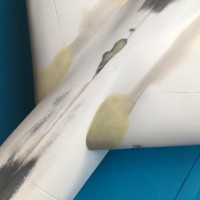
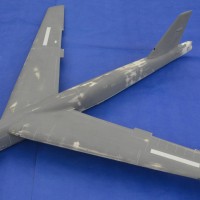
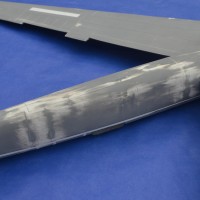
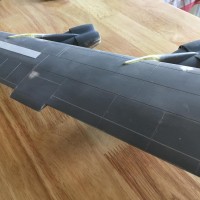
The wings have been finished and added to the fuselage, and new wing roots of the correct profile have been made, once again from Milliput. A more accurate tail turret has been scratch-built, and the fin constructed and added to the fuselage. Various sensors have also been added to the nose, using the kit parts as well as some scratch-building.
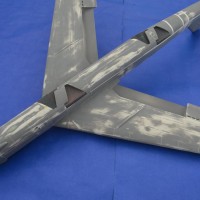
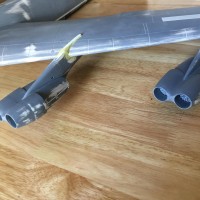
The whole model has had a rescribe, and now the engines have just been added - the upper part of the pylons that stretches over the top of the wings were missing so these have been fabricated from - you guessed it - Milliput.
I'm currently in the process of making the wing tanks as the stabilisers, so hopefully another update soon.
All the best,
Tom
Looking GOOD !
Nothing but respect for the vacuform model builders
1 attached image. Click to enlarge.
Thanks, Maarten. Kits like this aren't overly difficult, it just takes a bit more forward planning and thinking outside the box.
Wow. Another hat is off to you. Not only is it a vaccuform which is enough to make me scream like a little girl and sprint away in fear, but a 1/48 BUFF vac. I can only imagine what it is like to work on such a long term project.
It's a labour of love, Dan. I pick it up and put it down as and when I feel like it, and also have plenty of other projects on the bench to get on with when I need a break. This way, I avoid burn out and it keeps the interest there.
You own your own hangar for the storage of these monsters you build, don't you? 🙂
I wish, Tom - room for storing these things is certainly becoming an issue!
That thing is big enough that your kids can ride it around on the floor! Much respect for vac-form builders, and it's looking really good!
Ha - with a 4ft span it's bigger across than my daughter is tall..!
Great work!
Keep it up!
Thanks, Ulf - I'll keep you and the fine folks on here updated as the model progresses.
I have Gerry's D version, but haven't started yet. (I will definitely be watching your build for pointers!) How did you get the wing trailing edge to a sharp point? (In the spots they meet anyway, I see you dropped the flaps! Kudos!) A large piece of ply with sandpaper glued to it? Also, any shots of the wing spars and how you have them braced inside the fuselage? (The stubs for the vertical look quite substantial too. Those and the combination of the thicker plastic Gerald uses should make it quite stout! (How about a cockpit shot before it's hidden as well?)
Hi Josh,
It's good to hear that someone else has taken the plunge and bought one too - at least I know I'm not the only insane one in this world!
The trailing edges were, as you suggest, simply sanded very carefully using a large block and sandpaper, with regular test-fits. As well as removing plastic from the inside of the wing, I also removed some on the outer surfaces too as it's nice and thick and you can afford to sand it quite heavily.
Yes - the flaps will be dropped - I've got a lot of detailing to do here but I'll keep you updated.
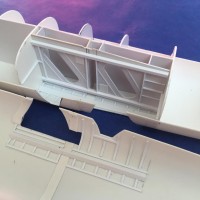
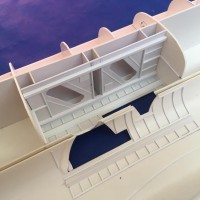
The wing spars were made with 1.5mm plastic card - the attached pictures should show you all you need. I think it's safe to say that I've spent more time making spars and formers than I have doing the rest of the build so far.
I'm yet to do any work on the cockpit as this will be the last area I tackle - again I'll post some pictures when done.
7 attached images. Click to enlarge.
Thanks Thomas. It's almost like building a balsa model!
My guess something this size will definitely be a "ceiling hanger", am I right?
Dude! That is looking awesome.