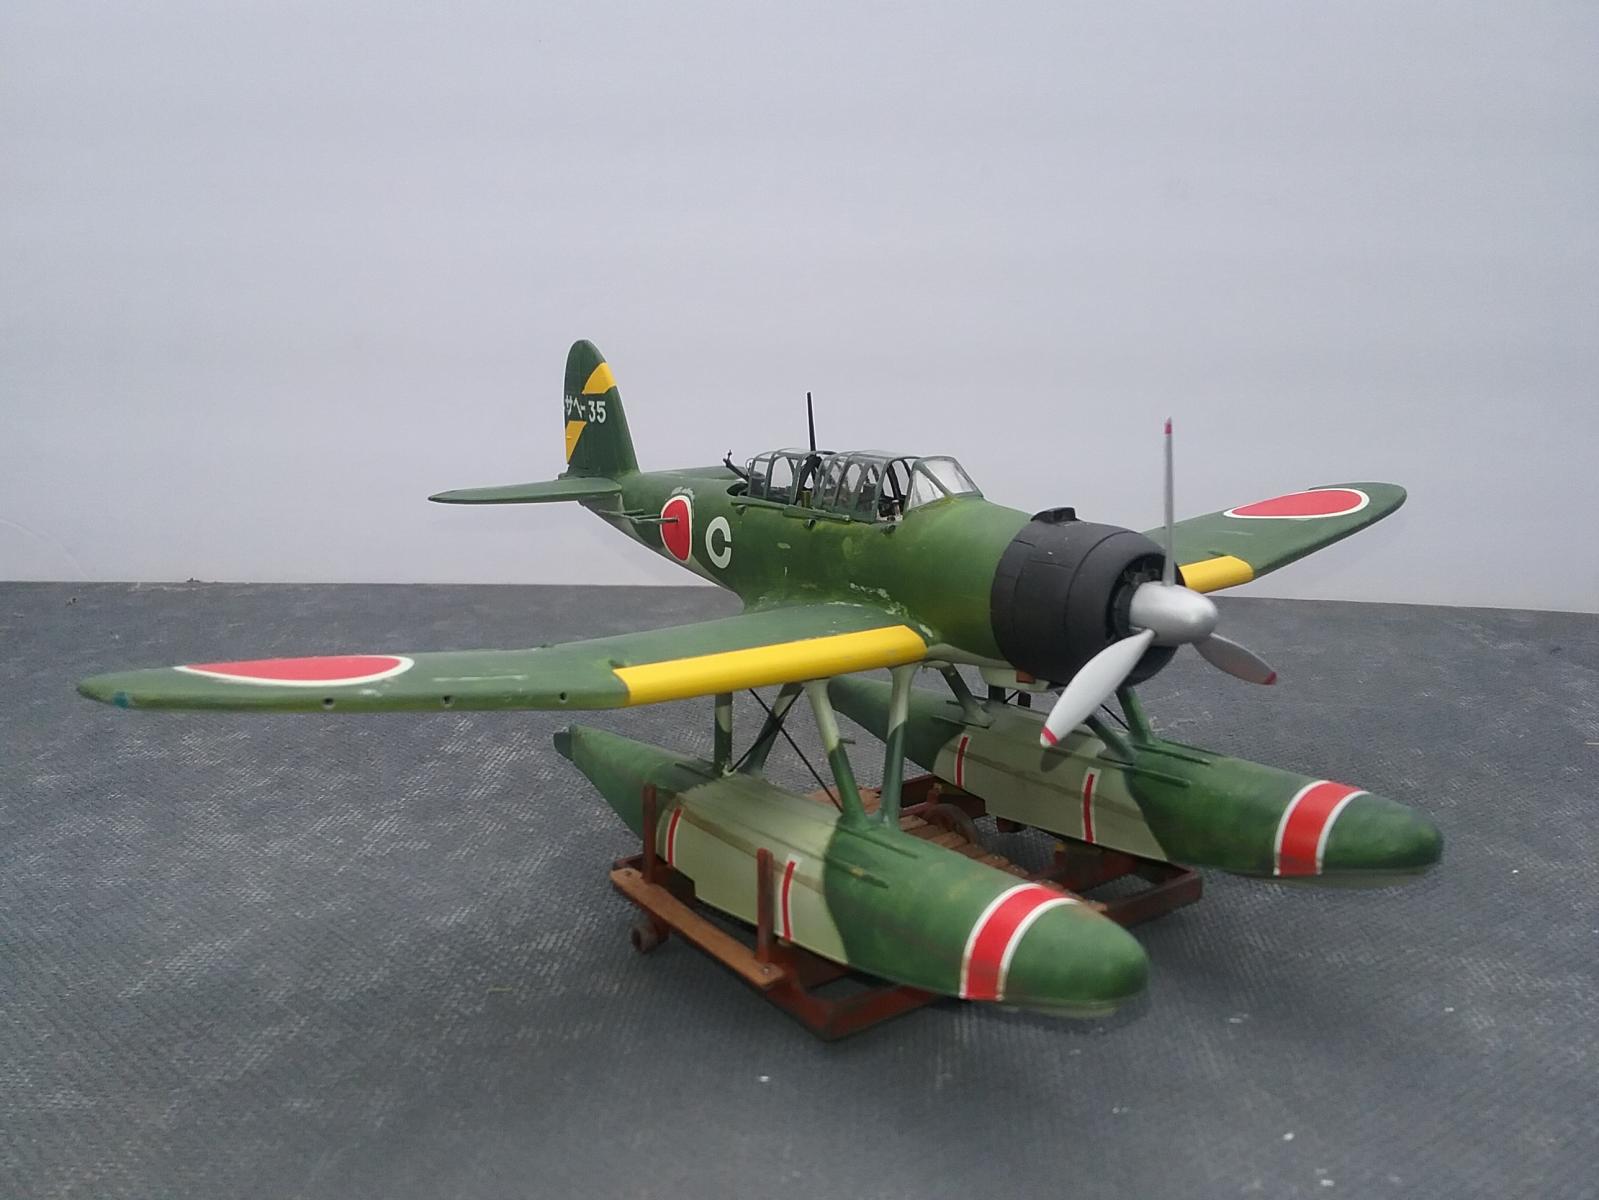
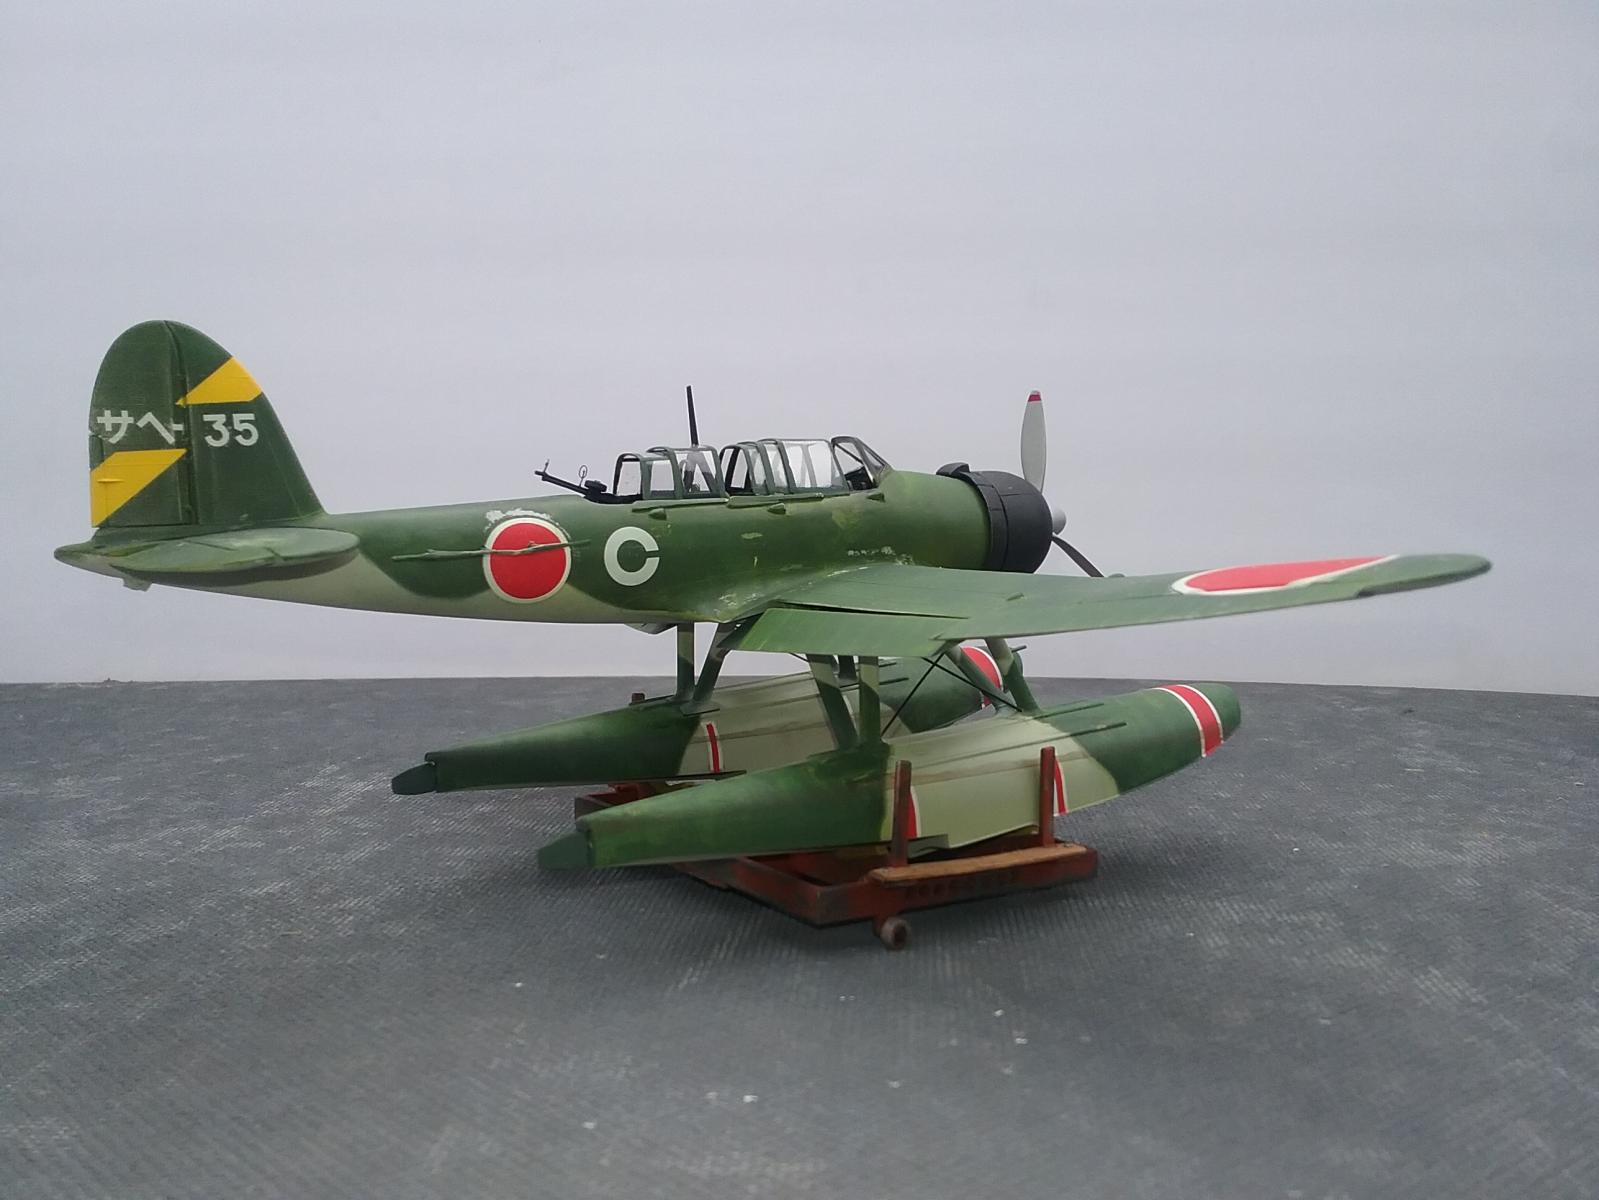
Nichimo "Jake" with Lone Star Models Conversion
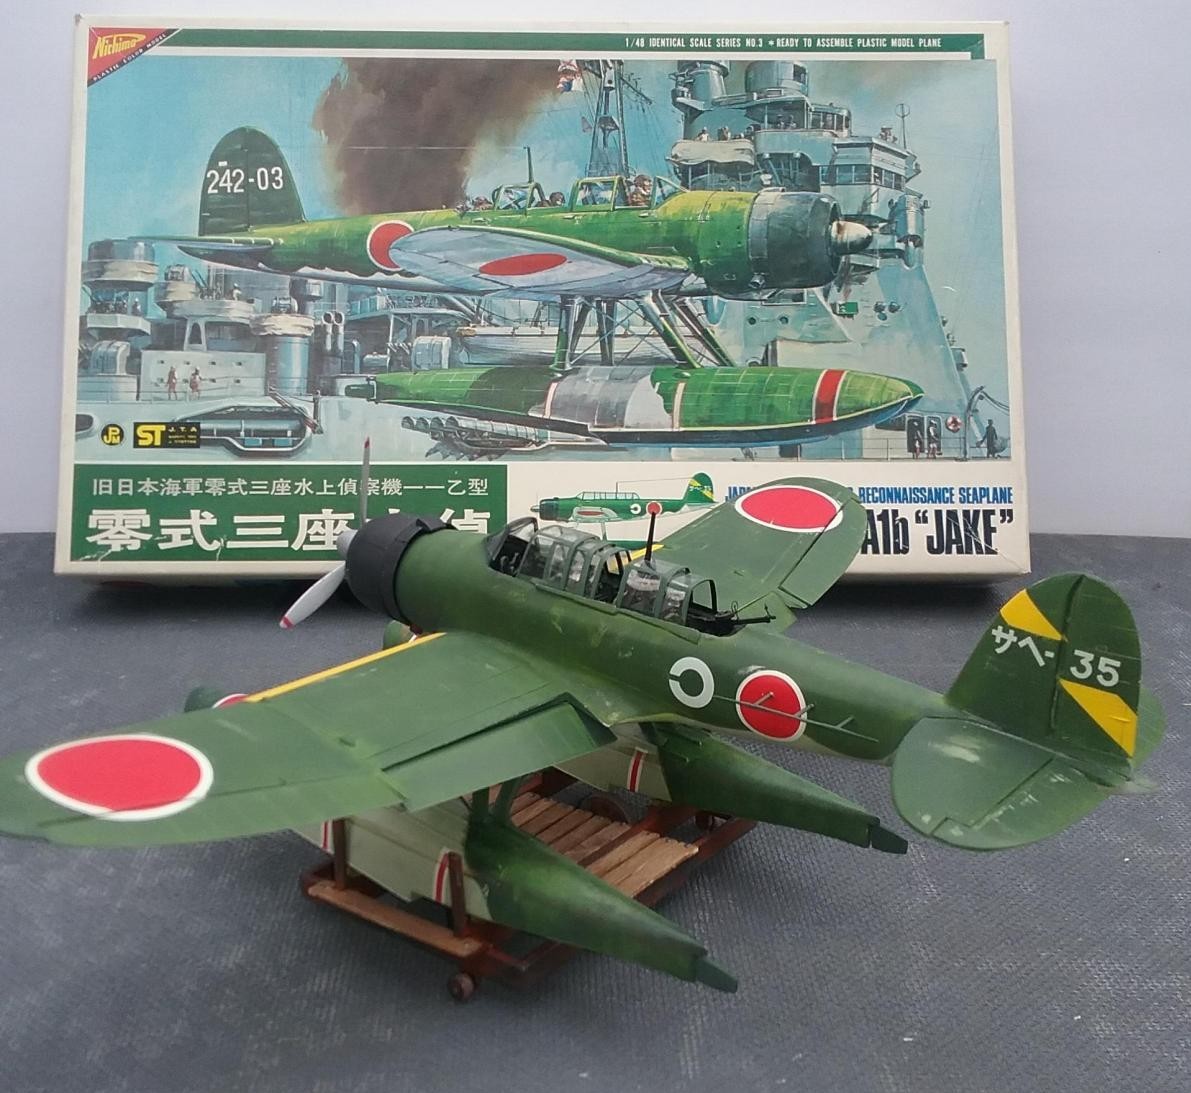
I have had the Nichimo Aichi E13A1 "Jake" in the stash for a long time, and finally got around to building it when I found a Lone Star Models conversion. The Nichimo kit is one of those old kits that was designed to have a battery and motor inside, so that the propellor could spin. The battery and electric motor fit inside where the cockpit would normally be, so Nichimo just put in a piece of plastic, along with aircrew figures as the interior. Lone Star Models designed a resin conversion to replace the kit parts with a complete cockpit. This conversion is LSM #0324, and I believe it is now out-of-production (OOP). To fit the LSM resin cockpit requires that the upper part of the fuselage be cut away, and replaced by a resin part. The conversion is very comprehensive and includes floor, sidewalls, seats, along with miscellaneous bits and pieces. It also includes a vac-u-formed canopy, that is pretty bad. I must mention that it is probably best that this LSM resin conversion is OOP, because the resin has a lot of pinholes that require filling.
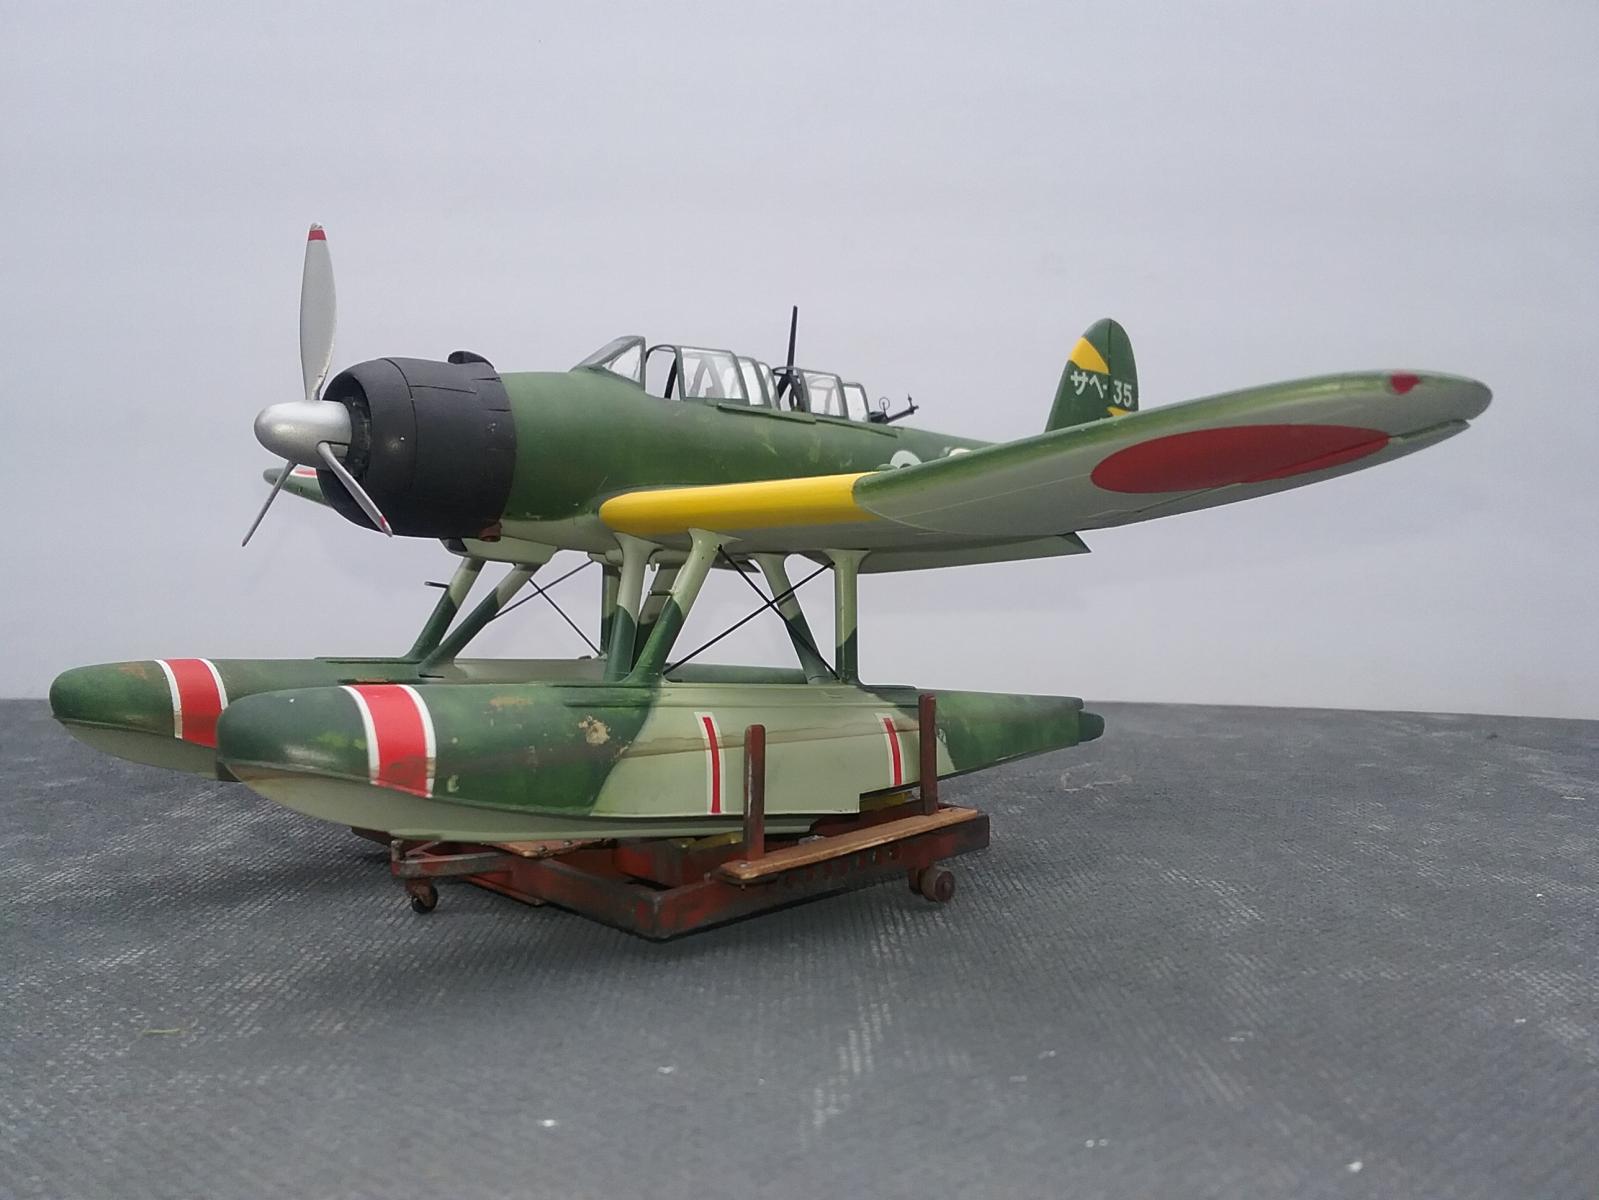
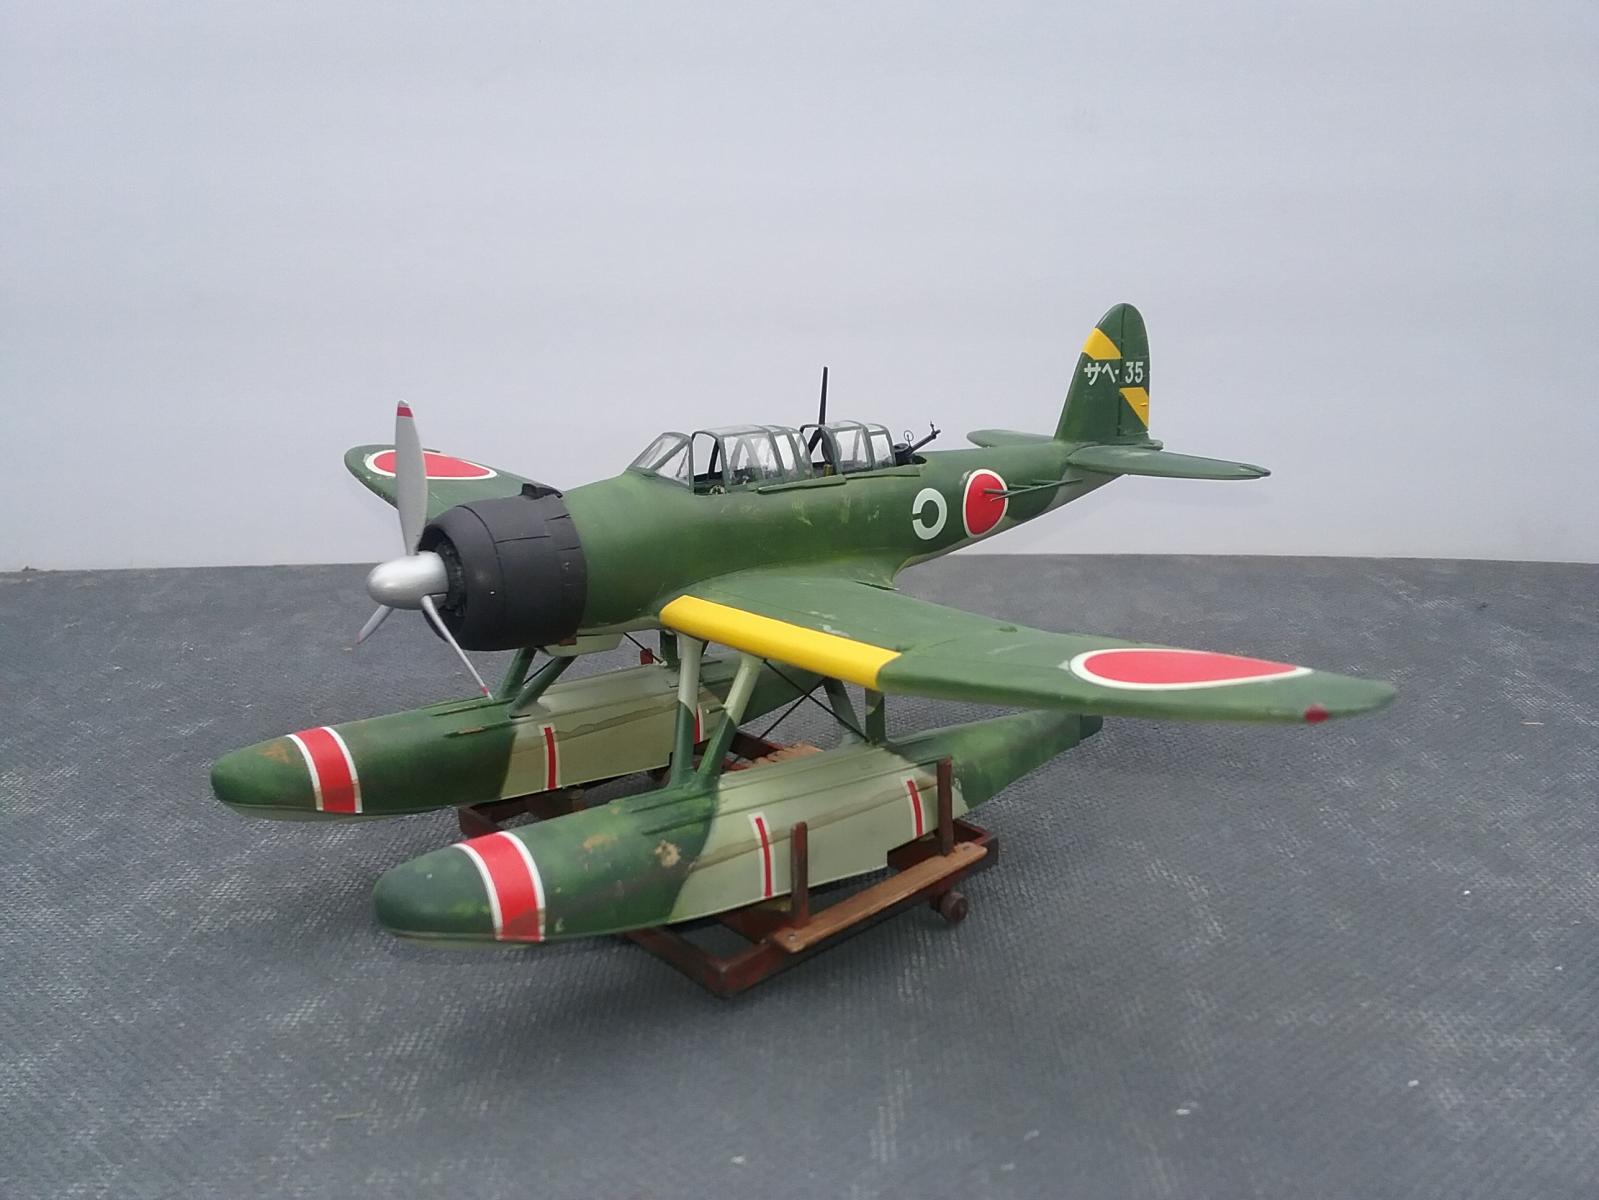
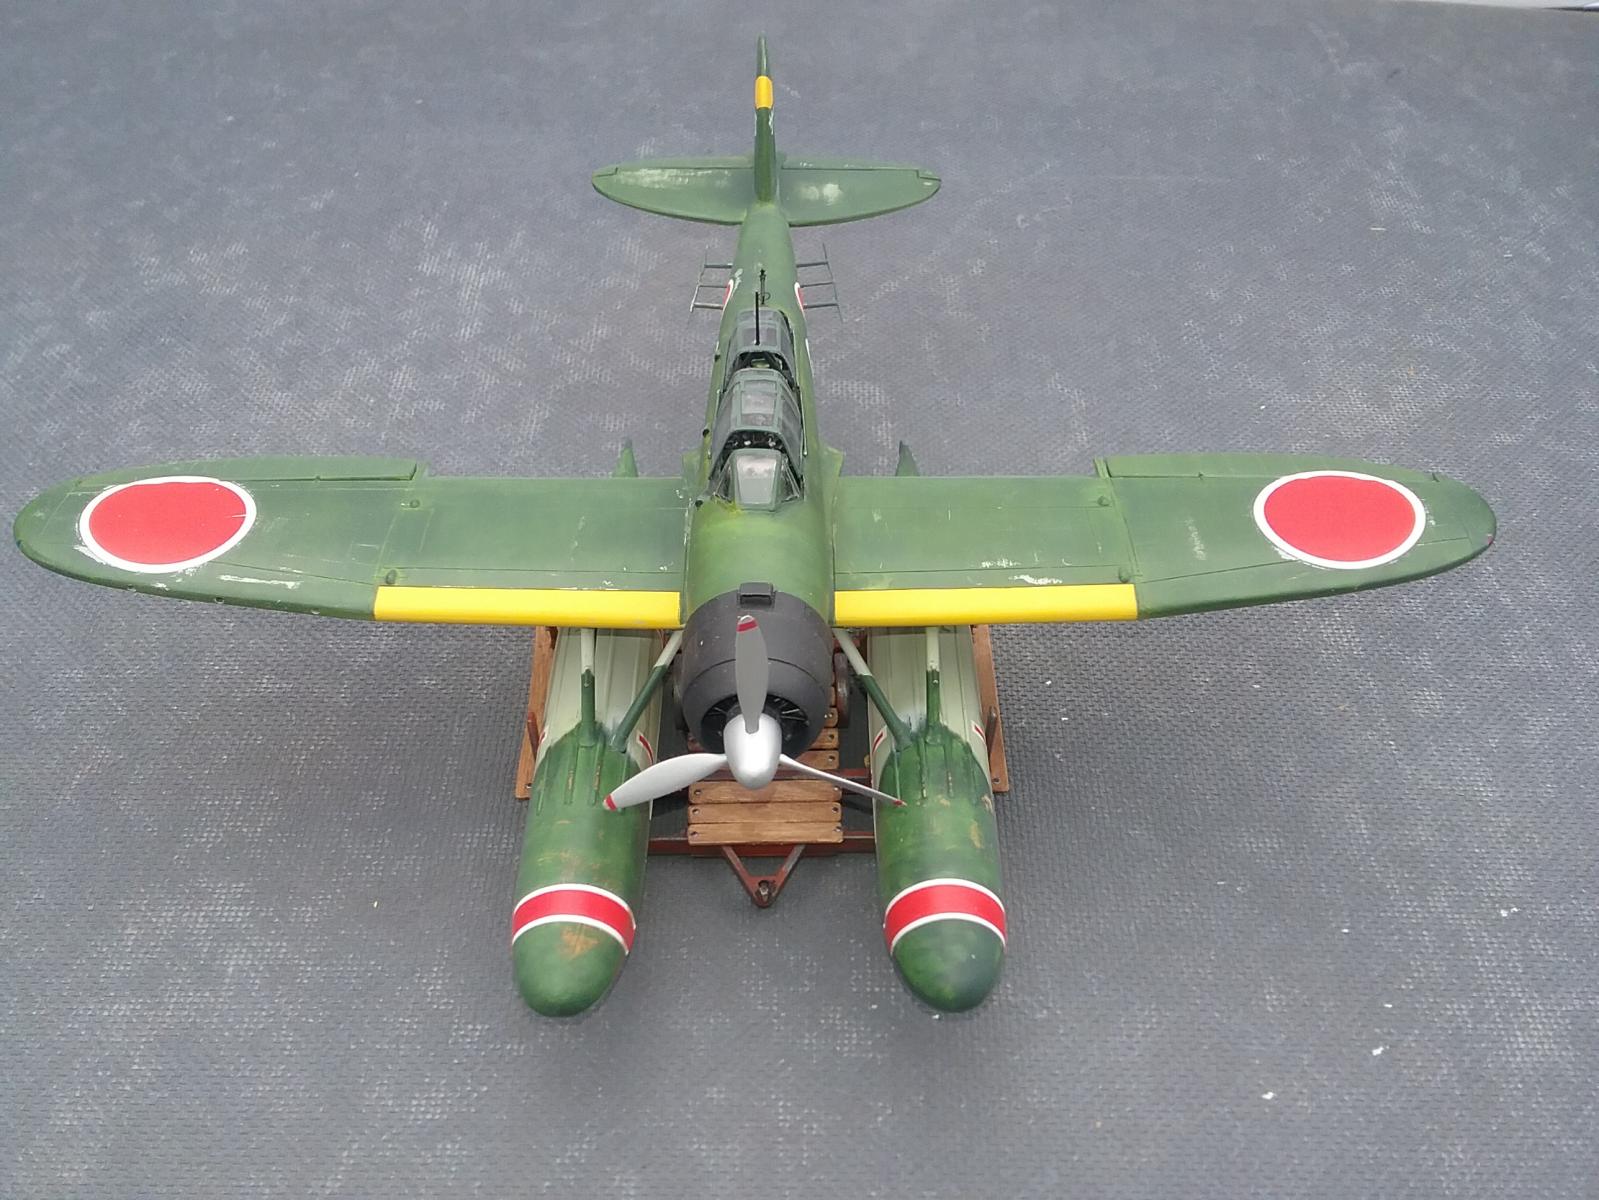
The Nichimo "Jake" required a lot of TLC to get it presentable, even with the LSM resin cockpit. as a product of a bygone era, this kit was designed kind of like a toy. Besides the spinning prop, the kit also has a working folding wings feature, that allows the wings to be positioned up or down. I cose to eliminate this feature, and glued the wings in the down position. The kit also has positionable flaps, ailerons, elevators, and rudder, all of which I glued to prevent movement. As mentioned, the LSM conversion comes with a vac-u-formed canopy, but this clear part had so many bumps and lumps, that it was pretty useless. I used my old Mattel Vac-u-form machine to make a new canopy, using the Nichimo canopy as a mold. I made a couple canopies, which I was able to cut apart, so that some of the pieces could be posed open.
The paint is Tamiya IJN green and IJN grey, both lightened a bit for scale. Kit decals were still usable, so the markings are those supplied with the kit. I weathered the finish with Tamiya panel liner enamels, and also some oil paint.
excellent work
Bob: Thank you for the kind words.
Looks very good considering the very basic plastic of this kit. What is a pity is that no cockpit photo is posted, can you manage one or two? Thanks
Fantastic job Marvin! I can't understand why Hasegawa has not done a new tool 1/48 Jake. They have done kits of also all other Japanese WW2 aircraft.
Nice lookin' build, sir...I like it a lot.
All that effort certainly paid off.
Thanks for sharing this Marvin. I’ve never seen one built and have always been curious.
If you don't mind, could you post a few photos of the cockpit and engine ? This plane looks very good, and I think you did a wonderful job with it. You don't see too many of these built up. It would be nice if Hasegawa decided to do a new tool of this type...
Well done my friend , and "liked"
A product of perseverance and talent over plastic. Looks great!
Proper job there!
Nicely done!
Nicely done! Great job taking an old kit and bringing it up to a nice level of finish.