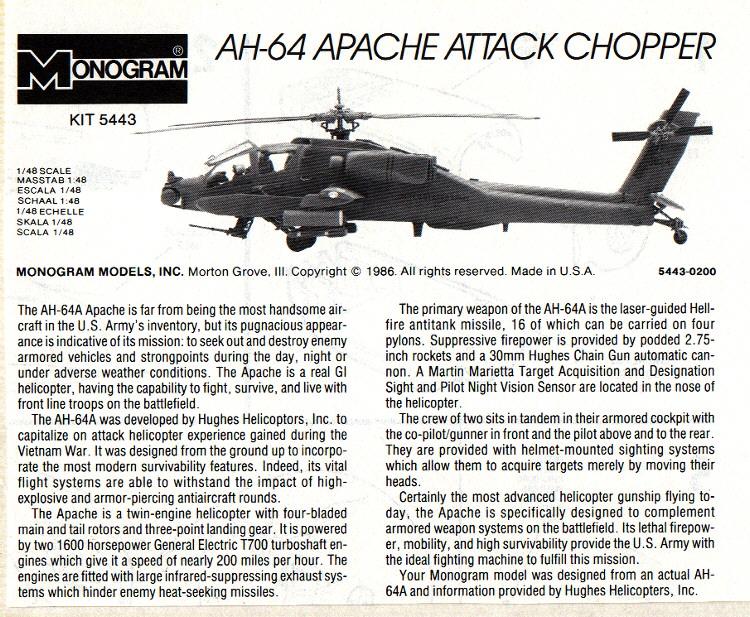
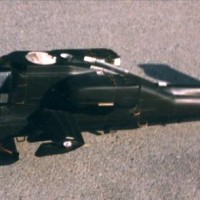
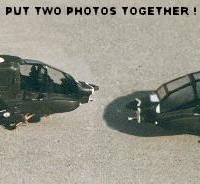
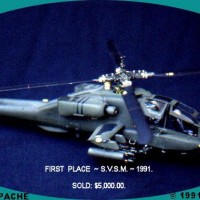
1/48 scale Monogram's AH-64 "APACHE ATTACH CHOPPER"
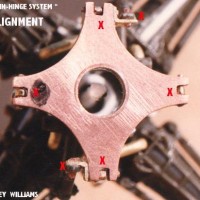
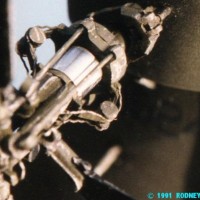
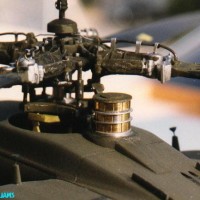
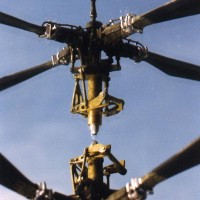
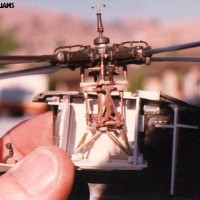
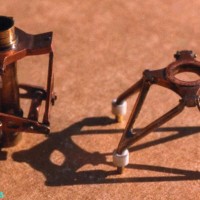
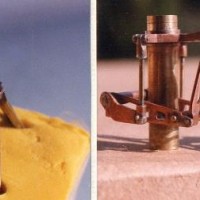
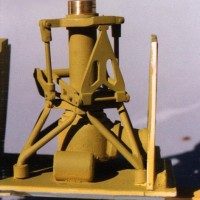
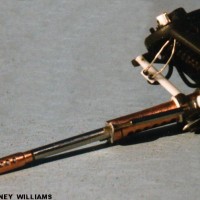
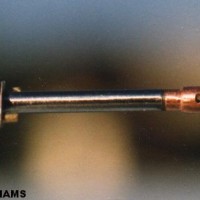
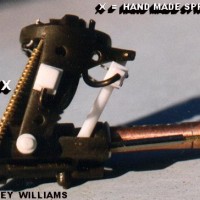
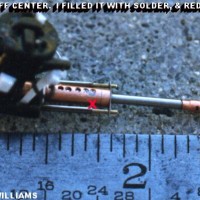
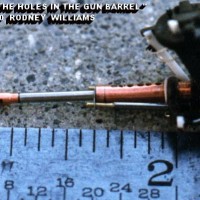
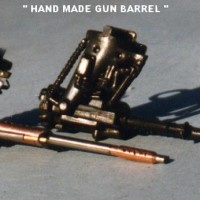
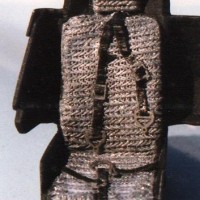
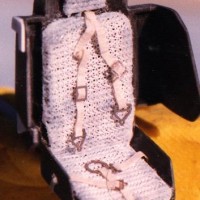
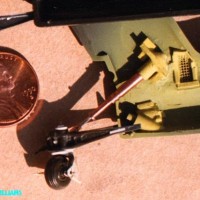
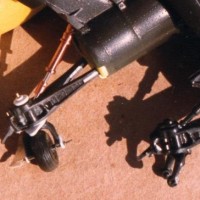
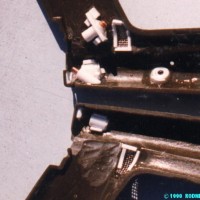
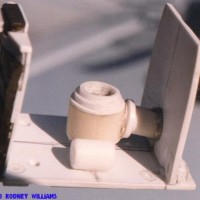
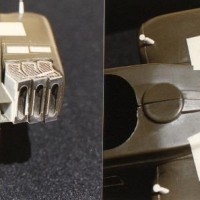
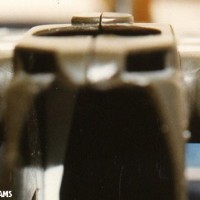
Sometime in mid 1990 a guy call's me on the phone and say's: "I'll pay you five grand to build me a 1/48 scale Apache Helicopter." I was a bit "flabbergasted-gasted" but I said I will do it. He sent me a package in the mail full of detailed data as to what he wanted done to the model. One of the main things he desired was for me to sand off all the raised panel lines and rivets, then scribe in the panel lines and push in a pin along the panel lines to represent the rivets. He wanted other things scratch-built, especially the machine gun, tail wheel assembly, including the tail and main rotor's mounting bracket.
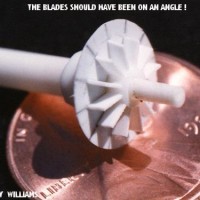
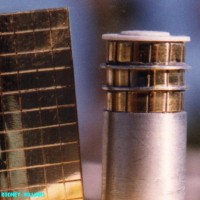
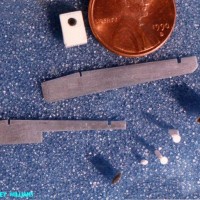
In the late 1980's and early 1990's I was a beginner in those days working with copper/brass and aluminum so this became a big "How To Do It" challenge. I had different sizes of the metal material's, including round solid stock; square solid bar stock; open flexible tubing; & 4"/100mm x 8" long flat sheets that were about 1/8"/3mm thick. I had lots of experience using "Lead & Tin-Solder," including the tools to work with this metal material.
My client wanted lots of what I call "In Progress" photos which was no problem for me since I had spent over 40 years as a film producer and still photographer.
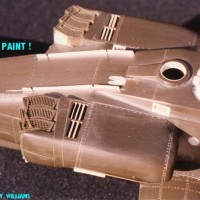
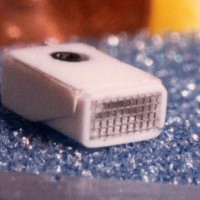
On most everything that I made out of the metal materials I used the kit parts for my pattern's. Monogram or someone else supplied the photo-etch items that were used in the production of this kit.
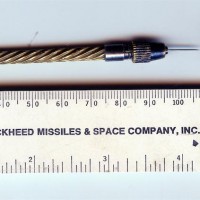
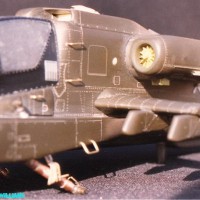
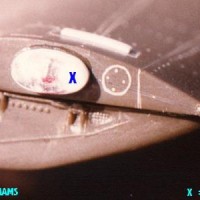
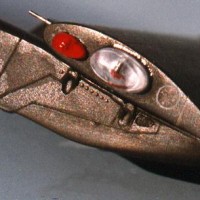
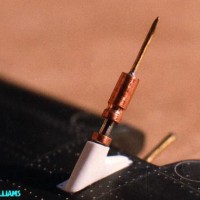
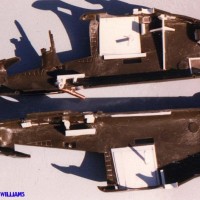
Once the cockpit was finished and the fuselage halves were glued together came the easy part of the job. All I did was sand the panel lines off, then mask the area's for new panel lines and scribe them in, then sand the parts smooth again. I mask off the lines next to the newly created panel lines and carefully made pencil lines that I thought each new rivet would be added with my pointed needle in one of my small pen vices. I took a current photo of my" Pin-Vice" with a pointed needle in it which is next to one of my small 6"/150mm plastic measuring ruler. All I did many hundred's of time was to place the needle on the "x" pencil area and push it into the plastic. I noticed that some areas on the model's plastic was much harder, so I had to make sure not to "under" and "oversized" the holes. I click on my brain's memory bank and it told me that there were about a 1,000 rivet's pushed into this model.
My client liked these photos and gave me permission to continue the building process and once all of it was finished I painted the model with my Tamiya paints. I have no idea why the instrument dials were painted red, so don't ask; (1990-1991 was a long time ago, so at 88 years old my memory is not too good)!
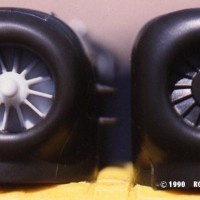
The machine gun, tail wheel and other parts were built and went together just fine.
My client flew out from Chicago and picked up the model and paid me the final payment. A couple of year's later I built him a 1/24th scale P-51D Mustang titled "Dallas Doll" which was posted on "LSP's" web site long ago.
That's it for my Chopper, so enjoy the photos.
Rodney 01-03-2020.
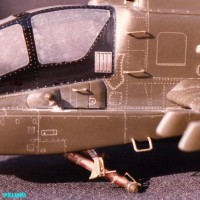
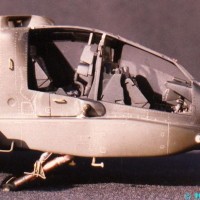
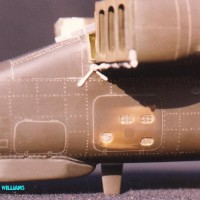
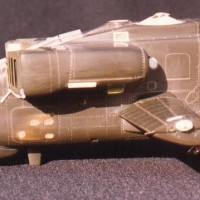
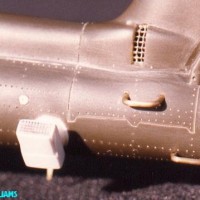
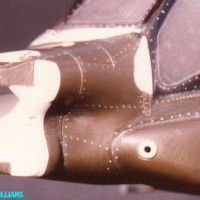
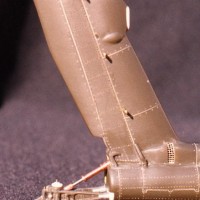
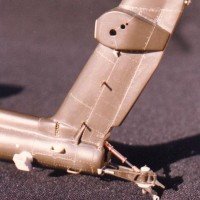
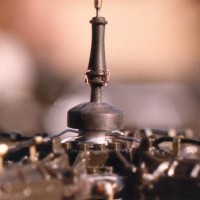
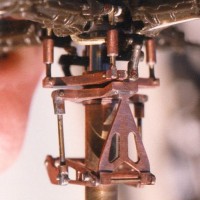

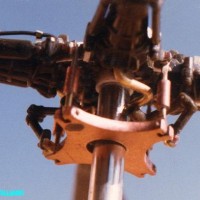
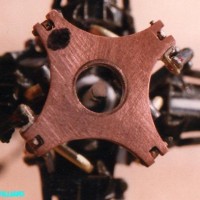
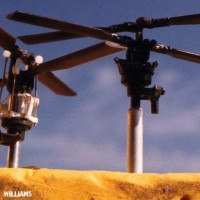
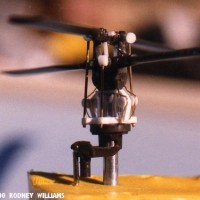


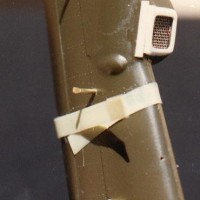
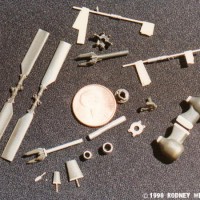
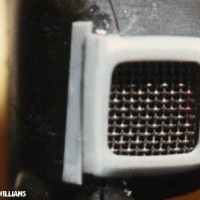
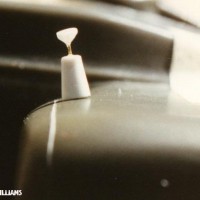

Well, as they say in the movie business, "every penny is up on the screen!"
Pretty darned slick. I'd say the client got his money's worth. Nicely done
Hi Rodney, this level of detail is amazing. Also, the metal work adds to the final result. I have no idea how to work that detailed in metal leave to have all the tools required. All my respect for this one, thanks for posting the pictures here and a happy 2020!
The tools were just ordinary modeling tools that I did a post on 10-28-19 and some more tools on 11-08-19 here on "iModeler." I had acquired a modeling saw that would cut soft metal like aluminum & copper. I also used my "Dremel" portable motor tool with different tools in it to grind and sand the parts for the rotor plates.
Remember the word: "Experiment."
Cheers! Rodney
I also used a small portable electric soldering gun which you can buy at any hardware store ,including Walmart here in America.
RJW