A dive-bombing Jenny??
In researching the origins of US Navy/Marine dive bombing, I ran across this little gem of a story:
In early 1919, a United States Marine Corps (USMC) JN-4 was credited with executing a "dive bombing" attack during the United States occupation of Haiti. USMC pilot Lt Lawson H. Sanderson mounted a carbine barrel in front of the windshield of his JN-4 (previously, an unarmed trainer that had a machine gun mounted in the rear cockpit) as an improvised bomb sight that was lined up with the long axis of his aircraft, loaded a bomb in a canvas mail bag that was attached to the JN-4's belly, and launched a single-handed raid at treetop level, in support of a USMC unit that had been trapped by Haitian Cacos rebels. Although the JN-4 almost disintegrated in the pullout, the attack was effective and led to Sanderson in 1920 developing further pioneering dive-bombing techniques to provide Marine pilots with close aerial support to infantry comrades.
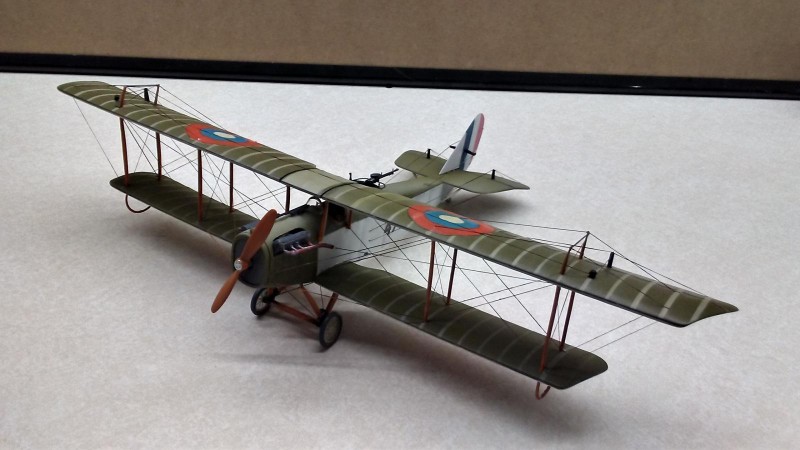
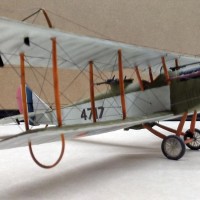
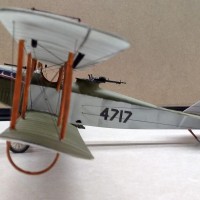
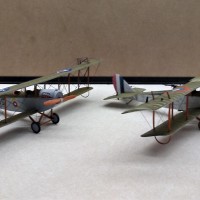
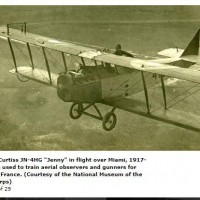
After reading that story, I decided that I definitely needed to build that aircraft to add to my dive-bomber collection. I couldn't find any photos of Sanderson's actual JN-4 from Haiti, but according to the book "Biplanes at War: US Marine Corps Aviation in the Small Wars Era, 1915-1934" the aircraft used were worn-out cast-offs from the Flying Field in Miami. An internet search turned up a photo of a Marine Jenny from Miami and I figured that was close enough. I'd already build 2 of Lingberg's JN-4D "Jennys" and really liked the model so that was my starting point. As it turned out, though, the aircraft in the photo was a JN-4HG, the gunnery trainer that had a Hispano-Suiza engine rather than the Curtiss OX-5, a bigger radiator, and a Scarff gun mount in the rear pilot position. So I had my work cut out for me.
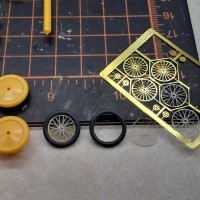
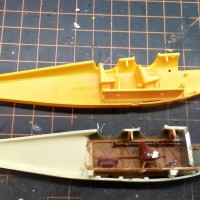
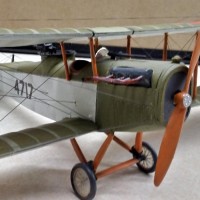
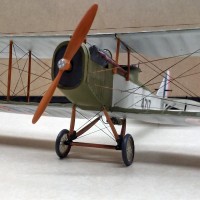
In preparation to build, I assembled a bunch of after-market items - resin fuselage and cockpit from Lone Star Models, resin Hispano-Suiza engine from Engines and Things, and photo-etched brass wire wheels from Tom's Model Works. With these in hand, I then started construction.
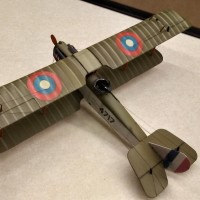
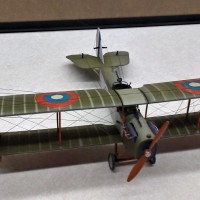
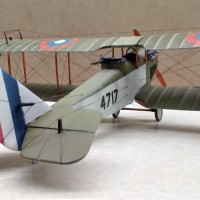
The kit was modified by cutting slots in the upper wing for assembly joints that are quite prominent in most photos of Jennys. I also cut the elevators and repositioned in the slightly down position common when the plane was on the ground. The kit radiator was discarded and a new one made from sheet styrene to resemble the larger one on the H model. Using this radiator required filling in the lower engine cowling with putty and sanding to match the shape of the radiator.
The aftermarket Hispano-Suiza was not very impressively molded. I would have considered having the hood off if the engine had been better quality, but due to it's poor molding, I covered it up as much as possible. Exhaust manifolds came from a Roden DH9 kit. They were for six cylinders, so I had to cut and paste them together for the four cylinders on each side of this engine.
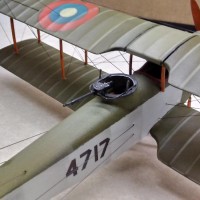
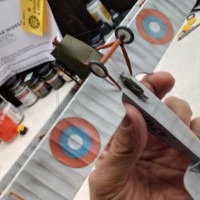
I cut sheet styrene to fit around the rear pilot position for the Scarff gun mount. The gun mount is fine wire, and the gun itself is also left over from the Roden DH9 kit.The wire wheels were made by cutting the solid hubs out of the wheels that came with the kit. I then shaped a clear plastic center and glued it inside the hub, then glued the photo-etched brass wire wheels on each side of the clear center.The "canvas mail bag" is just a piece of tissue folded around a small bomb, then coated with a solution of water and white glue. It is tied onto the aircraft with EZ Line. The rigging is all fine EZ Line.
I had lots of trouble with the paint - my masking tape kept pulling the paint right off the plastic. I didn't get it all fixed right, but then it's supposed to be an old, worn-out aircraft stationed in the tropics, so I figured it should look a little rough. The paint is Model Master olive drab enamel over Model Master light gray acryilc. After applying the OD green on the upper wing surfaces, I masked off all the ribs and painted over them with a lighter color OD green to simulate the faded canvas seams. Charcoal was used to high-light the canvas seams on the fuselage. The decals are all custom printed.
I hope you like my dive-bombing Jenny!

Very nice and detailed job, Robert. What an inspiration!
All the best!
Mmmm - I love this. Great work to do something way out of the ordinary.
Back in 1979, I had the opportunity to get "stick time" in a restored JN-4D. That airplane flew like nothing any modern pilot would know. Insenstive ailerons, an oversensitive elevator (non-trimmable) and a non-sensitive rudder. You lead with the rudder, rather than use it as a trim tab in turns. The ailerons were equal deflection, and in anything more than a "standard rate turn" the adverse aileron yaw would create a "high speed stall" (with a top speed of 55 mph) leading to a stall/spin. And a spin took 3,500 feet to come out of. That's where the "coffin corner" came from: turning downwind to base, if a student overshot, he would pull the wings more vertical, leading to the high-speed stall/spin, and from a pattern altitude of 500 feet, with an airplane that needed 3,500 feet to pull out of a spin... well, the arithmetic says everything.
I really really wish WNW would do a Jenny. If they can do all those German 2-seaters, including that Albatros B.II, they can do a Jenny.
Great story, Tom, thanks for sharing! Hard to believe a whole generation of pilots were trained on such a tricky airplane to fly. At least the crash would have been "low speed"!
Great historical background and a great model. Dive bombing in a pile of sticks and doped linen. Oh yeah!
Nicely done Robert and a nice addition to your dive bombing collection. And those wire wheels really look good.
Thanks, Tom. My original plan was to just use the clear plastic centers and score the plastic to make the spokes, filling them with paint or some such. I was experimenting with that idea when I discovered the photo-etched brass option in an article I read about someone else who was building Lindberg Jennys. It's amazing what is available for modelers these days.
Nice work, Robert. I enjoy seeing stuff like this built.
The EZ rigging wire are perfection...and a great model to boot! RJW.
Thanks, Rodney. There were a few colorful words coming out of my mouth while getting that rigging all completed!
Great job! Nice background info. So did you build Lindberg's Jenny or Jenny's by Lindberg, LOL.
Fantastic! Kudos for pulling off a rigged WWI aircraft - I avoid those like the plague (or the corona virus)!
Very funny Greg, very funny.