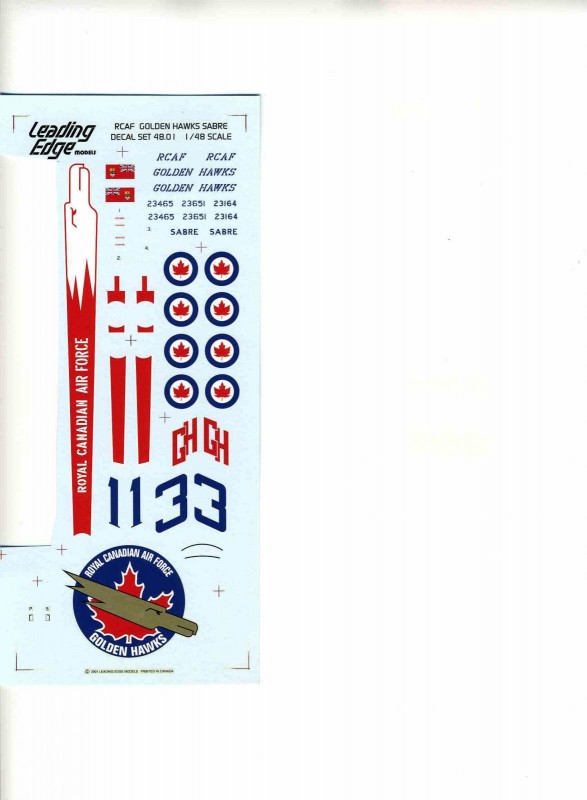
The 2nd Set of RCAF decals
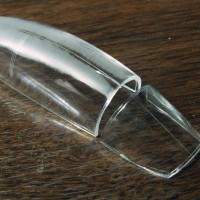
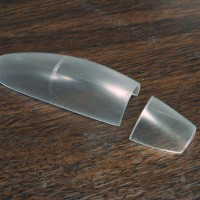
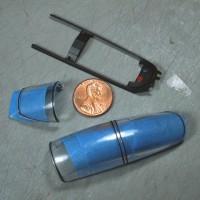
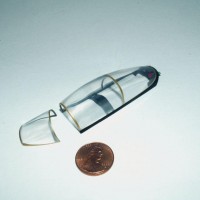
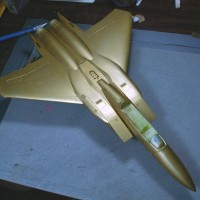
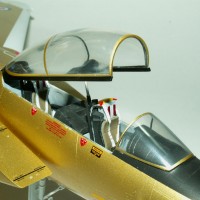
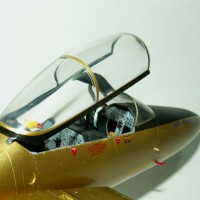
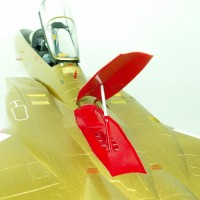
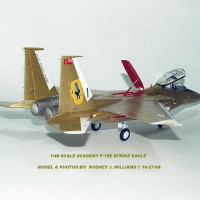
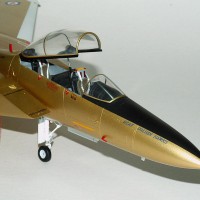
Academy's 1/48 scale F-15E Strike Eagle had a major problem with its' one piece windscreen/canopy. I had the experience to solve the problem by sanding off the ridge line. I only use 3M's wet/dry sandpaper that is kept in water 24/7 for several days before I use it.
I usually start out with 320, then move down to 400, 600, 800, 1000, 1200, 1500, and finally to 2000 grit paper. I change the water every time I change grit.
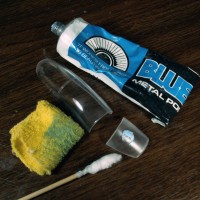
Then I polished out the plastic with none other than "Blue Magic-Metal/Plastic" polishing cream to get that "glass-looking" look.
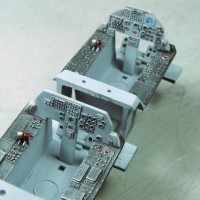
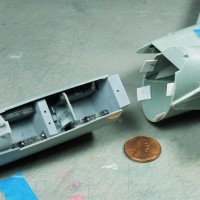
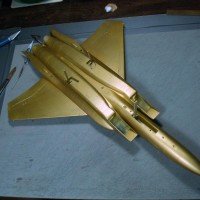
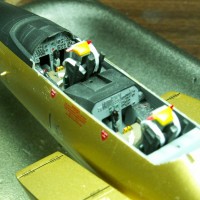
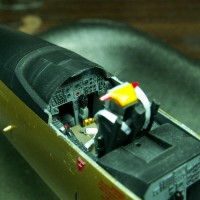
This model was made with 2 front section's and once they were glued together so you could attach it to the pre-glued 2 piece rear section of the model. EASY...WAIT A MINUTE?...How are you going to joined the two sections together and "ALIGN" them properly? As this is the "basics" of model building. This is my first try at putting a model together that had 4 parts for the fuselage. Wow, another learning experience. Ron emails me and says "Add some thin flat styrene stock to the inside of one section of the model then slip on the other section. The next important item is:
"LINE UP THE 2 SECTIONS" and make sure that the 2 section look prefect and not bent up-down-left or right. Once that is done, add thin drops of super glue and when the glue dries, just sand everything with wet 600 grit 3M sandpaper and re-scribe in the panel lines and sand the area again with 600 grit...YOU "R" DONE, so go onto the next building operation.
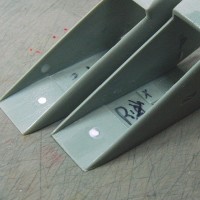
I noticed that several visiable model part's had ejection-pin marks, so they needed to be fixed. I used my Waldron punches and just punched out some 0.10" thick flat white styrene stock and dropped them into the recessed holes and added some thin super glue, then sanded everything flush...da!da!da!
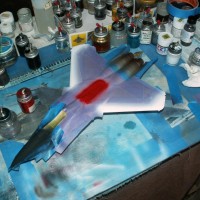
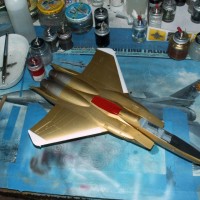
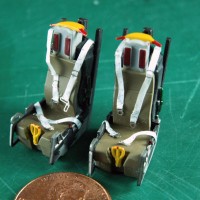
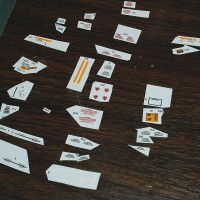
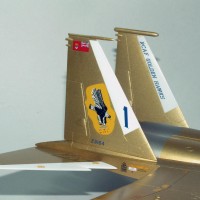
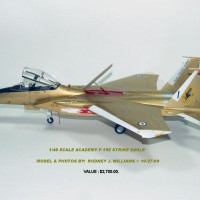
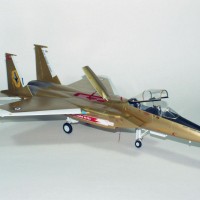
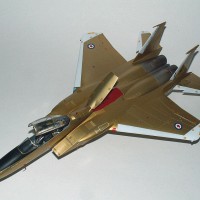
It's painting and decaling time. I was hoping that the spare set of decals that I bought in 2005 would be ok to use as it was the year of 2009.
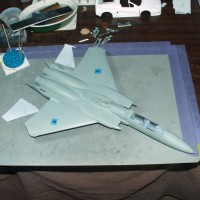
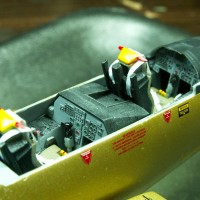
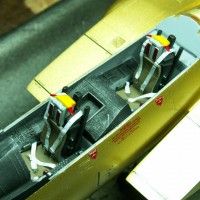
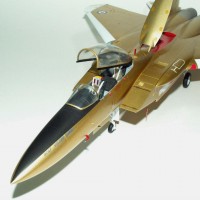
This is a "Hypo" model 'cause Canada never had a F-15E. Hey...the model is for me and I like it very much, so the same to you out there in model land. If you make a fake model and like it, then that's all that counts.
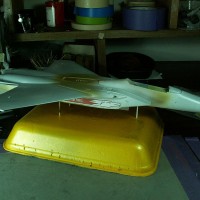
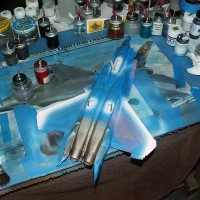
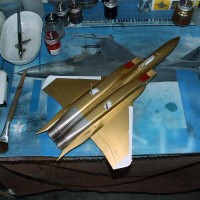
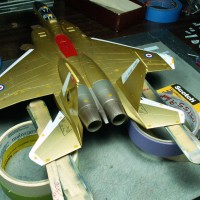
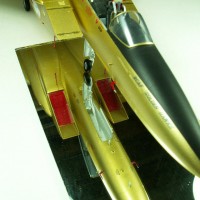
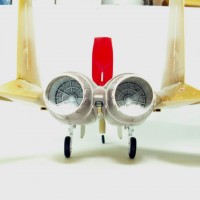
Last but not forgotten: You will notice that one photo shows the model from the back and the tail plane is setting on some of my flat wooden sticks. I keep adjusting them and at times I add some thin paper stock under each elevator combo to get them in proper alignment. Remember, your model has to be at least 97% perfect.
Cheers!
Rodney
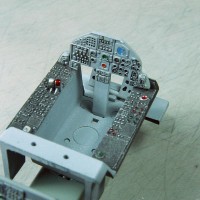
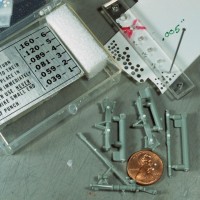
Wow ! Another great lesson from the master builder... I really enjoyed reading this and again I learned something new... Waldron punch set to fill in ejector pin marks, and the sticks to set the elevators evenly... Wonderful !
Your "Hypo" jet looks better than 97% to me... Well done and a great big "liked".
Thanks Rodney @f2g1d
for taking the time to share your tricks of the trade.
Whatawhatif!
Love the Golden Hawks scheme!
A beautiful build and a fantastic article, Rodney. Thanks for sharing.
All the best!
To Spiros and Everyone else...thanks for all the nice comments. Like I said: I think "imodeler" is the place to post models along with LSP's web site and write about your model and show photos so other's can learn. BTW: I have 81 stories on LSP...go to "www.largescaleplanes.com" it and learn more stuff. LSP only post 1/32 scale and larger and they have all my big planes. Rodney!
I learned from other's and from trying different things until I got it RIGHT!