Macchi C.202 Serie III
I decided to post this after seeing Stéphane Bredel's excellent build of another Macchi C.202.
I built this kit way back in 2005.
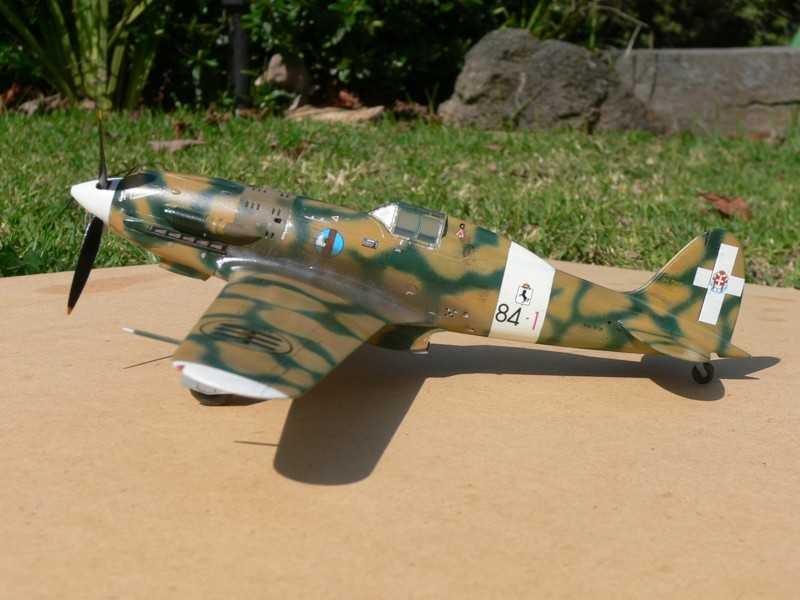
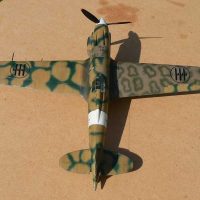
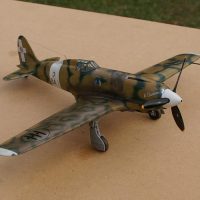
The subject this model represents is the aircraft M.M.7720, 84-1, which was almost certainly flown by Capitano Franco Lucchini of 84a Sqadriglia, 10° Gruppo, 4° Stormo at the time of the El Alamein battles. Lucchini was the second highest scoring Italian with 21 Second World War kills plus 1 kill in the Spanish Civil War.
This is an interesting aircraft for several reasons.
Firstly, it is the second Serie III aircraft to be manufactured by Macchi from June 1941, following on from the 10 Serie II aircraft (M.M.7709-7718, May-June 1941). (100 Serie I aircraft, M.M.7859-7958, were manufactured by Breda from July 1941 to March 1942.) [Gentilli, R. and Gorena, L., "Macchi C.202 in action, Squadron/Signal Publications, 1980] As such, it has a number of features that distinguish it from a later Serie III aircraft, as detailed later.
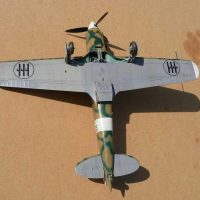
Secondly, being an early build aircraft, it was delivered in an early Verde Mimetico (a dark green) over Gigio Mimetico (light grey) scheme and operated in that guise by 1° Stormo. At some time, this was over-sprayed in the field with Gialo Mimetico (a yellow-tan) to give better concealment in the North African desert.
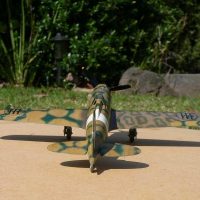
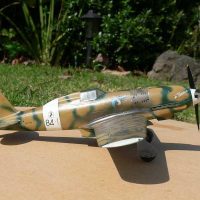
Thirdly, it had been damaged at some stage and the rear engine cowling and starboard wing had been replaced with parts from later build aircraft, with differing camouflage, to further complicate the non-standard camouflage effect.
Other than the following modifications, this was an out of the box build and it generally went together with very little effort. I did use super glue to fill a gap at the lower fuselage/wing join but that was not too bad.
I backdated relevant parts of the kit to an early build aircraft by following the work done by Werner Scheibling (http://hyperscale.com/features/2002/c202ws_1.htm). Specifically, the modifications are;
- The oxygen filler was relocated to early, low position on the port side.
- The access hatches at rear of cockpit fairing were removed (both sides).
- The crankcase vent outlet on the starboard nose above the exhausts was repositioned further forward.
- The louvres on the fuselage gun access panels were removed.
- The access hatch on the lower mid-starboard fuselage and the access hatch and middle opening on rear engine cover, starboard side, were removed.
- The wing root fuel tanks removed on the underside of the fuselage/wing join as it seems that early aircraft did not have these.
- The aircraft would not have been fitted with wing guns because the port wing would not have been constructed to accommodate one. Therefore the wing gun barrels were removed from both wings, the panel line detail around the gun and all gun access hatches on the upper port wing as well as the ammunition case ejector slot from lower port wing were removed but retained for the replacement starboard wing. Also, the outer access panels were removed from both wings as these are for the later cannon armed C.205V.
- The radio mast was not fitted and the hole filled and replaced with smaller mast further back on cockpit fairing.
- Detail was added to both sides of radiator.
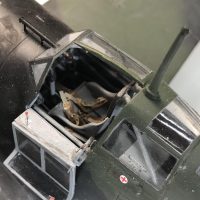
- I Scratch built seatbelts from aluminium foil and wire based upon advice provided by Werner Scheibling. What a complicated (and uncomfortable looking) system the Italians used!
- I replaced the wing navigation lights with clear sprue with a ‘bulb' drilled out and painted red/green on the inside.
- One thing that annoyed was that Hasegawa ran the upper wing fuselage join straight through the two wing join covers leaving half of each as part of the fuselage and half as part of the wing. To fix this, I added these covers from aluminium foil.
- I added a circular supercharger intake shutter valve, in the open position, to the front of the supercharger.
- I added fuselage guns from hollow brass rod, but you can only see these if you really look for them.
Fortunately, this kit has the early tail plane and so no modification was required. I also assumed that at this time this aircraft would have been fitted with an air intake filter on the port side.
I painted this kit using the old Aeromaster Italian colours;
- The cockpit an undercarriage/engine bay were painted Verde Anticorrosivo (Anti-corrosion green) with detail painted other colours as required.
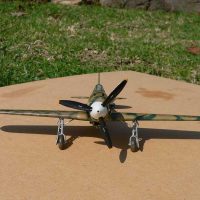
- The main under surface colour is Grigio Mimetico (Camouflage Grey). The newer starboard wing under surface, excluding the aileron, is in the latter Grigio Azzurro (Grey Blue).
- The original upper surfaces are painted the early Italian camouflage colours of Verde Mimetico (Camouflage Green) with a non-standard overspray of Giallo Mimetico (Camouflage Yellow).
- The replacement rear cowling and starboard wing (excluding the starboard aileron) are painted in the later colours of Nocciola Chiaro (Light Sand) with the win ‘smoke rings' in RLM 80 Olivegrun, which approximates the required Verde Oliva (Olive Green). The blotches on the rear cowling are the same colour.
After a gloss clear coat, I decaled the aircraft and weathered it by simulating exhaust stains by airbrushing with a mix of greys and browns and added general grime by using artists burnt umber watercolours. The latter was applied in my usual fashion; using the tip of a finger and smudging in the direction of the airflow. Any mistakes can be easily removed using a damp facial tissue. I added a few paint chips with silver paint.
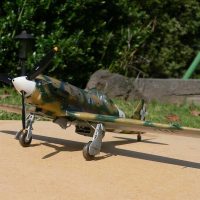
The model was finished with a coat of clear 'flat' and the addition of undercarriage, a stub aerial mast from thin wire and radio antenna wire from fin to stub mast from fly-fishing monofilament thread.
I really enjoyed this kit, so much so that I bought another, which I have yet to build.

Great work on this! Love all the mods you did to bring it up to speed, and the unique camo treatment. Well done.
Thanks.
I love researching and painting complicated/unusual camaouflage, and WW2 Italian aircraft had both.
Beautifully built, Michael. I especially like your battle damage repairs!
Thanks.
That is a marvelous build and finish! Love the effect of the replacement repair parts. That's the Hasegawa kit, I presume?
Thanks.
Yes, it is Hasegawa.
Boy, you cannot go wrong with one of these kits! Great work and beautiful result.
I nearly did in go wrong a couple of places, but it is a great kit of an elegant aircraft.
Great job on the camouflage scheme!
Thanks.
Nice work !
Thanks.
That is for sure a unique paint scheme. Great Macchi.
Thanks.
Very interesting and beautiful build, Michael.
Thanks.
Wow, you certainly improved a kit that is already good, and made it excellent! This is a beauty, and cool that you picked a one-off color scheme - well, the entire aircraft is a one off! Very nice indeed.
Thanks.
I’ve seen one or two other builds of the same aircraft, so mine’s not quite a one-off, but the real thing was.
Hi Michael @michaelt.
You did a wonderful job!
Amazing research and very thoughtful implementation.
I really enjoyed reading your article.
Congratulations!
Thanks, Spiros.
You did a fantastic build of your Macchi, Michael. Looks great!
Thanks, mate.
I really liked your recent posts too (but I wasn't logged on to comment).
Hi Michael,
Your Folgore is truly one of a kind! A very beautiful rendition with a very interesting historical narrative. Bravo!
As is yours.
I'd like to build a line of Macchis, each with a different paint scheme, reflecting the different manufacturers, theaters and progress of the war.
That would be a long line...