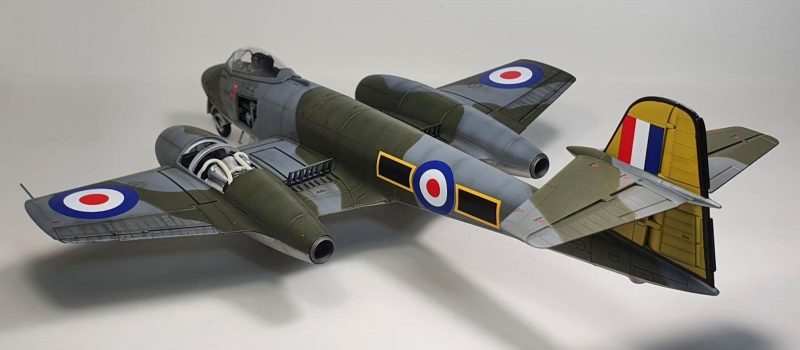
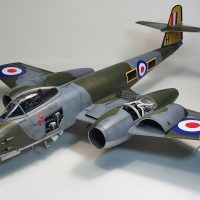
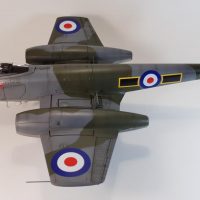
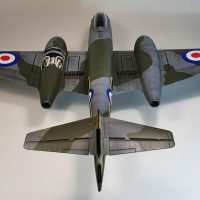
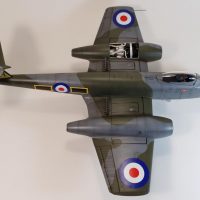
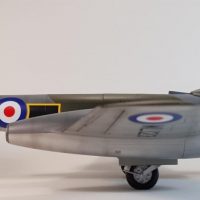
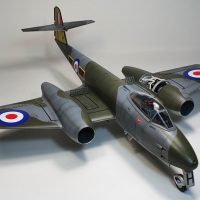
Gloster Meteor, the nose job one.
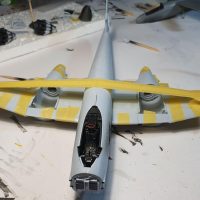
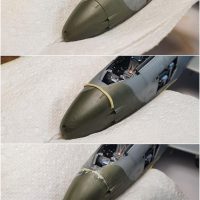
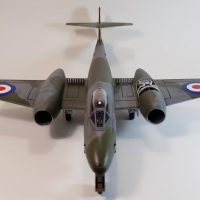
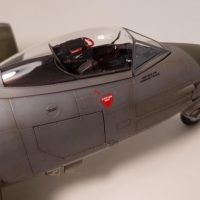
What is it with Airfix and noses? Their Sea Fury i just completed recently is a bit of a shocker and now this. I suppose it keeps one busy instead of just stick part a to part b type of deal, but it is a tad annoying. Anyway, besides that it isn't a terrible kit, although, if i was to do one again i would start by sanding down every outer surface after laying the first coat of primer, she's a bit rough in that respect.
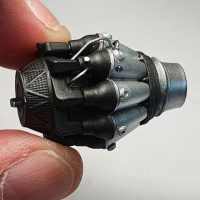
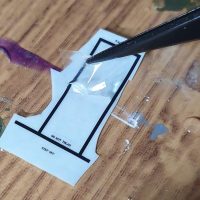
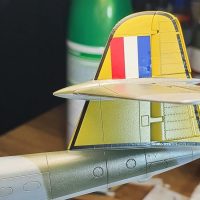
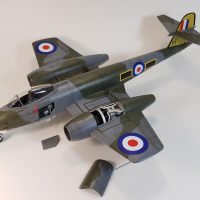
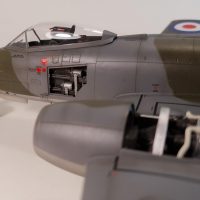
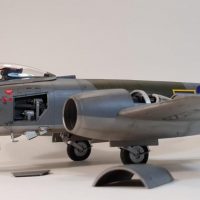
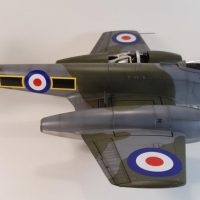
Some additions to the engine were made as it is a bit basic but it does look nice with an engine exposed, as well as the port side gun panel. The tail decals are a bit iffy, they came up short which required some touching up after a night of sitting with decal solution applied. The inner wing decals were sliced to remove most of the clear section for better fit and look and the wings themselves were 'degapped' with lashings of Tamiya tape.
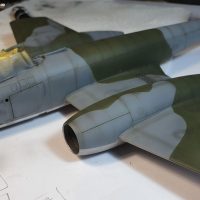
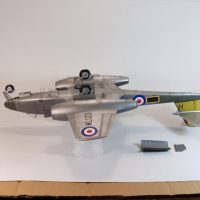
My pre and post shading is a tad heavy, reason being i wanted her to look like the box art which just looked cool regardless of authenticity. No oil or other weathering was done on this bird which is a first for me for quite a while. A mix of Tamiya and Vallejo colours were used, Tamiya on top, Vallejo for the undersides and post shading. Vallejo 50/50 mix of matte and Gloss completed her.
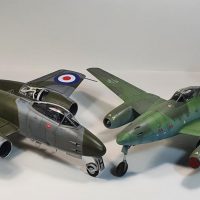
I did this build concurrently with a He162 to show two late war jets together for a forum build, not realising the F.8 Gloster i was doing is circa late '48. Oh well, jets are not my strong point, and she looks neat alongside a 262 🙂 The most i got out of this kit was an appreciation for the Gloster, it has never been on my list of 'sexy' aircraft, i always thought she was a bit of an ugly duckling...but i came away from the build really liking her lines and seeing the evolution from prop to jet within her. She is actually quite a pretty plane.
Thanks for looking in all and have a good one.
Jimmie...ZZZZZZ:
Very nice looking model. Your excellent photo's show quality workmanship. The engine looks great!
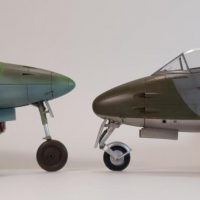
I like the idea that you posted the model nose to nose with your Me-262.
Thanks for sharing this model.
Thanks as always Rod. It's definitely a decent looking kit once finished, just a few small hurdles but no biggies. It's one i would like to do again down the track and approach in a different way. Cheers 🙂
No need to complain about that nose job, you did a better result than little me. Great looking camou and BRIGHT roundels 🙂
Cheers mate, i just found your Gloster and it is awesome! Lovely paint scheme. I generally tend to be rather boring and go with the box art.
Yep you pulled out a good one on the nose. Great paint job, that's a good looking color combo.
Cheers Bill, that nose man, i nearly went lazy on it but she deserved better and i would have kicked myself if left as is.
Jimmy @hetstaine, this is simply outstanding work. Well done! I have one of these in my stash with a few upgrades to make it a MK 11. She actually is a pretty Aircraft.
Thanks James, she has a few bits i'm not happy with but looks good in the cabinet. Have a great day mate!
Hey Jimmy, you really made a nice job of what is a challenging kit I have the same kit and configured in the same way as yours here on iModeler but mine is in Israeli markings. I took Tom Cleavers advice and built the nose halves with the fuselage halves before putting them together and it worked fine, I found problems with the instruction sheet ,there is a choice of cockpit canopies and engine intakes but no real guidance about which to use, anyhow like you I got it finished though I think your's is nicer , Well done buddy and keep safe.
N.
Cheers Neil, the instructions are a bit average, especially seeing as how they are so well presented. I find the Airfix plastic is also very thick and rough compared to the likes of Tamiya, Hasegawa etc. Makes for a heavier model than the norm.
Have a good one mate.
Nice result with a challenge of a kit.
Should you do one again, attach the nose parts to their respective fuselage halves before proceeding further, so you can get the fit right working from both sides. If you attach the wing fairing to the wing rather than the fuselage, you can also save grief there.
Thanks Tom, i'll definitely revisit this kit in the future.
Beautifully done!
Cheers Robert!
Very nice result.
Fine looking nose job. Jimmy.
Like the rest of this beauty as well.
Great scheme.
Jimmy, this is a wonderful build of a difficult kit.
It being difficult might be a good excuse to stick to my already owned (incorrect) Tamiya one!...
I especially loved the engine and the painting/weathering.
Looks great!