Wingsy Bf.109 E-1 – “The Bull and the Mouse”
By the end of this year’s summer I got my eagerly awaited Wingsy bf.109 E-1 thanks to the help of my friend and fellow iModeler Erik Gjørup (@airbum).
I immediately challenged him to for a dual build journal since he too wanted to get his model built.
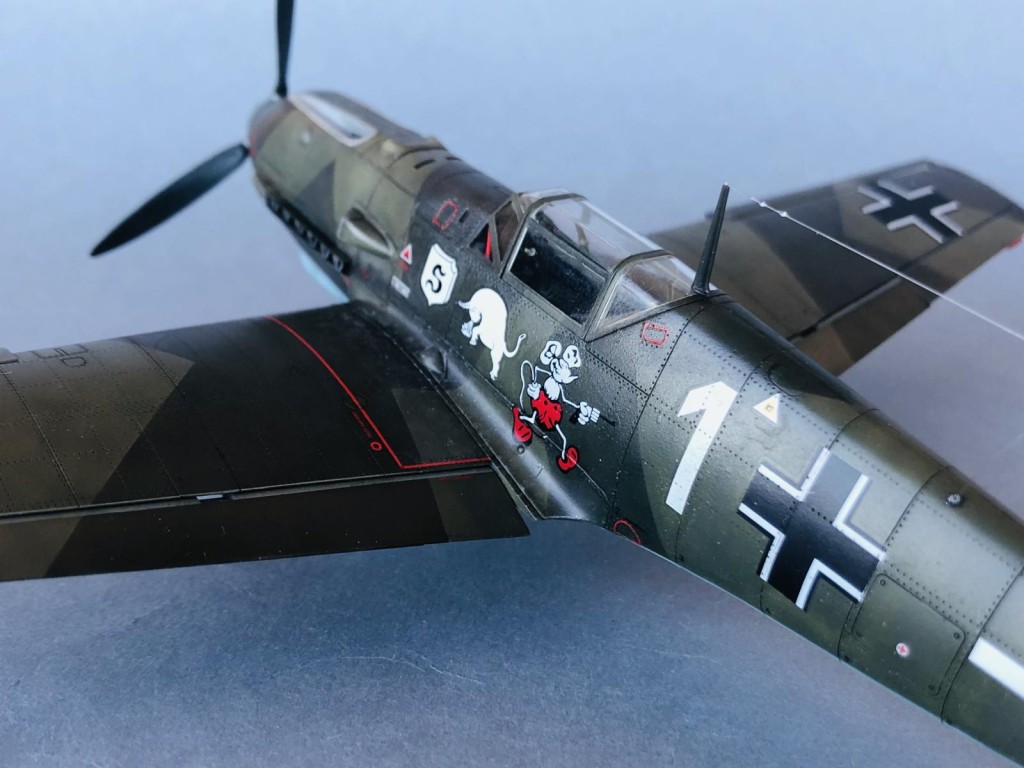
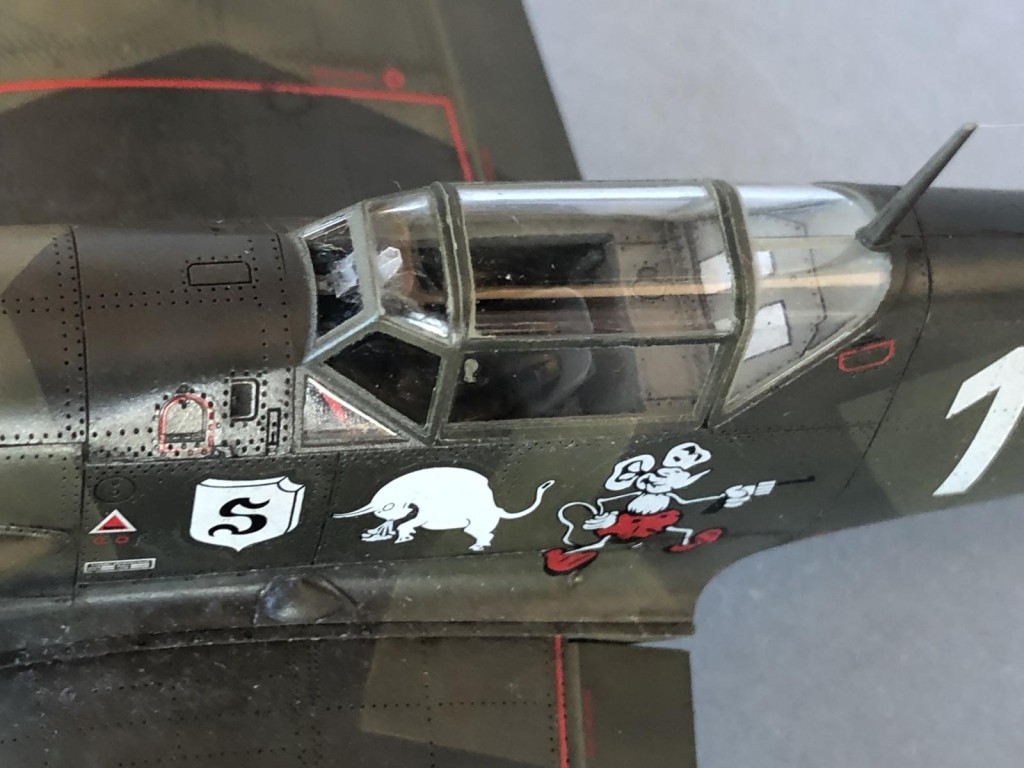
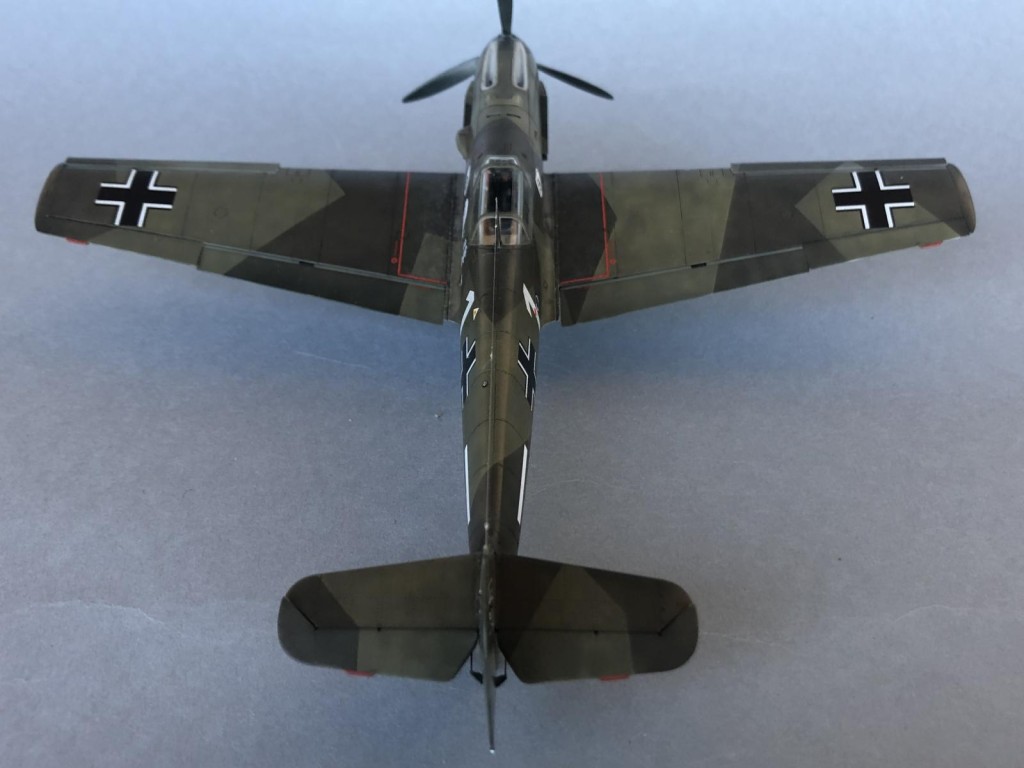
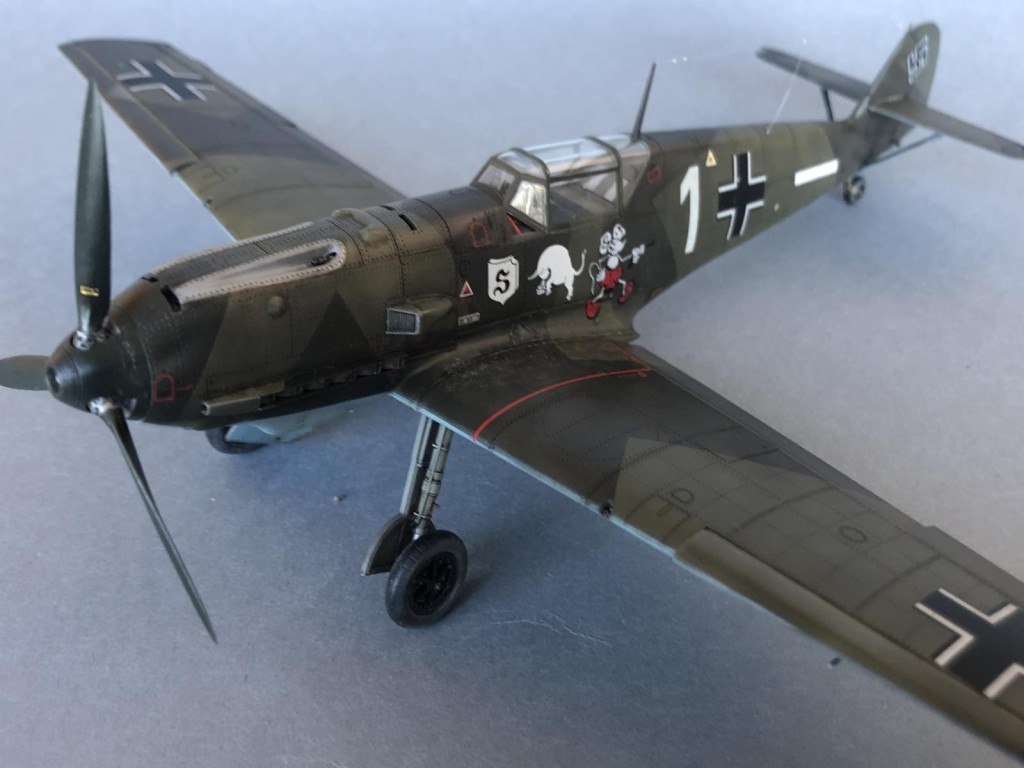
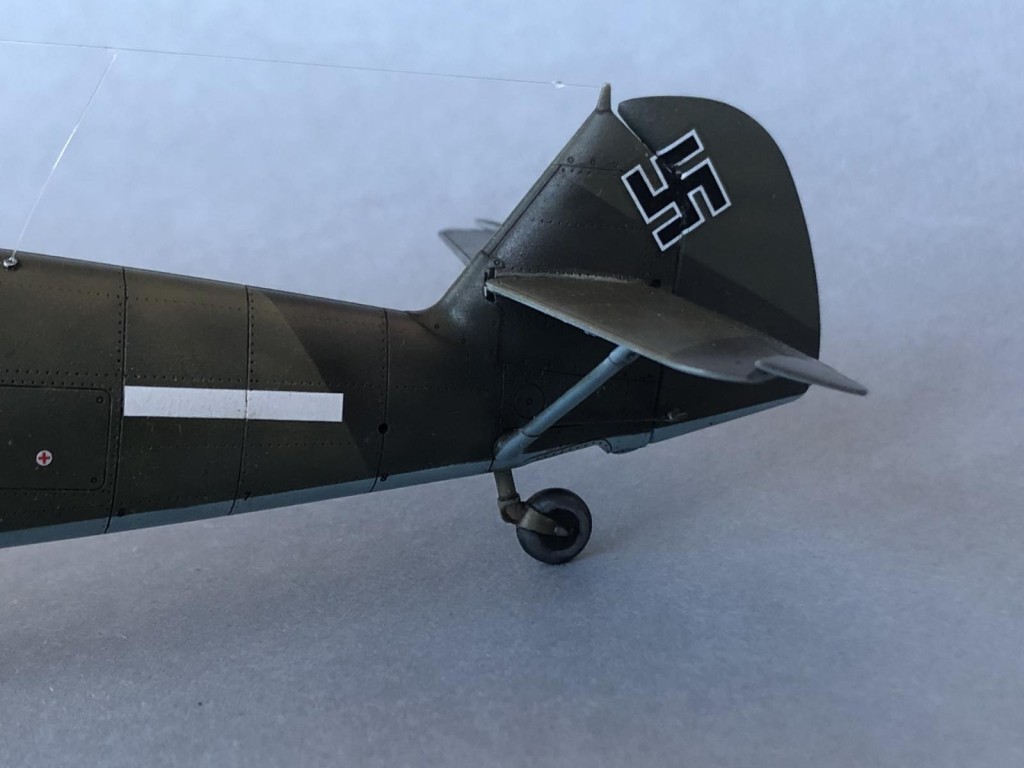
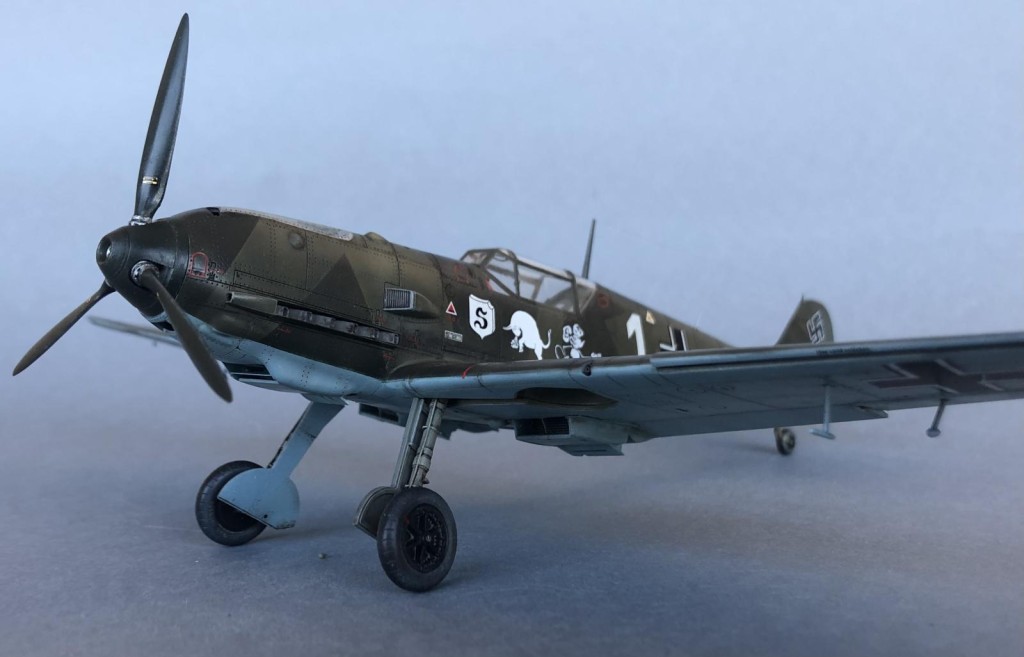
I elected a pre-war 1939 machine, simply because I always wanted to build a full 70/71 splinted camo 109 and happen to own decals for a very unusual “comics” machine, flown by Oblt. Karl Ebbighausen of Jagdgeschwader 26 “Schlageter”.
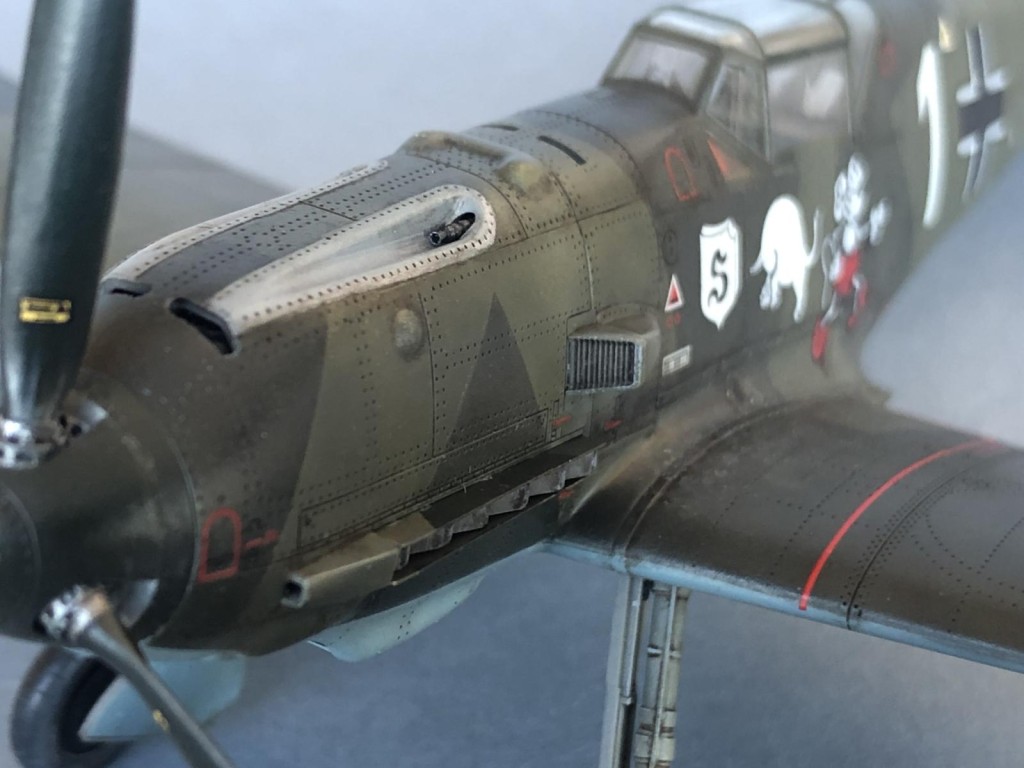
Only one original photo to my knowledge shows Ebbighausen at the cockpit of an Emil adorned with the drawings of a charging bull and a Mickey Mouse, both memories of his past Legion Condor service back in the cruel Spanish civil war.
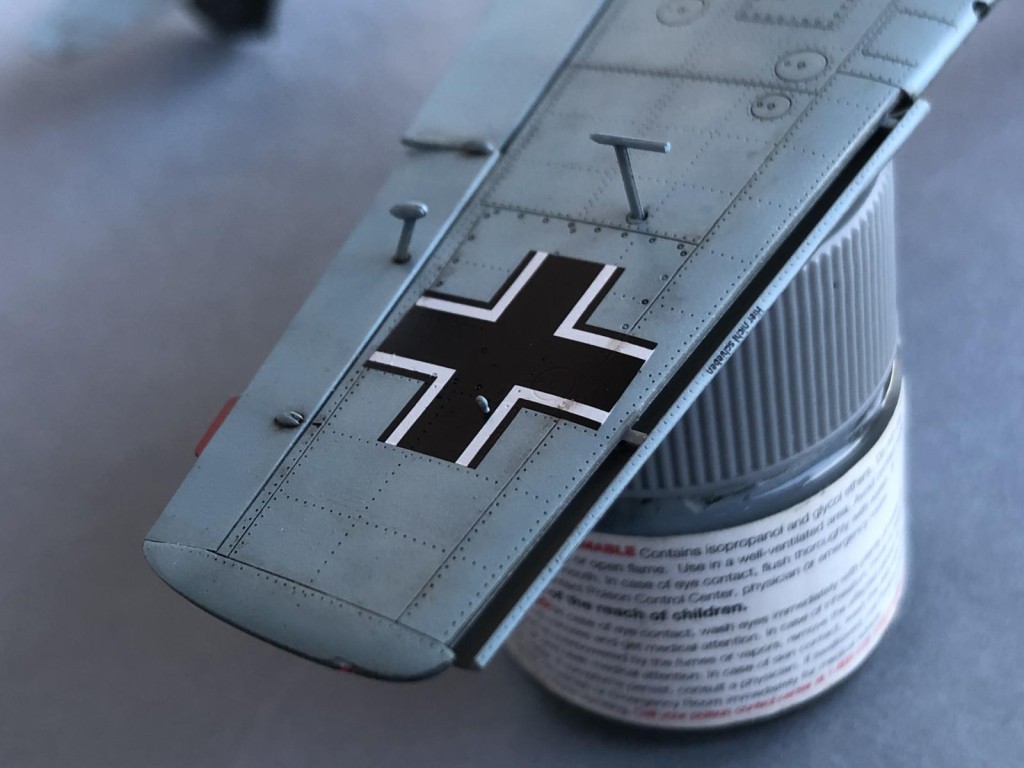
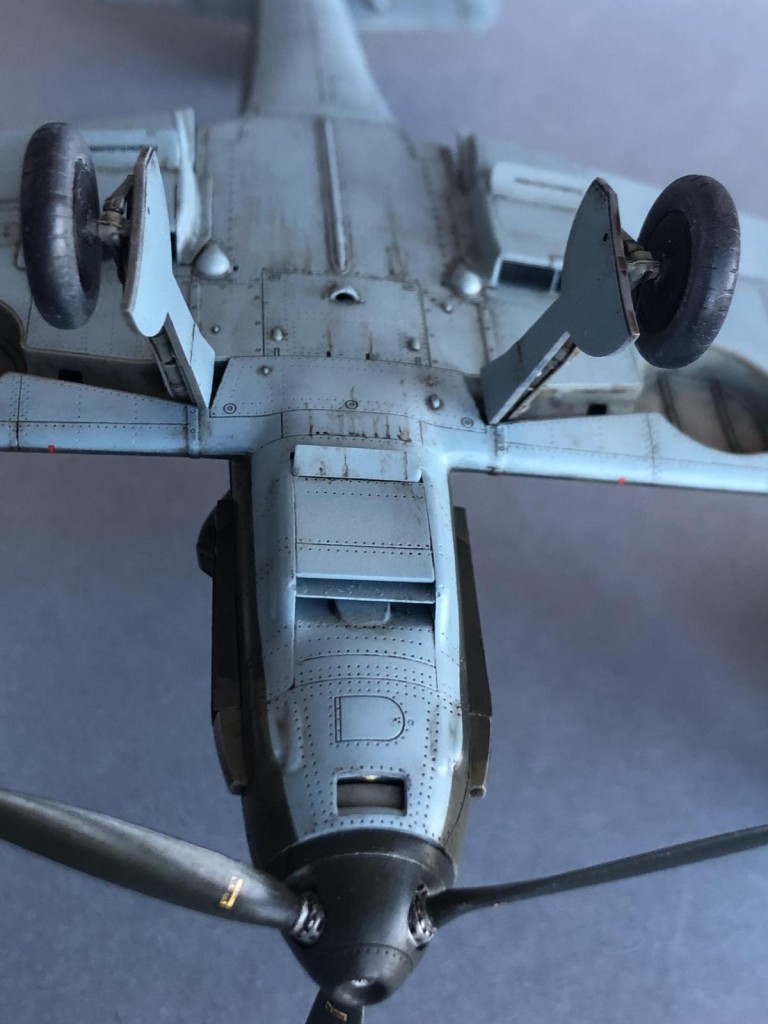
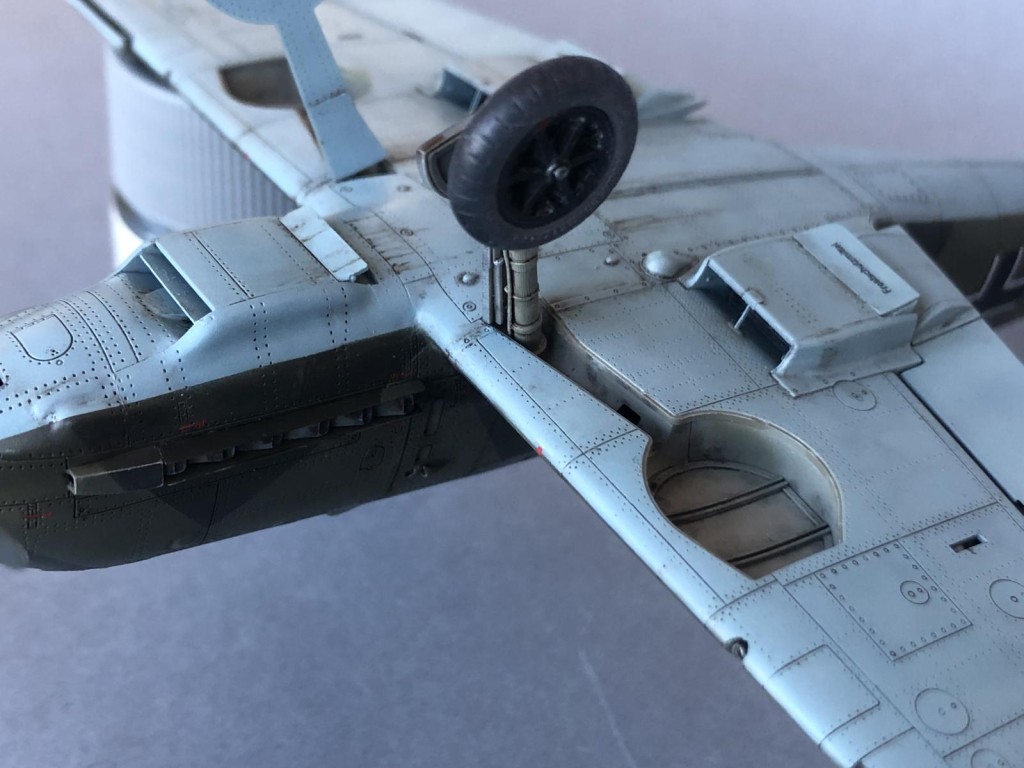
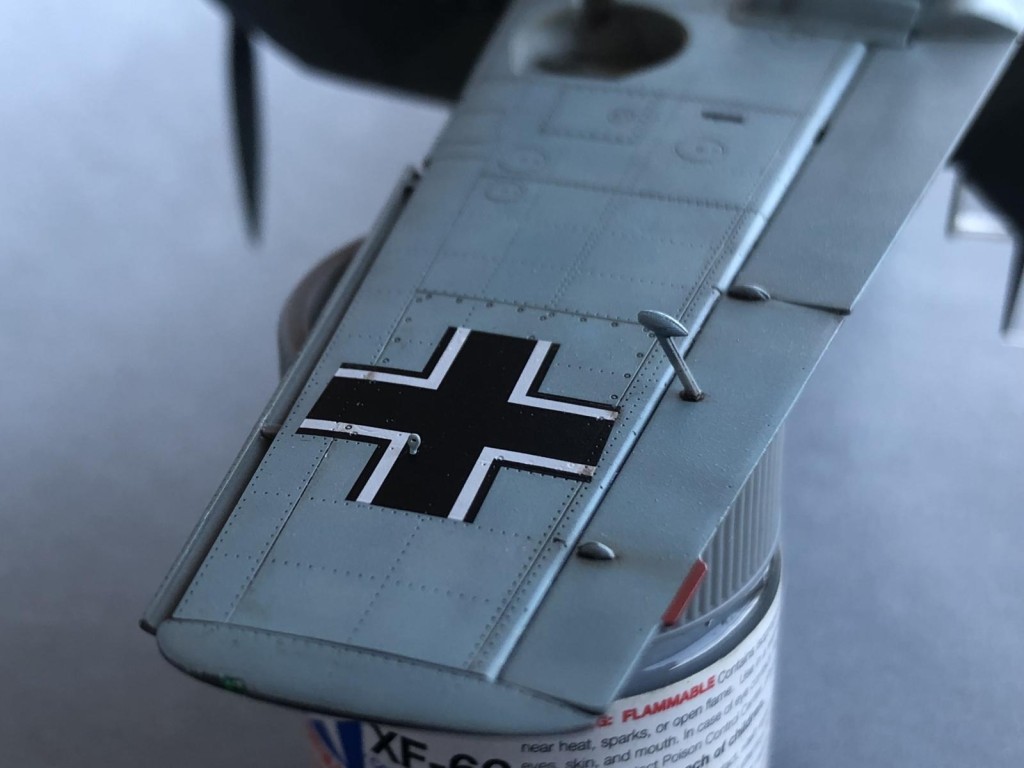
That said, I found this kit to be a little gem, in many regards the best in town for a quarter scale “Emil”, with accurate dimensions, full details, some superb surface rendition including fine and restrained riveting, plus based on the actual use, some fabulous decals, that have minimal carrier film, perfect registration and colour and leave no silvering.
However, there is one aspect that makes me recommend this kit only to those who have a lot of endurance to apply photo etched parts everywhere.
You see Wingsy has several parts that are only made in PE, and I don’t mean seatbelts or cockpit bells & whistles, I mean radiator louvres, hinges and cables and the odd exhaust pipes protection pieces. All these could also be made in injection plastic with probably the same (or very near) quality and finesse, making the build experience a whole less troublesome, even fastidious. Tamiya did them some 20 years ago…
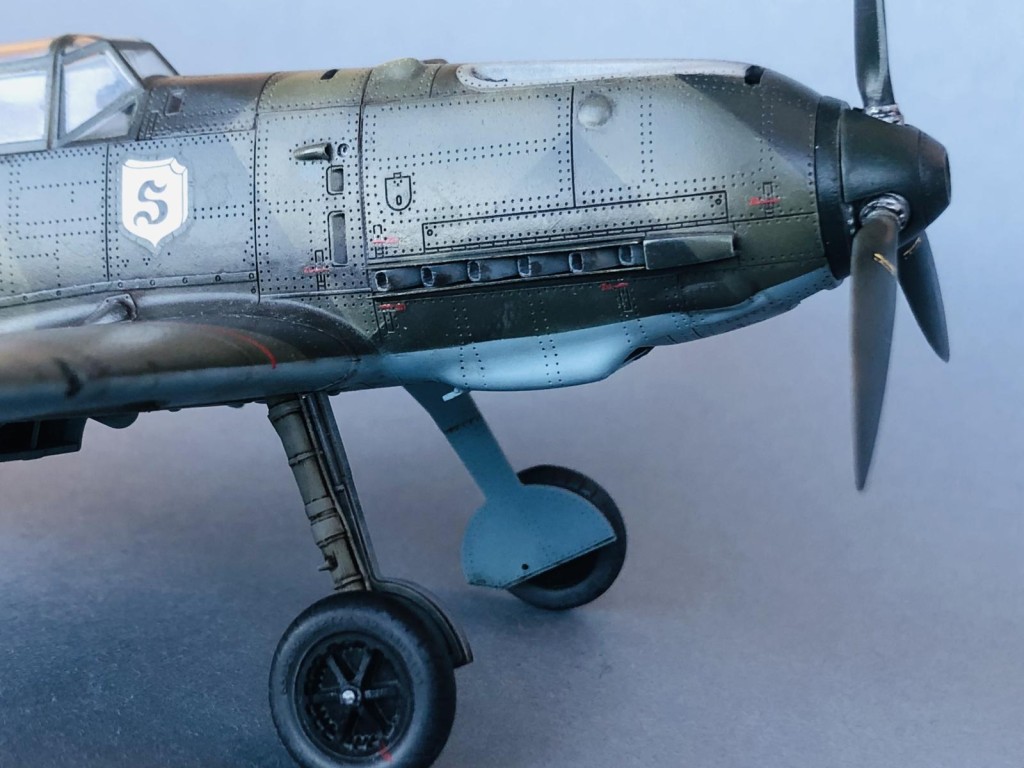
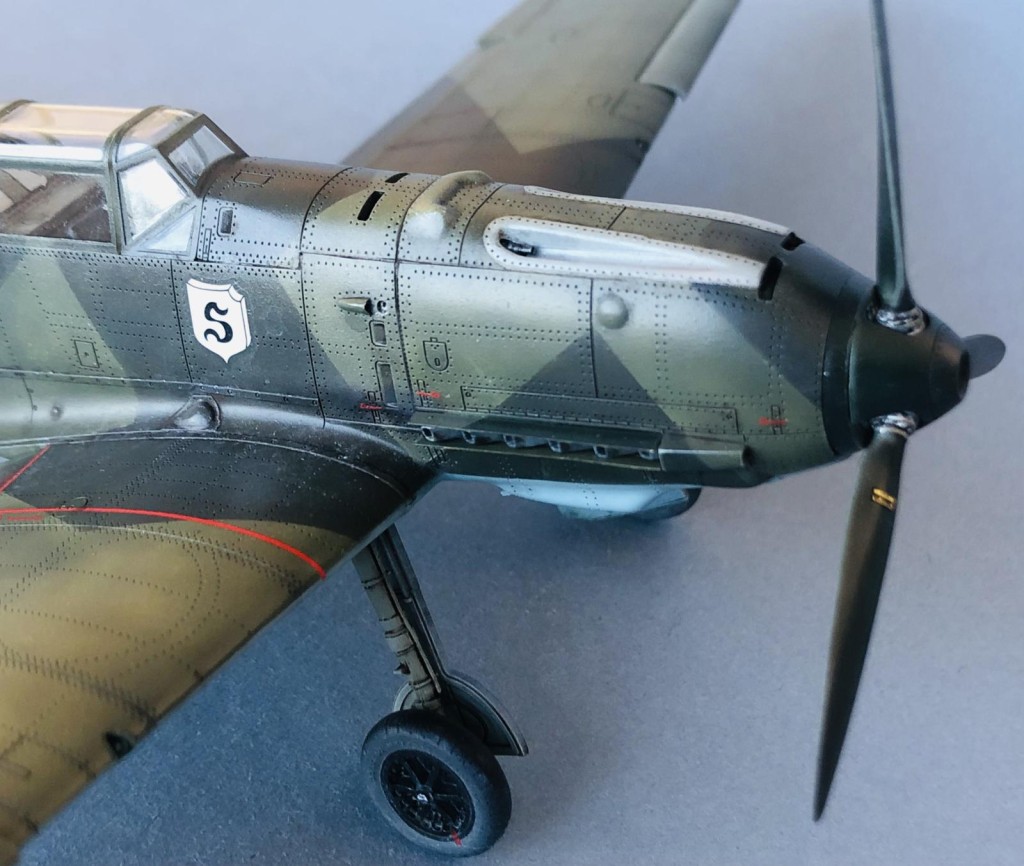
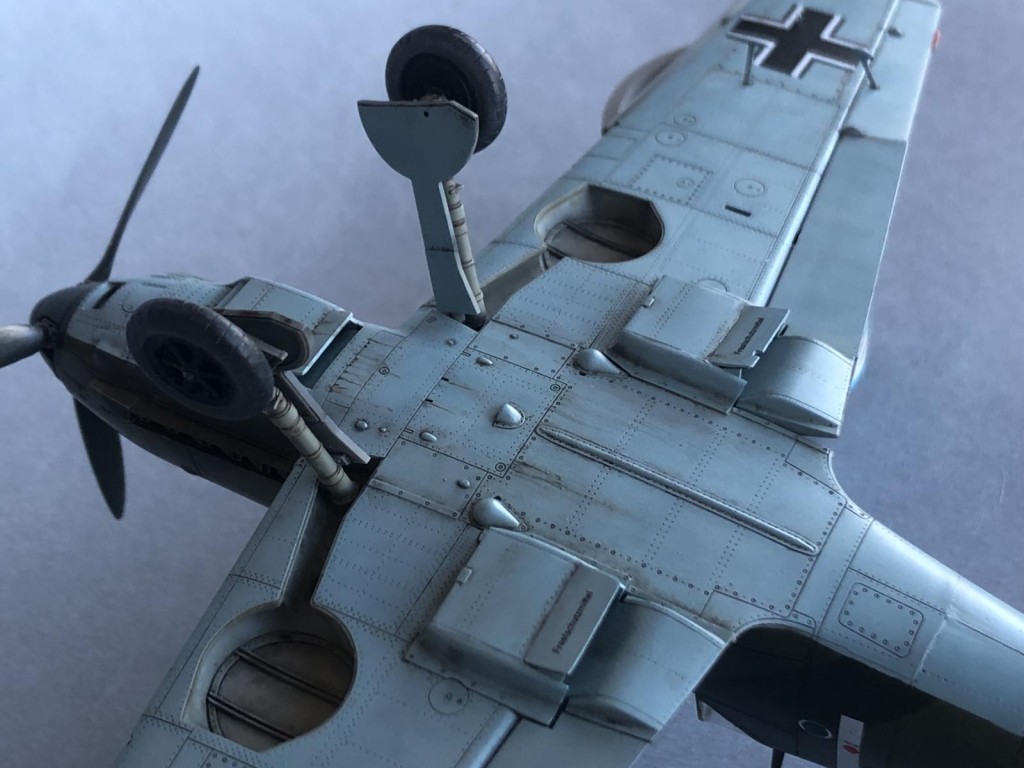
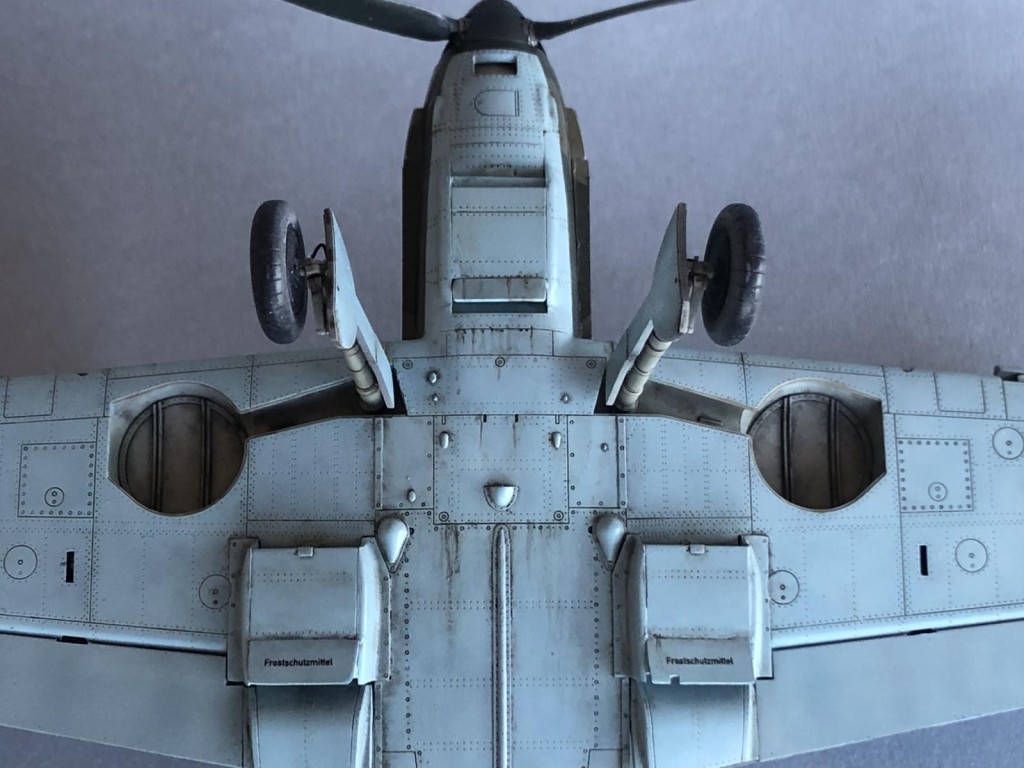
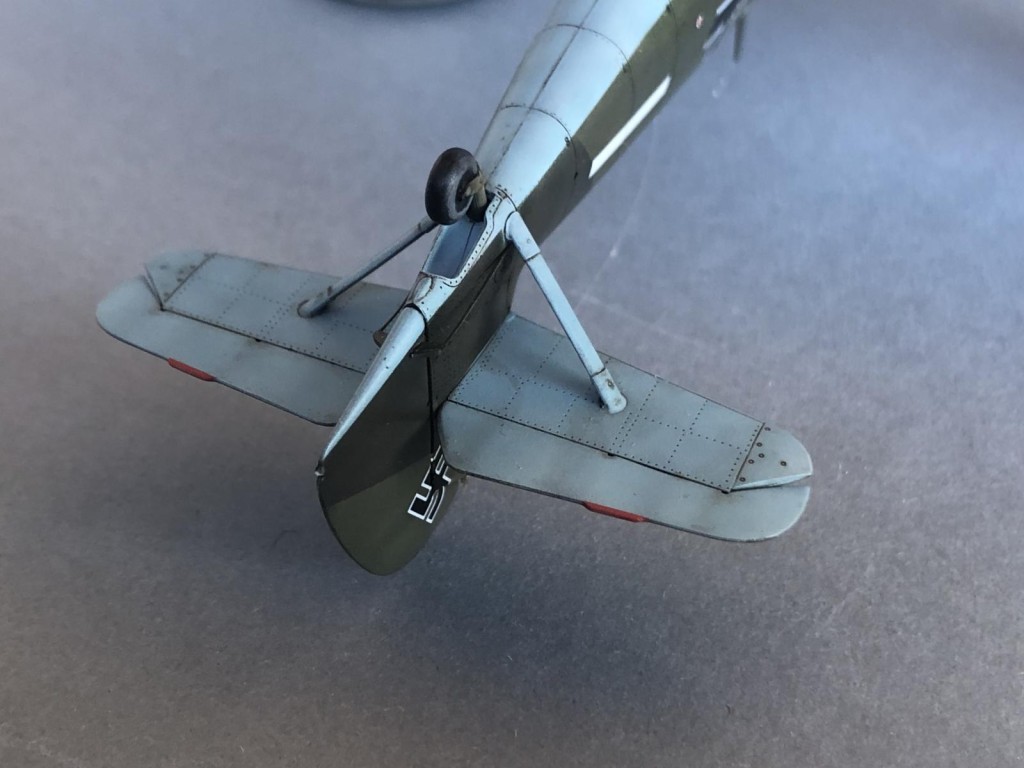
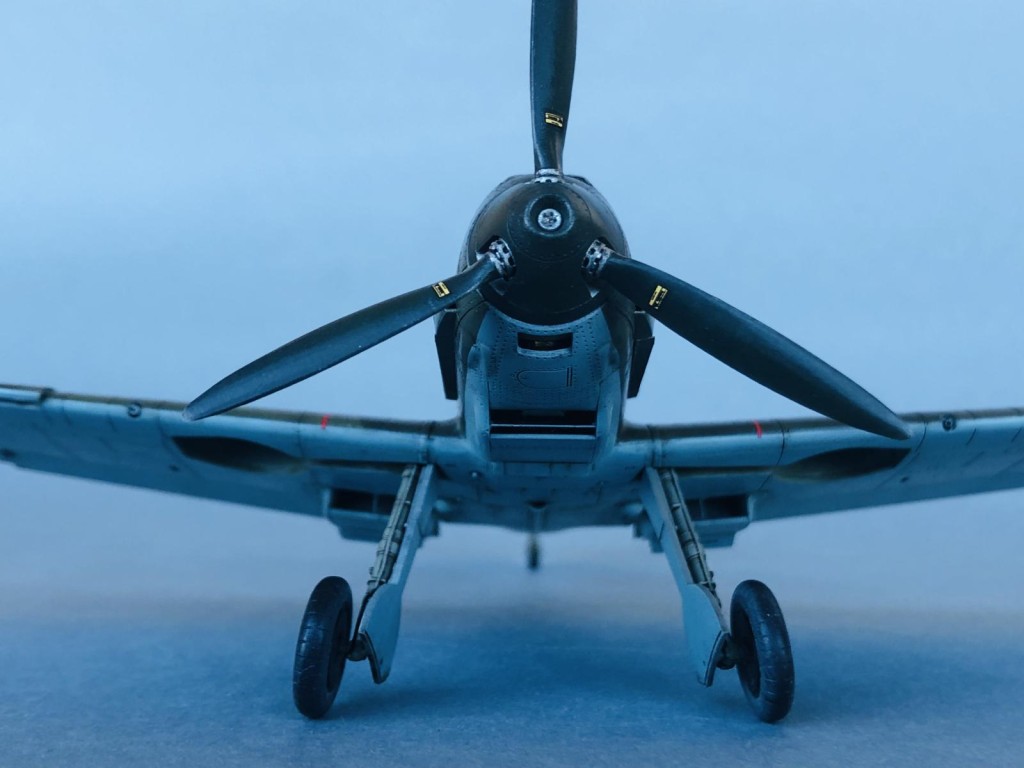
Here are some more pictures of the completed model, taken outside at today’s sunny afternoon.
Decals are from the box with the exception of the unique aircraft cartoon markings, swastika and the “Schlageter” shield.
Painted with Gunze acrilics for the upper 70/71 greens, and AK real colour a for the lower 65 blue.
Weathered with oils and AK weathering pencils.
Replaced the pilots seat, propellor blades and scratch built a few parts on plastic to replace some of that unnecessary PE options. I also added some MG17 tips from my resin spare box to fill the void holes seen for the wing armament
A big thank you again to Erik for his kind offer in adding a few tiny resin turnbuckles that are spot on to recreate these small tie-down loops used to rope the plane to the ground during windy days.
Wishing you all a very happy, healthy and prosperous new year!
Nice job, Pedro!
Congratulations on a well done build Pedro! I shall try to get mine finished before x-mas 🙂
.. oh, and by the way, I'll hit the star on my way outta here!
This is simply SUPERB job, Pedro! One of the best Emils I have ever seen!
Your build thread was equally superb, a joy to follow!
Congratulations my friend!
Your paintwork on this is really sharp. Very nice.
Sharp looking Emil Pedro. This really turned out as one of your best. Enjoyed your thread. Happy New Year!
An amazing effect on this scale! I am impressed with the quality of the painting!
What a beautiful result, Pedro @holzhamer
I'm always speechless by your paintwork and weathering, it is very realistic.
Your thread was absolutely helpful to improve my skills as well, thanks for sharing.
Man that is a hot Emil. The rivet details almost make me want one, tired as I am of 109's. And I'm not too thrilled with excess PE parts either, just dealt with that on a couple of Dora Wings models.
But you hit this one outta da park, great build and paint (and photos).
Very nice, Pedro! Which prop did you use?
@baker2-bits
Mike, I believe it was from SBS. To be honest I had that prop amid other stuff of the spare box
Nice! Beautiful work all over this build, looks great.
Wow such a beautiful build. Amazing work!
That is really a stunning piece Pedro, @holzhamer! I love the look and and great choice of markings and scheme. Restrained or not, most rivet detail is not really visible at scale distances, but can't help but love the texture and interest it adds to a model. It just makes think so much more interesting to look at. You did a great job at taking advantage of all this kit has to offer.
Fantastic work, Pedro, you’ve really made the most of this kit.
Just a super result @holzhamer. It was great following the project. This is definitely one you really topped out with.
Well done Pedro, especially like that splinter paint scheme.
That is a beauty! Excellent work.
Really great work Pedro! @holzhamer Every facet of the build looks perfect. I'll be buying the newly released E-4 as soon as the kits are available on EBAY.
@dtravis
Dale you won’t be disappointed!
I’m keeping my money for the last Emil version, the E-7, probably around mid next year
Pedro, @holzhamer
I am very impressed with these new Wingsy Emils. However I am even more impressed with the skill you have displayed here, and just how nice this completed model looks ! It is absolutely fantastic from every angle. Kudos to you my friend, I definitely pressed the "like" button.
I recently picked up two 1/48 scale 109 kits, both from Modelsvit, and these are packaged as a C-3 and a D-1 version...But I can't see a difference in the plastic parts trees. Maybe multiple parts are included and given as options during assembly ? Or are these two types virtually indistinguishable externally ?
As far as having an early Emil in the stash, I have the old 1/48 Hasegawa E-1, and a newer Eduard "Weekend Edition" also in 1/48. You mentioned the extensive use of PE parts in the Wingsy model. I am not a huge fan of PE stuff, but I will admit these items do have a place in our hobby. This Wingsy kit does look to be the best available so far. Since you have the expertise and firsthand construction knowledge, what are your thoughts on any of these Emil 109's ?
I would like to eventually build one (or more) up for our ever growing Luftwaffe group, but it would be wearing Spanish Civil War markings instead of the usual type.
Thank you for contributing yet another wonderful entry for our ever growing Luftwaffe group. I do sincerely appreciate the dedication, and I have not forgotten about our mutual Dornier builds. Lately I have not had any bench time, but this will hopefully soon change. I'll send you a PM. 🙂
@lgardner
Thanks for the nice feedback Louis, this model put up a fight in getting that splinter made with lots of tape flying around 🙂
I don’t know exactly the main visible differences between the 109 C and the D by memory so I need to look at my sources and see if there is something there that might help you.
As for your question regarding my opinion about other E-1 kits, well I never built Eduard’s kit, and now I never will. And it seems this kit suffers from size inaccuracies.
I do have the Hasegawa kit in the stash but it’s a plain E-3 model that gives us a resin plug to be inserted where the bulges of the E-3 wing cannon are. That means you need to chop plastic, measure and insert it. I think I’m gonna eventually build it as a good ol E-3 plain and simple.
This kit beats the hands down the other true E-1 in the market, the Airfix kit. Better detailed although more complex in built
I have missed this one. Great result my friend!