1/48th scale Airfix RCAF CT-155 Hawk by Don Weixl
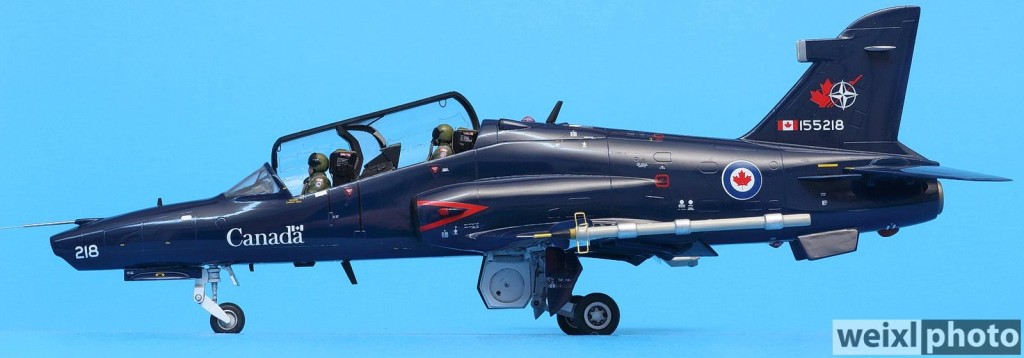
1/48th scale Airfix RCAF CT-155 Hawk by Don Weixl January 2022 Vernon BC Canada
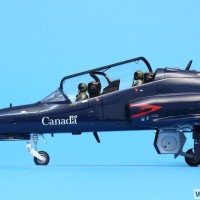
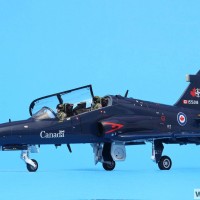
For some reason I thought it was a good idea to build 3 BAe Hawks at the same time. My plan was to build a 1/72 Swiss Airforce Hawk, a 1/72 RCAF Hawk and a 1/48th scale RCAF Hawk all at the same time. I was thinking I was being efficient with research. Note to self: Do NOT do that again! It was very difficult to maintain my enthusiasm for my final Hawk. I finished the 2 1/72 Italeri Hawks several months ago.
The 1/48 Airfix Hawk 100 kit was initially released in 2005. My opinion is that the 1/48th Hawk kit looks like an up scaled 1/72 kit. The panel lines are on the heavy side and the details are a little clunky and soft looking. The soft plastic has a slightly pebbly texture on the fuselage and wing parts. Other sprues have the usual smooth plastic you expect with a current model kit.
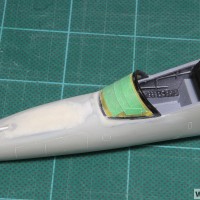
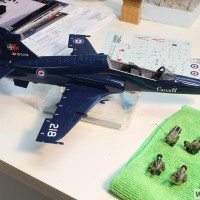
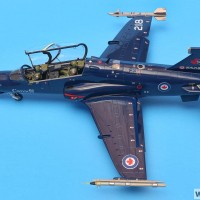
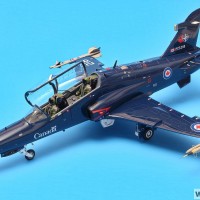
I obtained the Leading Edge RCAF Hawk decal set. Included are instructions on how to modify the Airfix Hawk 100 kit to better duplicate the RCAF trainer version. The biggest modification is to change the nose profile which requires some surgery. I also block sanded the entire fuselage to reduce the depth of the panel lines. I ground down the kit's nose with a sanding drum attached to my Dremel to better replicate the actual aircraft's profile. The basic shape was rebuilt using epoxy and then covered with putty. Tamiya white primer was airbrushed over any area that received putty work and then wet sanded when dry to get as smooth a finish as possible before spraying the final colour.
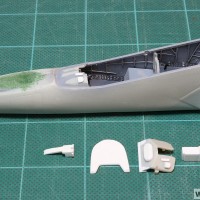
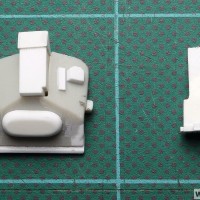
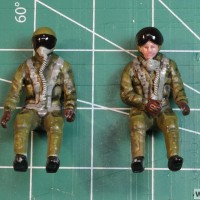
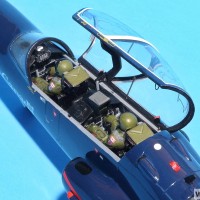
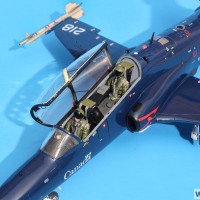
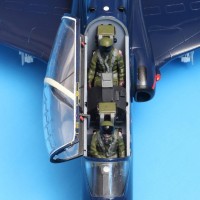
I decided that I wasn't going to buy any aftermarket improvement parts for this build. Upon examination, the kit's large bubble canopy was the kit's weakest feature. I decided to pose the canopy open to avoid having the large out of scale detonation cords spoil the view into the cockpit area. The inside of the canopy received scratch built cockpit divider screen and hinge assembly, rear view mirrors and grab handles. I improved the kit seats by redoing the top area to better represent the real thing. By installing the kit's pilot figures, most of the seat is out of view. The kit's instrument panels are not a good representation for the RCAF version. I improved them by adding RCAF specific instrument panel cowlings and details made from styrene sheet. The complex heads up display for the front cockpit was made using a True Details photo etched HUD that I had on hand. The kit's pilots had visors that were much too small. I added size and shape to the visors using putty that I carefully carved with a hobby knife and then sanded smooth. One pilot received a lowered visor and new oxygen mask (also made with putty). Both pilots had their oxygen mask tubes replaced with coiled copper wire hoses for more of a 3D effect. I hand painted the 419 squadron shoulder badges. The tiny Canadian flags on the pilot's shoulders were made by printing out a 2mm wide flag on my office printer and then gluing the paper flags to the flight suits using canopy glue.
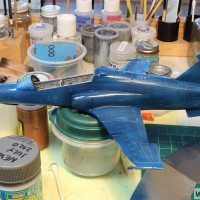
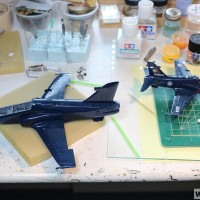
Getting a smooth gloss finish is always a challenge. I airbrushed Humbrol #15 dark blue enamel in thin wet coats through my Iwata HP-C airbrush. I wet sanded in between coats that I let dry for at least a week. To prepare for decaling, I used a 1” wide foam brush to apply Pledge (Future) acrylic clear. The foam brush does a great job of leaving a super smooth coat of Pledge as long as you are careful to not apply too much at any one time. Airbrushing Pledge has always been hit or miss for me. Using the foam brush eliminates the chance of getting the dreaded “orange peal” dimpled finish which would require further wet sanding etc…The Leading Edge decals went on fairly well, but I did struggle with a small amount of silvering for the Canada emblems.
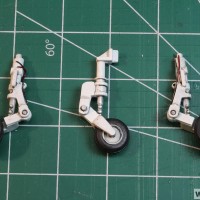
The landing gear is pretty basic, but nice and sturdy. I added brake lines using fine lead wire. The kit's tires aren't great but would do. I sanded the tires slightly flat by carefully running the finished model back and forth over fine sandpaper taped to a piece of glass.
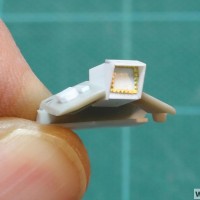
Cold Lake based RCAF Hawks are often seen with an Aim 9 captive air training missile on the right wing tip and a ACMI pod (for mission re-creation) on the left wing. I scratch built my ACMI pod using Evergreen styrene tubing and thin sheet. The aerials were made with .010 phosphor bronze wire.
The kit's substantial pitot tube was replaced with one I made from a hypodermic needle and a piece of .010 bronze wire.
I am very happy with how my 1/48th RCAF Hawk turned out. It was a bit of a struggle near the end, but I am looking forward to my next project, probably with a matt finish!

Sweet looking build, Don. Nice job!
Thanks Gary. Glad to wrap it up and start something fresh!
Sooo, very cool. A masterpiece.
Thanks Bob. I appreciate that.
Just one word : awesome!
Thanks Marcus.
Man, that is nice! Great scale model Don! ?
Thanks Gary.
Nice, Don. That’s probably my favorite Hawk scheme. I got to see one up close in Missouri a few years ago and yours looks very realistic.
2 attached images. Click to enlarge.
Thanks John. There are certainly lots of Hawk schemes to choose from.
This kit is from the last years of the "bad Airfix" era, the time when the accountants who knew the price of everything and the value of nothing were driving Airfix into the ground with their "economies" before Hornby purchased the company and saved it,
Still, you've managed a very nice model from this.
Thanks Tom. The Airfix kit is a bit of a clunker compared to modern kits, but it isn't so bad to not build it.
Very nice ! Excellent job. ?
Thanks Joost.
Super Hawk!
Thanks George. I am all Hawked out and ready for a new adventure!
A real beauty! nice work.
Thanks Robert.
Excellent job, Don and a really great result!
Spiros. I appreciate your interest in my models.
Amazing result on this beautiful aircraft, Don @donweixl
Thanks John. I agree that the glossy dark blue does make for a beautiful aircraft.
A healthy application of modeling skill in the build dept. Followed by a beautiful paint job. Zero orange peeling. The finish is as smooth as glass. Don, you've created a jewel that would easily win the Gold. Professional is another word.
Love the airshow photos. There always is a spectator who gets in the way right as your about to snap a pic. Resulting in a behind the scenes shot . . .
Two thumbs up.
Thanks Stephen. Maybe the Bronze, LOL.
That is a crisp, clean build - looks great! Well done.
Thanks Greg.
Congrats Don! You pulled off a great build! Looks awesome! I wish I had grabbed up one of these kits way back- I would still get it, even with all the warts- it can be built! and built well- as you have demonstrated!
I will keep looking for this kit!
Thanks Dan. Good luck with your kit quest. I am sure there are lots out there collecting dust.
Great work Don - thats a really skilful build, looks fantastic.
Thanks Anthony!