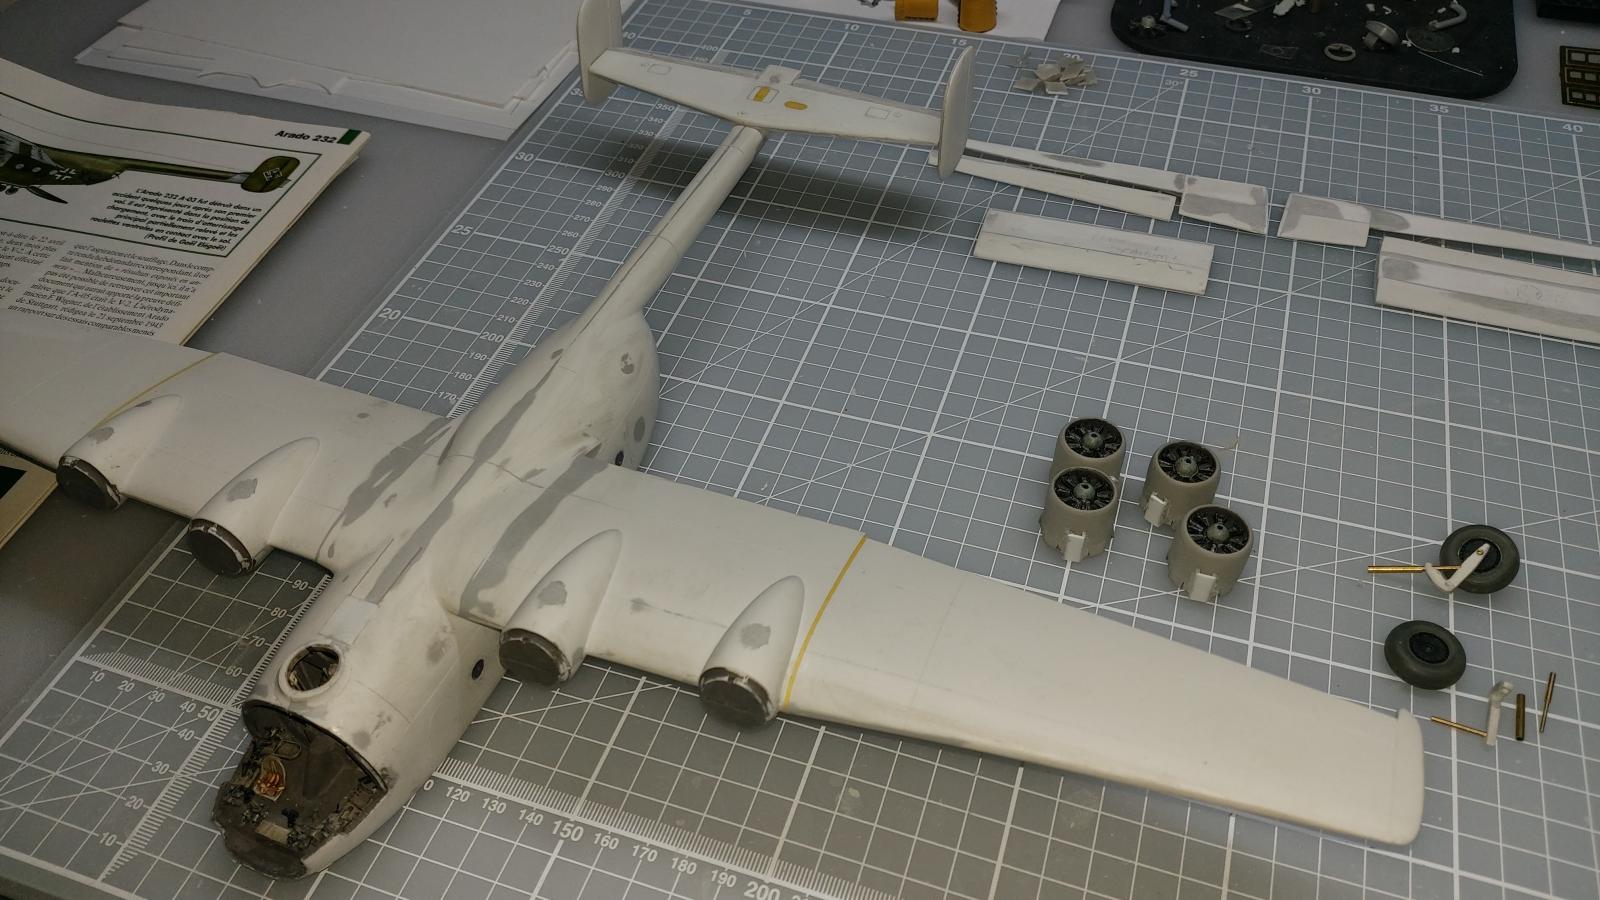
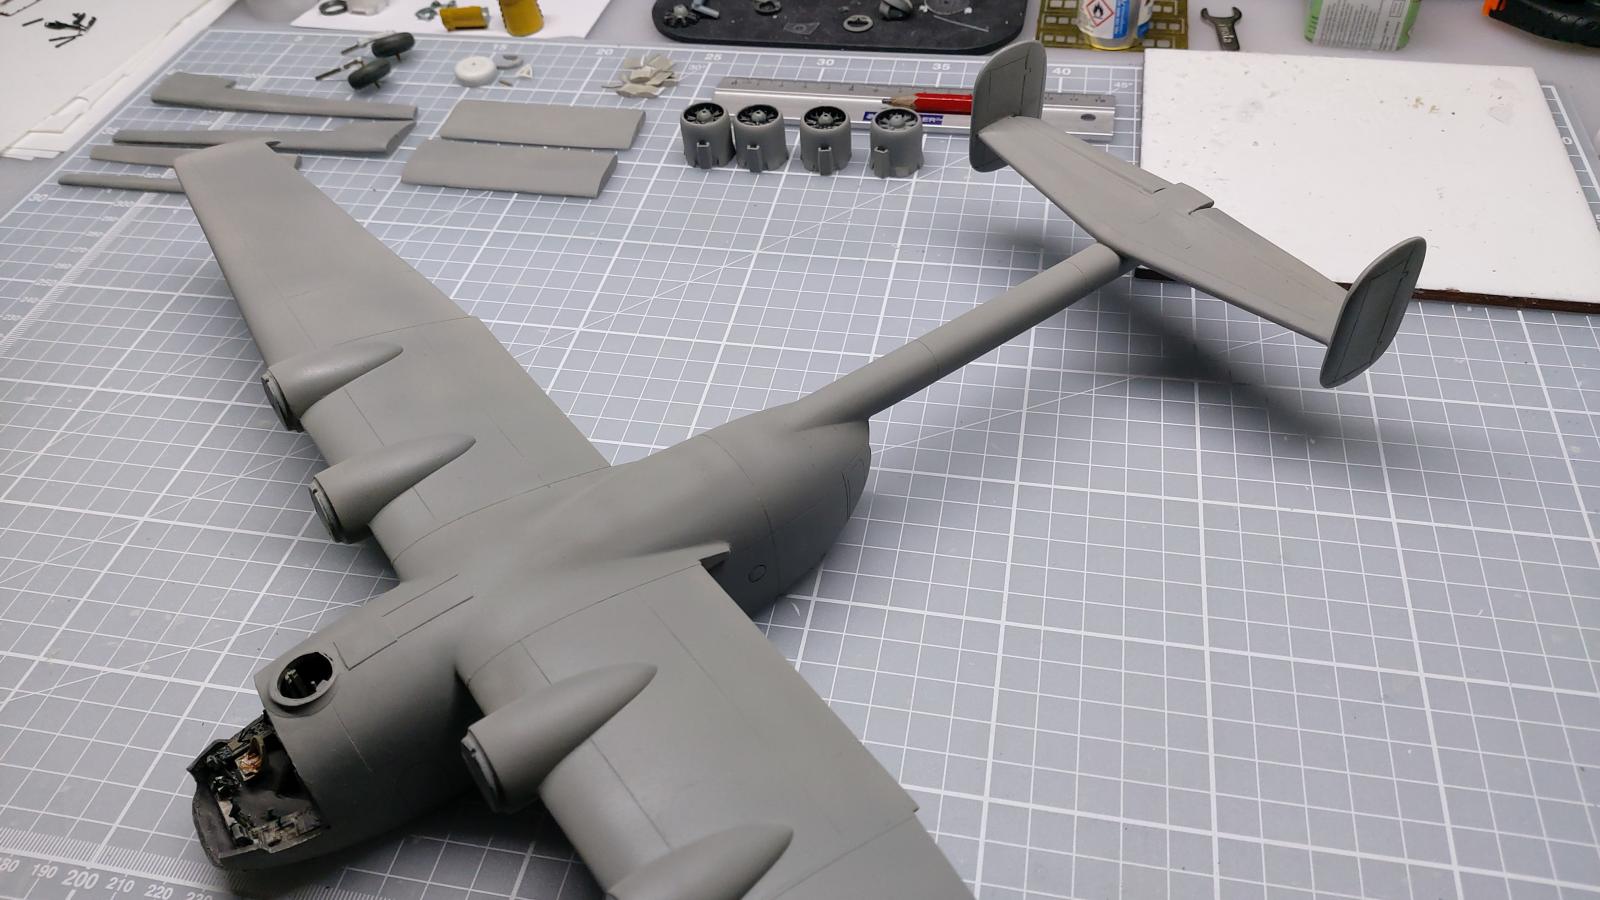
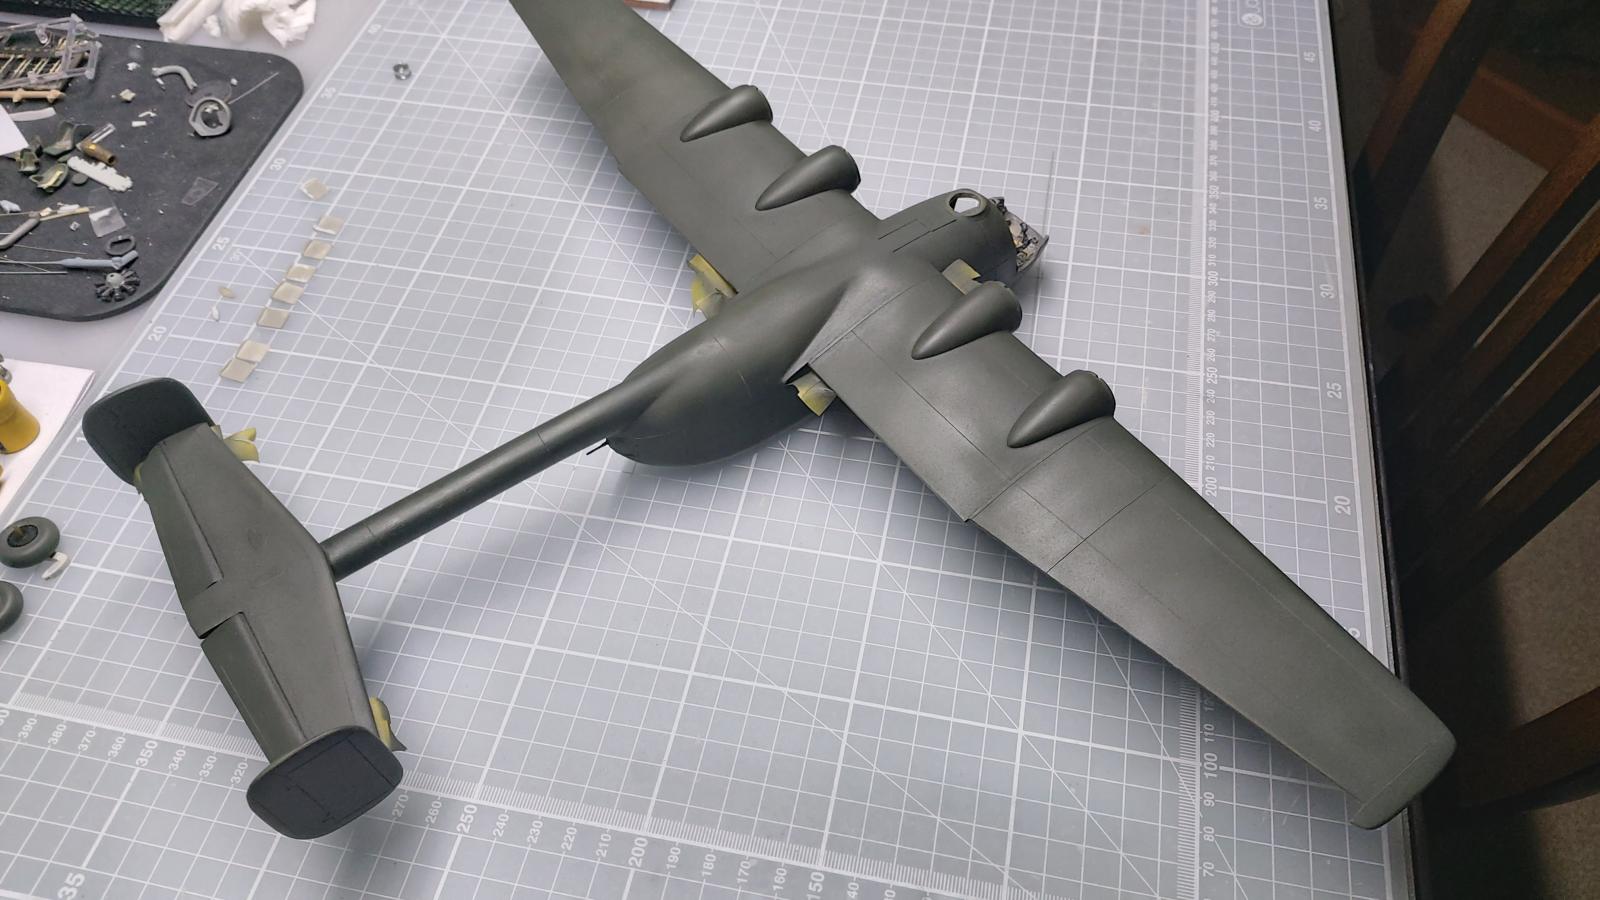
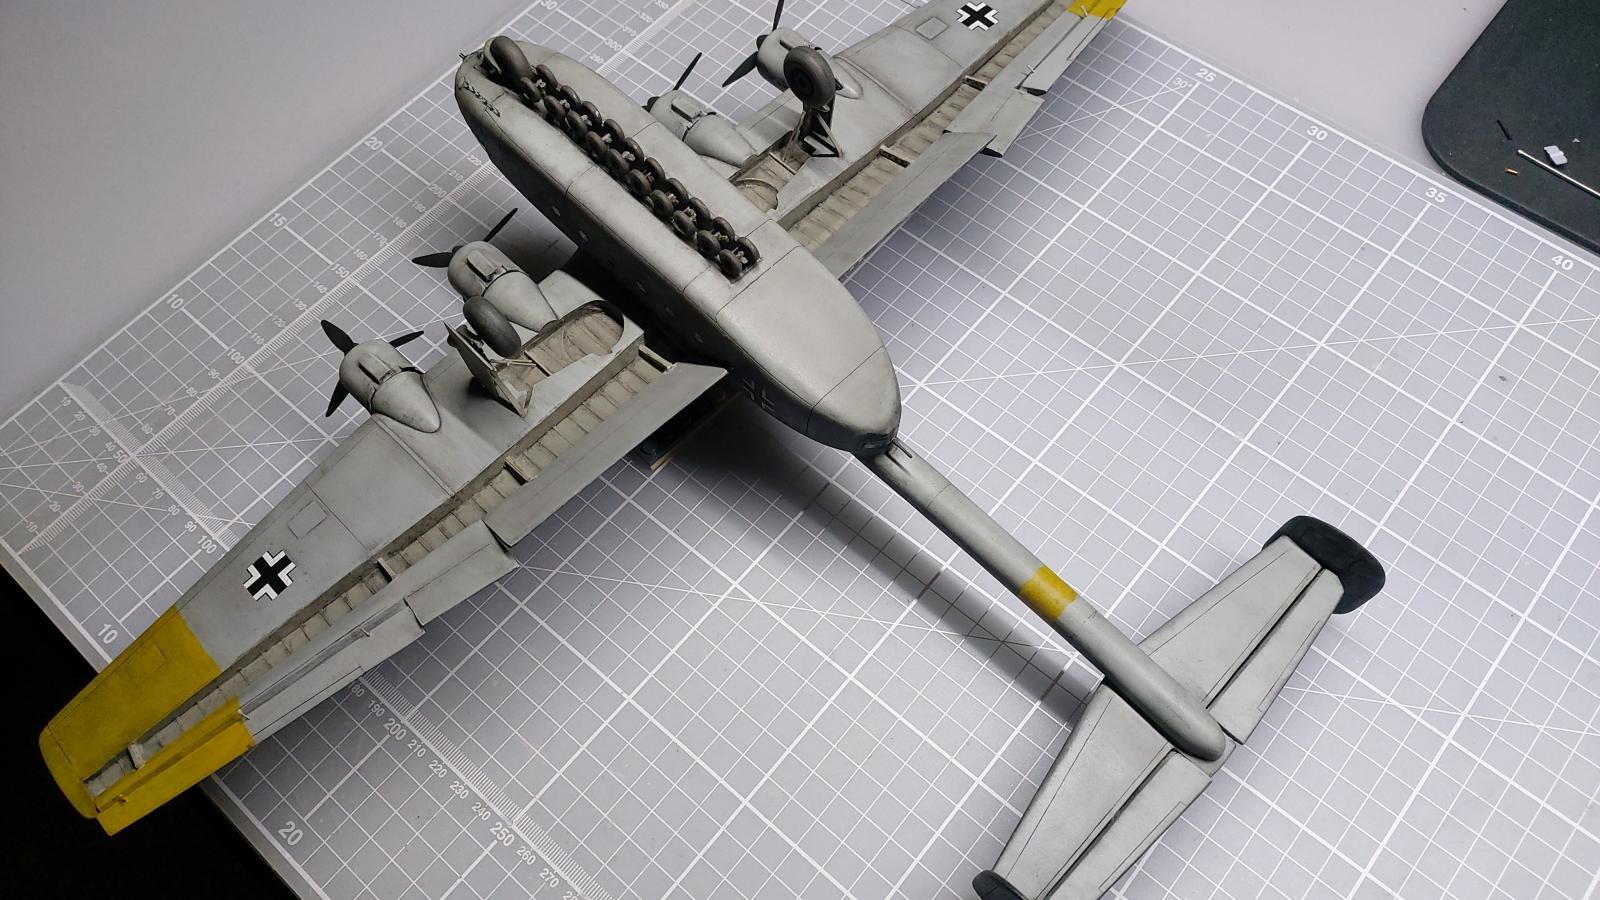
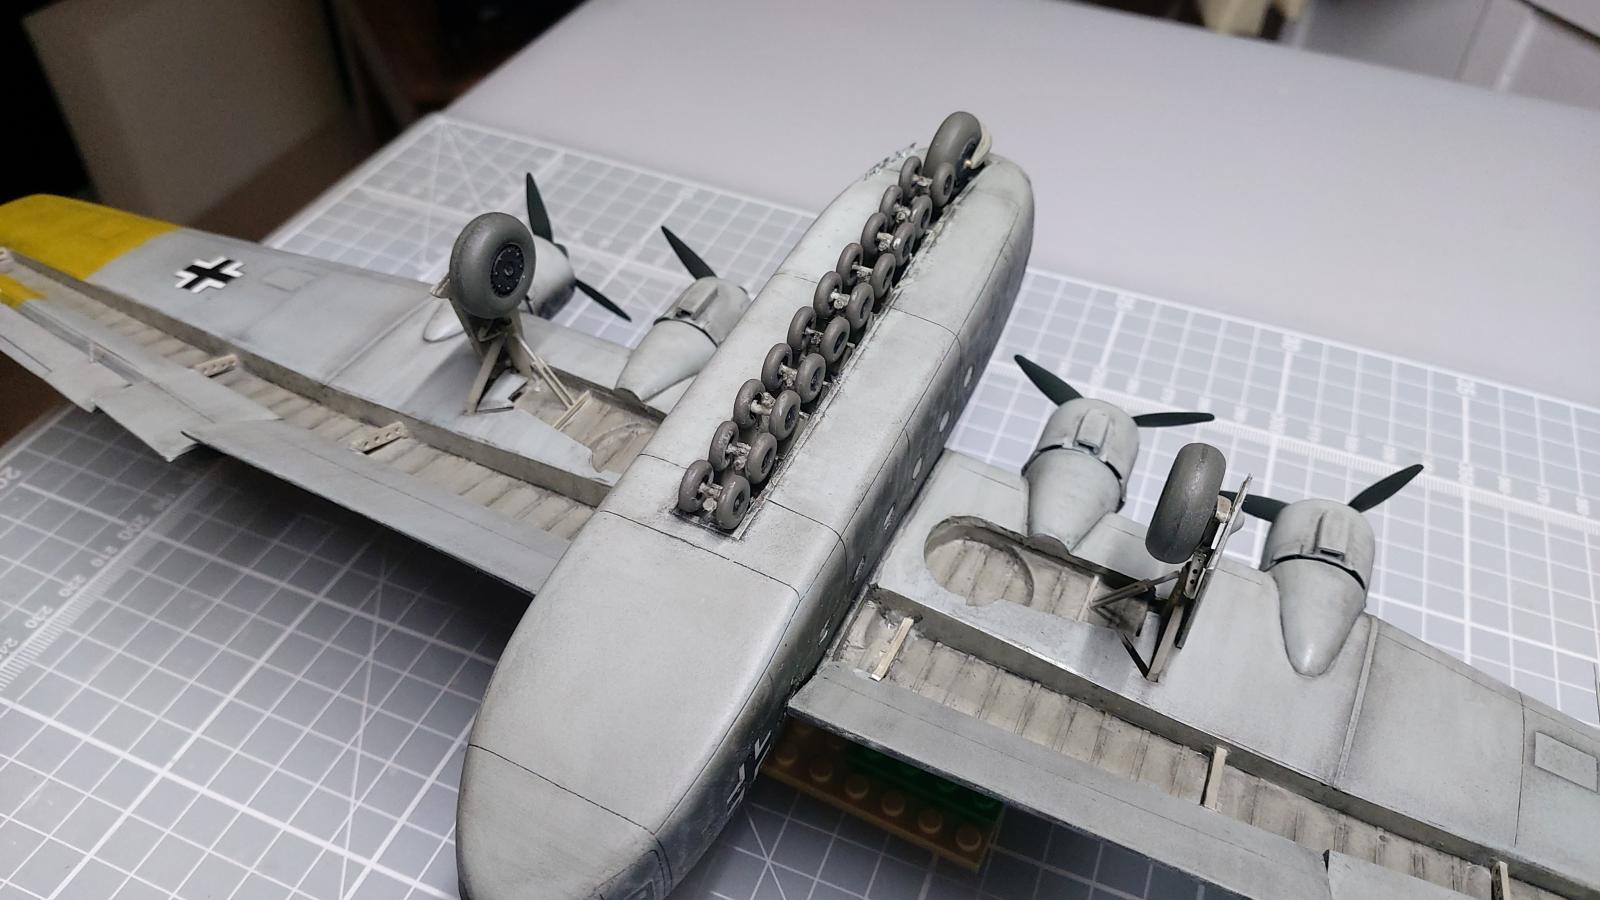
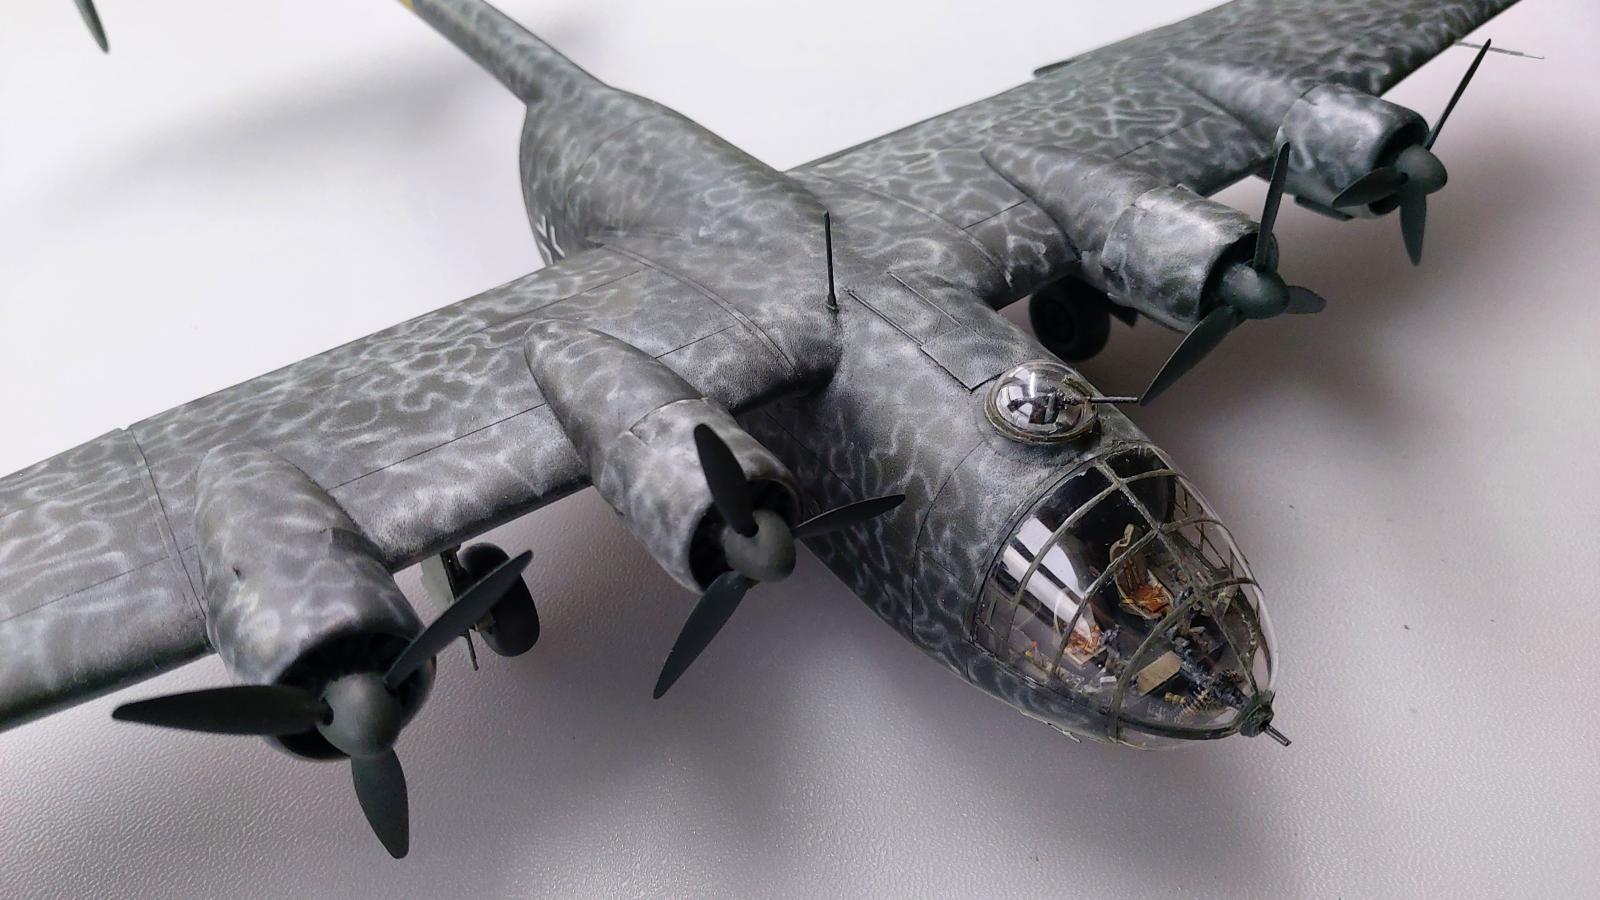
Mach2's Arado Ar232B transport
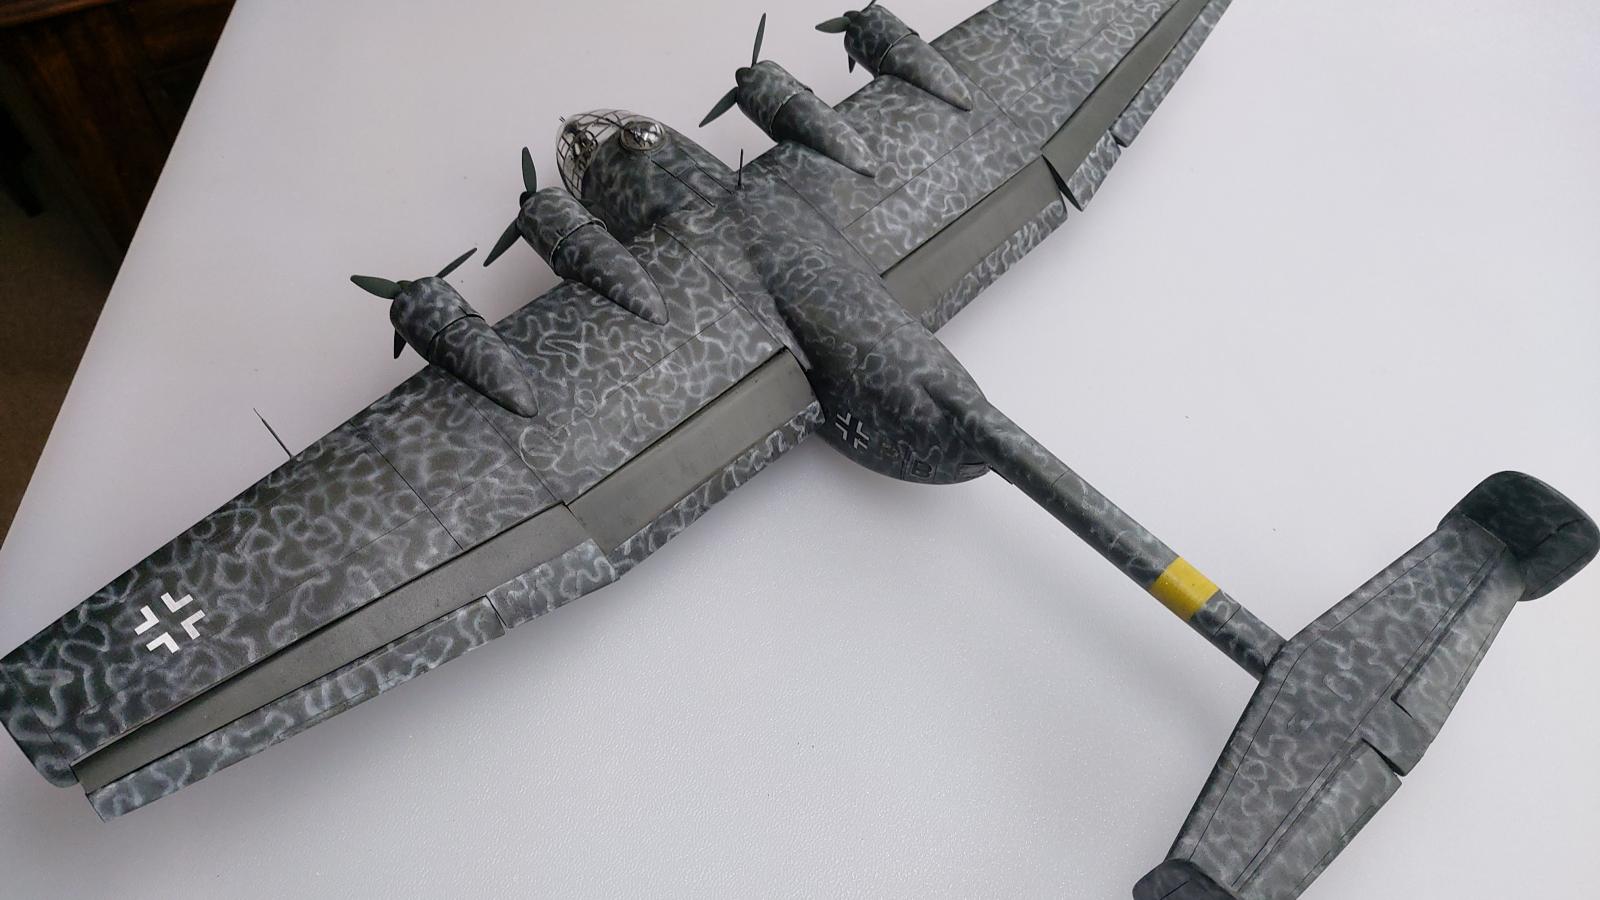
This build is part of the 'Imperial German...' group build, and given the age of the model and presentation of the parts, it is definitely a challenge. However, I'm pleased with the eventual outcome and this represents about two months of work. The camouflage scheme is inspired by the image in the French publication 'Le Fana de l'Aviation', January 2000, edition 362. The caption suggests the aircraft was photographed during Operation Rennstrecke, sometime between early December 1944 and mid-February 1945.
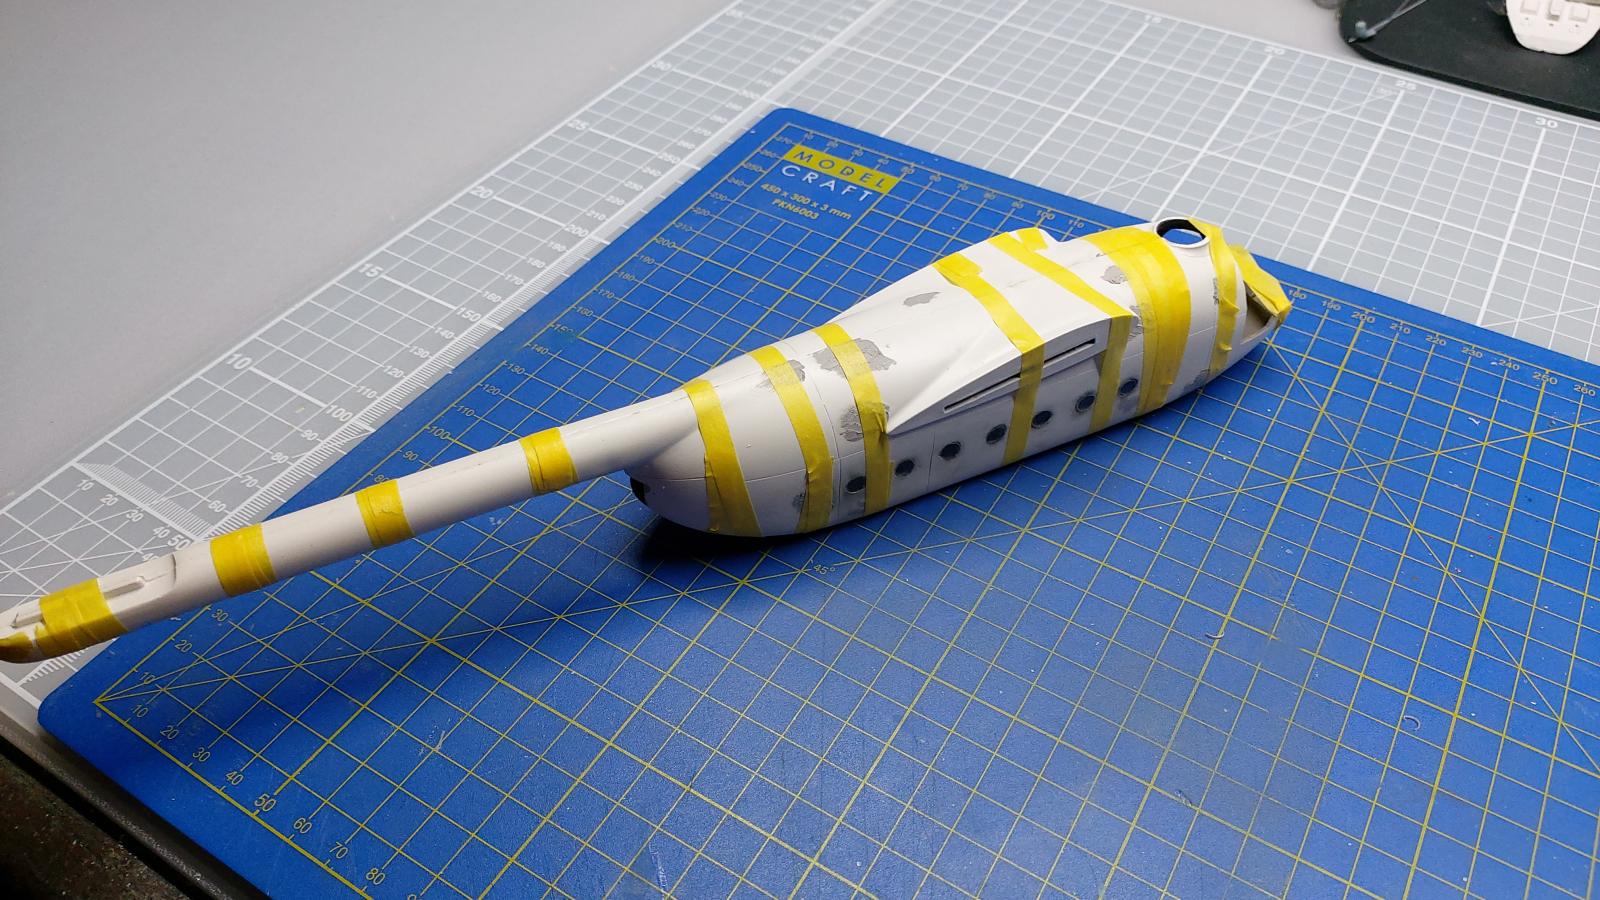
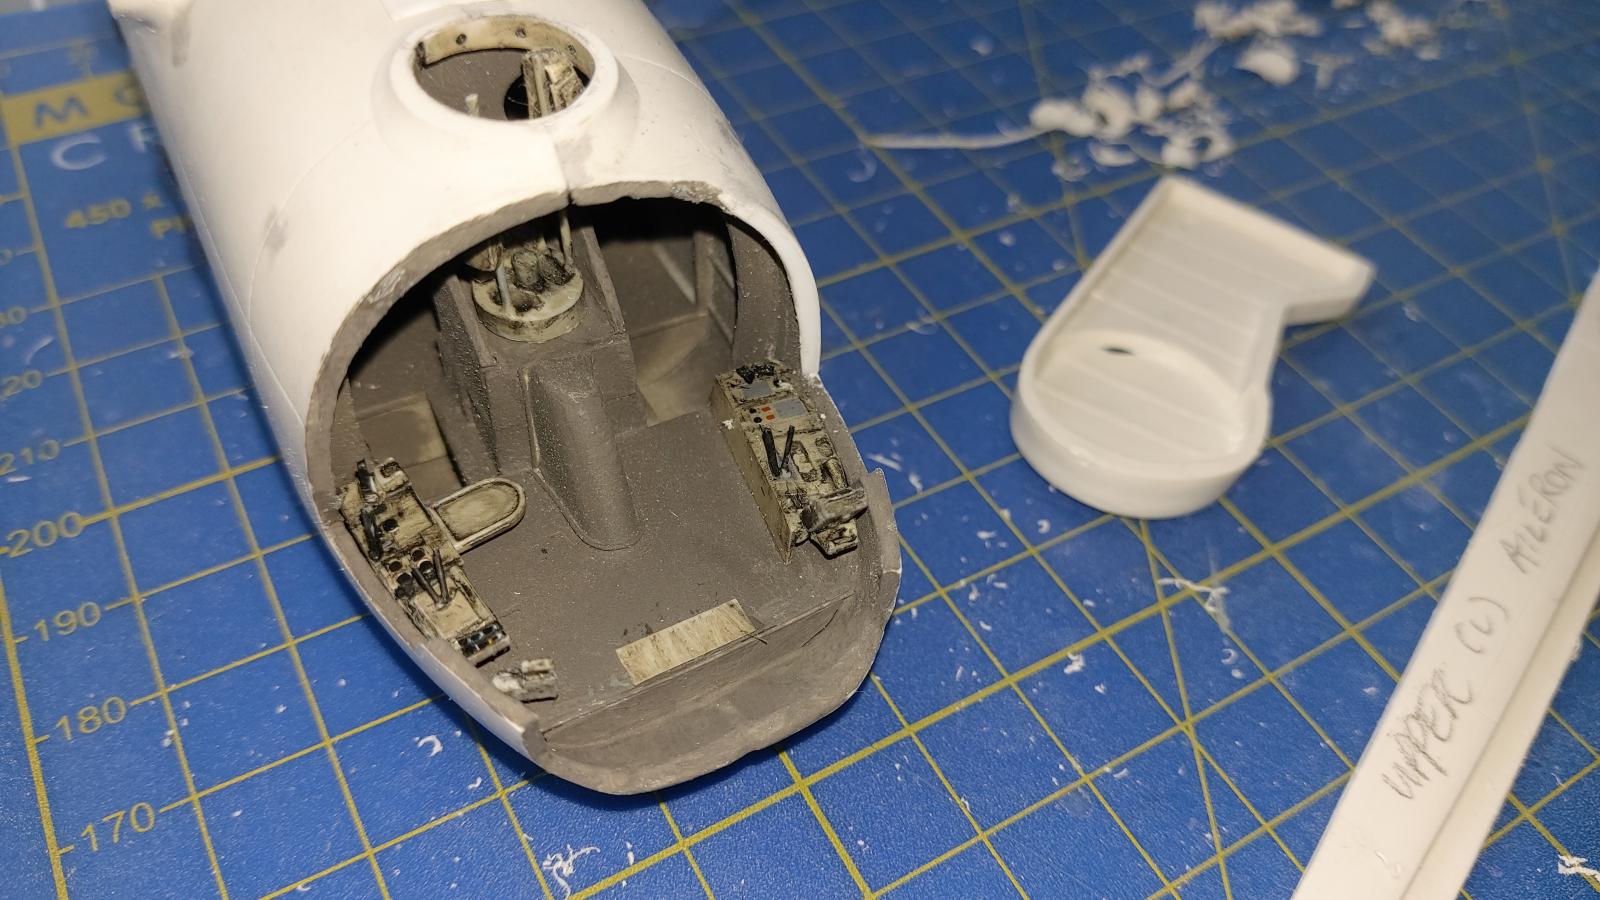
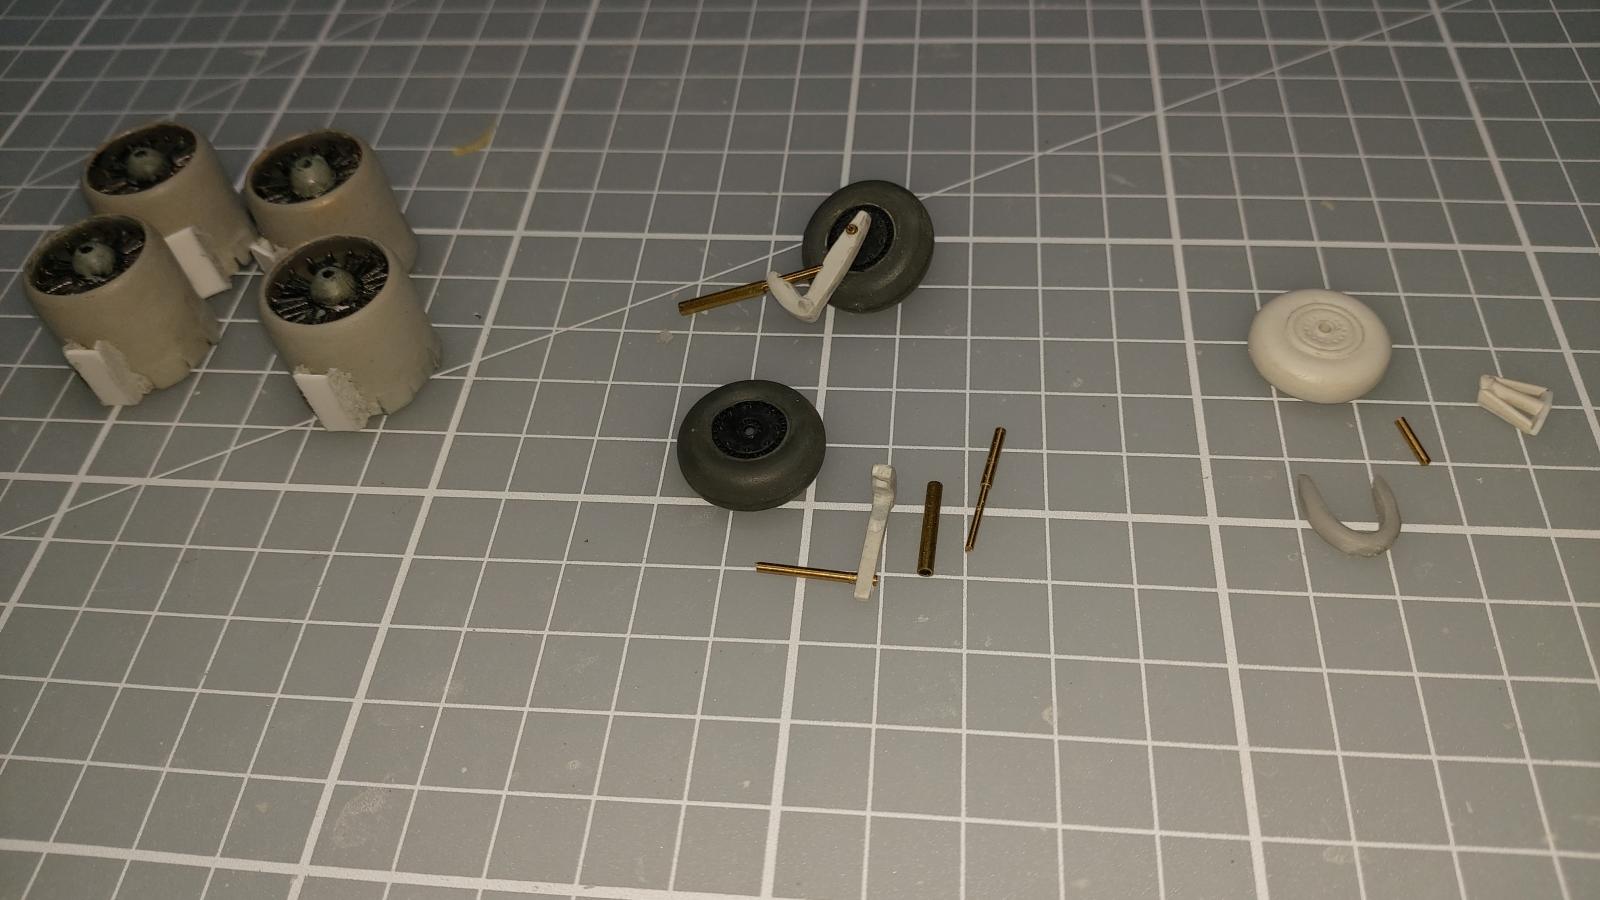
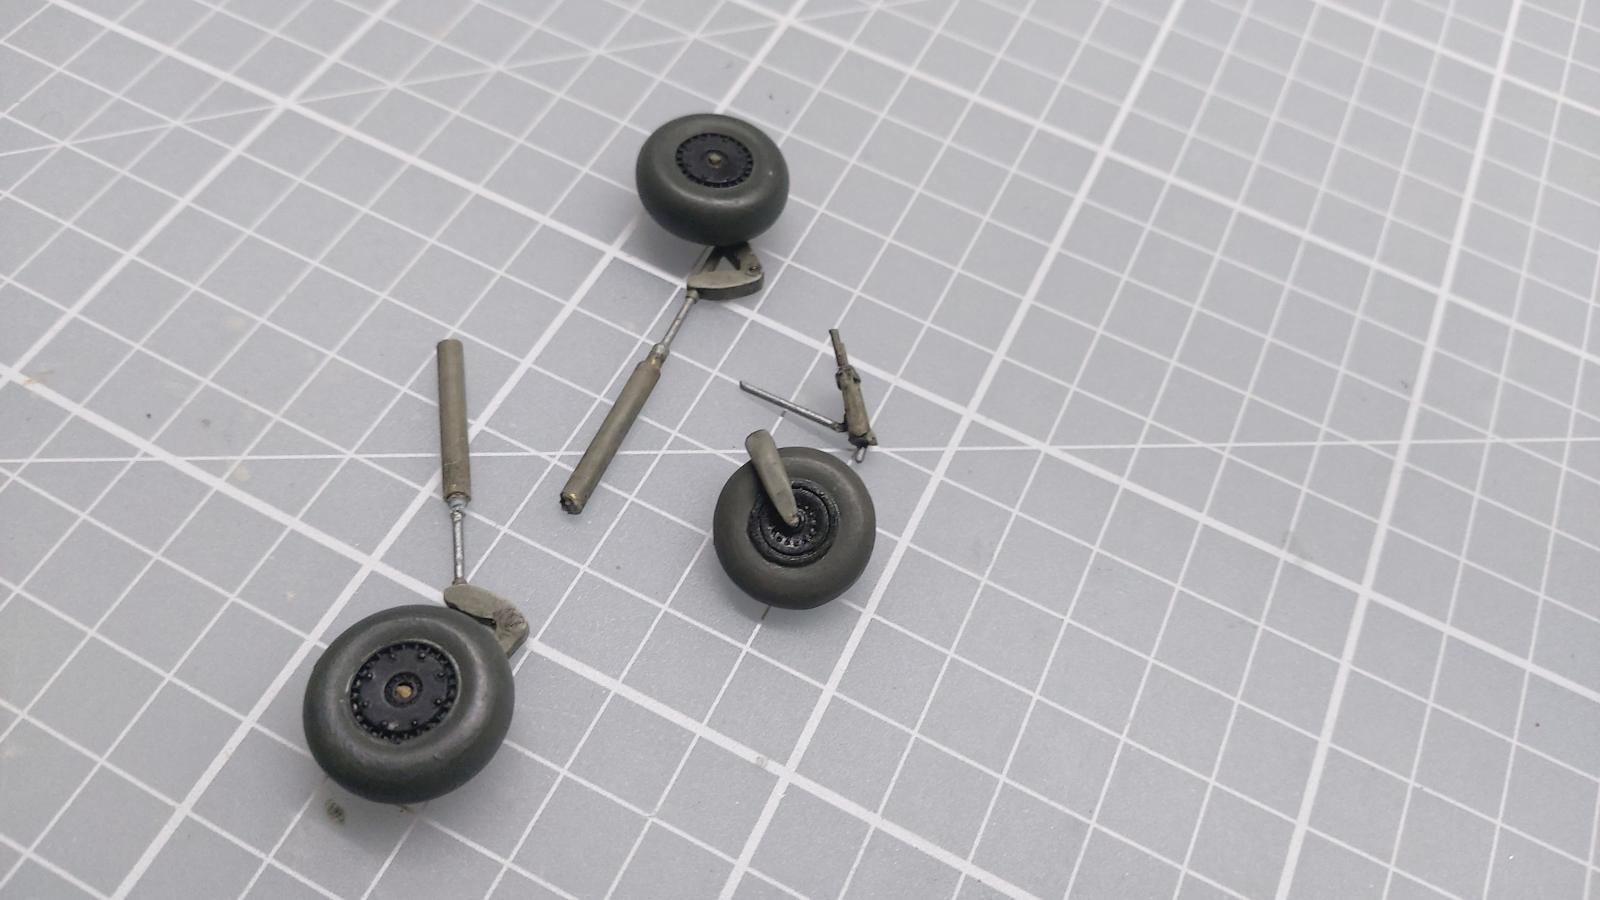
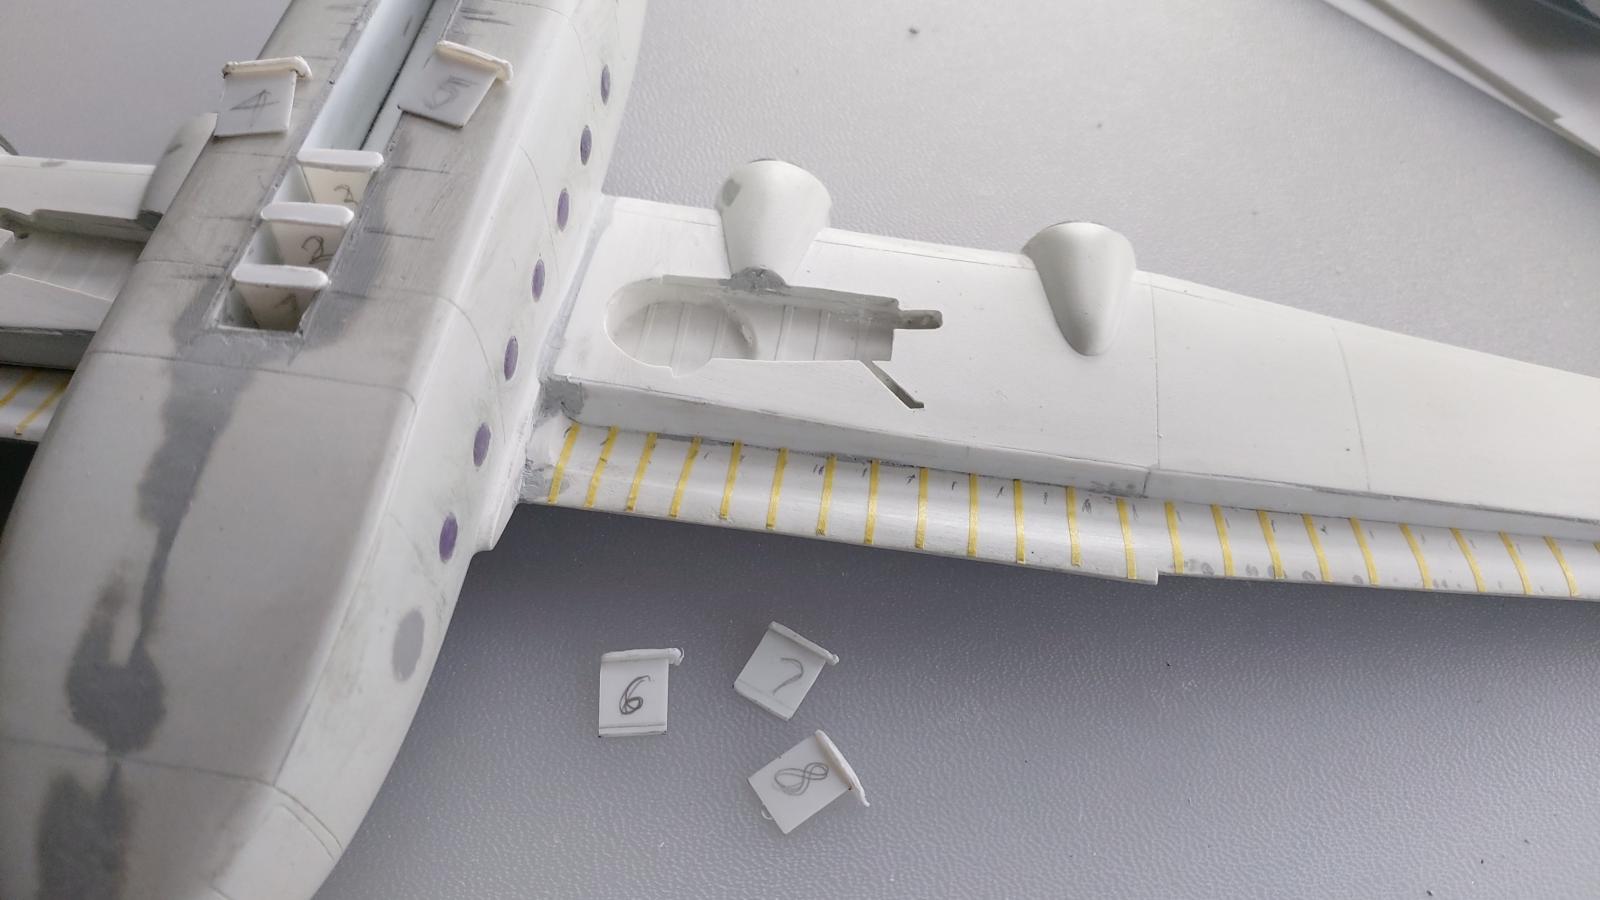
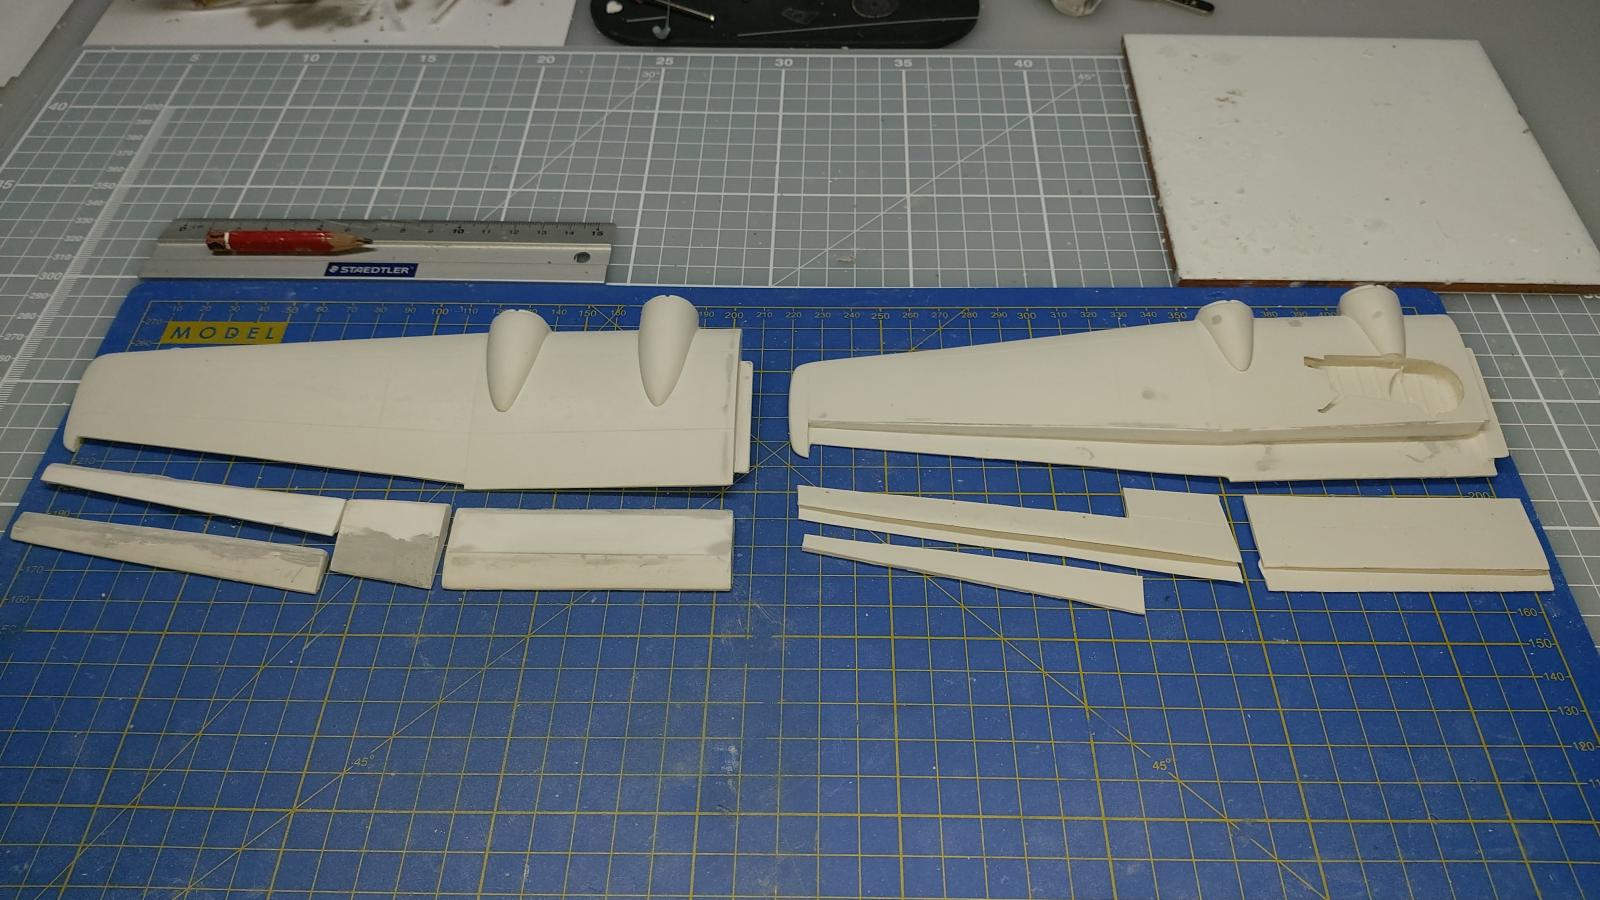
Aside the acquisition of a replacement canopy, which is really a necessity, the engine cowlings, undercarriage and cockpit interior all went under the scalpel at some stage, along with the trailing edge control surfaces.
A video is now available of the build here https://youtu.be/O9jOekMDirc, and you can see the completed group build here https://imodeler.com/groups/imperial-german-air-service-luftwaffe-group-build-may-1st-1910-to-present-day/forum/topic/mach2s-arado-ar232b-battle-zone-transport/. I hope you like the outcome, and thanks for looking in.

Spectacular results on this really challenging kit, Paul (@paulh). The Mach 2 kits I have built were more like scratchbuilding than build a model kit, and this one looks the same. The result that you got shows that skill and perseverance can overcome this sort of challenge. Well done.
Thanks, George. I appreciate your comments. It is a demanding kit in places, but I'm pleased to have one of these back in my collection.
Turned out really well, definitely worth all the extra work you put in.
Hard to believe it is a Mach 2 kit. Congratulations!
A triumph of talent, skill, perseverance and just plain stubbornness over plastic. The hard work paid off in great model of a little-seen airplane.
Your work paid off because I think ICM is/willbe releasing one of these in a buildable kit. 🙂
Guys, thanks to you all for your kind comments.
Tom, thanks for the heads-up about an ICM Ar232. I will definitely keep a look out for that... ;-).
That is some really impressive work, on what looks to be a massive kit even in 1/72 scale. You did some incredible work in that build. Love the camo too! Two Thumbs up!
Thanks, Walt. Yes, it is quite a large kit even in a small scale, but space has been found in the cabinet, surprisingly! 🙂
Amazing work Paul.
This plane looks very much ahead of its time. I can see other nations ‘ post war designs in it .
I would love to build one of those but dare not venture putting a Mach 2 kit together !
Very much well done.
A wonderful result indeed, Paul! Finishing a Mach2 kit is an accomplishment by itself, coming up with such a result is true excellency. Your build thread was equally wonderful. Fantastic video, as well! What a presentation! Thank you so much for entering and finishing this beauty in our "Luftwaffe" GB!
I’ve never seen this plane before so this is an interesting post. One of those strange German aircrafts one might think was just a prototype.
Great work. Truly seems like a scratch built kit with all the custom work done.
An absolute winner, Paul @paulh
Everything on this build looks excellent and I'm really impressed by the camouflage.
Nice to see how you painted the canopy frame in the video.
Thanks for sharing your progress in the building thread.
This is a Mach 2 kit? Impossible! Must be some new Tamiygawa kit I was unaware of 🙂
Kidding aside, spectacular model in any judgement, even more so give the base plastic manufacturer, you brave man! Thumbs up
Real nice !
Nice build, Paul. Your hard work and persistence surely paid off.
Paul ,you deserve a medal just for finishing a Mach2 kit, the only one I tried ,the Seabee ended up in the bin, you did an amazing job on this but sometimes I wonder at the German mindset with the time and money they wasted on odd designs like this , all those wheels and axles must have used up half the aircrafts payload...
This plane is new to me. Really good work on the model!
Guys, thanks again to all of you for your comments... ;-).
Very nice Paul. Spectacular camo work on a plane I’ve never heard of before.
Excellent build! I've done a Mach2, so am familiar with your travails... How did you get the squiggles - steady hand with an airbrush, or some other method? I'm thinking of a similar scheme on an He 219.
Greg, the wave pattern was applied by airbrush, and I have to say, not as steady a hand as I would've liked, but I got there in the end. Another modeller online finished his kit with a stronger wave pattern, not applied by brush but using another utensil. His thinking was that the photo both he and I worked from, appeared to show the pattern applied by brush, but on closer inspection, I felt that there were areas where there was too much fluidity of movement in the pattern for it to have been brush-applied, hence my decision to spray paint.
Pleased you like the end result.
Eric... thanks for your comments.